


The Art of Installing Windows and Doors: A Step-by-Step Tutorial
Why Proper Window and Door Installation Matters
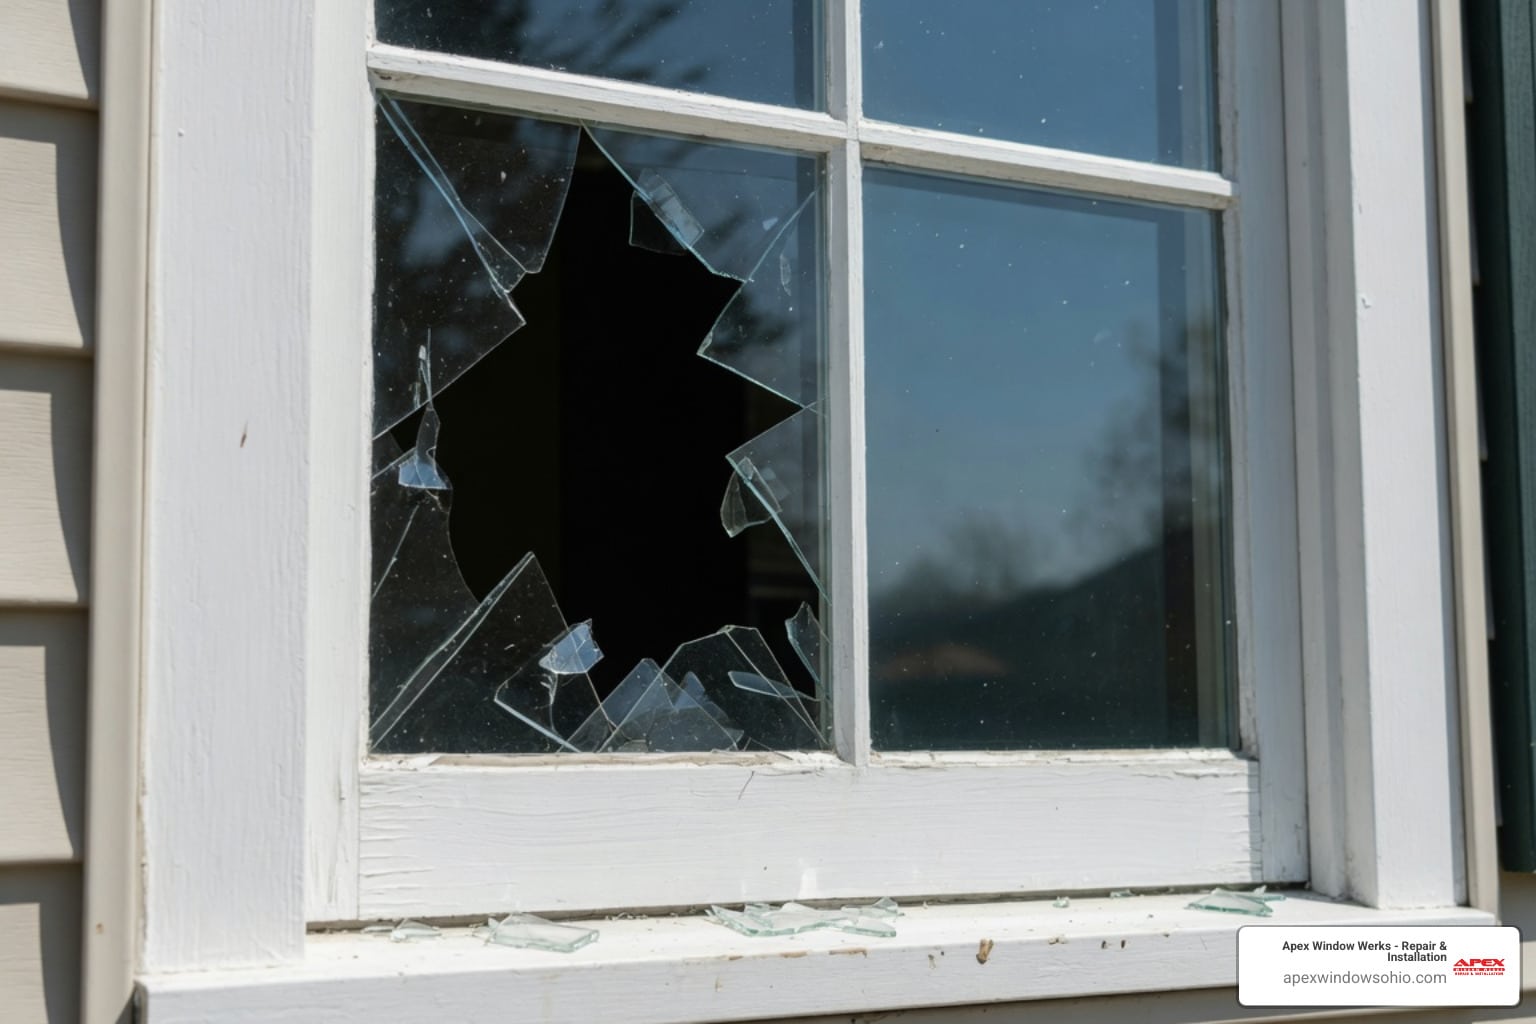
Installing windows and doors correctly is one of the most important home improvement tasks you’ll ever tackle. The difference between a professional installation and a rushed DIY job can mean thousands of dollars in energy costs, water damage, and structural problems over the life of your home.
Quick Answer: What Installing Windows and Doors Involves
- Choose your installation type – New construction, full-frame replacement, or pocket replacement
- Measure accurately – Width and height at three points, plus diagonal measurements
- Prepare the opening – Remove old units, inspect for damage, apply flashing
- Set and secure the unit – Use shims to ensure plumb, level, and square positioning
- Seal properly – Apply flashing, low-expansion foam, and quality sealant
- Finish with trim – Install interior and exterior trim, hardware, and screens
Why It Matters:
- Energy efficiency – Proper sealing can cut heating and cooling costs significantly
- Structural integrity – Correct flashing prevents water damage and rot
- Longevity – A well-installed window or door can last 20+ years
- Home value – Quality installation offers excellent return on investment
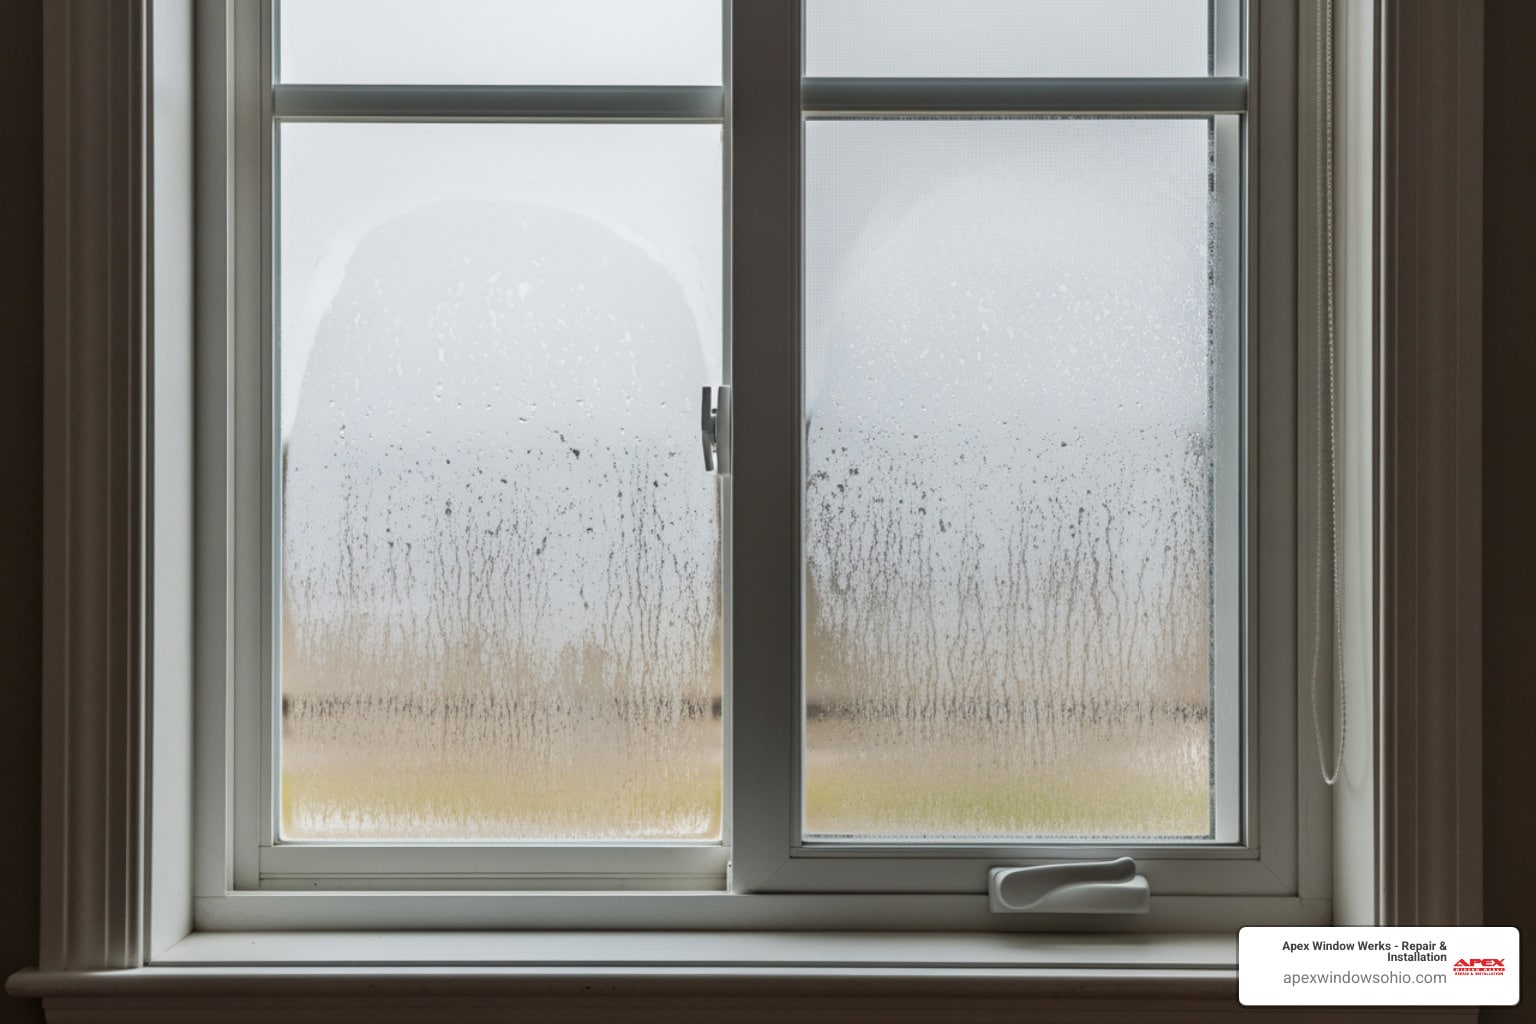
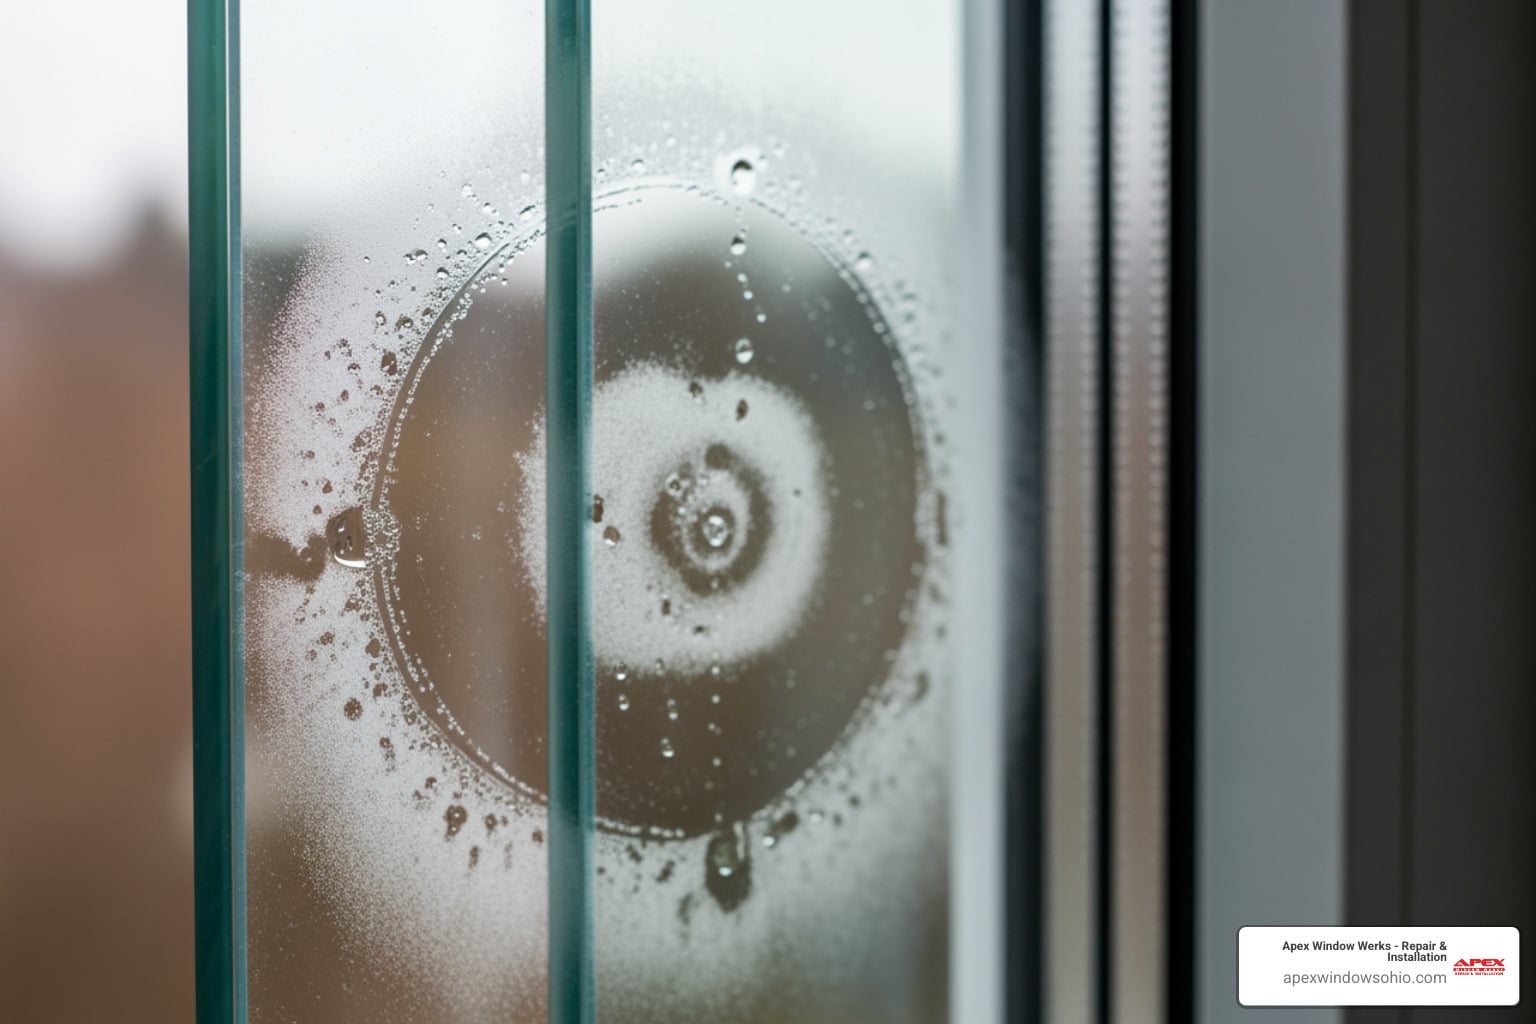
- Comfort – Eliminates drafts, noise, and moisture problems
According to industry research, proper installation can increase comfort, energy efficiency, and security while delivering long-term value. Even the best windows and doors will underperform if improper sizing and installation leads to air and water leakage.
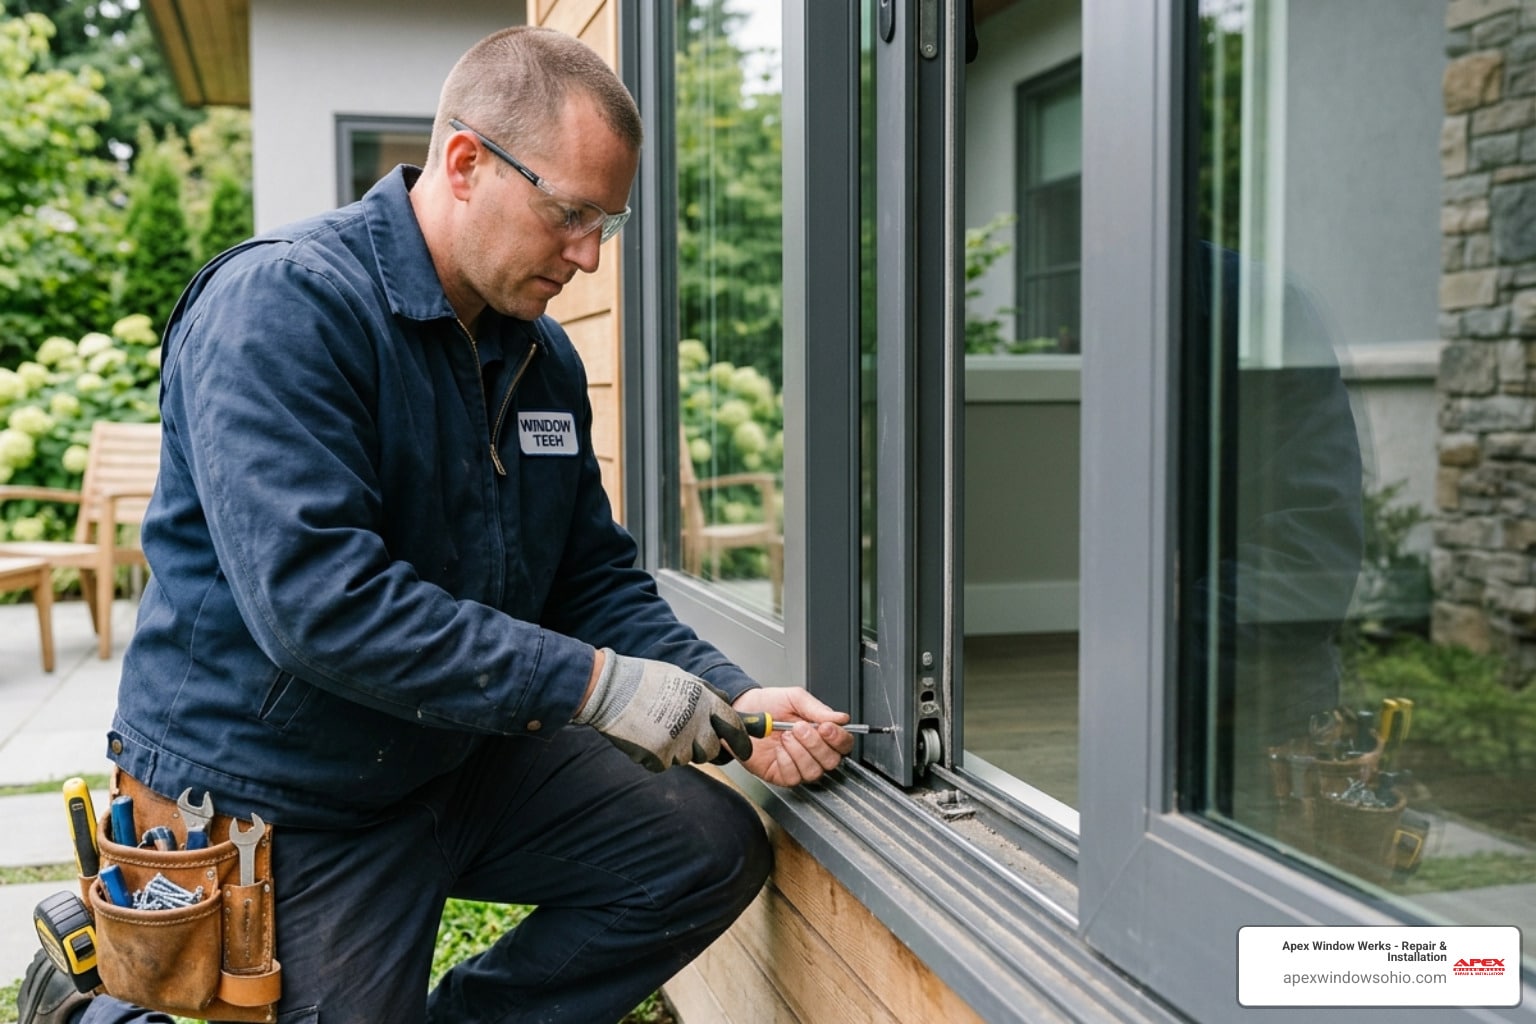
I’m Nataly Godes, General Manager at Apex Window Werks, where I’ve led countless window and door repair, restoration, and replacement projects across Northeast Ohio. My experience in installing windows and doors has taught me that the difference between a good installation and a great one comes down to preparation, precision, and understanding how these components integrate with your home’s building envelope.
 Energy Efficiency - proper sealing reduces heating and cooling costs up to 30%, 2) Structural Protection - correct flashing prevents water intrusion and rot damage, 3) Security Enhancement - professional installation ensures proper lock and hardware function, 4) Warranty Protection - manufacturer warranties often require professional installation, 5) Long-term Value - quality installation extends product life to 20+ years and improves home resale value - installing windows and doors infographic")
Pre-Installation Prep: The Foundation of a Flawless Fit
Before we even think about touching a new window or door, a solid foundation of preparation is essential. This includes understanding the type of installation, taking precise measurements, and gathering all our tools and materials.

There are generally three main types of window and door installations, each with its own nuances:
- New Construction: This method is for brand new openings in a home, often during the initial build or a major addition. Since there’s no existing frame, we’re working with a clean rough opening. This allows for a full integration of the window or door’s nailing flange with the home’s weather-resistive barrier, offering the most robust weatherproofing.
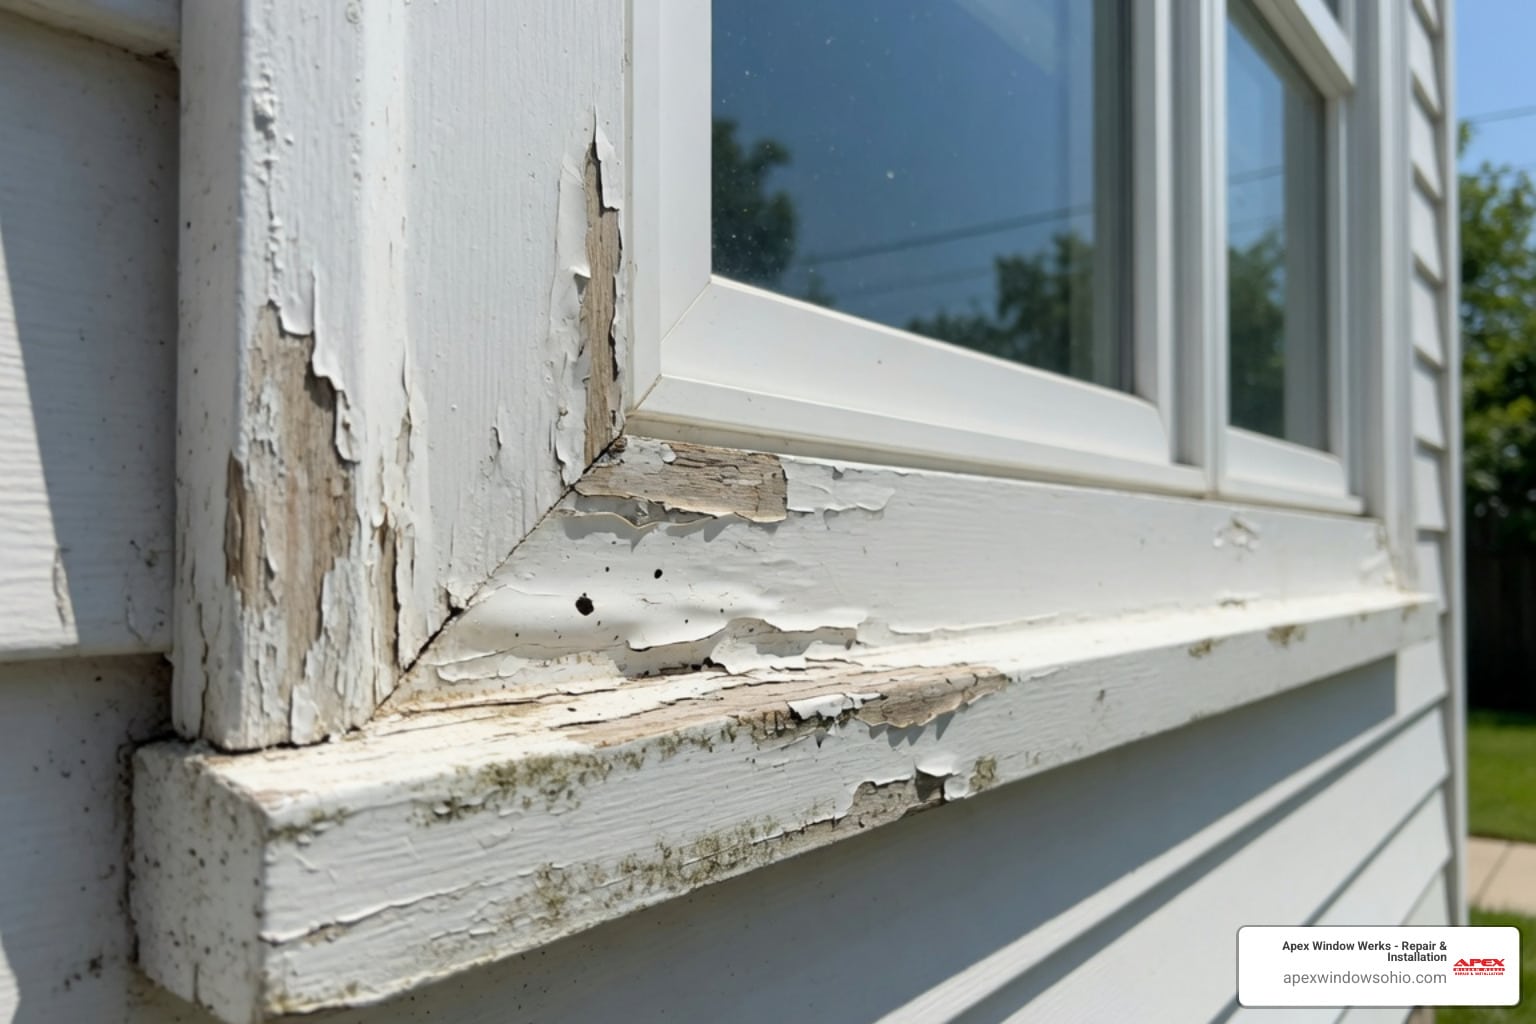
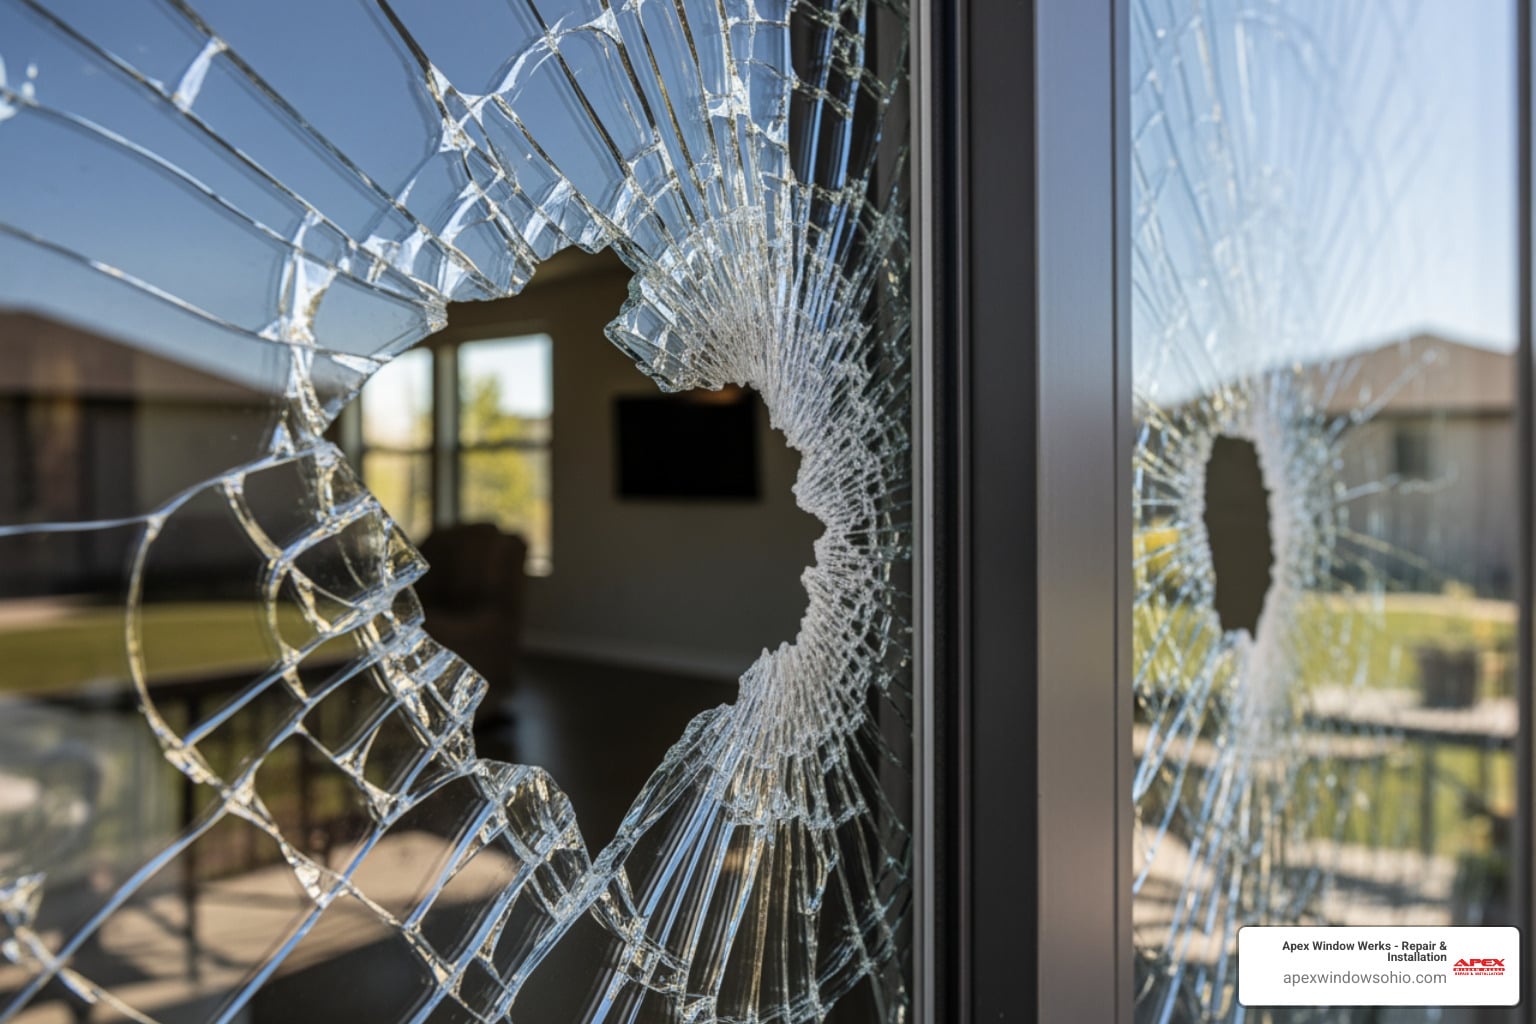
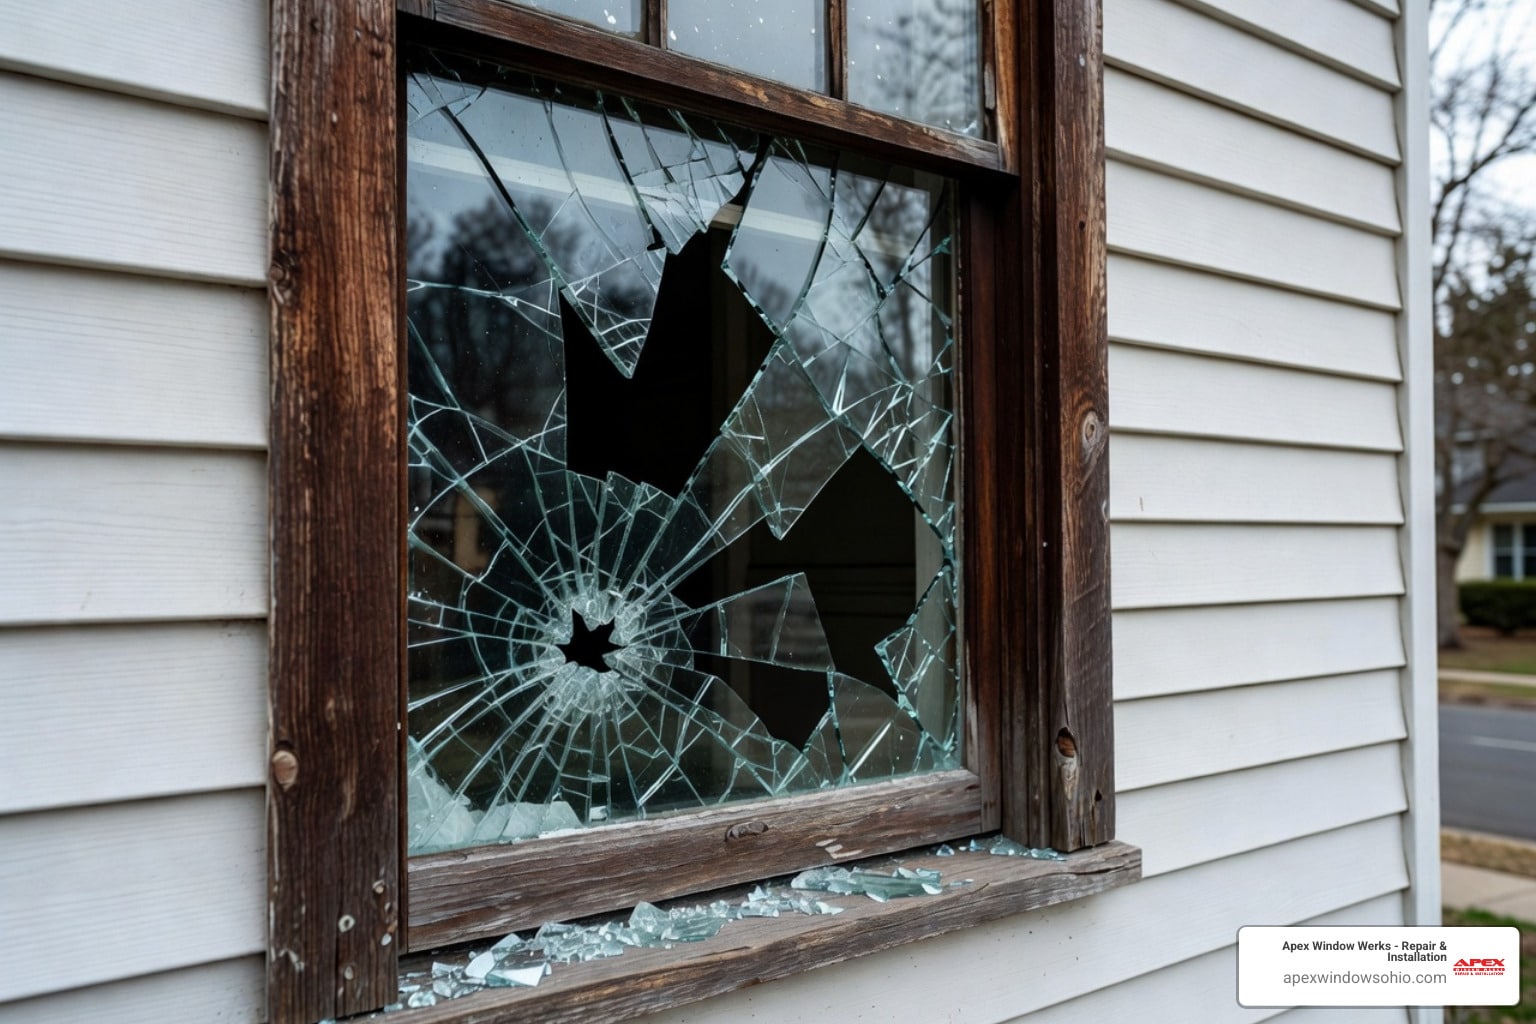
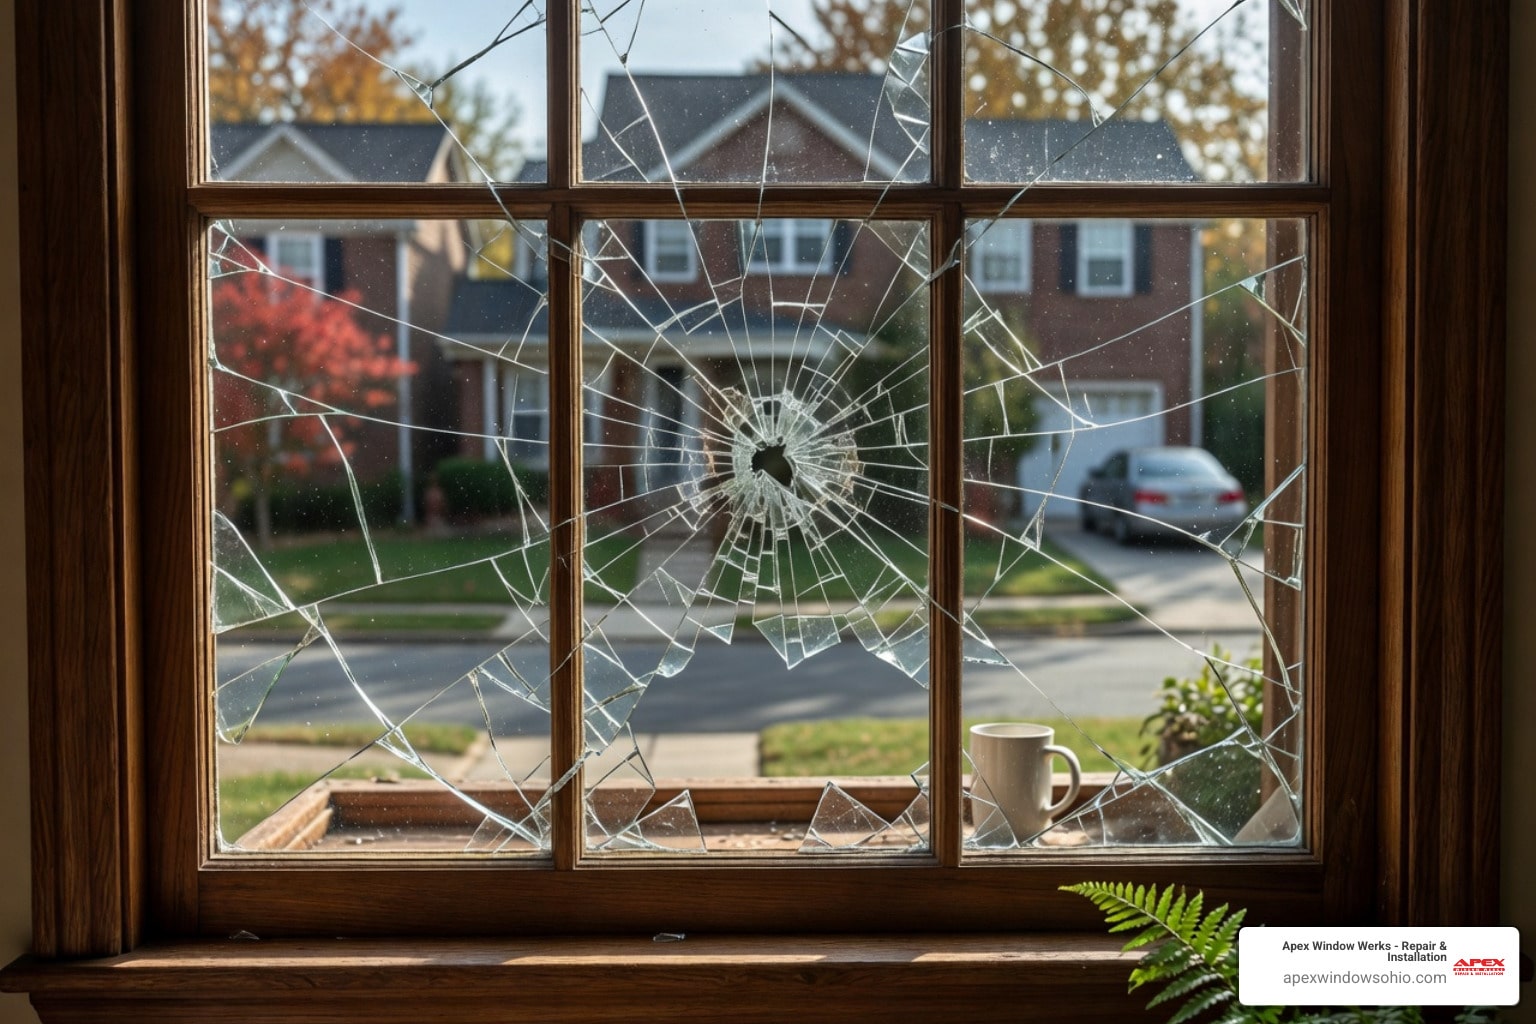
- Full-Frame Replacement: When an existing window or door is beyond repair, or its frame is compromised (think rot or significant damage), we opt for a full-frame replacement. This involves removing the entire old unit – sashes, frame, and all – right down to the rough opening. While more involved, it allows us to address any underlying issues in the wall and ensure a completely fresh start, providing maximum energy efficiency and a long-lasting seal.
- Pocket Replacement (or Insert Replacement): This is a less invasive method, where the new window or door unit is installed directly into the existing frame. We remove only the sashes and hardware, leaving the old frame intact. This is often chosen for its quicker installation time and minimal disruption to interior and exterior trim. It’s a great option when the existing frame is still sound and square.
Measuring for Replacements
Accurate measurements are paramount. A common DIY mistake is not getting a precise depth measurement, which can turn an easy job into an all-day affair. It’s worse to find a custom-sized window doesn’t fit after ordering! We always say, “measure twice, cut once,” but for windows and doors, it’s “measure three times, order once.”
Here’s how we approach it:
- Width: Measure the width of the opening at three points: the top, middle, and bottom. Record the smallest of these three measurements. This ensures the unit will fit even if the opening isn’t perfectly consistent.
- Height: Similarly, measure the height from the top jamb to the sill at both sides and in the middle. Again, record the smallest measurement.
- Diagonal Checks: For existing openings, we also measure diagonally from corner to corner. If these diagonal measurements differ by more than 1/2 inch, the opening isn’t perfectly square, which might require shimming or choosing a pocket replacement that can accommodate minor imperfections.
Remember to measure to the jamb, not just the blind stop or parting stop. And if you’re ordering a sash replacement kit, you’ll need to specify the sill angle.
Essential Tools and Materials
Having the right equipment on hand makes all the difference. Here’s our go-to list:
Essential Tools:
- Level: To ensure your window or door is perfectly plumb and level.
- Tape Measure: For precise measurements (a good quality, locking one is key!).
- Caulk Gun: For applying sealants smoothly and evenly.
- Pry Bar & Utility Knife: For carefully removing old trim and cutting sealants.
- Shims: Non-compressible shims are crucial for leveling and squaring the unit.
- Power Drill/Driver: For fastening the new unit securely.
- Safety Gear: Gloves, safety glasses, and a dust mask are non-negotiable.
Essential Materials:
- New Window/Door Unit: The star of the show!
- Flashing Tape: Self-adhering, flexible butyl tape for water management.
- Sealant: High-quality, exterior-grade, paintable caulk (we prefer polyurethane window and door caulk).
- Low-Expansion Foam Insulation: Specifically designed for windows and doors to seal gaps without warping the frame.
- Fasteners: Screws or nails appropriate for your unit and framing.
- Interior & Exterior Trim Materials: To finish the job beautifully.
To help you decide which installation method is right for your project, here’s a quick comparison:
| Feature | New Construction | Full-Frame Replacement | Pocket Replacement |
|---|---|---|---|
| Scope | New opening in a new wall | Entire old unit (frame & sashes) removed to rough opening | Old sashes removed; new unit installed into existing frame |
| Rough Opening | Clean, new | Exposed, allowing for inspection & repair | Existing frame remains |
| Weatherproofing | Most robust; full integration with WRB | Excellent; allows for thorough flashing and sealing | Good; relies on integrity of existing frame and careful sealing |
| Disruption | Significant (part of new build) | Moderate to high (interior & exterior trim often disturbed) | Low (minimal disturbance to existing trim) |
| Energy Efficiency | Maximized | Maximized | Improved, but limited by existing frame |
| Cost | Varies | Higher (more labor & materials) | Lower (less labor & materials) |
| Best For | New homes, additions | Damaged frames, significant upgrades, maximizing performance | Sound existing frames, budget-conscious upgrades, quick turnaround |
The Step-by-Step Guide to Installing Windows and Doors
Now that we’re prepped and ready, let’s dive into the actual installation process. This is where precision and attention to detail truly shine.
Preparing the Rough Opening
Our journey begins with carefully preparing the opening. This phase is critical for the long-term performance of your new window or door.
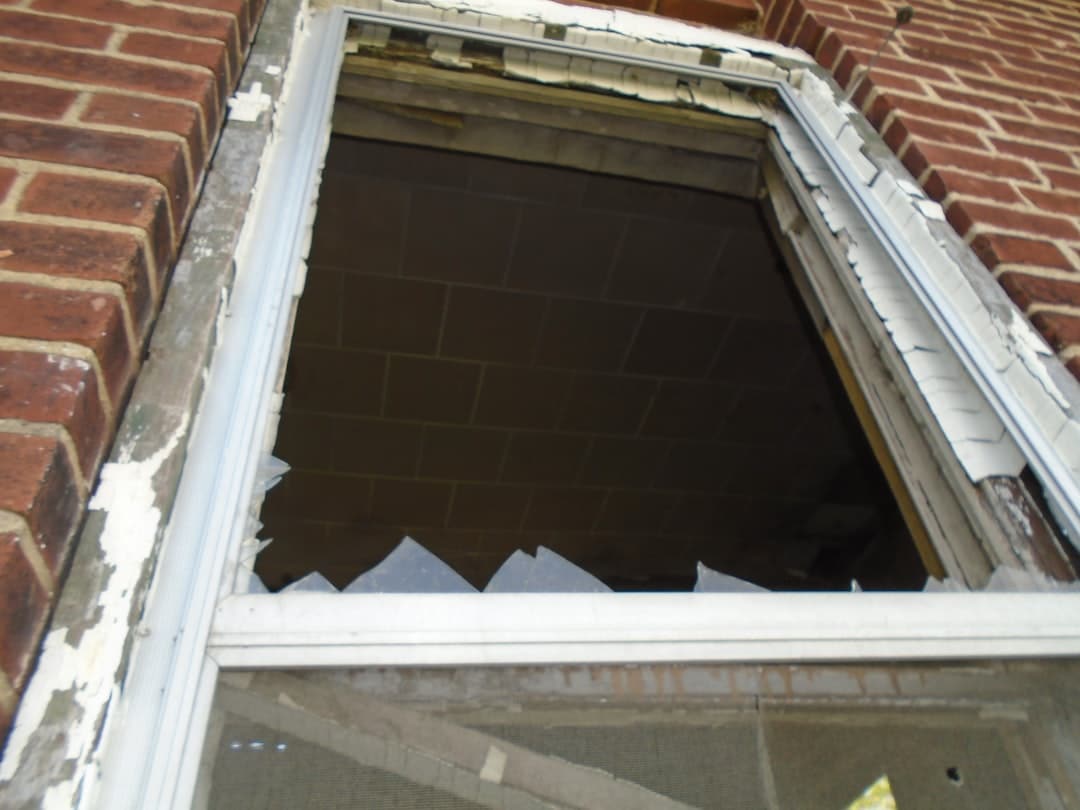
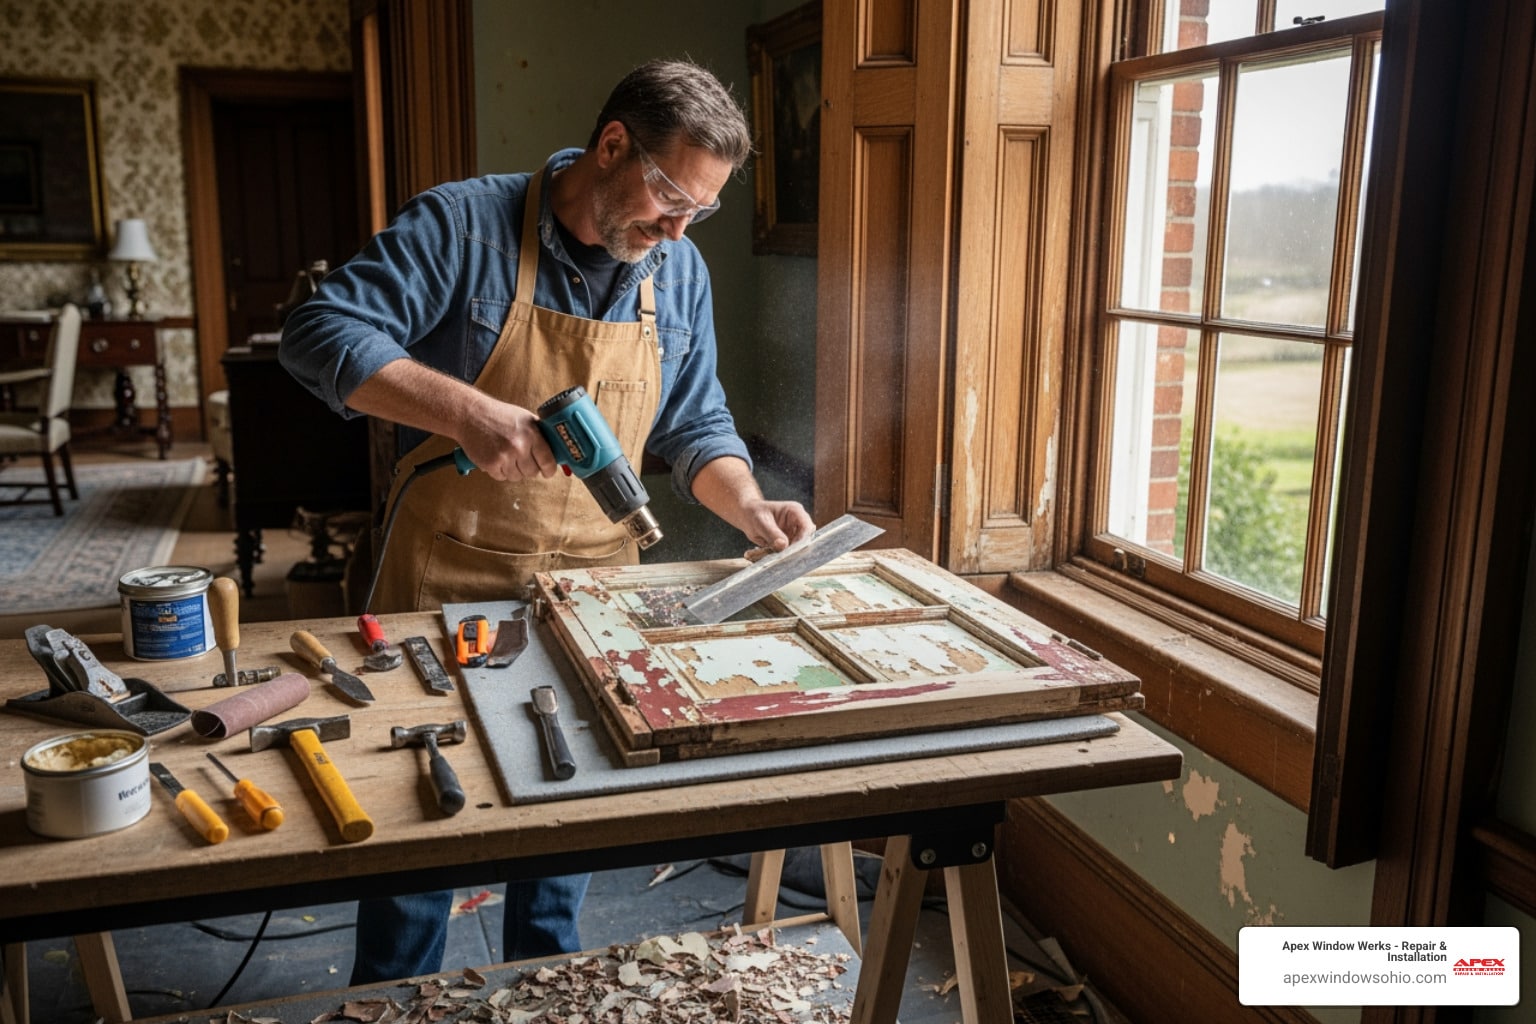
- Removing the Old Unit: If it’s a replacement, we start by carefully prying off interior and exterior trim. A utility knife can score painted joints to prevent chipping. Then, we remove the old sashes and hardware. For full-frame replacements, we cut out the old frame, often using a reciprocating saw, ensuring we expose the entire rough opening. If the house was built before 1978, we are cautious about potential lead paint and take necessary precautions.
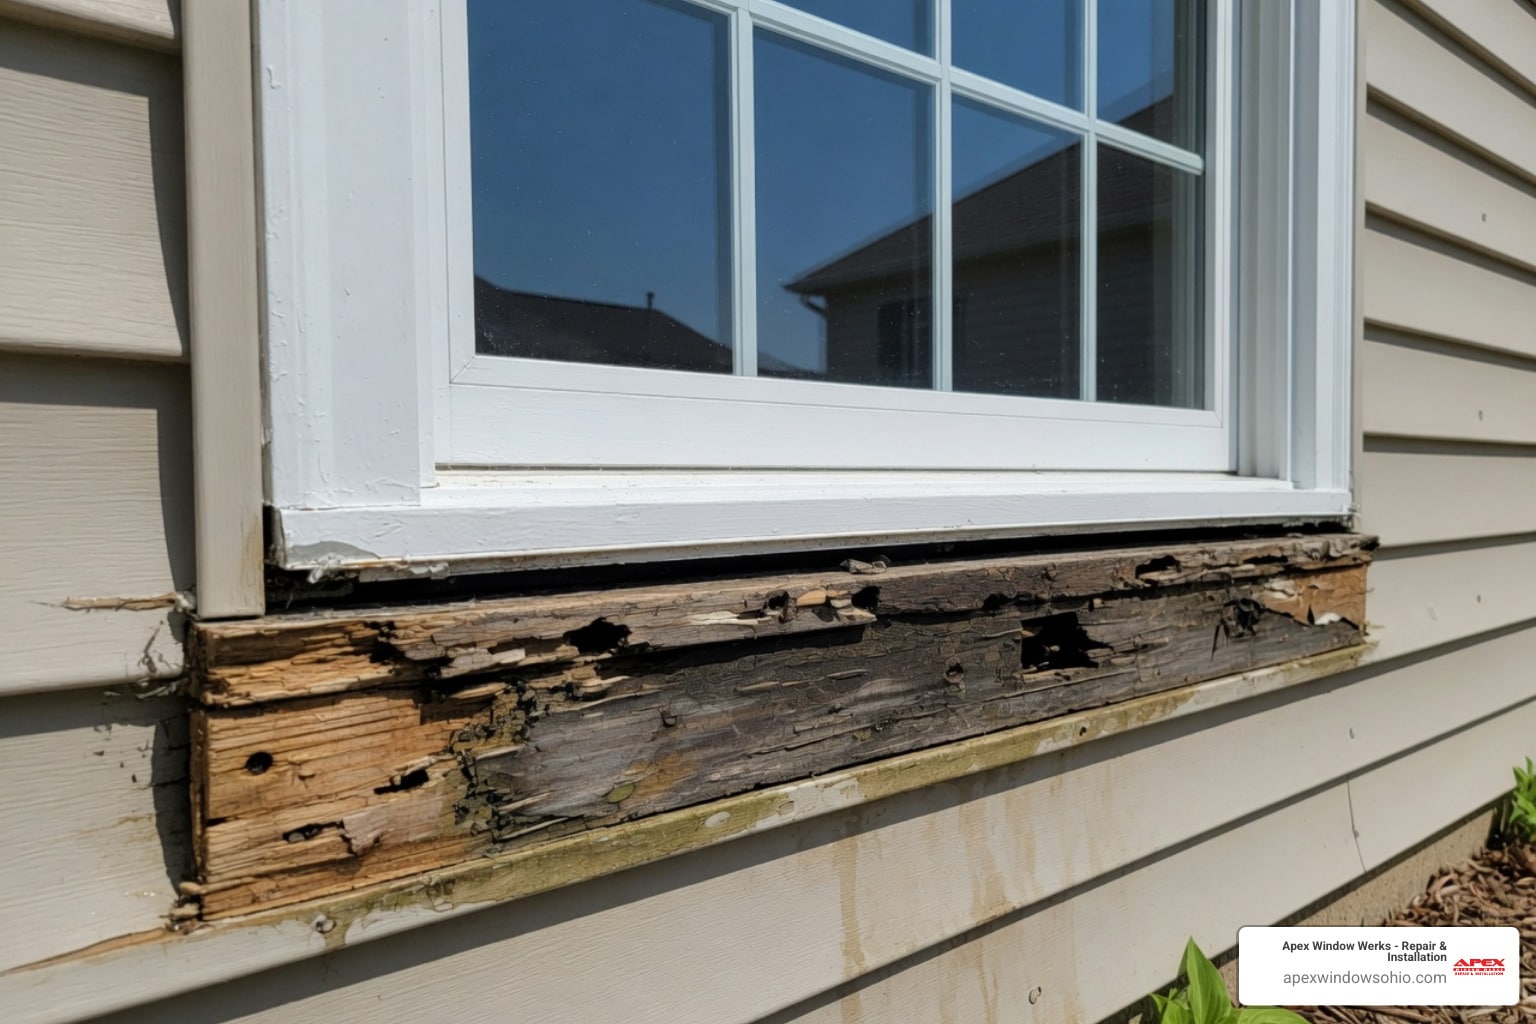
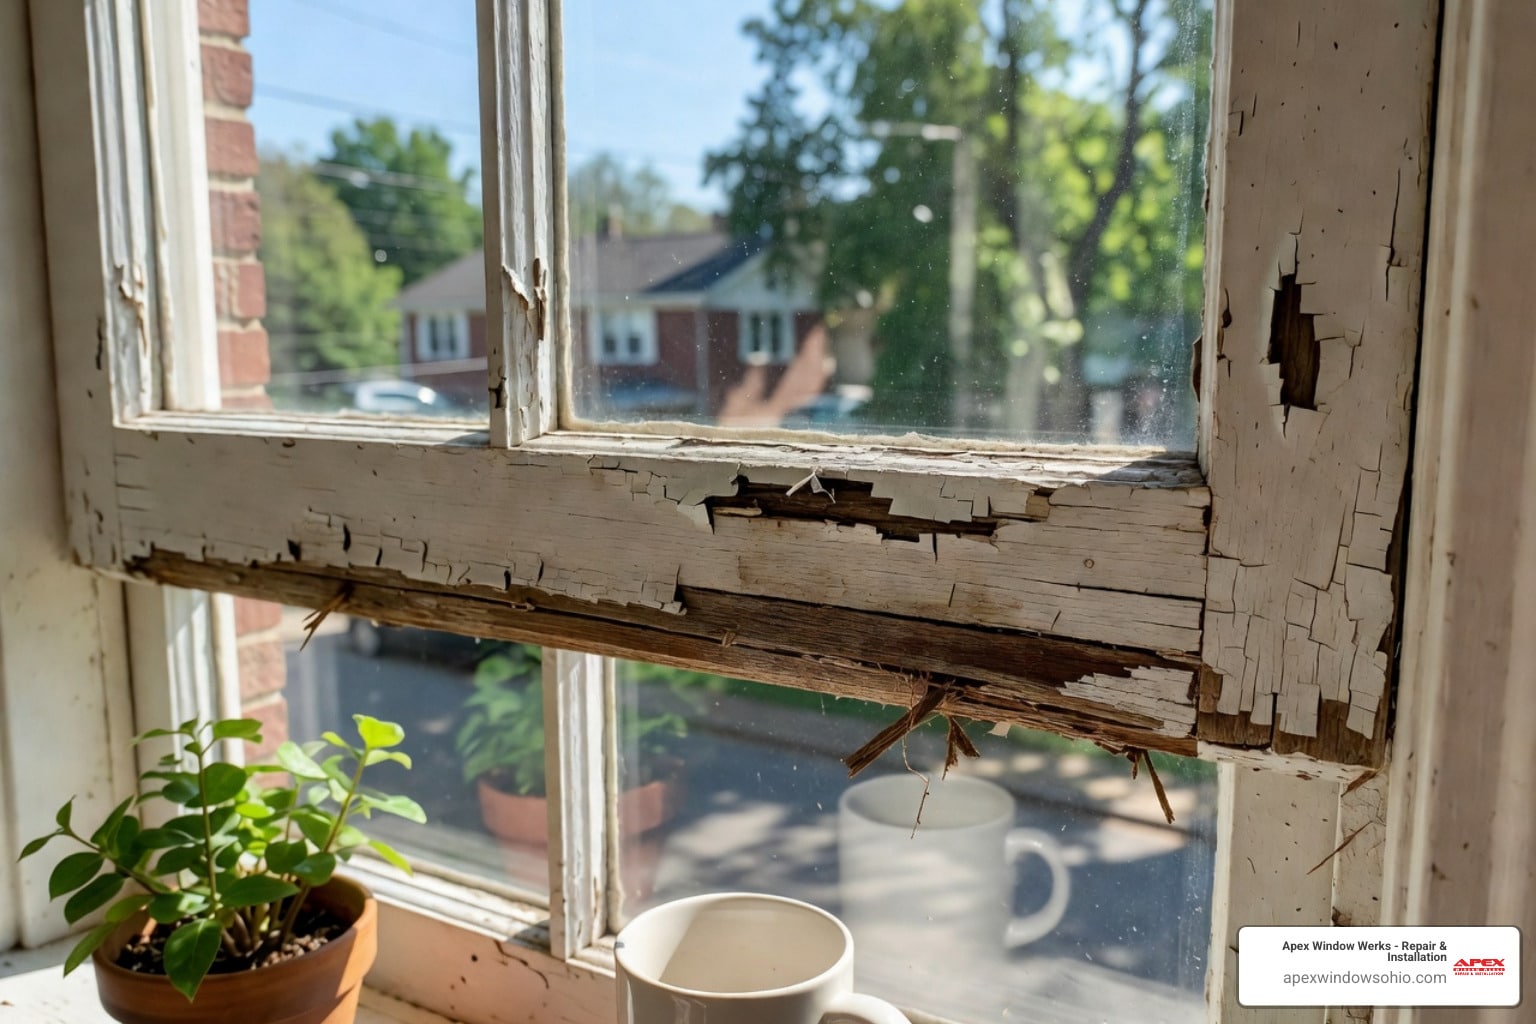
- Inspection, Cleaning, and Repair: Once the old unit is out, we thoroughly inspect the rough opening for any signs of rot, mold, or damage to the framing. Any issues are addressed and repaired at this stage. We vacuum away all debris, old mortar, caulking, and nails, ensuring the opening is clean, square, and level. This step is vital because a clean, sound opening is the foundation for a perfect seal.
- Water Management Prep: This is where we lay the groundwork for preventing water intrusion. We apply a continuous sill pan flashing, which is a crucial component of the building’s drainage plane. This directs any water that might get past the exterior seal away from the wall structure. We ensure our flashing integrates seamlessly with the existing weather-resistive barrier (WRB).
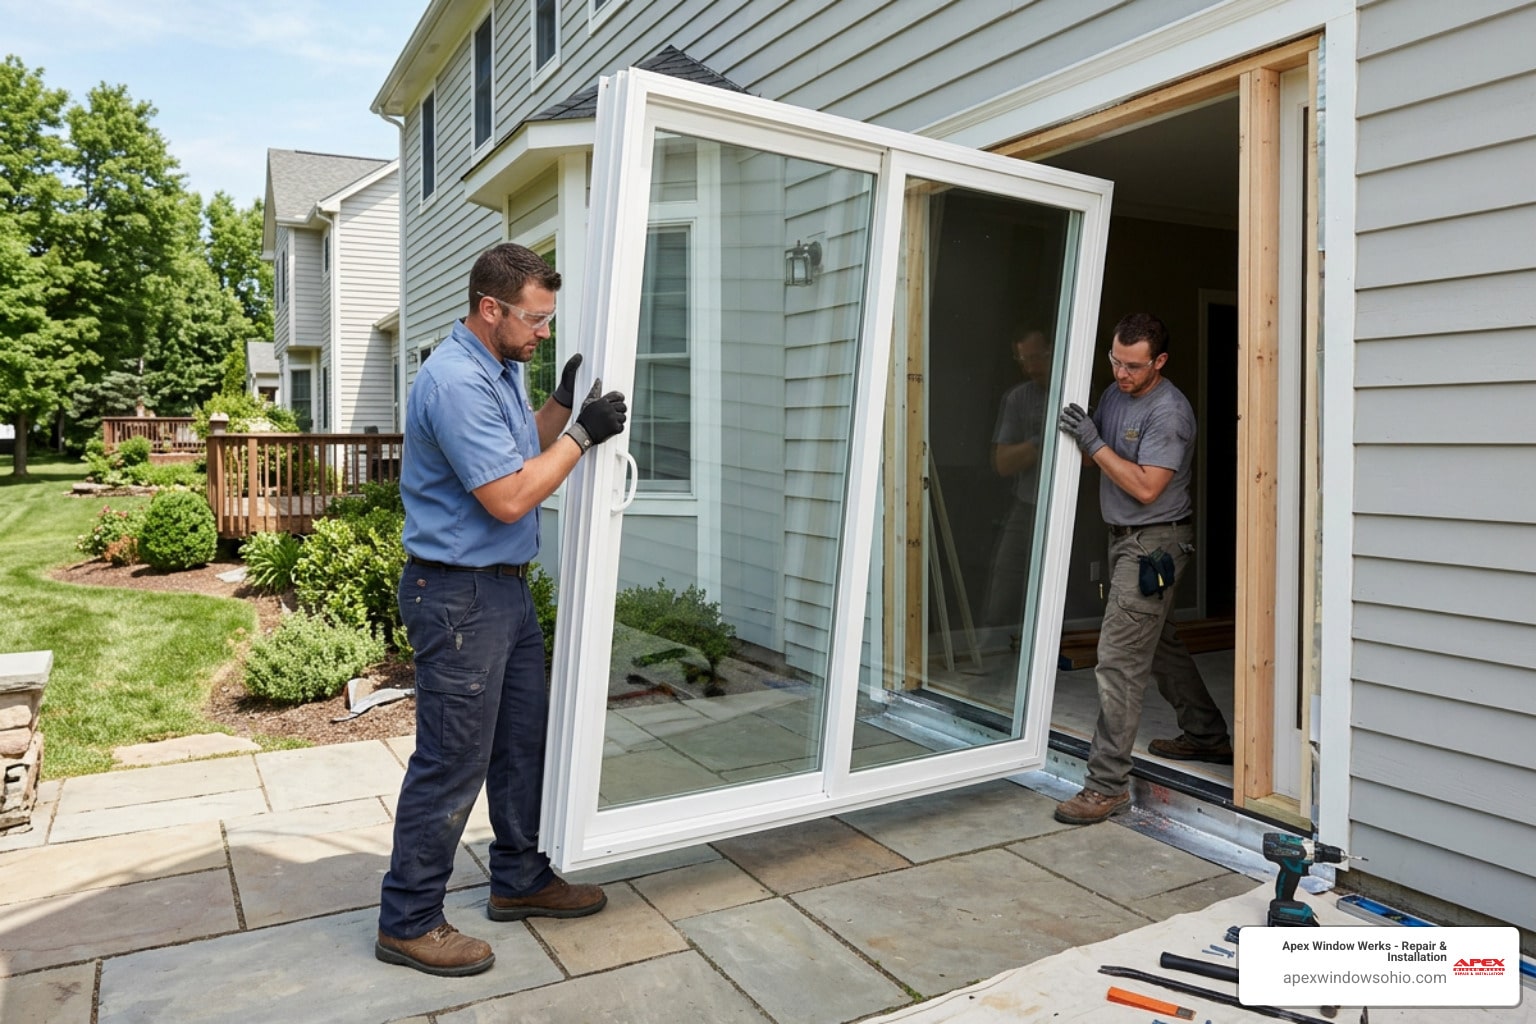
Setting, Shimming, and Fastening the New Unit
This is the moment of truth – placing the new window or door into its prepared home.

- Applying Sealant Bead: Before placing the unit, we apply a continuous bead of high-quality sealant along the inside of the rough opening’s perimeter – top, sides, and along the inside edge of the sill. This provides the primary air and moisture barrier.
- Placing and Centering the Unit: We carefully lift the new window or door unit into the opening. It’s crucial to center it both horizontally and vertically, ensuring consistent gaps around all sides for proper shimming and insulation.
- Shimming: This is an art form! We use non-compressible shims (composite or plastic, never wood that can absorb moisture) to make the unit perfectly plumb, level, and square. We place shims at the bottom corners, then along the sides and top, checking with our level repeatedly. For windows, we also check diagonal measurements to confirm squareness – they should be equal. For doors, we pay close attention to the reveal (the gap between the door slab and frame) to ensure it’s even all around.
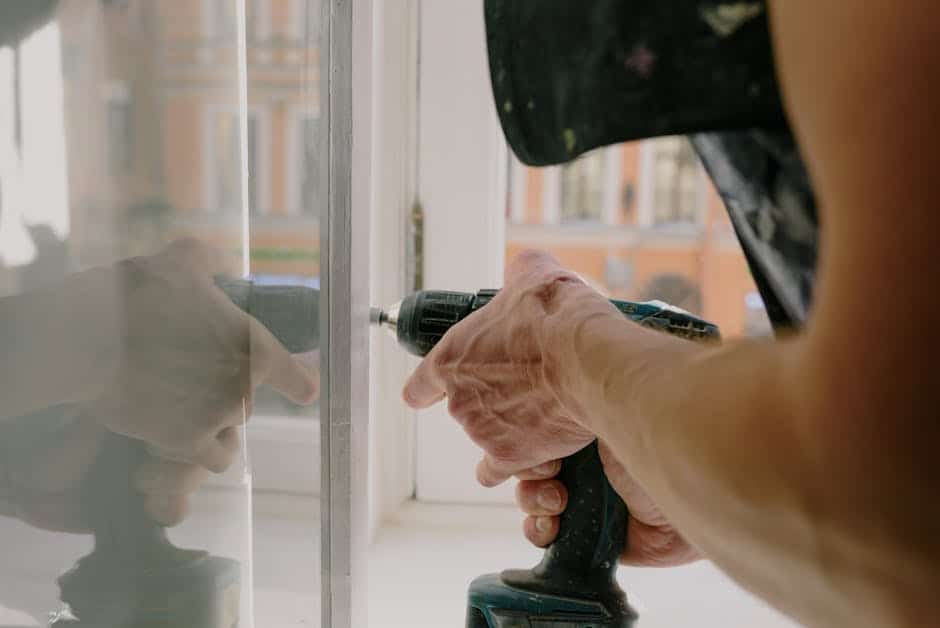
- Fastening: Once the unit is perfectly positioned and shimmed, we drive fasteners (screws are often preferred for their adjustability) through the designated installation holes in the frame and into the rough framing. It’s critical to tighten them snugly but never overtighten, especially with vinyl frames, as this can pull the frame out of line or warp it, affecting operation and sealing. Fasteners should penetrate the rough framing by at least 1 inch for secure attachment.
Key differences in the process of installing windows and doors
While many steps are similar, installing windows and doors have distinct differences due to their function and structural demands.
Door Installation Specifics:
- Threshold Considerations: Doors, especially entry doors, have a threshold that must be perfectly level and properly sealed to the subfloor. This is a critical point for water management.
- Hinge-Side Shimming: For doors, precise shimming on the hinge side is paramount to ensure smooth operation and prevent sagging. We often shim behind each hinge.
- Ensuring an Even Reveal: An even reveal (the consistent gap between the door slab and the door frame) is crucial for both aesthetics and proper sealing. We adjust shims until this gap is uniform all around the door. The door must also operate smoothly without rubbing.
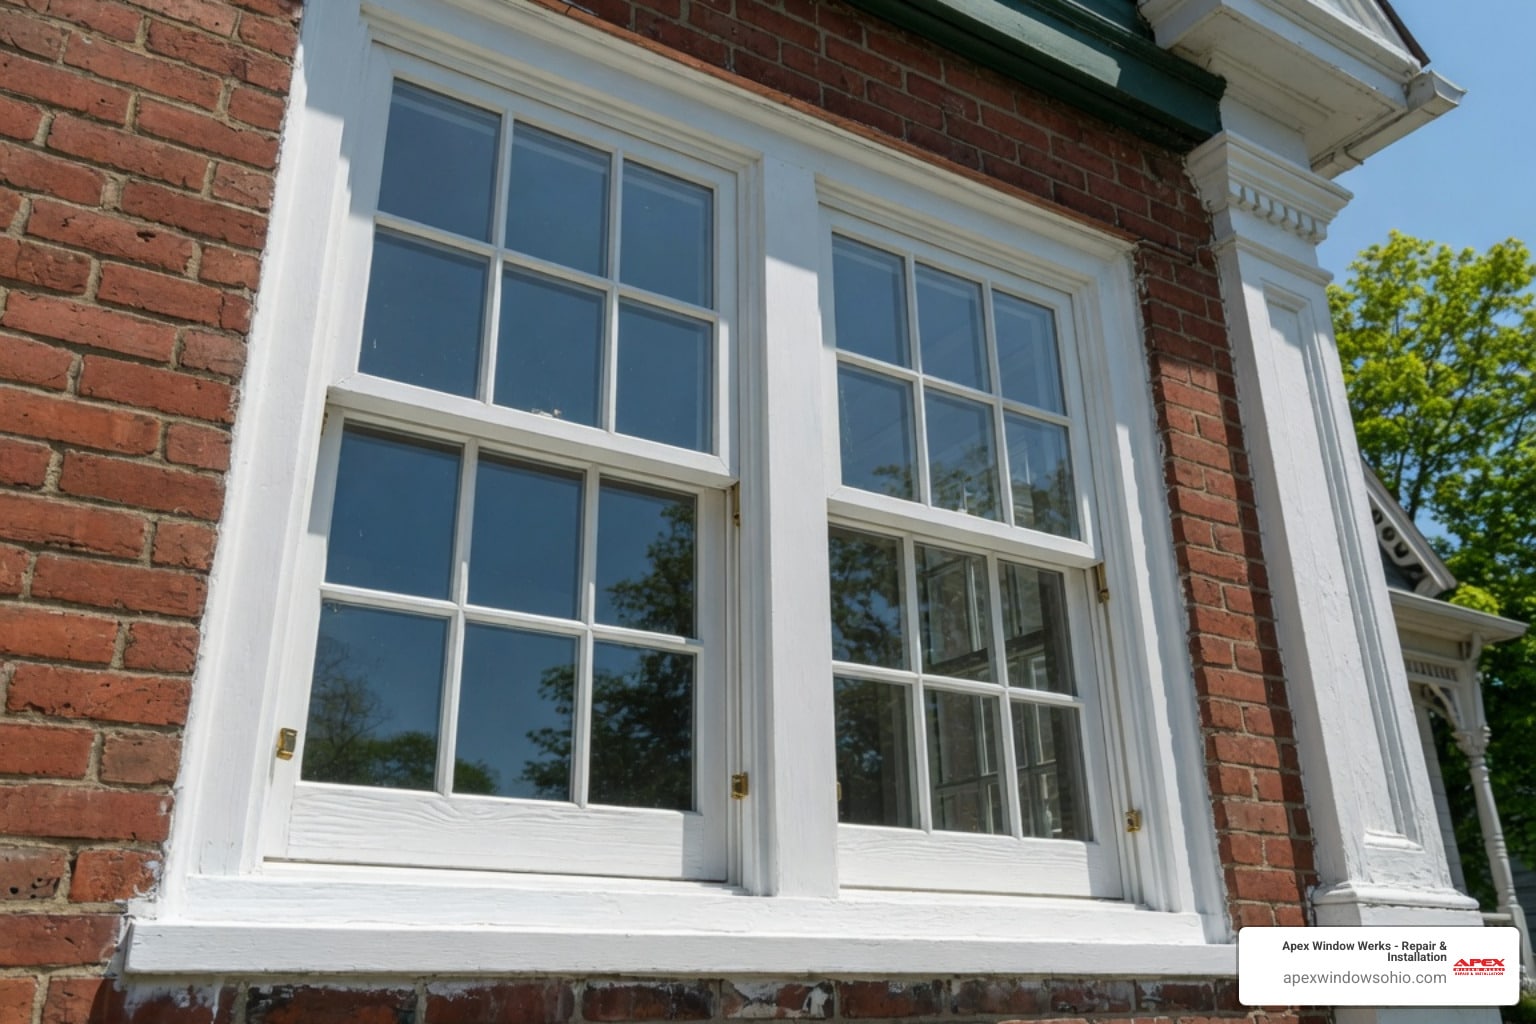
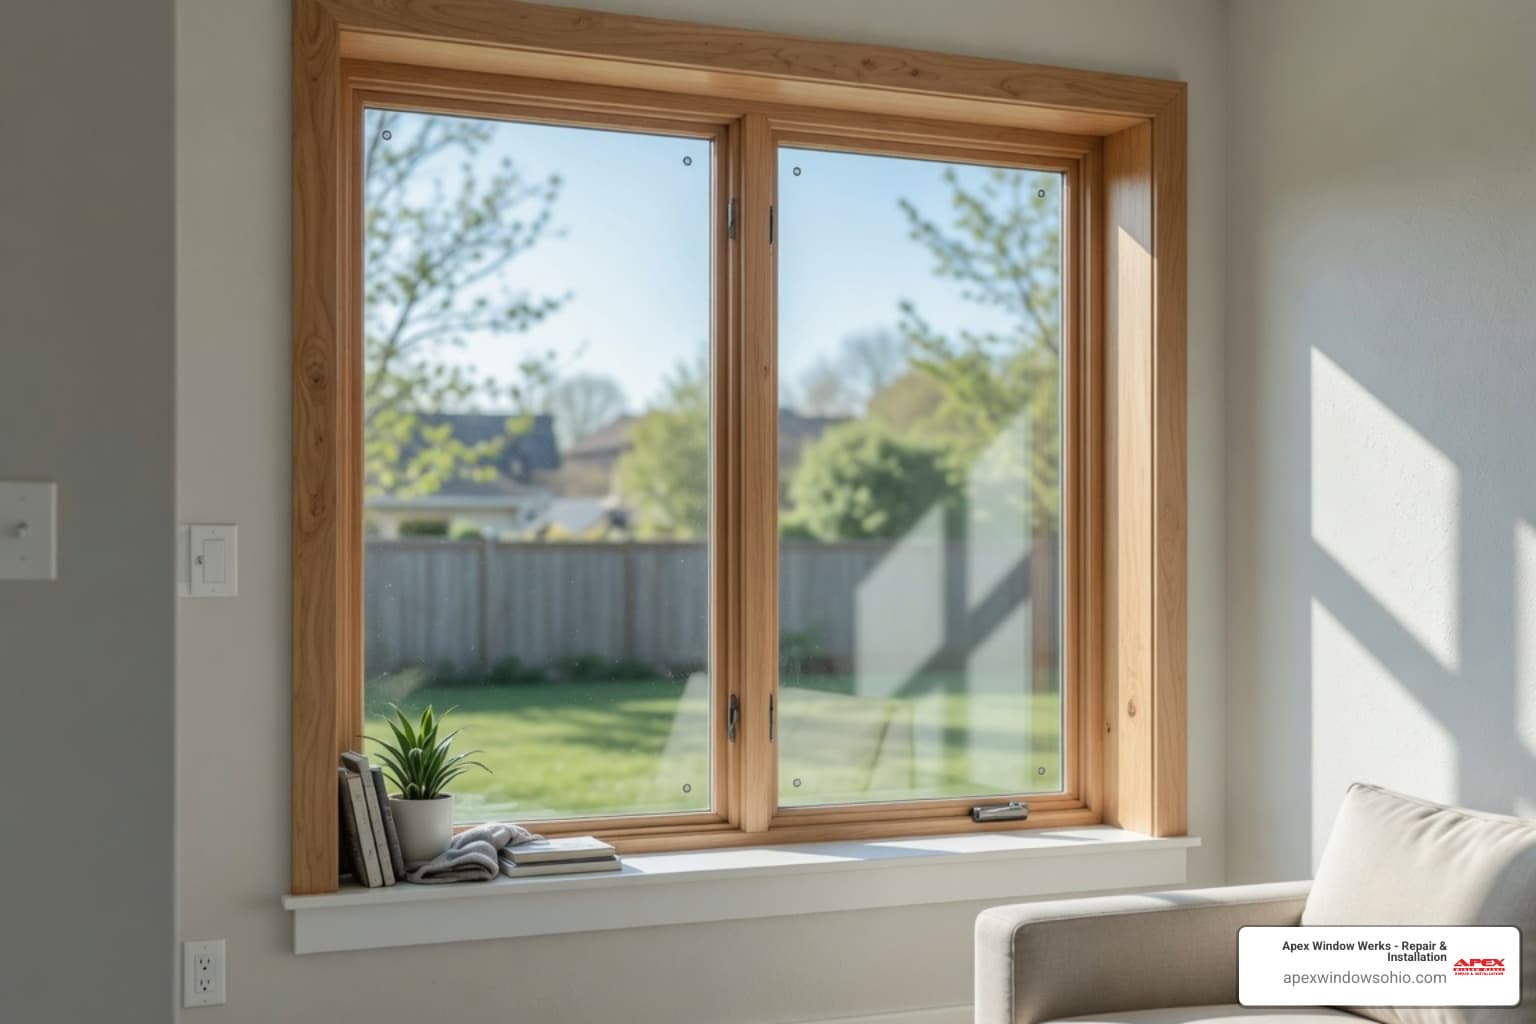
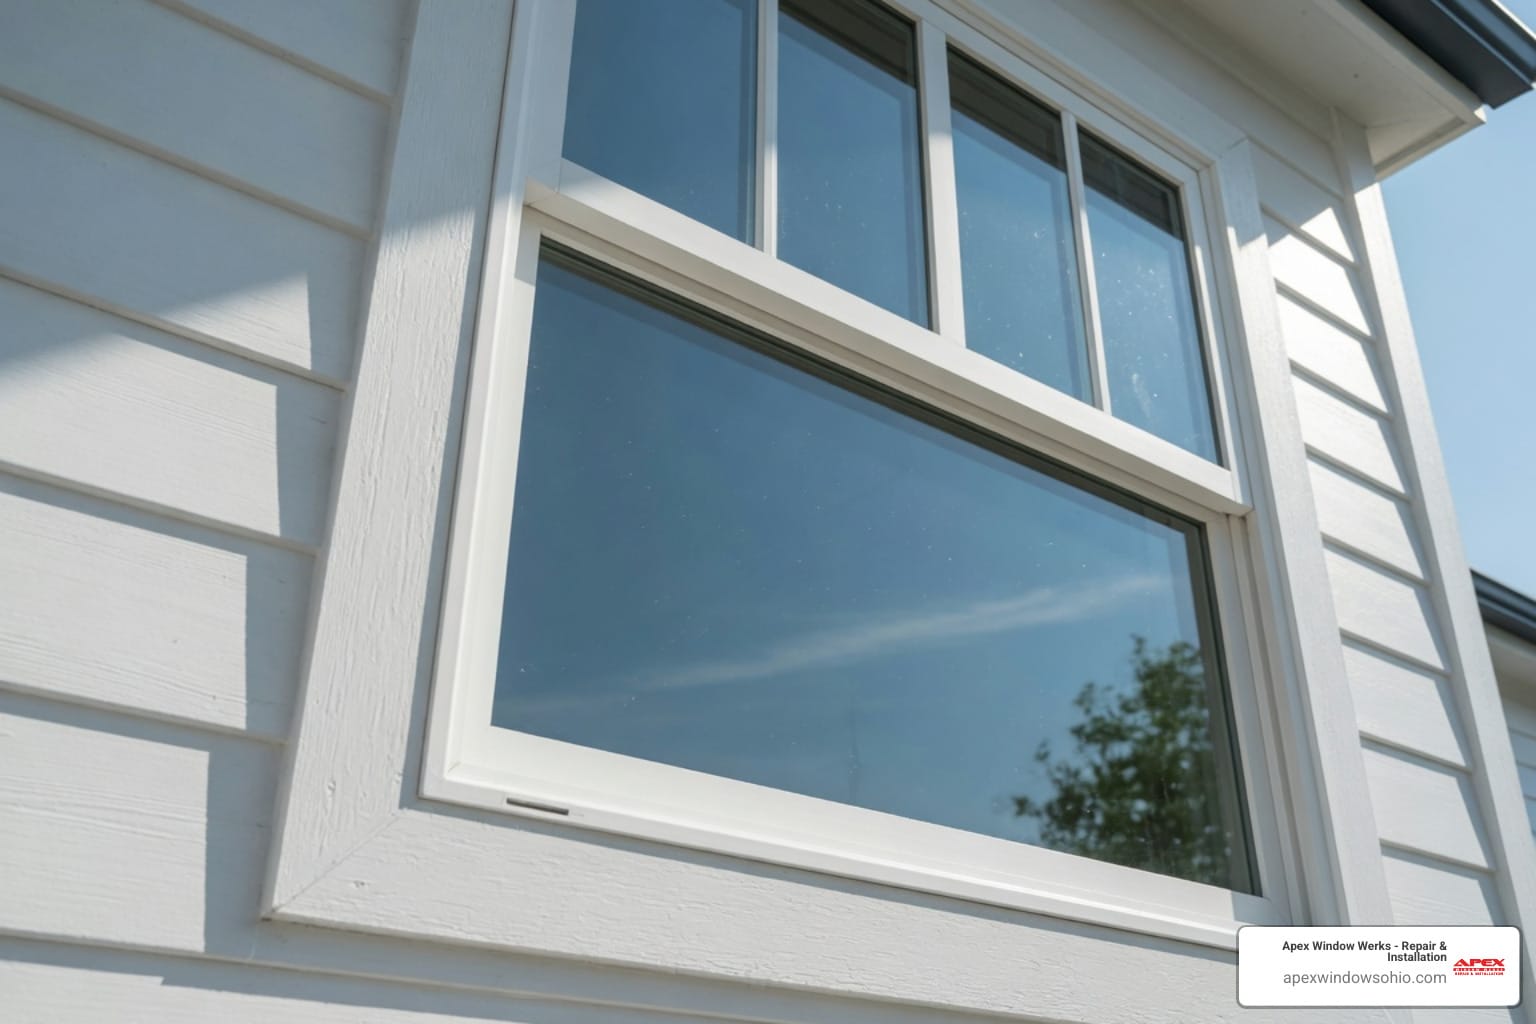
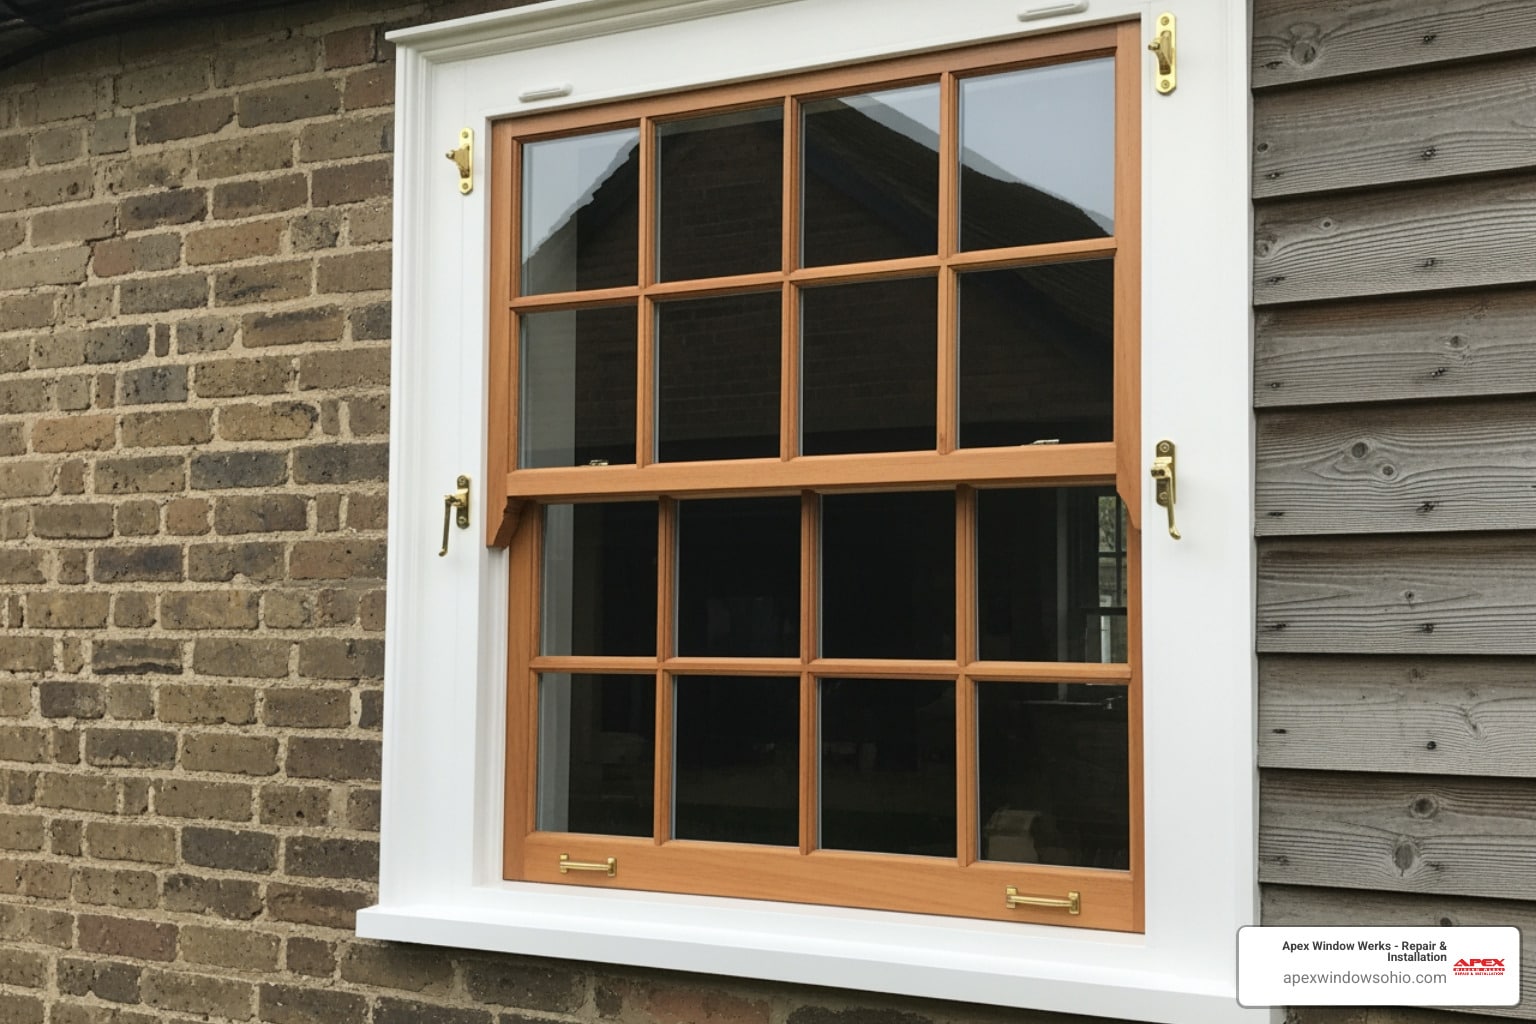
Window Installation Specifics:
- Sash Operation Check: After fastening, we always test the window sashes to ensure they open, close, and lock smoothly. If there’s any sticking, it indicates an issue with the frame being out of square or plumb, requiring shimming adjustments.
- Jamb Adjustments: Some modern windows, like certain MI Windows models, come with jamb adjustment screws. These allow us to fine-tune the alignment between the sashes and the jambs, ensuring a perfectly tight seal and effortless operation. We aim for a gap not exceeding 1/16 inch between operating panels and jambs after adjustment.
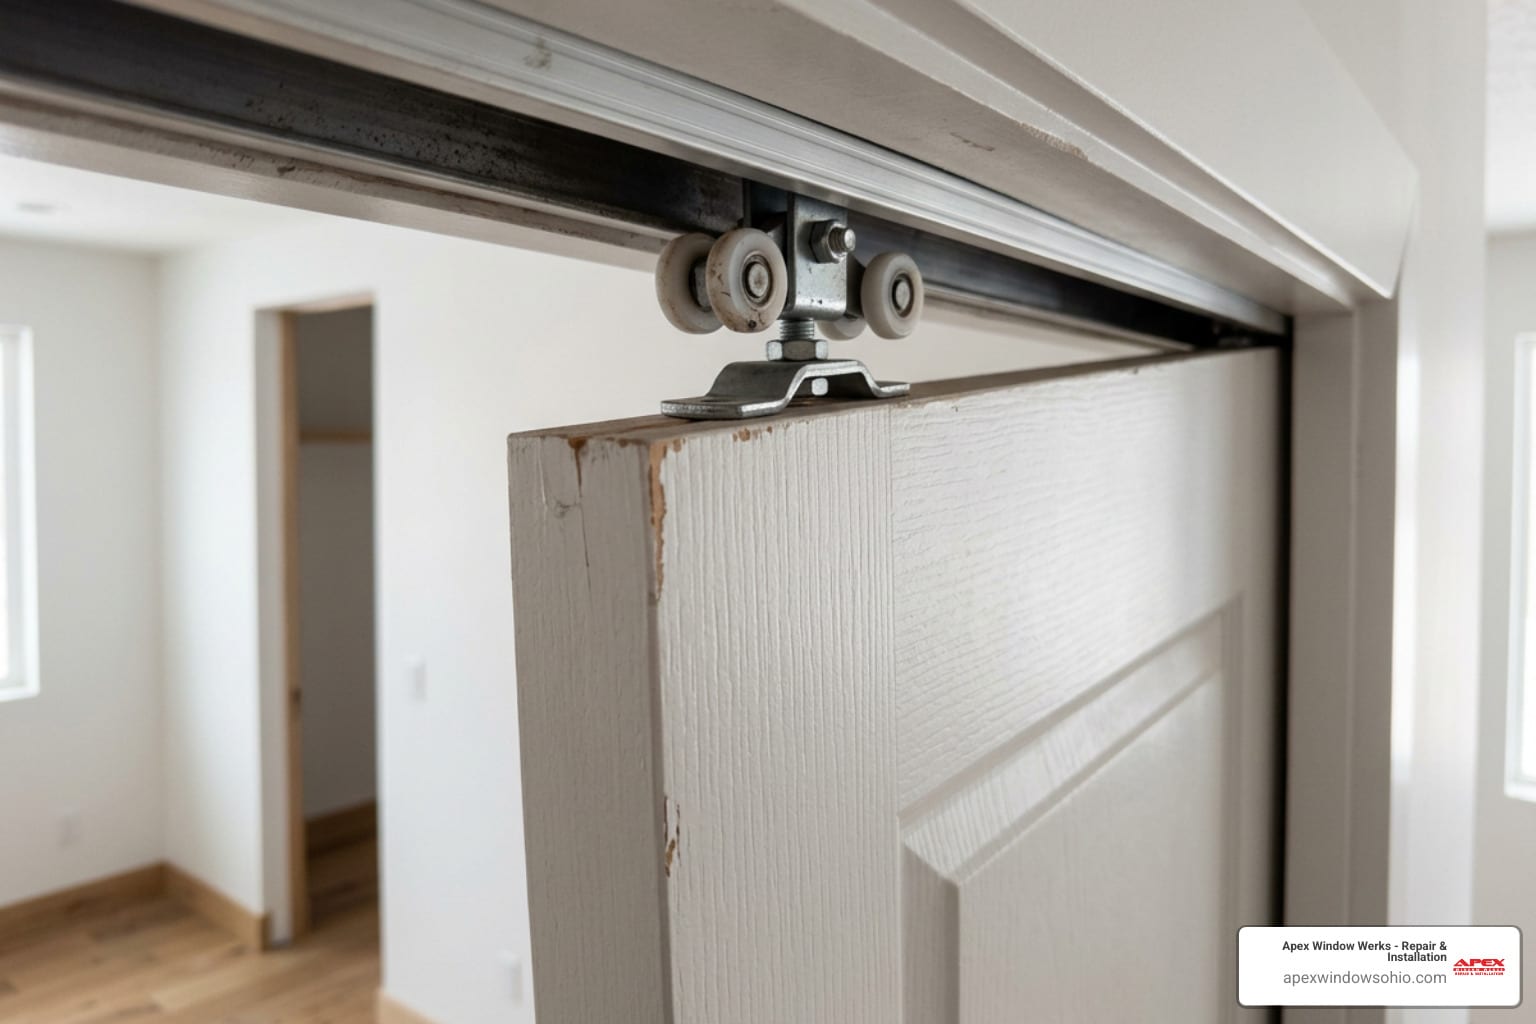
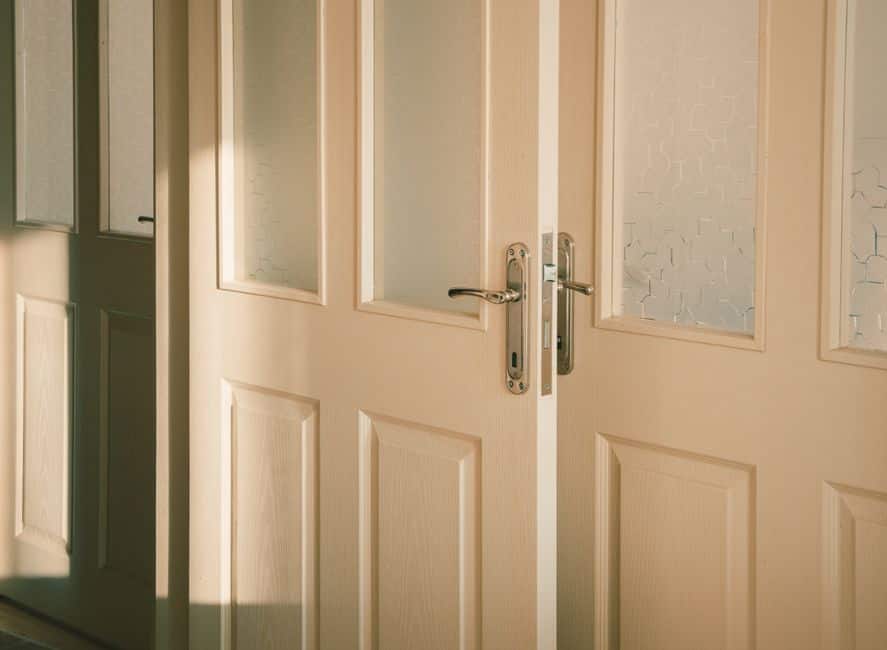
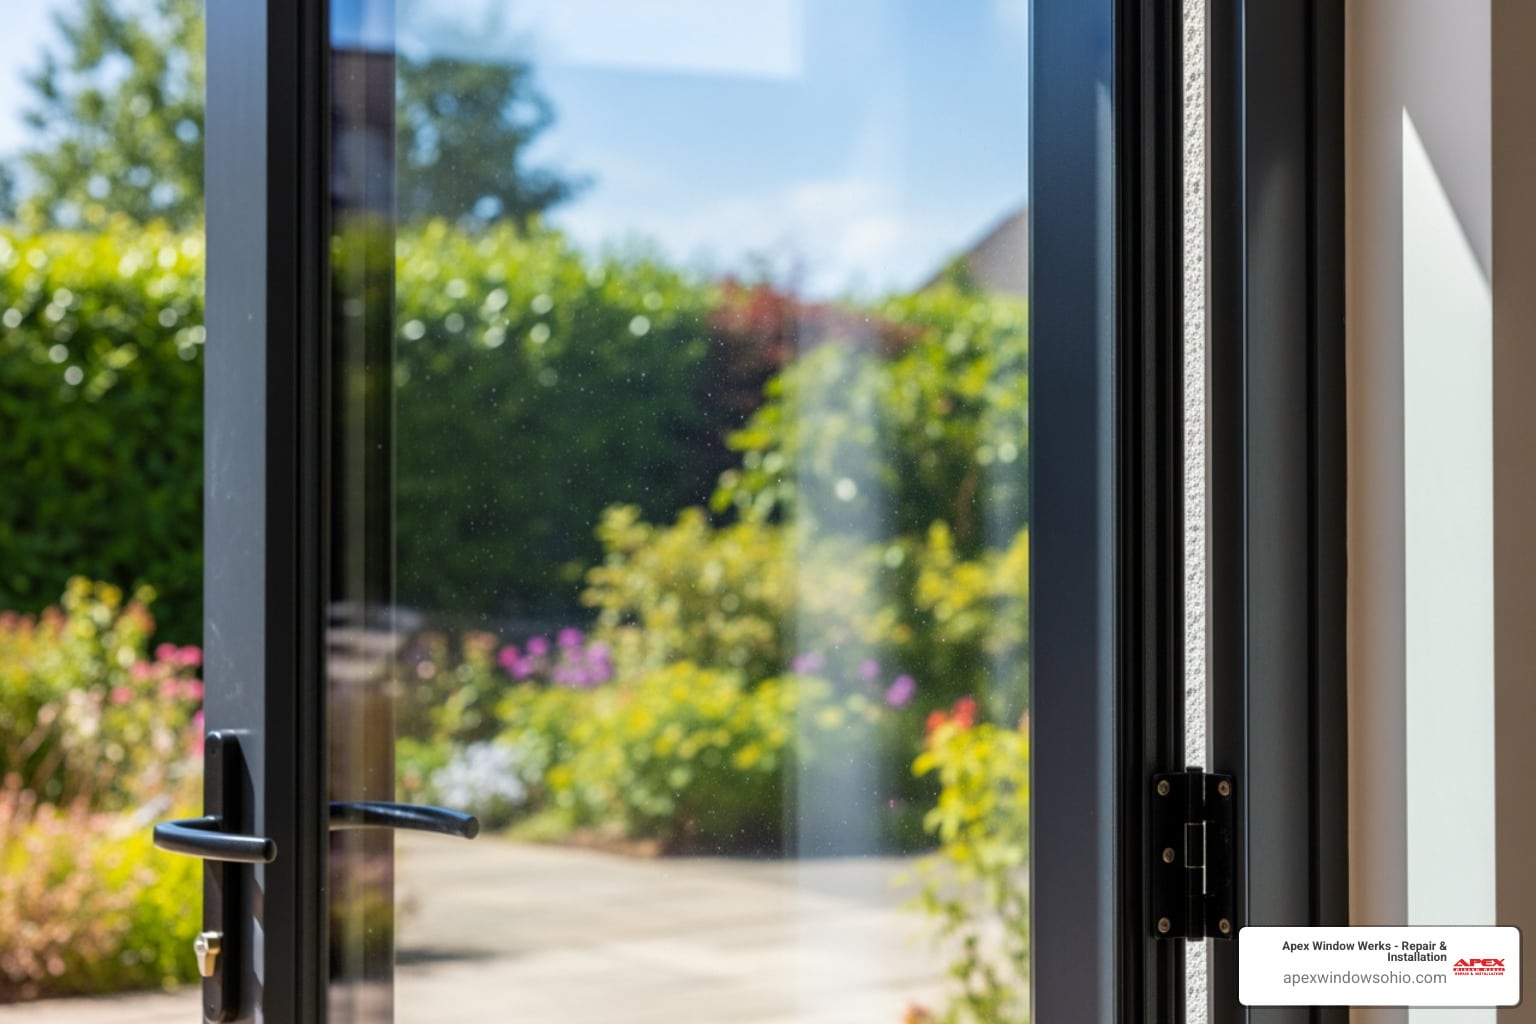
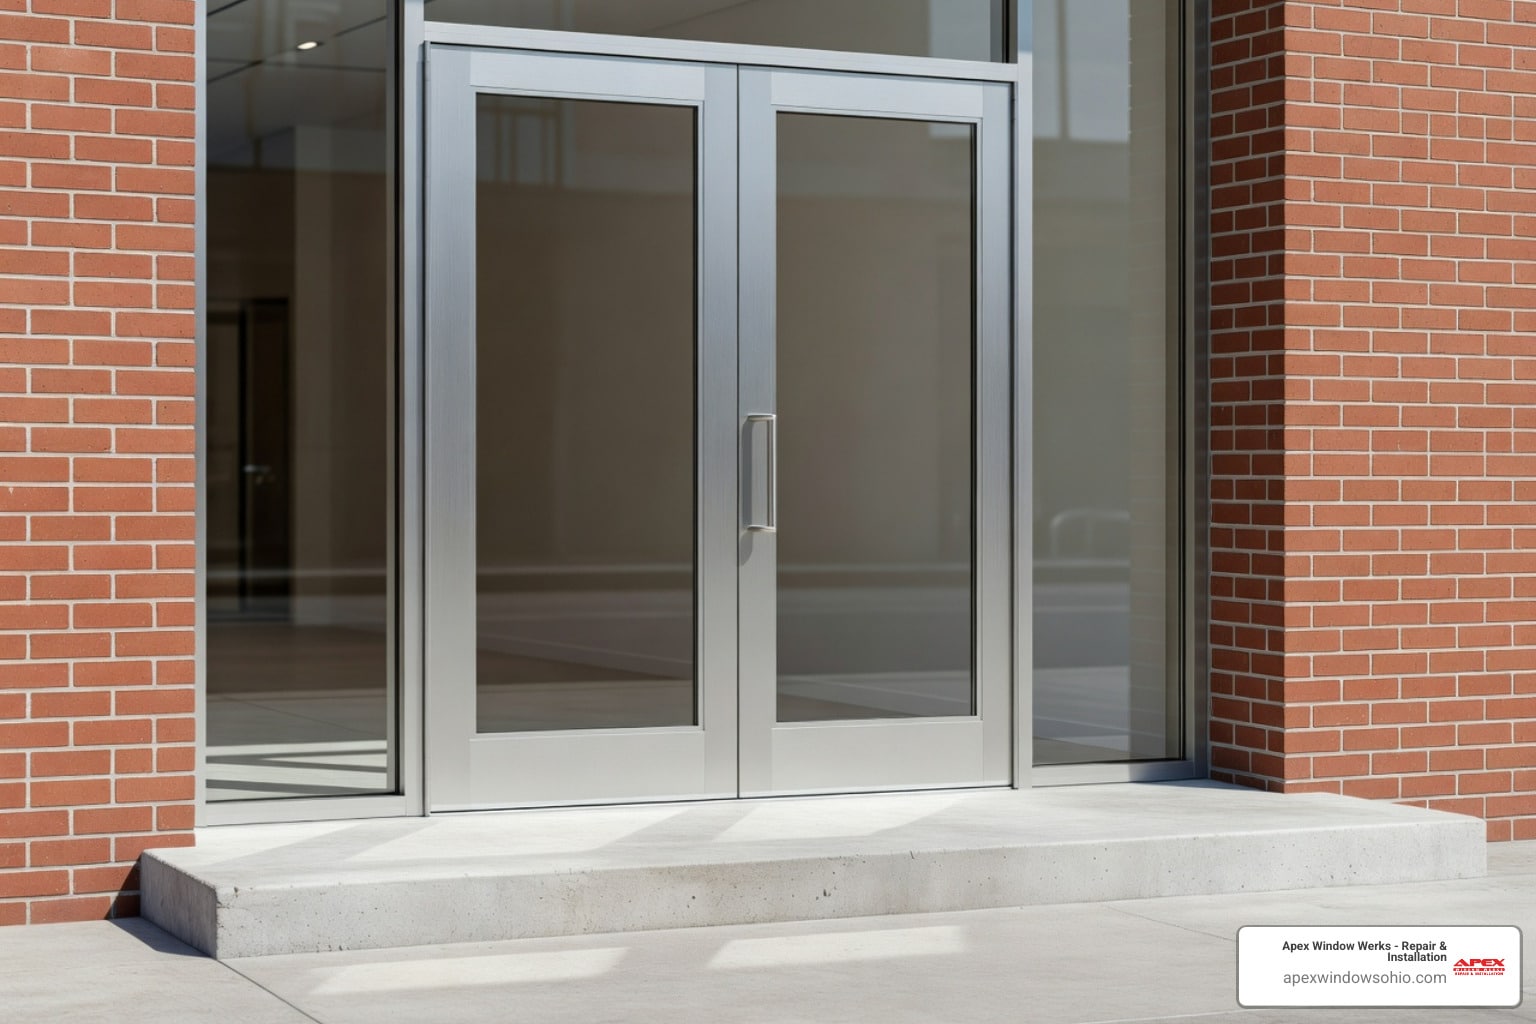
View a recent door replacement project
Mastering the Finish: Weatherproofing and Trim
The installation isn’t complete until the unit is fully weatherproofed and aesthetically finished. This ensures both performance and curb appeal.
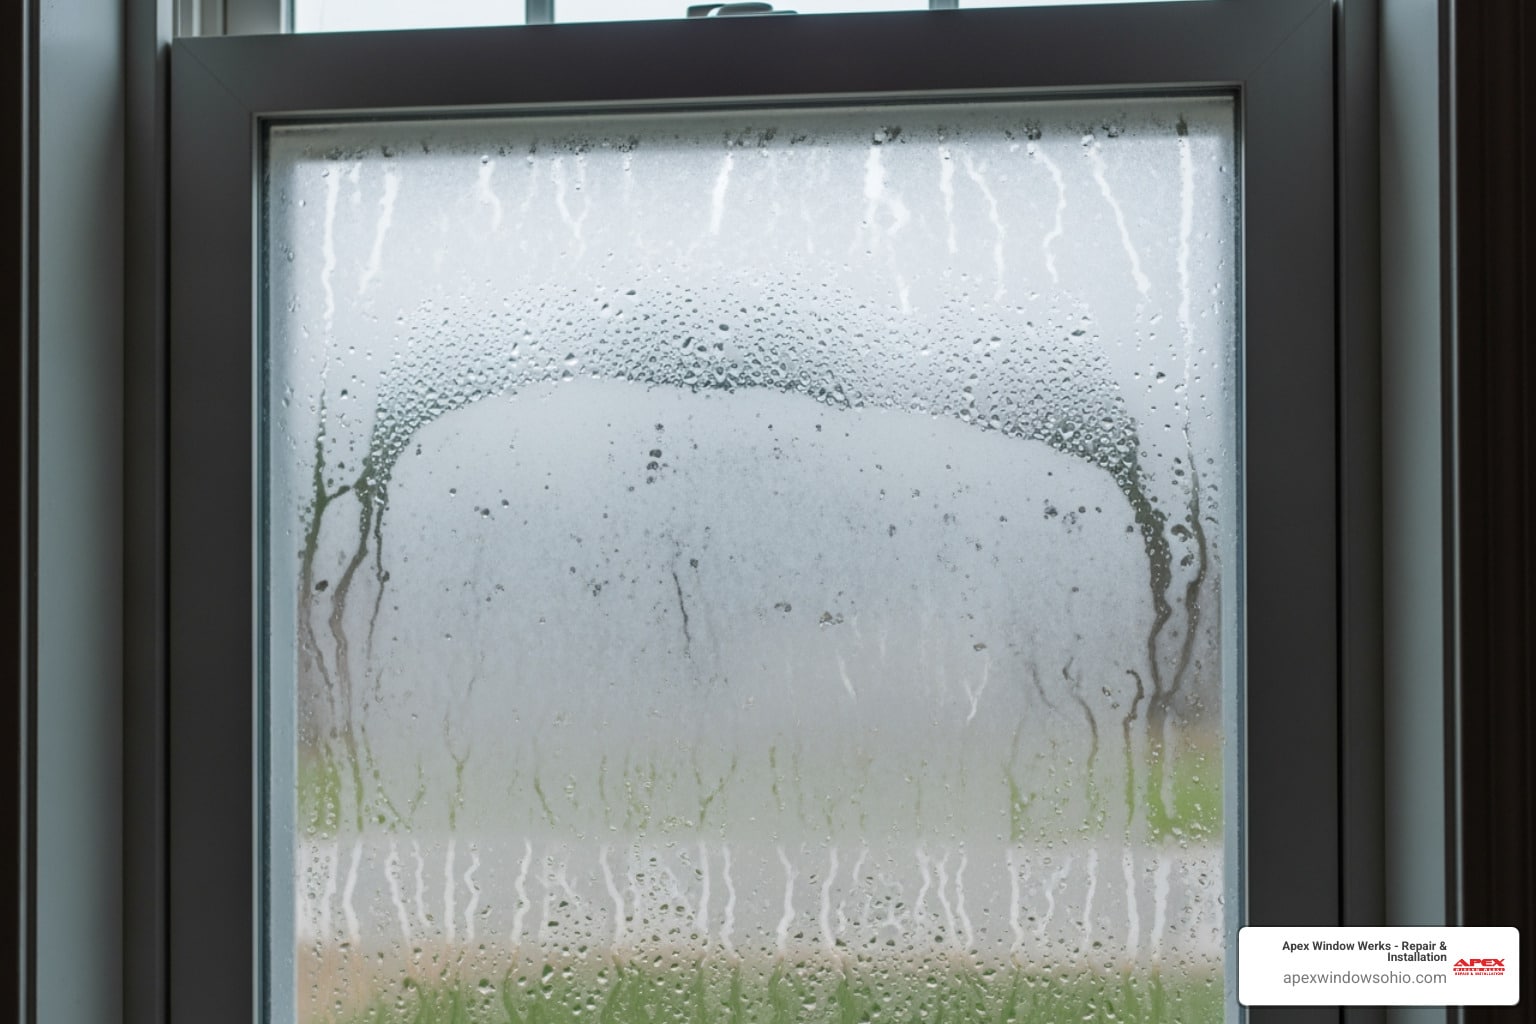
Sealing and Insulating for Maximum Energy Efficiency
This phase is crucial for preventing drafts, moisture intrusion, and maximizing the energy efficiency of your home in the Cleveland-Akron area.
- Exterior Flashing: Once the unit is set and fastened, we carefully apply exterior flashing tape over the nailing flange (for new construction or full-frame) or directly to the exterior of the frame, integrating it with the home’s weather-resistive barrier (WRB). This creates a continuous water-shedding surface, directing water away from the wall assembly. We ensure the flashing is at least 4 inches wide and code-compliant.
- Insulating Gaps: We fill any remaining gaps between the window/door frame and the rough opening with low-expansion, low-pressure spray foam insulation or batt insulation. It’s vital to use low-expansion foam to avoid bowing the frame, which can impair operation. This insulation acts as a thermal and air barrier.
Learn more about insulated glass replacement - Exterior Caulking: A final bead of high-quality, exterior-grade sealant is applied around the entire perimeter of the window or door where it meets the exterior trim or siding. This creates a durable, weather-tight seal against wind and rain. For doors with sill adapters, we leave small drainage gaps (typically 2 inches wide) at the bottom to allow any trapped moisture to escape.
- Interior Sealing: On the interior, after insulating, we apply a bead of sealant around the perimeter of the frame where it meets the interior wall. This creates an airtight finish, preventing conditioned air from escaping and unconditioned air from entering your home.
Installing Trim, Hardware, and Accessories
The final touches bring the whole project together, enhancing both function and beauty.
- Interior Trim/Casing: We cut and install the interior trim (casing) around the window or door opening. This covers the gaps between the frame and the interior wall, providing a clean, finished look. We use finish nails to secure the trim, ensuring tight mitered corners.
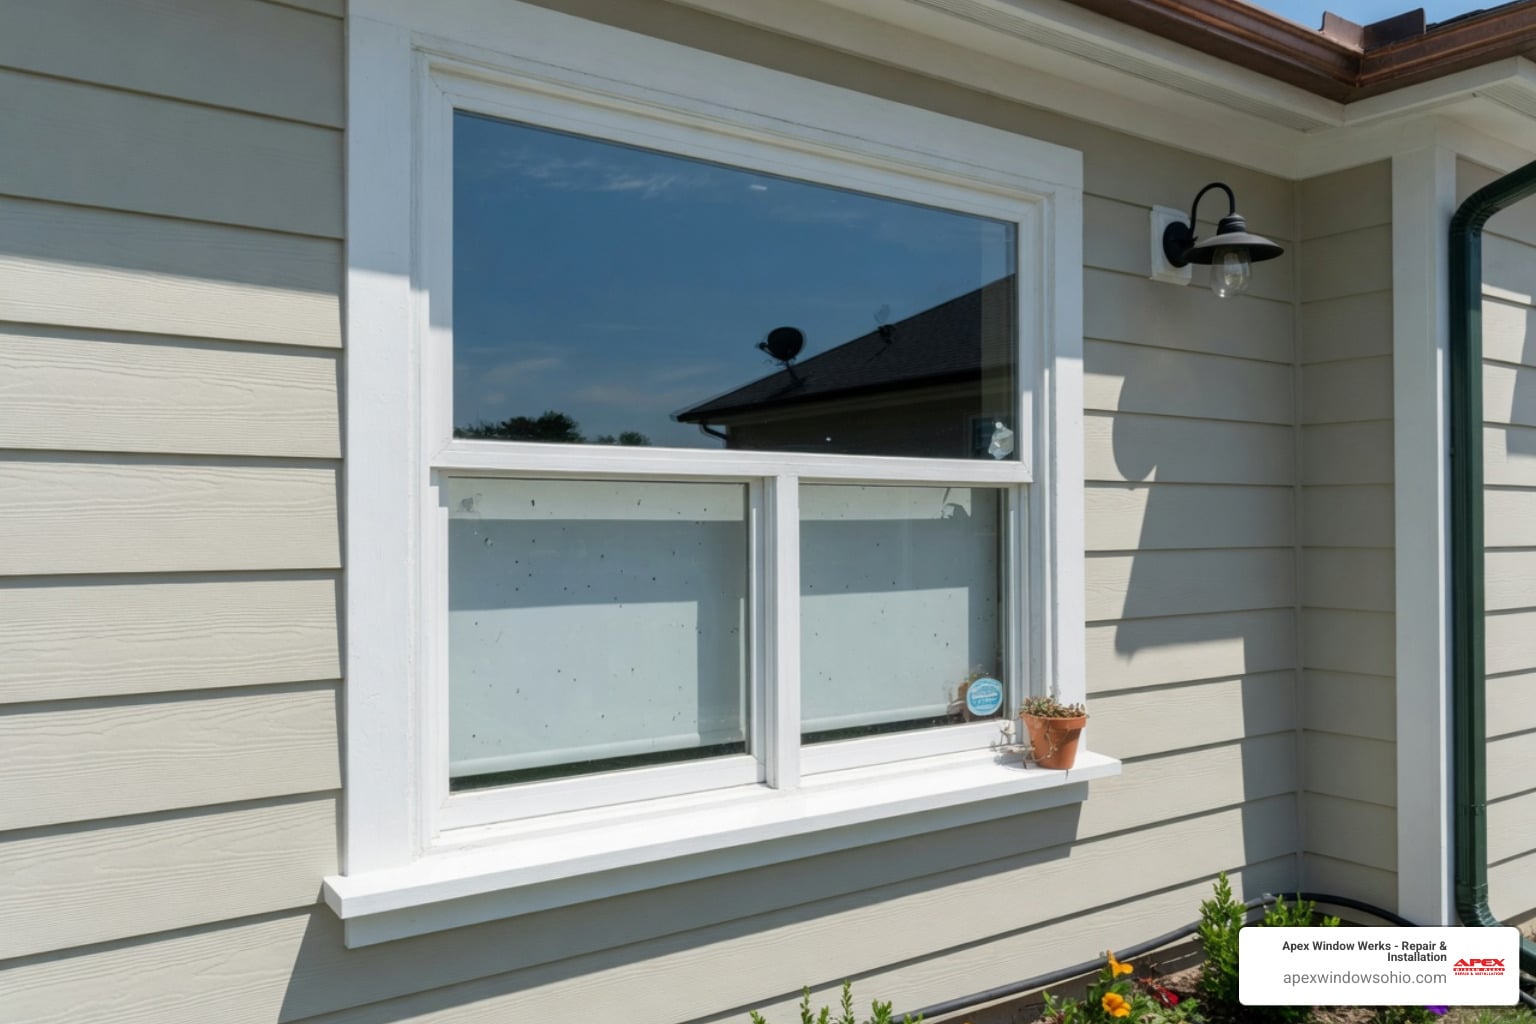
- Exterior Trim/Capping: On the exterior, we install appropriate trim or capping. This could involve wood trim, or for a low-maintenance solution, we often use aluminum or vinyl capping (wrapping). This not only improves curb appeal but also provides an additional layer of protection against the elements.
More about Window Capping services - Hardware Installation: Finally, we install all necessary hardware, including handles, locks, and operating mechanisms like cranks for casement windows or lift handles for double-hung windows. We ensure everything operates smoothly and securely.
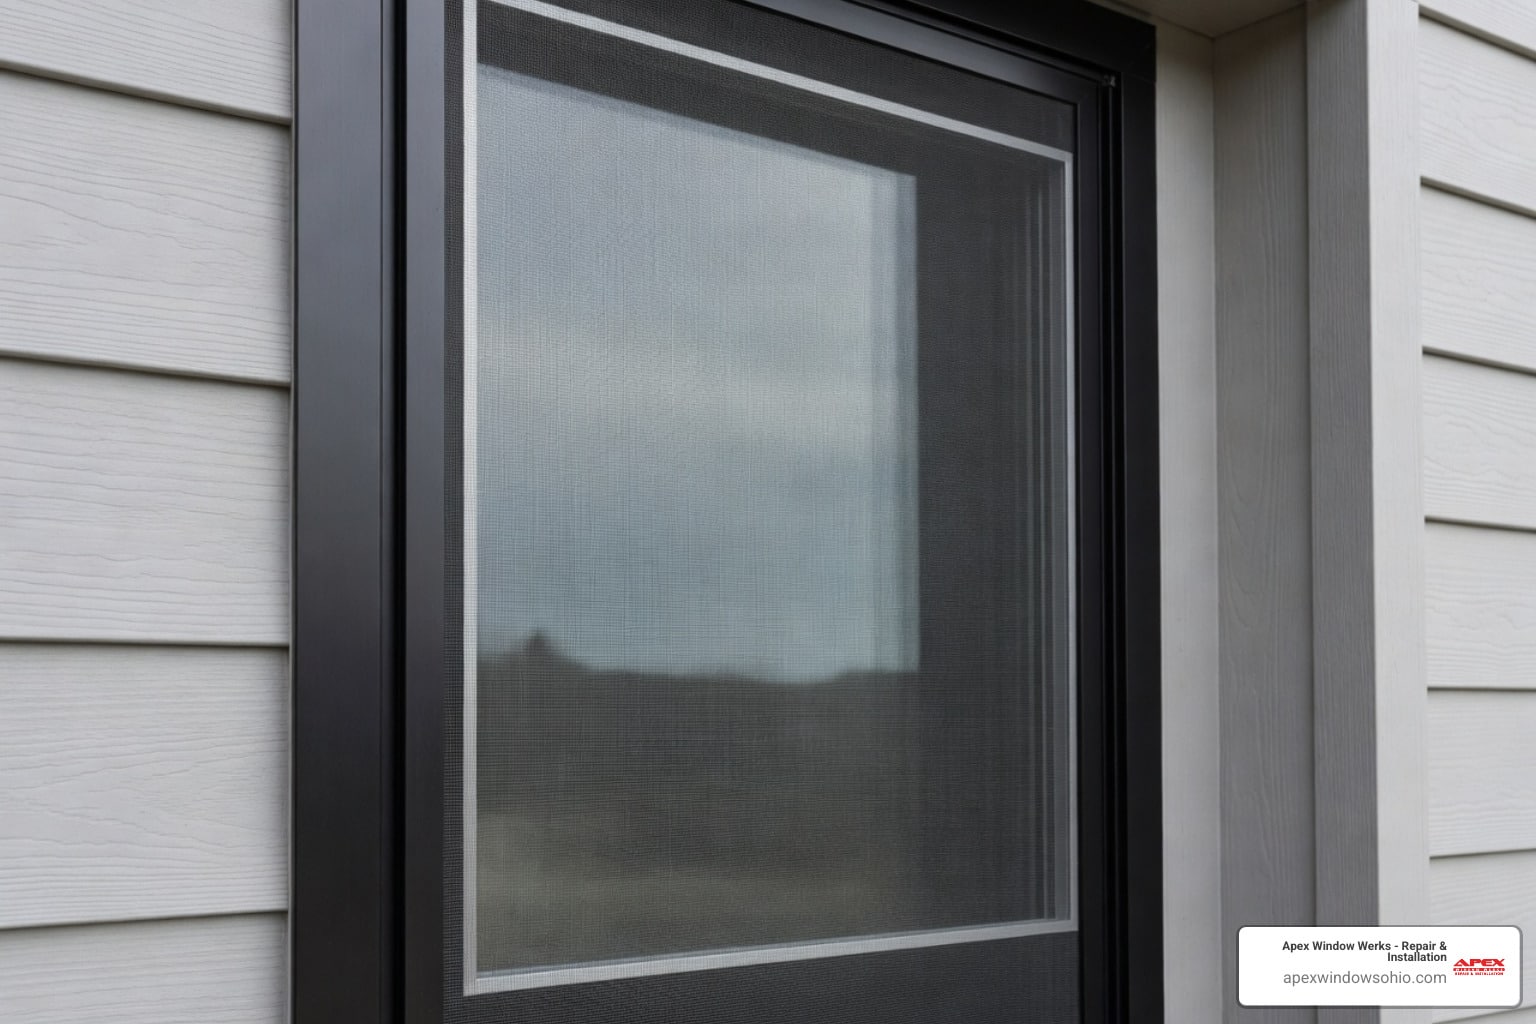
Check our approach for Hardware Repair services - Screen Installation: If applicable, we fit and secure screens into the window or door frames. This provides ventilation while keeping insects out.
Read about Retractable Screens Installation
Professional vs. DIY: Making the Right Choice
Deciding whether to tackle window and door installation yourself or hire professionals is a significant decision. While the allure of DIY cost savings is strong, understanding the complexities can help you make an informed choice.
DIY Pros and Cons:
- Pros: The primary advantage is potential cost savings on labor. For some, there’s also a sense of satisfaction in completing a home improvement project.
- Cons: The risks are substantial. Incorrect measurements, improper flashing, or using the wrong insulation (like high-expansion foam that can bow frames) can lead to drafts, water damage, and compromised structural integrity. The time commitment can also be significant, especially for those new to the process. The detailed steps for proper shimming, sealing, and integrating with your home’s weather barrier are often overlooked by inexperienced DIYers.
Professional Benefits:
Hiring professionals like us at Apex Window Werks offers peace of mind and ensures a job done right.
- Expertise: Our factory-trained, in-house installers have over 10 years of combined experience. We understand the nuances of different window and door types and how they interact with various home constructions prevalent in Northeast Ohio.
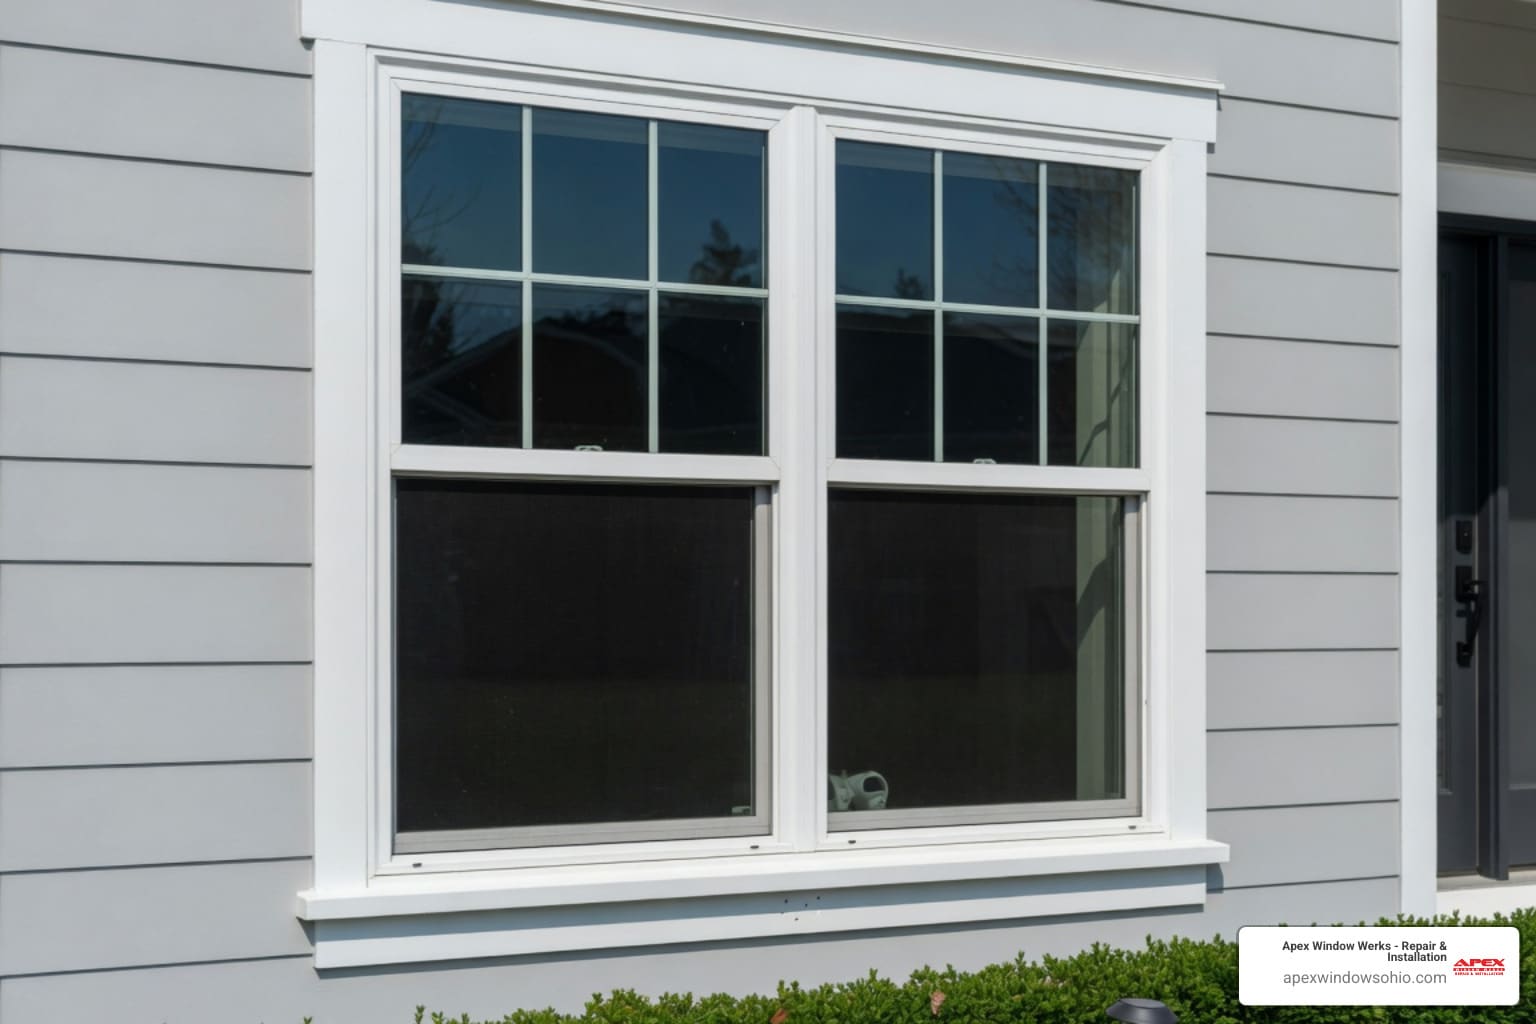
- Speed & Efficiency: With the right tools and experience, we can complete installations efficiently, minimizing disruption to your daily routine. Many of our professional window installations take just a few hours per window.
- Warranties: Many manufacturers’ warranties require professional installation to remain valid. Our installations often come with our own labor warranty, providing additional protection.
- Structural Integrity & Weatherproofing: We use professional-grade materials and adhere to industry best practices, ensuring your new windows and doors are not just beautiful but also structurally sound and completely weatherproof. Improper sizing and installation can lead to air and water leakage, even with great products, but our team ensures a tight, lasting fit.
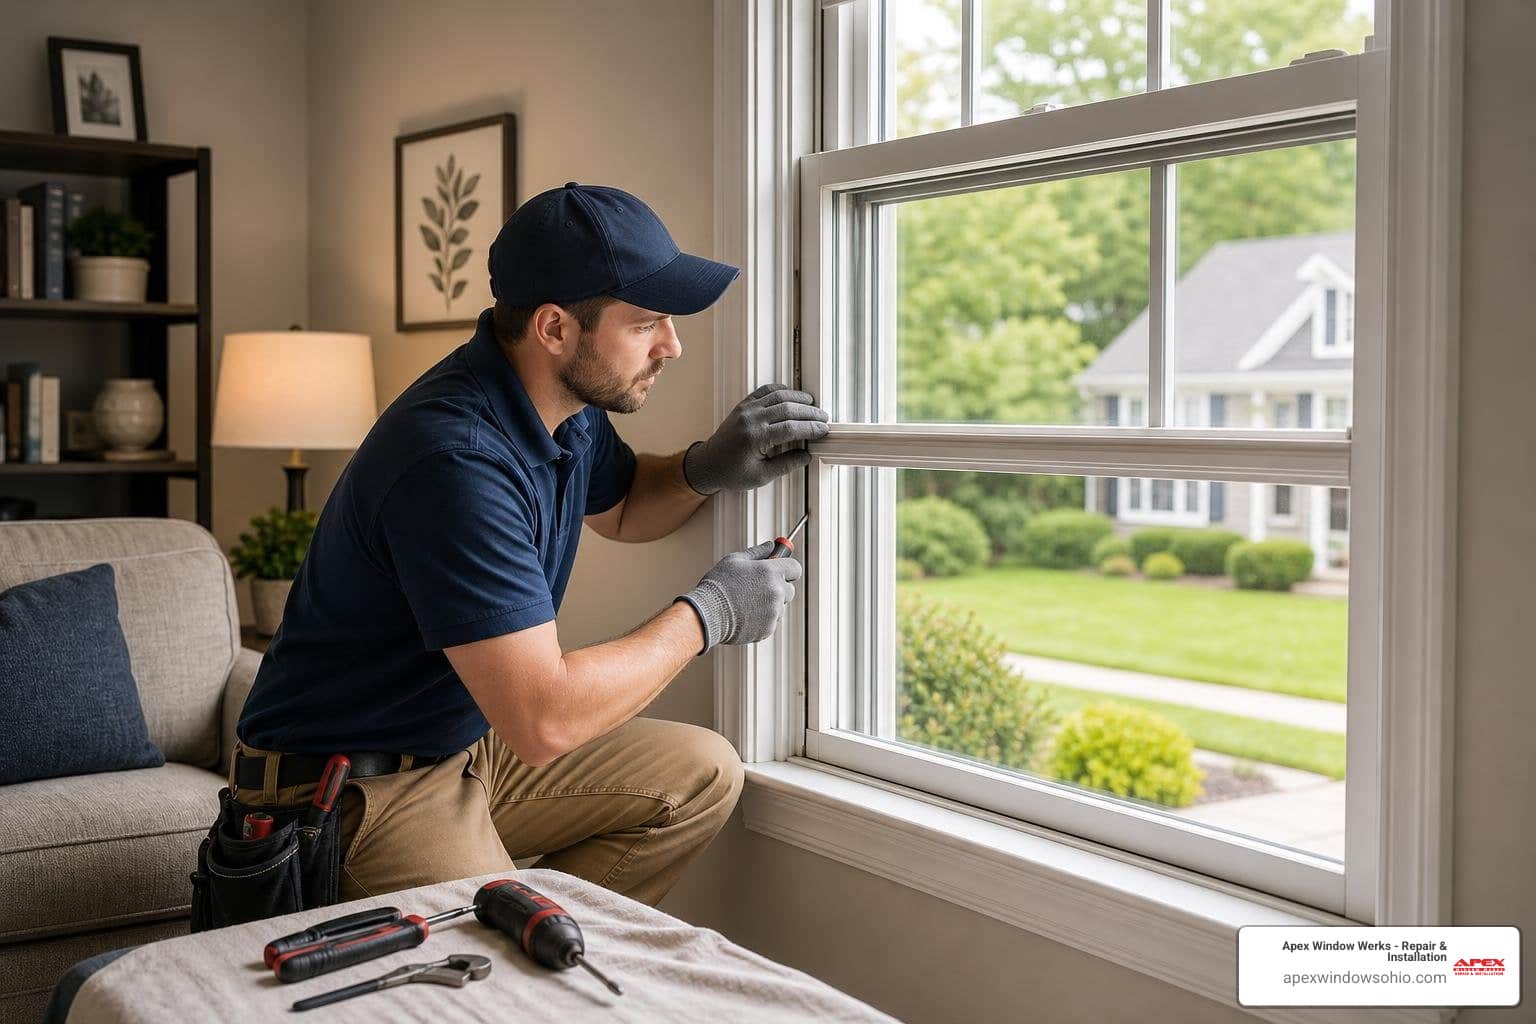
Typical Professional Process:
Our window & door installation process is thorough and customer-focused:
- Site Protection: We protect your furniture and floors with tarps and pads before we even begin. A clean job site is a priority; the #1 thing customers remember is how crews clean up after themselves.
- Precision Installation: From carefully removing old units (including safely extracting old glass using special suction cups) to setting and fastening new ones, every step is executed with precision. We use composite shims for perfect alignment and apply expanding foam insulation with a commercial foaming gun for optimal sealing.
- Final Cleanup: After installation, we carefully clean the job site, ensuring your home is left spotless.
Common Mistakes to Avoid:
- Incorrect Measurements: The most common and costly mistake. Always measure at multiple points and double-check.
- Improper Flashing: Skipping or incorrectly applying flashing is a recipe for water damage and mold.
- Using High-Expansion Foam: This can warp window and door frames, leading to operational issues and compromised seals. Always opt for low-expansion, low-pressure foam.
- Overtightening Fasteners: This can distort frames, making windows and doors difficult to operate and compromising their seal.
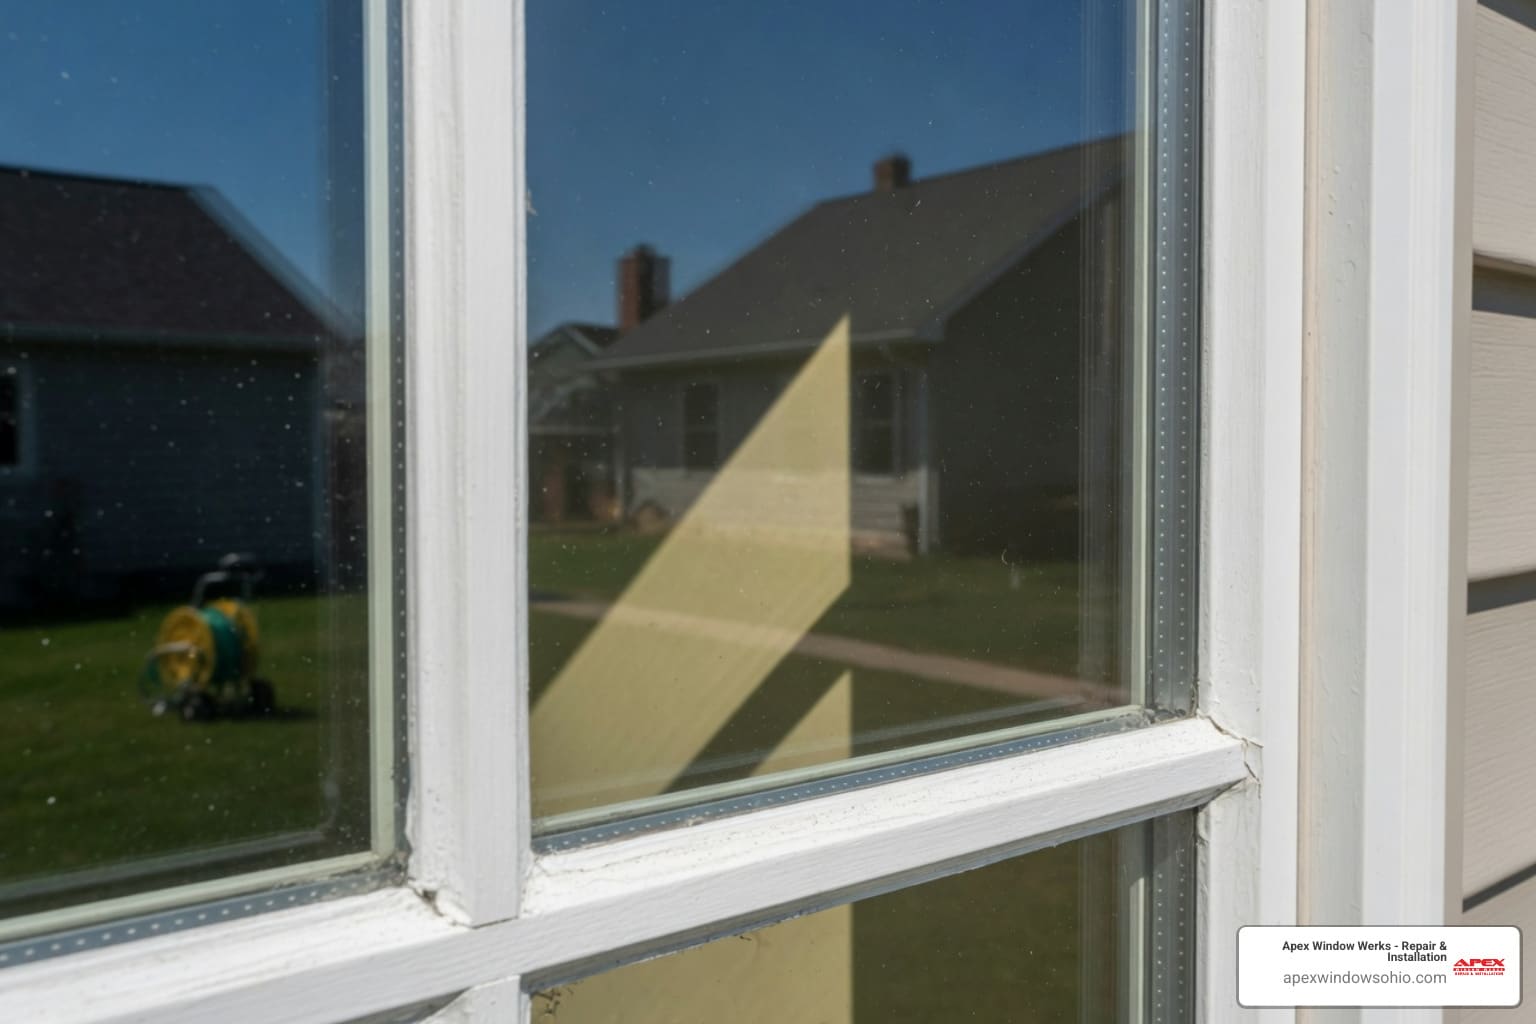
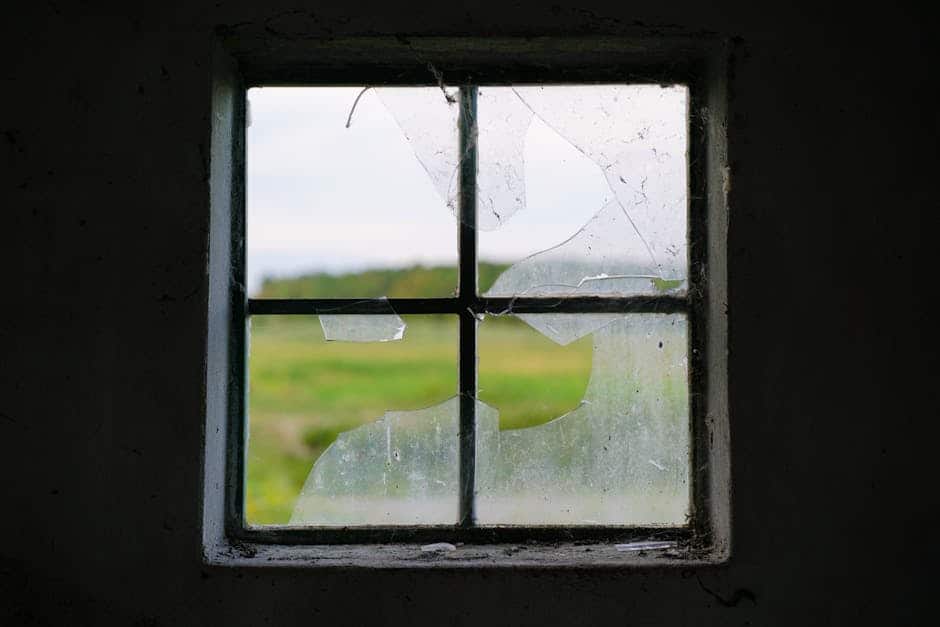
- Ignoring the Rough Opening: Failing to inspect and repair rot or damage in the rough opening means building on a faulty foundation.
Frequently Asked Questions about Installing Windows and Doors
We often get asked specific questions about installing windows and doors. Here are some of the most common ones:
How do you install windows in walls with rigid insulation?
Installing windows in walls with rigid insulation requires special attention to the drainage plane and support framing.
- Special Considerations: Rigid insulation creates a thicker wall assembly, which means the window or door unit might sit further back from the exterior. This often necessitates the use of extension jambs or buck framing (additional framing around the rough opening) to bring the mounting surface flush with the insulation layer or to create a robust attachment point.
- Water Management: The key is to maintain the continuity of the drainage plane. We ensure that the flashing around the window or door integrates properly with the rigid insulation and the weather-resistive barrier, directing water away from the structure. This might involve specific flashing techniques to create a continuous water-shedding path.
- Framing Support: The support for the window or door needs to be robust enough to handle its weight and operational stresses. If the rigid insulation creates a significant offset, the framing around the opening must adequately support the unit, sometimes requiring additional blocking or structural elements.
Contact us for guidance on unique window & door installation options
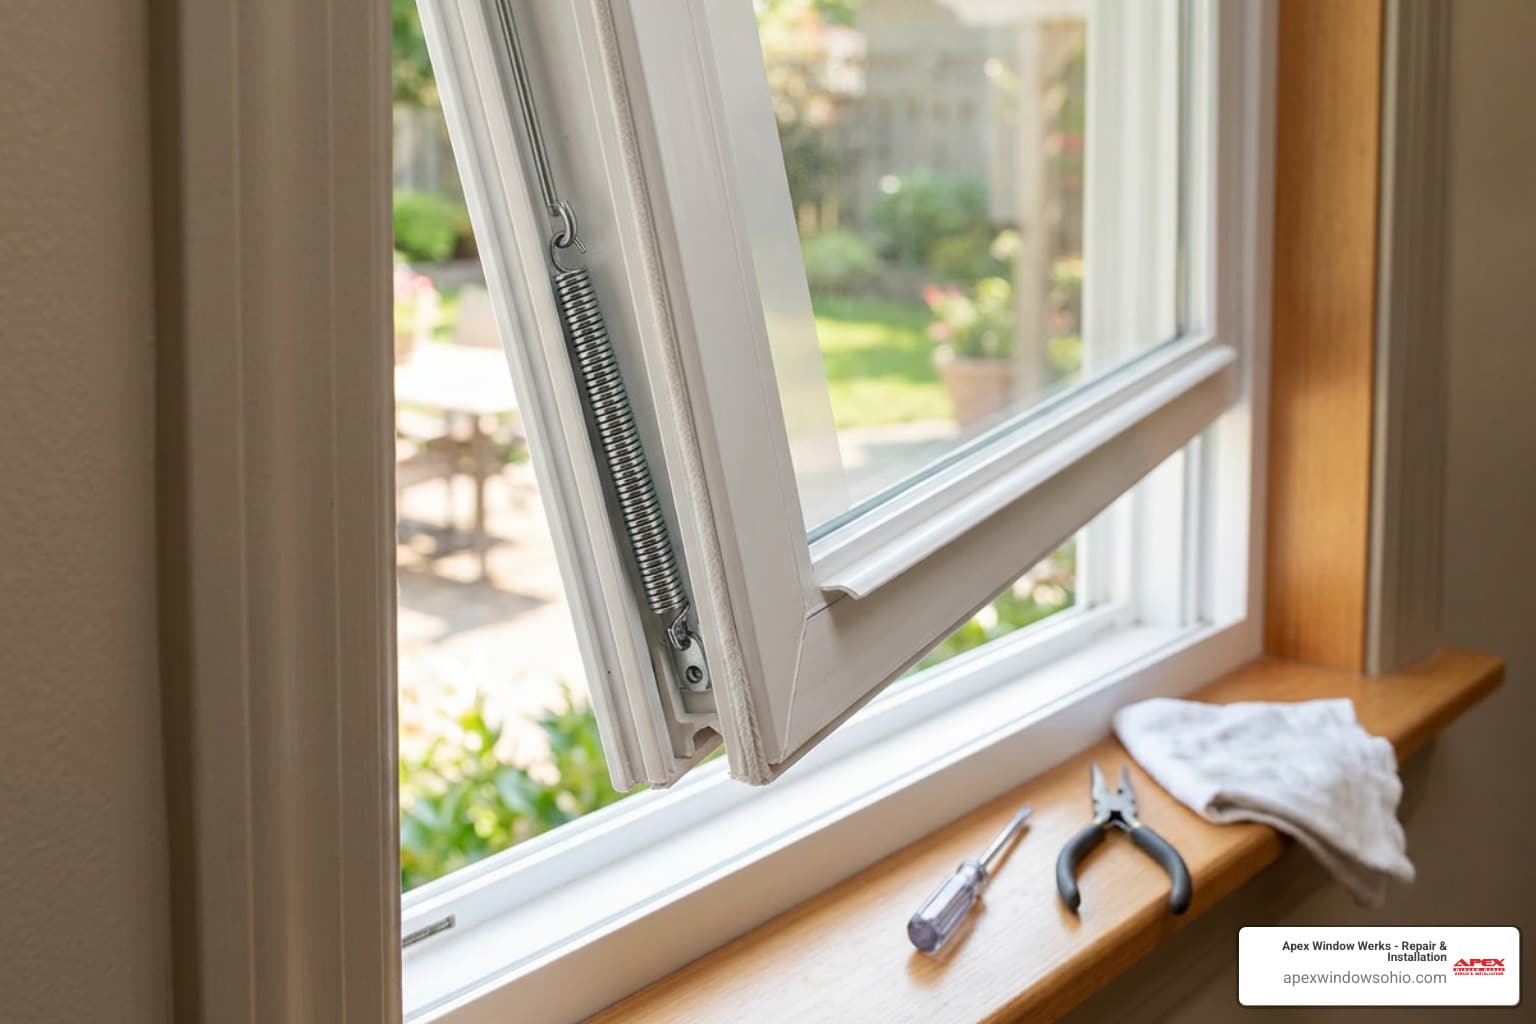
How do I find the right replacement parts for my existing windows or doors?
Finding replacement parts can be tricky, but it’s often doable with a little detective work.
- Identifying the Unit: Start by looking for manufacturer labels on your windows or doors. These are often found on the glass, inside the frame, or on the edge of the sash/door slab. The label will typically include the manufacturer’s name, series, and sometimes an order or product number. This information is invaluable for sourcing parts.
- Measuring Parts: If you can’t find a label, carefully measure the part you need to replace. Take detailed notes and photos.
- Sourcing Parts: With the manufacturer’s information, you can often visit their website for parts catalogs. Otherwise, specialty parts suppliers often stock universal or brand-specific components. At Apex Window Werks, we also assist homeowners in the Cleveland-Akron area with identifying and sourcing hard-to-find parts.
More about window sill, sash and frame repair here
What’s the biggest difference between installing a window and installing a door?
While both involve careful measurement and sealing, the primary differences stem from their function and the forces they withstand:
- Structural Load: Doors, especially entry and patio doors, are significantly heavier than most windows and experience more dynamic forces (swinging, slamming). This means they require a much more robust and precisely leveled structural support system in the rough opening and subfloor.
- Threshold and Floor Interaction: Doors must be perfectly sealed at the floor level with a threshold. This is a critical point for preventing water, air, and insect intrusion, requiring careful integration with the flooring system. Windows, conversely, typically sit on a sill that doesn’t interact with foot traffic.
- Operation: Doors swing or slide, demanding precise clearances and shimming to ensure smooth, unhindered movement without rubbing against the frame or floor. A slight miscalculation can lead to a door that sticks, won’t latch, or has uneven gaps. Windows, while needing to operate smoothly, don’t have the same heavy-use, full-body movement.
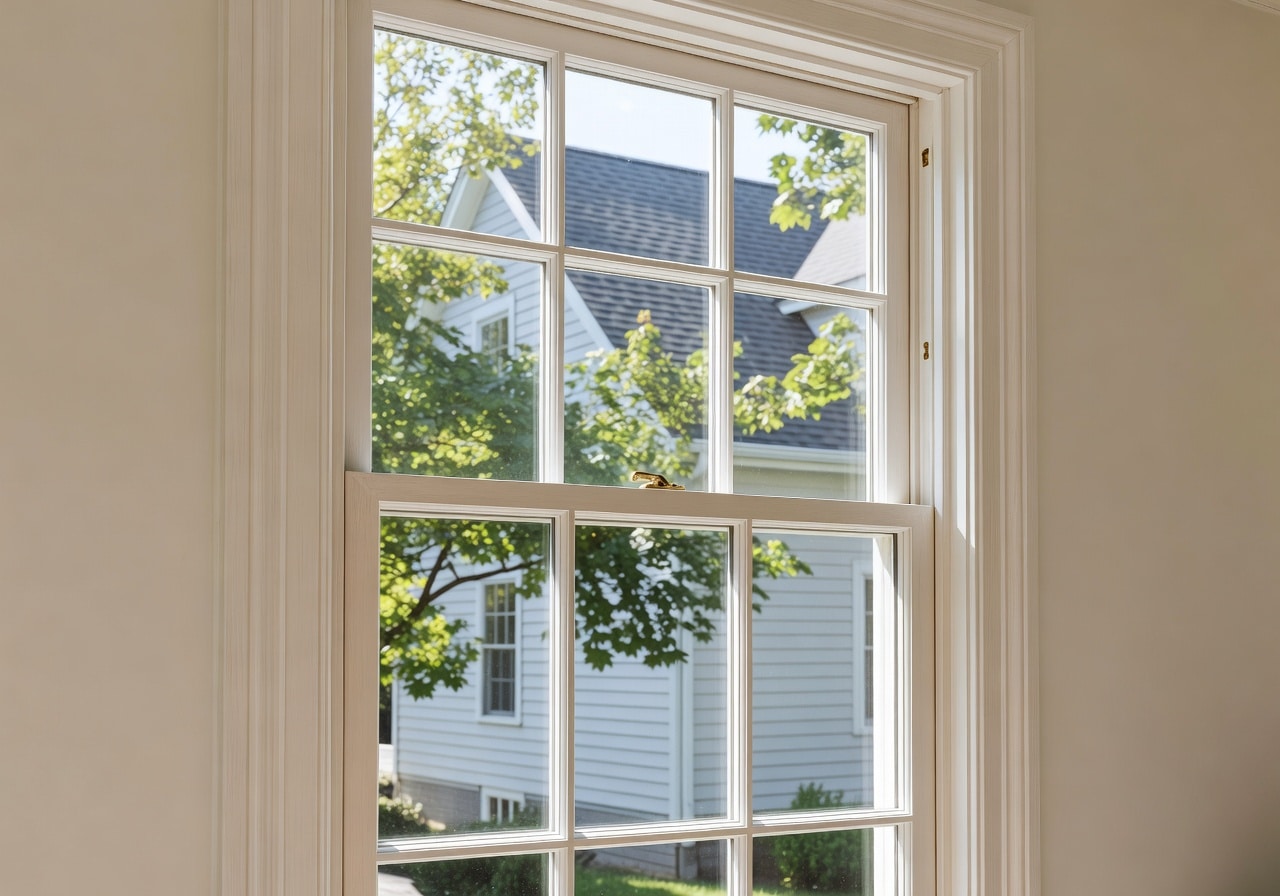
Conclusion: A Job Done Right
Installing windows and doors is a nuanced process that, when done correctly, delivers significant long-term benefits to your home. We’ve seen how proper installation is not just about aesthetics; it’s about comfort, energy efficiency, security, and the structural integrity of your home. From the initial precise measurements to the careful preparation of the rough opening, and from the meticulous shimming to the final weatherproofing, every step plays a crucial role. Skipping steps or cutting corners can lead to costly problems down the line, eroding the return on your investment.
At Apex Window Werks, we believe in the value of precision. Our team of experienced, local professionals in the Cleveland-Akron area is dedicated to ensuring every window and door we install offers optimal performance and lasting durability. For expert results and peace of mind, explore our Window Replacement Services.