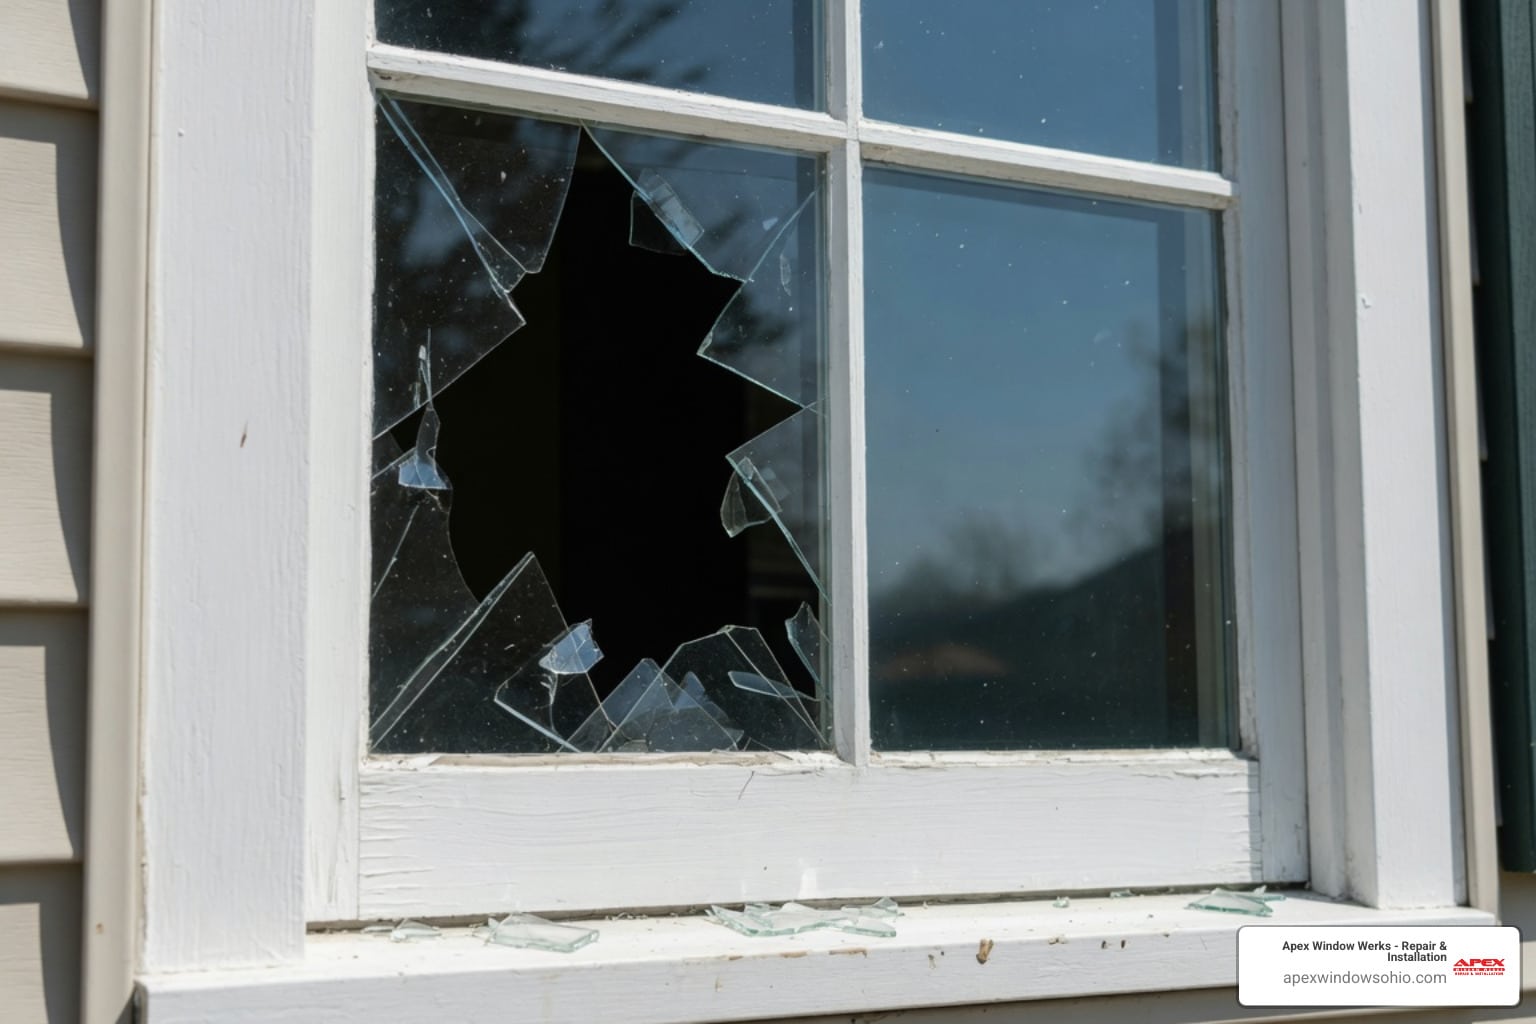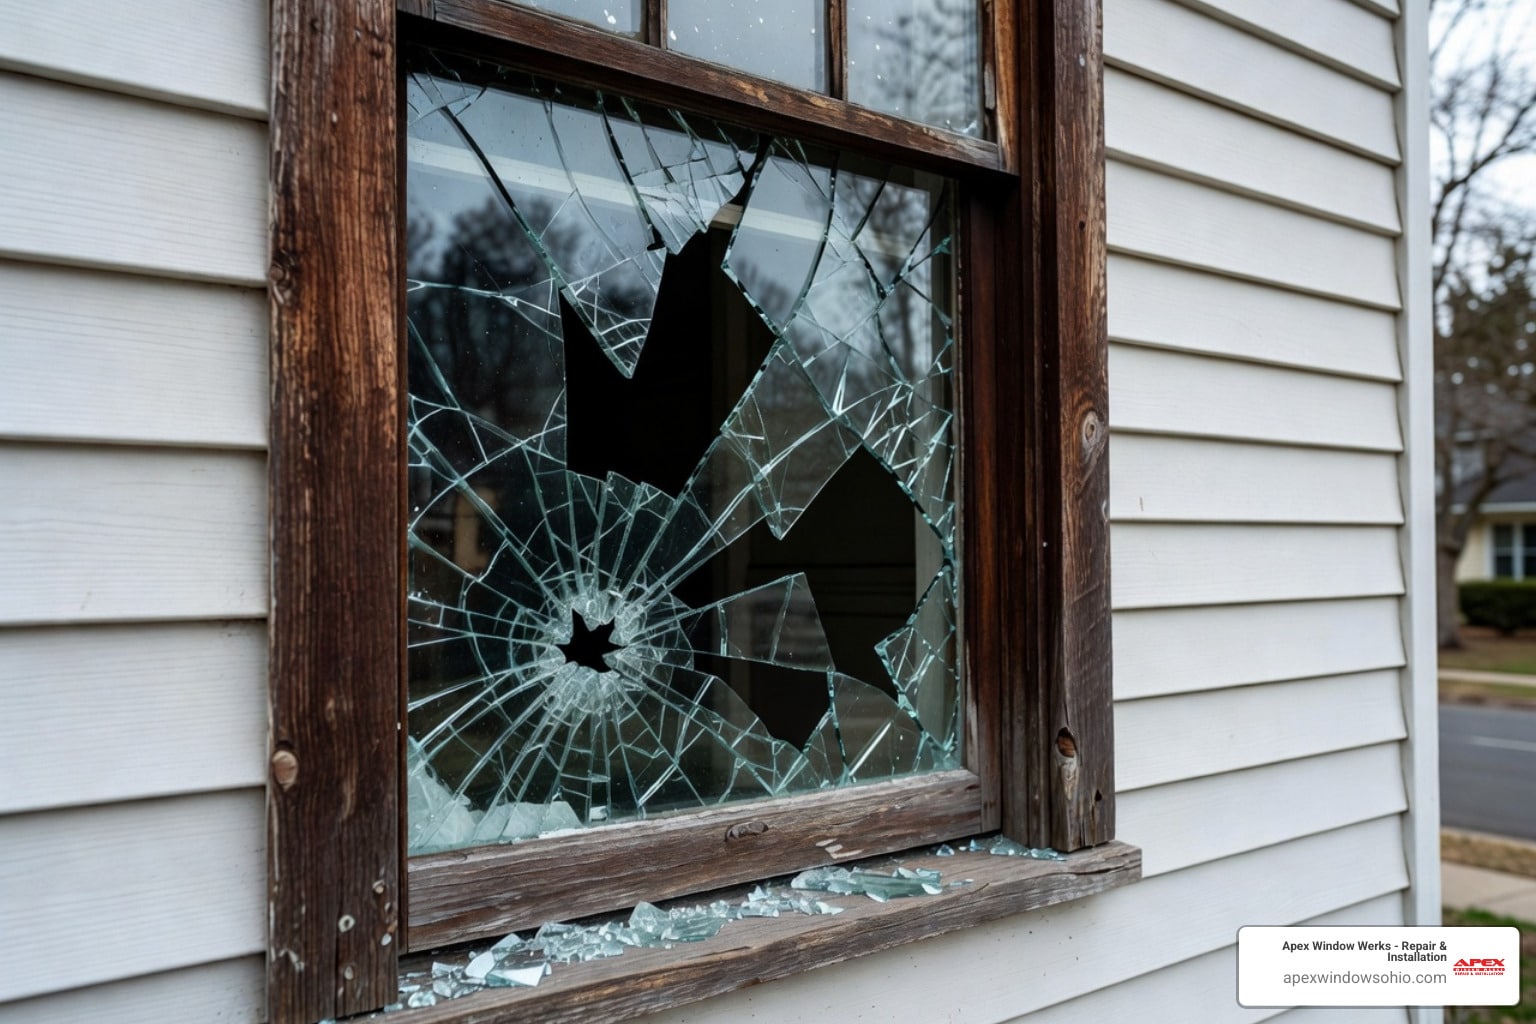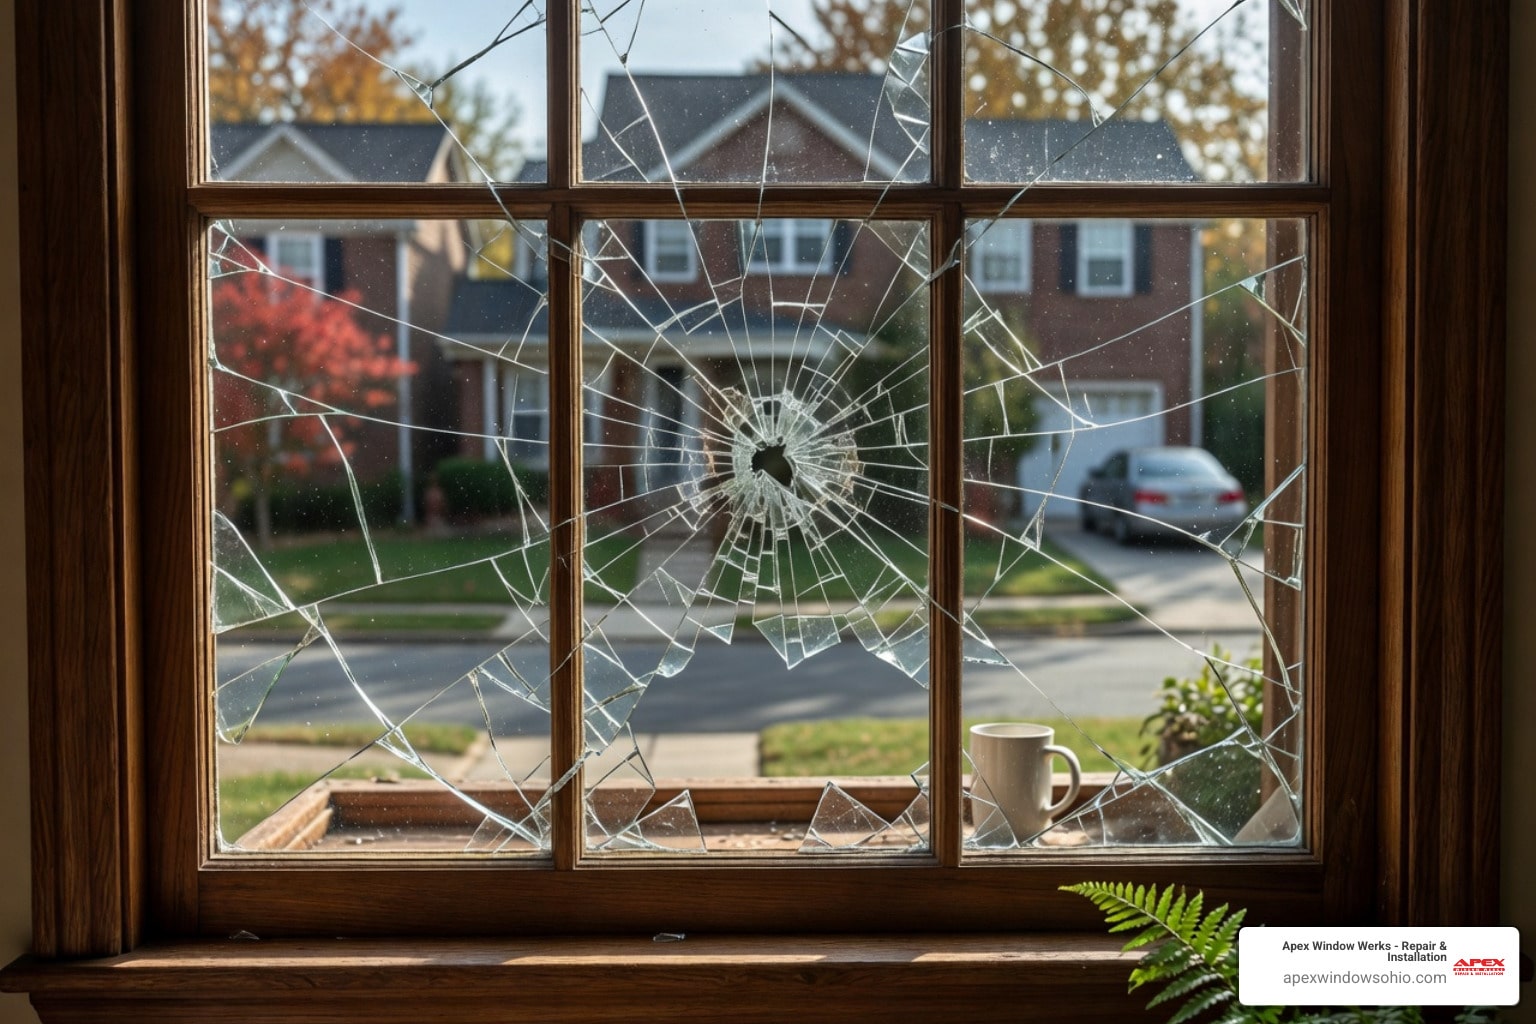


Cracked Pane? See How to Replace Broken Glass Fast
What You Need to Know Before You Replace Broken Glass
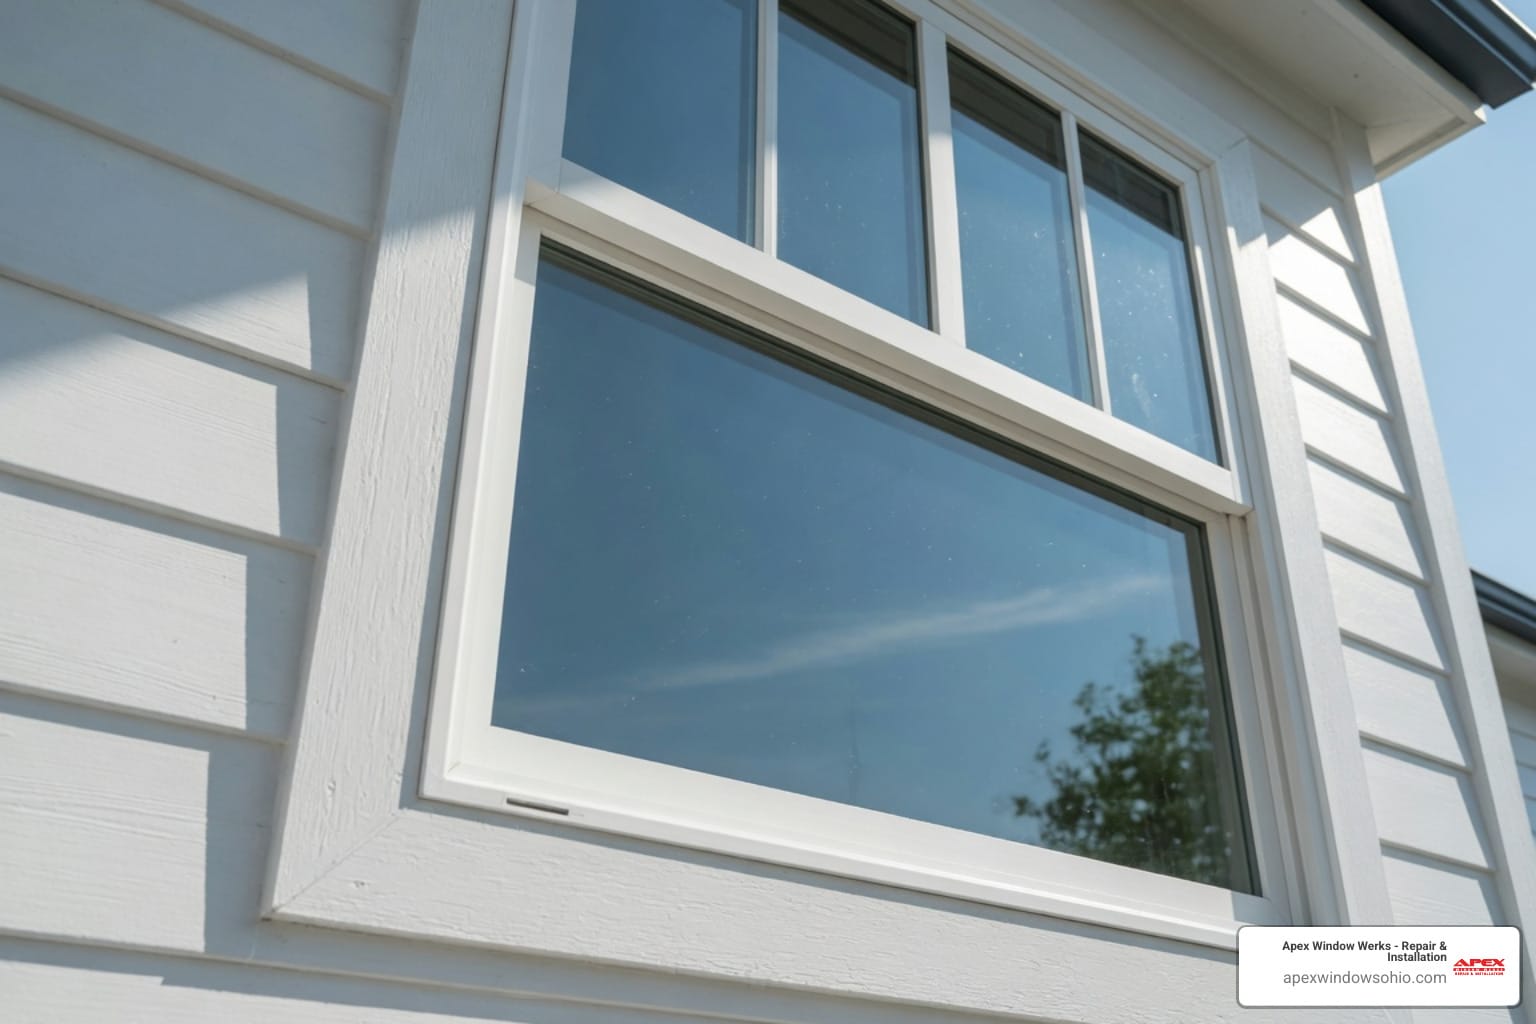
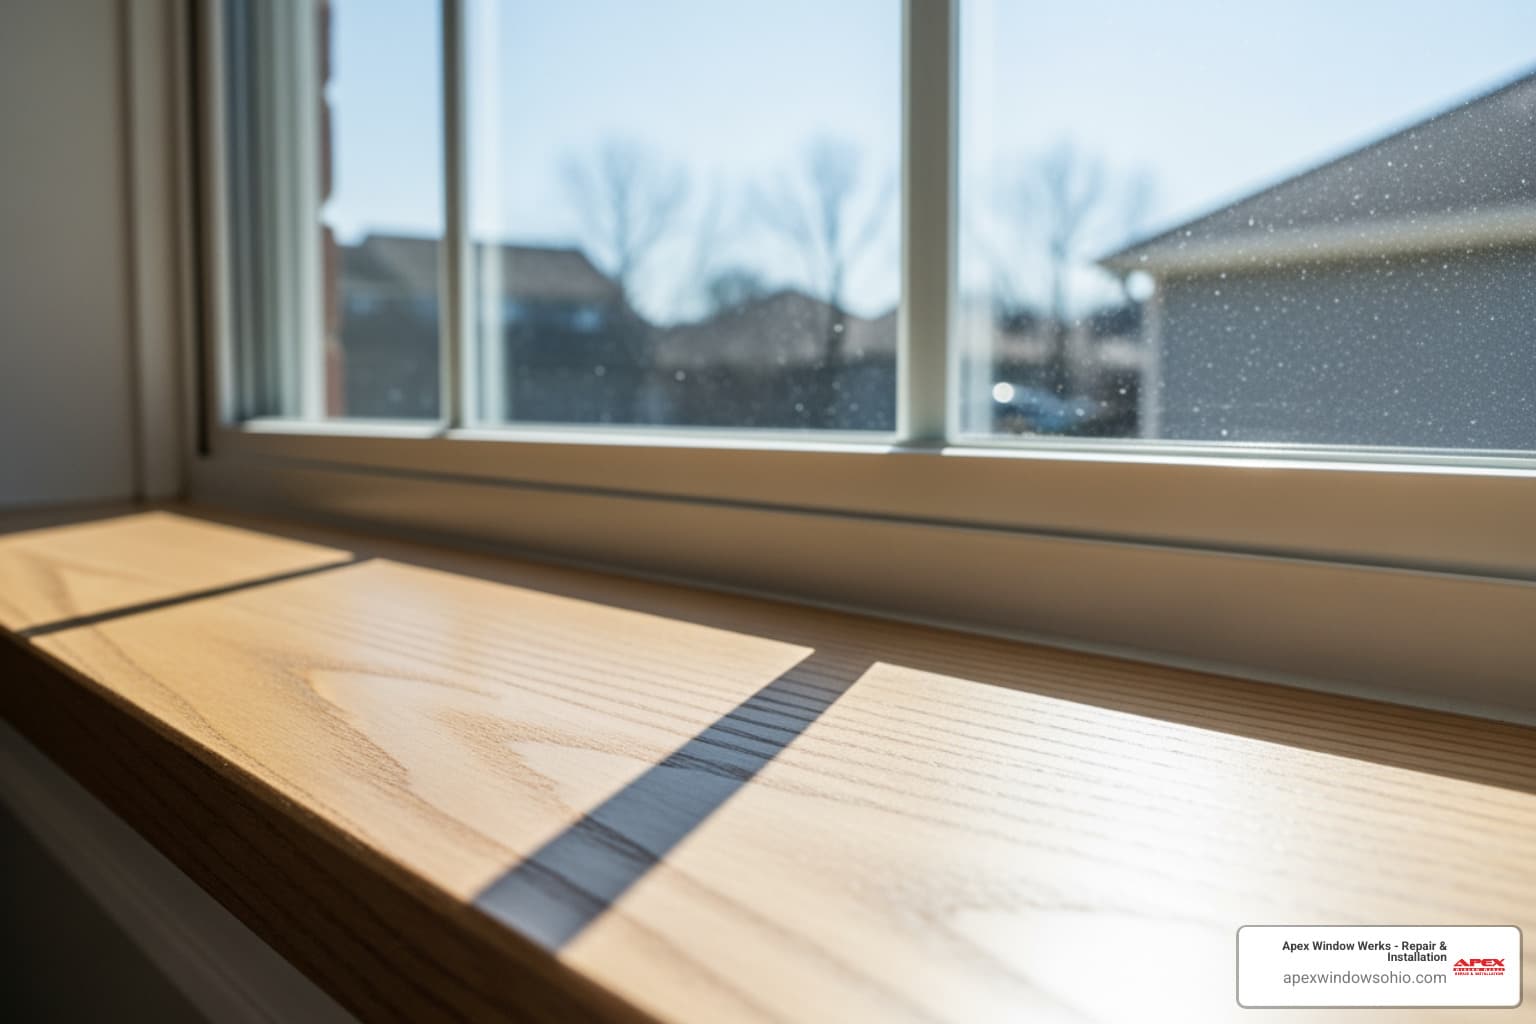
Replacing broken glass in a window is something most homeowners can do themselves — and it’s almost always cheaper than replacing the entire window.
Here’s a quick overview of the process:
- Stay safe – Put on cut-proof gloves and safety goggles before touching anything
- Remove the broken glass – Tape an X across the pane first, then pull shards straight out
- Clear out old putty and glazing points – Use a heat gun and putty knife
- Clean the frame – Sand, prime, and apply linseed oil to the rabbet groove
- Measure the opening – Subtract 1/8 inch from both height and width
- Install the new pane – Bed it in glazing putty and secure with glazing points
- Seal and paint – Apply a putty bead, smooth it to a 45-degree bevel, and paint once dry
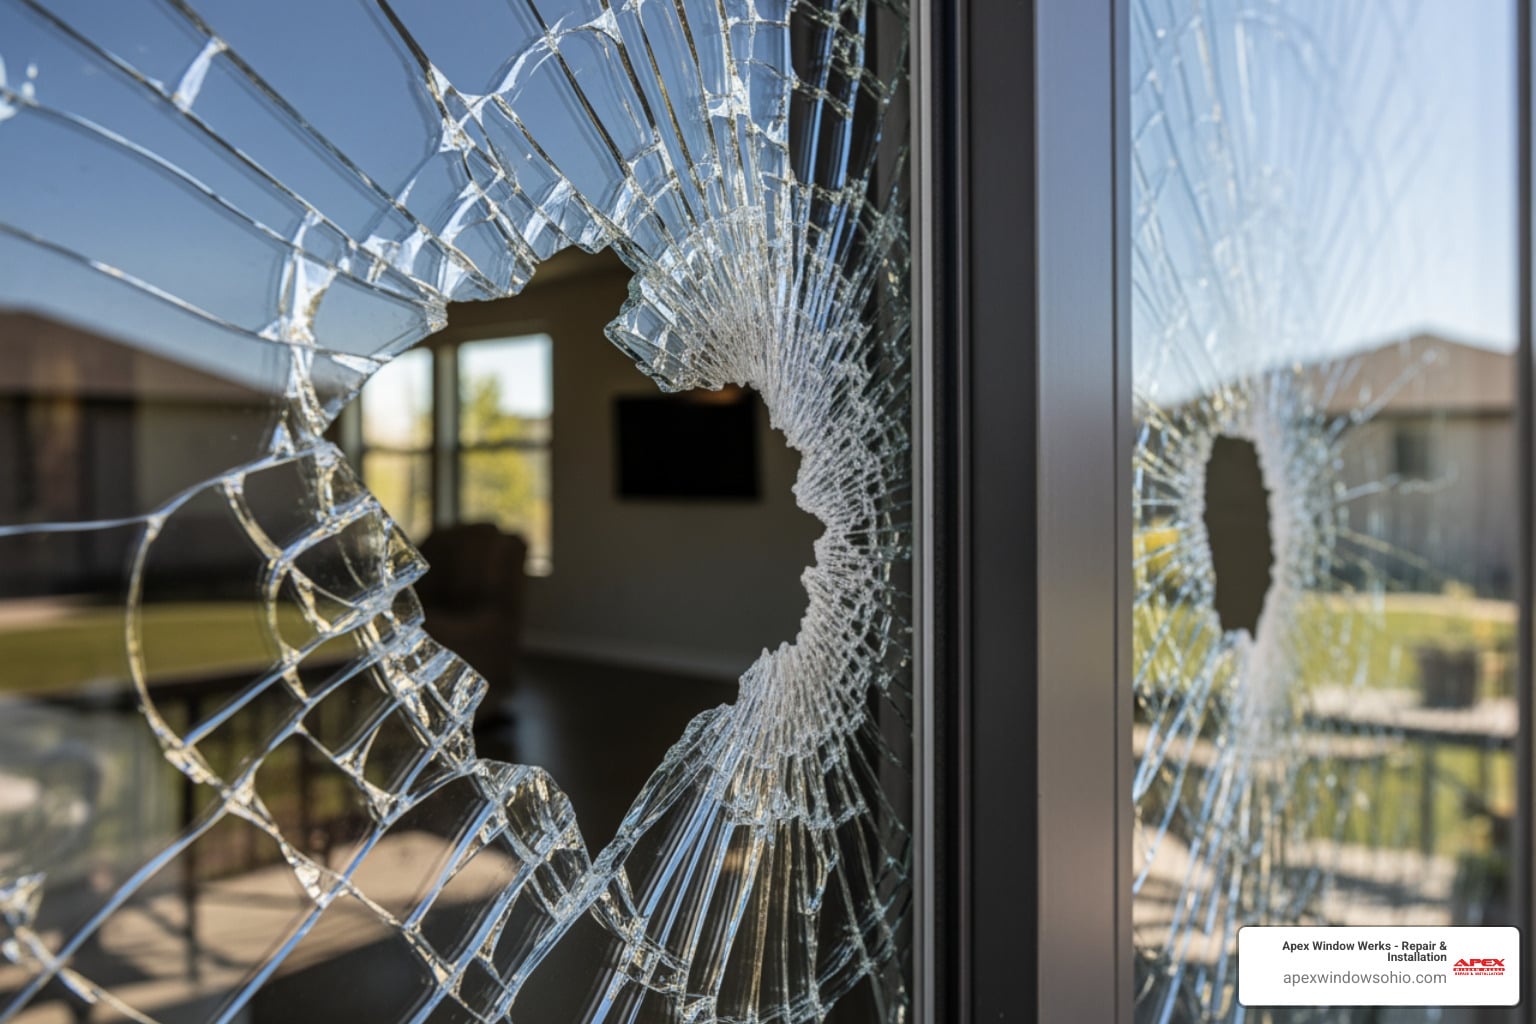
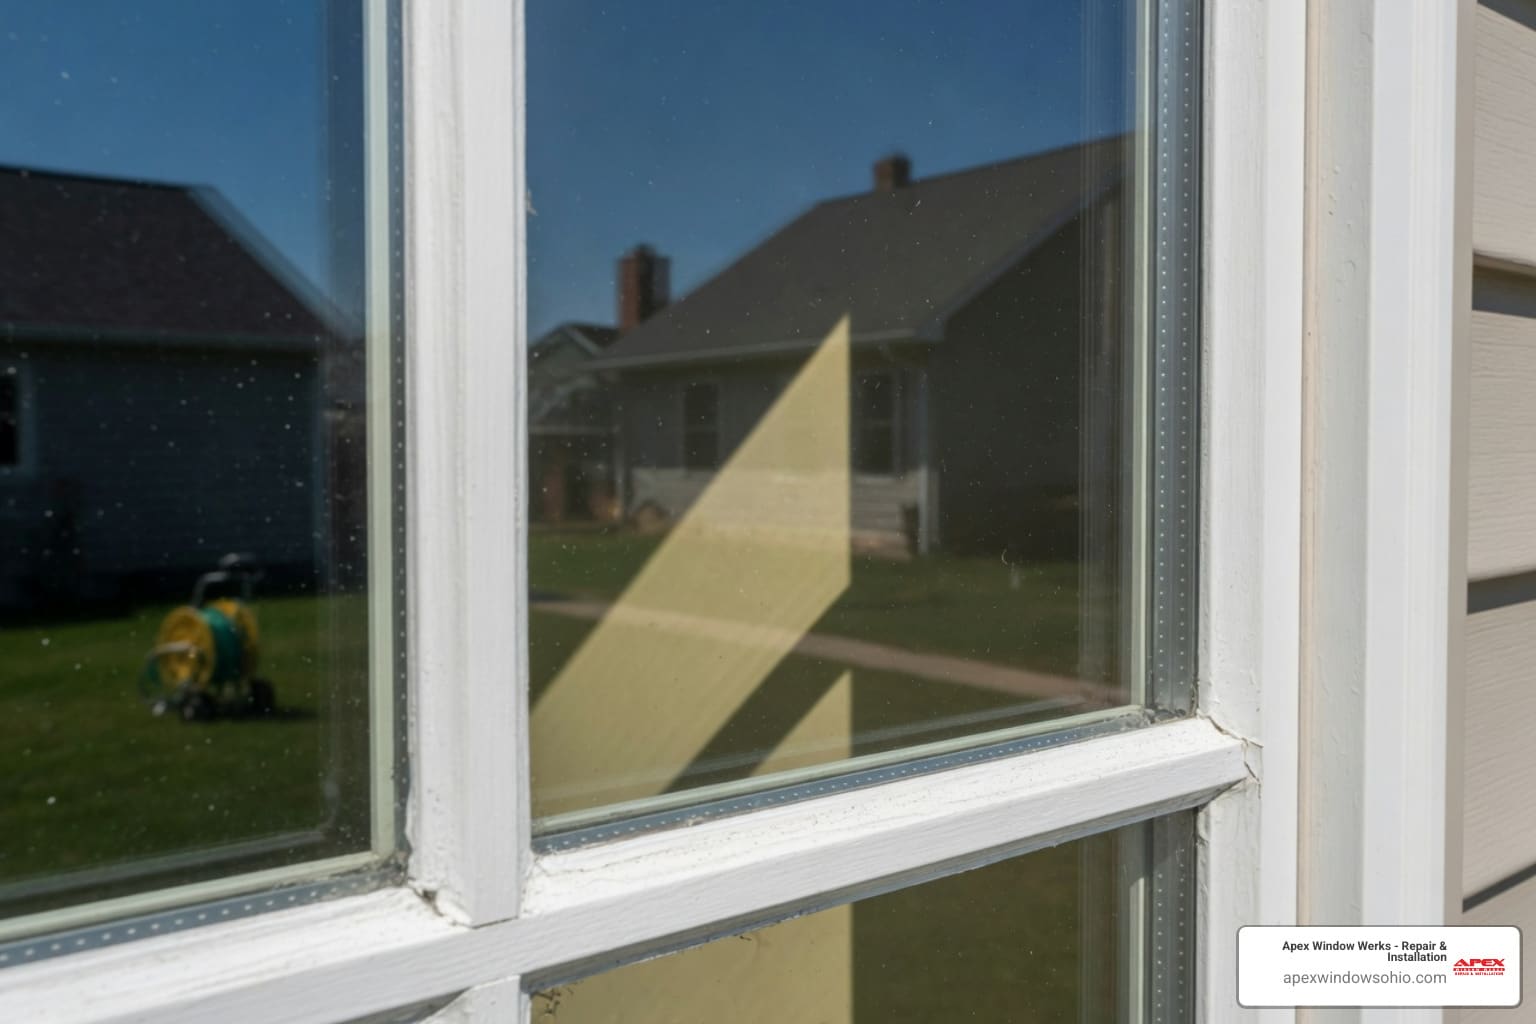
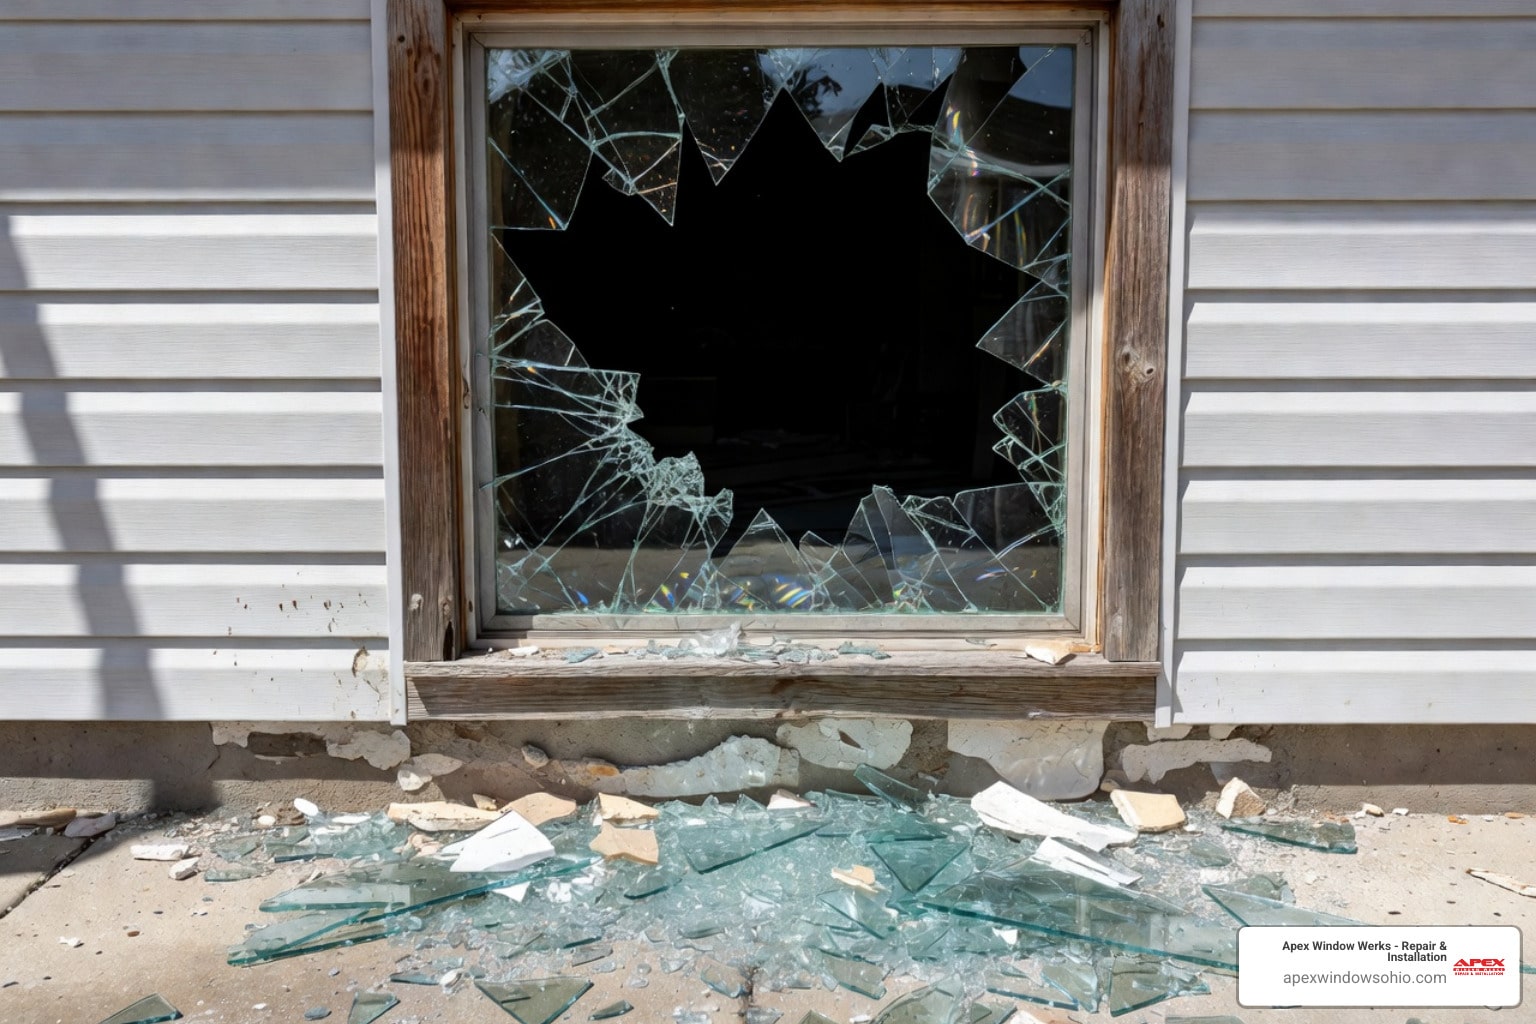
A broken window isn’t just an eyesore. It’s a safety hazard, an open door for the elements, and a drain on your energy bills. Whether it was a stray baseball, a heavy storm, or just old age catching up with your frames, the damage needs to be fixed — and fast.
The good news? For most single-pane windows, this is a manageable weekend project. The trickiest part is usually getting the measurements right and knowing which type of glass your frame needs.
I’m Nataly Godes, General Manager at Apex Window Werks, where I’ve helped hundreds of Cleveland-area homeowners and business owners replace broken glass and restore their windows without unnecessary full-frame replacements. In this guide, I’ll walk you through every step — from pulling shards safely to sealing the new pane like a pro.

Essential Safety and Tools to Replace Broken Glass
Before you even think about touching that first shard of glass, we need to talk about your “armor.” Glass is unforgiving, and when it breaks, it creates microscopic splinters and razor-sharp edges that can penetrate standard work gloves.
At Apex Window Werks, safety is our first priority. If you are going to replace broken glass yourself, you need a specific toolkit. Don’t try to “wing it” with a kitchen knife and a pair of gardening gloves.
Your DIY Window Repair Toolkit

- Cut-proof gloves: Look for gloves with a high ANSI cut rating. Leather is okay, but specialized Kevlar or nitrile-coated cut-resistant gloves are better for dexterity.
- Safety goggles: Shattered glass can “jump” when you’re prying it out. Protect your eyes from flying slivers.
- Heavy-duty duct tape: This is for stabilizing the glass before removal.
- Putty knife and painter’s multi-tool: You’ll need these to scrape away old, hardened glazing compound.
- Heat gun: Essential for softening old putty that has turned into “concrete” over the decades.
- Needle-nose pliers: Perfect for pulling out old glazing points (those little metal triangles that hold the glass in place).
- Glazing points: You’ll need a fresh pack to secure the new pane.
- Glazing putty: This acts as both the adhesive and the weather seal.
- Boiled linseed oil: If you’re working with old wood frames, this prevents the wood from sucking the moisture out of your new putty.
Pro Tip: Always have a shop vacuum or a broom and dustpan nearby. Once you finish removing the glass, vacuum the entire area — including the window sill and the floor — to ensure no “invisible” glass splinters are left behind for pets or children to find.
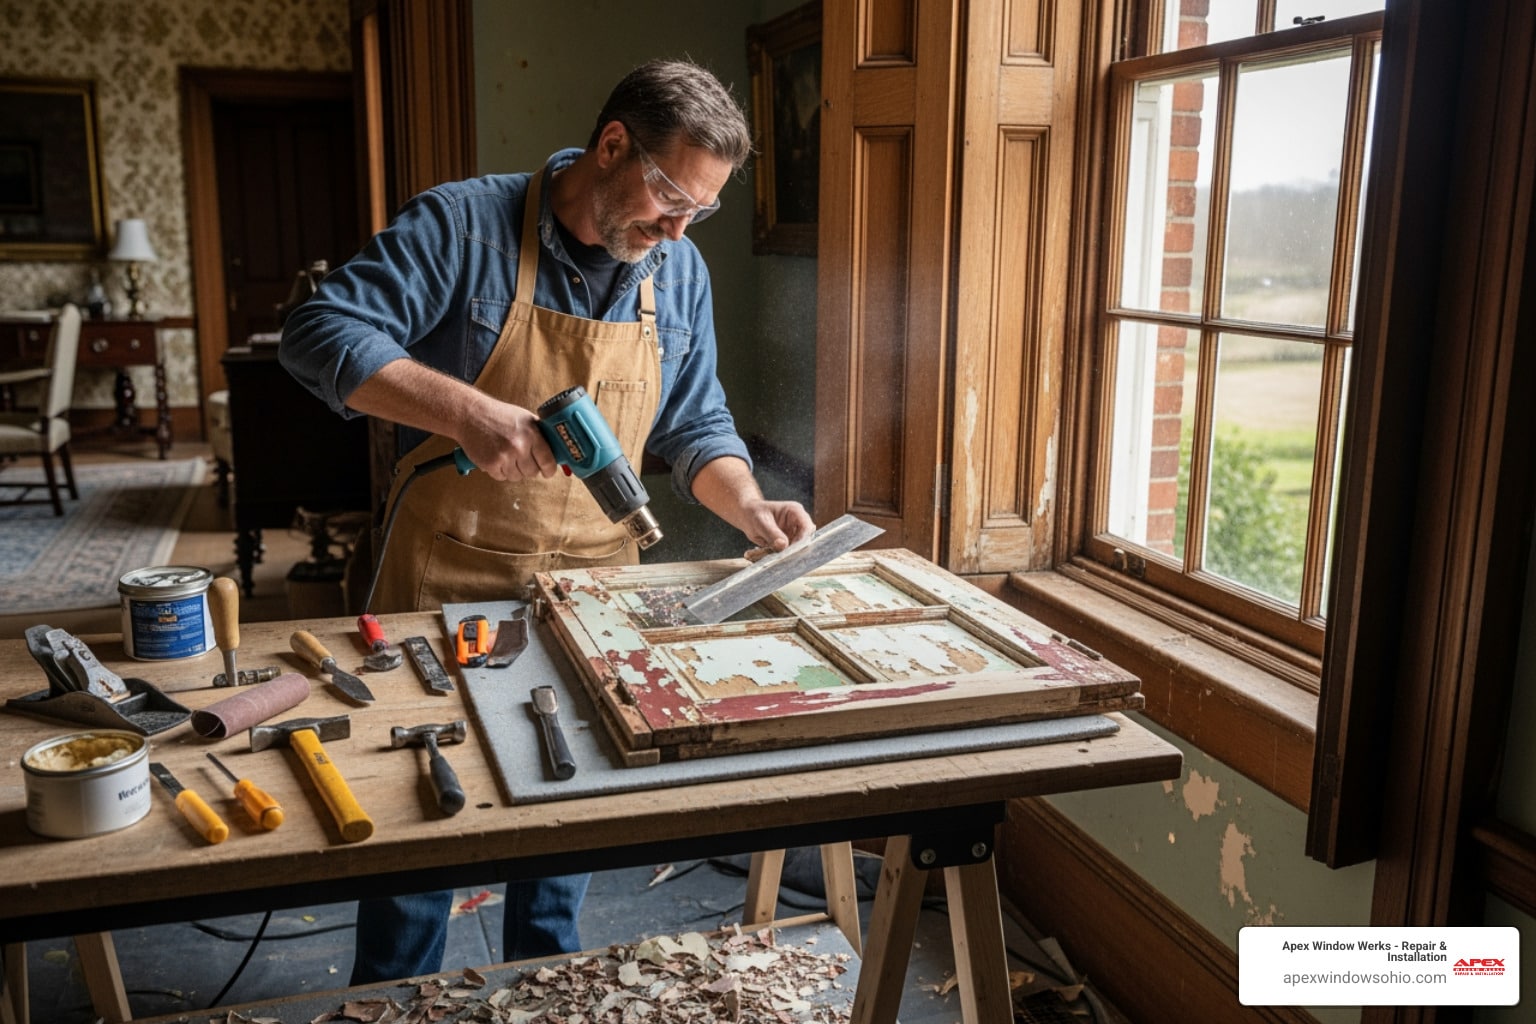
Step-by-Step Guide: How to Safely Remove and Measure Glass
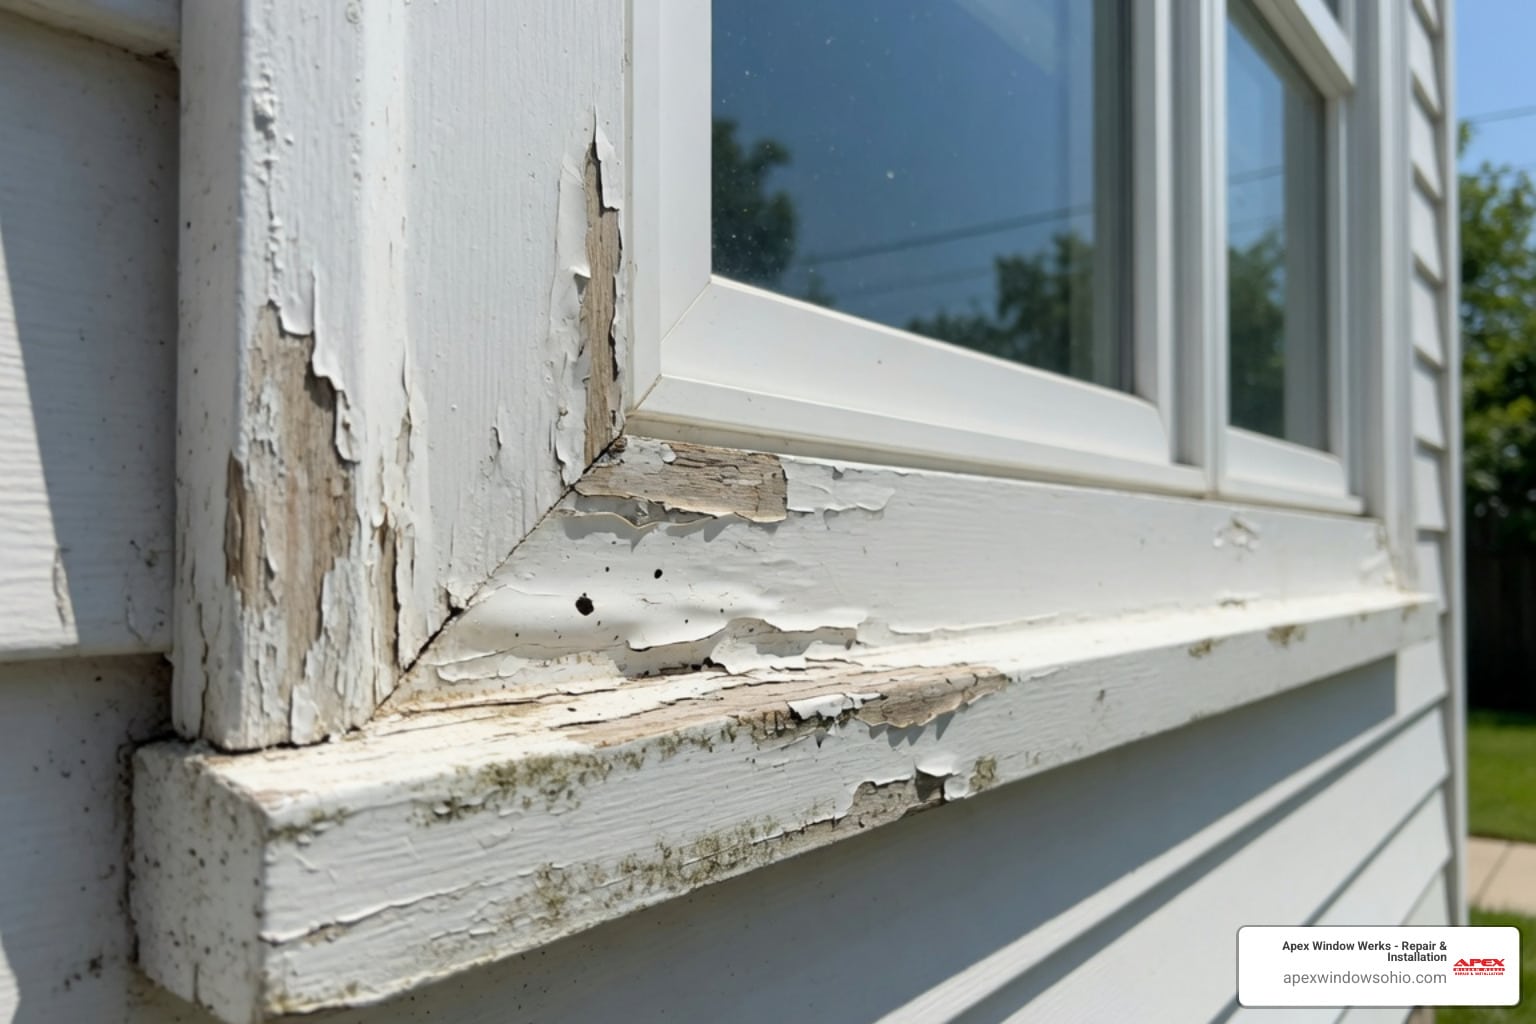
The secret to a successful glass replacement isn’t just in the installation; it’s in the preparation. If the frame isn’t perfectly clean, your new putty won’t stick, and you’ll be dealing with drafts or leaks by next winter.
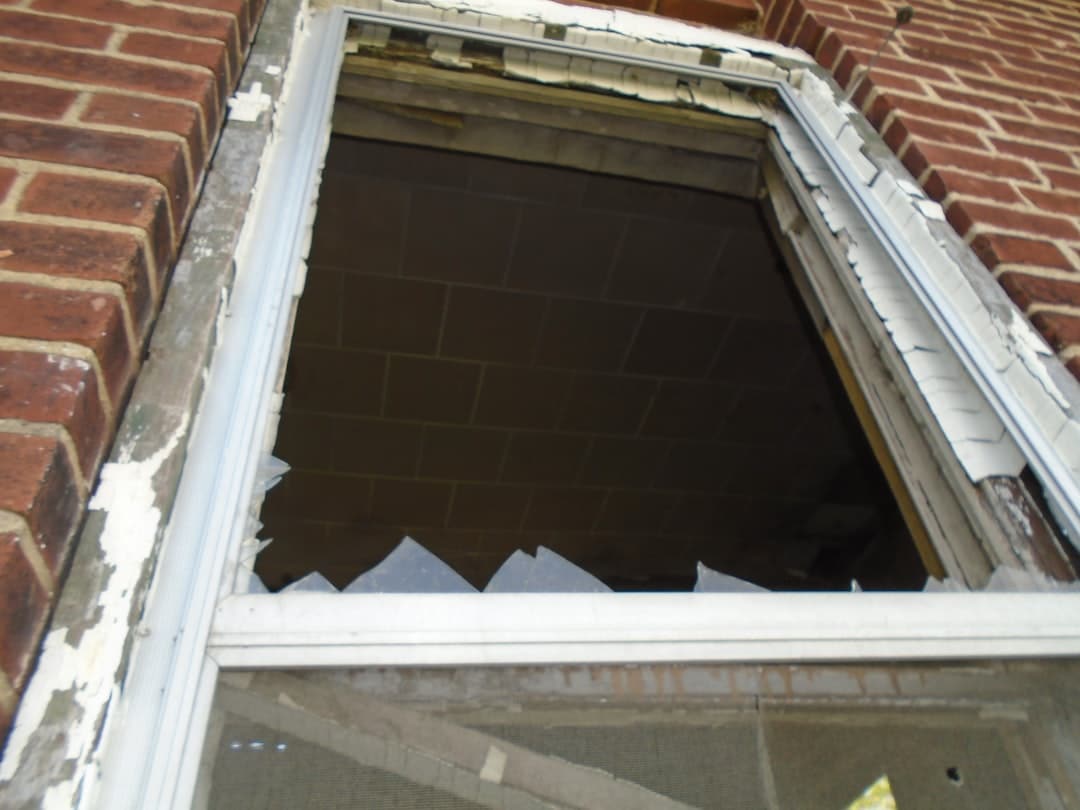
1. The “X” Pattern and Shard Extraction
Before you start pulling pieces out, apply heavy-duty tape in an “X” pattern across the broken pane. This holds the shards together so they don’t fall and shatter further as you work. If the glass is still mostly intact, this tape makes it much safer to handle.
Using your gloved hands or pliers, pull the shards straight out of the frame. Dispose of them immediately in a sturdy cardboard box — never a thin plastic trash bag, which they will slice through instantly.
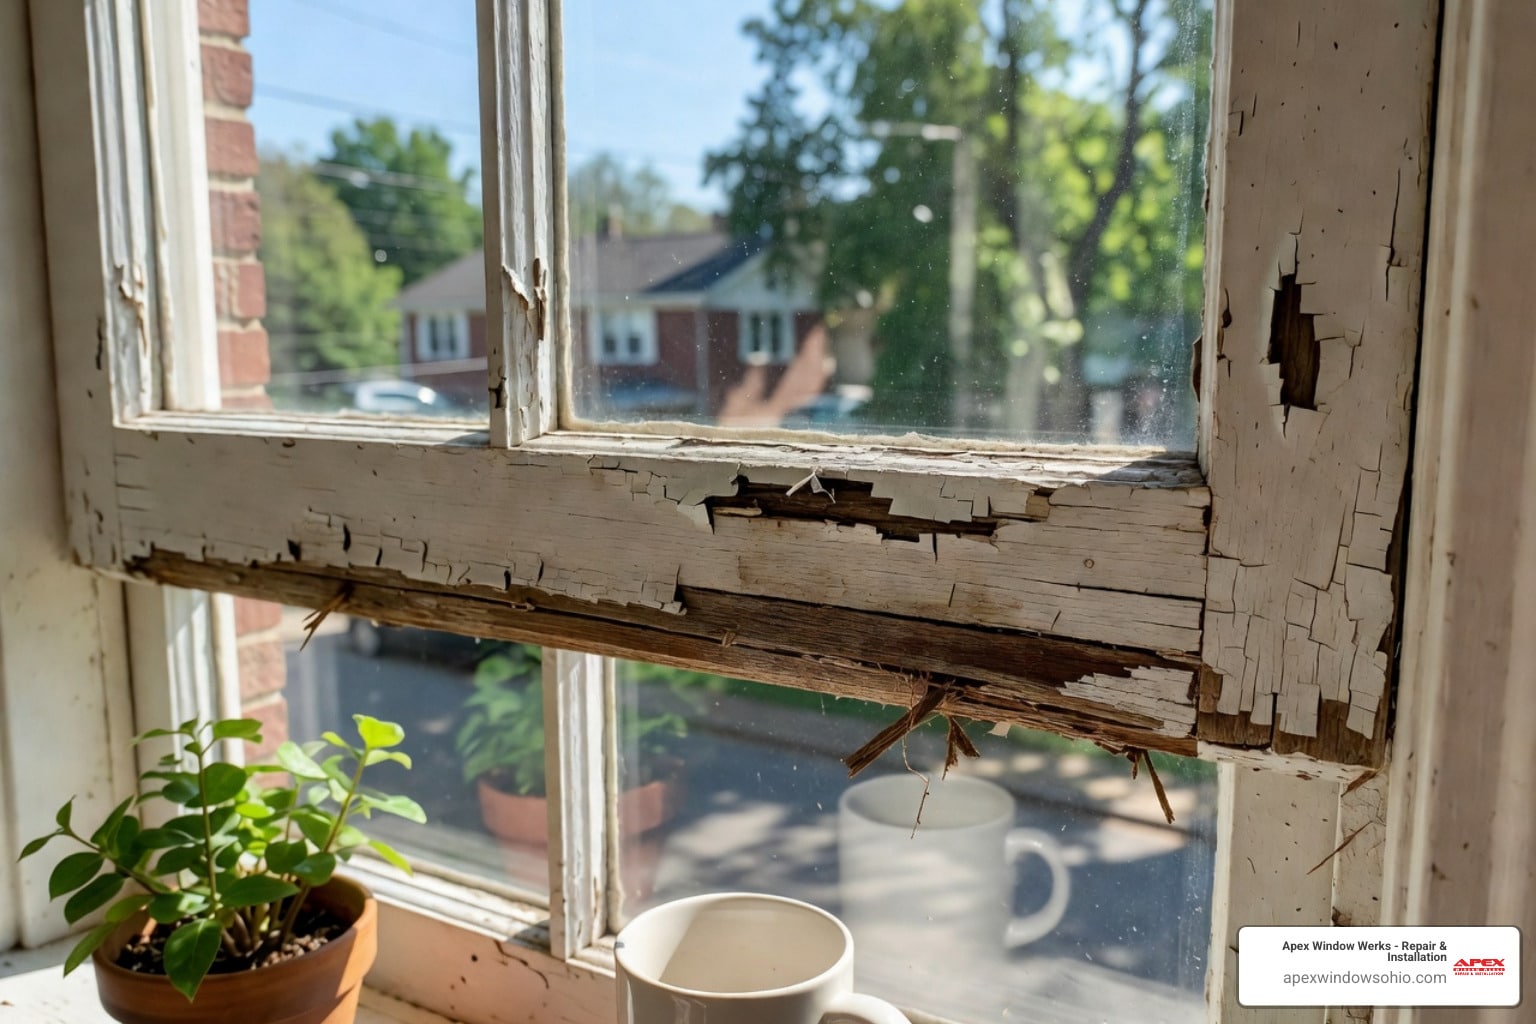
2. Clearing the Rabbet
The “rabbet” is the L-shaped groove in the window frame where the glass sits. Over time, the old glazing putty becomes rock-hard. Instead of chiseling it away and risking damage to the wood, heat the old glazing compound to loosen the broken glass.
Move the heat gun slowly back and forth. Once the putty softens to a gum-like consistency, scrape it out with your putty knife. Be careful not to scorch the wood! Once the putty is gone, use your pliers to remove the old glazing points.
3. Measuring the Area
Now that the frame is clear, it’s time to measure the area to be glazed. This is where most DIY projects go wrong. You cannot simply measure the old piece of glass, especially if it’s shattered. You must measure the opening of the frame itself.
When you replace broken glass, you need to account for expansion. Glass expands when it’s hot, and wood frames swell when it’s humid (a common occurrence here in Ohio!). If the glass fits too tightly, the pressure from the frame will cause it to crack again. This is why we follow the “1/8-inch rule.”
For a professional-grade Broken Glass Replacement, you should measure the height and width of the opening in at least two different spots to check for squareness.
Measuring for Your Replace Broken Glass Project
Take your smallest measurement for both height and width and subtract 1/8 of an inch. This gives you a 1/16-inch gap on all sides.
Measurement Deduction Table by Frame Type
| Frame Material | Deduction Amount | Why? |
|---|---|---|
| Wood | 1/8 inch (total) | Allows for wood swelling and thermal expansion. |
| Aluminum | 1/16 to 1/8 inch | Aluminum expands and contracts significantly with temperature. |
| Vinyl | 1/8 inch | Vinyl frames move quite a bit; requires space for sealant/gaskets. |
Preparing the Frame to Replace Broken Glass
Once the rabbet is empty, it’s likely dry and dusty. If you’re working with wood, use a wire brush or sandpaper to smooth out the groove.
According to our Don’t Cry Over Broken Glass: Your Step-by-Step Repair Handbook, you should never skip the priming phase. Apply a coat of wood primer or a layer of boiled linseed oil to the bare wood. This seals the wood so it doesn’t absorb the oils from your new glazing putty. If the wood “drinks” the oil from the putty, the putty will dry out, crack, and fall off within a year.
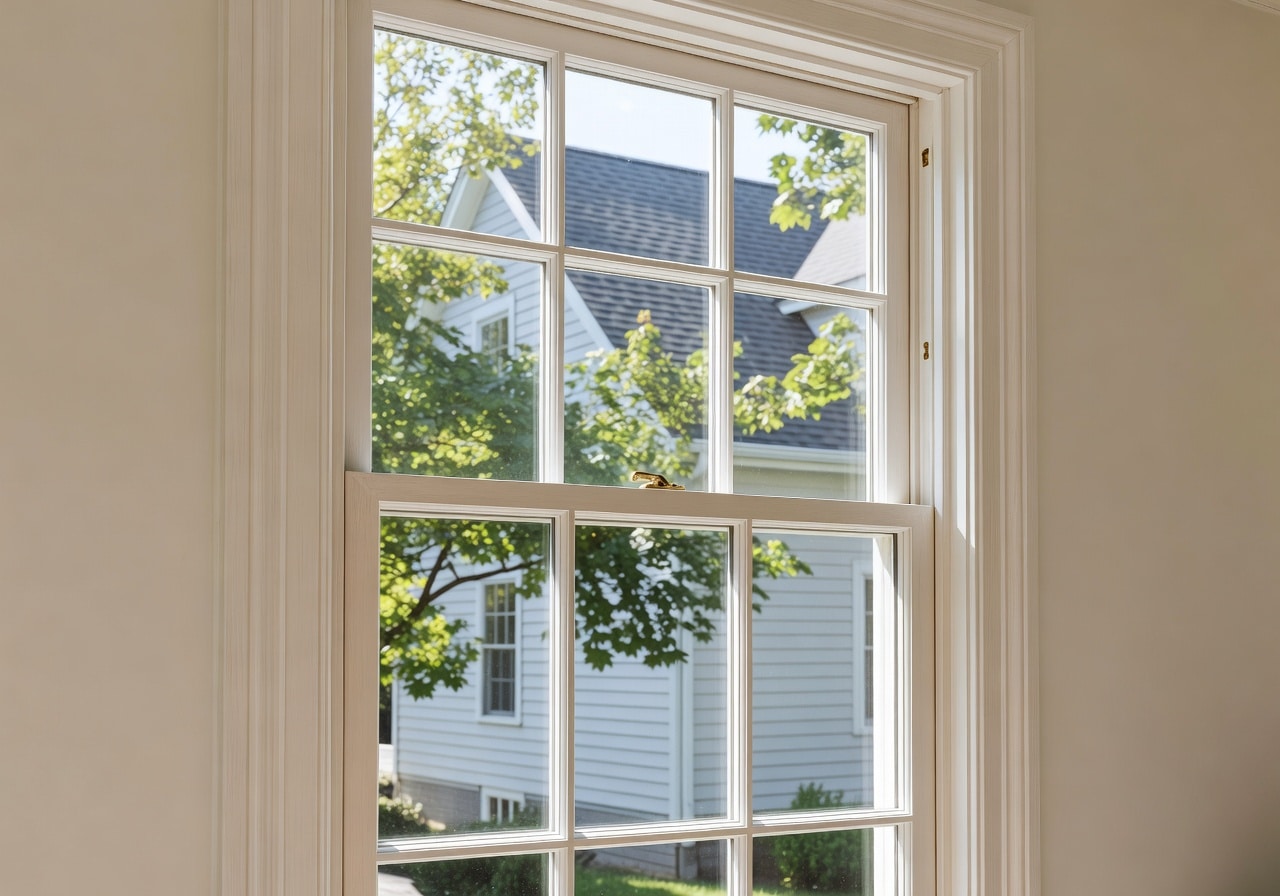
Installation Techniques for Wood, Aluminum, and Vinyl Frames
Whether you are in Lakewood, Akron, or Mentor, the installation method depends heavily on what your window is made of.
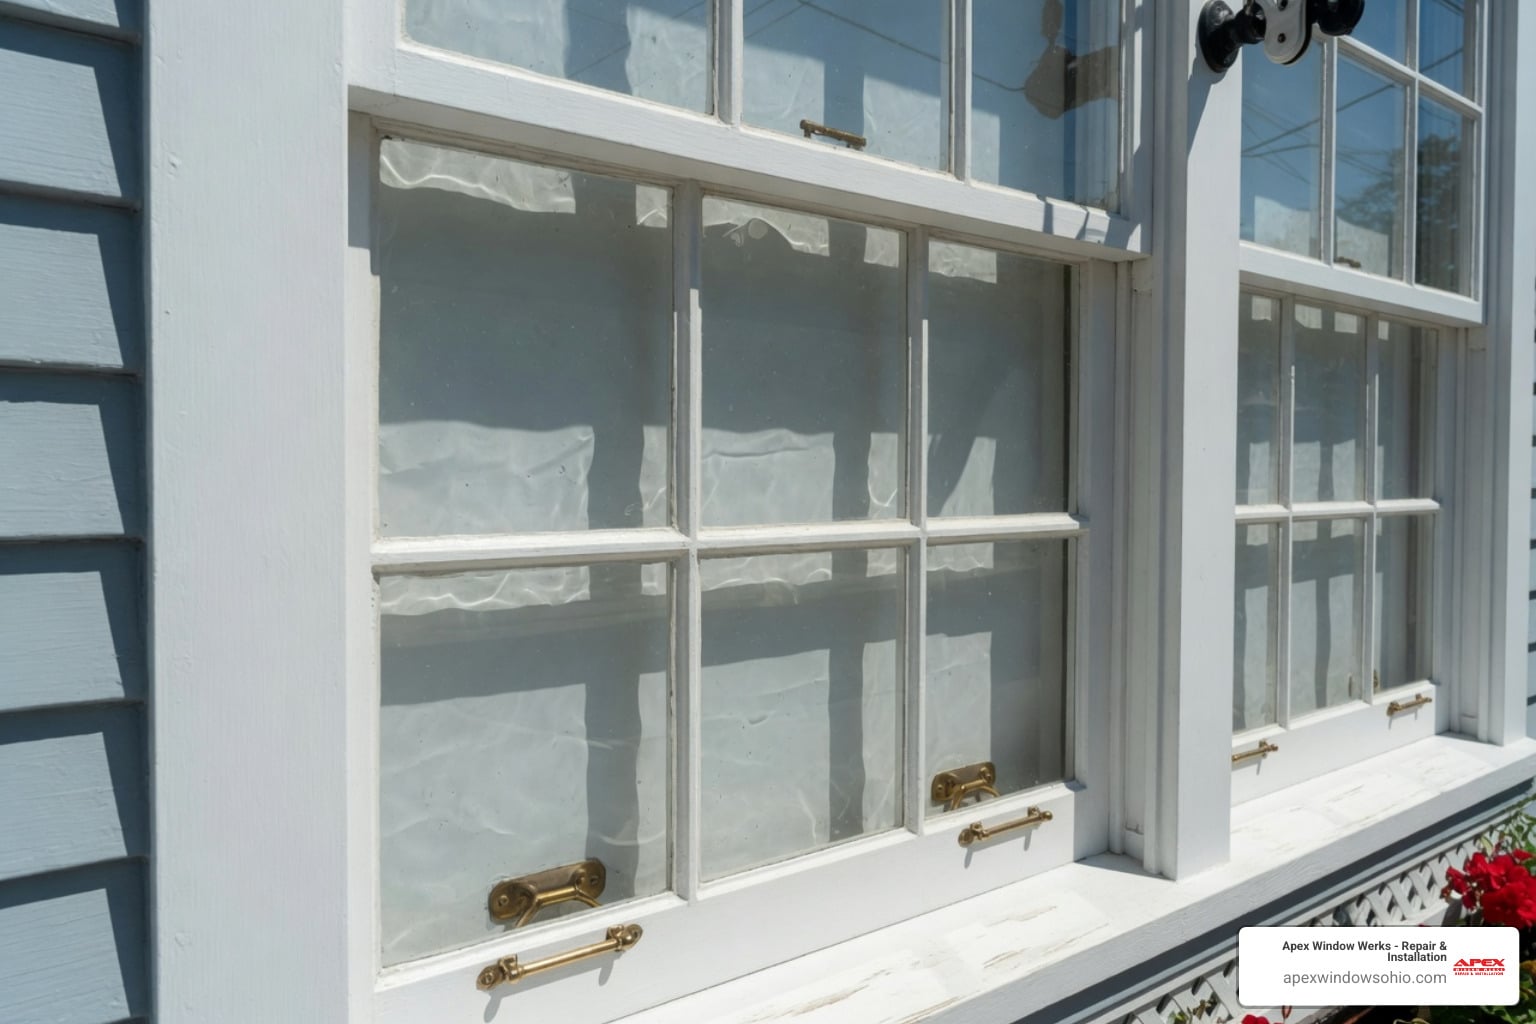
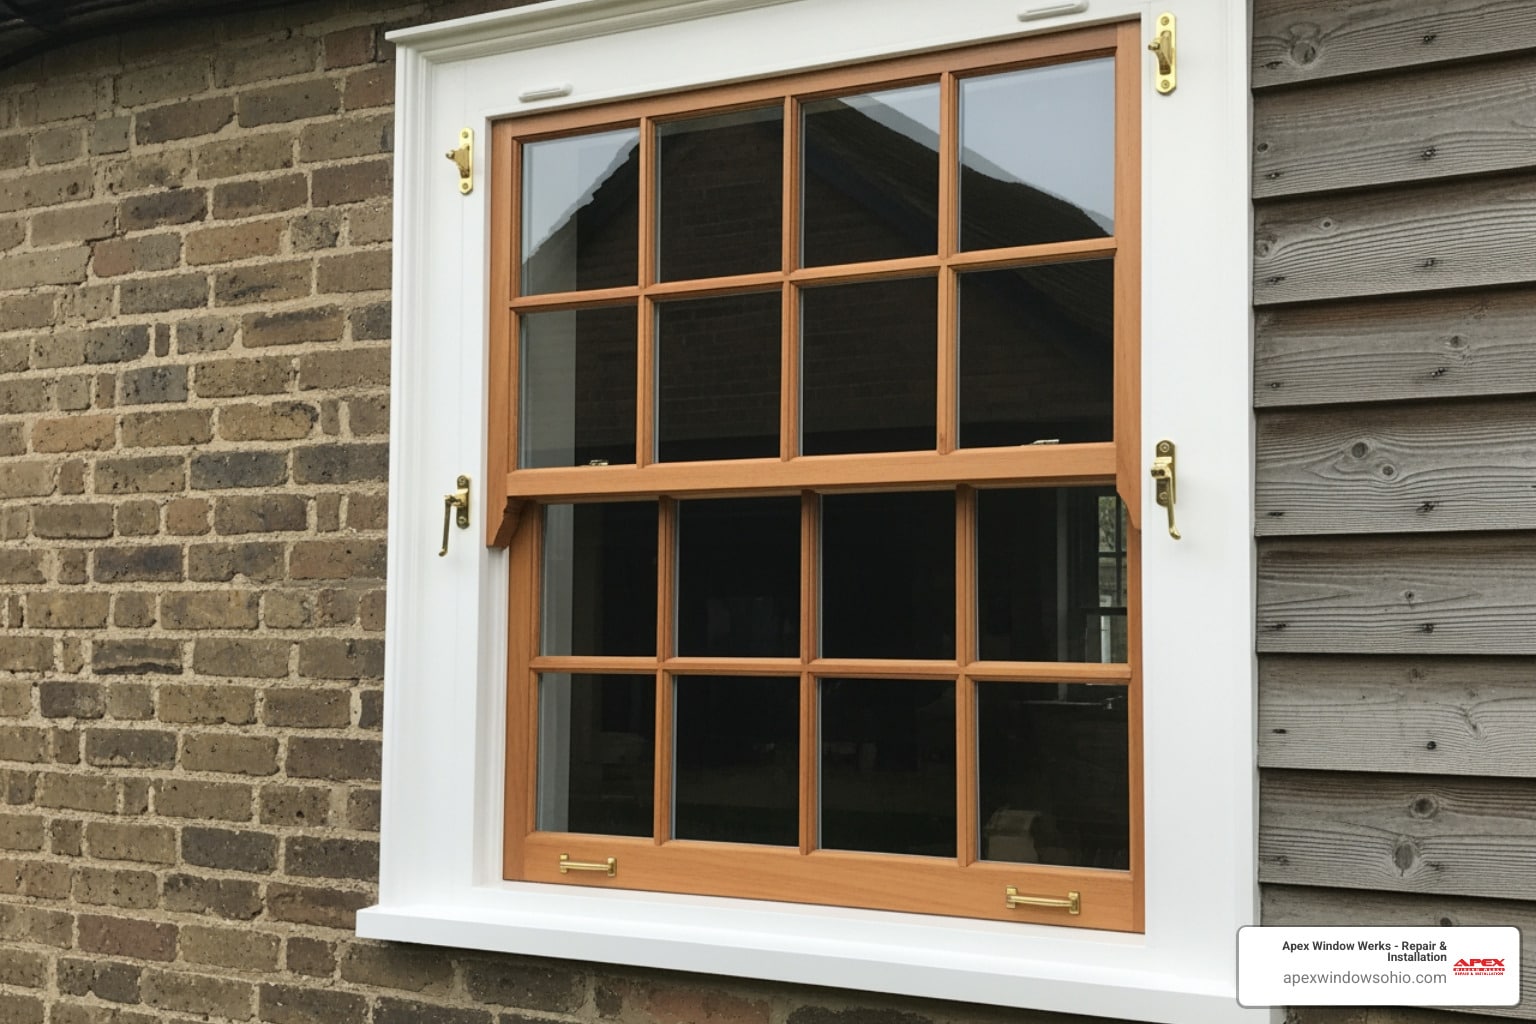
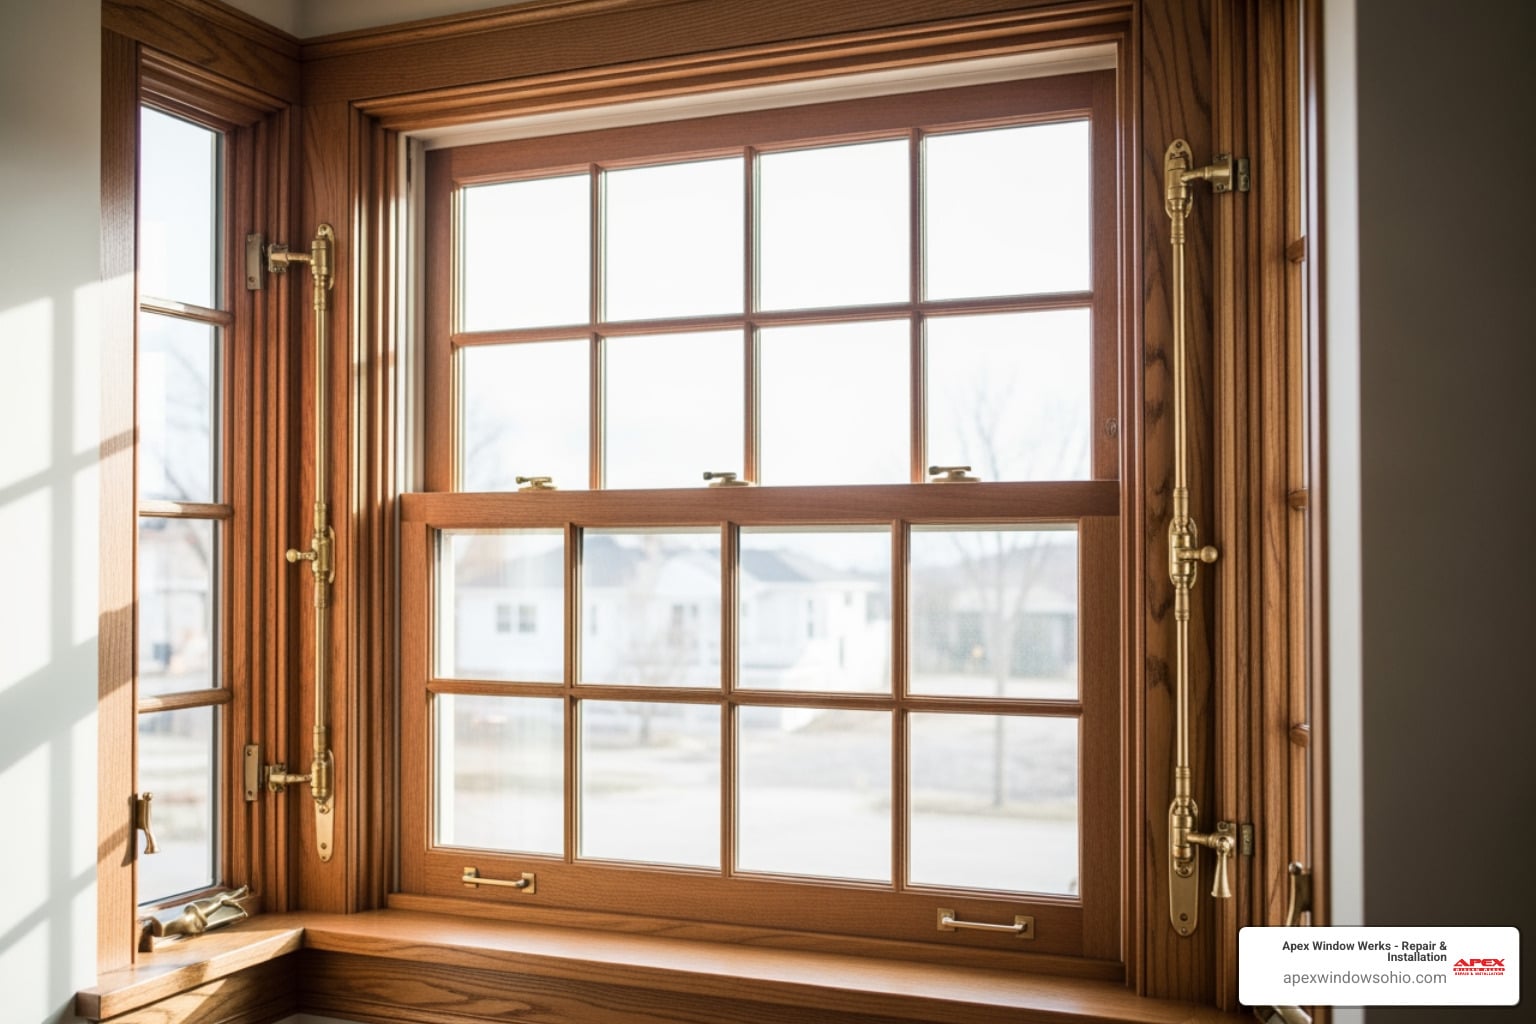
Wood Frame Installation (The Traditional Way)
- Bedding Putty: Apply a very thin bead of glazing putty (about 1/16 inch) into the rabbet. This creates a cushion for the glass to sit on, ensuring an airtight seal.
- Set the Glass: Press the new pane firmly into the bedding putty. You should see a little putty squeeze out on the other side.
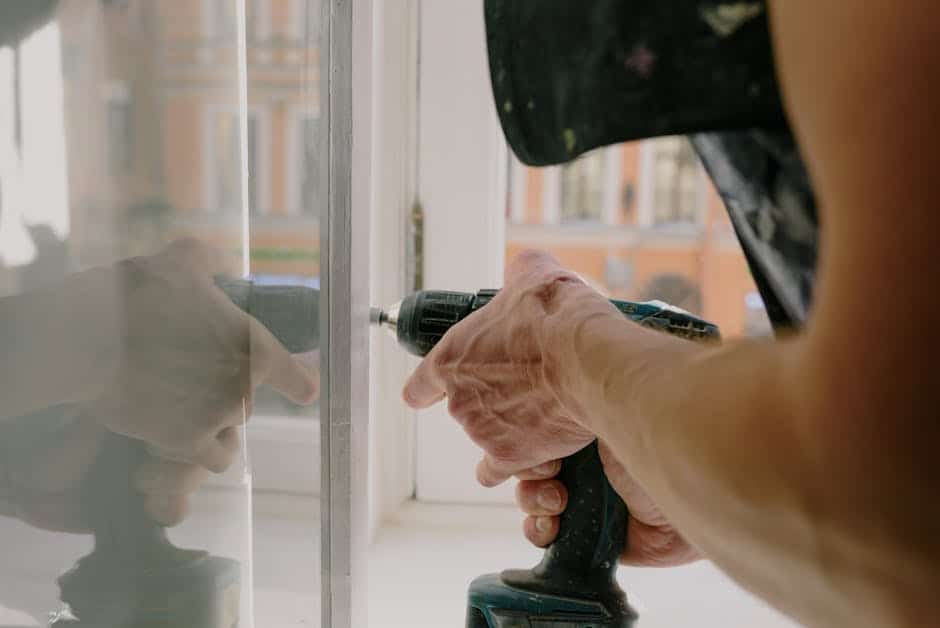
- Glazier Points: Push glazing points into the frame every 6 to 10 inches. Use the flat side of your putty knife to slide them into the wood, keeping the glass pinned against the frame.
- The Putty Rope: Knead your glazing putty in your hands until it’s warm and pliable, like play-dough. Roll it into a long “rope” about 1/2 inch thick and press it into the corner where the glass meets the frame.
- The 45-Degree Bevel: This is the mark of a pro. Hold your putty knife at a 45-degree angle and smooth the putty in one continuous motion. The goal is to create a neat, sloped “ramp” that sheds water away from the glass.
- Paint Overlap: Let the putty dry (this can take a few days for latex or weeks for oil-based). When you paint, allow the paint to overlap onto the glass by about 1/8 inch. This creates a “weather-tight” seal that prevents moisture from getting behind the putty.
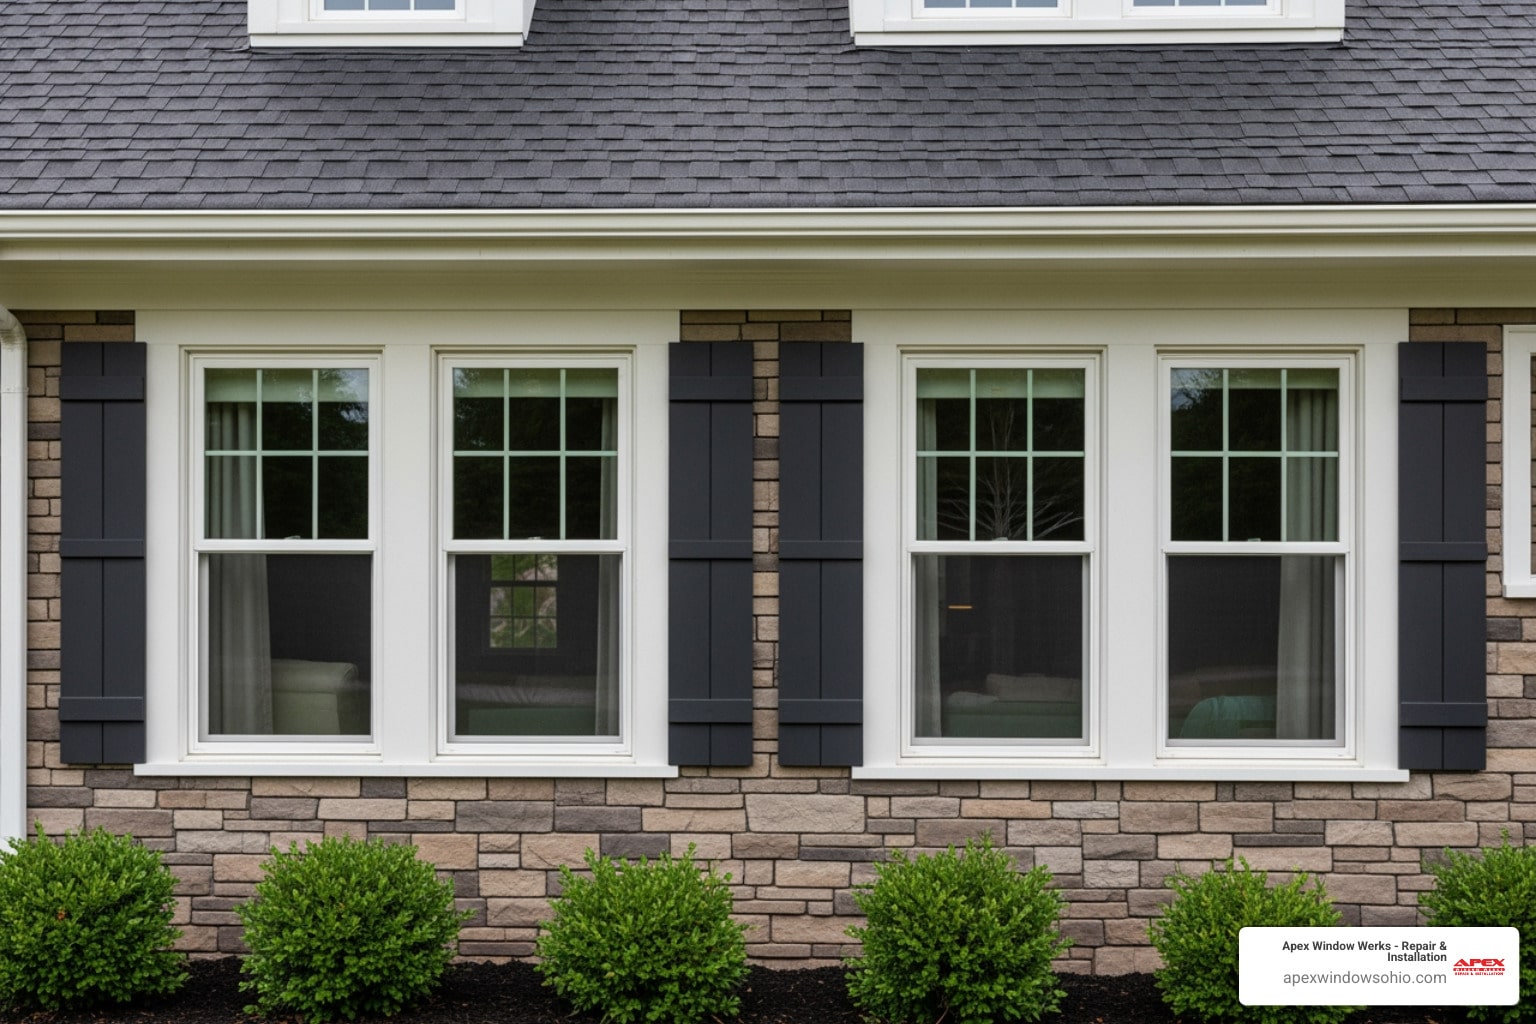
If you’re working on a Broken Window Glass Replacement Lakewood project, the lake breeze can be brutal. A solid putty seal is your best defense against drafts.
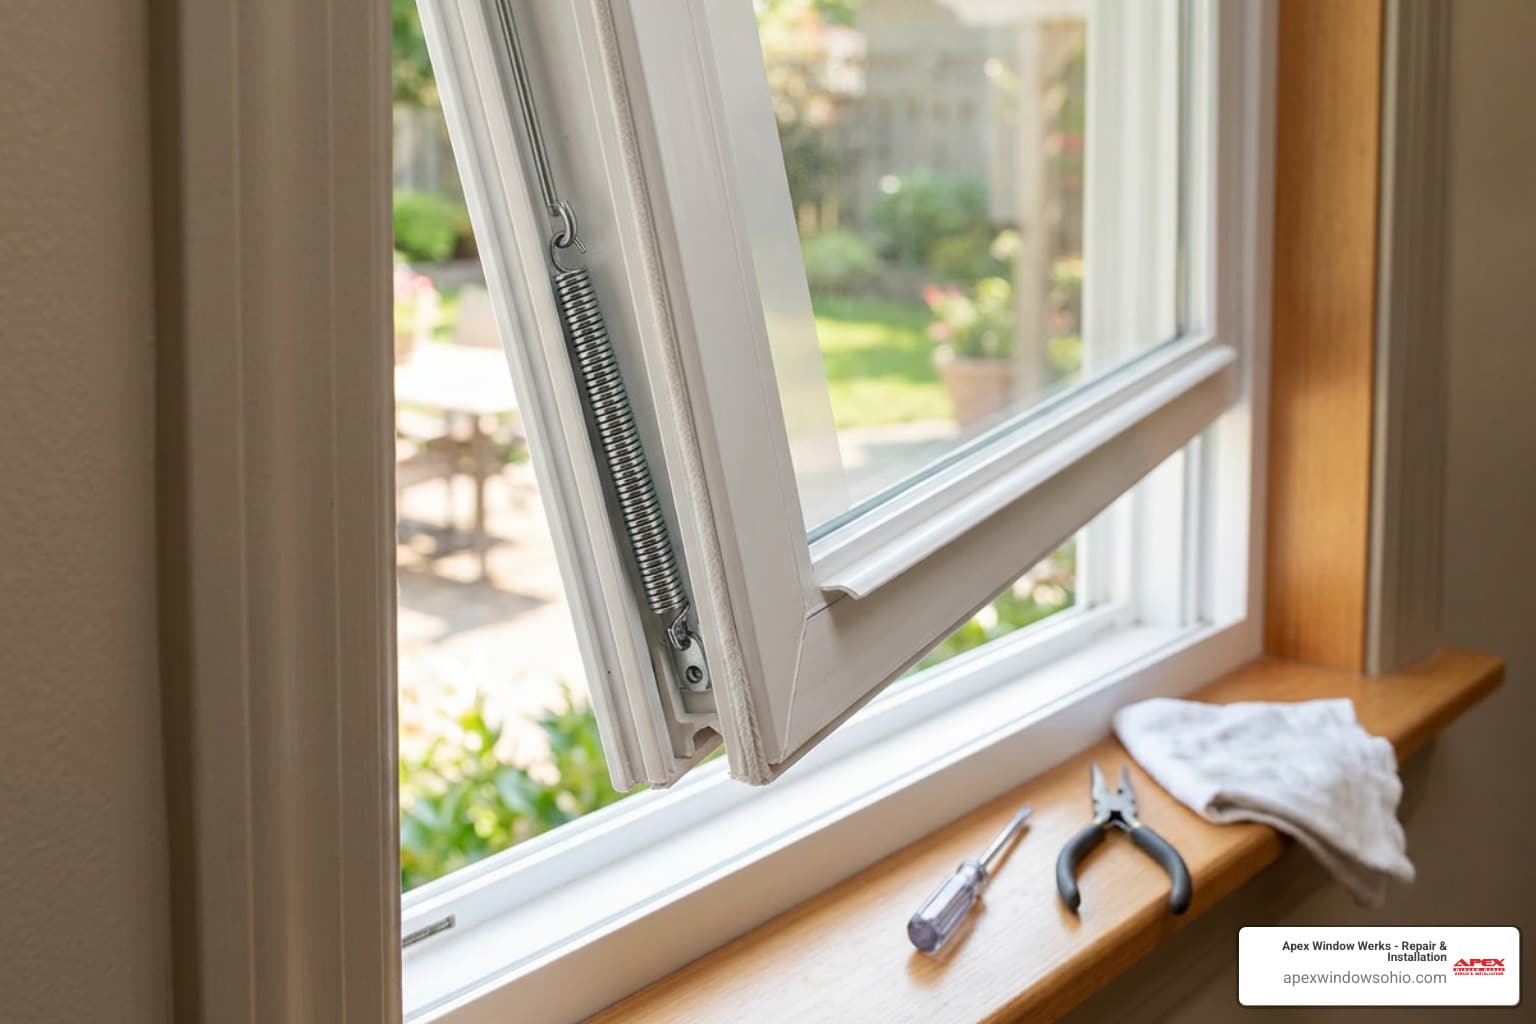
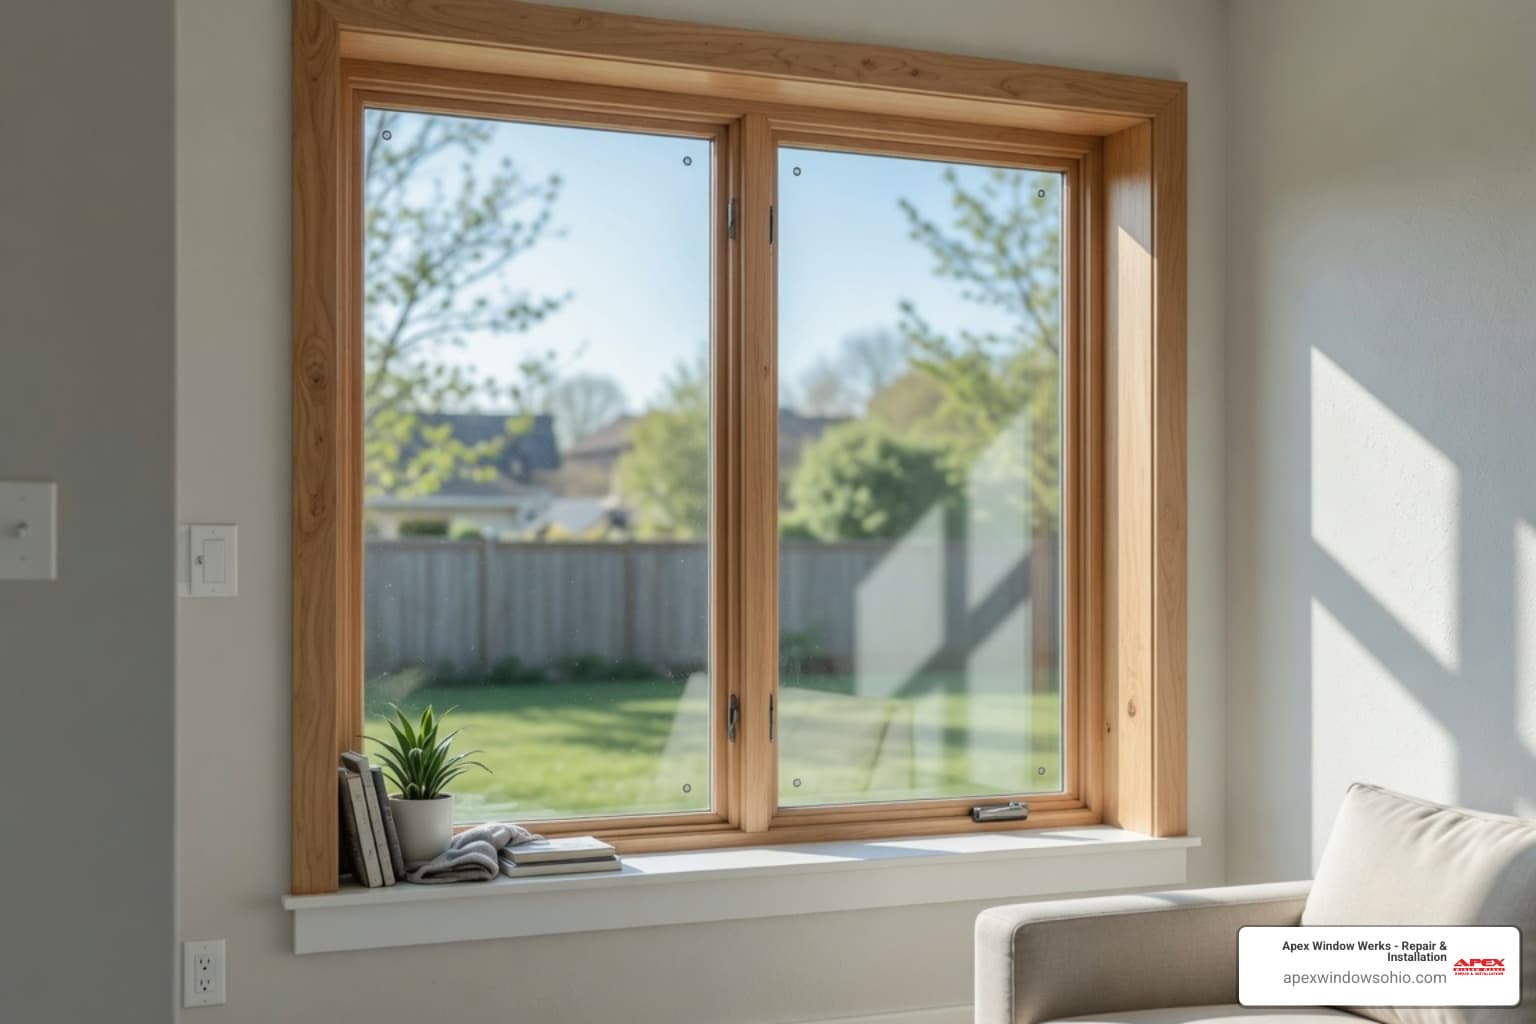
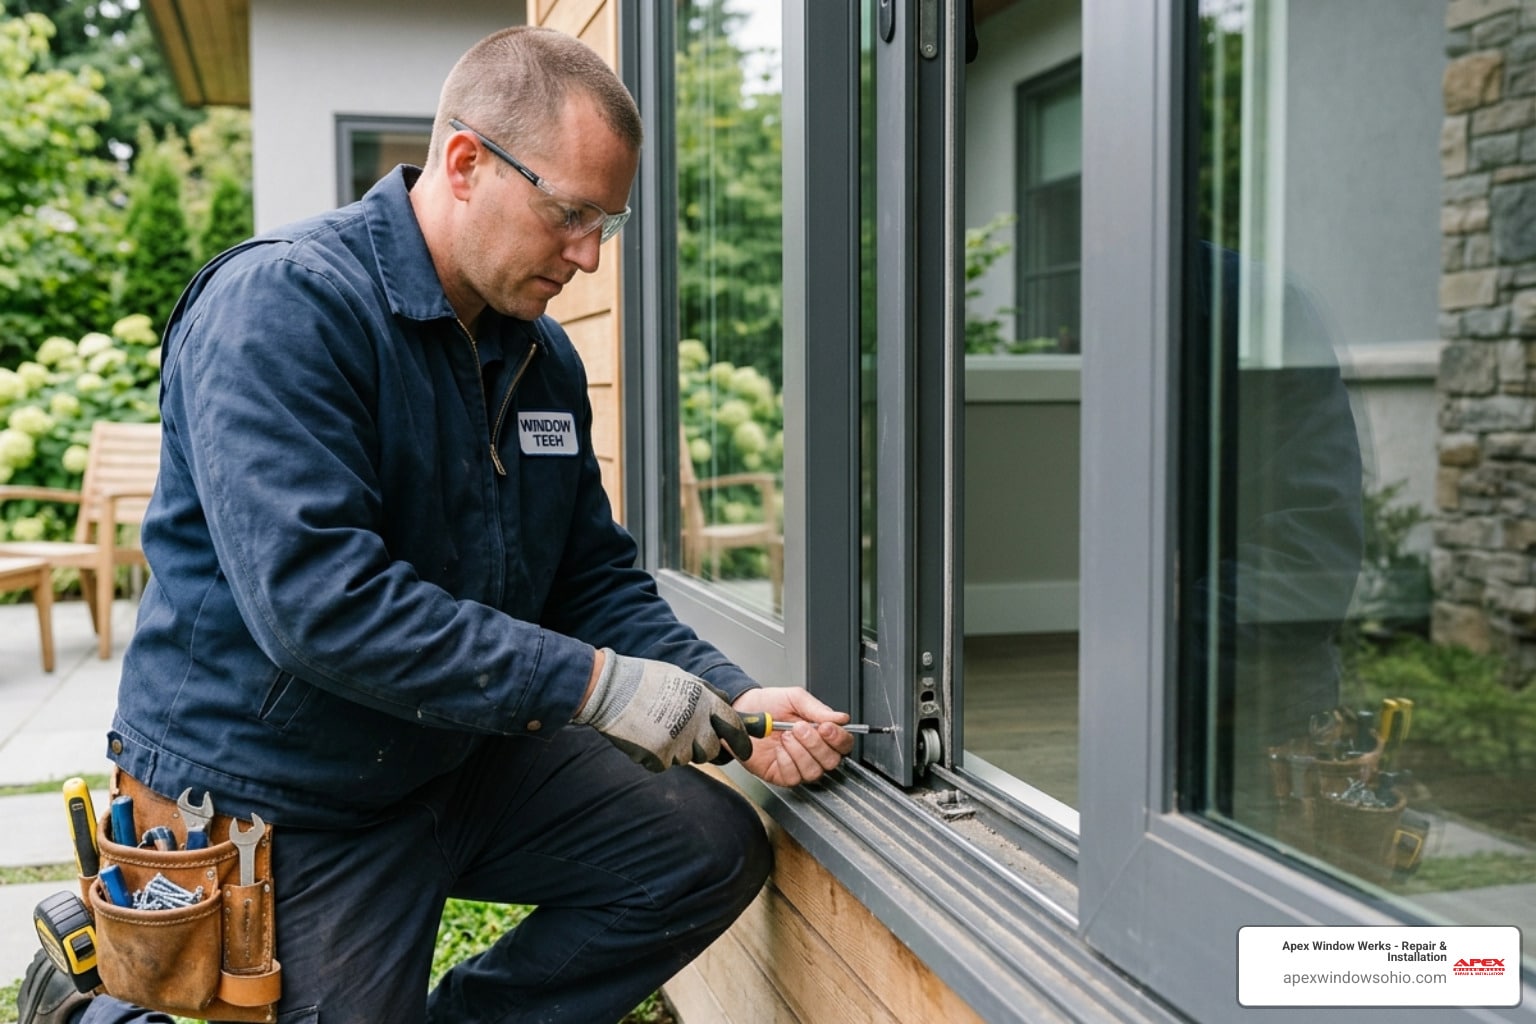
Handling Aluminum and Vinyl Variations
Modern windows are a bit different. They usually don’t use putty.
- Vinyl Frames: These often use “snap-in” vinyl stops. You carefully pry the stops out, remove the old glass and its double-sided glazing tape, apply new tape, set the glass, and snap the stops back in.
- Aluminum Frames: These may use rubber gaskets or silicone sealant. If your aluminum window has a removable metal strip, you’ll need to clean the channel thoroughly before applying a fresh bead of high-quality silicone.
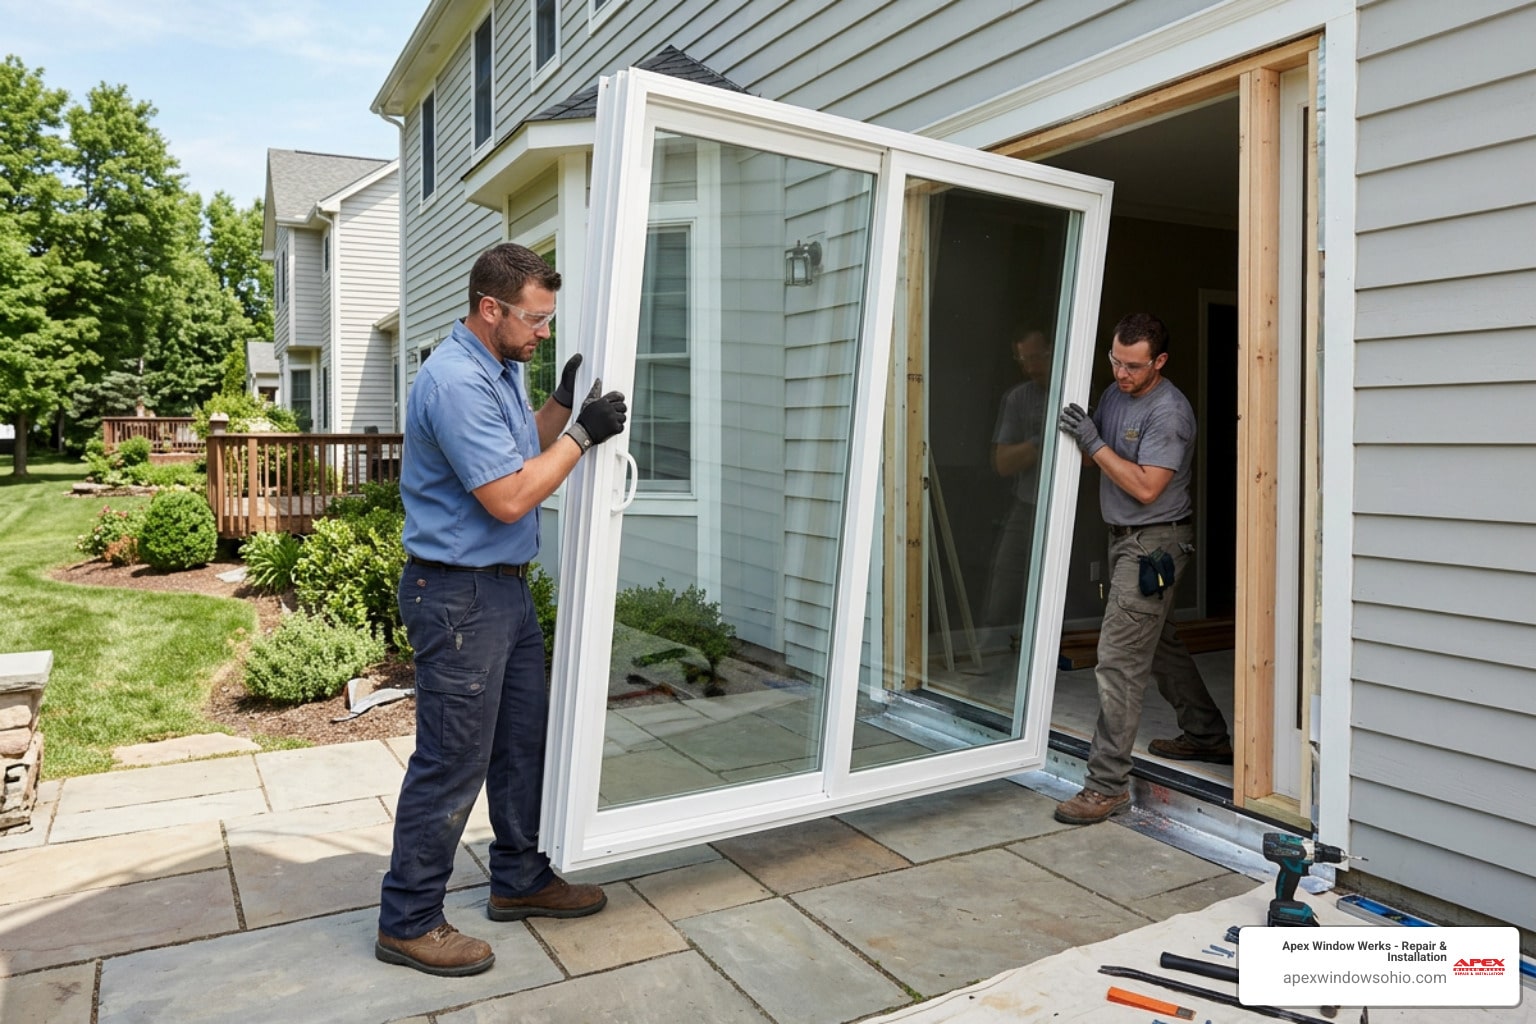
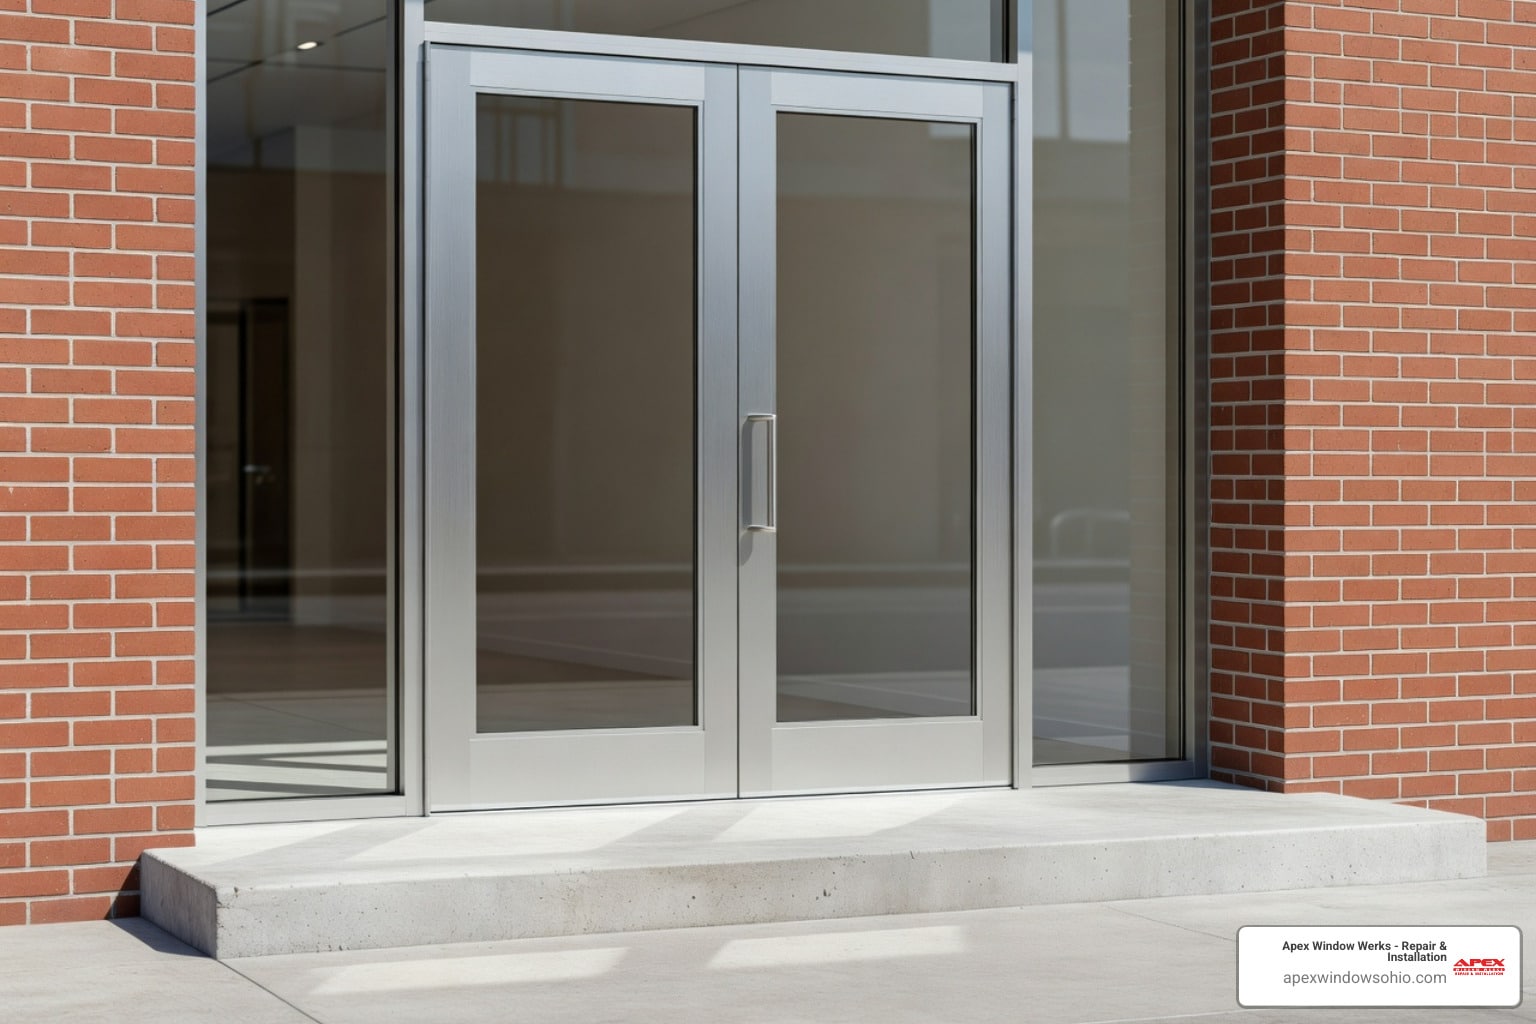
For projects like Patio Door Glass Replacement in Euclid, you’re likely dealing with tempered glass and specialized gaskets. These are much heavier and trickier to handle than a standard sash window.
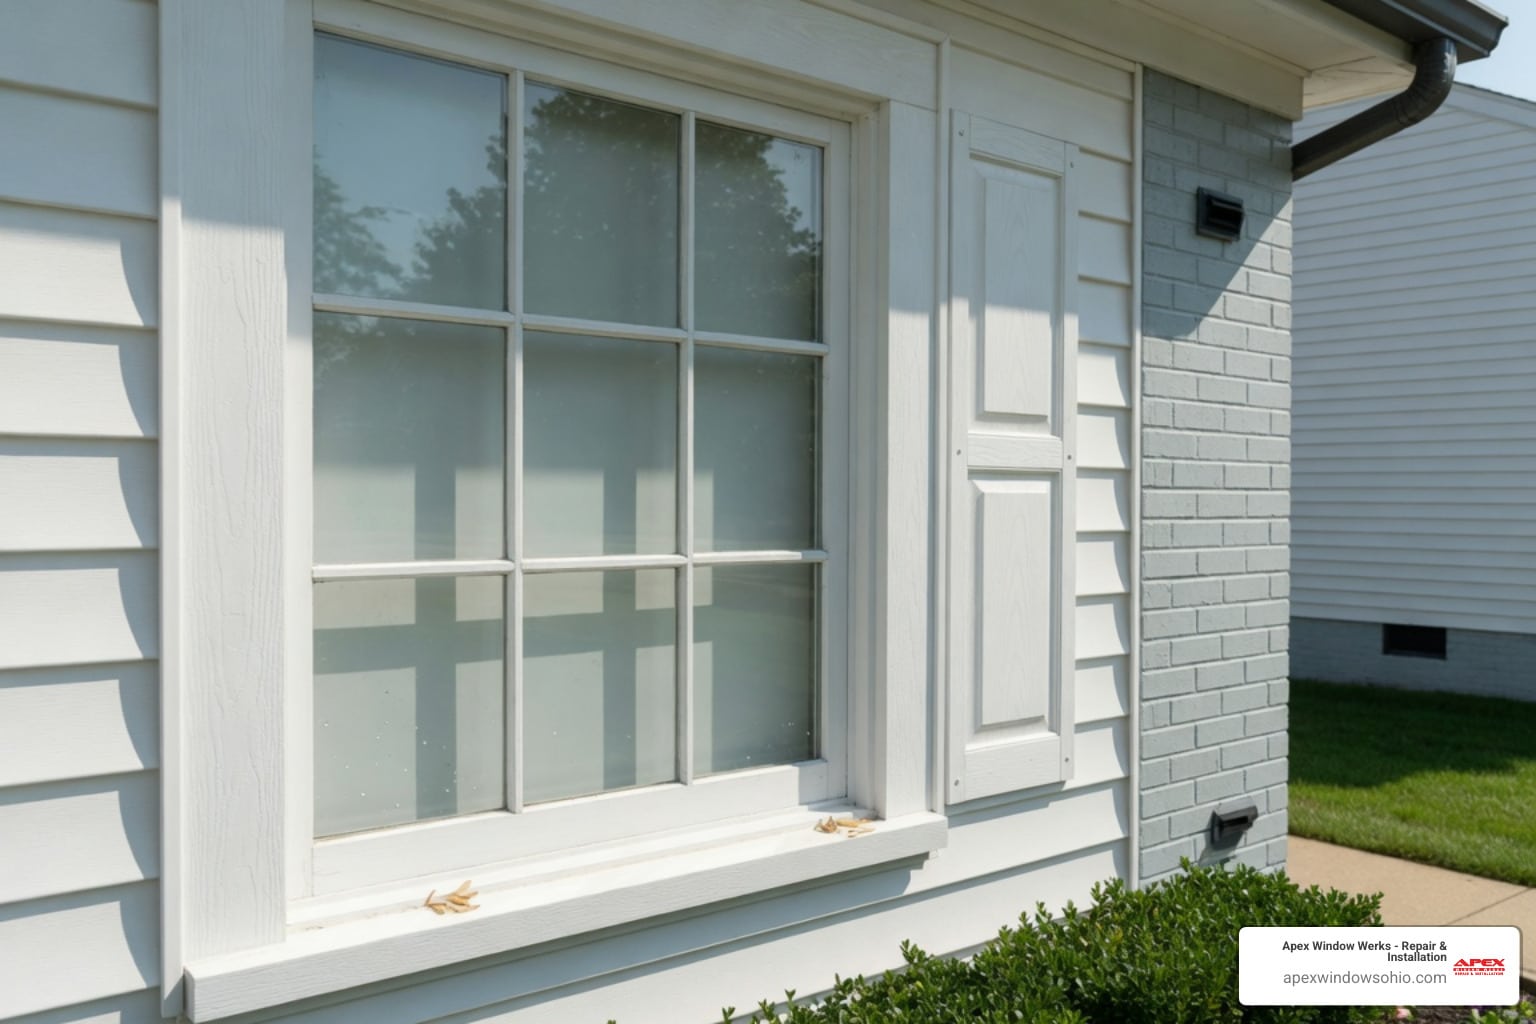
Choosing the Right Glass and Avoiding Common Mistakes
Not all glass is created equal. When you go to the hardware store or a local glass shop to replace broken glass, you have options.
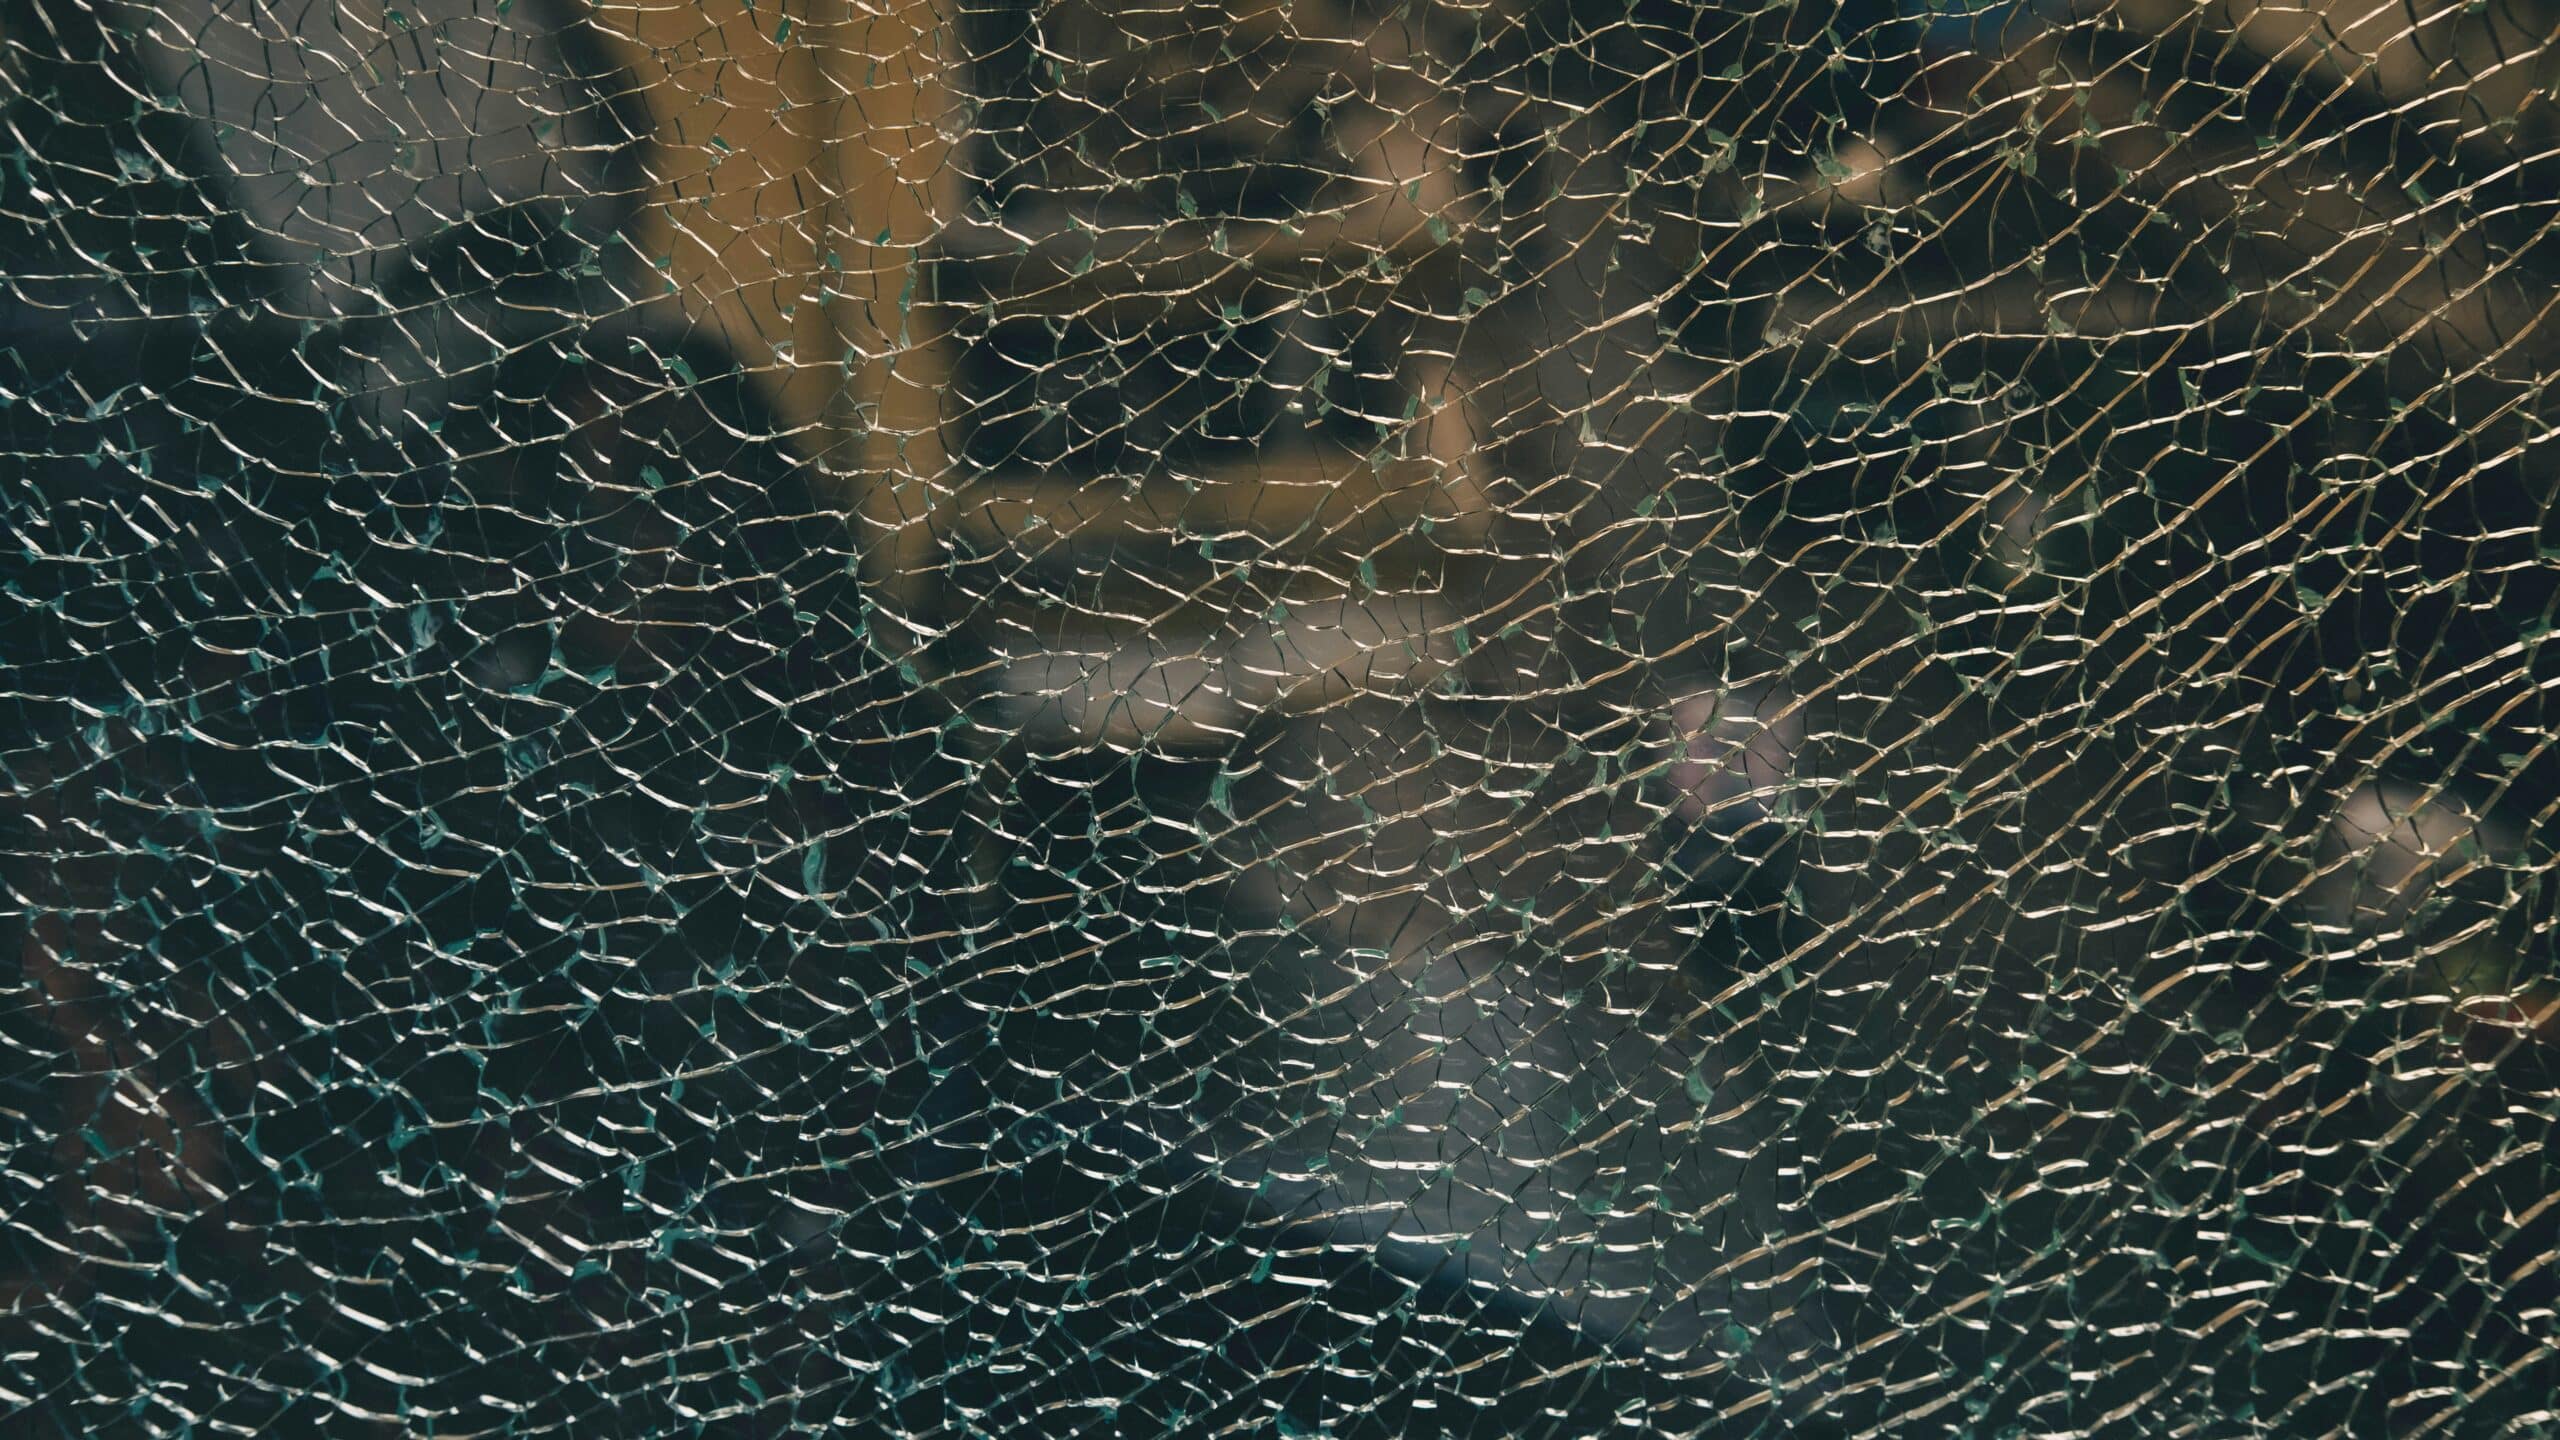
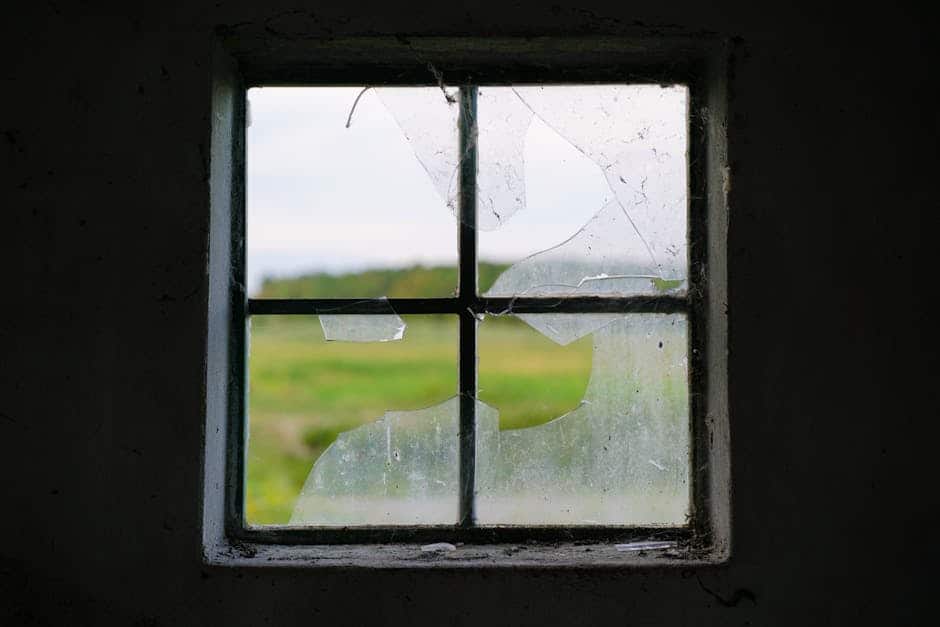
- Single Pane (Annealed): The standard for older homes. It’s affordable and easy to cut, but it breaks into sharp, dangerous shards.
- Tempered Glass: This is extremely strong and durable Tempered Glass. It is heat-treated so that if it breaks, it crumbles into small, relatively harmless pebbles. By law, this must be used in doors, bathrooms, and windows near the floor.
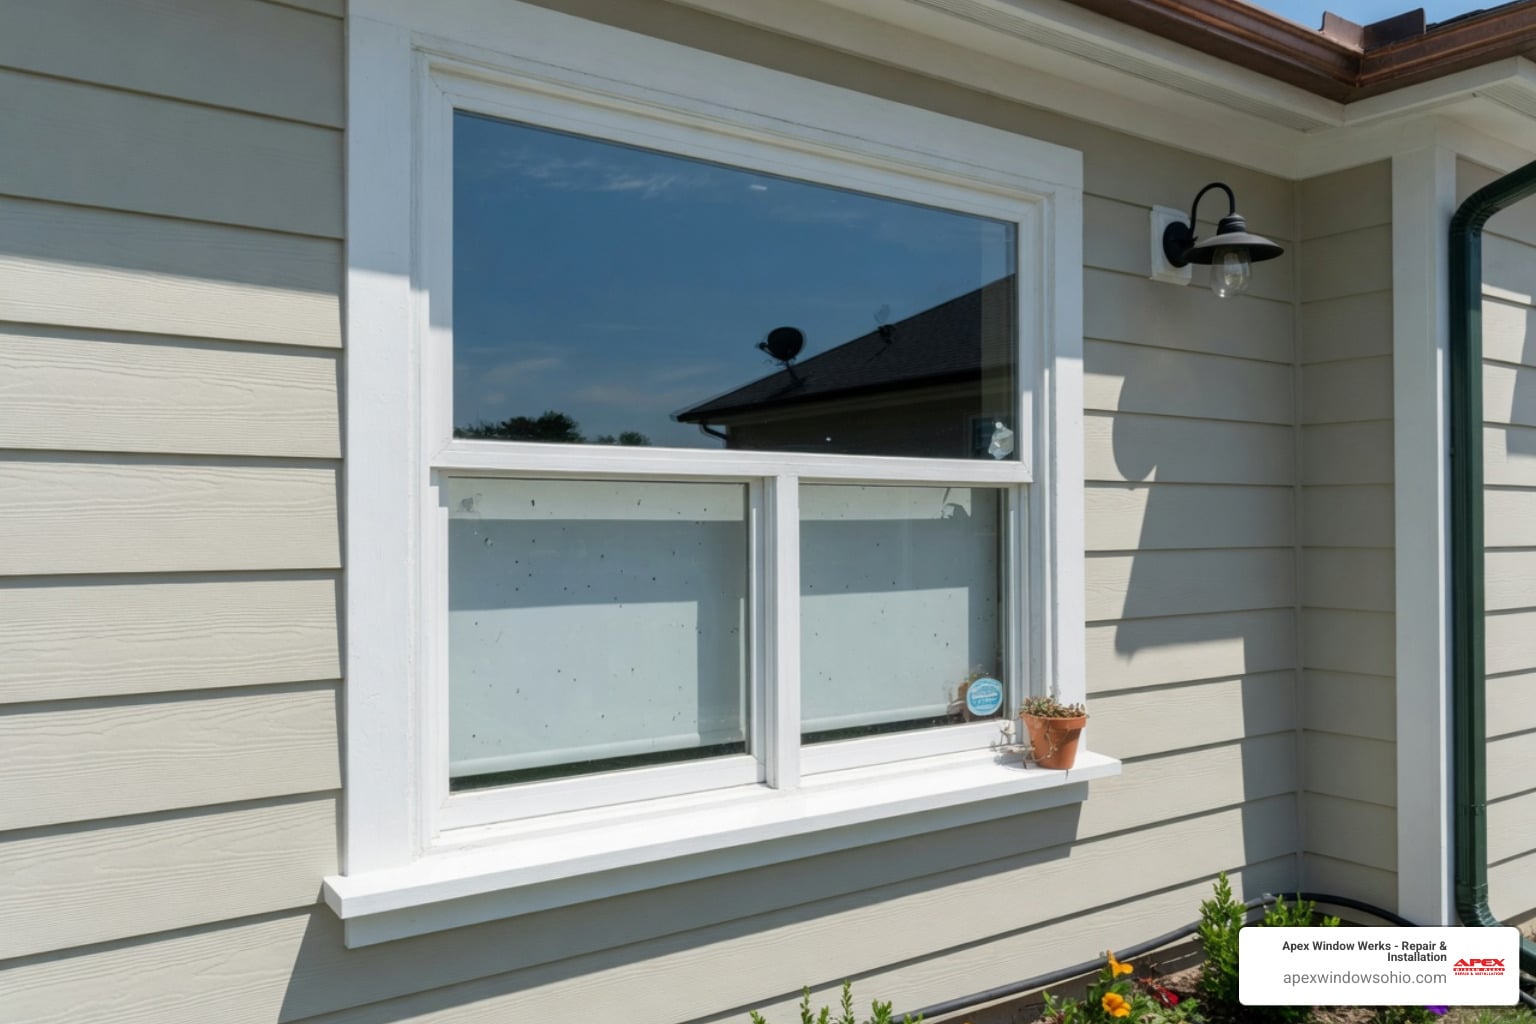
- Low-E Glass: This glass has a microscopic coating that reflects heat. It can significantly increase your energy savings by keeping your home cooler in the summer and warmer during those Lake Erie winters.
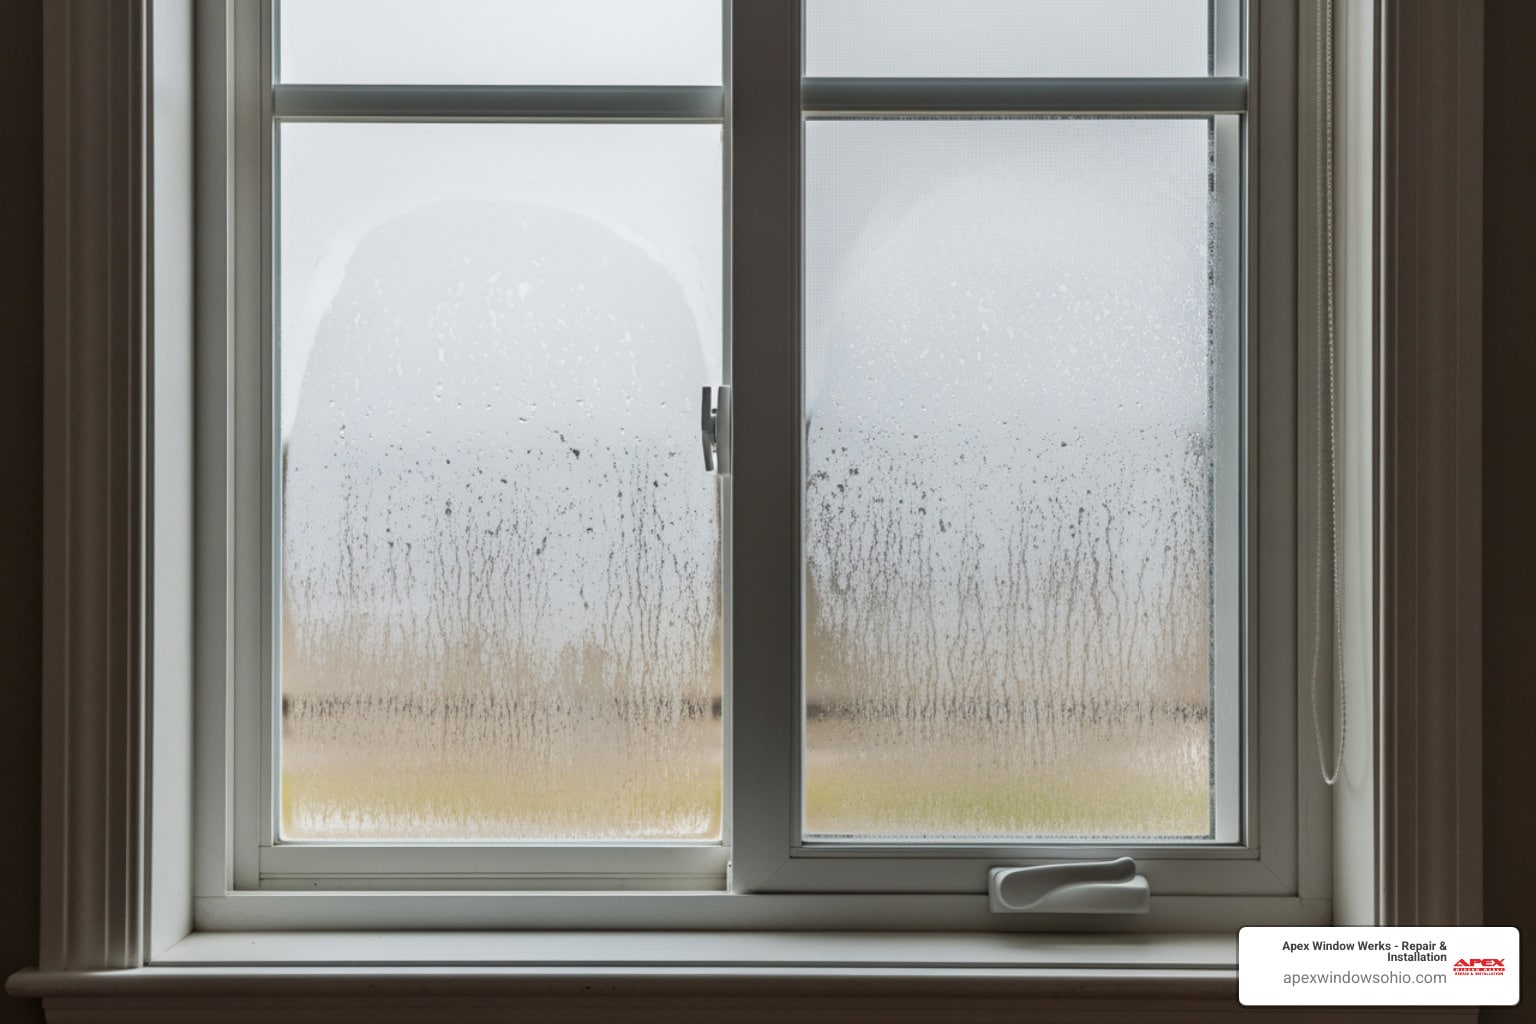
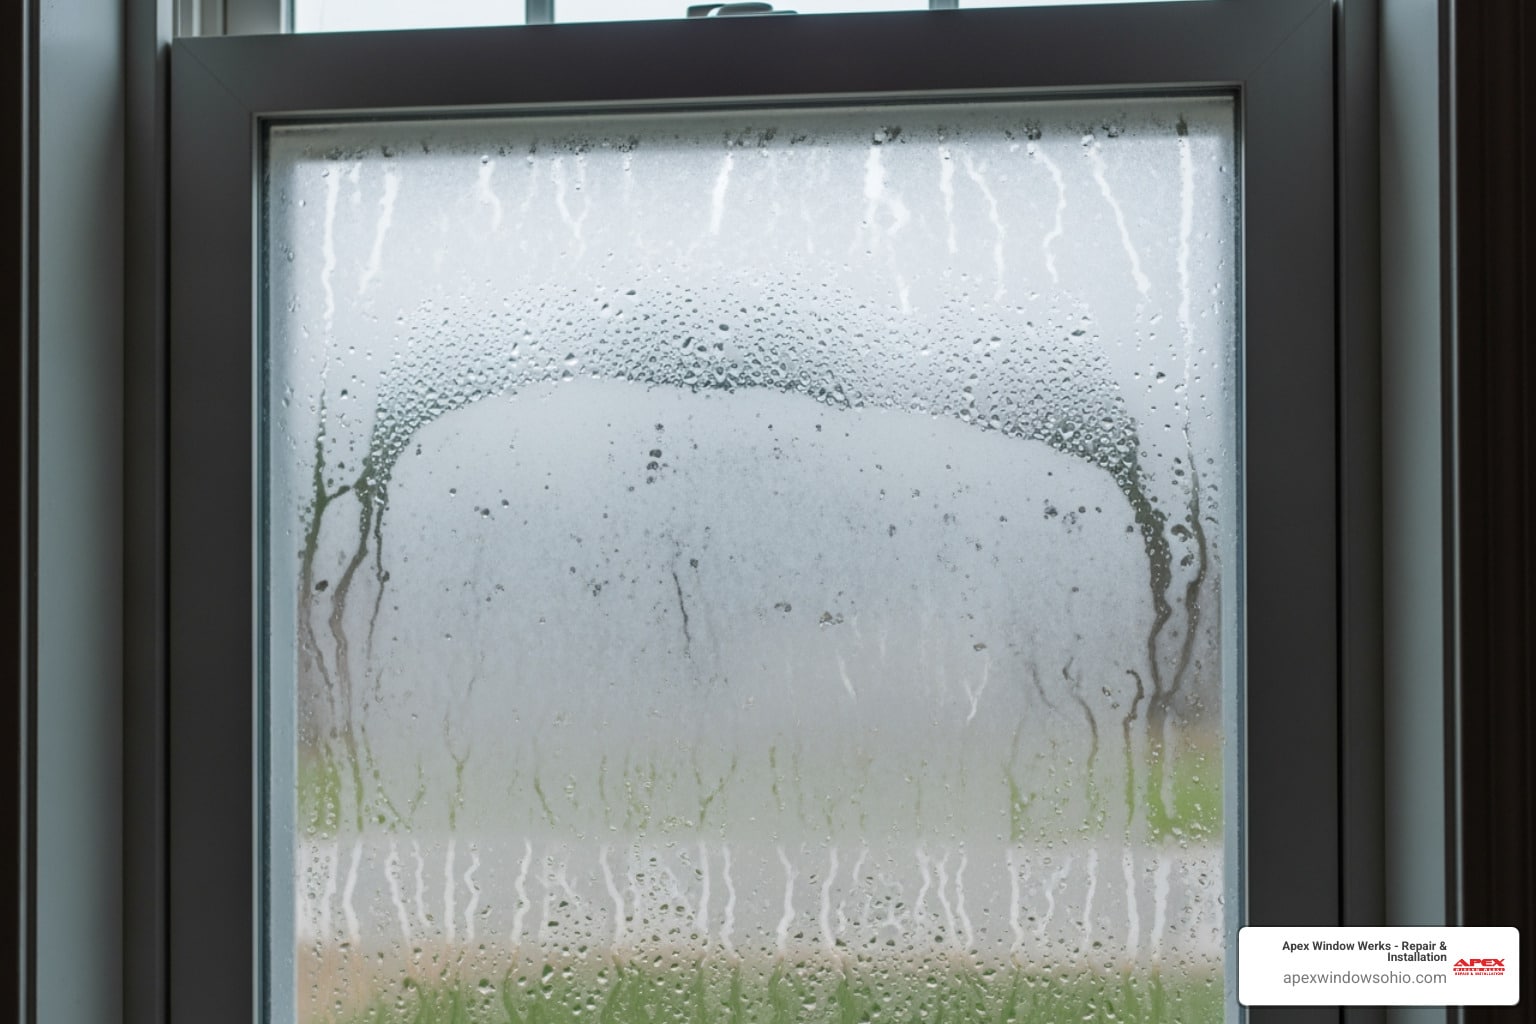
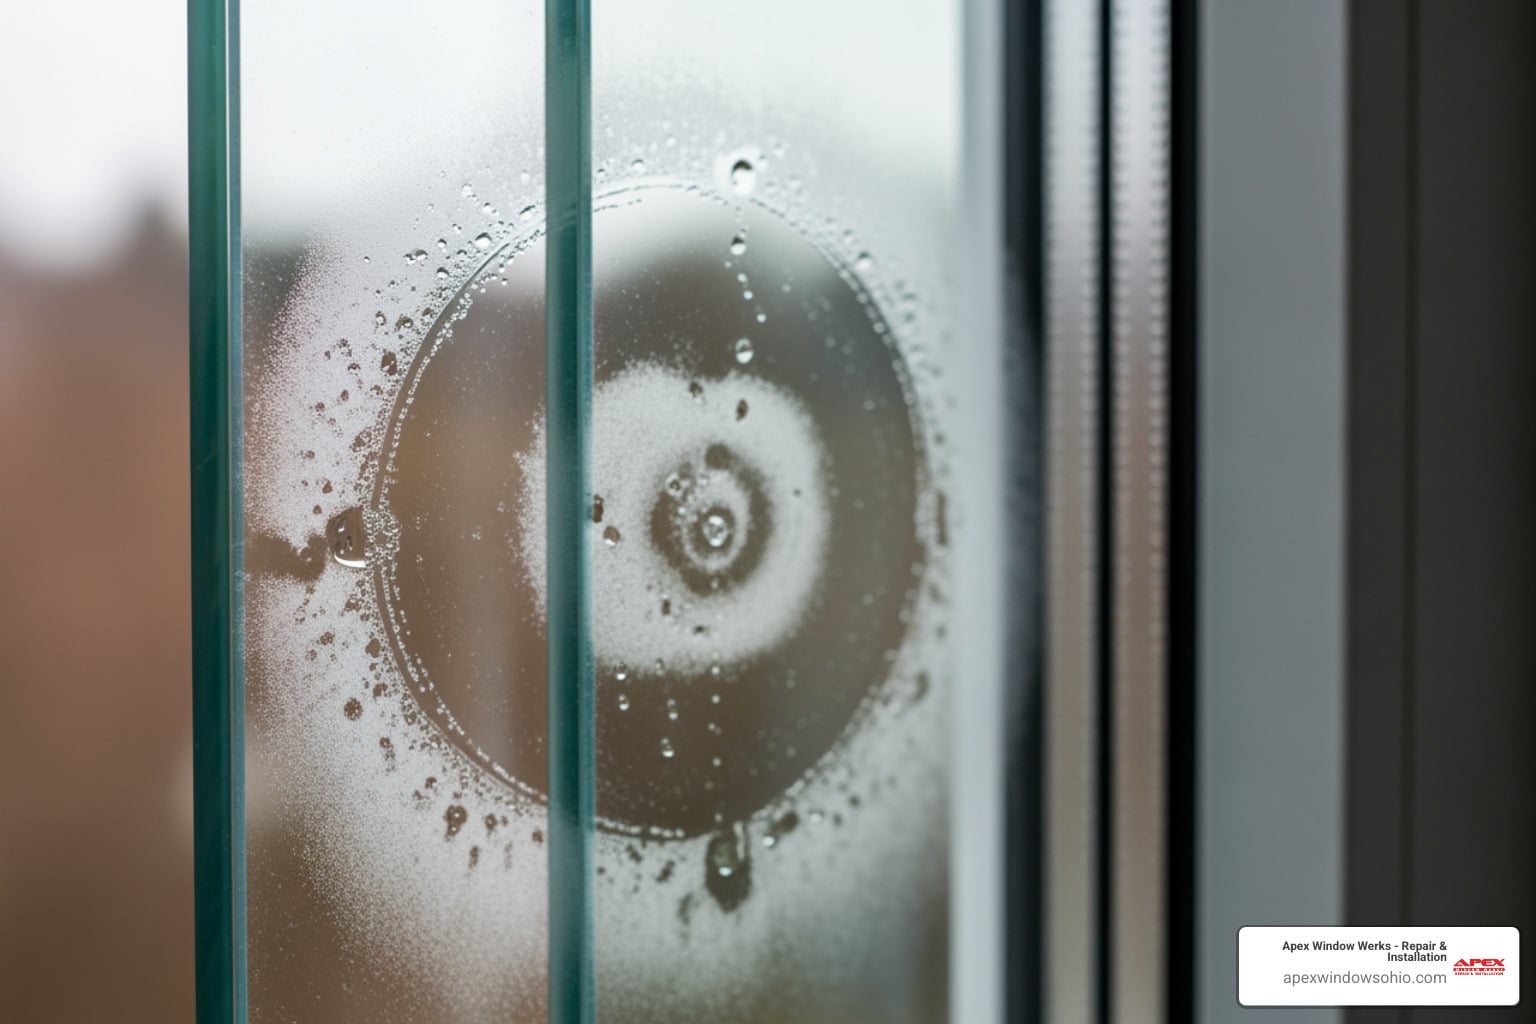
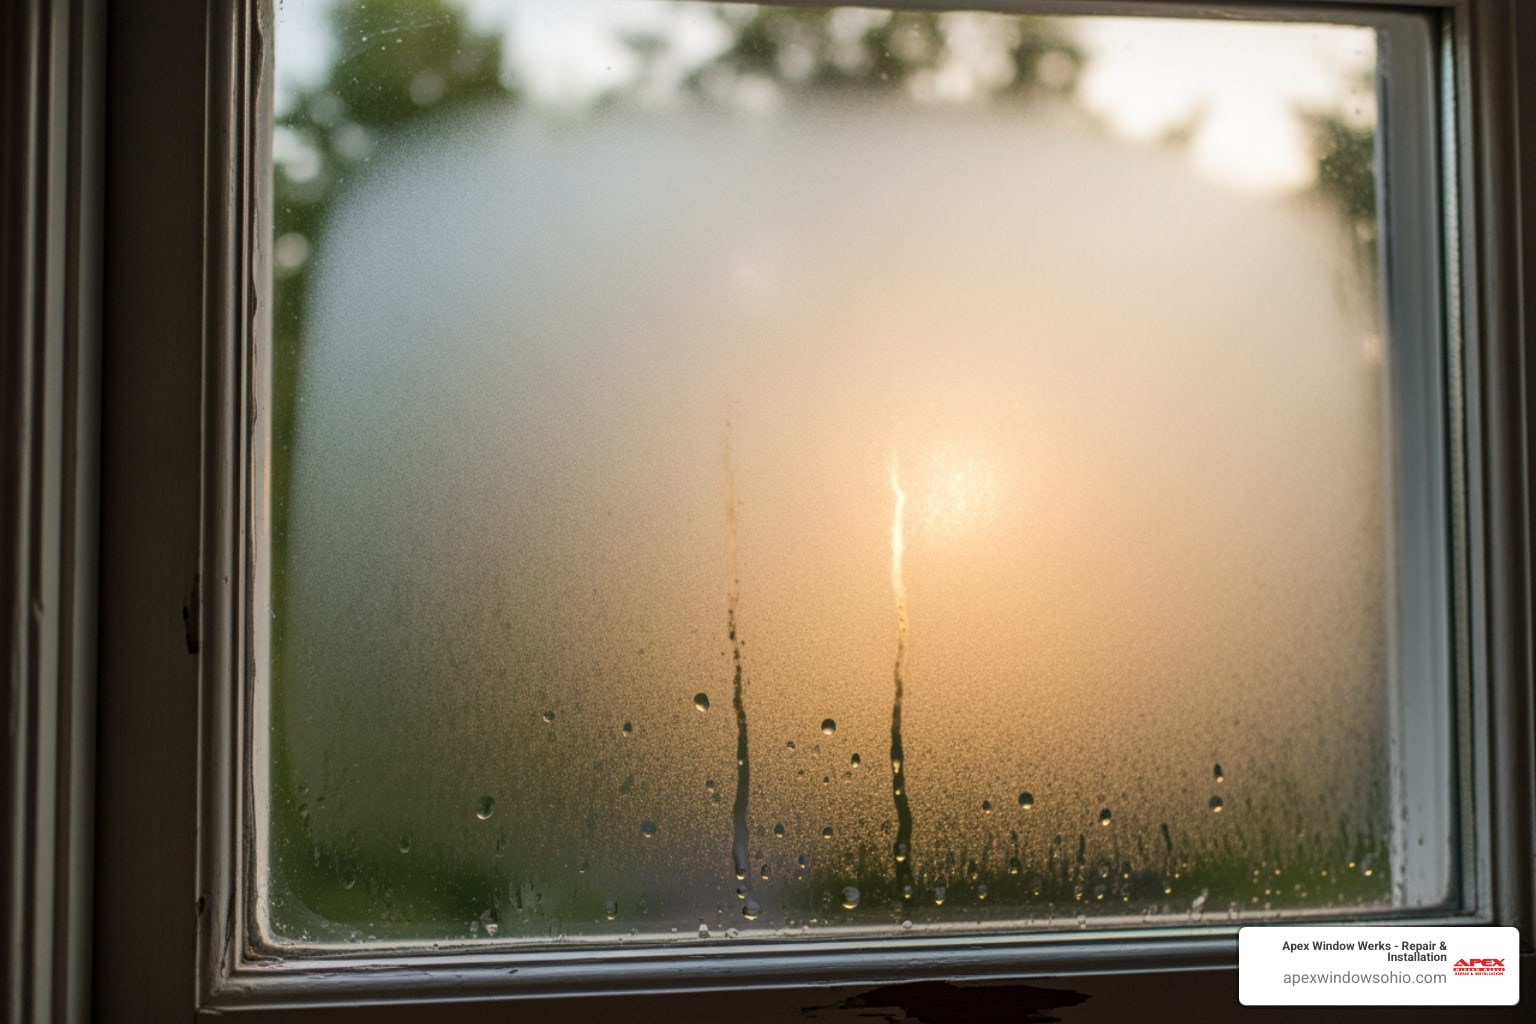
- Insulated Glass Units (IGU): These are double or triple-pane units. If the seal fails and they become cloudy, you’ll need a Foggy Window Glass Replacement. You cannot “repair” an IGU at home; the entire unit must be manufactured to size and replaced as one piece.
Common Mistakes to Avoid
- Forcing the Fit: Never “force” a piece of glass into a frame. If it doesn’t fit, the frame is either not clean or the glass is too big.
- Using the Wrong Putty: Don’t use bathroom caulk or silicone in place of glazing putty on a wood window. It won’t hold up and is nearly impossible to remove later.
- Skipping the Primer: Putty on bare wood will fail. Always prime or oil the wood first.
Frequently Asked Questions about Window Repair
How do I temporarily secure a broken window?
If you can’t replace broken glass immediately, you need to protect your home.
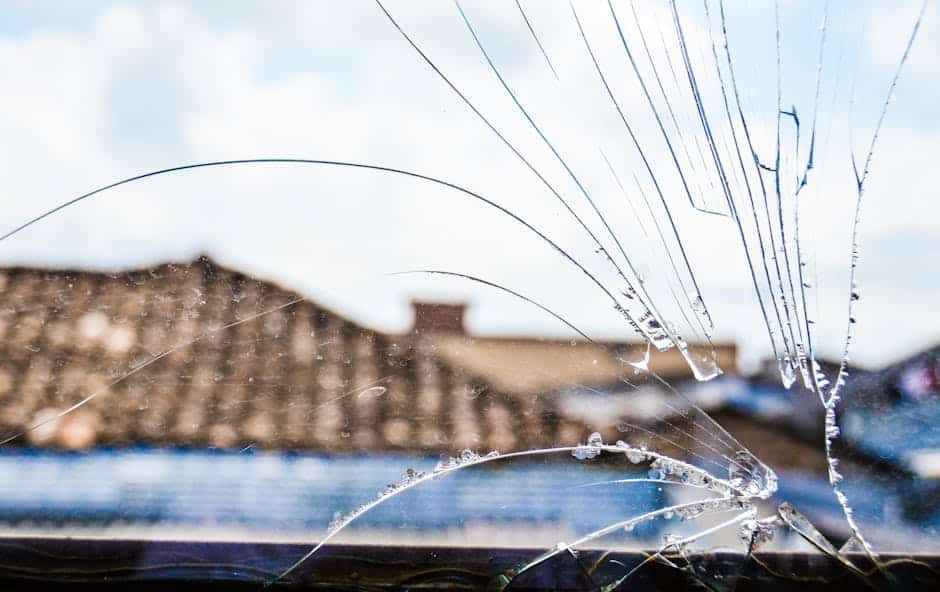
- For small cracks: Apply clear packing tape to both sides of the crack to stabilize it.
- For missing shards: Use heavy-duty plastic sheeting or a heavy-duty trash bag taped tightly to the frame.
- For total breakage: Cut a piece of 1/4-inch plywood to fit the opening and screw it gently into the window frame (or use tension clips) until you can get a permanent replacement.
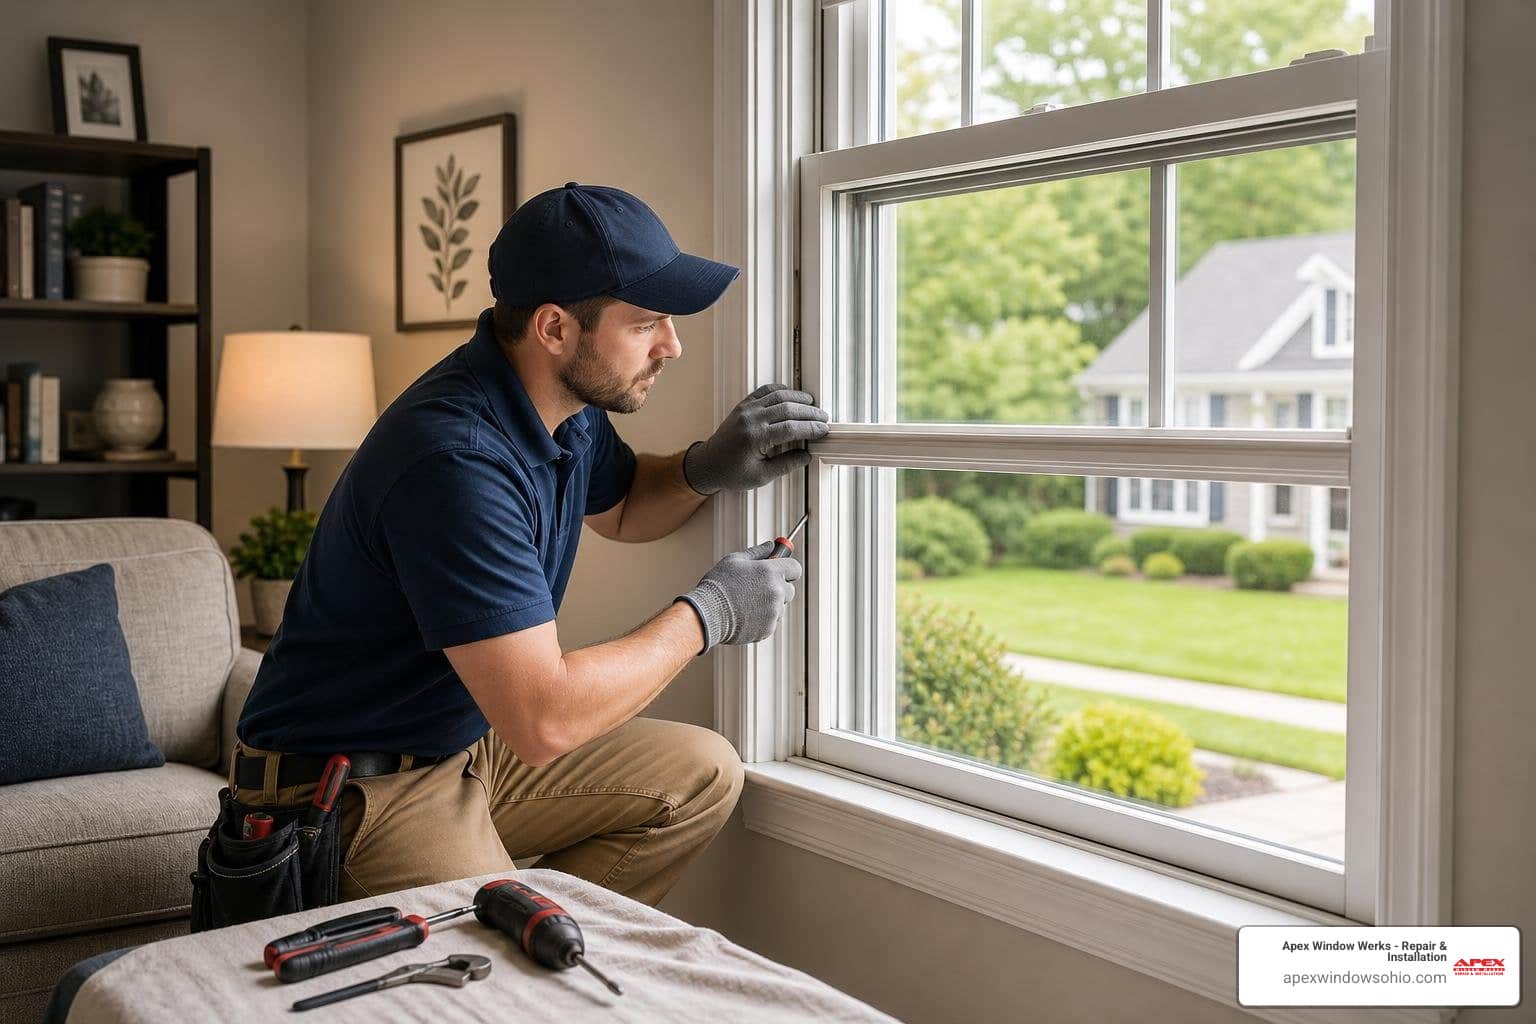
When should I call a professional instead of doing it myself?
While we love a good DIY project, some jobs are best left to the experts at Apex Window Werks. You should call us if:
- It’s a Double-Pane Unit: IGUs require specialized manufacturing and vacuum-sealing with argon or krypton gas.
- It’s High Up: Replacing glass on a second or third story is a major fall risk.
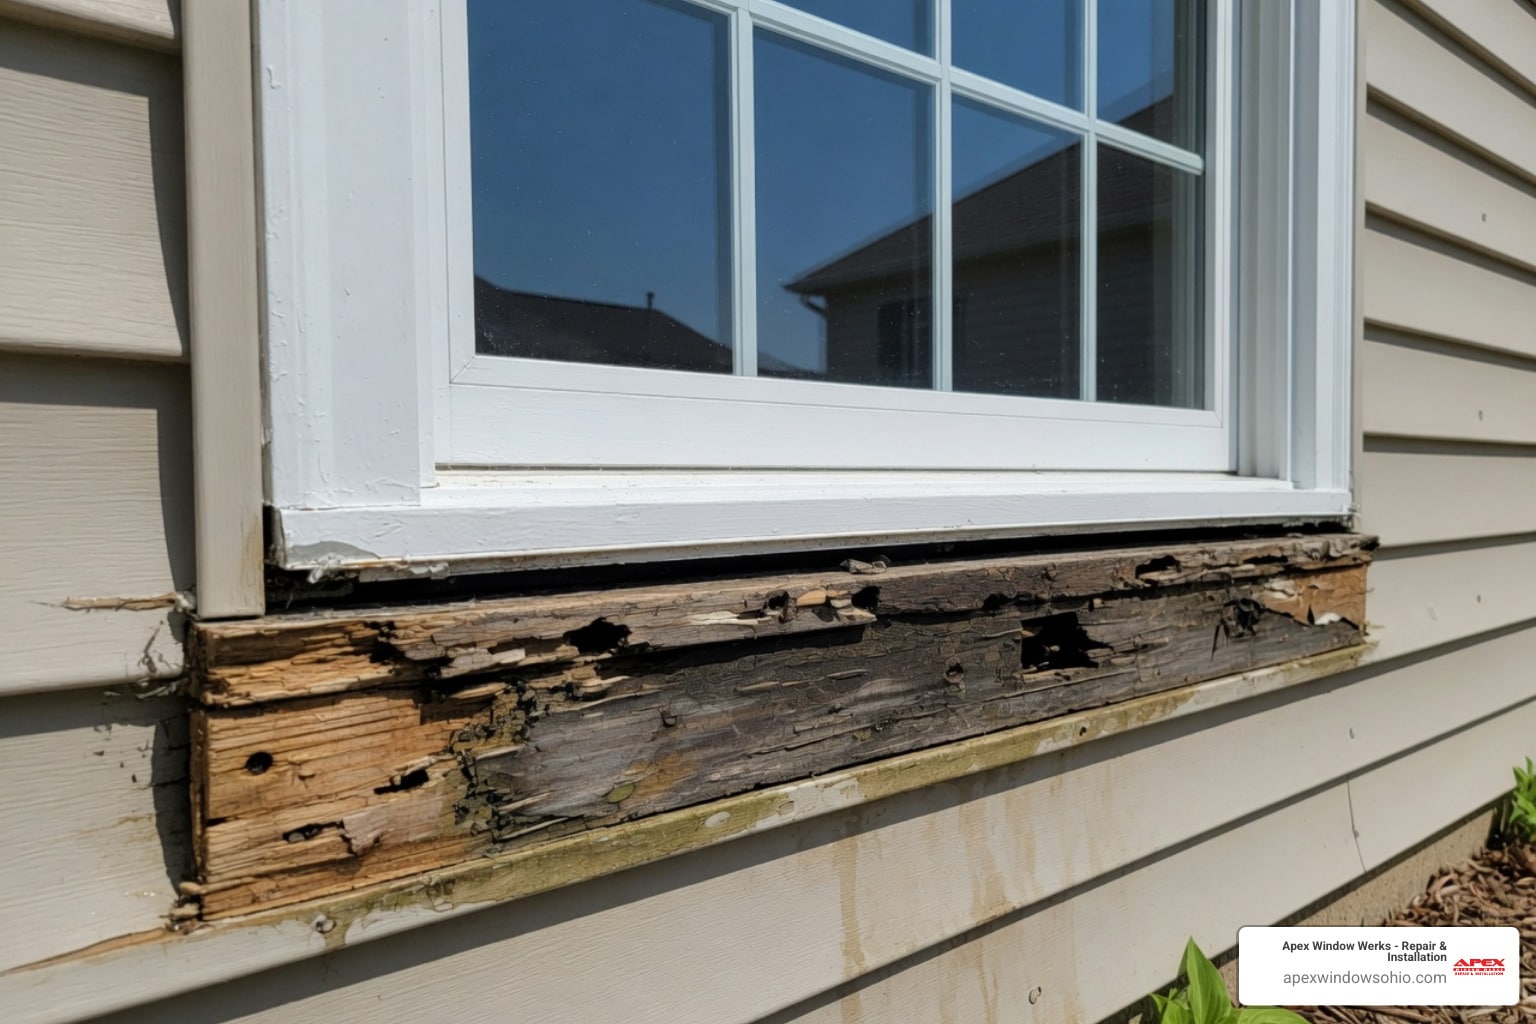
- The Frame is Rotted: If the wood “crumbles” when you scrape it, the glass won’t stay in. We specialize in wood window repair and can often save the frame rather than replacing the whole window.
- It’s a Large Picture Window: Large sheets of glass are incredibly heavy and require specialized suction cups and multiple people to handle safely.
Check out our guide on Broken Window Pane Repair: DIY or Call a Pro? for more details on making this decision.
How much does DIY glass replacement typically cost?
DIY is definitely the budget-friendly route.
- Glass: A single pane of standard glass usually costs between $10 and $40 depending on size.
- Materials: Putty, points, and oil will run you another $20–$30.
- Tools: If you don’t own a heat gun or putty knife, expect to spend $40–$60 on a basic kit.
For a professional estimate on more complex jobs, you can search for Glass Window Pane Replacement Near Me: Find Your Perfect Fix to see how our rates compare to the time and effort of doing it yourself.
Conclusion
Replacing broken glass is a classic homeowner skill that saves money and keeps your house in top shape. By taking the time to measure accurately, prep your frame with linseed oil, and apply a smooth, professional putty bevel, you can extend the life of your windows by decades.
However, we know that life in Northeast Ohio is busy. Between work, family, and the ever-changing weather in Cleveland and Akron, you might not have three hours to spend hovering over a window sash with a heat gun.
That’s where we come in. At Apex Window Werks, we pride ourselves on being the local experts in Window Repair in Akron. We offer residential and commercial services across the entire region, from Westlake to Mentor and down to Medina.
Our USP is simple: speed and quality. We offer same-day service for many repairs and even 2-hour “walk-in” service for those who can bring their window sash directly to us. Whether you’re dealing with a foggy double-pane, a rotted wooden sill, or a shattered patio door, we have the tools and the expertise to fix it right the first time.
Don’t let a broken window compromise your home’s safety or comfort. Give us a call or stop by one of our locations today — let’s get that “Glass Act” back on the road!