


Don’t Replace, Restore! Your Complete Sash Window Restoration Handbook
Introduction: Breathe New Life into Your Historic Windows
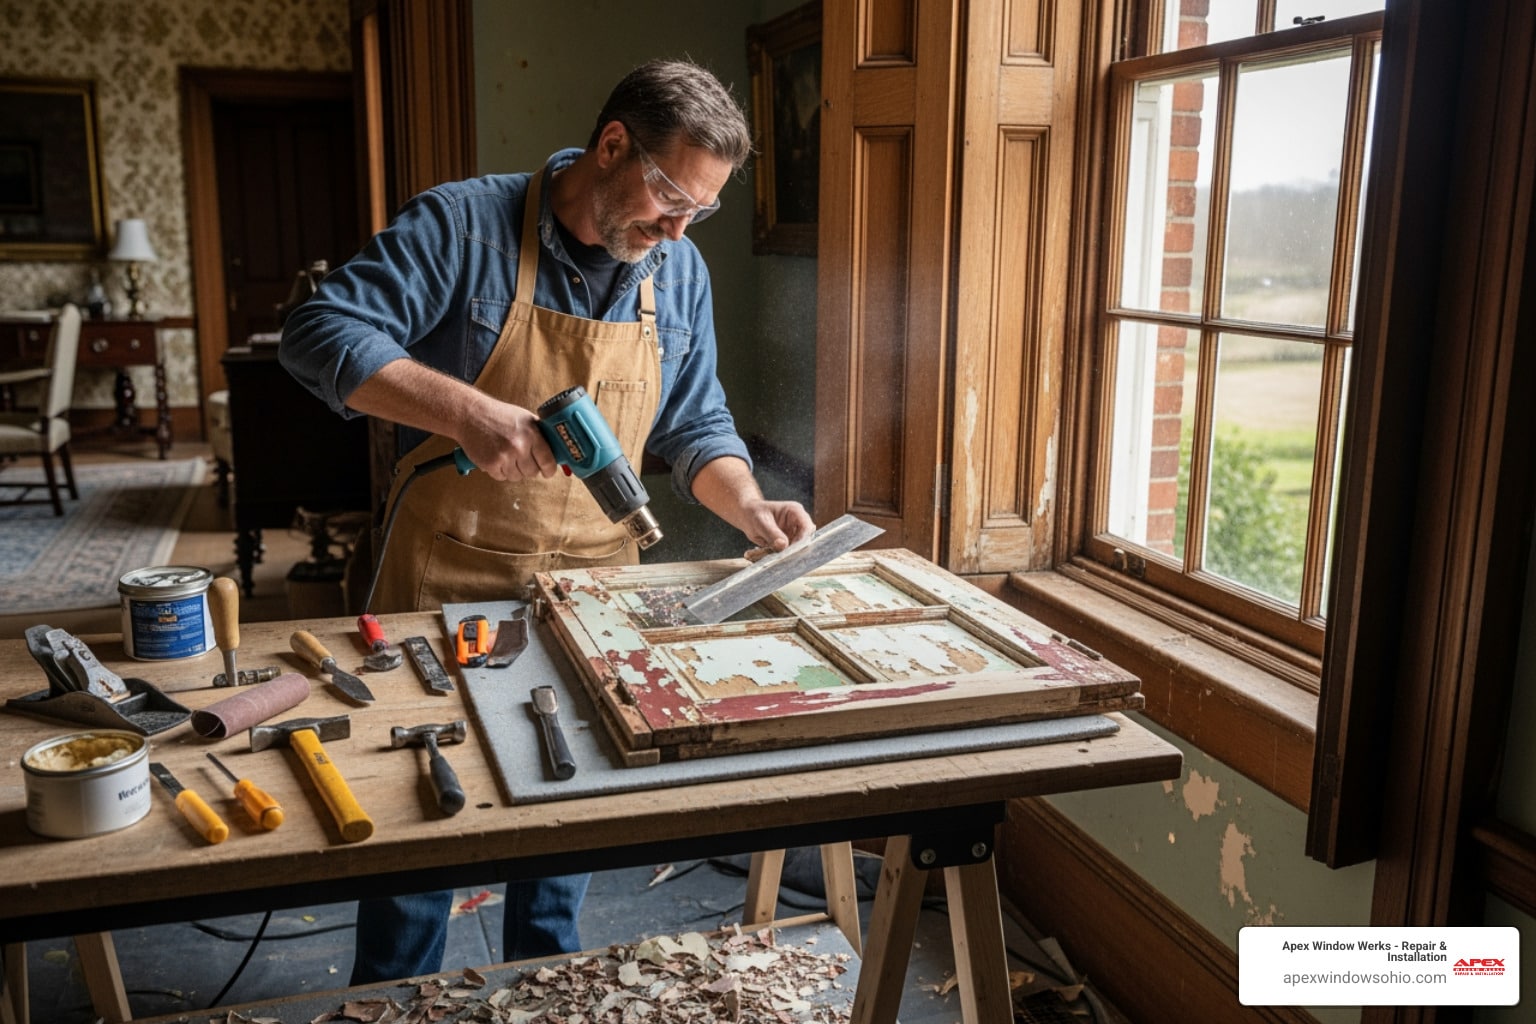
Window sash restoration is the process of repairing and refinishing old wooden window frames to restore their original function and beauty, typically involving paint removal, wood repair, re-glazing, and refinishing–often at a fraction of the cost of replacement.
Quick restoration overview:
- Remove the sash from the frame and strip old paint/putty
- Repair rotted or damaged wood with epoxy or wood patches
- Re-glaze with fresh putty and secure glass with glazing points
- Prime and paint to protect the wood and restore appearance
- Reinstall with new weatherstripping and hardware
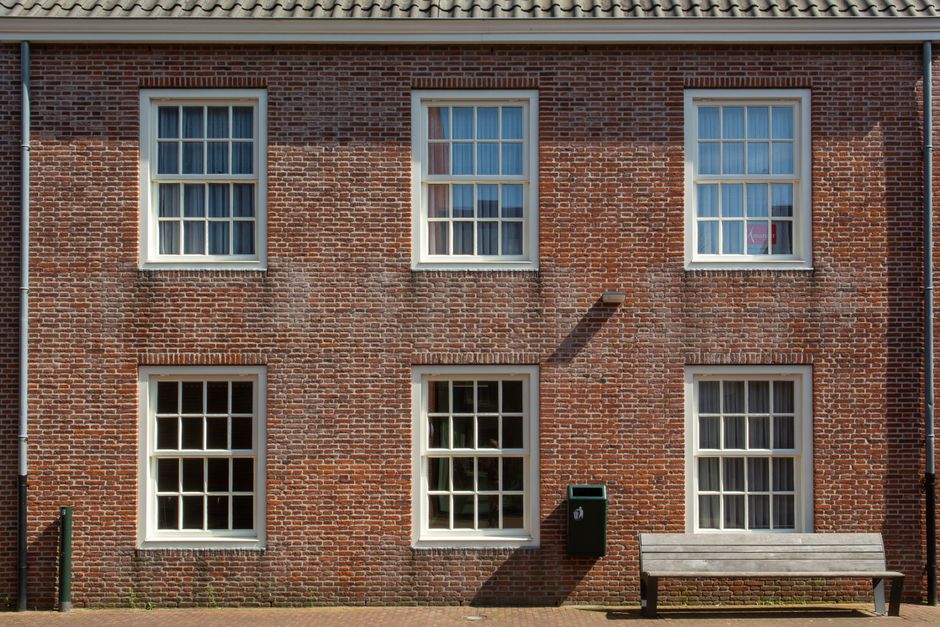
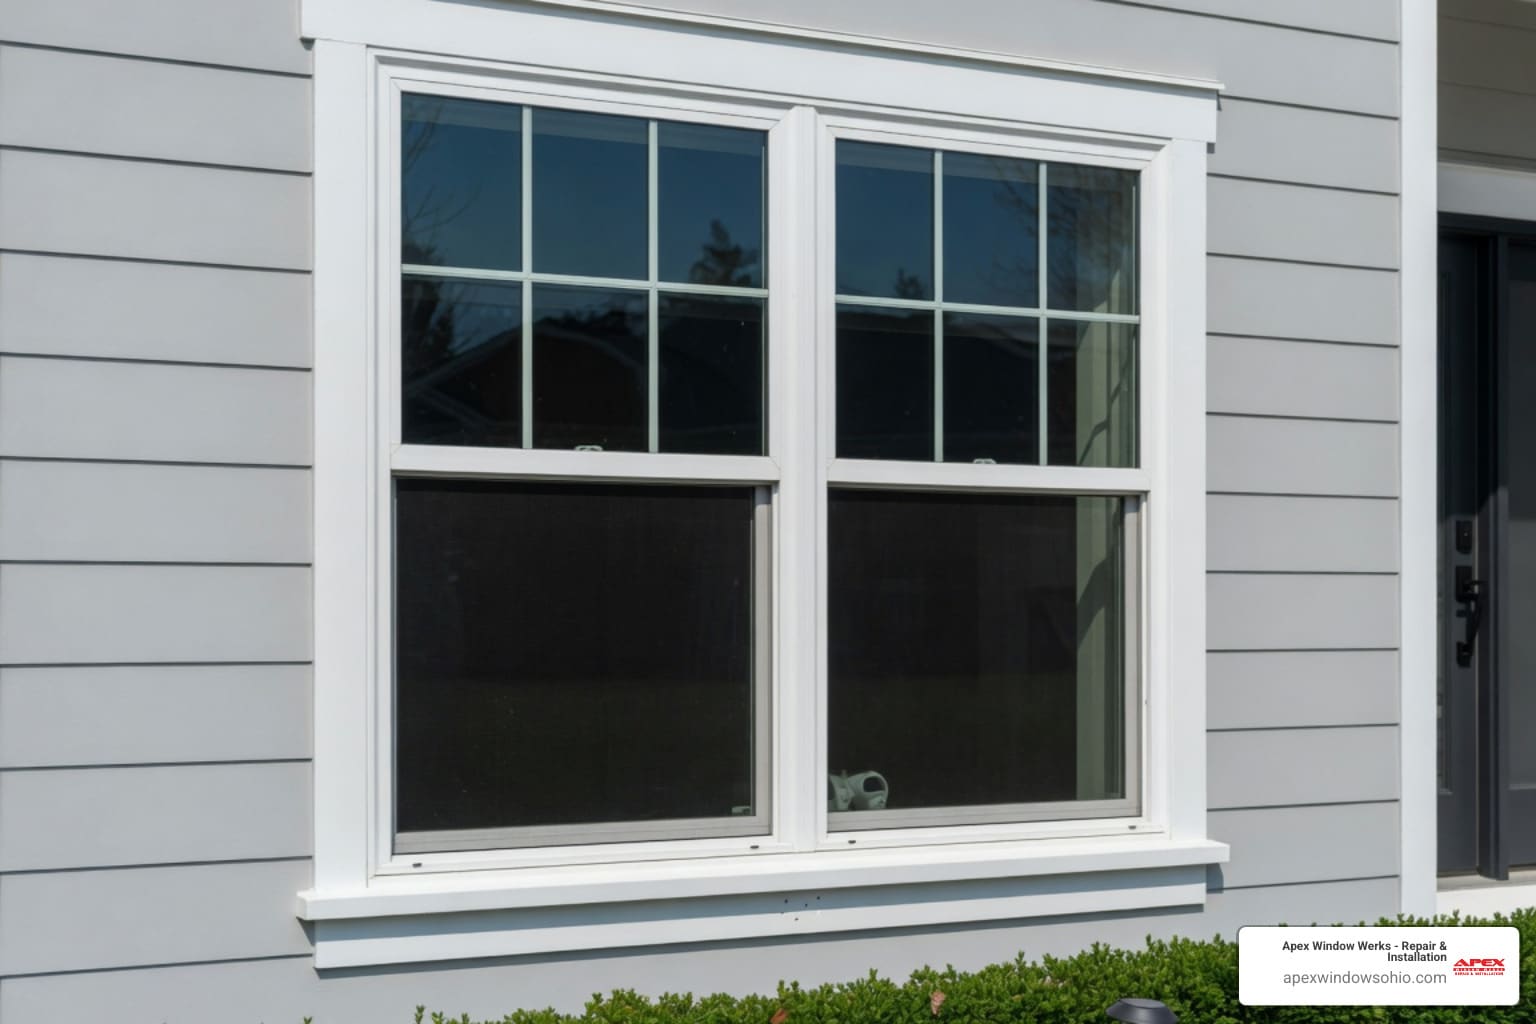
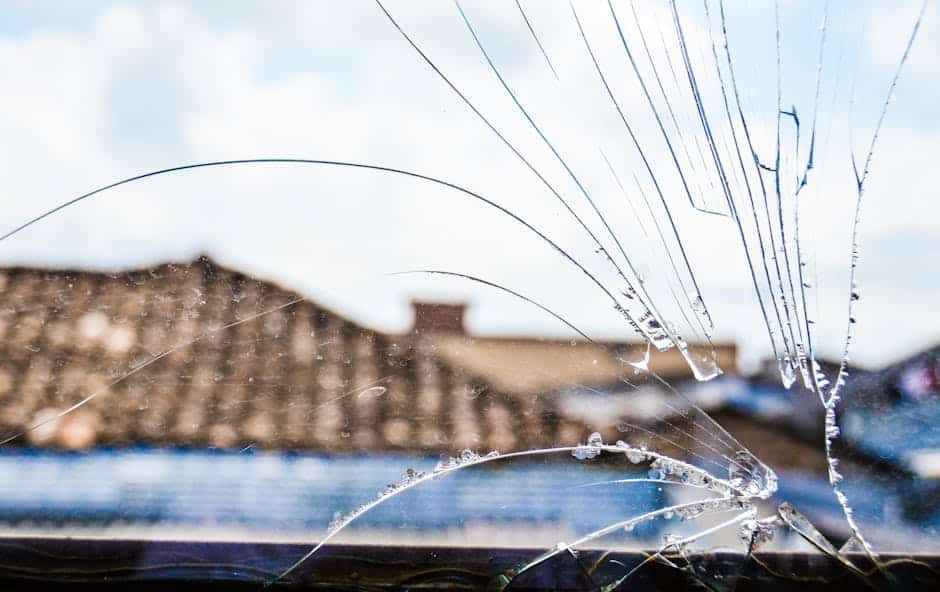
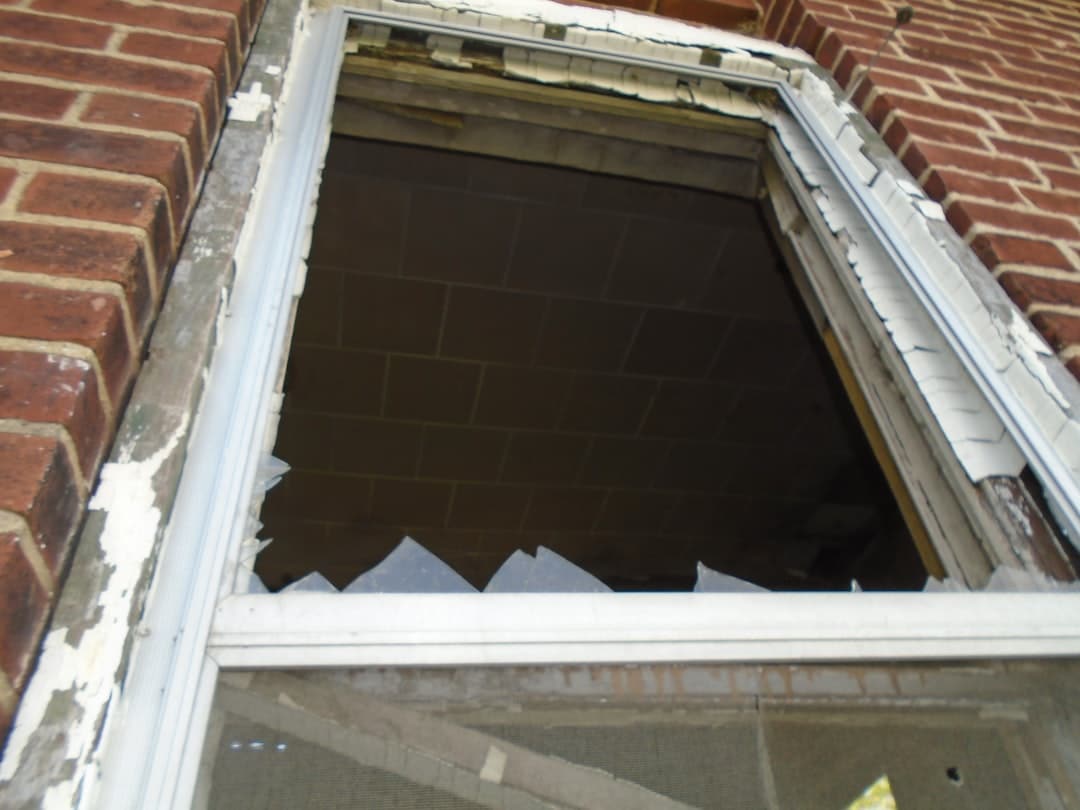
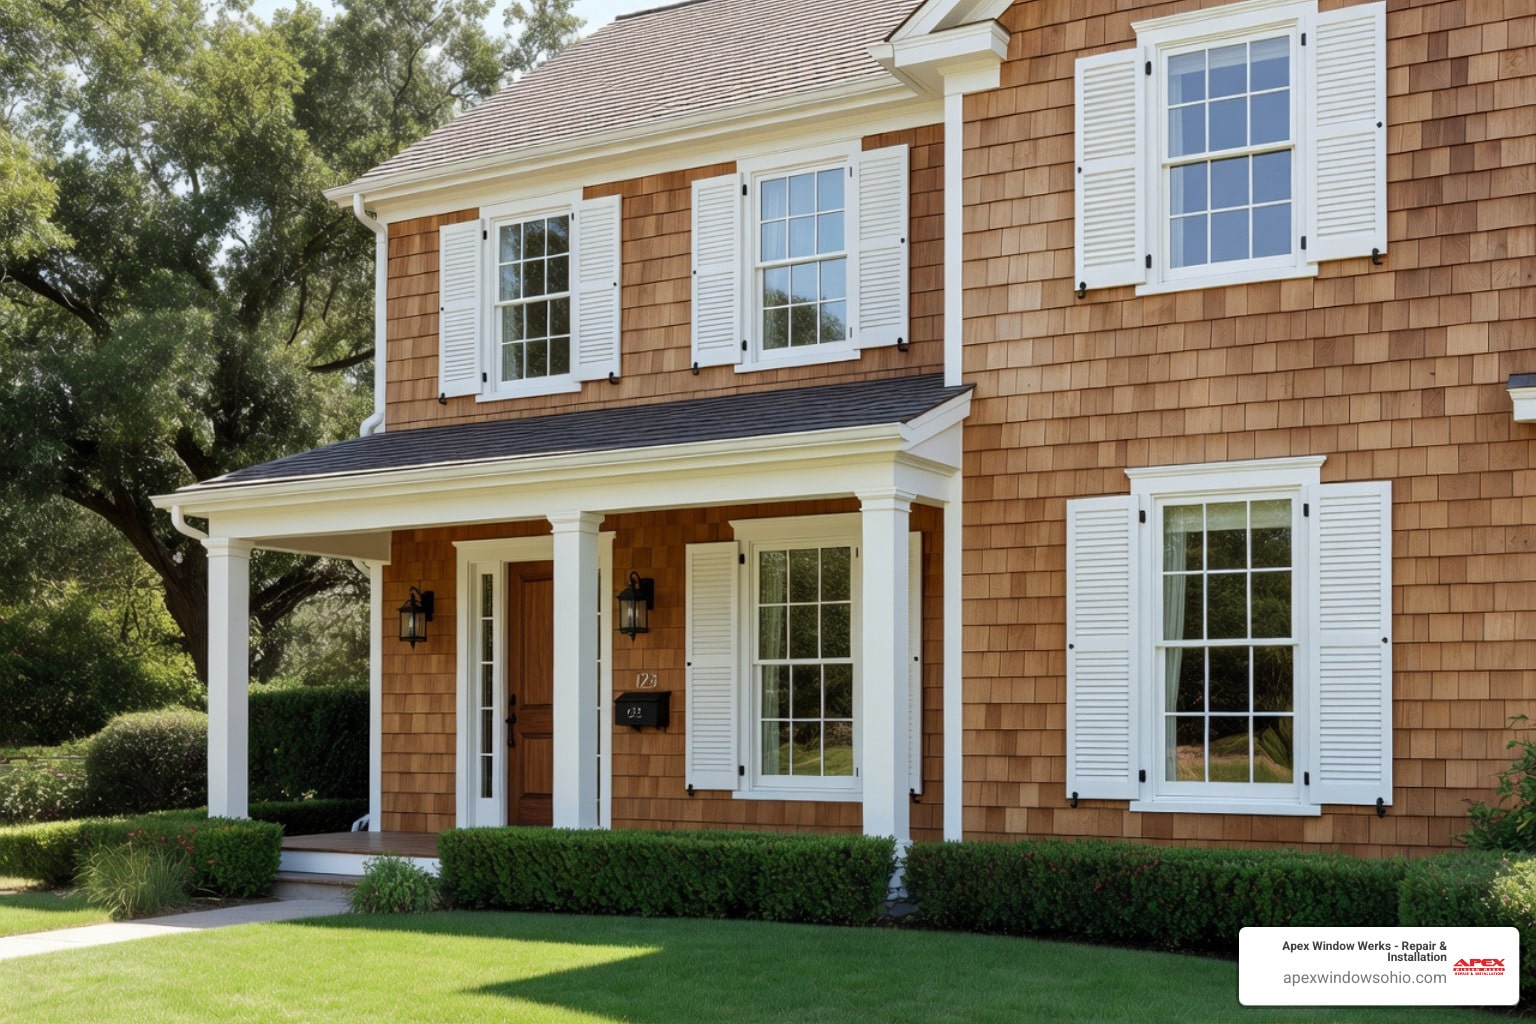
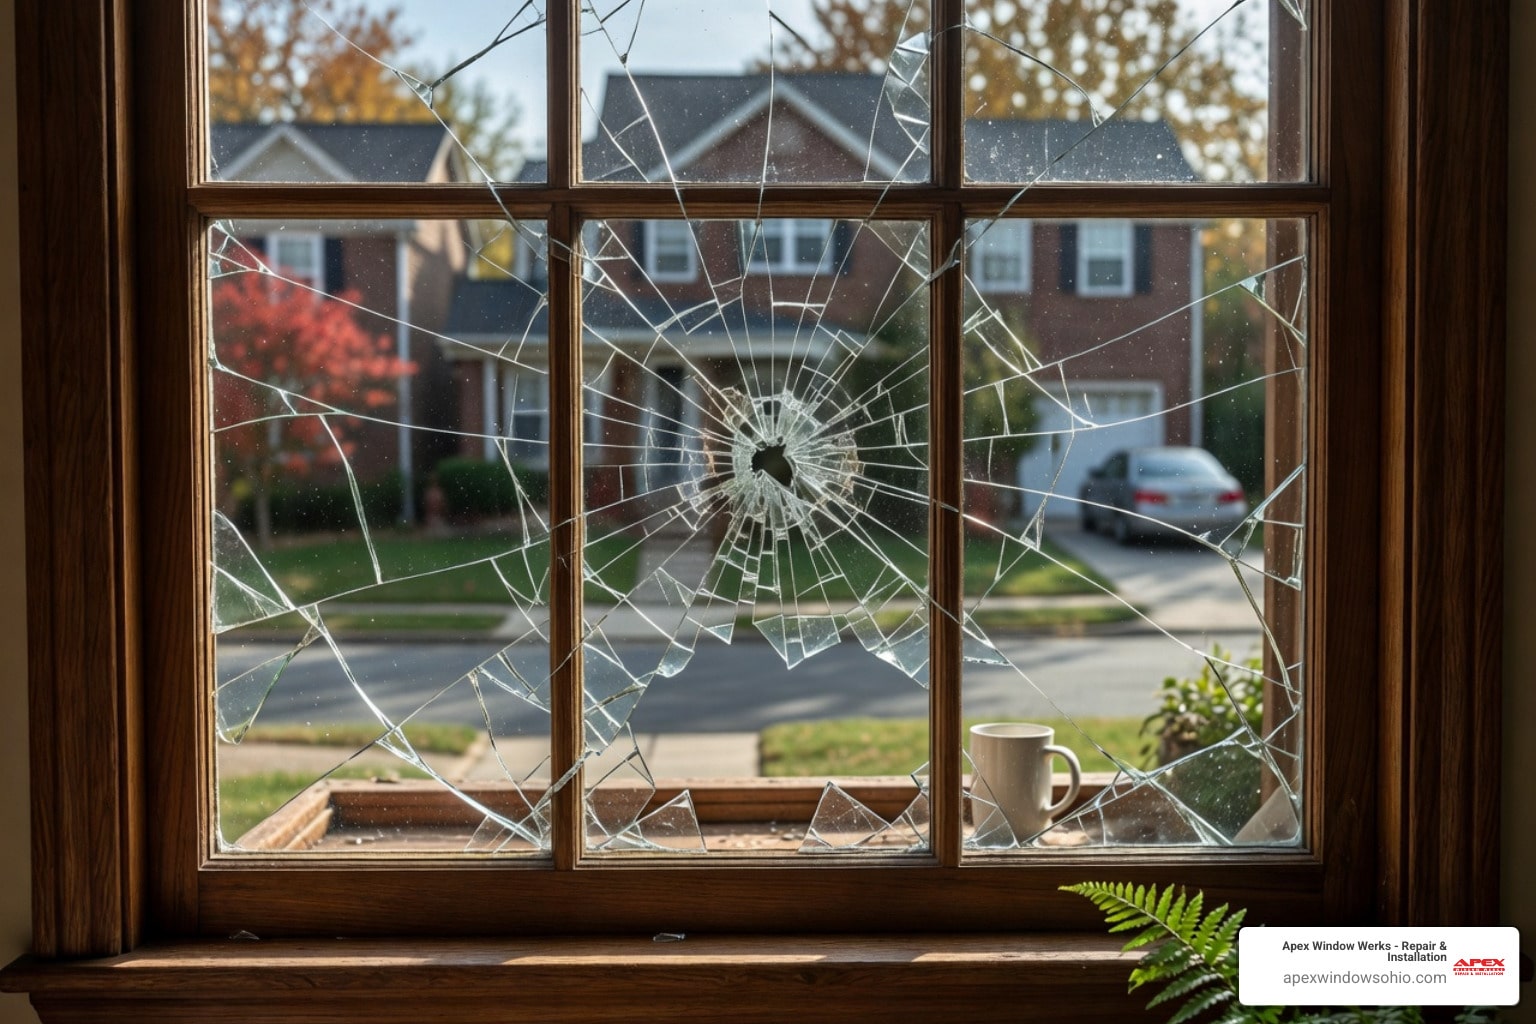
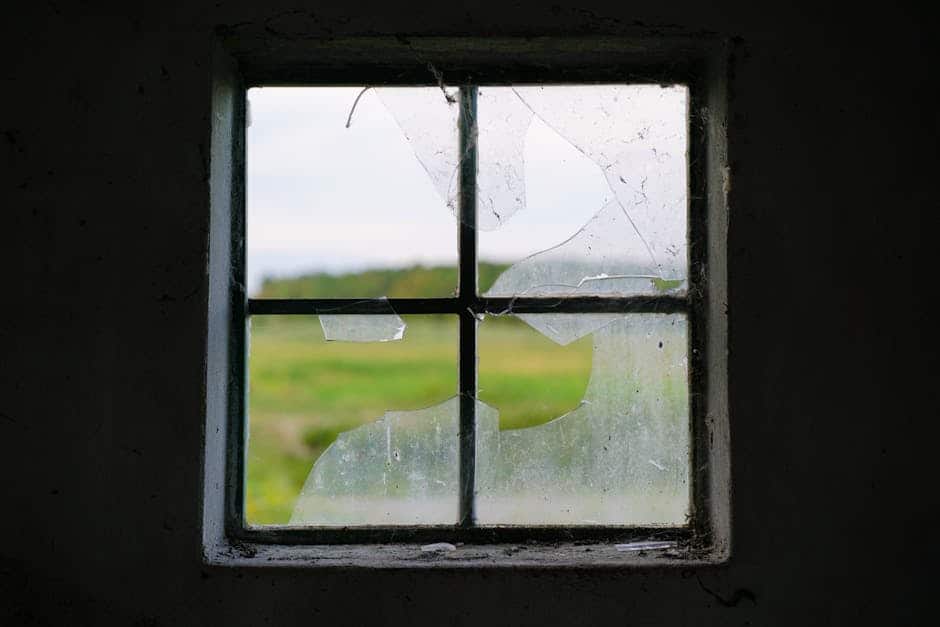
Other than a lighted match, nothing will ruin the charm of an old house faster than ripping out the original double-hung windows. Yet every spring, homeowners across Northeast Ohio face the same temptation: replace those drafty, painted-shut windows with shiny new vinyl units.
Here’s what most people don’t know: Your original windows were built from old-growth pine, which is far more rot-resistant than wood used today. While modern replacements last only 10-20 years before their seals fail, your historic windows have already lasted a century. With proper restoration, they can easily last another.
The math is simple. Restoring your windows and adding storm windows costs less than replacement and delivers better long-term performance. A restored, weatherstripped historic window with a storm can exceed modern energy code requirements, all while preserving your home’s unique character.
The process requires patience and the right tools, but it’s a manageable project for motivated DIYers and property owners.
I’m Nataly Godes, General Manager at Apex Window Werks. Our team has guided many Northeast Ohio property owners through successful window sash restoration projects. Understanding the process, whether you do it yourself or hire a pro, is key to making the best decision for your home.
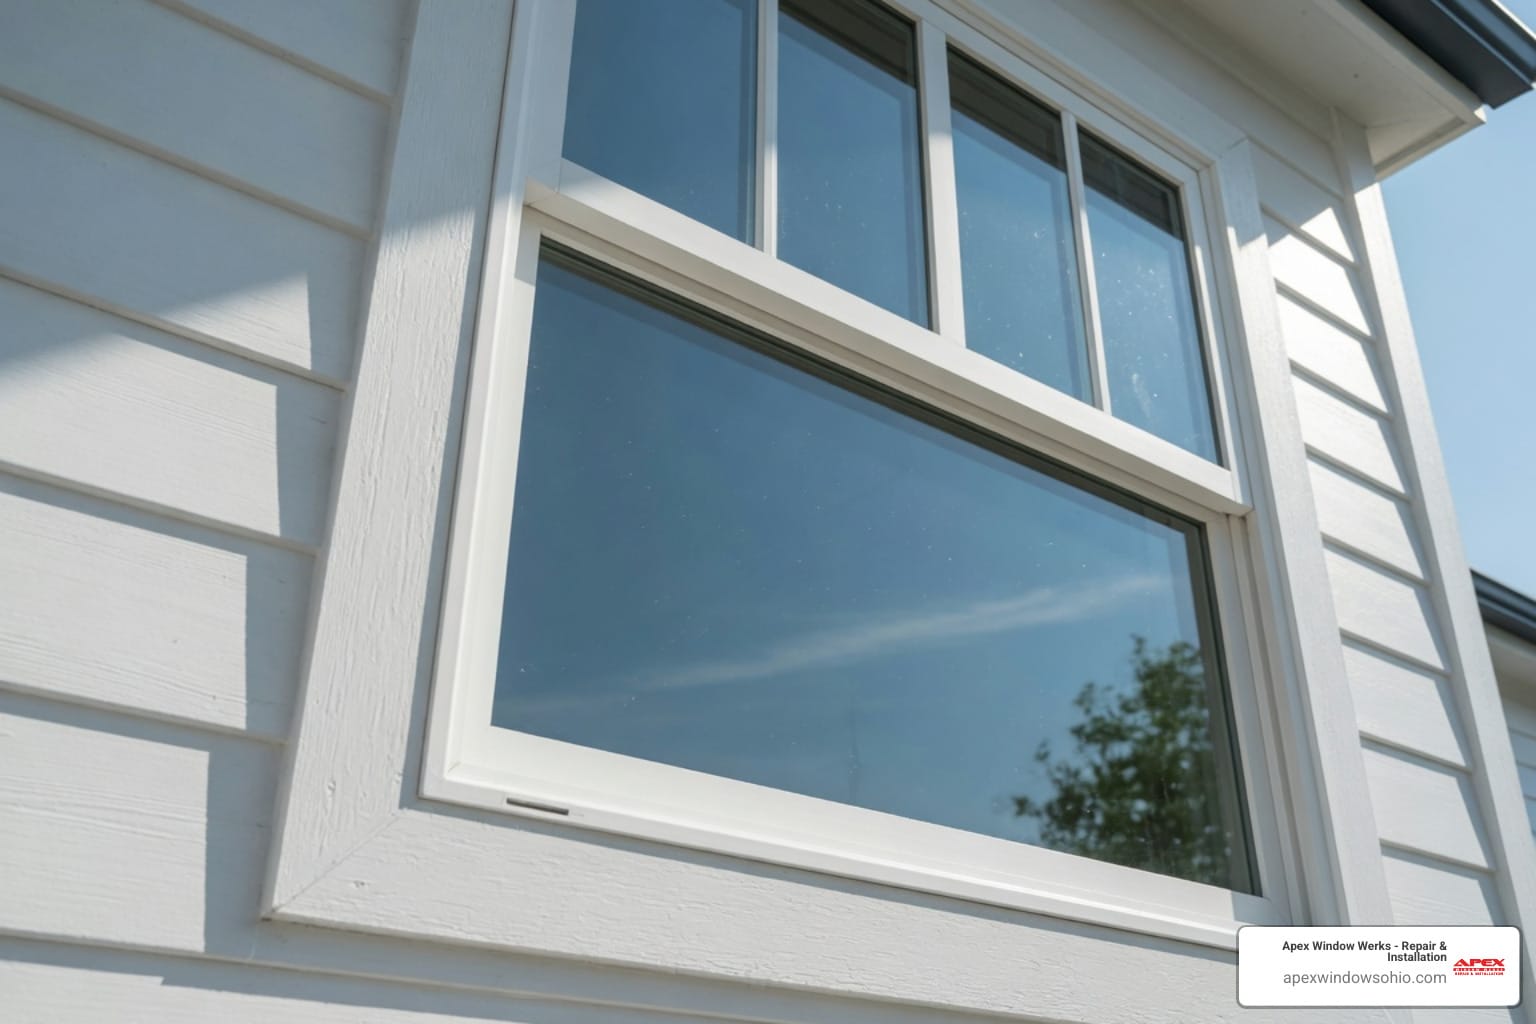
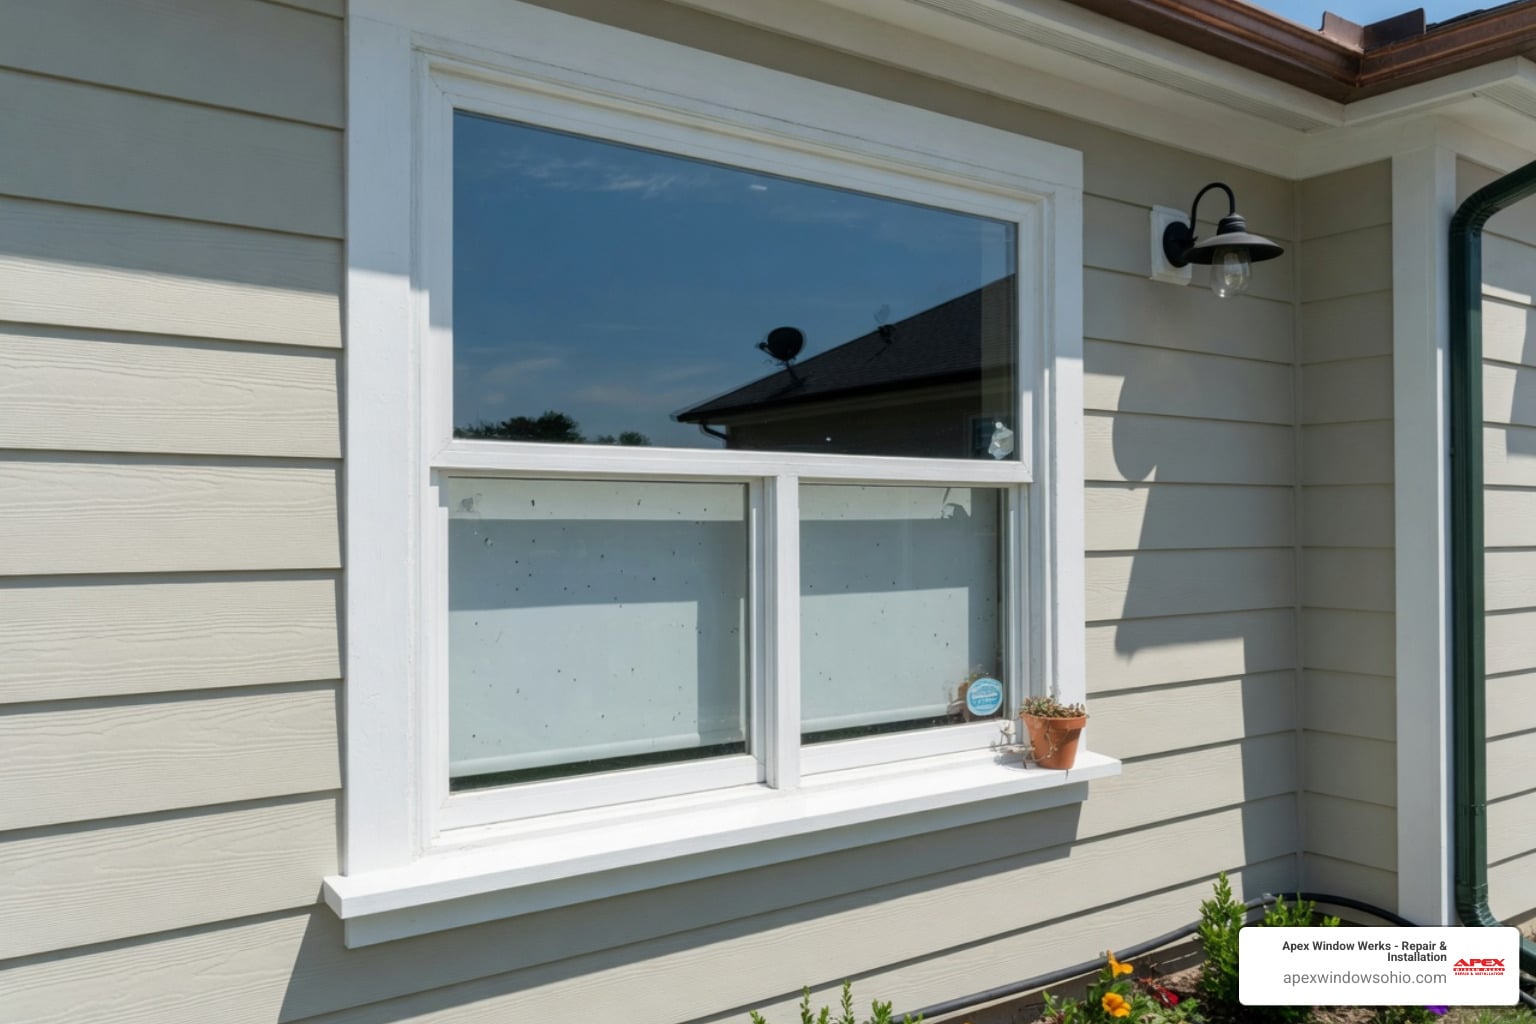
The Case for Restoration: Why Old Windows Outlast New Ones
Faced with old, drafty windows, many homeowners in Cleveland-Akron think “replacement.” At Apex Window Werks, we believe window sash restoration is often the superior choice for long-term value and durability. The reasons are economic, ecological, and based on quality.
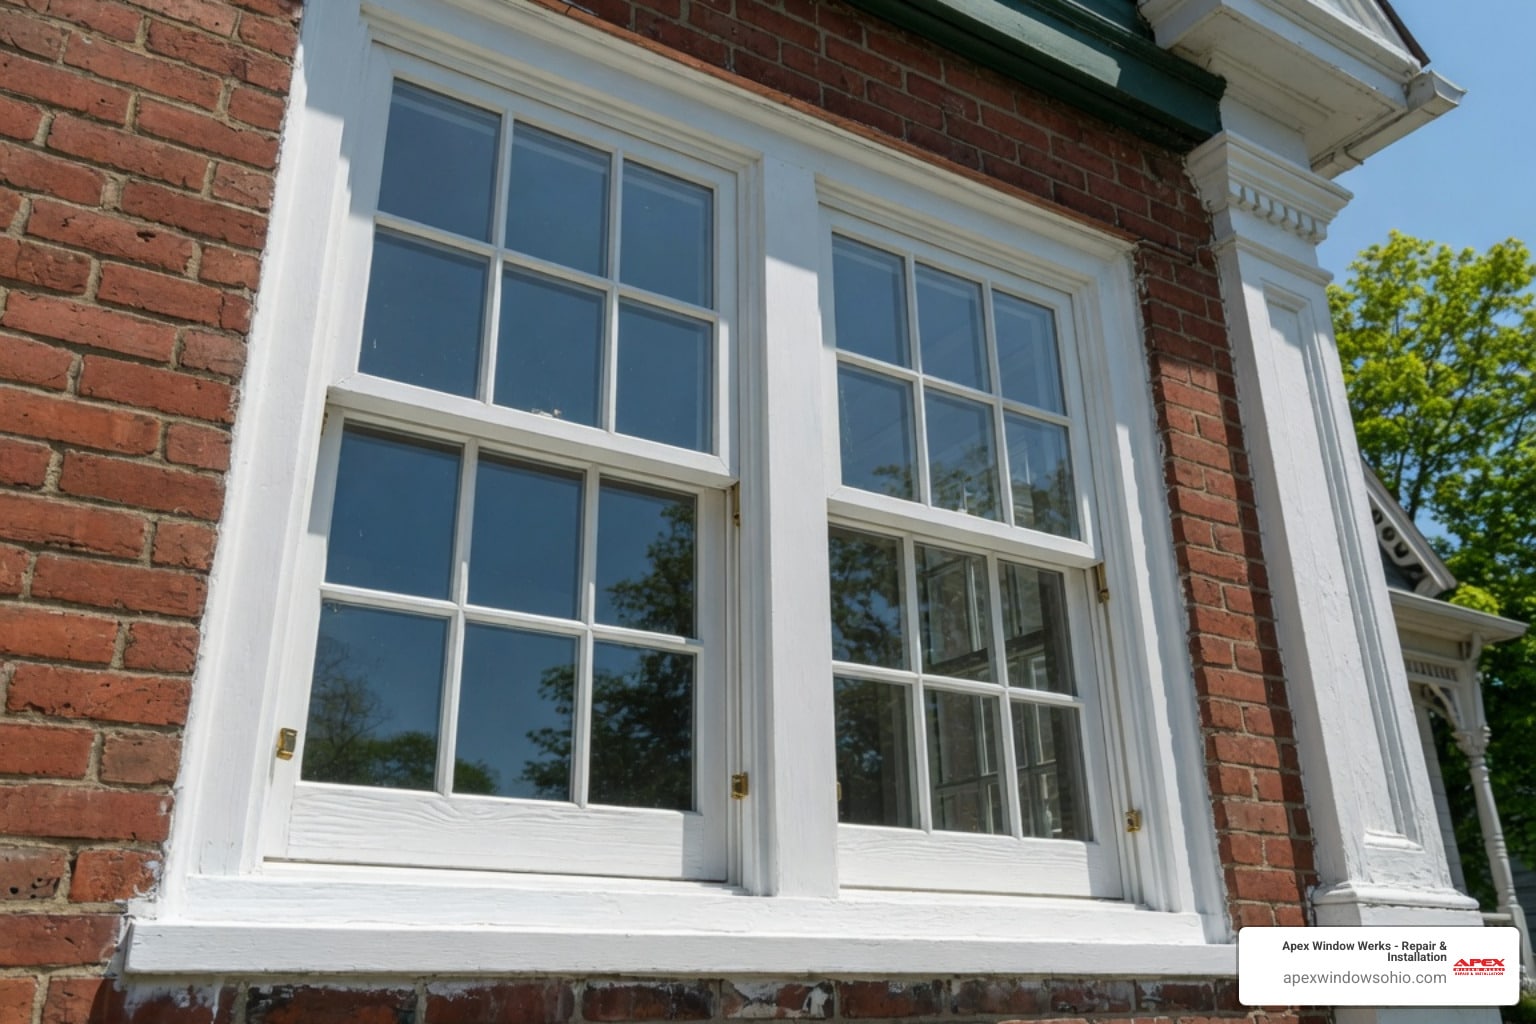
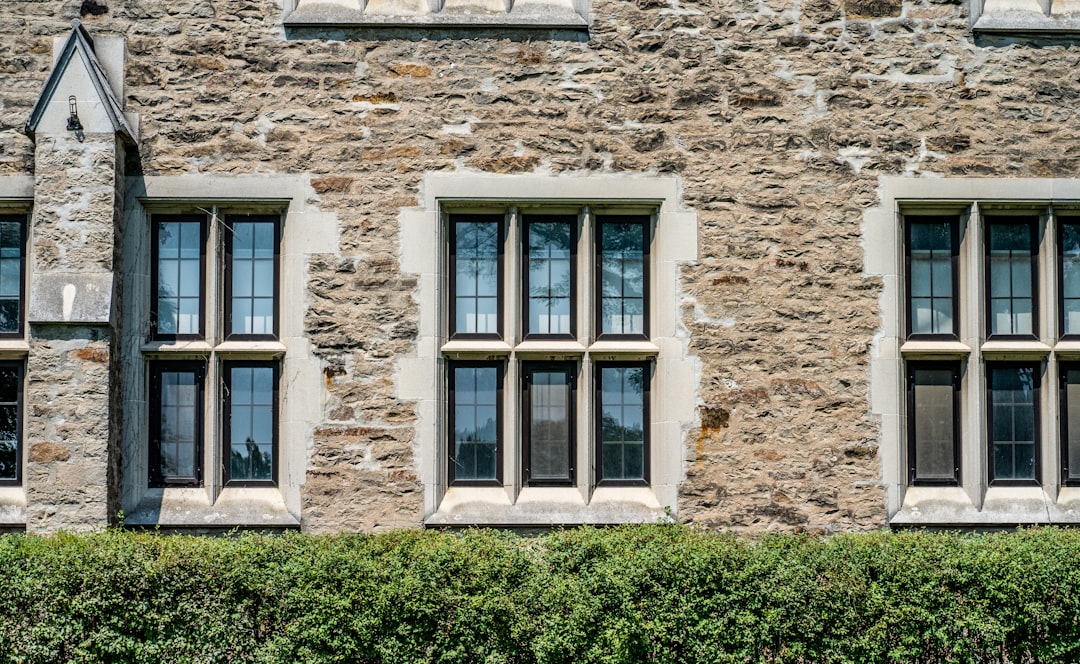
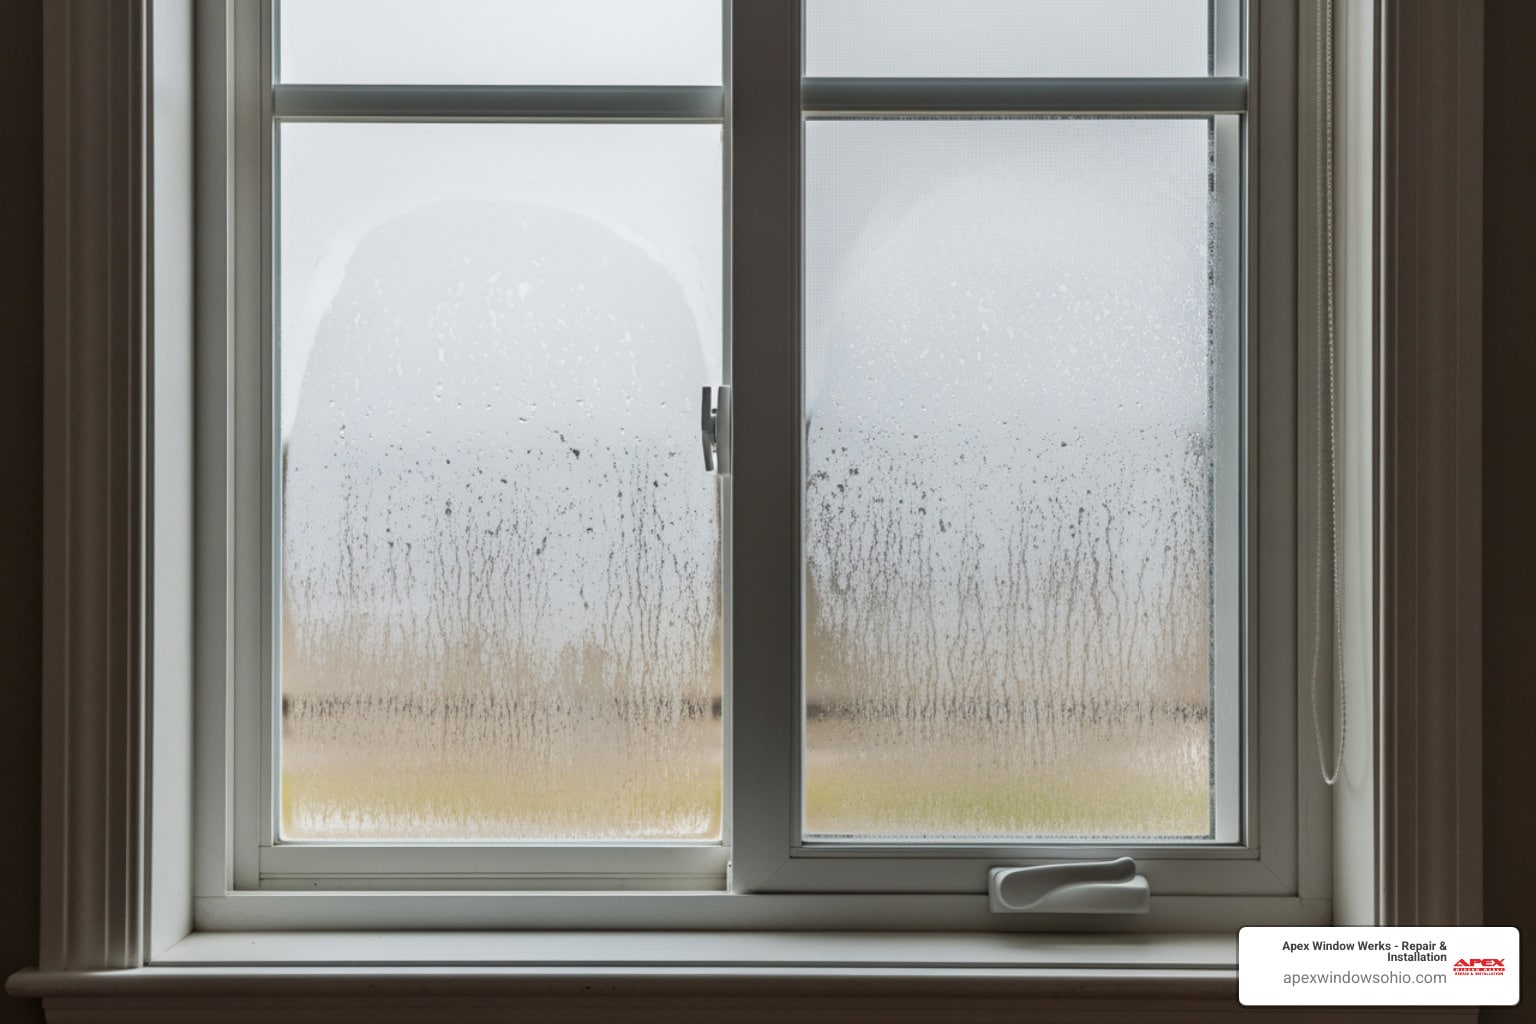
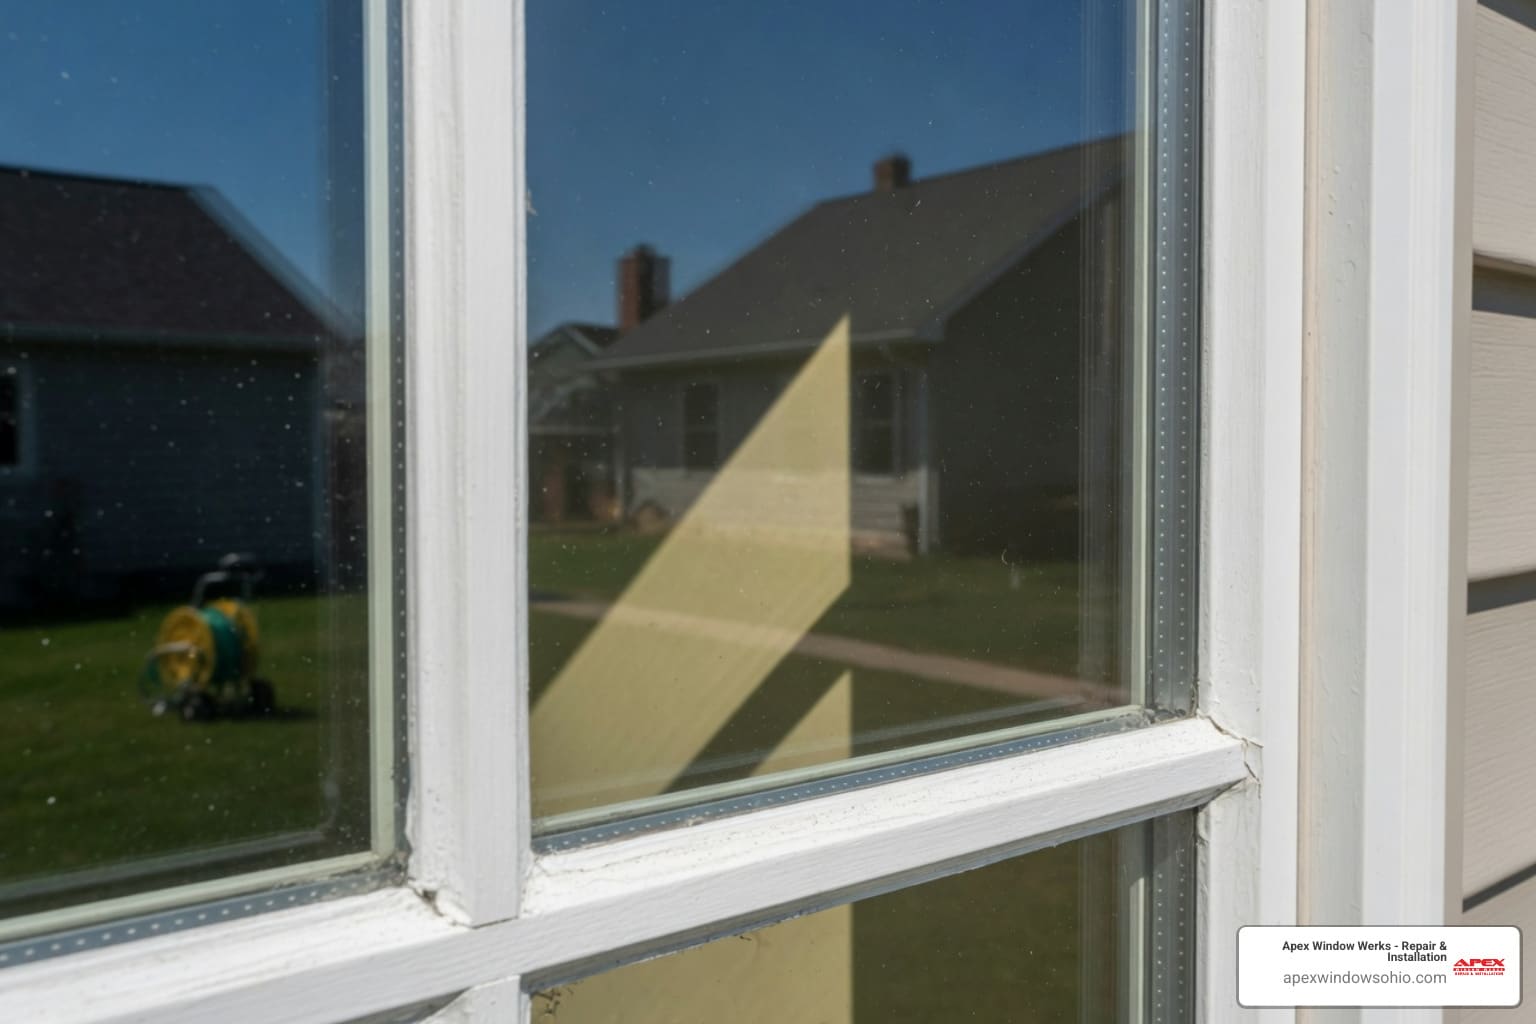
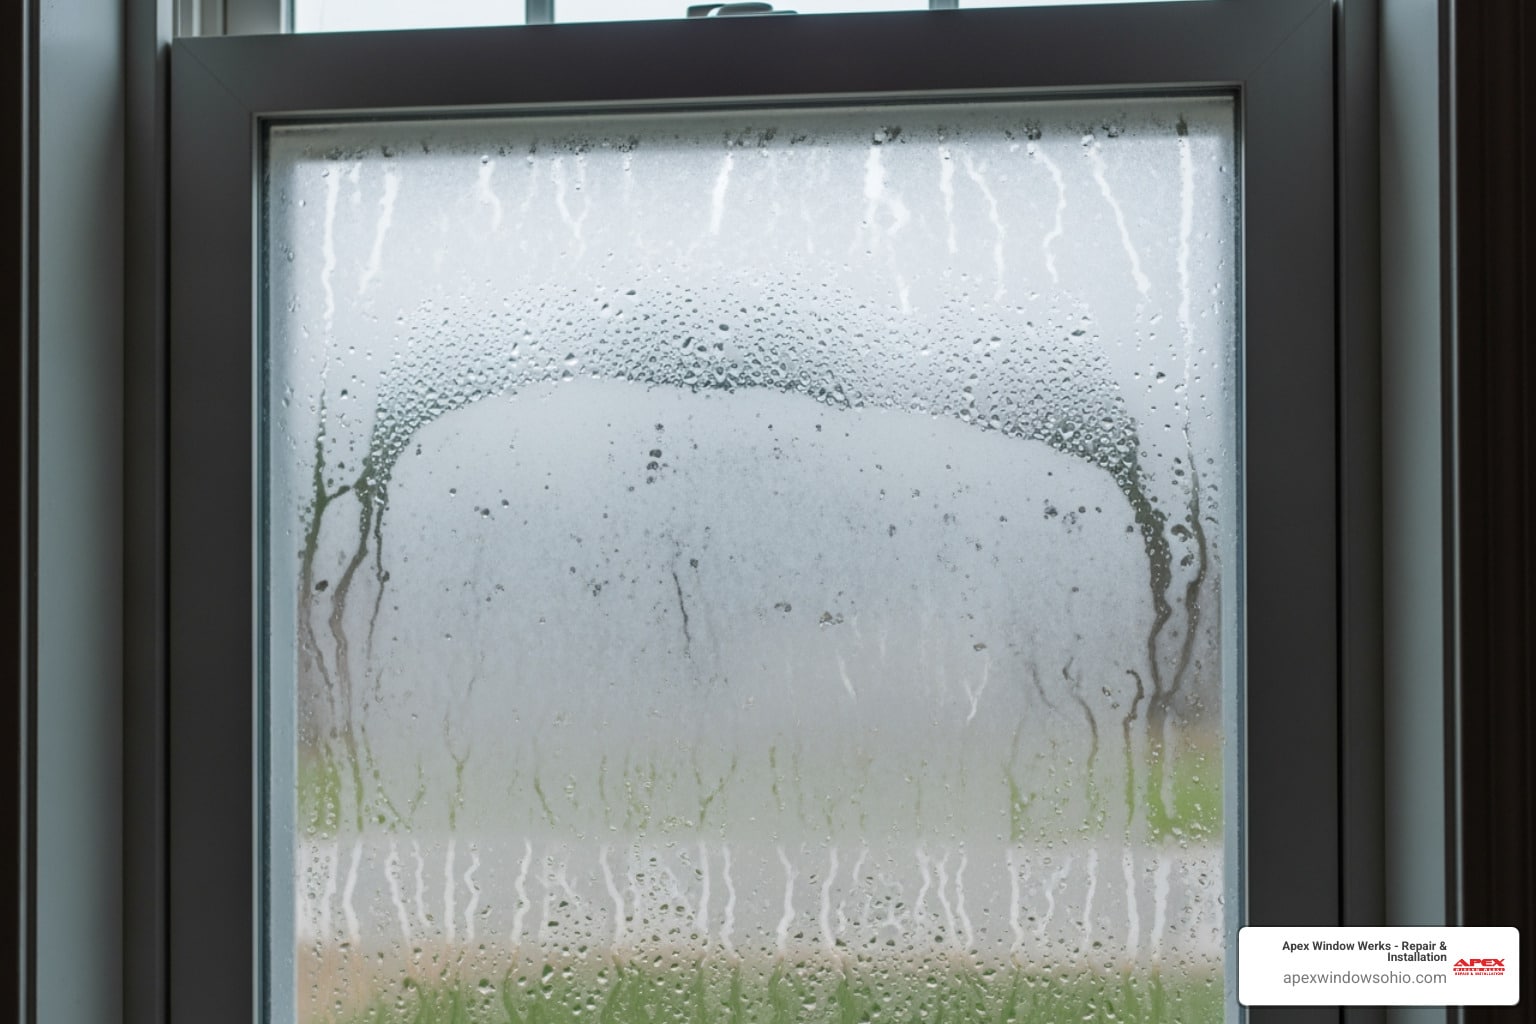
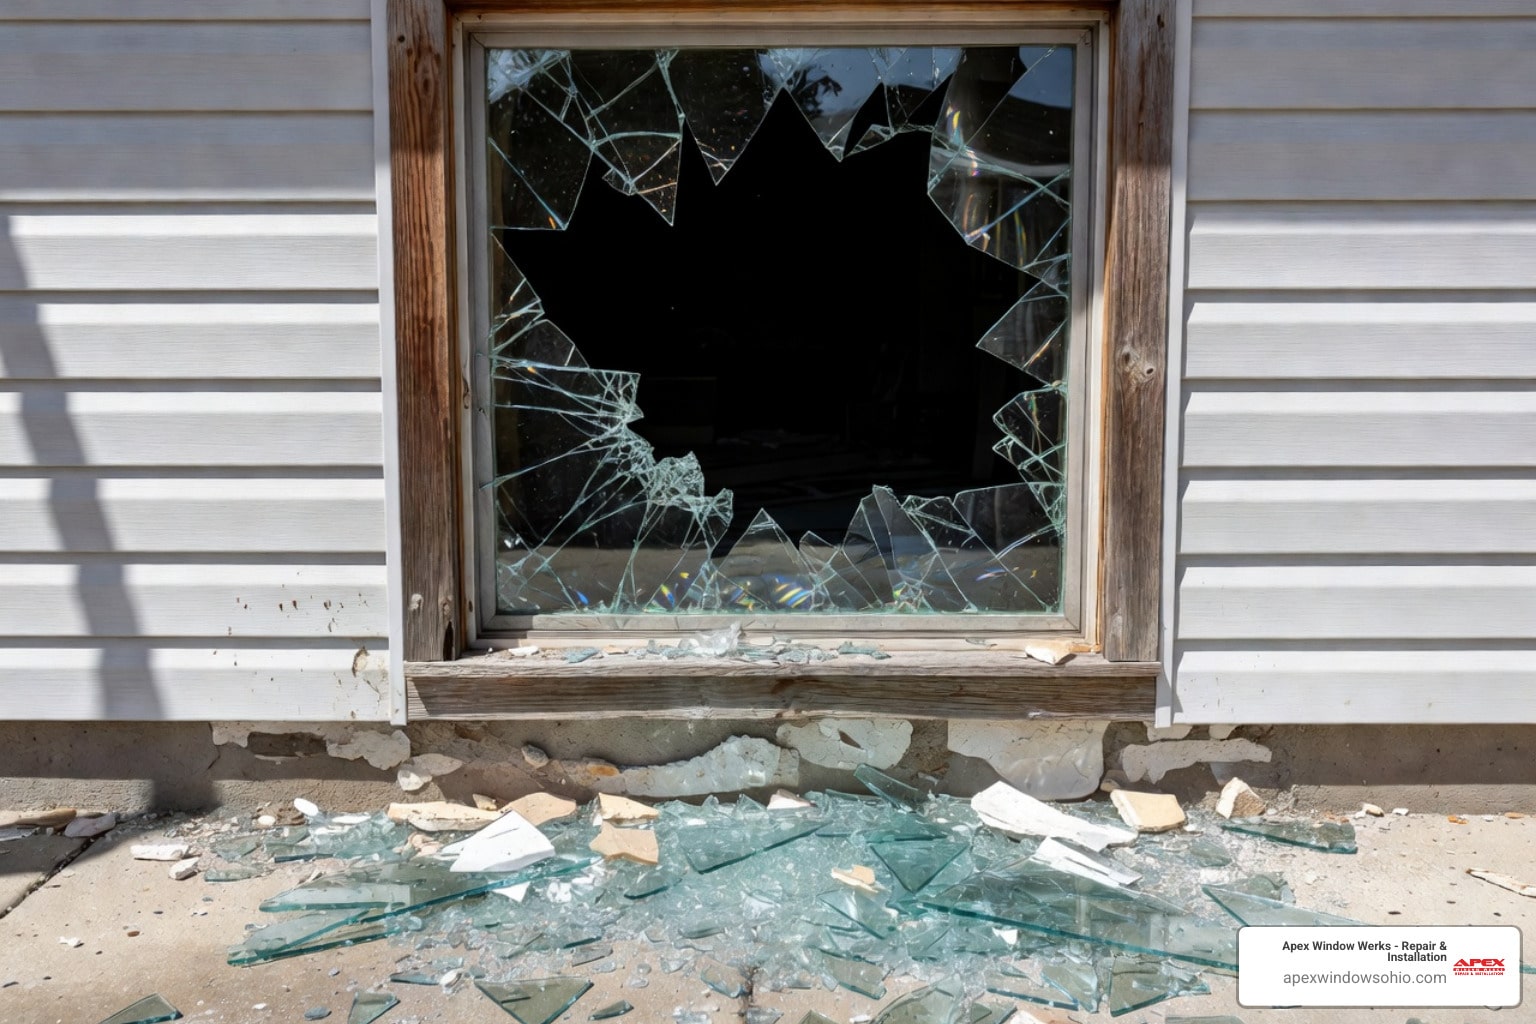
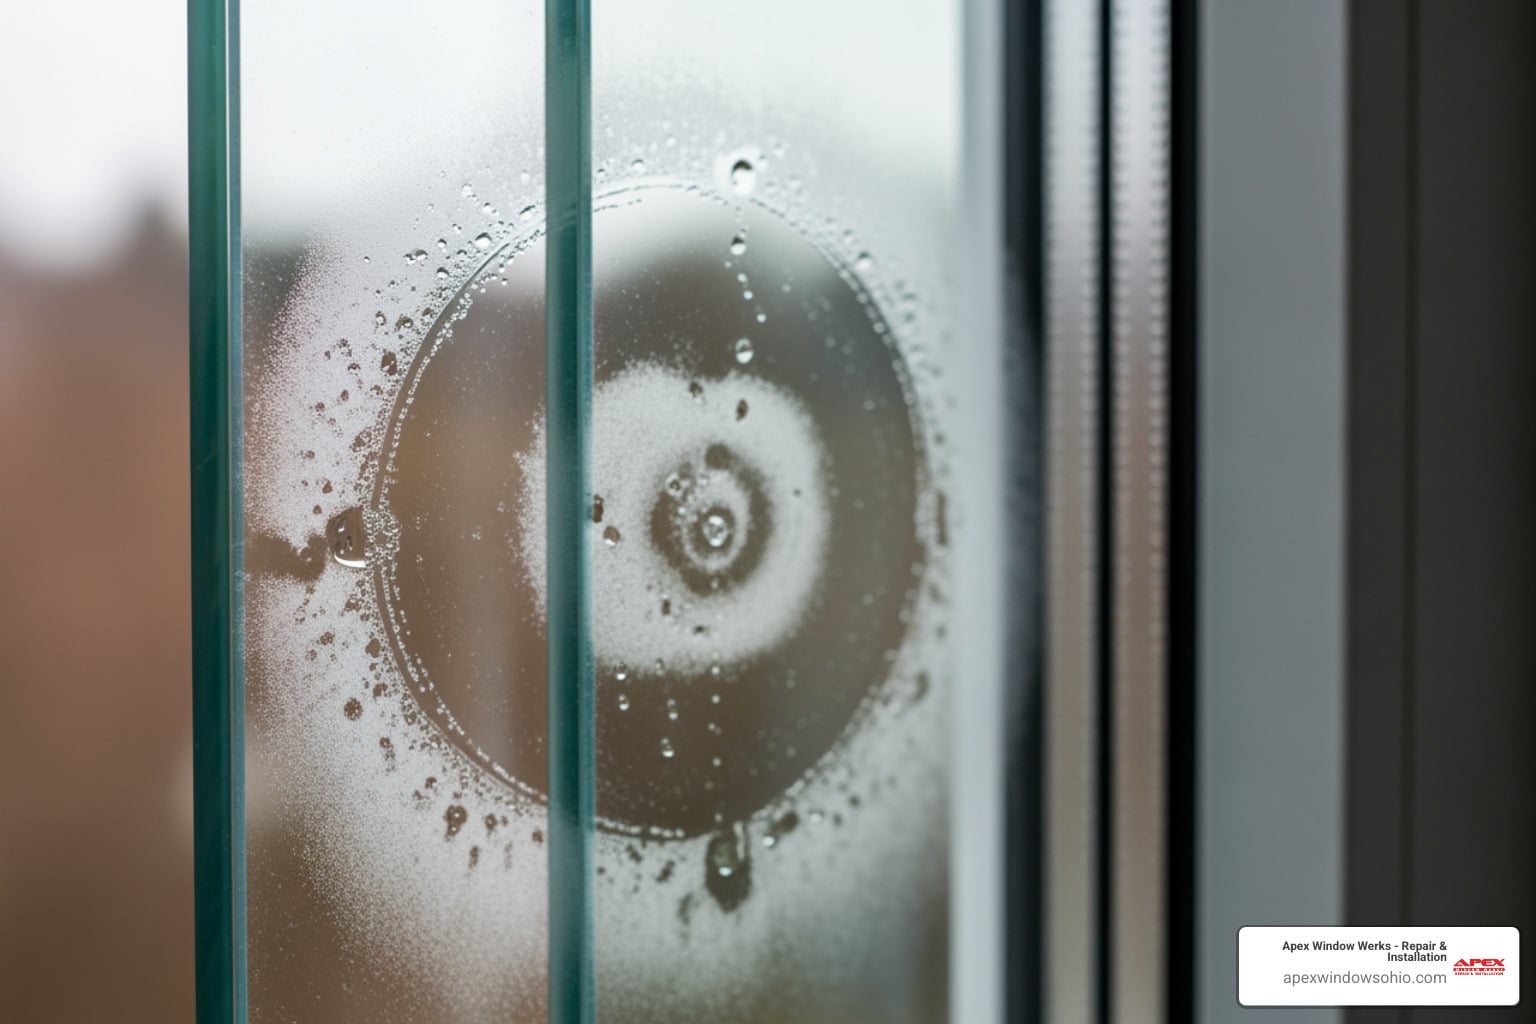
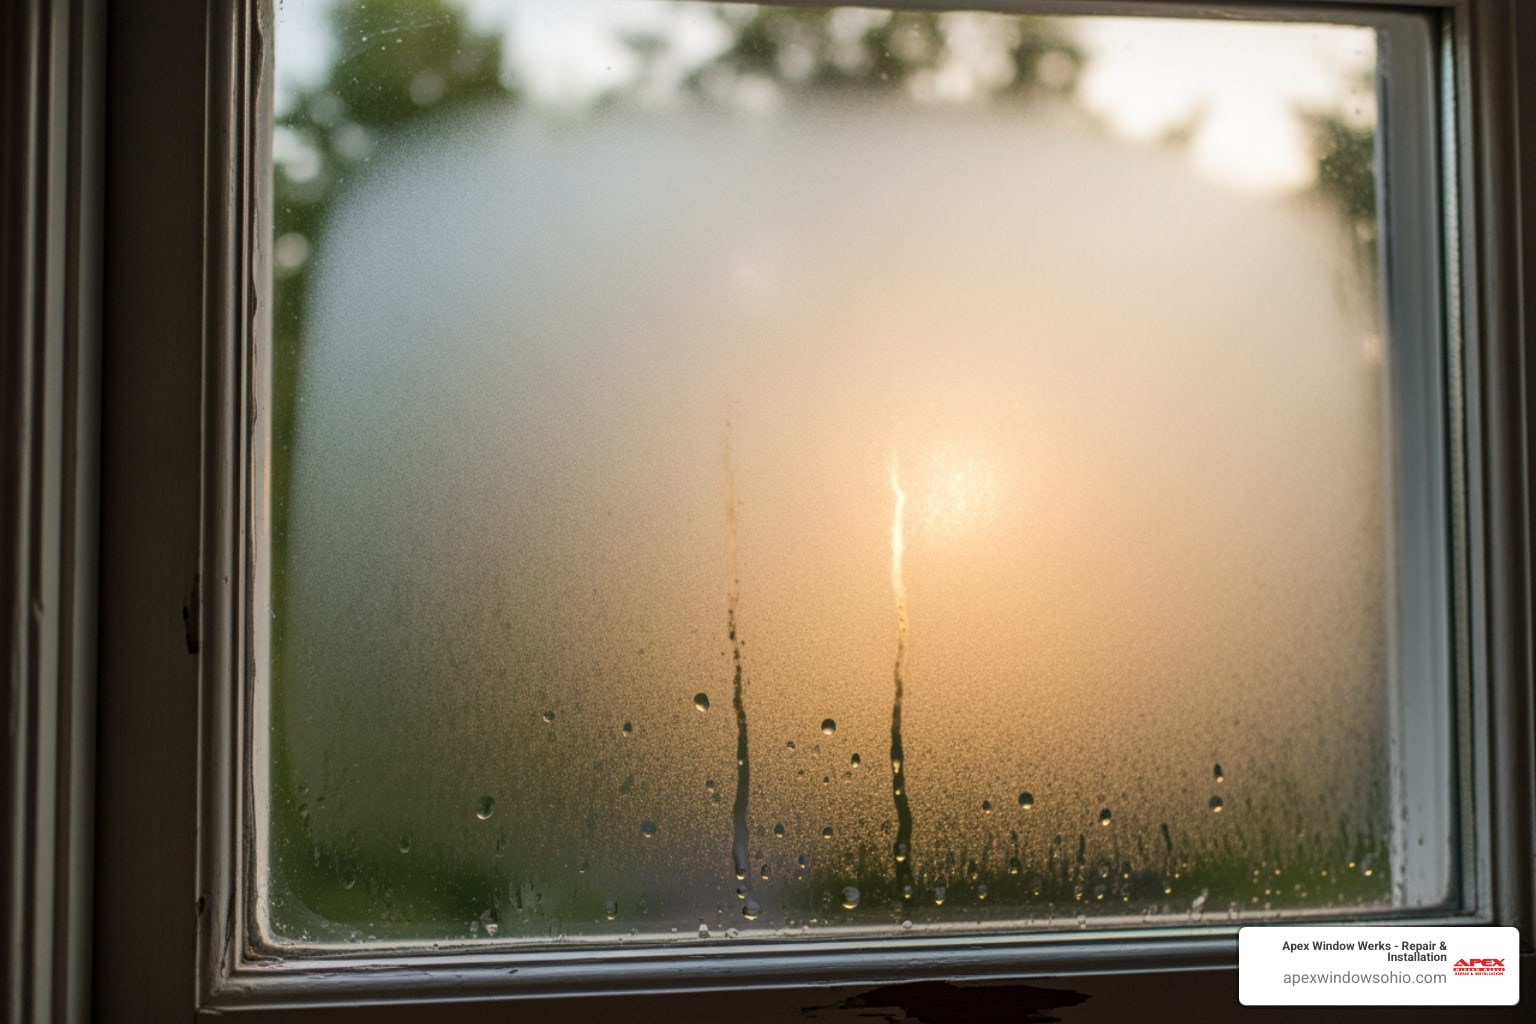
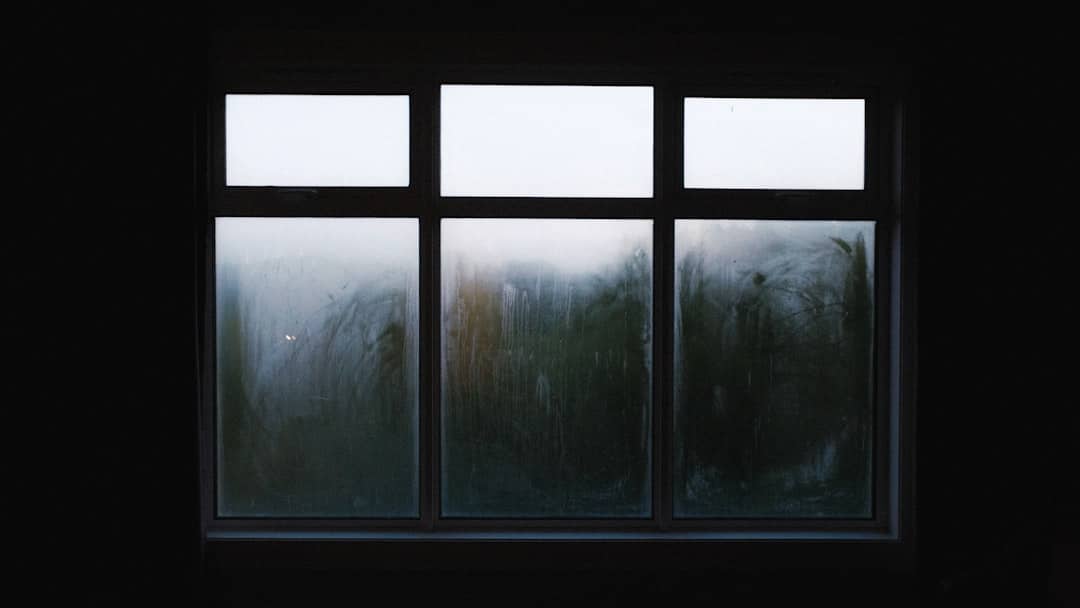
First, durability. Original windows were crafted from old-growth, vertical-grain wood, which is far more stable and rot-resistant than the wood in modern windows. Historic windows have already lasted a century or more. In contrast, modern replacements have a lifespan of only 20 years, with double-paned glass seals often failing in 10-20 years, causing foggy panes. Replacing century-old windows with units designed to be obsolete in two decades makes little sense.
Restoration is also environmentally friendly. It keeps materials out of landfills and avoids the energy consumption of manufacturing new windows. Preserving what you have reduces your carbon footprint.
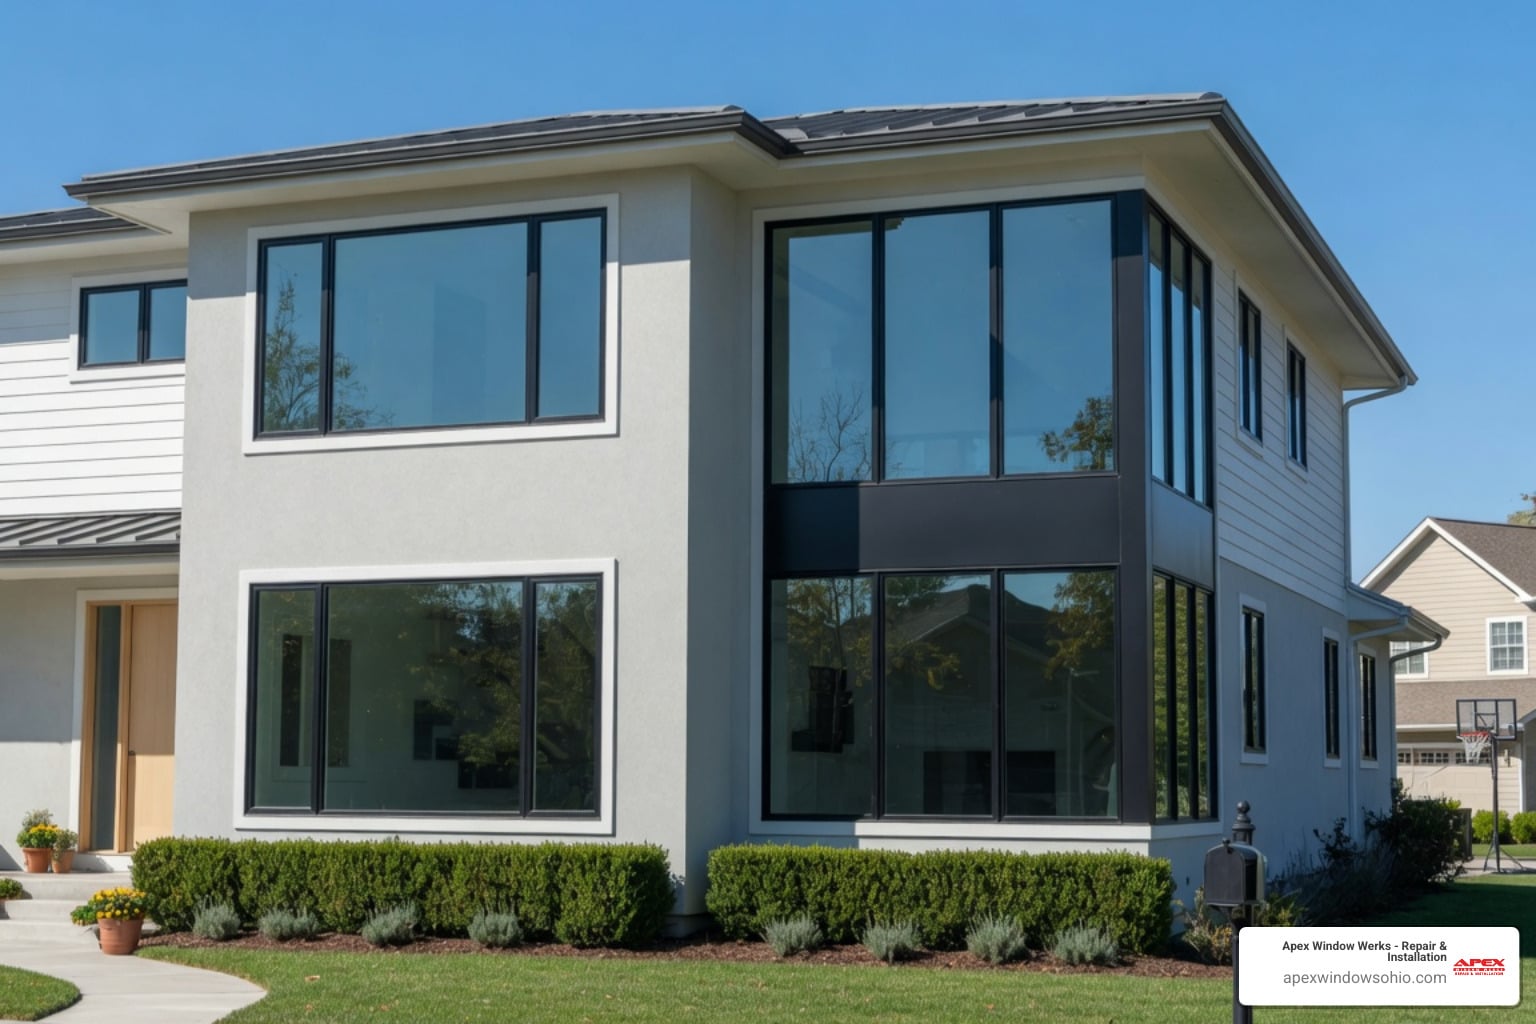
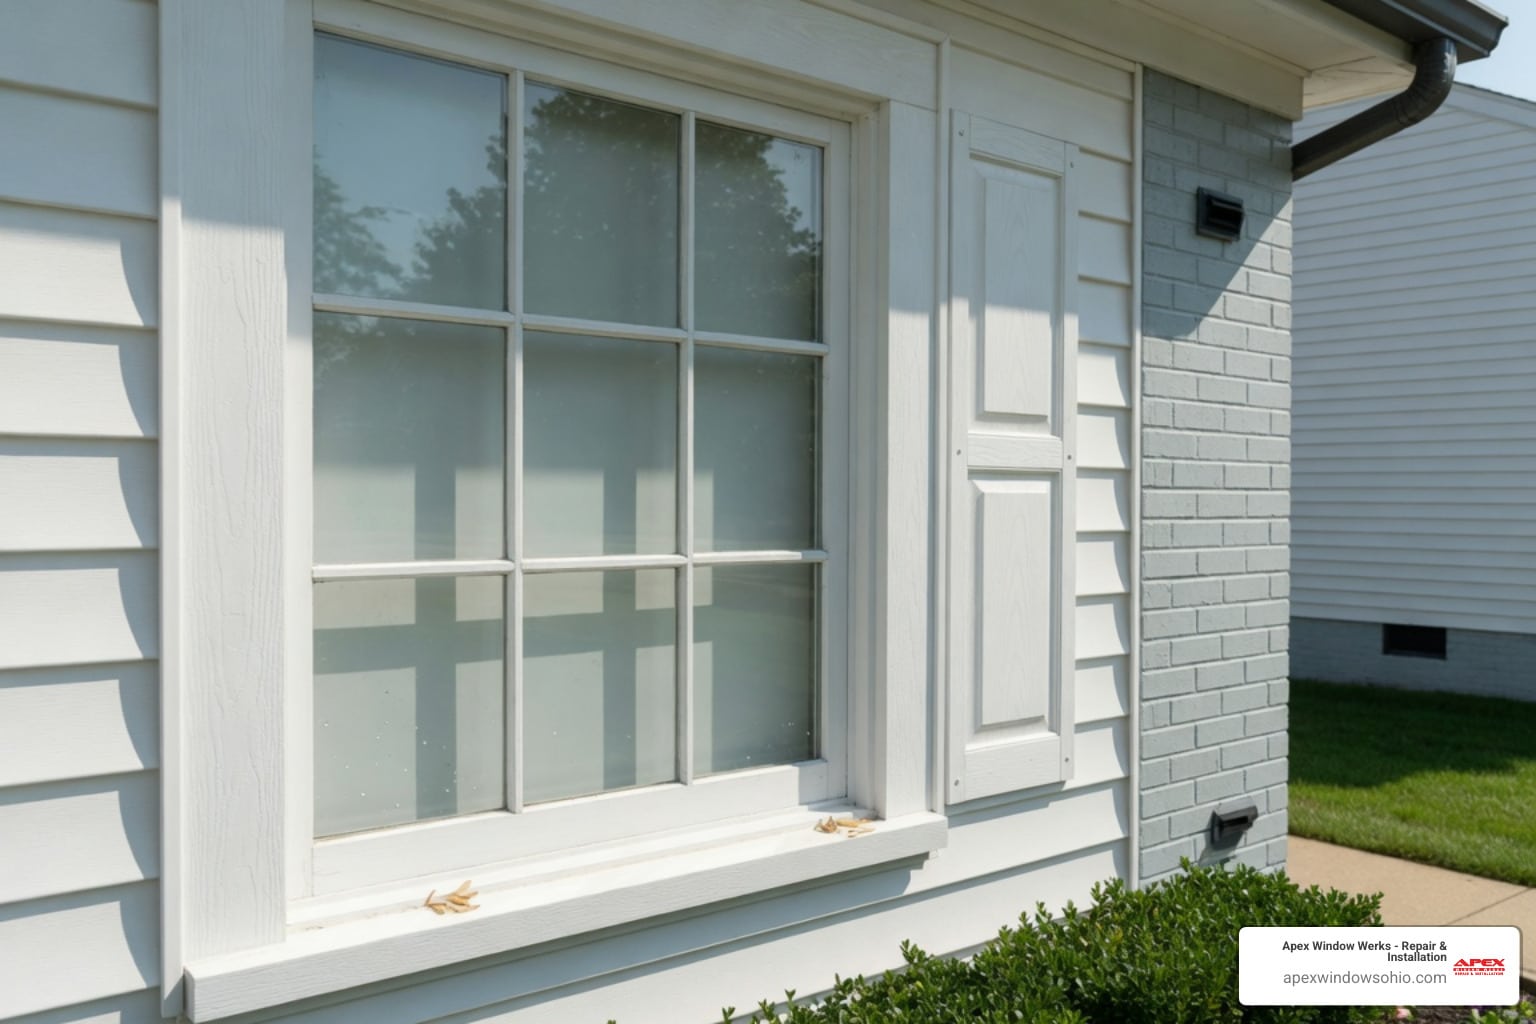
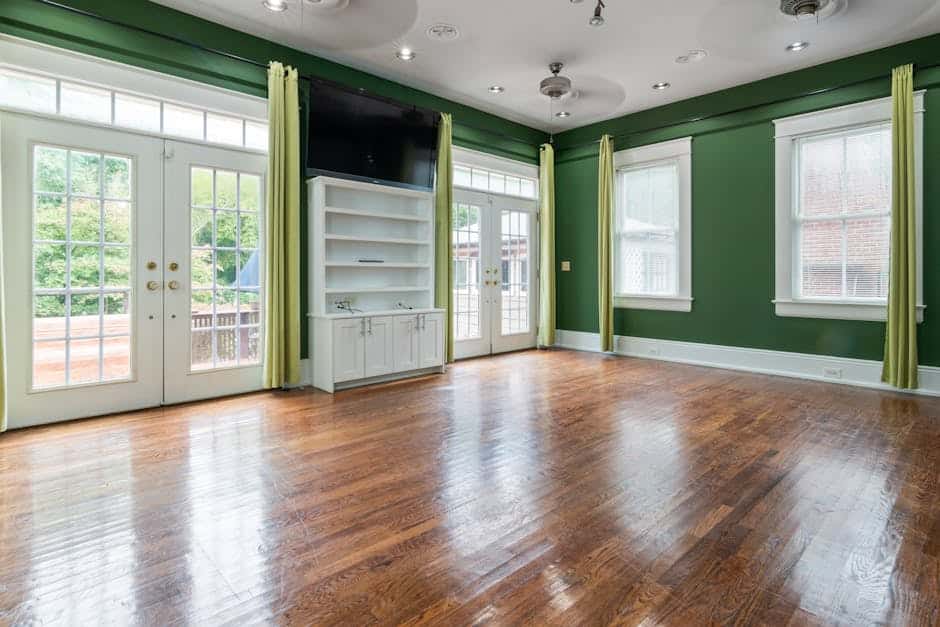
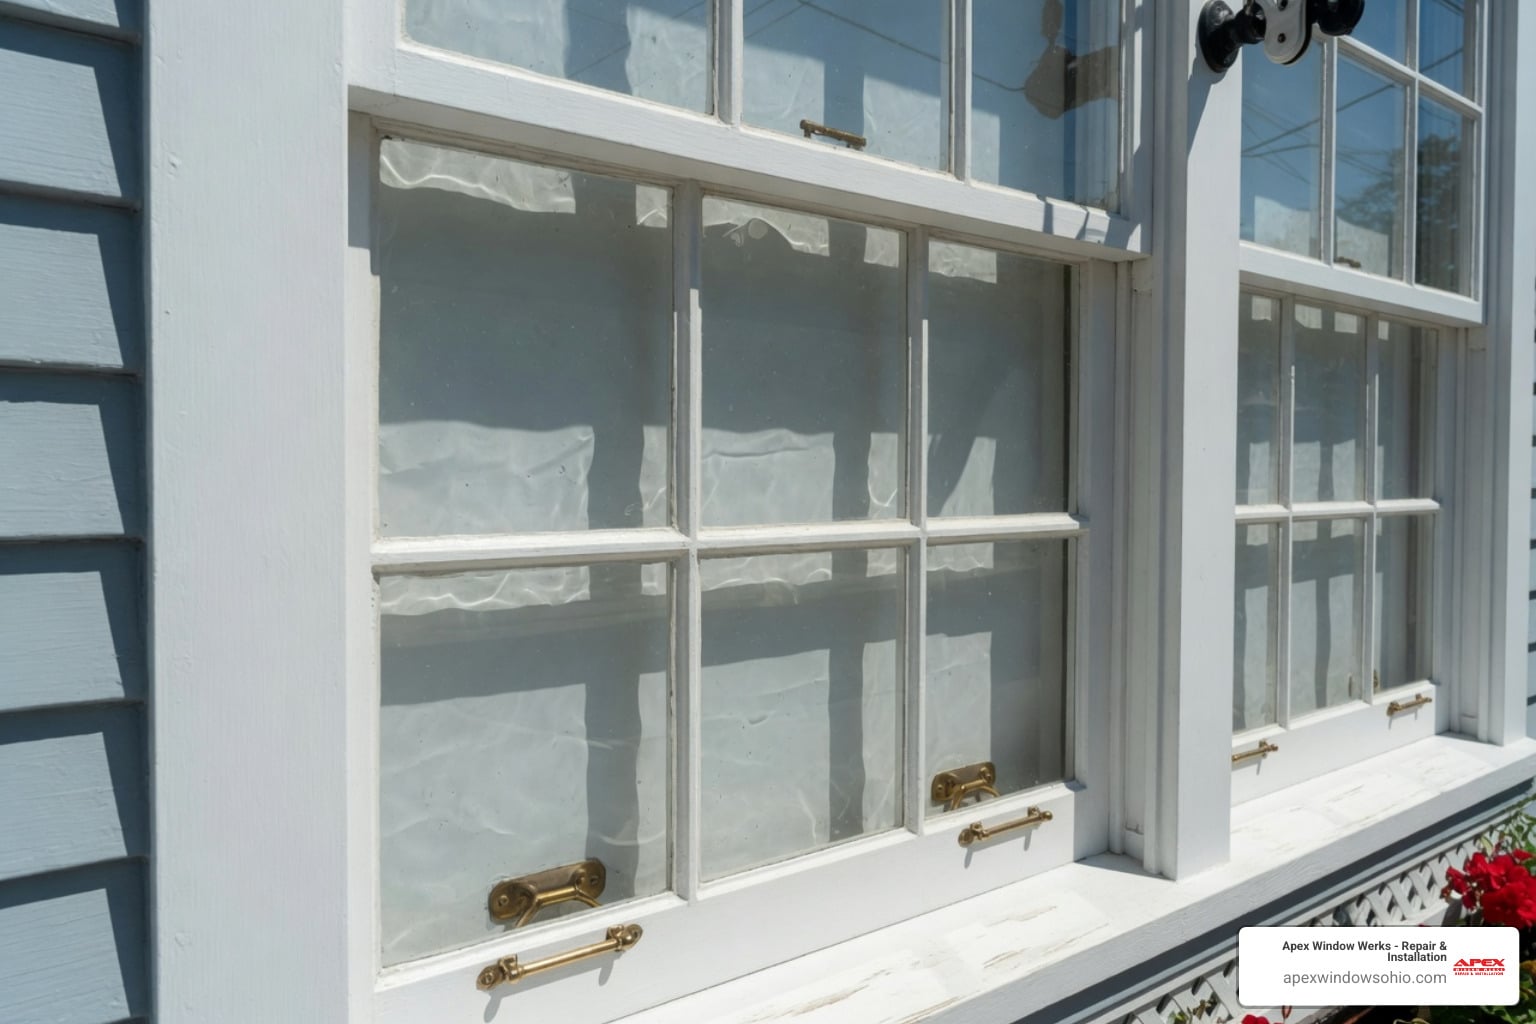
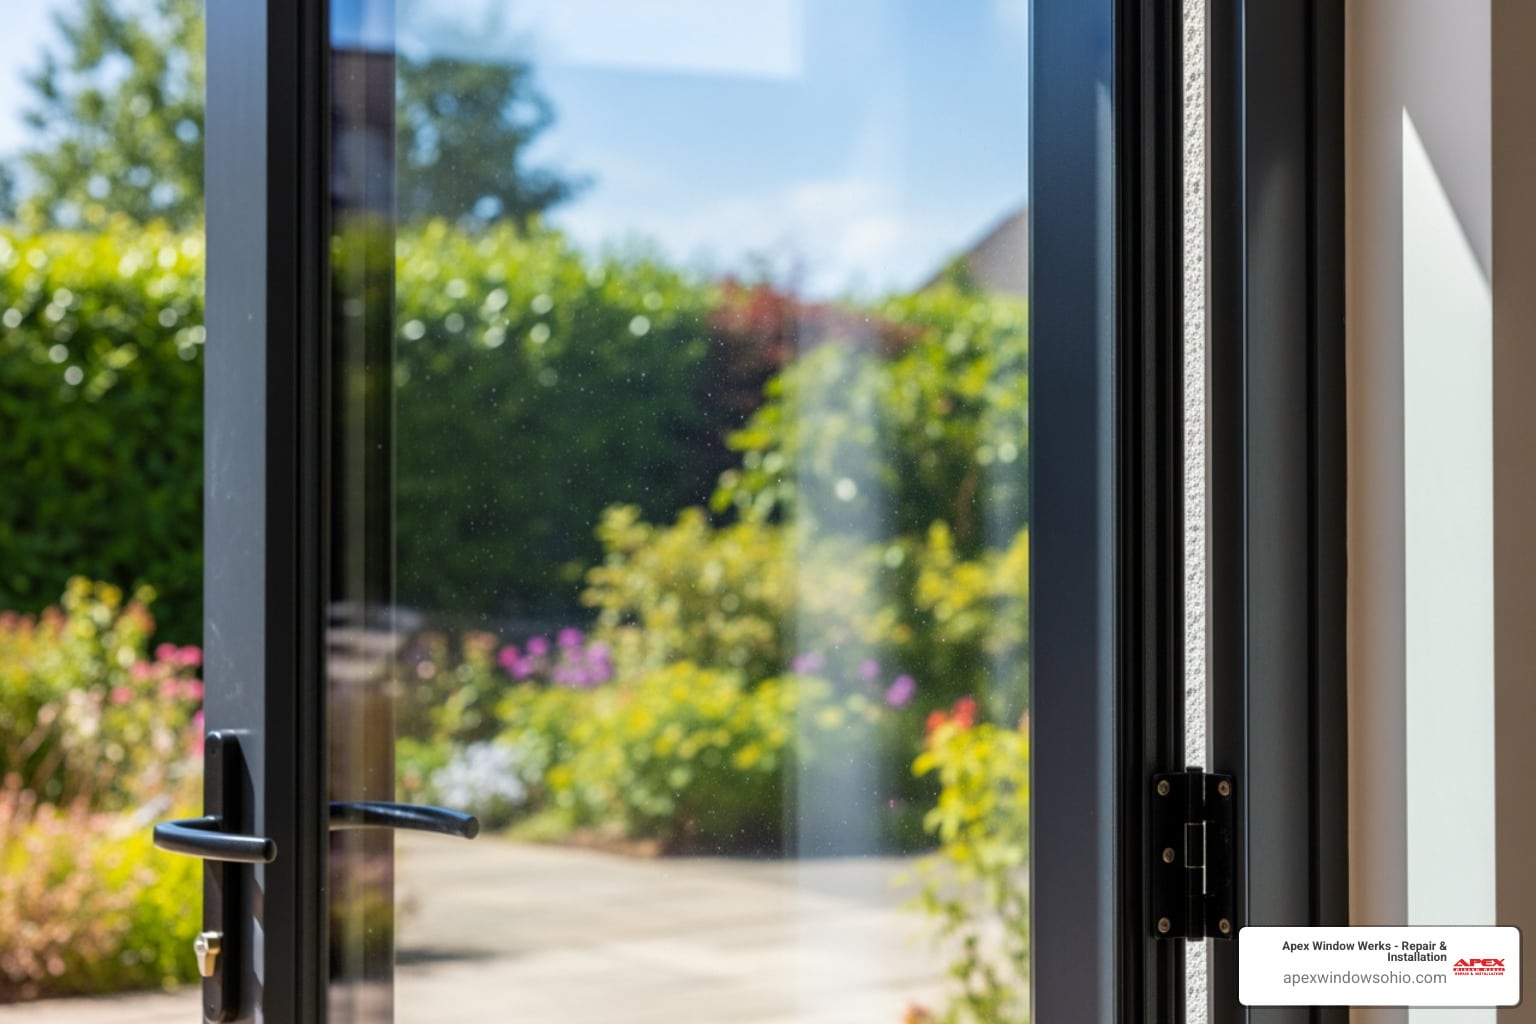
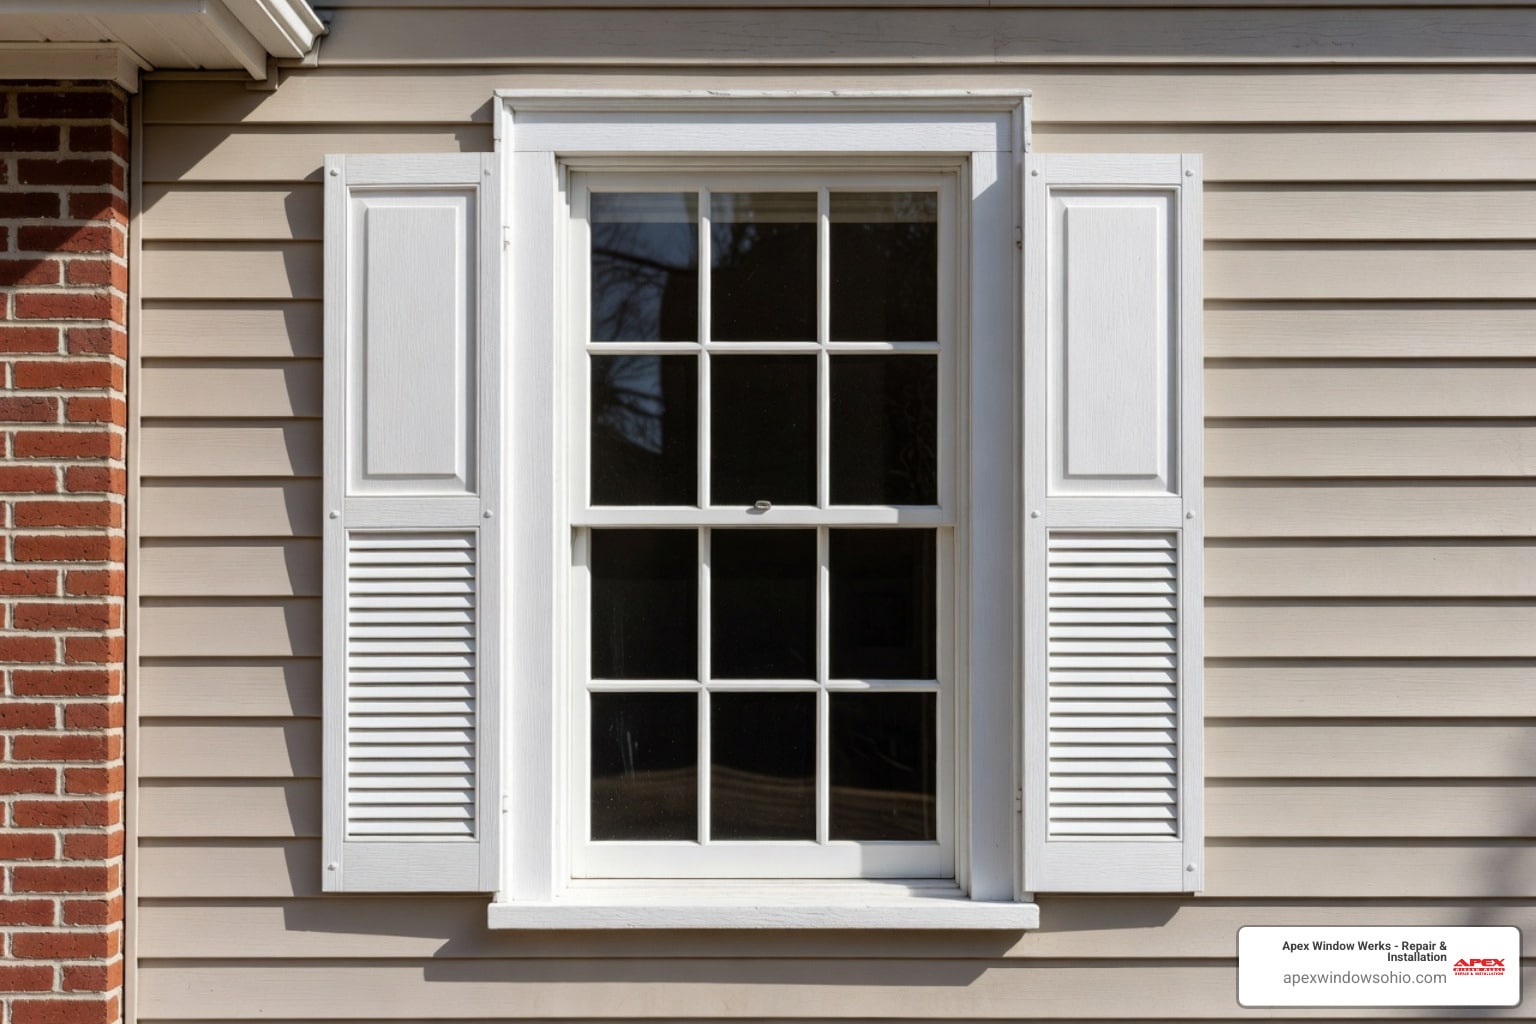
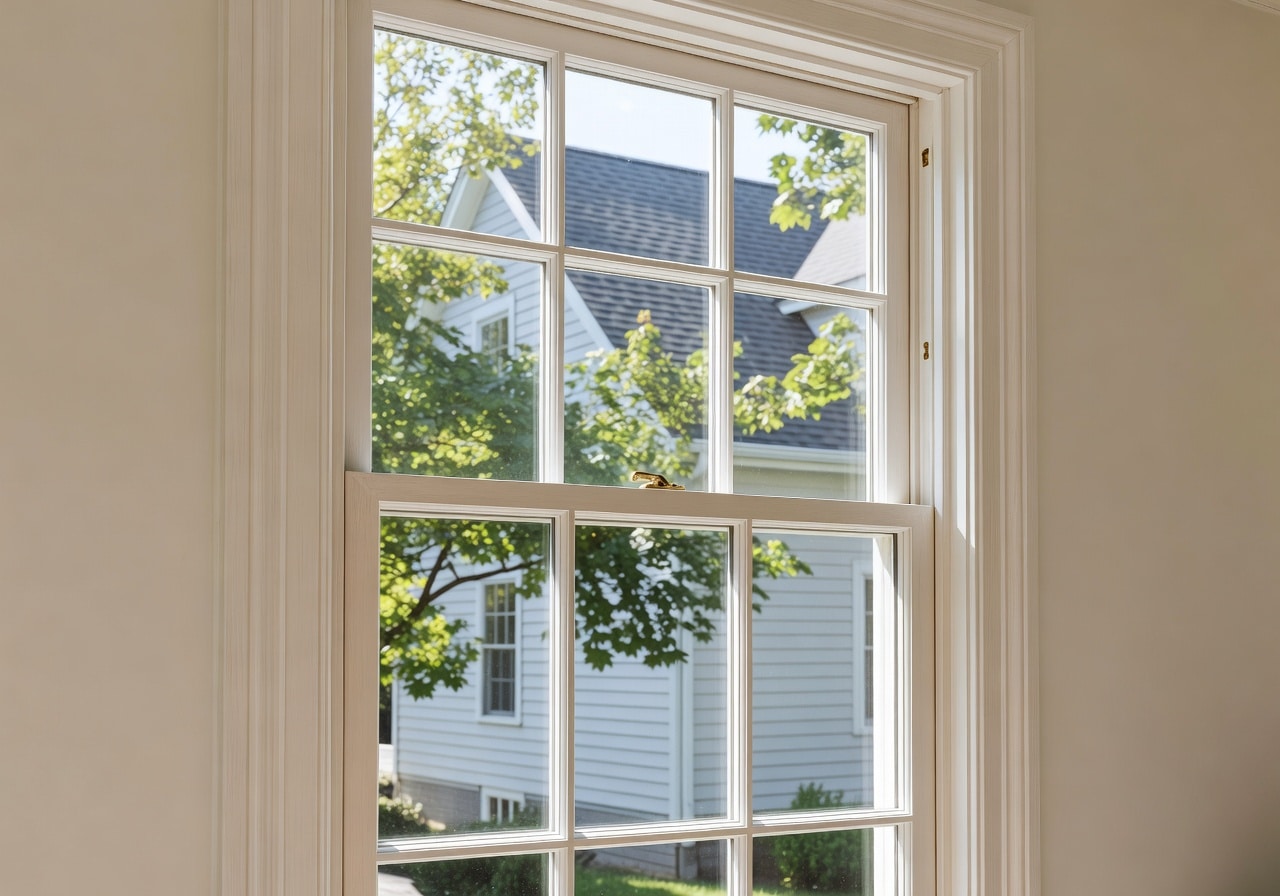
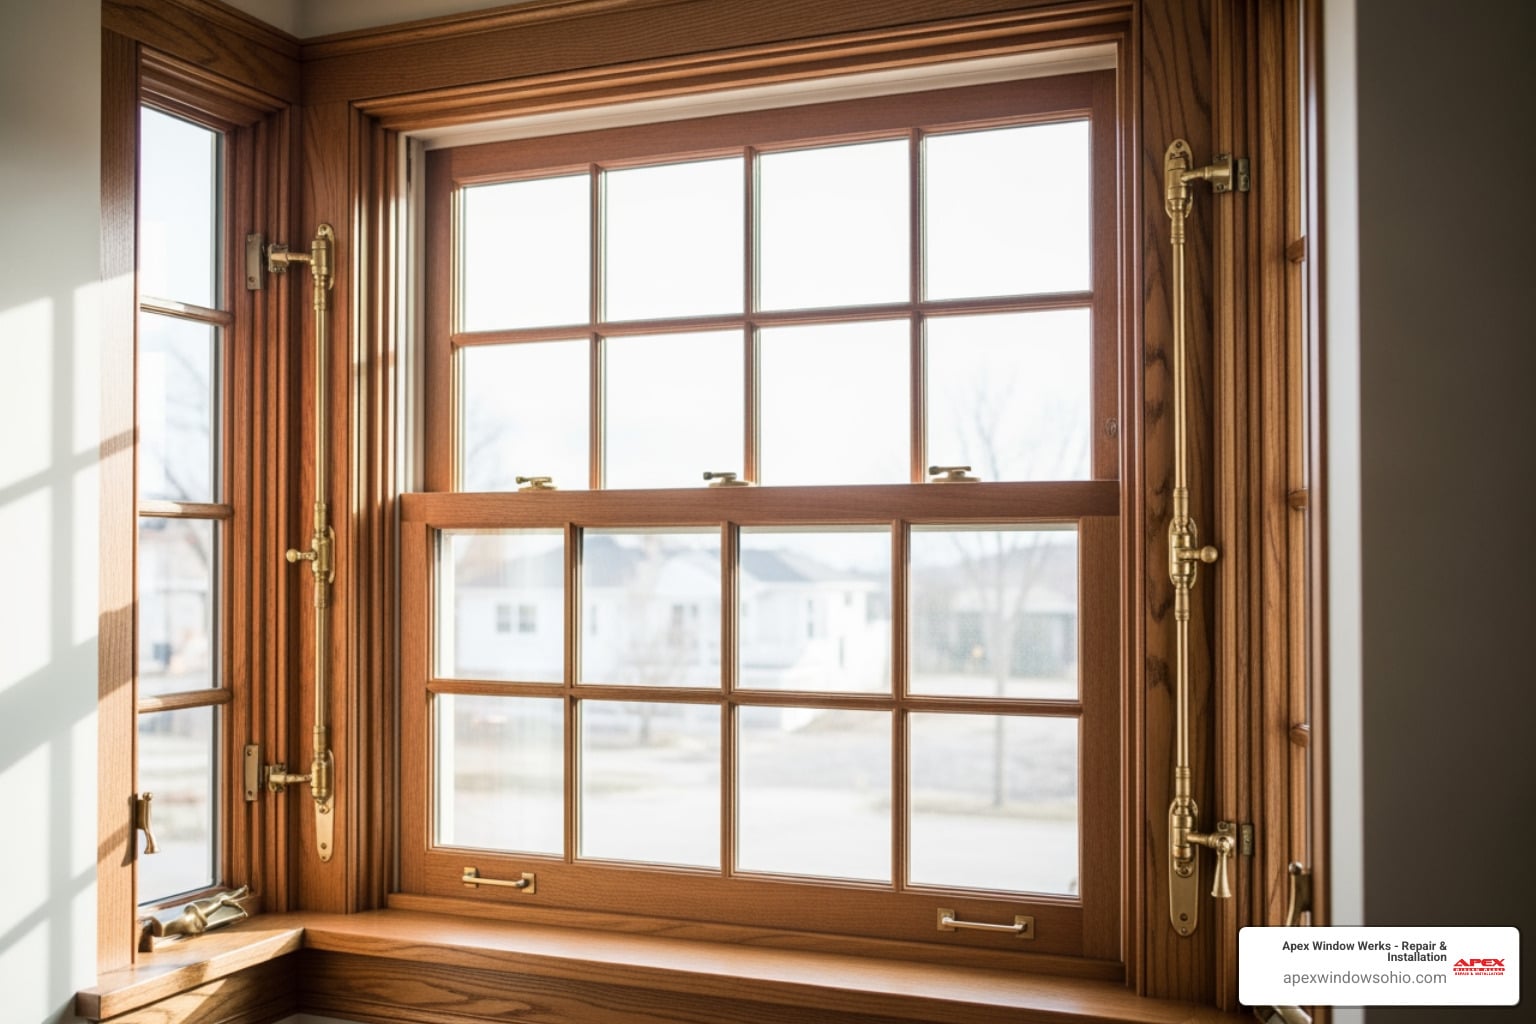
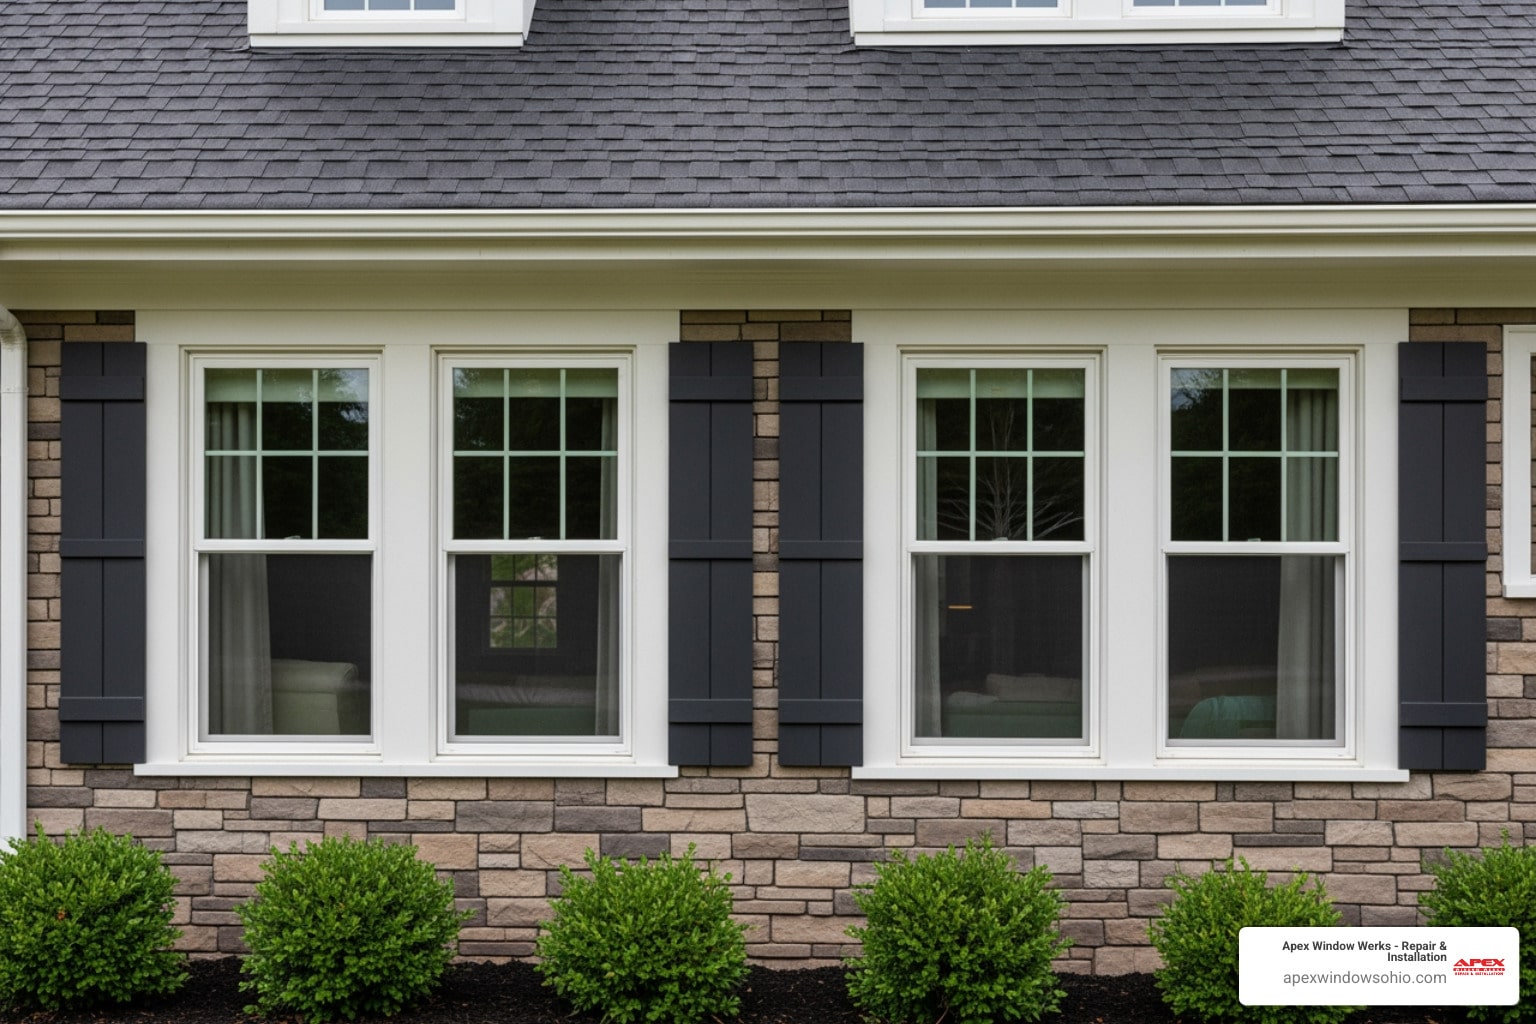
Original windows are integral to a home’s character. They often feature unique, hand-blown glass with ripples and imperfections that can’t be replicated. Restoration maintains this authenticity and charm.
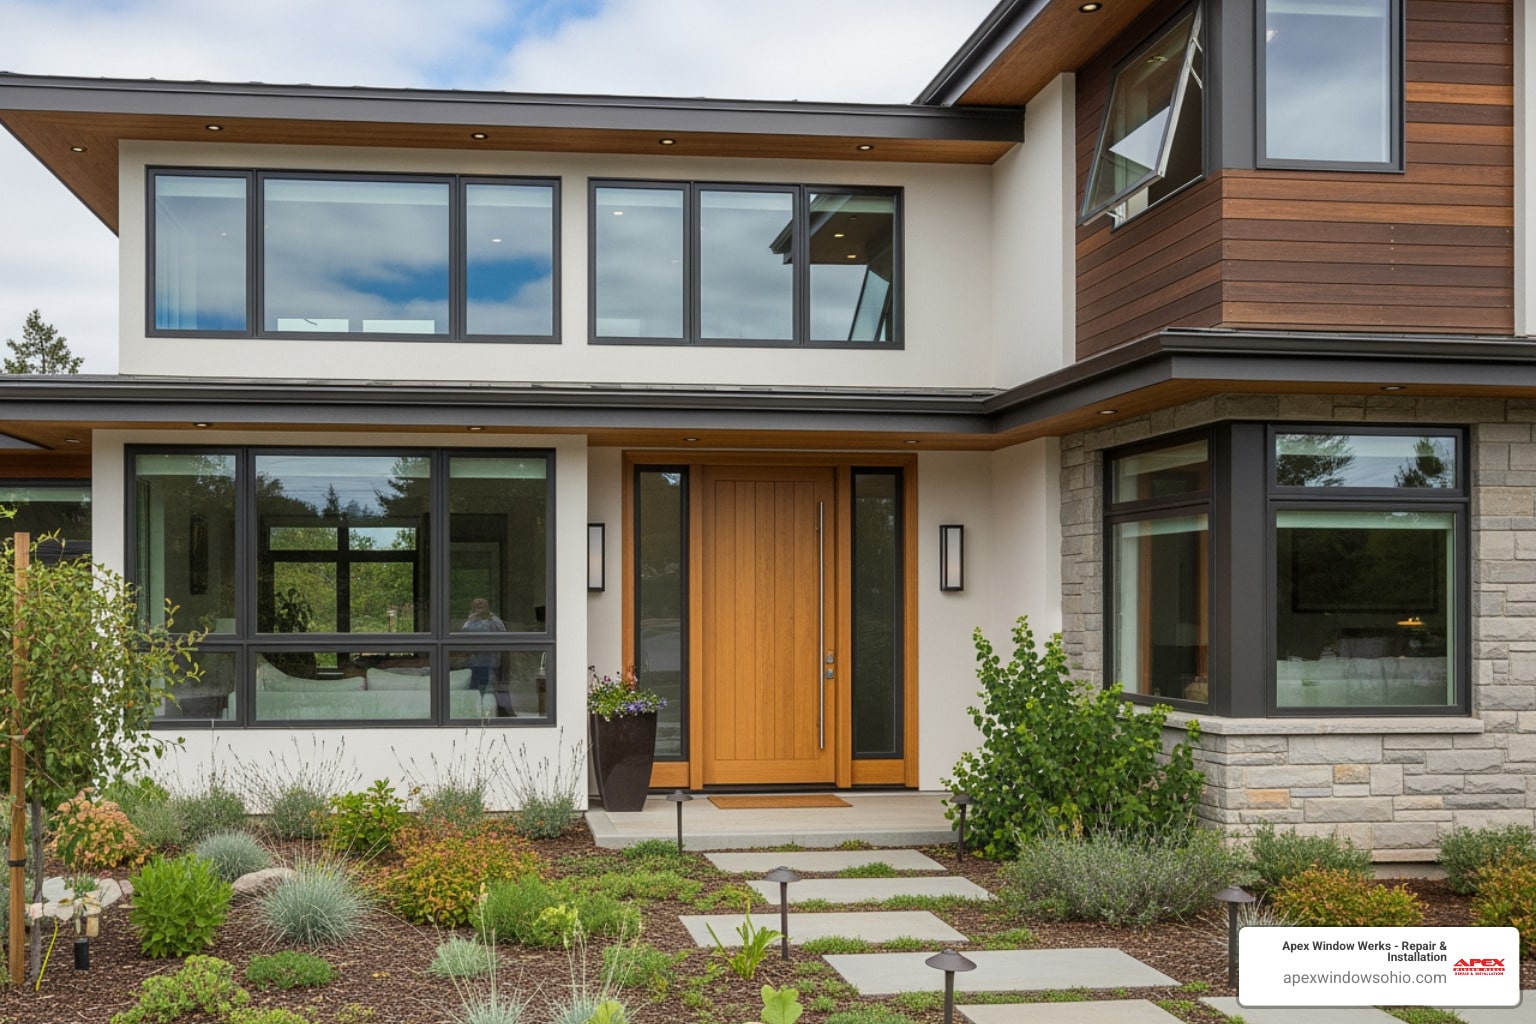
Finally, let’s debunk the energy efficiency myth. While many think old windows are inefficient, a weatherstripped historic window paired with a quality storm window can exceed modern energy code requirements. This combination often provides a better return on investment than new double-pane units, delivering comfort and savings without sacrificing aesthetics.
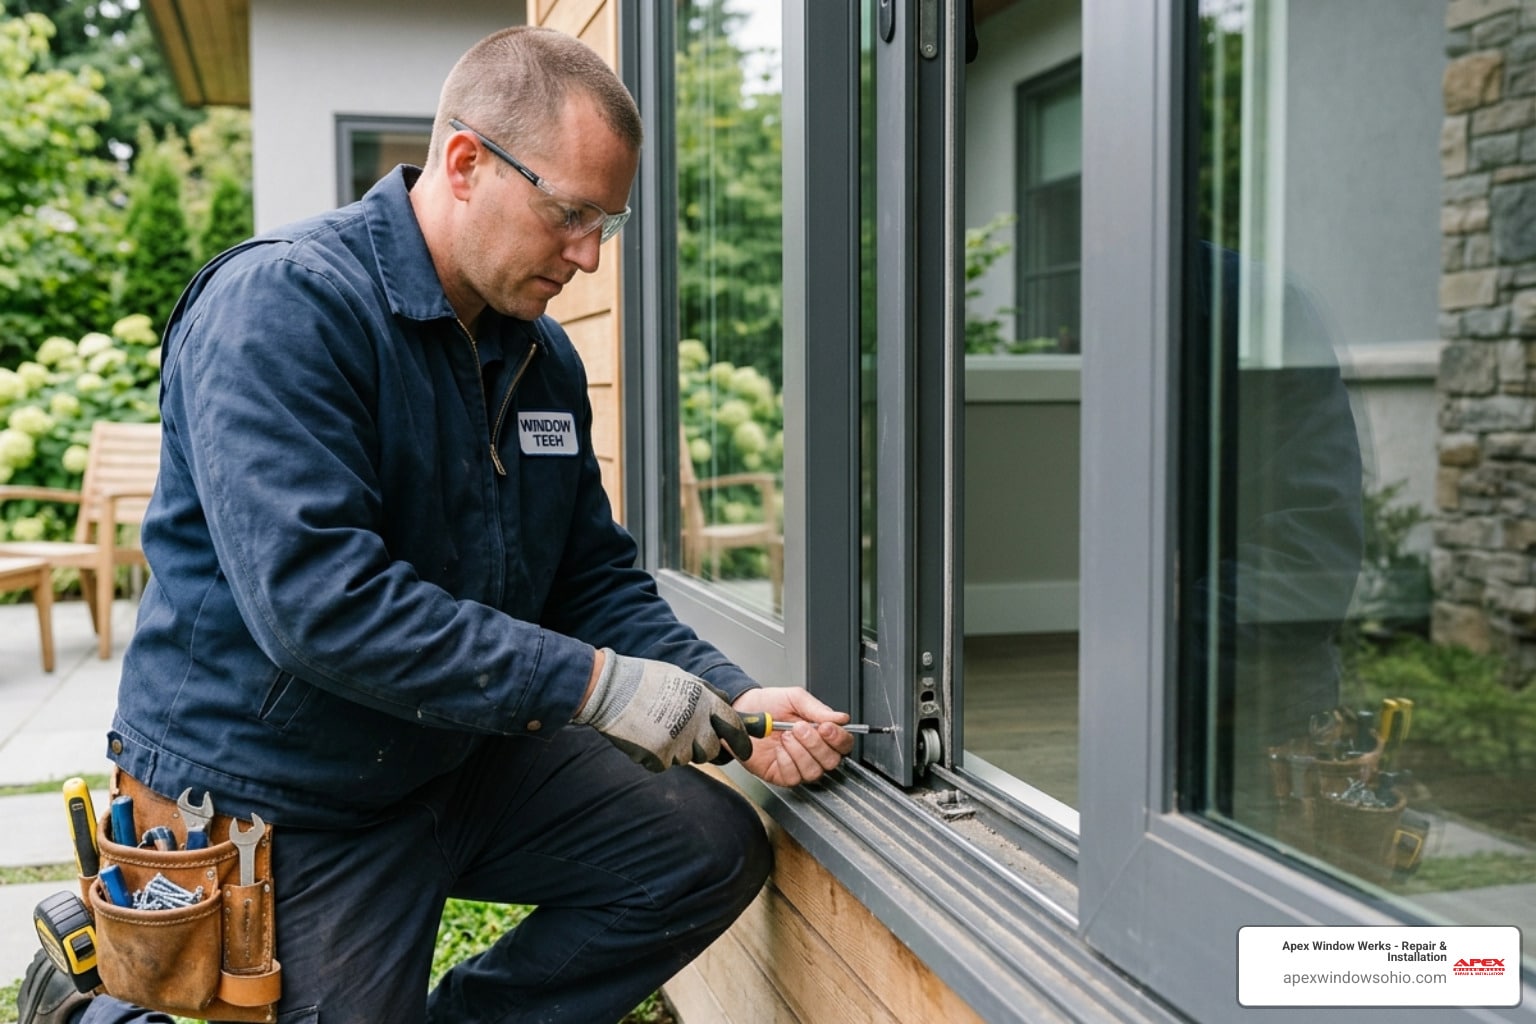
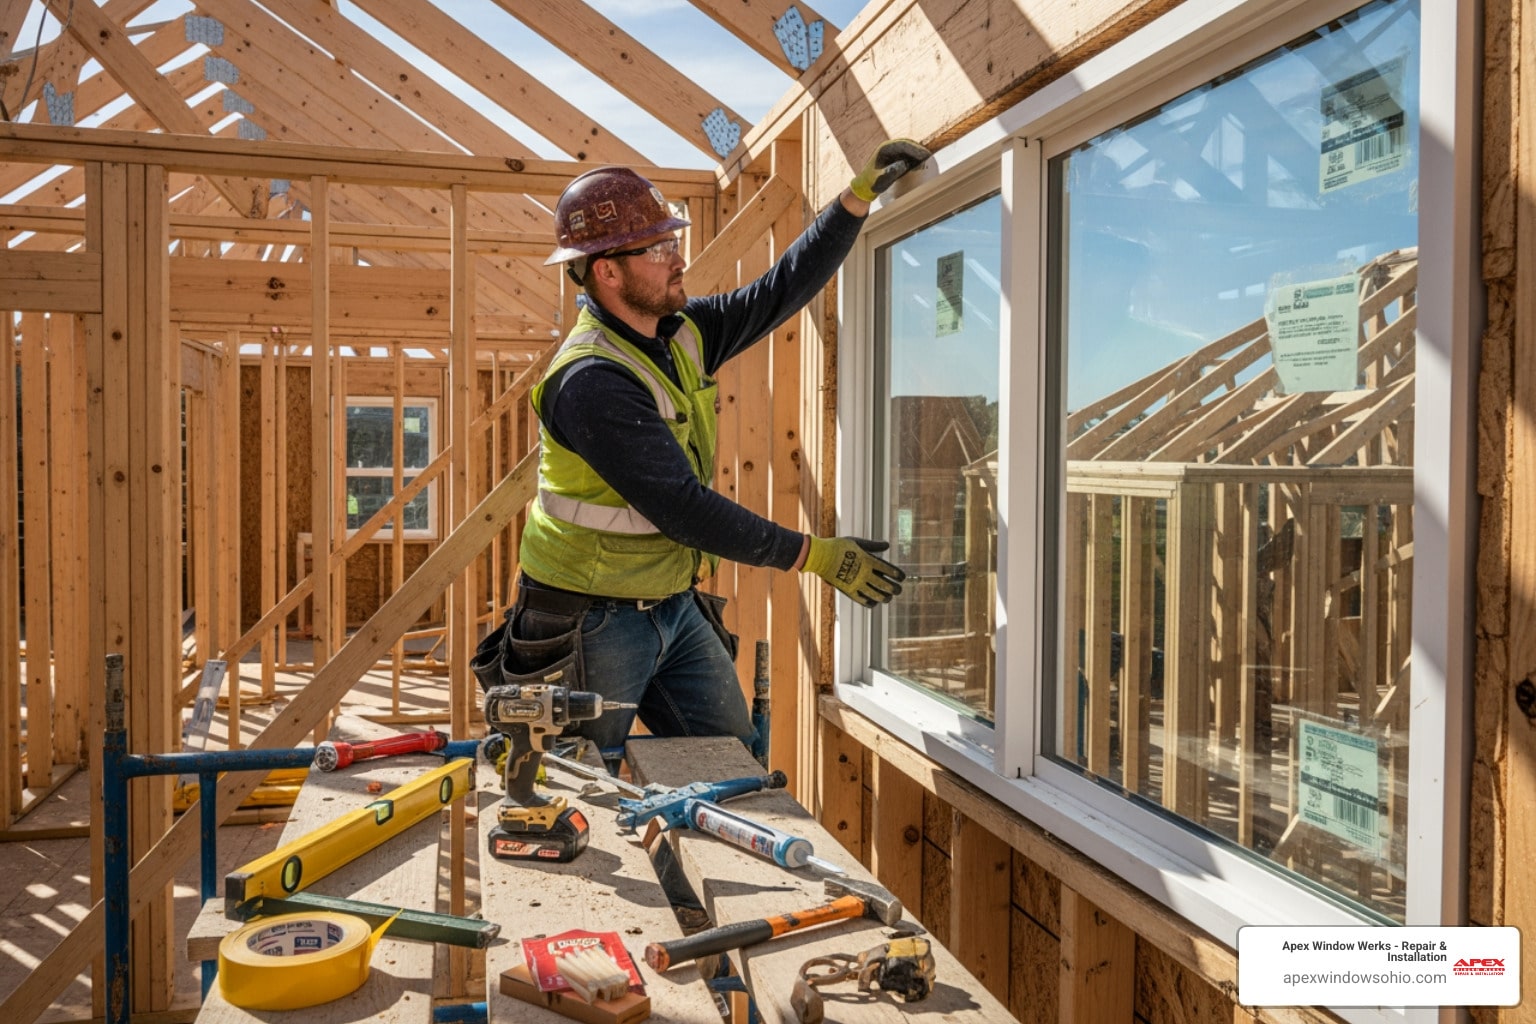
Gearing Up: Your Toolkit for a Flawless Restoration
A window sash restoration project is rewarding, but it requires the right tools and a focus on safety. Before starting, let’s get your workspace and toolkit ready.

Essential Tools for DIY Window Sash Restoration
Having the correct tools will make the job easier and ensure a higher quality finish. Here’s what we recommend for your window sash restoration toolkit:
- Scrapers: A variety is needed. Bahco carbide scrapers are effective for paint removal. A ProScraper vacuum scraper is excellent for containing dust from lead paint.
- Putty Knives: Essential for removing old glazing compound and applying new.
- Infrared Paint Remover: Low-heat tools like the Speedheater Cobra soften paint and glazing safely and efficiently.
- Steam Box: A homemade steam box is very effective for softening old putty, making glass removal easier and safer.
- Glazing Point Driver: For quickly and securely inserting glazing points.
- Clamps: Bar clamps are vital for holding sash joints tight during repairs.
- Sanders: A palm sander for flat surfaces and sanding blocks for profiles.
- Sash Saw & Razor Knife: For cutting paint seals and freeing stuck sashes.
- Pliers & Oscillating Multitool: Useful for removing glazing points and cutting.
- Easel: A shop-made easel allows you to work comfortably.
- Sash Rope: High-quality cotton rope, like Samson Spot Cord, for replacing worn sash cords. Avoid synthetic ropes.
- Wood Epoxy: A two-part system like Abatron’s LiquidWood and WoodEpox is indispensable for durable wood repairs.
- Glazing Putty: Quality putty is key, such as Sarco Type M or Austin’s Glazier’s Putty.
- Whiting: Calcium-carbonate chalk to clean oil from glass after glazing.
- Safety Gear: Goggles, P100/N100 respirator, gloves, and coveralls are non-negotiable.
Handling Lead Paint Safely
Homes in Cleveland-Akron built before 1978 likely have lead paint, a serious health hazard. For window sash restoration in older homes, safety is paramount. Follow strict protocols to mitigate risks:
- Test for Lead: If your home was built before 1978, assume lead paint is present or test for it.
- Containment is Key:
- Outdoors: Lay down 6-mil plastic sheeting to create a 10-foot perimeter around your workspace. Mist surfaces with water before cleanup to control dust.
- Indoors: Use a zip wall system or plastic sheeting to isolate the work area. Tape off HVAC vents and outlets. Place a damp towel at the entrance.
- Personal Protective Equipment (PPE): Always wear a P100 or N100 respirator (dust masks are insufficient), goggles, gloves, and disposable coveralls.
- Low-Dust Work Techniques:
- HEPA Vacuums: Use HEPA-filtered vacuums with dust collection shrouds for power tools.
- Infrared Paint Removers: These low-heat tools are safer than high-heat guns.
- Chemical Strippers: Can be effective, but ensure proper ventilation.
- Wet Scraping: Mist surfaces with water before hand scraping to control dust.
- Steam Heat: A steam box or steamer can loosen paint and putty safely.
- Proper Disposal: Collect all paint chips and dust in sealed bags and dispose of them according to local hazardous waste regulations.
For more guidance on lead-safe practices, consult resources like the Guidance on restoring wood window frames from the GSA. Your family’s safety is the top priority.
The Restoration Process: A Step-by-Step Guide to Window Sash Restoration
Now that you’re equipped and lead-safe, let’s begin the window sash restoration process. This guide covers the five key stages: Removal, Stripping, Repair, Glazing, and Finishing.
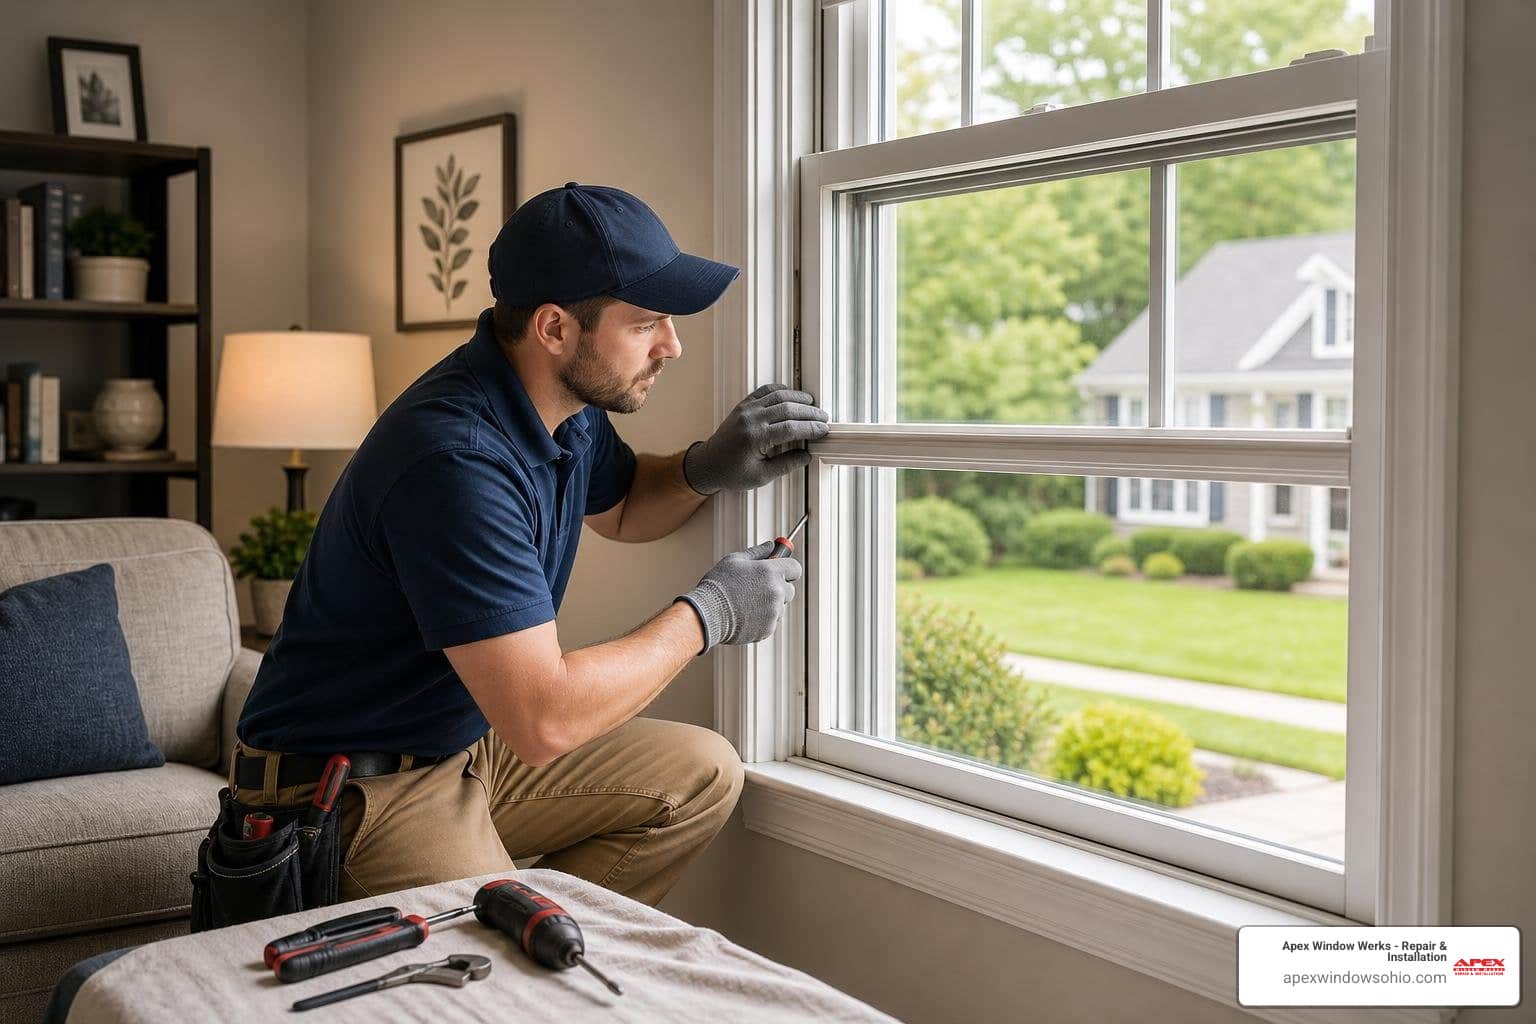
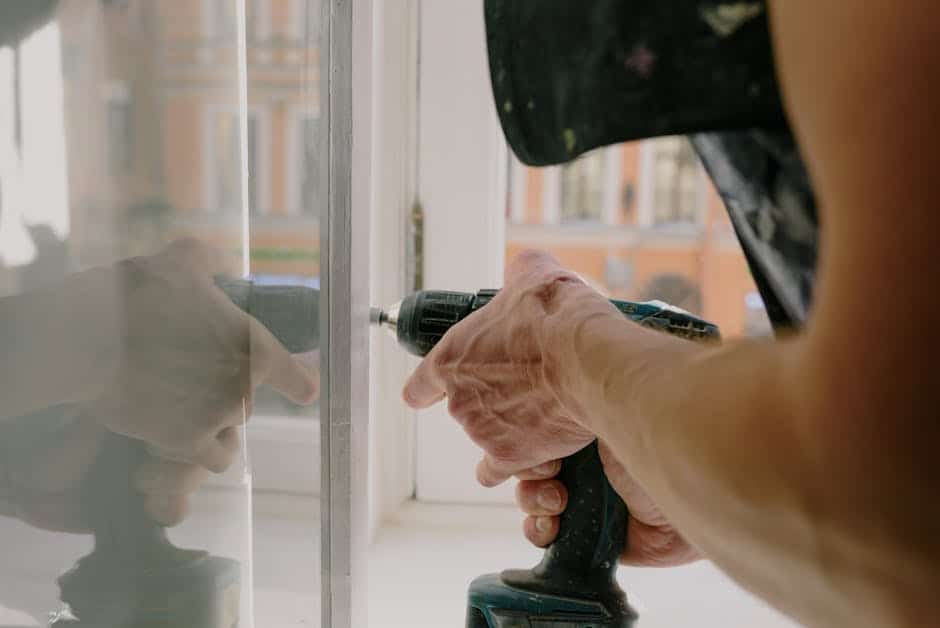
Step 1: Removing Sashes and Hardware
Careful removal is the first step. Patience prevents damage to fragile components.

- Prepare the Area: Lay down drop cloths. If working indoors, ensure lead containment measures are in place.
- Score Paint Seals: Use a razor knife or sash saw to cut paint seals around both sashes. This is crucial to free the sash without tearing wood.
- Remove Stops: The interior stops hold the lower sash. Score the paint line, then gently pry them off. Remove nails, scrape the back, and number each stop and sash so they can be returned to their original position.
- Remove the Bottom Sash: With stops removed, angle the bottom sash inward. Disconnect the sash rope or chain, letting the weight drop into its pocket. Tie a knot in the rope to prevent it from disappearing. Repeat on the other side and set the sash aside.
- Remove Parting Beads: The parting bead separates the sashes. Lower the top sash, then carefully remove the bead with vise grips or a pry bar.
- Remove the Top Sash: The top sash can now be removed in the same manner as the bottom sash.
- Access Weight Pockets (if needed): If replacing sash ropes, you’ll need to access the weight pockets, which may have an access door or require careful cutting.
- Remove Hardware: Carefully remove all hardware from the sashes and store it in a labeled bag.
Step 2: Stripping Old Paint and Glazing
This is a tedious but essential step for a lasting finish.
- Remove Old Glazing:
- Steam Box Method: The steam box method is preferred. Steam softens old putty, making it easy to remove and reducing the risk of breaking glass.
- Heat Gun (Low Heat): Alternatively, use a heat gun on low. Be cautious not to overheat and crack the glass or scorch the wood.
- Scraping: Use a putty knife to carefully scrape away the softened putty. Remove all old glazing points.
- Remove Glass: Once putty and points are gone, lift the glass out. Clean it thoroughly and label each pane to ensure it returns to its original, often irregular, opening.
- Strip Old Paint:
- Low-Heat Infrared Removers: Low-heat infrared removers are effective and safe for stripping paint. They soften it for clean scraping.
- Chemical Strippers: These can be used, but require good ventilation.
- Wet Scraping: For hand scraping, wet the painted surfaces to control dust.
- Scrapers: Use carbide scrapers for flat areas and contoured scrapers for profiles, scraping down to bare wood.
- Steam Heat: Steam can also help loosen paint.
- Clean Up: After stripping, clean the sash. Use plastic sheeting to contain debris and mist with water to control dust.
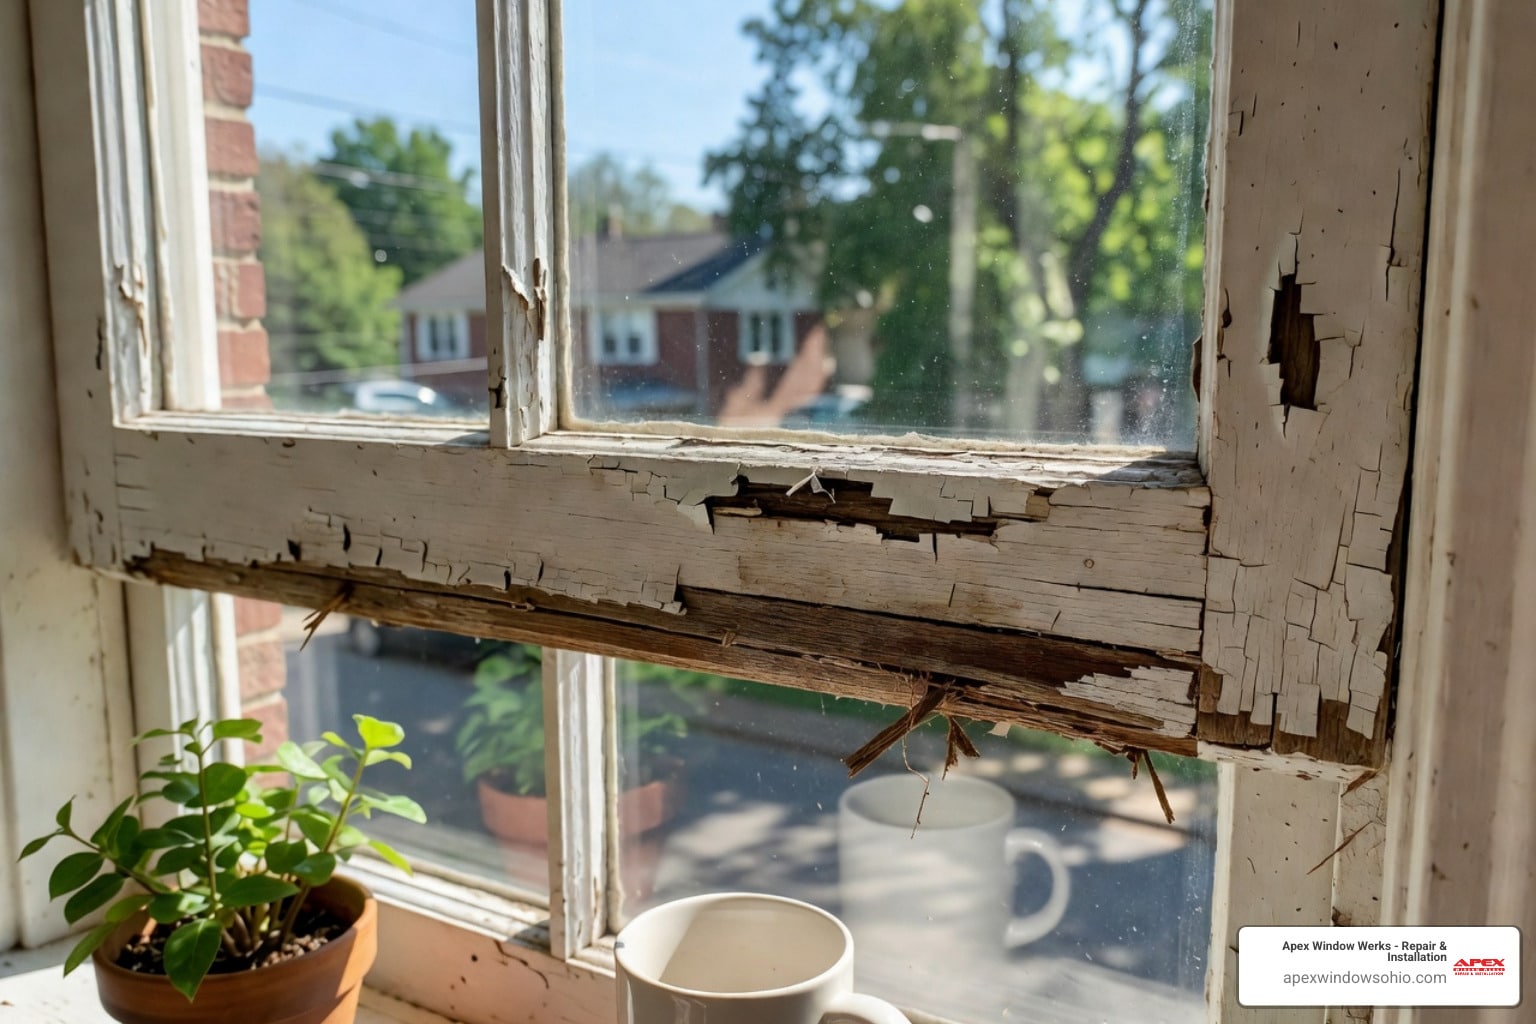
Step 3: Effective Repair Techniques for Your Window Sash Restoration Project
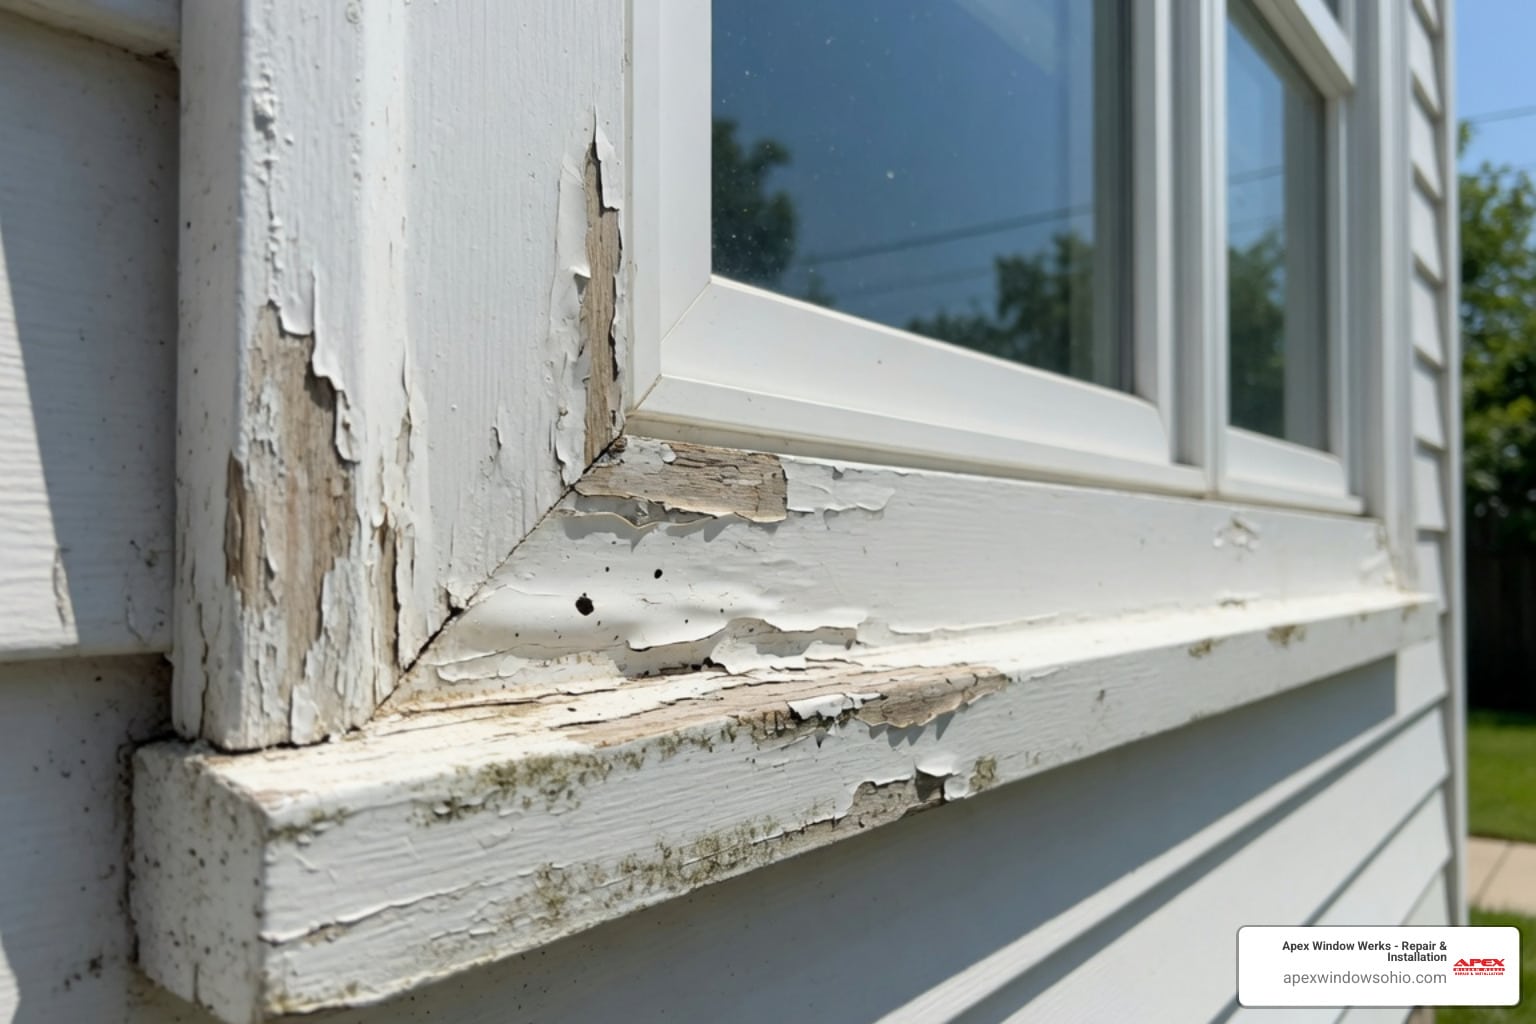
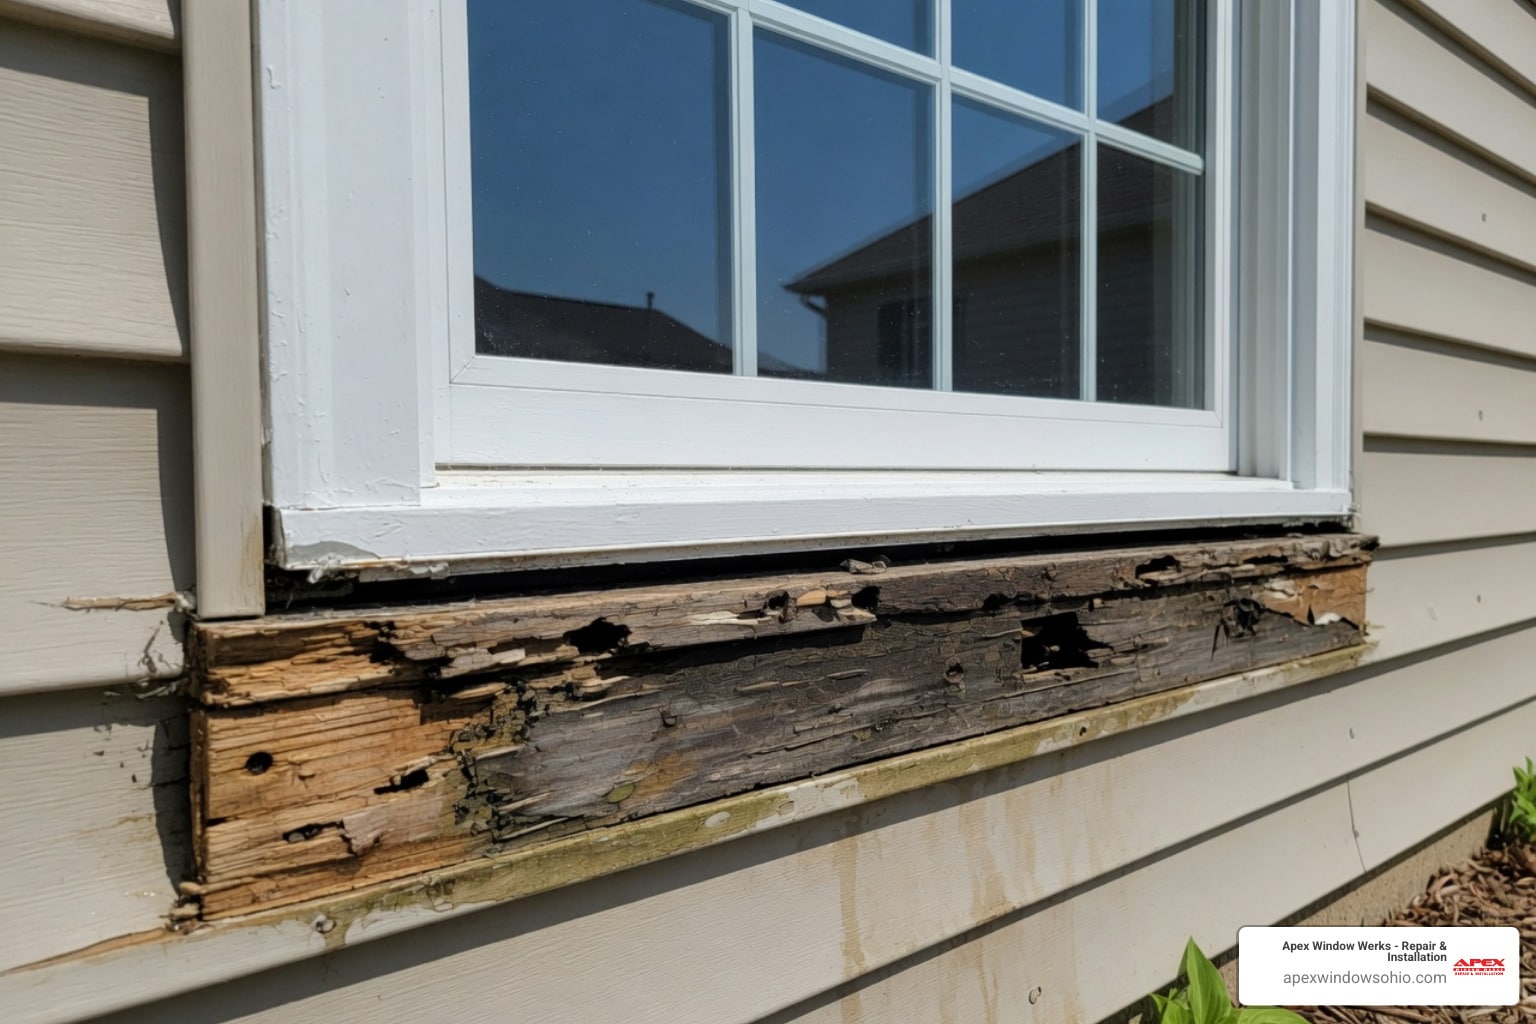
Once stripped, inspect the wood for rot or damage to ensure structural integrity.
- Assess Damage: Probe for soft spots, cracks, or rot with a scratch awl, paying close attention to bottom rails and muntins.
- Minor Rot/Damage Repair (Epoxy):
- Clean Out: Carve out all rotted wood until you reach sound, dry wood.
- Consolidate: Apply a penetrating epoxy consolidant (like Abatron’s LiquidWood) to strengthen the wood fibers. Apply until it’s no longer absorbed.
- Fill: After the consolidant cures, apply a structural epoxy filler (like Abatron’s WoodEpox). Mold it to match the original profile. Clamping Plexiglas over the wet epoxy can create a smoother finish.
- Cure Time: Allow epoxy repairs to cure for at least 24 hours before sanding.
- Major Damage Repair (Dutchman Patches): For extensive rot, a dutchman patch is the best solution.
- Cut Out: Cut out the damaged section, creating a clean, square-sided void.
- Fabricate Patch: Fabricate a patch from matching wood to precisely fit the void.
- Glue In: Secure the patch with exterior-grade carpenter’s glue (like Titebond II), which allows for future repairs. Clamp tightly for 24 hours. Use thickened epoxy for loose joints.
- Sanding and Shaping: Once repairs are cured, sand the sash, moving from 60-grit to 100-grit sandpaper for a smooth finish. Wipe with a tack cloth.
- Wood Preservative: Apply a wood preservative to prevent rot. A 50/50 mix of mineral spirits and boiled linseed oil works well. Let it penetrate and dry for 48 hours.
Step 4: Re-Glazing for a Weather-Tight Seal
Re-glazing seals the glass into the sash, creating a weather barrier.
- Clean Glass: Thoroughly clean the glass again. Use whiting to remove any oil spots that appear after glazing.
- Prime the Sash: This is a critical step. Apply an oil-based primer to the wood that will contact the putty. This prevents the wood from drying out the putty, which would cause it to fail.
- Bed the Glass:
- Apply a thin rope of glazing putty into the rabbet (the glass groove).
- Gently press the glass into this bed, creating a cushion and an air seal.
- Set Glazing Points: Insert glazing points to secure the bedded glass. Use a point driver, placing one on each side and every 12 inches for larger panes. Ensure they will be hidden by the finish glaze.
- Apply Finish Glaze: Roll another rope of glazing putty and press it firmly around the perimeter of the glass, covering the glazing points.
- Tool the Putty: With a putty knife, tool the putty into a smooth 45-degree bevel to shed water. Create clean, mitered corners for a professional look.
- Curing Time: Patience is key. Glazing putty must cure before painting. This can take anywhere from a few days to two weeks, depending on the product. Keep the sash upright while it cures.
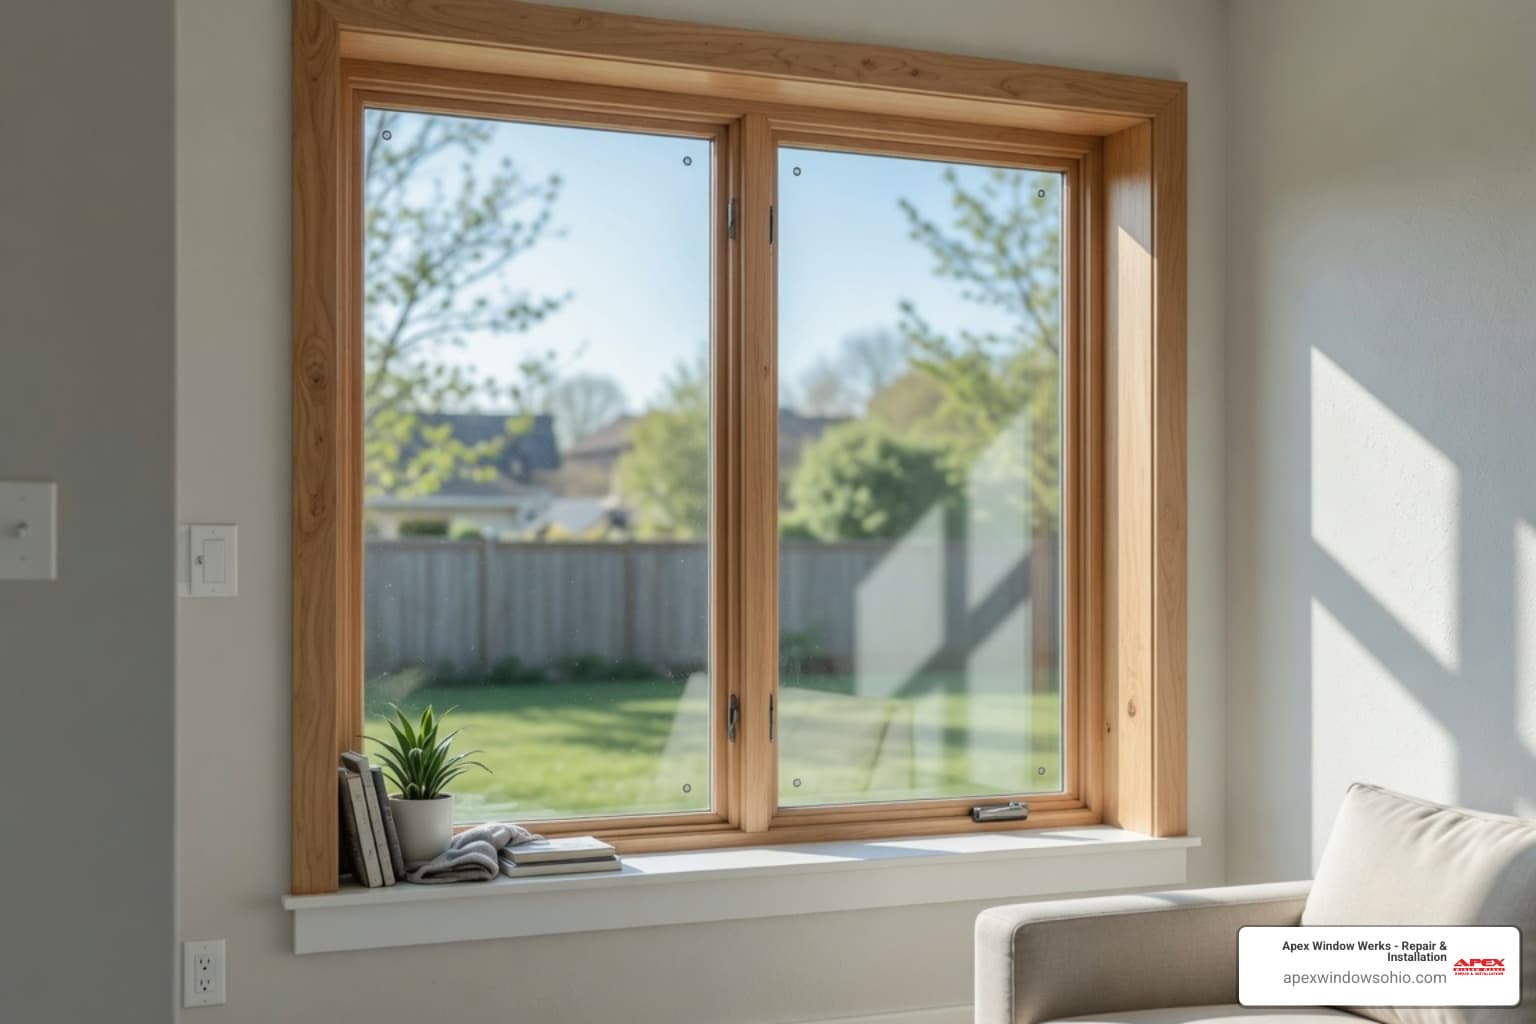
Step 5: Priming, Painting, and Finishing Touches
The final steps protect the wood and improve your home’s curb appeal.
- Final Priming: Once the putty has cured, apply a high-quality primer to all wood, epoxy, and putty surfaces. A shellac-based primer like Zinsser’s B-I-N is excellent as it adheres well and seals knots.
- Painting: Apply at least two coats of high-quality exterior enamel paint. An acrylic latex topcoat over an oil-based primer is a durable combination.
- Overlap the Glass: Overlap the paint onto the glass by 1/16 inch. This critical seal prevents water from seeping in behind the putty.
- Areas to Avoid Painting: Do NOT paint the sides, top, or bottom of the sash. This allows the wood to breathe and prevents sticking.
- Curing Time: Paint can take up to 30 days to fully cure, even when dry to the touch. Be gentle with the sashes during this time.
- Restore Hardware: While paint cures, restore the hardware. Boiling paint-encrusted hardware in a crock pot with soapy water is a simple way to remove old paint.
- Reinstall Hardware: Reattach the restored lifts, locks, and any other hardware to the sashes.
- Wax the Sashes: Wax the sides of the sashes before reinstallation to help them glide smoothly.
Maximizing Performance and Ensuring Longevity
Proper window sash restoration sets your windows up for a long, productive life. Here’s how to ensure they perform well for decades:
- Proper Maintenance Schedule:
- Annual Operation: Open and close each window annually to keep parts from seizing.
- Five-Year Inspection: Every five years, inspect for rot, cracked paint, or failing glazing. Early fixes prevent major problems.
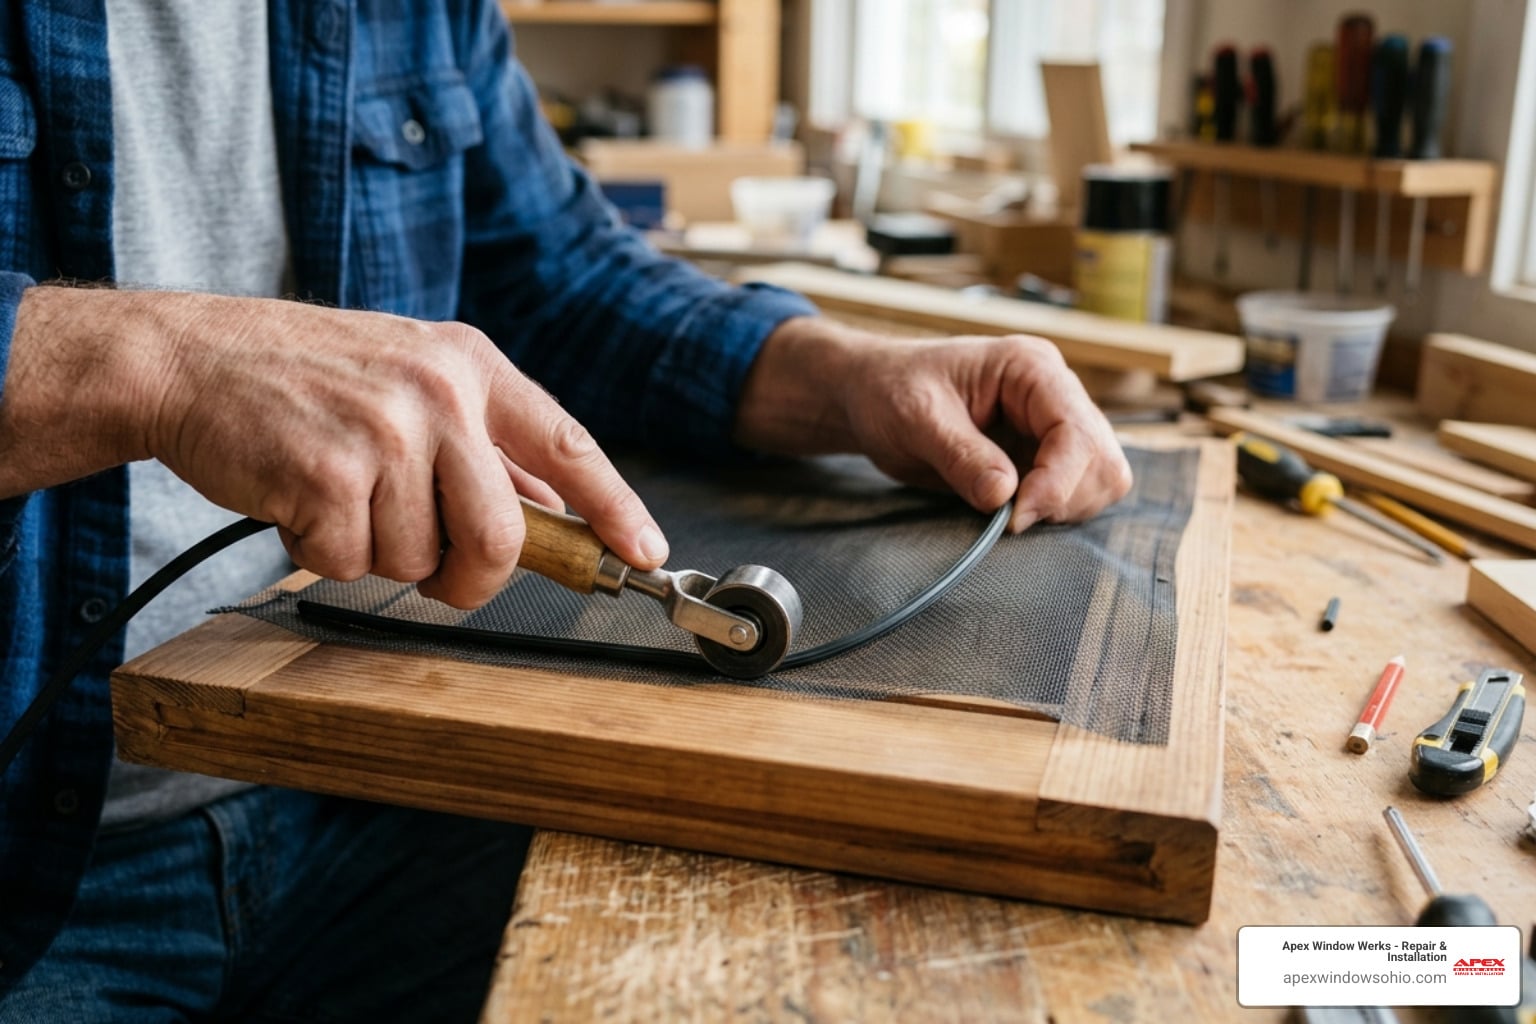
- Weatherstripping Options: Adding weatherstripping is one of the most effective ways to improve energy efficiency by reducing air infiltration.
- Spring Bronze or V-Strip: These metal strips can be installed discreetly along the sash runs and meeting rails.
- Pile Weatherstripping: Often routed into the sash or jamb, this offers a soft, brush-like seal.
- Compression Weatherstripping: Can be installed around the perimeter to compress and seal when the window is closed.
Properly weatherstripped historic windows can significantly reduce air leaks, making your home more comfortable and lowering your energy bills.
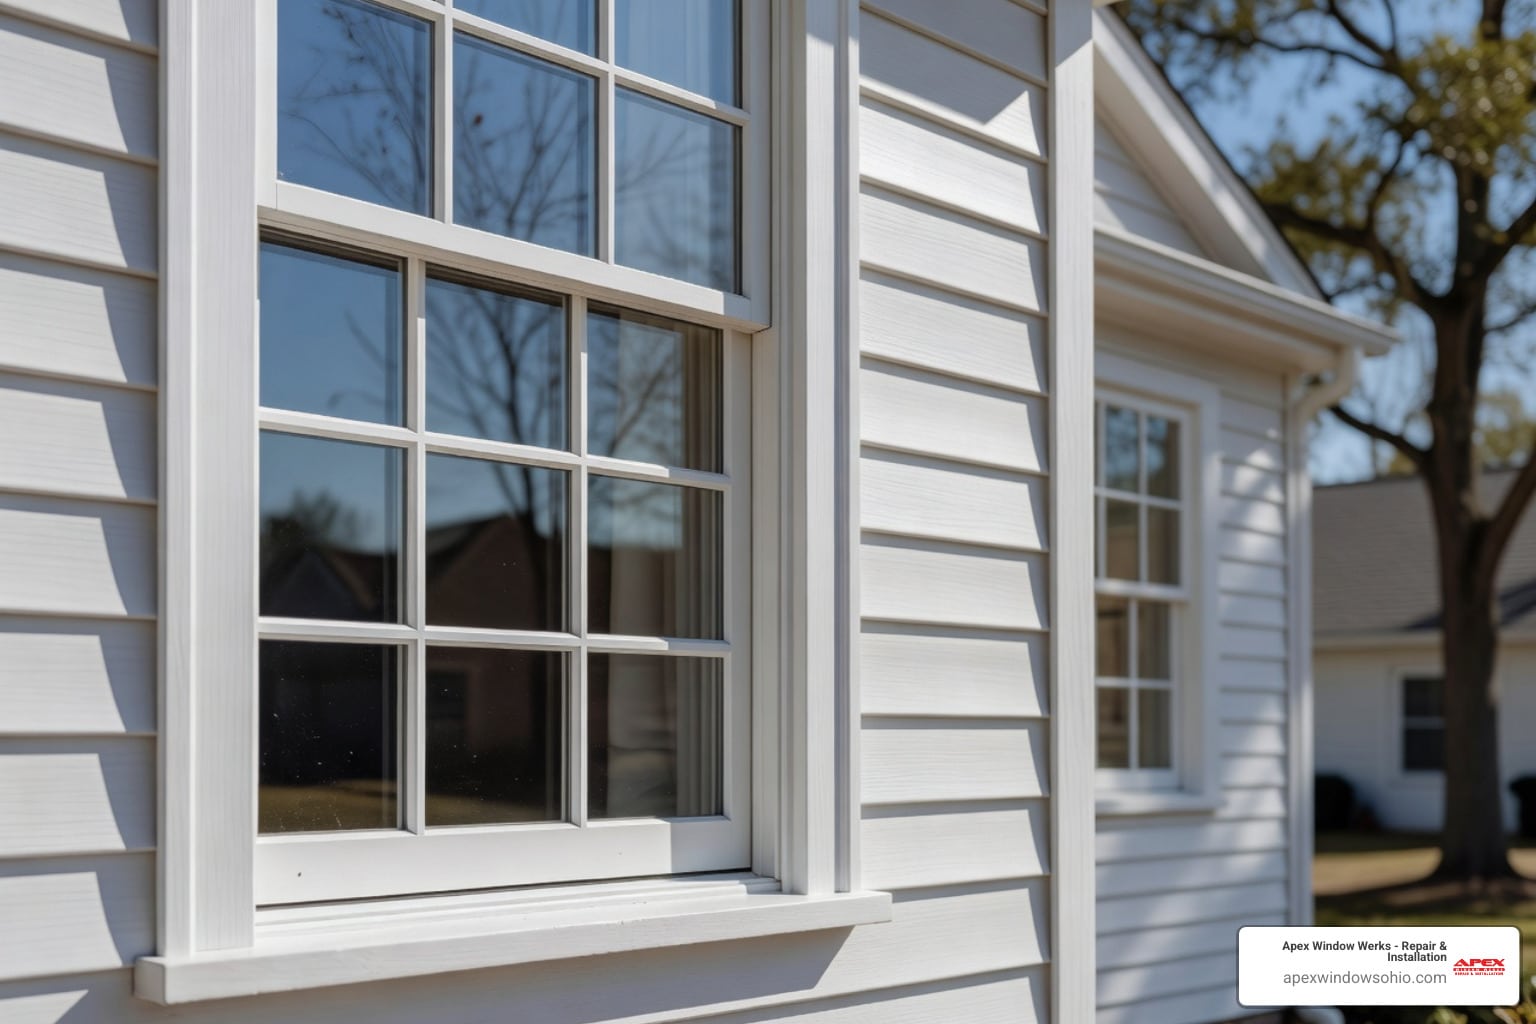
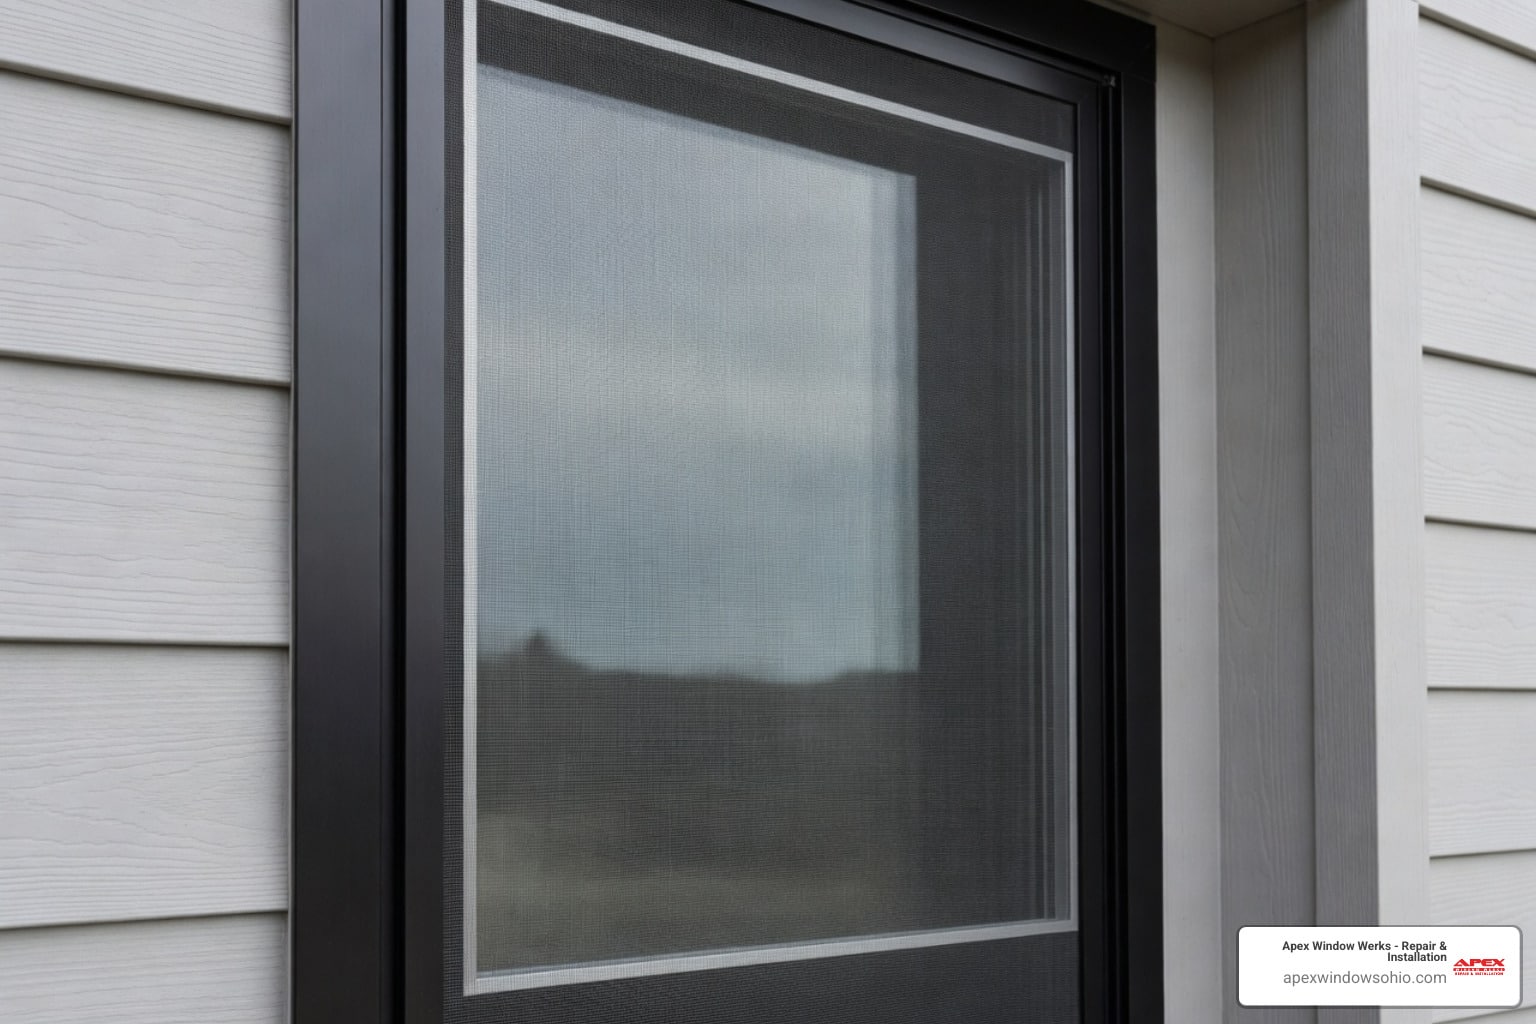
- Adding Storm Windows: High-quality storm windows are the most impactful upgrade for energy performance. They create an insulating air pocket that reduces heat transfer.
- Triple-Track Aluminum Storms: A common and effective exterior option.
- Low-Profile Wood Storms: These can be custom-built to match your home’s aesthetic.
- Interior Storm Windows: A great option for preserving exterior aesthetics, these fit snugly inside the window opening.
As mentioned, weatherstripped historic windows with storms can exceed modern energy codes, offering a better ROI than many replacements.
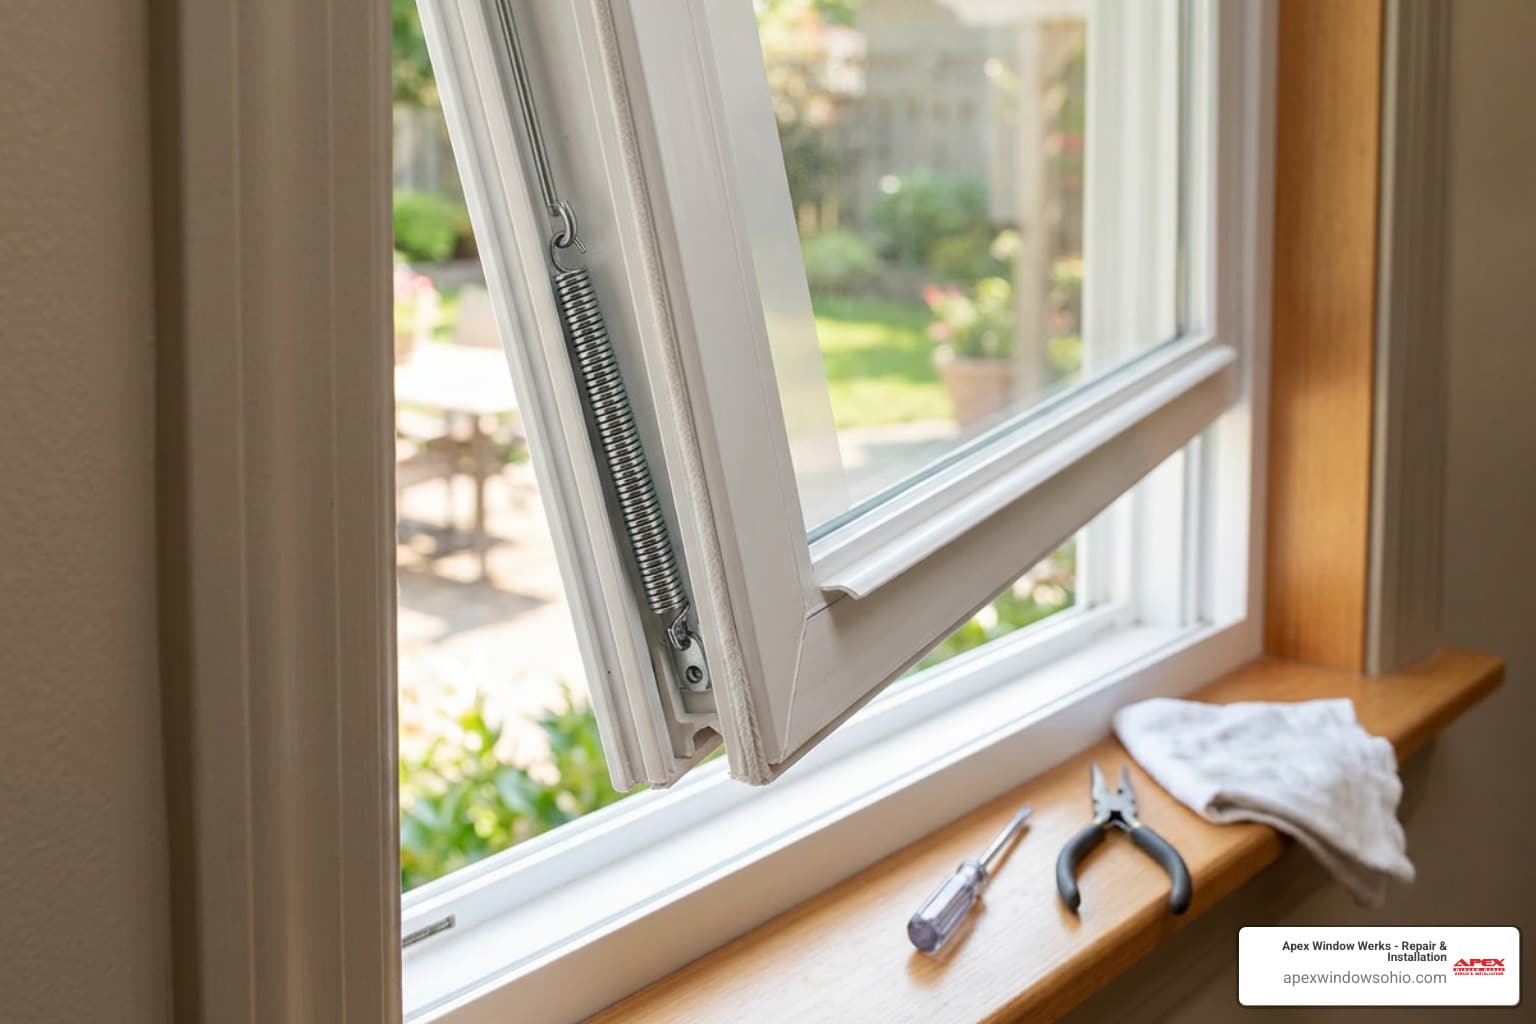
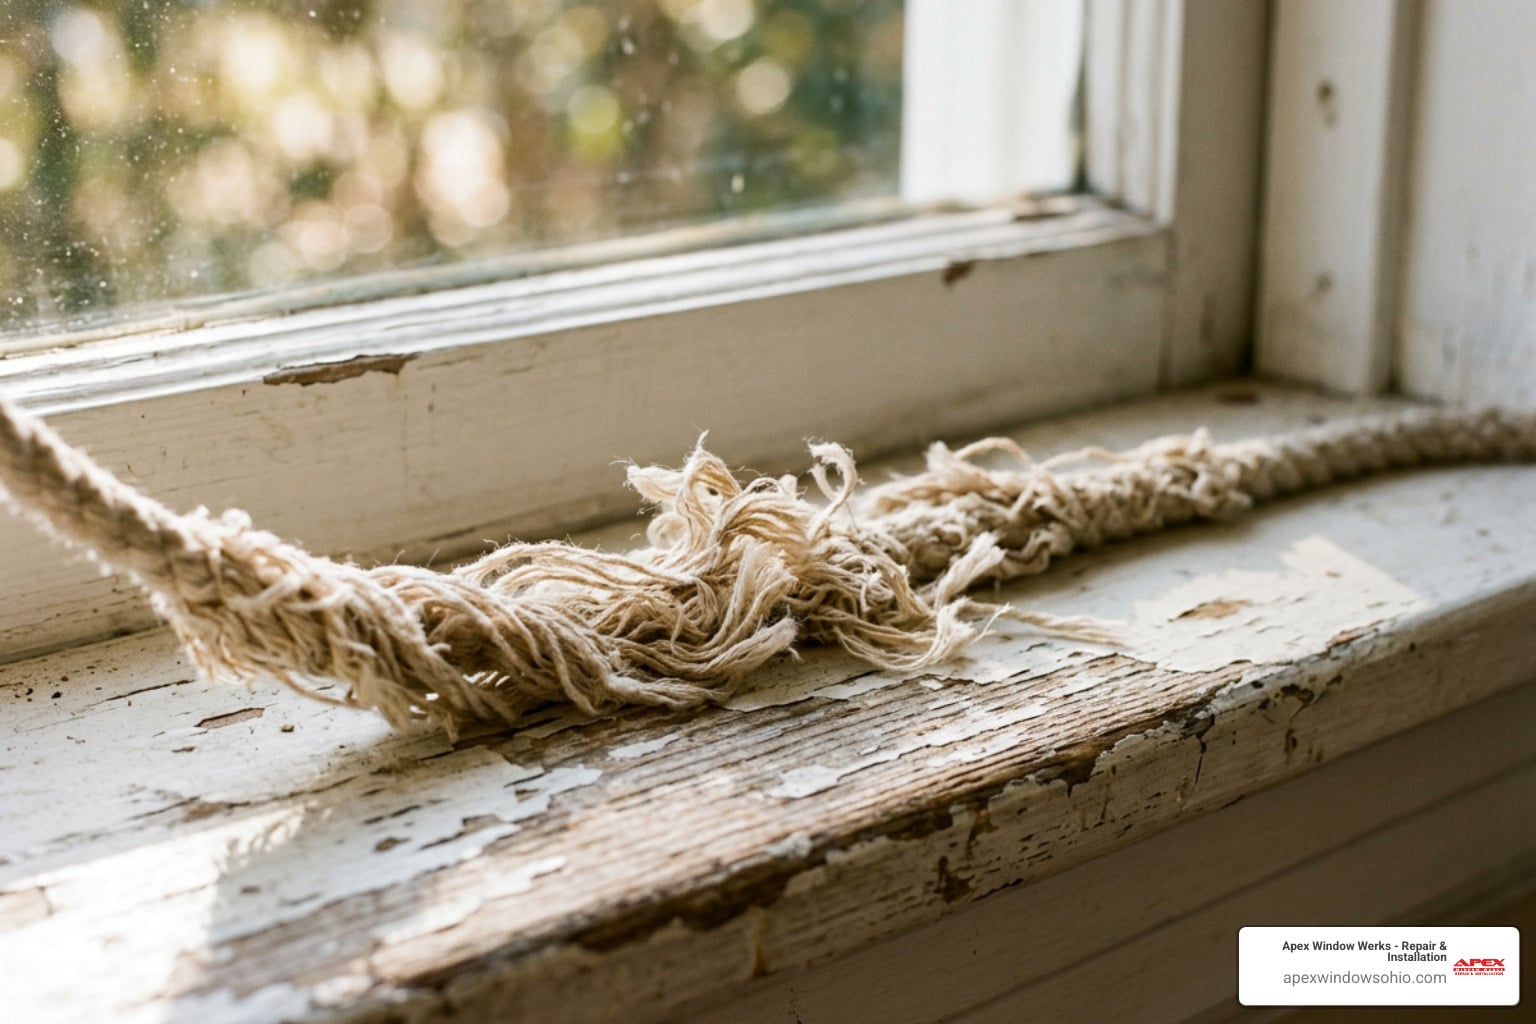
- Re-Roping Sash Weights: For double-hung windows with weights, good rope condition is crucial for smooth function.
- Use Quality Rope: Replace frayed ropes with high-quality cotton sash cord (like Samson Spot Cord), which can last over 60 years.
- Avoid Synthetics: Avoid synthetic ropes like nylon; they stretch and degrade in sunlight, often failing within 10 years.
- Proper Installation: Properly install the rope so the sash moves freely and stays in any position.
By combining meticulous window sash restoration with these performance improvements, you’re not just fixing a window; you’re creating a long-lasting, energy-efficient, and historically accurate feature for your Northeast Ohio home.
Frequently Asked Questions about Sash Restoration
Here are answers to common questions about window sash restoration from Cleveland-Akron homeowners:
How long does window sash restoration take?
For a DIYer, a thorough restoration takes about two days per window, including drying and curing times. This accounts for removal, stripping, repairs, priming, painting, and reinstallation. Professionals are faster due to specialized equipment but cost more ($1,000 to $2,000 per window).
Can I restore a window that is painted shut?
Yes. A painted-shut window is a common candidate for restoration. Carefully score the paint seals with a razor knife and a sash saw to cut through buildup in the joint. With patience, you can free the sash. Then, follow the full restoration process to prevent it from sticking again.
Is it better to use oil-based or water-based paint?
For window sash restoration, we recommend a combination of paint types for optimal durability.
- Primer:
- An oil-based primer is essential on wood that will contact glazing putty to prevent the putty from drying out.
- For all other surfaces, a shellac-based primer (like B-I-N) is highly effective for sealing knots and adhering to wood and epoxy.
- Topcoat: A high-quality exterior acrylic latex enamel is a great choice for the top two coats, offering excellent durability and color retention over the proper primer.
Apply at least two coats and allow up to 30 days for the paint to fully cure. Remember not to paint the top, bottom, or side edges of the sash to prevent sticking.
Your Partner in Window Preservation
Choosing window sash restoration shows an appreciation for quality and history. The benefits are clear: superior longevity, cost savings, improved energy efficiency, and irreplaceable charm.
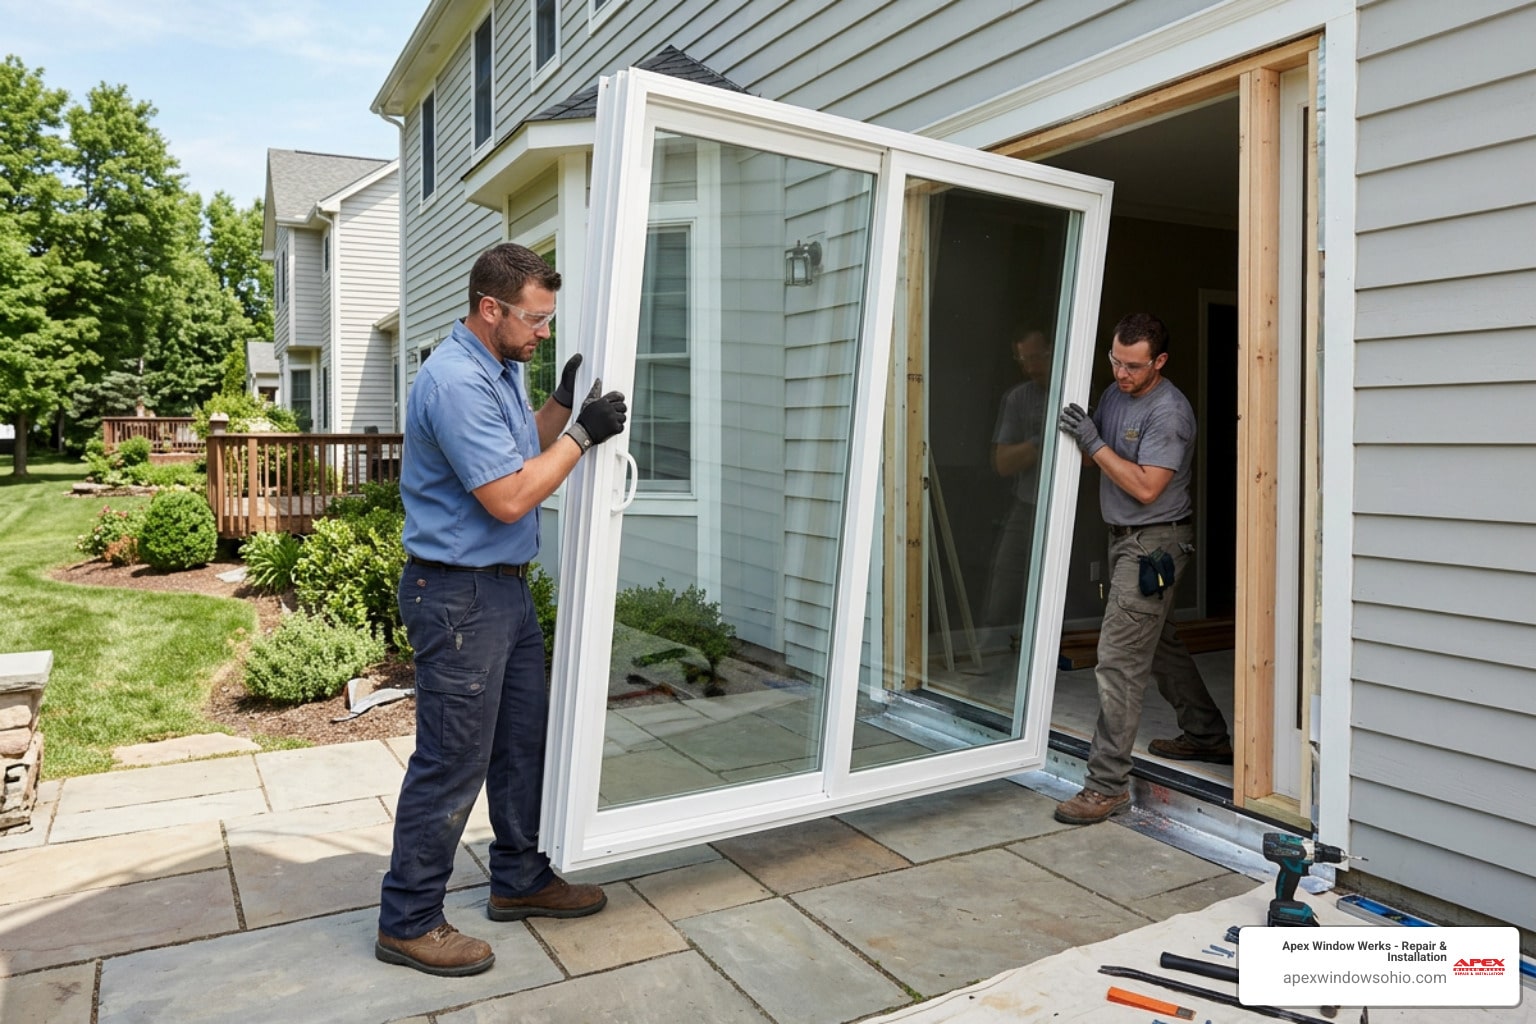
Whether you’re a DIYer or a homeowner seeking expert help in Cleveland-Akron, our team at Apex Window Werks is here for you. We deliver fast, affordable, high-quality wood window repair and restoration services across Northeast Ohio.
Don’t let the allure of quick-fix replacements overshadow the enduring value of restoration. Preserve your home’s legacy and enjoy windows that will last for generations.
Learn more about our wood window repair services today, and let’s bring your windows back to their original glory!