


Don’t Trash the Sash: Your Complete Guide to Window Restoration
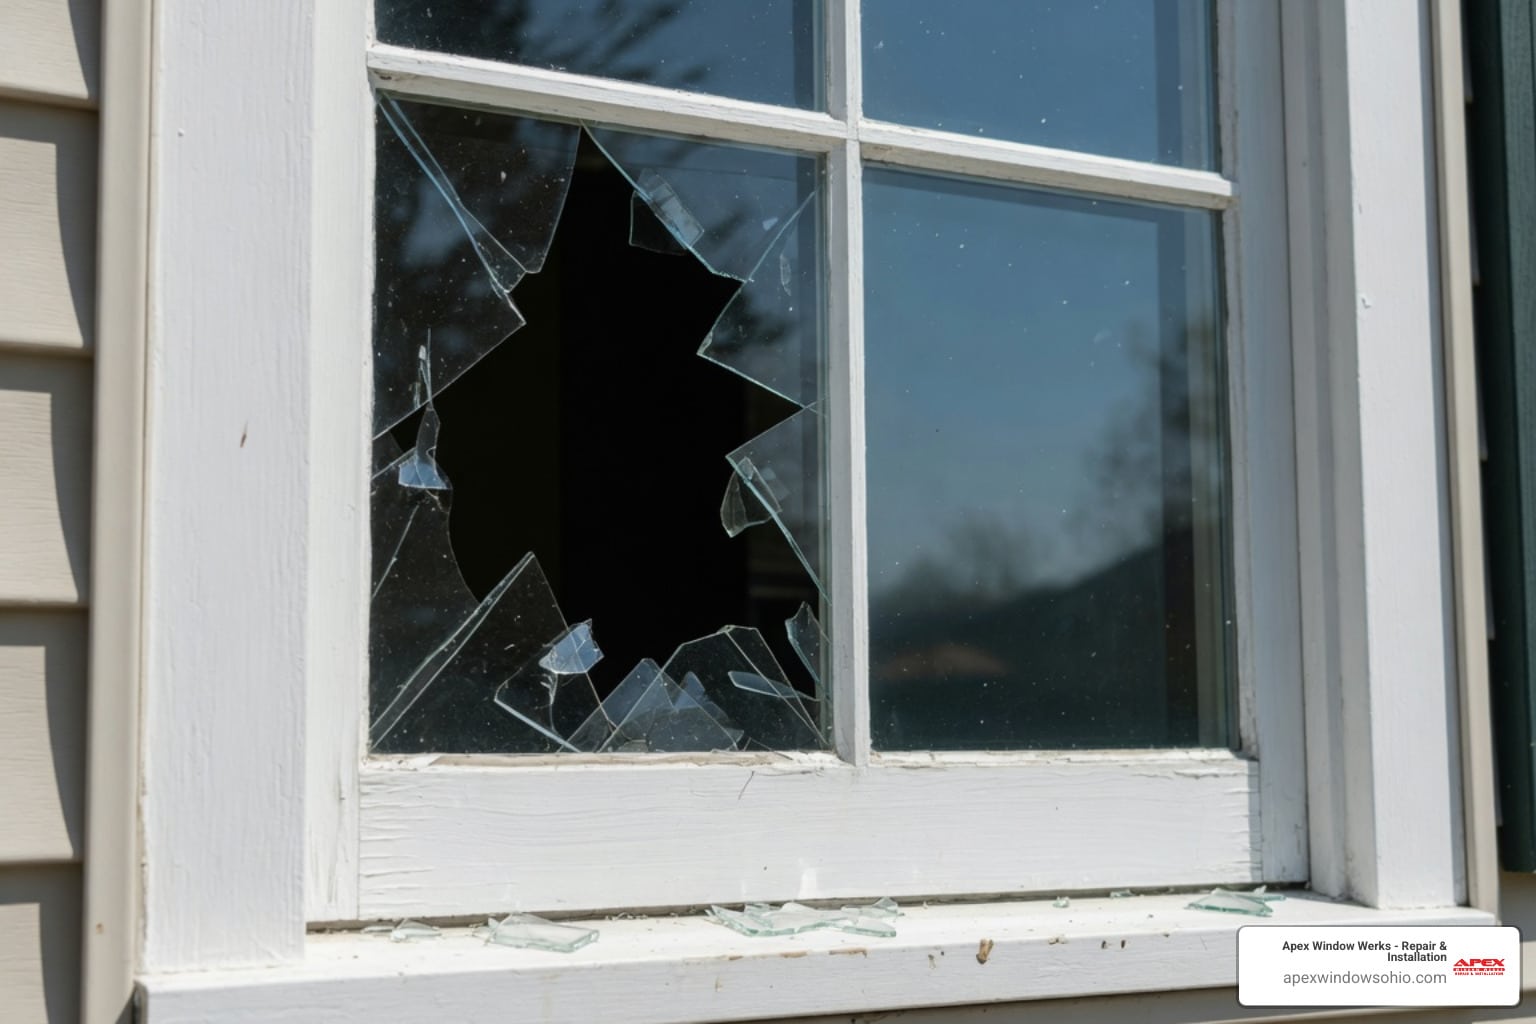
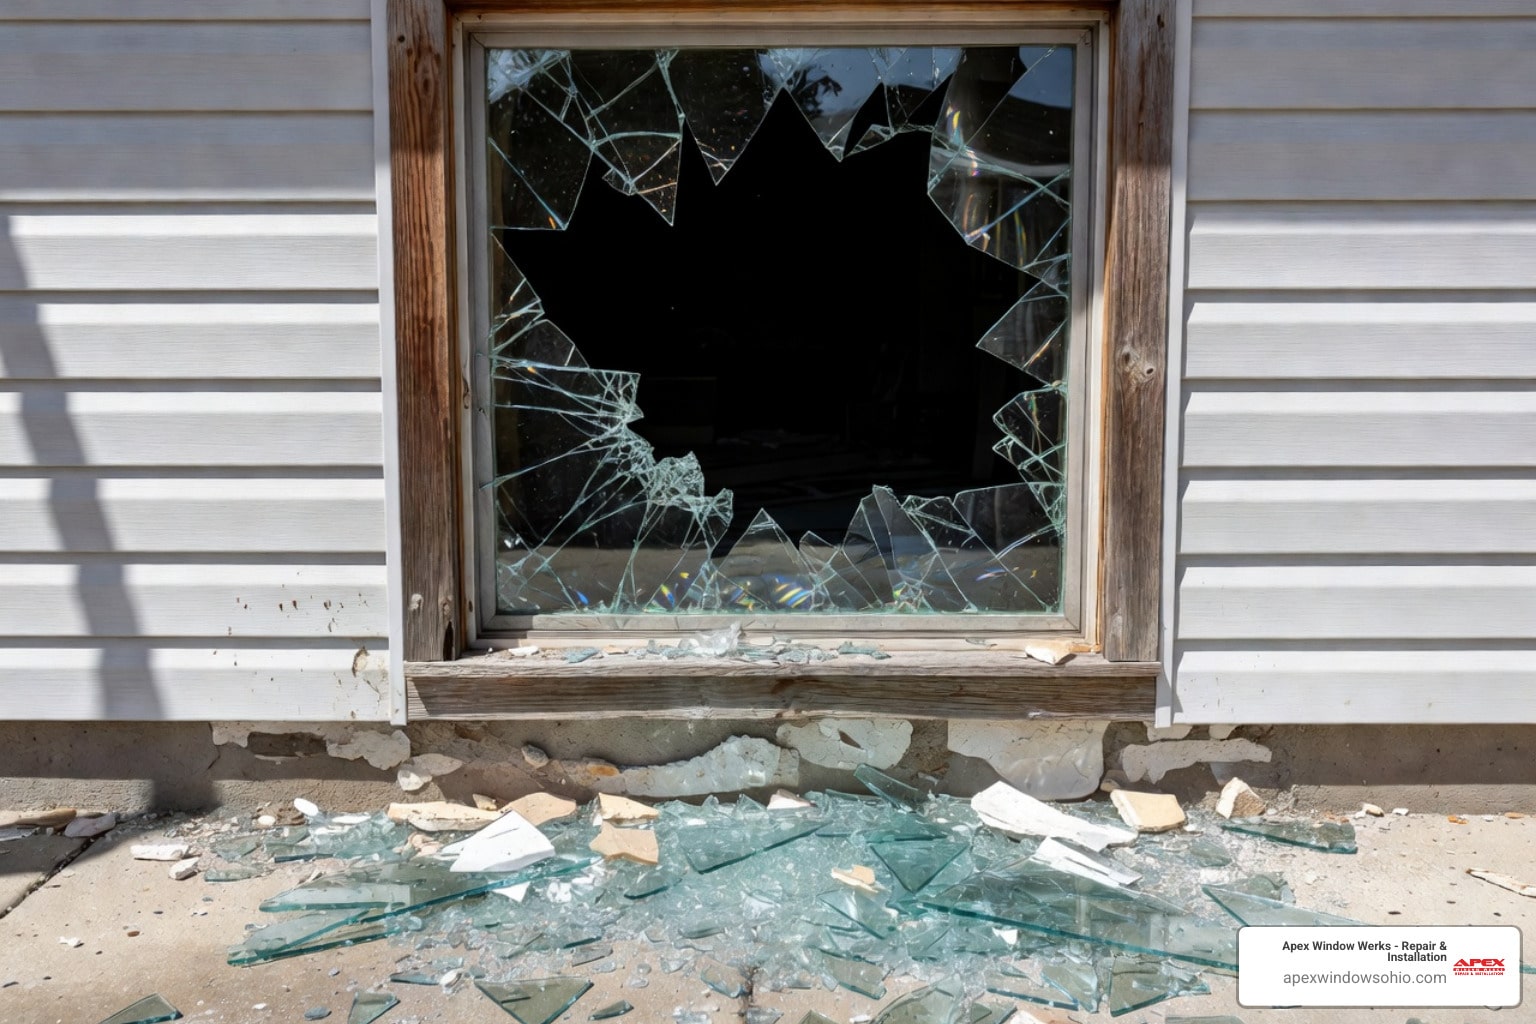
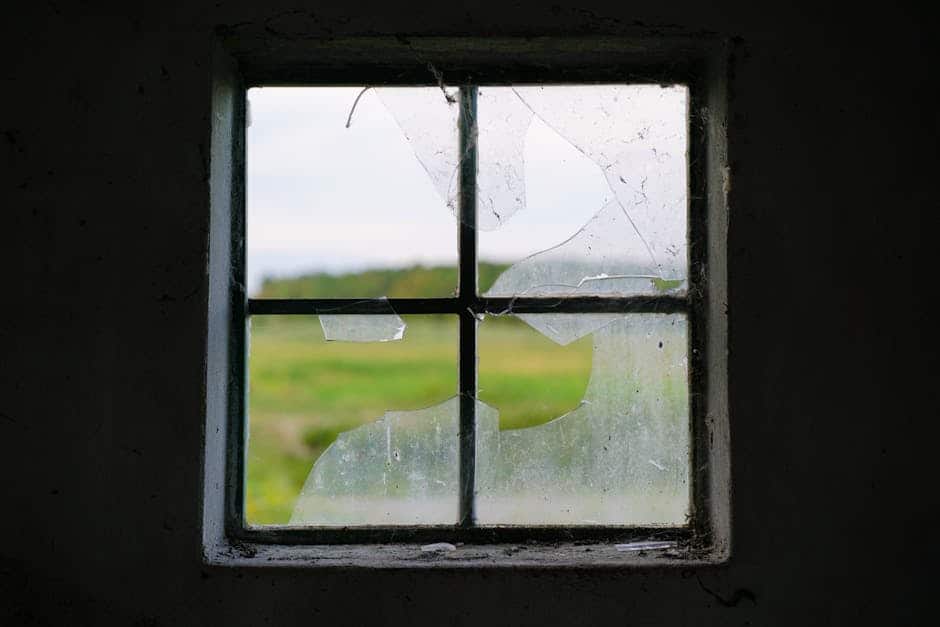
When you look at a window that has been neglected for decades, it’s easy to think it belongs in a landfill. However, scientific research on historic window energy performance tells a different story. According to the Window Preservation Standards Collaborative, a historic wood window that has been properly weatherstripped and paired with a high-quality storm window can actually exceed the 2012 energy code requirements for new construction.
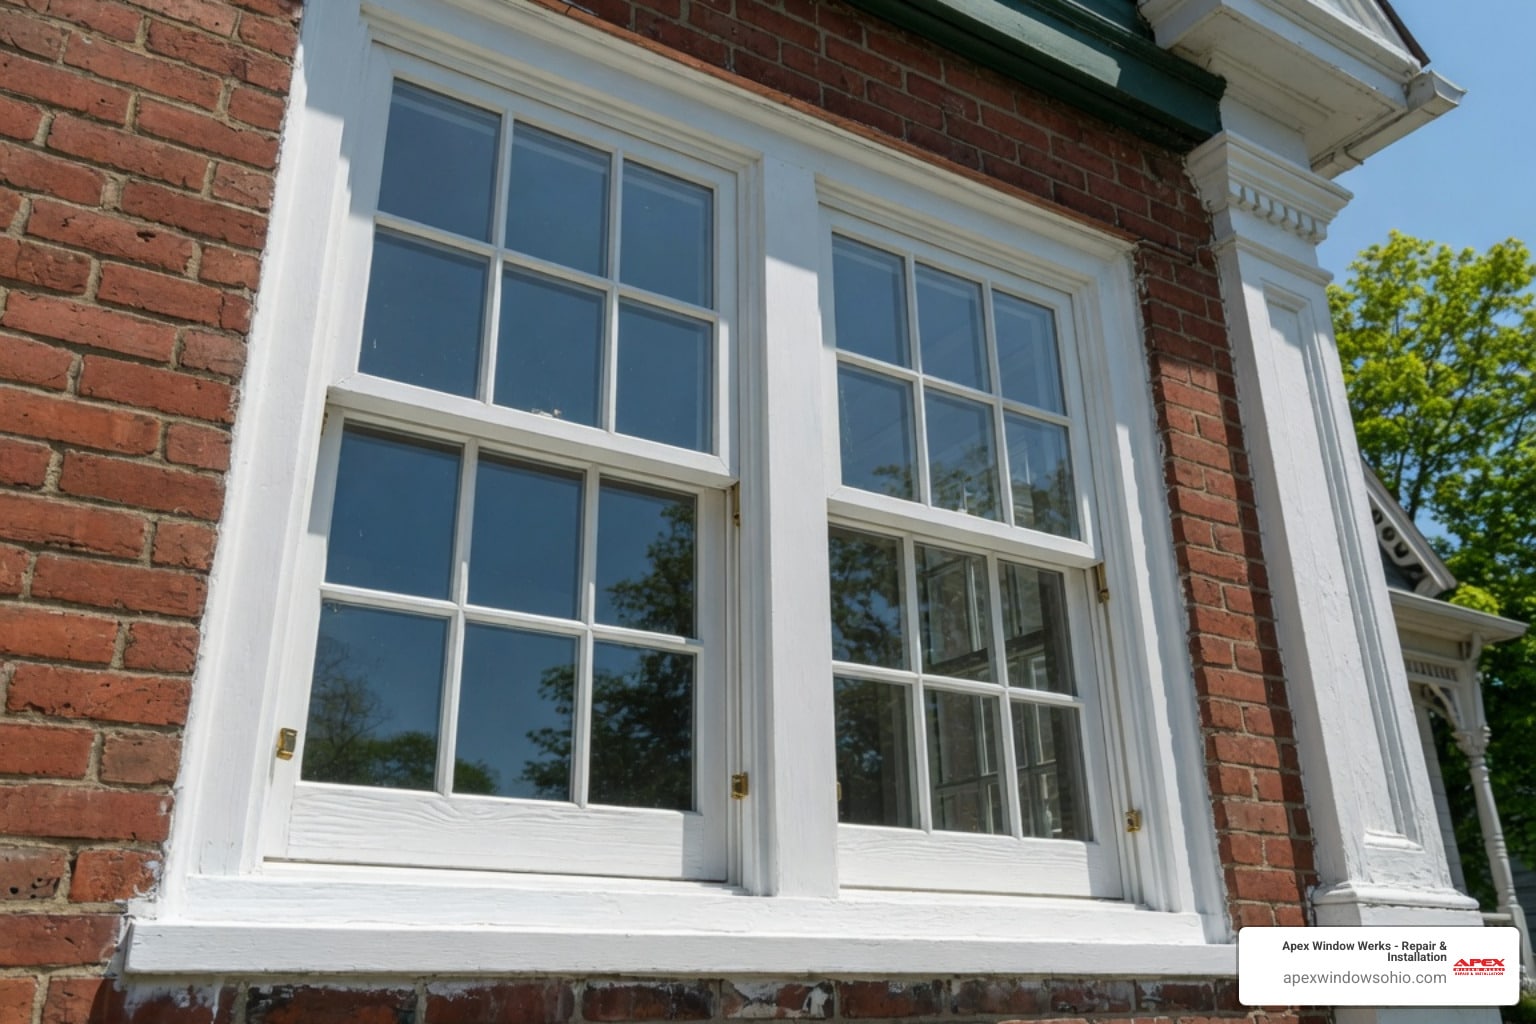
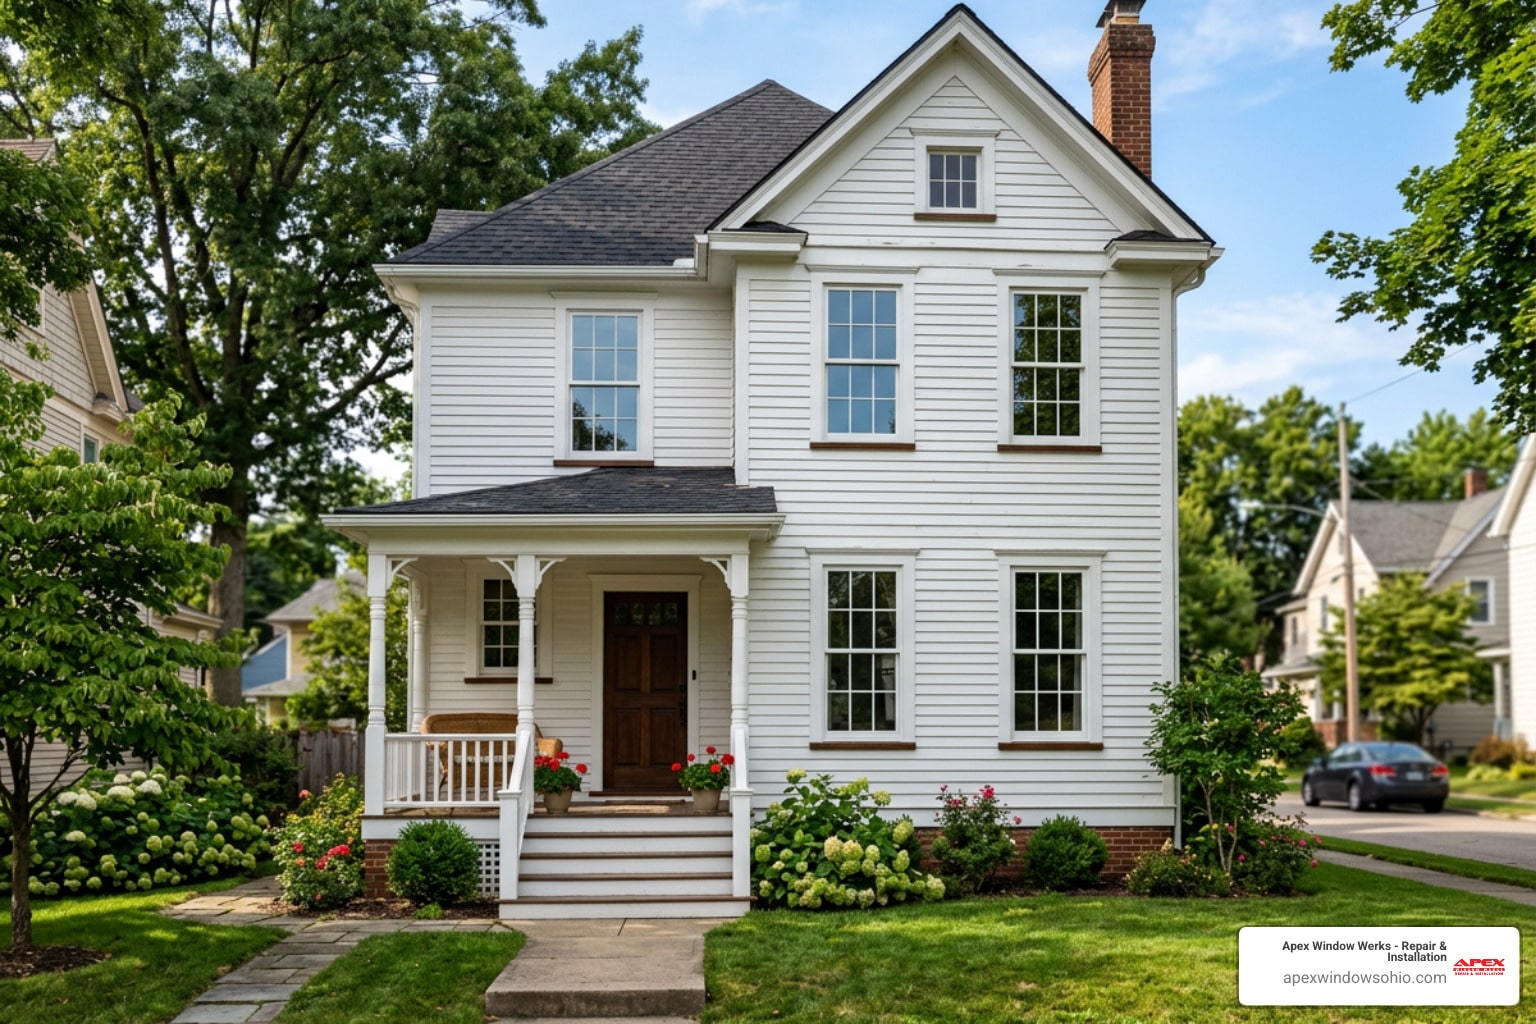
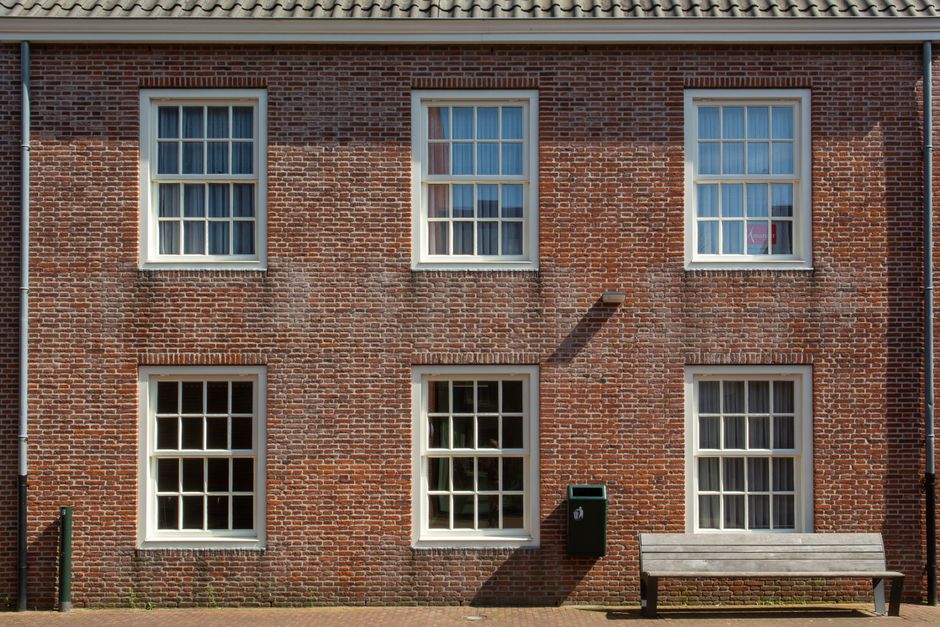
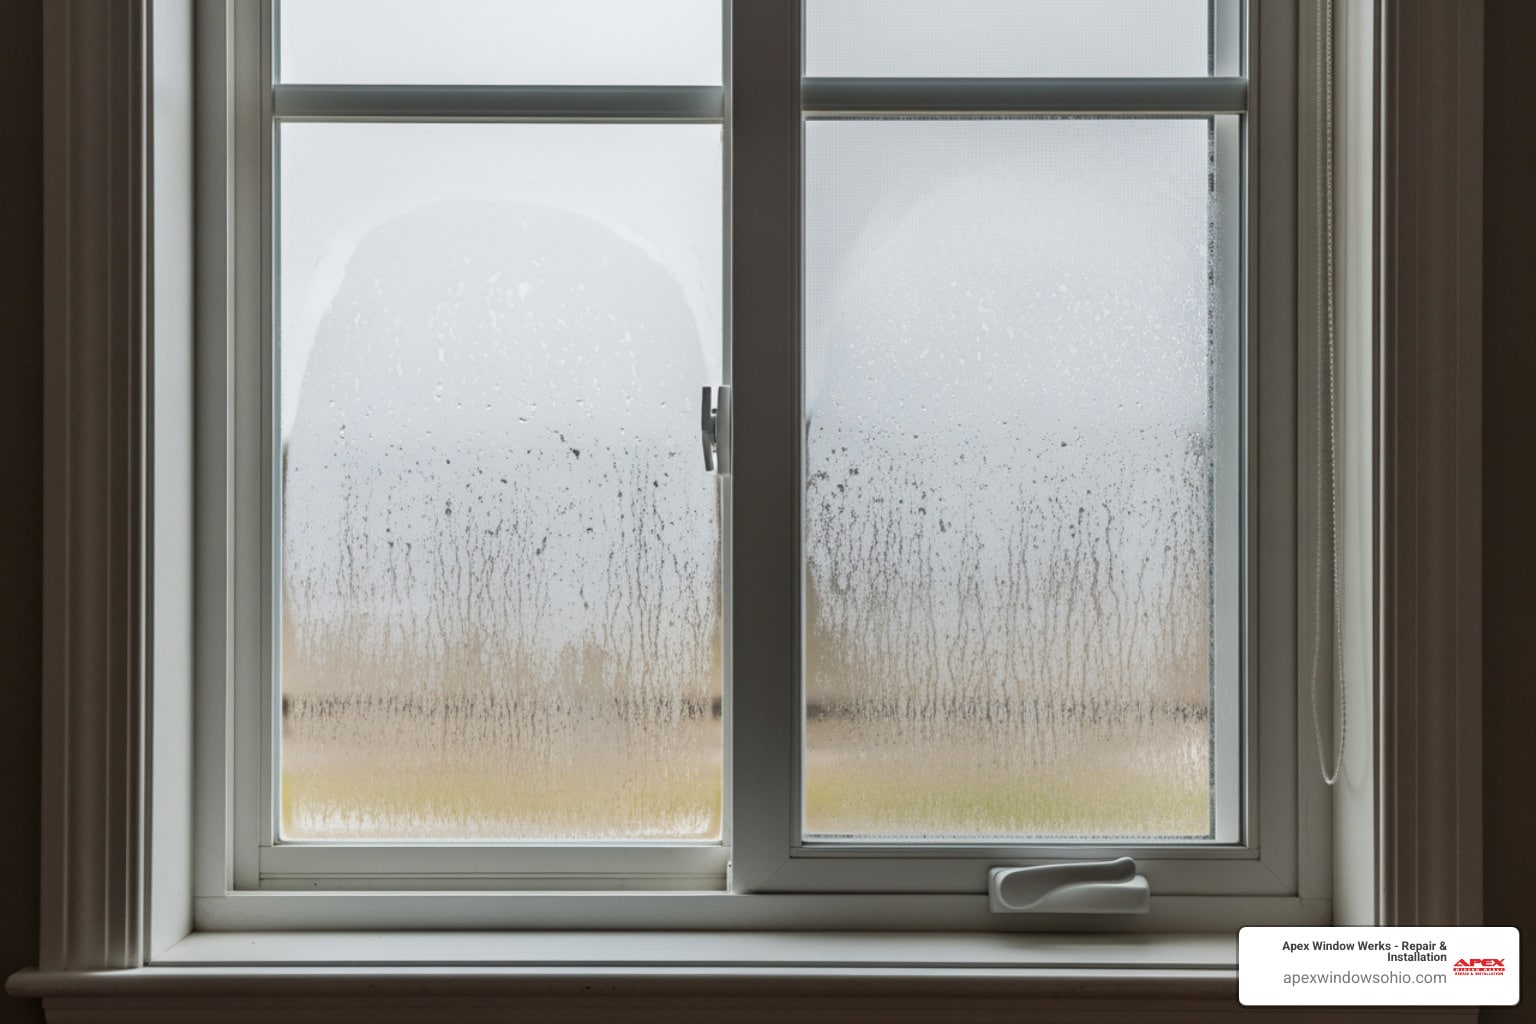
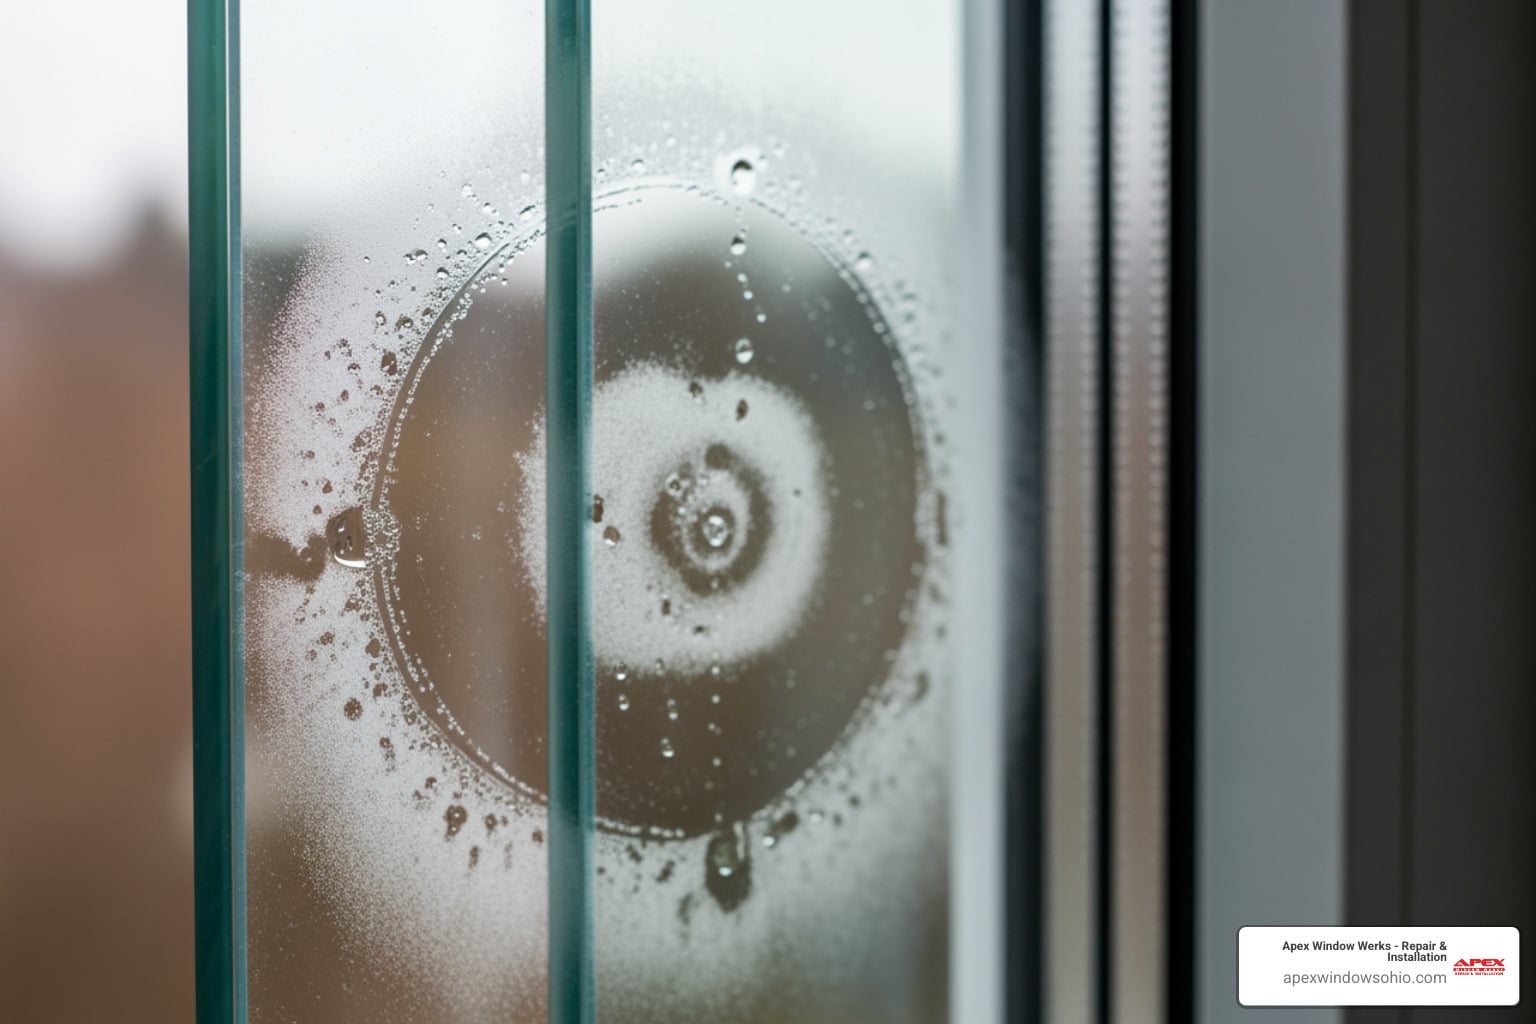
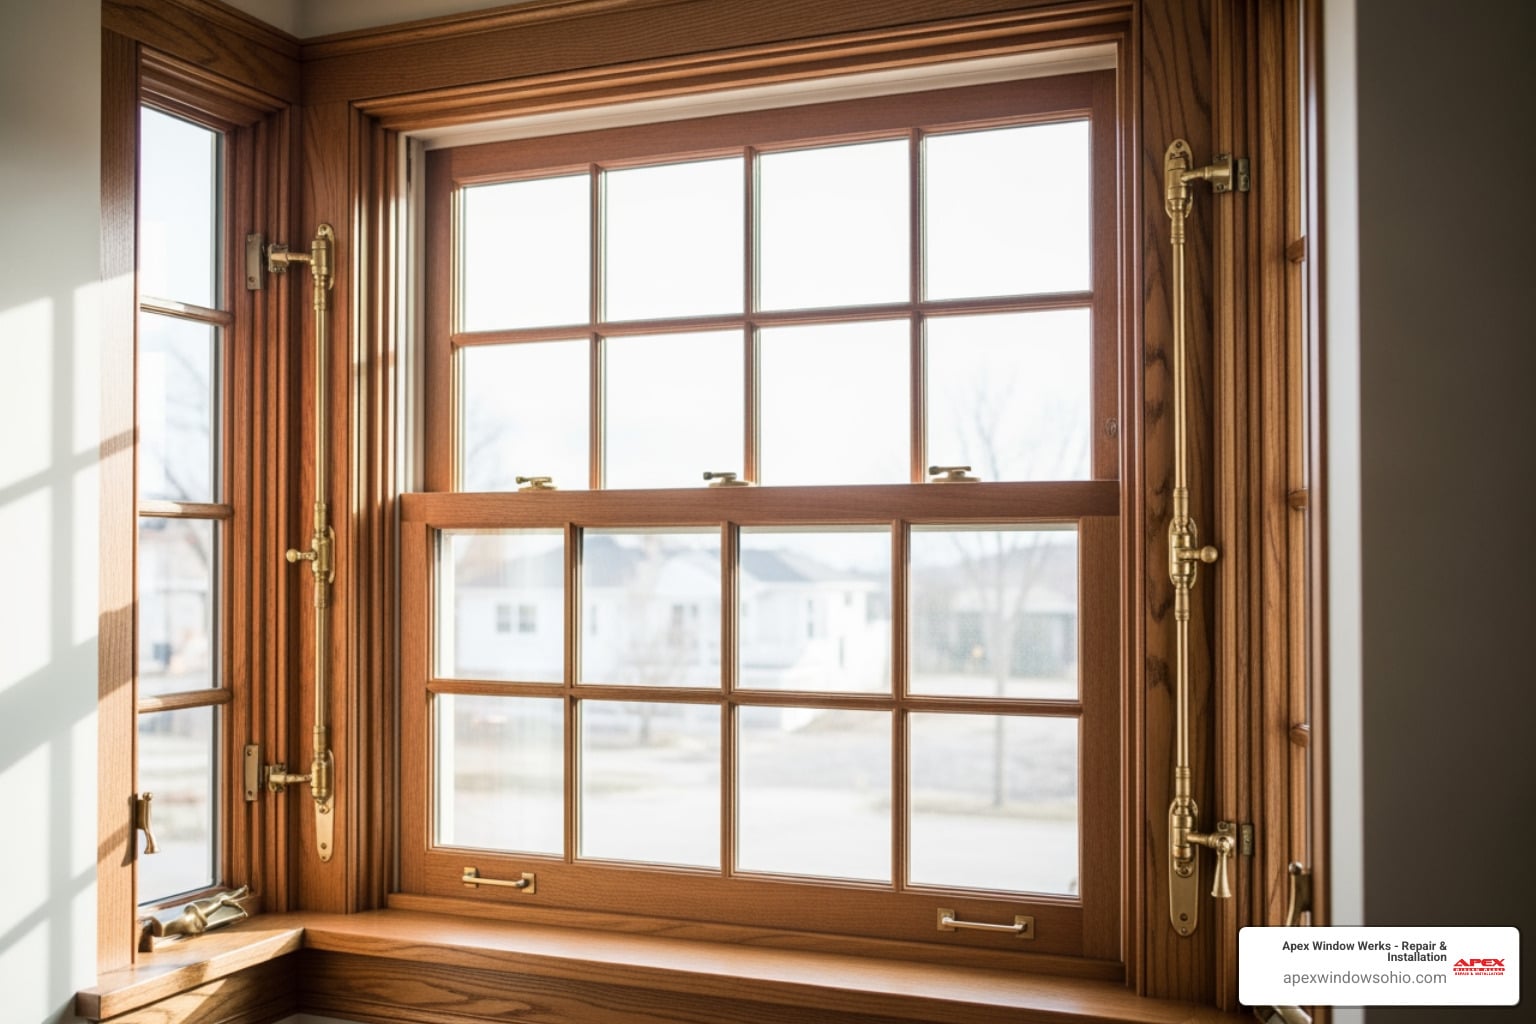
The longevity of these units is unmatched. While modern double-paned replacement windows have a finite lifespan of 10 to 20 years before the seals fail and the glass fogs up, a historic sash is built to last. Many of the windows we see in the Cleveland-Akron area are made from old-growth vertical-grain pine. This wood is incredibly stable and naturally rot-resistant. If you restore a sash correctly, it can easily provide another 100-year lifespan.
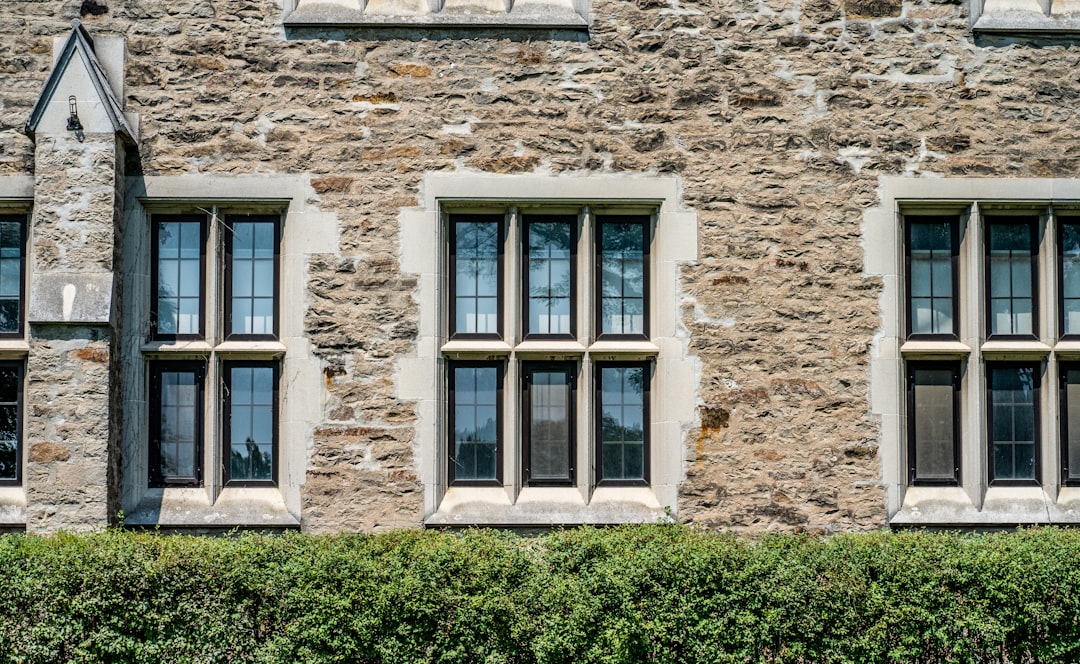
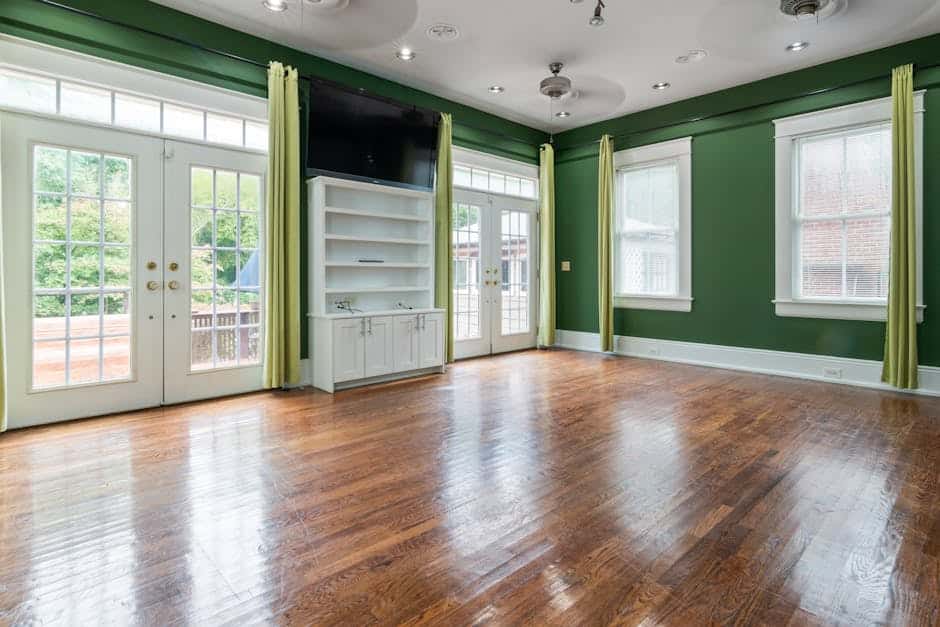
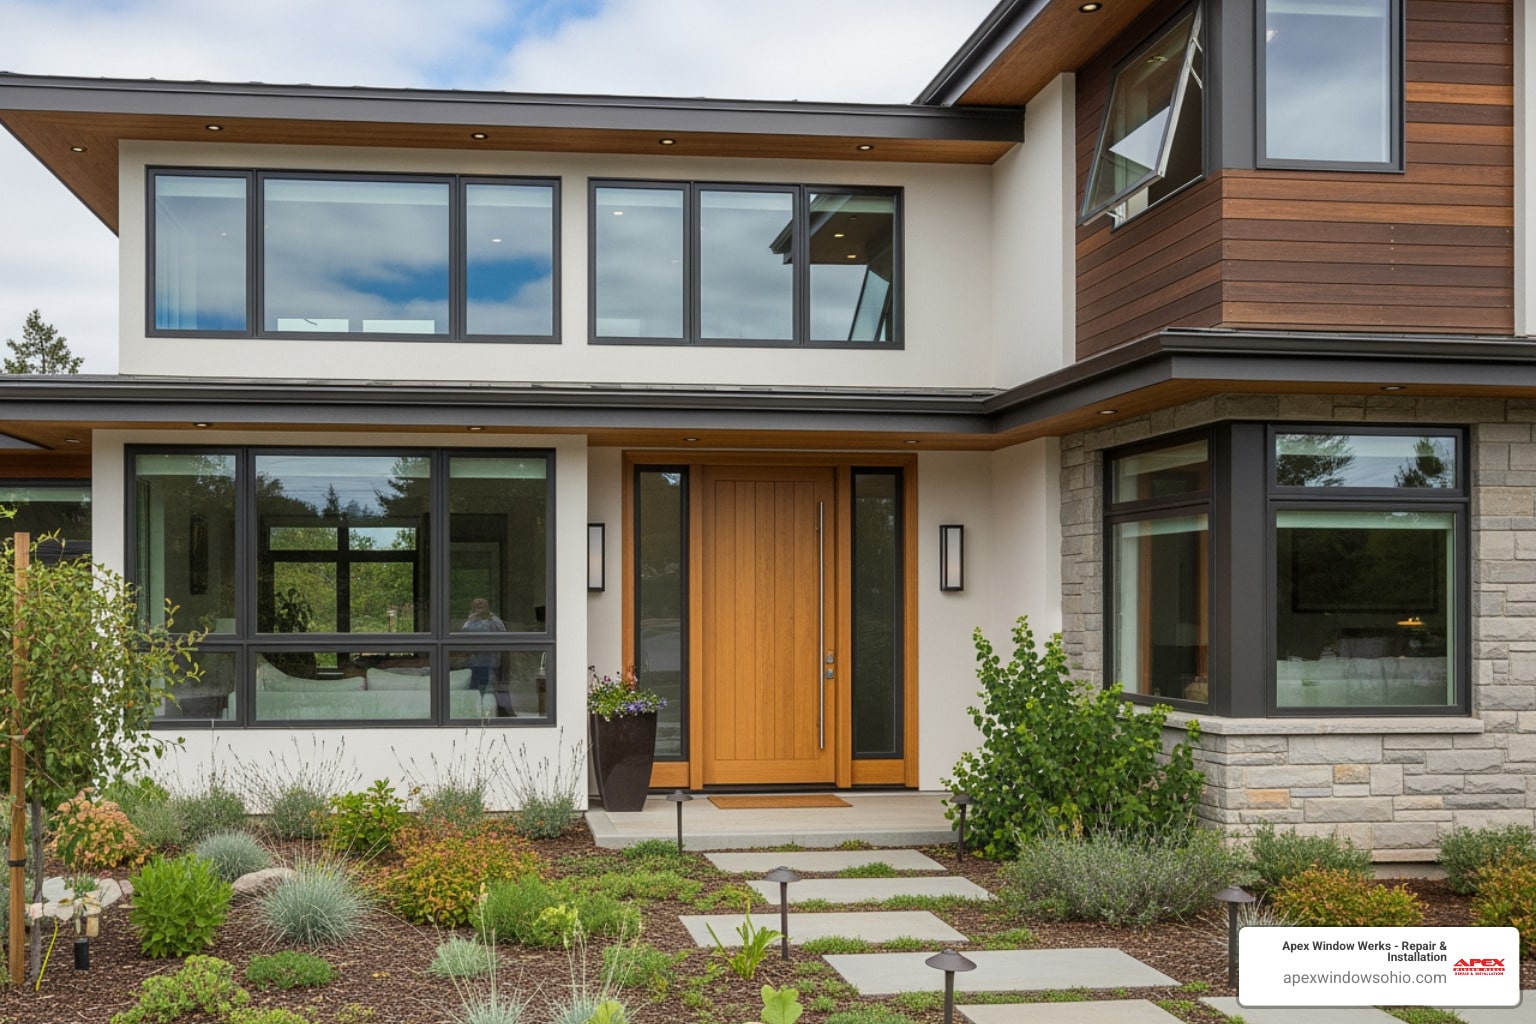
From an environmental standpoint, restoration is the “greenest” choice. You are keeping high-quality materials out of the landfill and avoiding the carbon footprint associated with manufacturing and transporting new vinyl or composite windows. Furthermore, original period features are a massive driver of property value. Ripping out original windows is often cited by preservationists as the fastest way to ruin the charm (and resale price) of a historic home.
Essential Tools to Restore a Sash
Before you start prying at wood, you need the right kit. Restoration is a game of precision and safety. Here is what we recommend for a successful DIY project:
- Safety Gear: A P100 or N100 respirator is non-negotiable (standard dust masks won’t stop lead dust).
- Dust Control: A HEPA vacuum to capture debris at the source.
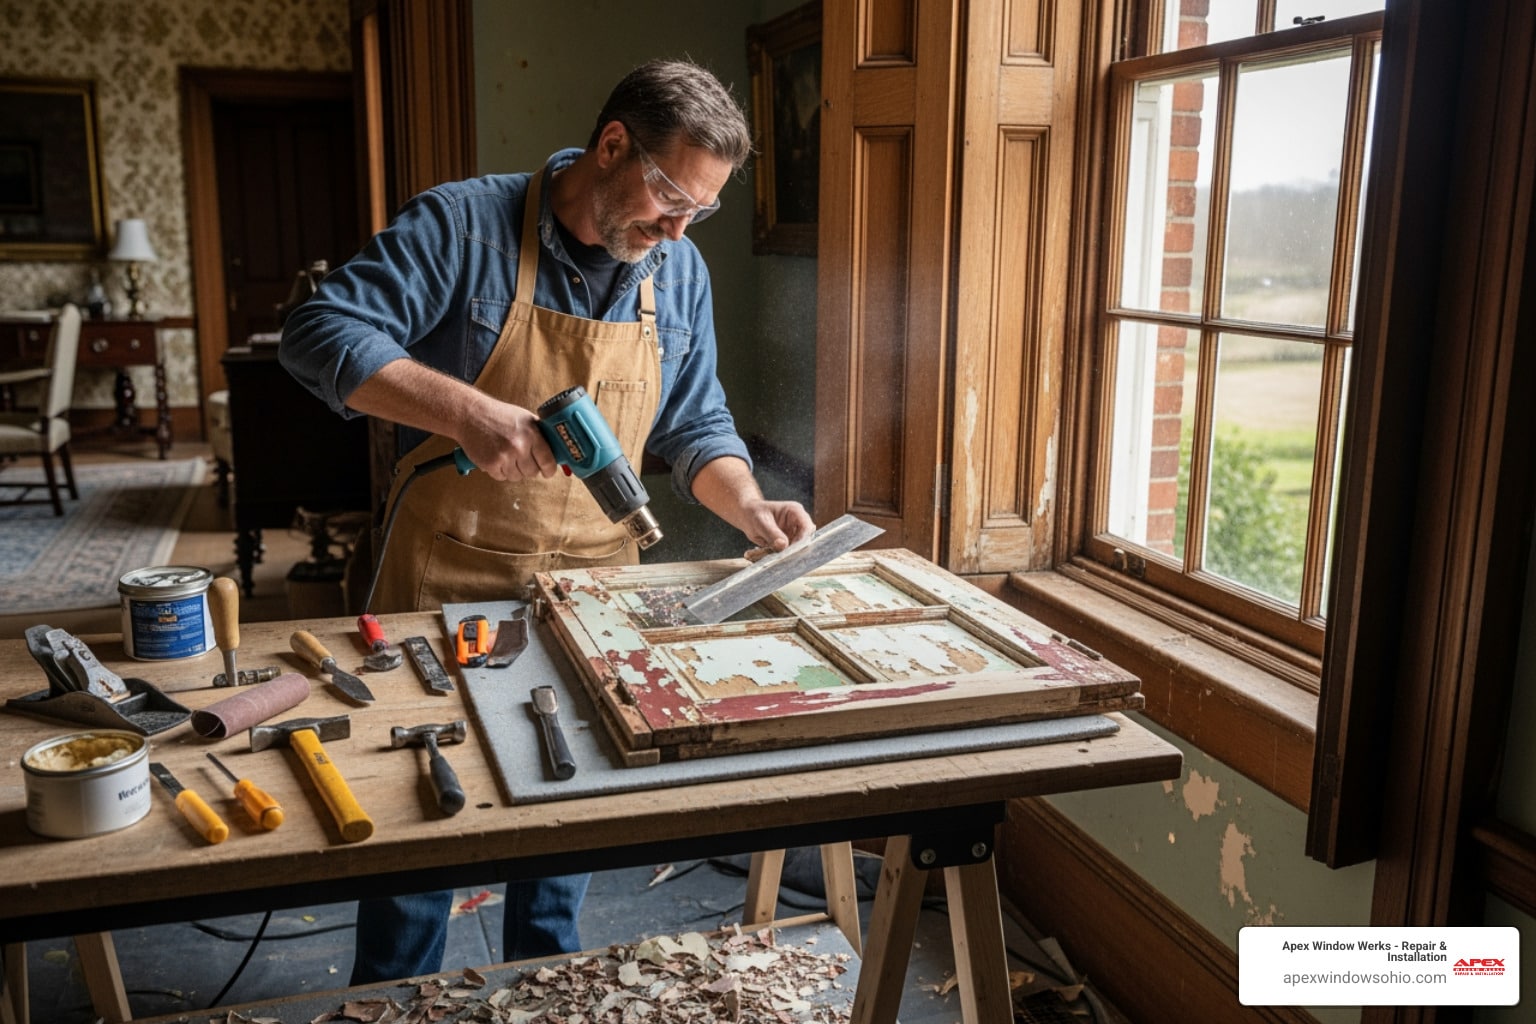
- Paint Removal: A low-heat tool like the Speedheater Cobra or an infrared plate. These soften paint without vaporizing lead.
- Scrapers: A ProScraper (which connects to your vacuum) is a lifesaver.
- Specialized Saws: A sash saw or a thin pull saw to break paint seals without damaging the wood.
- Glazing Supplies: Diamond glazier’s points, a point driver, and high-quality putty like Austin’s Glazier’s Putty or Sarco Type M.
If the project feels daunting, you can find more info about wood sash repair in Cleveland to see how the pros handle these specific tools.
Lead Paint Safety and Containment
Most sash windows built before 1978 contain lead paint. When you restore a sash, safety is the first step. We follow EPA RRP (Renovation, Repair, and Painting) guidelines to ensure no toxic dust enters the living space.
Start by isolating your work area. Use a “zip wall” system or heavy plastic sheeting taped from floor to ceiling. Indoors, mist surfaces with water before scraping (“wet scraping”) to keep dust down. Never use high-heat guns (over 1,000°F) or dry power sanding, as these can vaporize lead or create microscopic dust that lingers for years. For more in-depth safety protocols, you can consult safety guidelines for old house restoration to protect your family and pets during the process.
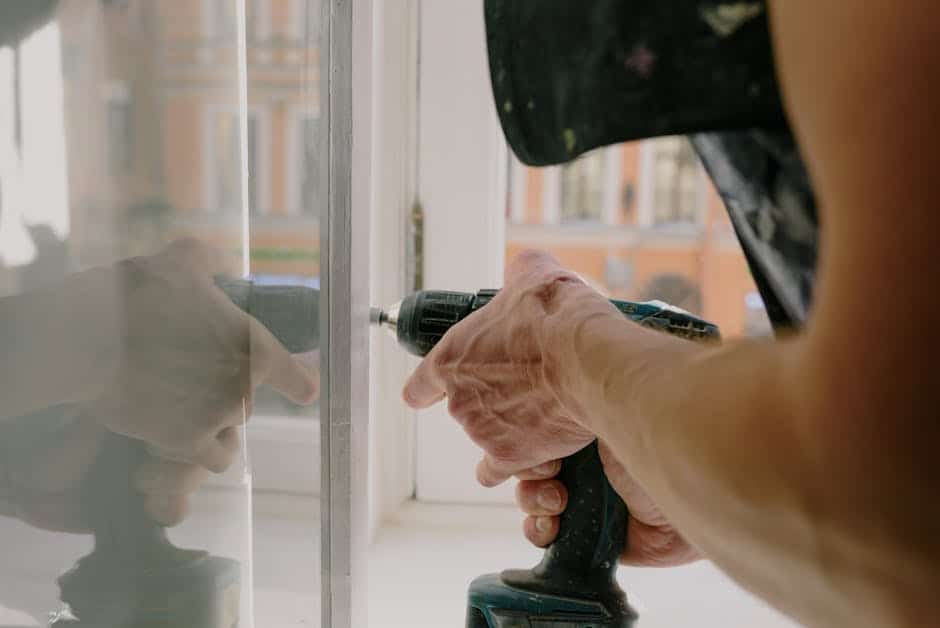
How to Properly Remove and Restore a Sash
Removing the sash is like a puzzle. If you force it, something will break.
- Score the Paint: Use a sharp utility knife to cut the paint seal between the window stop (the vertical trim holding the sash in) and the casing.
- Remove the Stops: Gently pry the interior stops off using a stiff putty knife or a small pry bar.
- The Bottom Sash: Once the stops are gone, the bottom sash will swing free. Carefully cut the sash ropes (hold onto them so the weights don’t crash to the bottom of the pocket!) and lift the sash out.
- The Parting Bead: This is the thin strip of wood between the top and bottom sashes. It is often stuck with years of paint. Use a pair of pliers or a “sash saw” to pull it out.
- The Top Sash: With the parting bead removed, the top sash can be lowered and removed just like the bottom one.
Pro Tip: Always number your sashes and stops (e.g., “Dining Room Left – Top”). They may look identical, but in an old house, every window has its own unique “personality” and fit. If you run into trouble during removal, check out professional wood sash repair in Fairview Park for expert assistance.

Deglazing and Paint Removal Techniques
Once the sash is on your workbench, it’s time to strip it down. Deglazing is the process of removing the old, rock-hard putty and the glass. We prefer using infrared heat to soften the putty; it makes the old “glazing rabbet” (the groove the glass sits in) much easier to clean without splintering the wood.
Once the glass is out, you can focus on the wood. Infrared heat or chemical strippers work well for the bulk of the paint. For a truly detailed guide on old window depth, it’s worth researching the specific profiles of your muntins (the bars holding the glass) to ensure you don’t sand away the beautiful historic “oogee” curves.
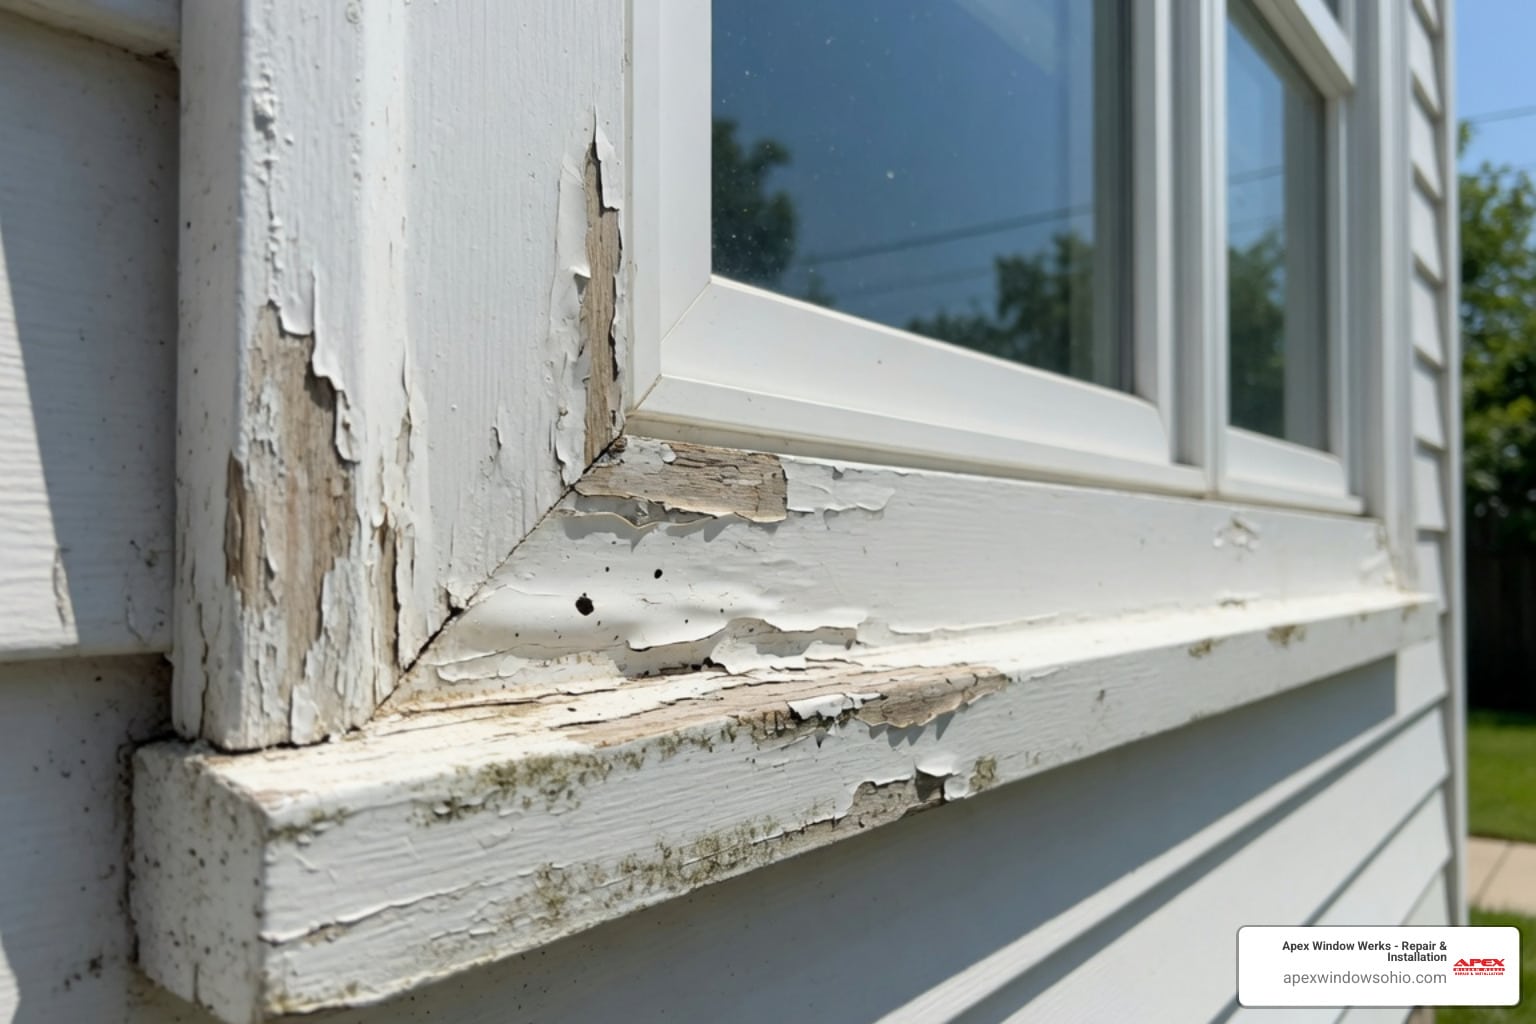
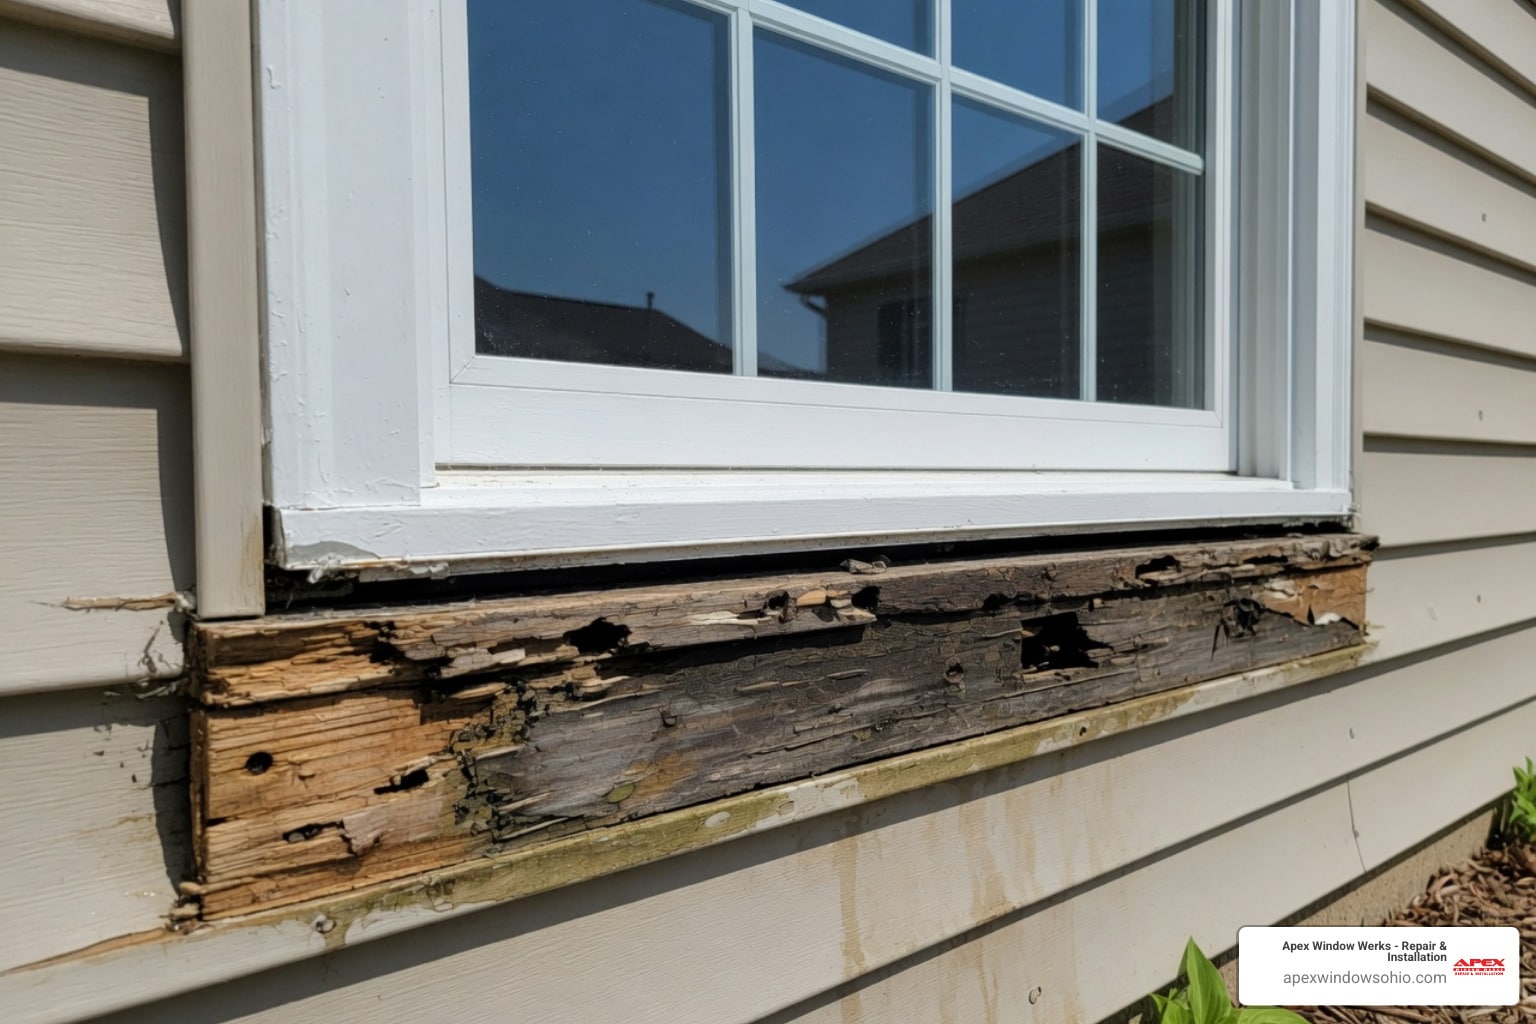
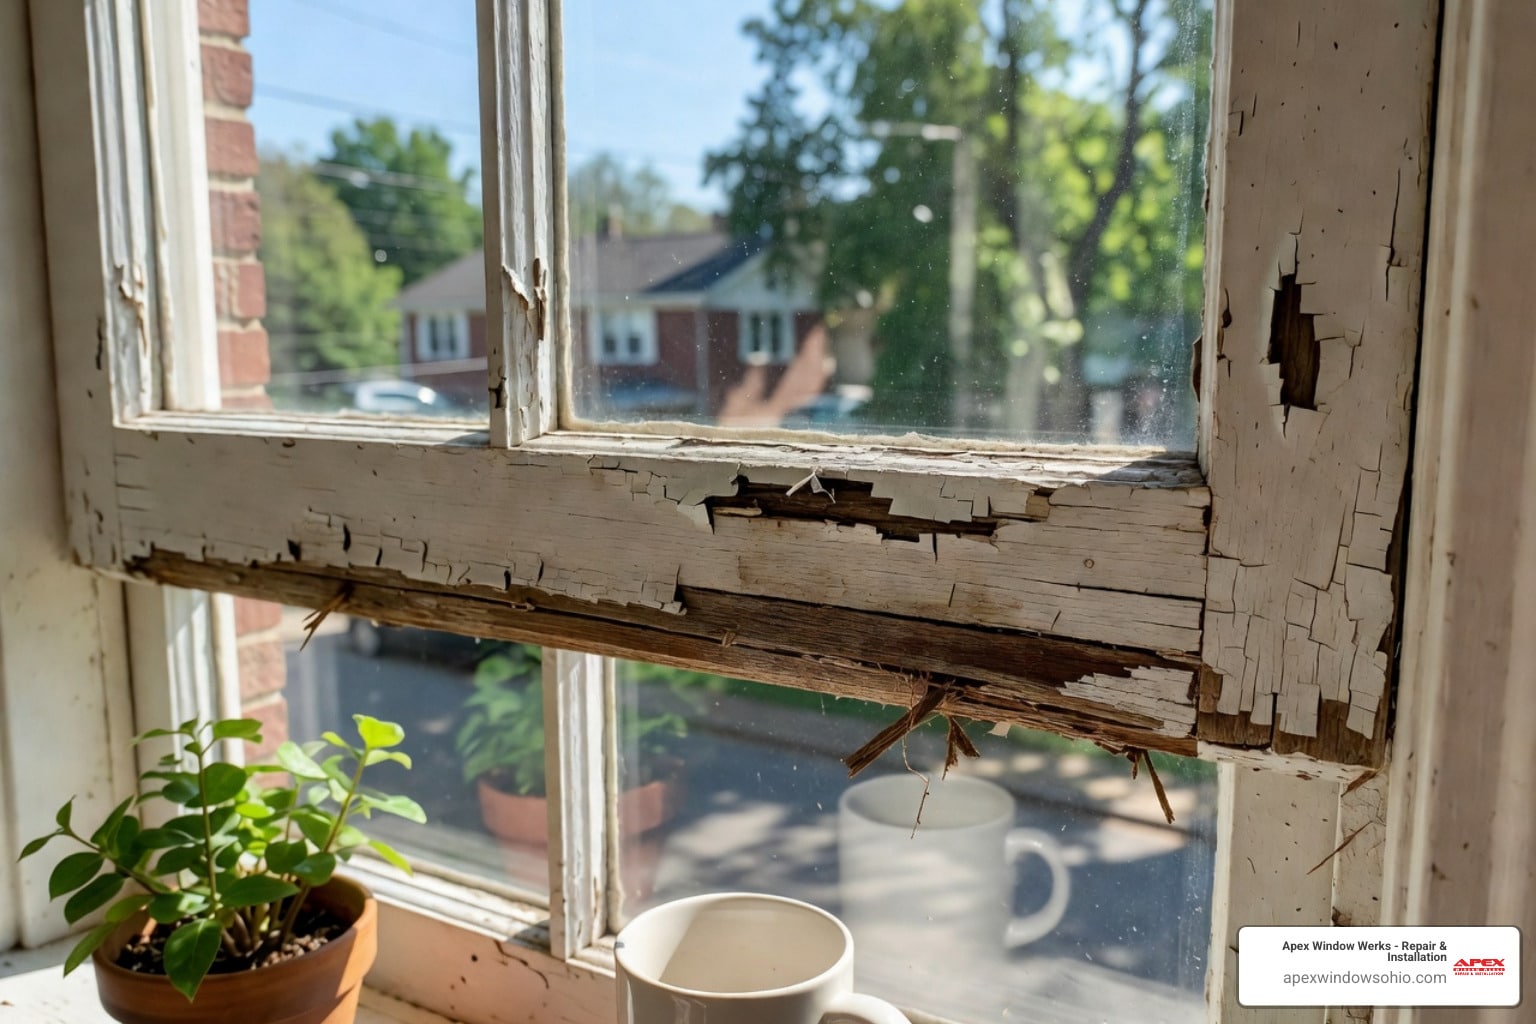
Repairing Rotten Wood with Epoxy and Dutchman Patches
If you find soft, “punky” wood, don’t panic. You don’t necessarily need a new sash. For minor rot, we use a two-part epoxy consolidant like Abatron LiquidWood. It soaks into the fibers and hardens them back into a structural state. For larger holes, WoodEpox (a wood replacement compound) can be molded and sanded just like real timber.
If a section is completely gone—like a bottom rail—we perform a “Dutchman patch.” This involves cutting out the rot and glueing in a new piece of matching vertical-grain pine. This preserves the structural integrity of the window while keeping as much original material as possible. You can see examples of these saves in our rotten wood window sash repair in East Cleveland project gallery.
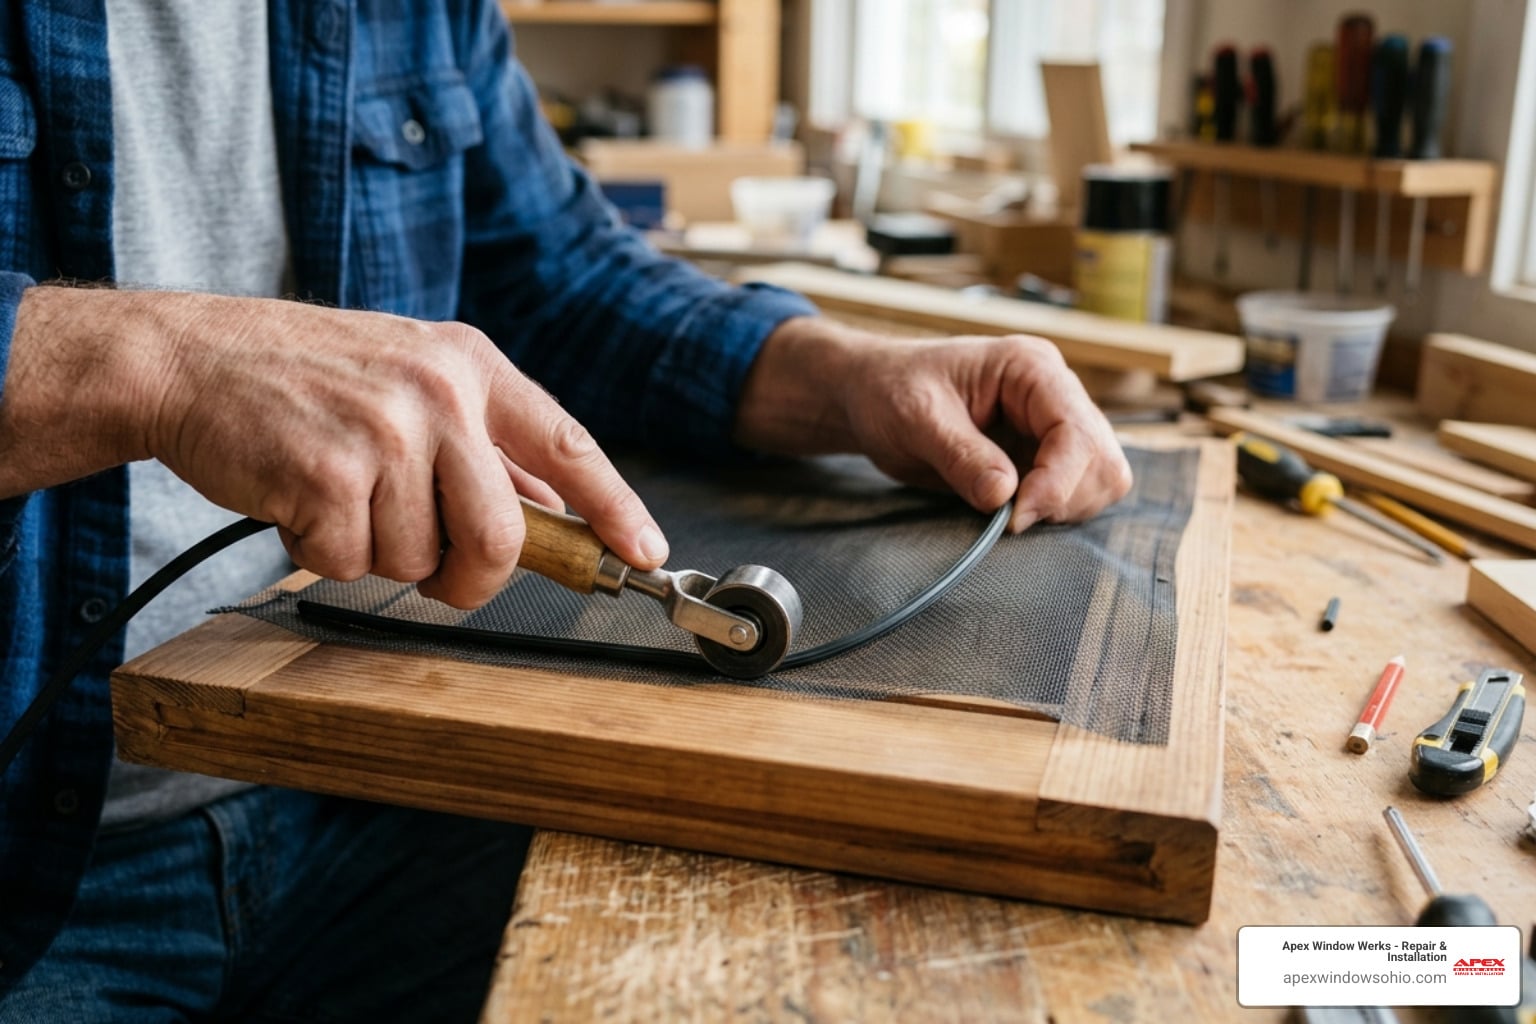
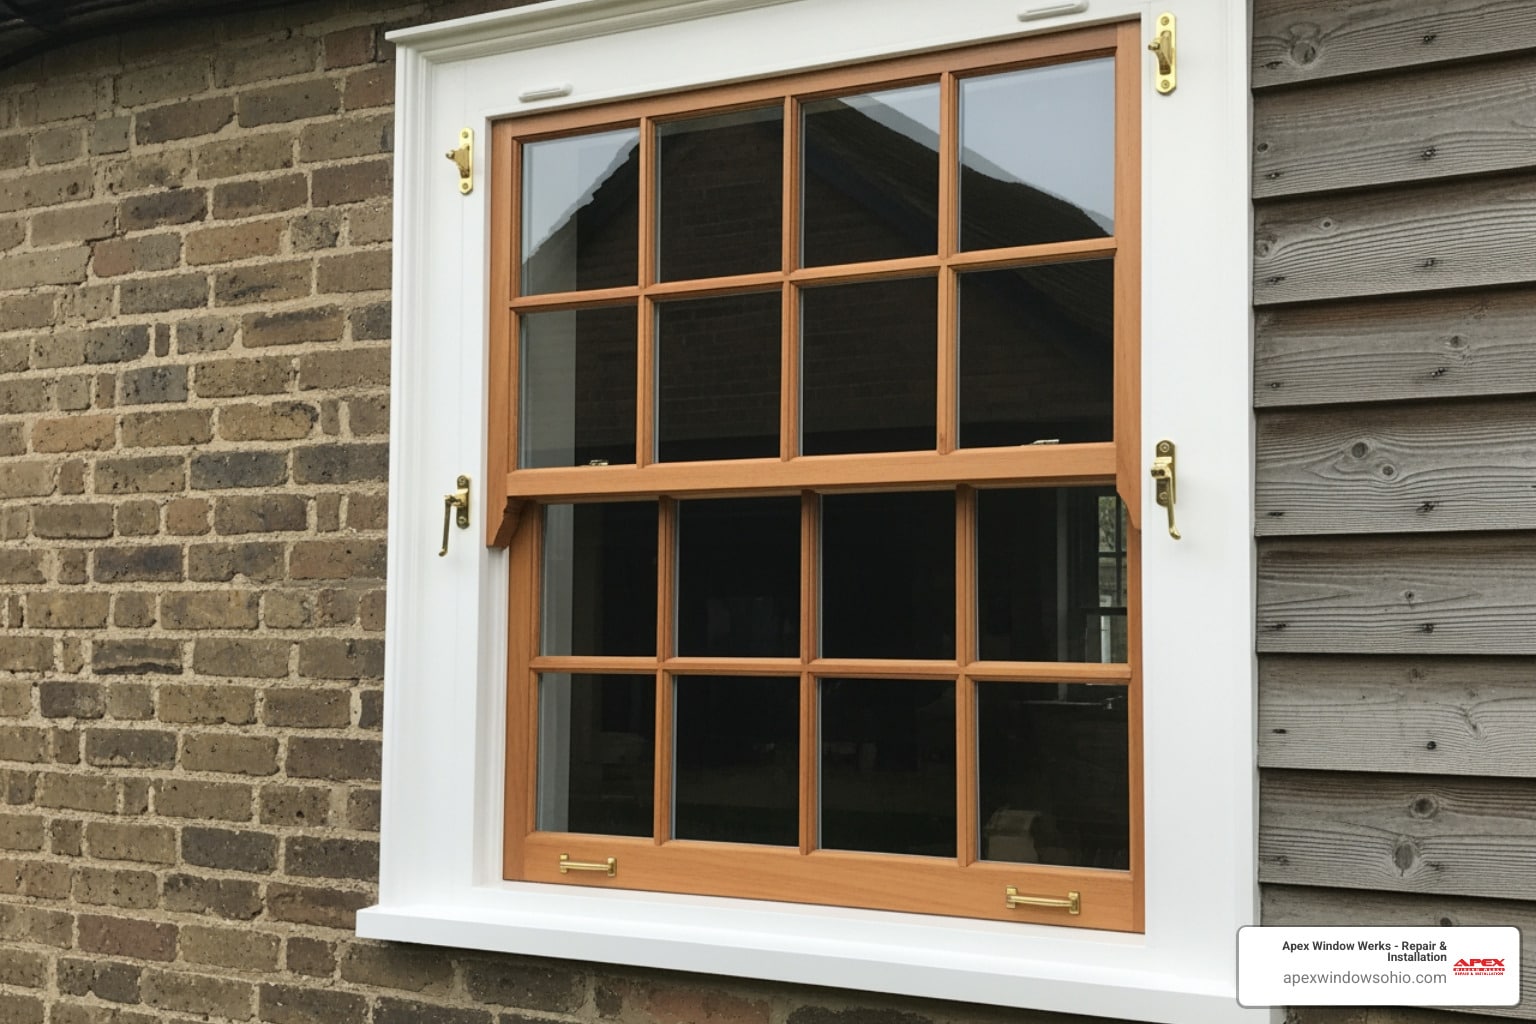
Glazing, Painting, and Reassembling the Window
Glazing is an art form that takes practice. To restore a sash correctly, you must first “bed” the glass. Apply a thin bead of putty or latex caulk into the rabbet, press the glass in firmly, and secure it with glazier’s points.
Next comes the “finish glaze.” Roll the putty into a long rope, press it against the glass, and use a putty knife to create a smooth, 45-degree bevel. This slope ensures water sheds off the window instead of pooling. Traditional linseed oil putty needs a curing time (usually 3–7 days) before it can be painted.
When you do paint, use a shellac-based primer (like B-I-N) over any epoxy or knots to prevent bleed-through. Use a high-quality oil-based or hybrid enamel paint. Most importantly: overlap your paint 1/16 of an inch onto the glass. This creates a weather-tight seal that prevents water from getting behind the putty. For more on finishing techniques, see wood window sash repair in Eastlake.

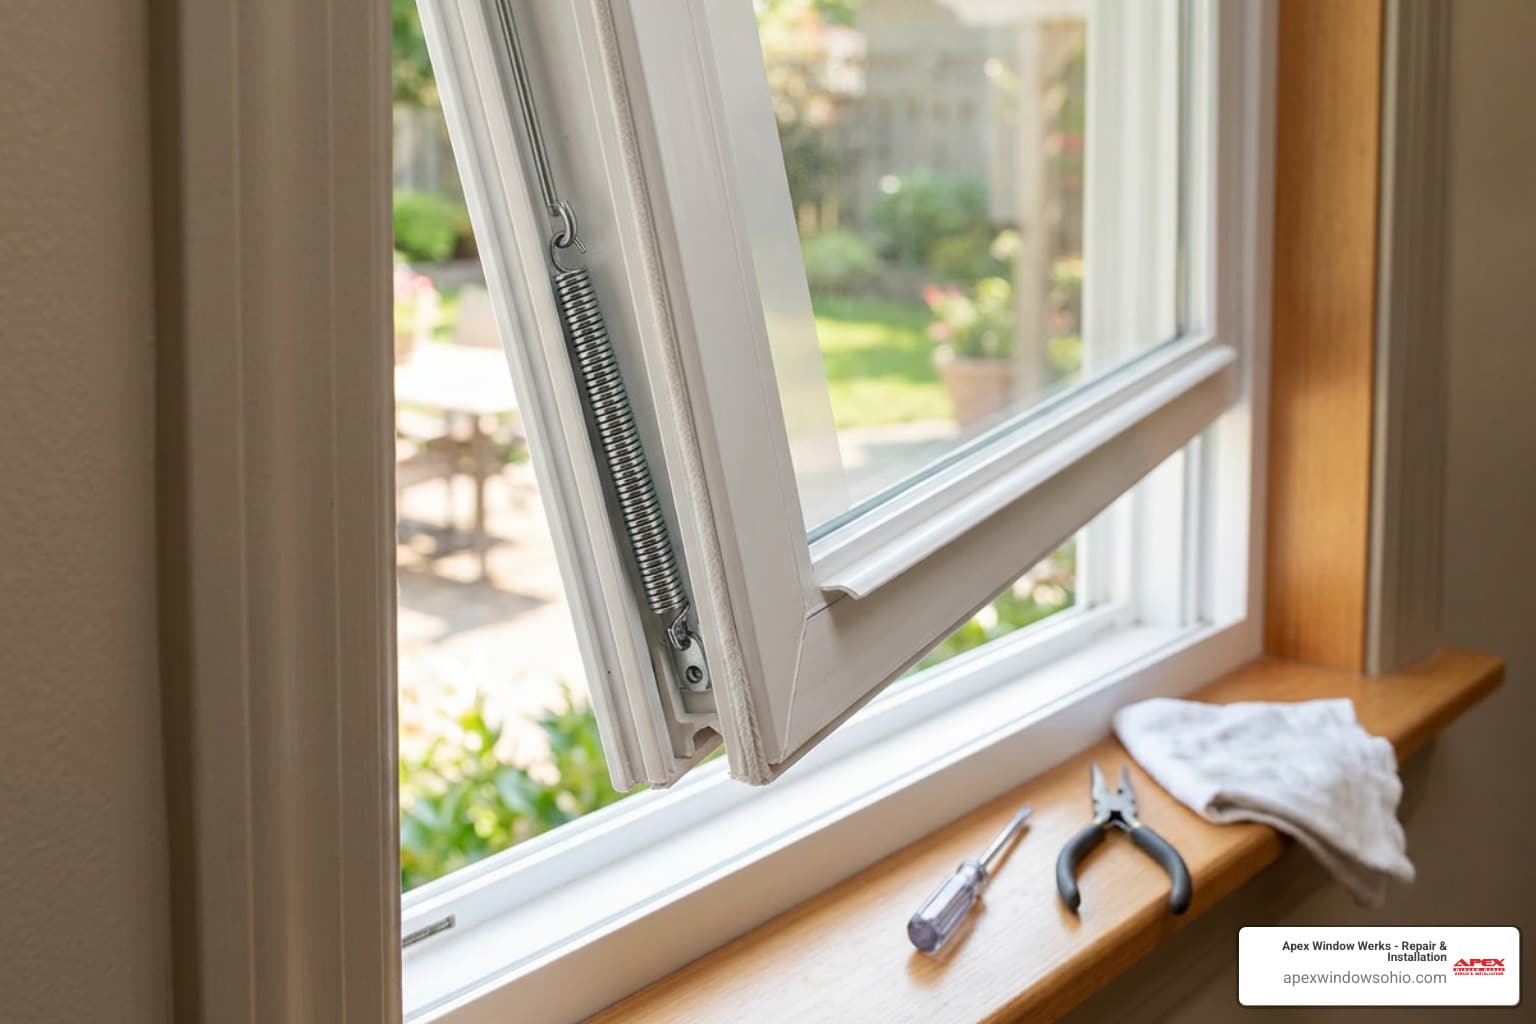
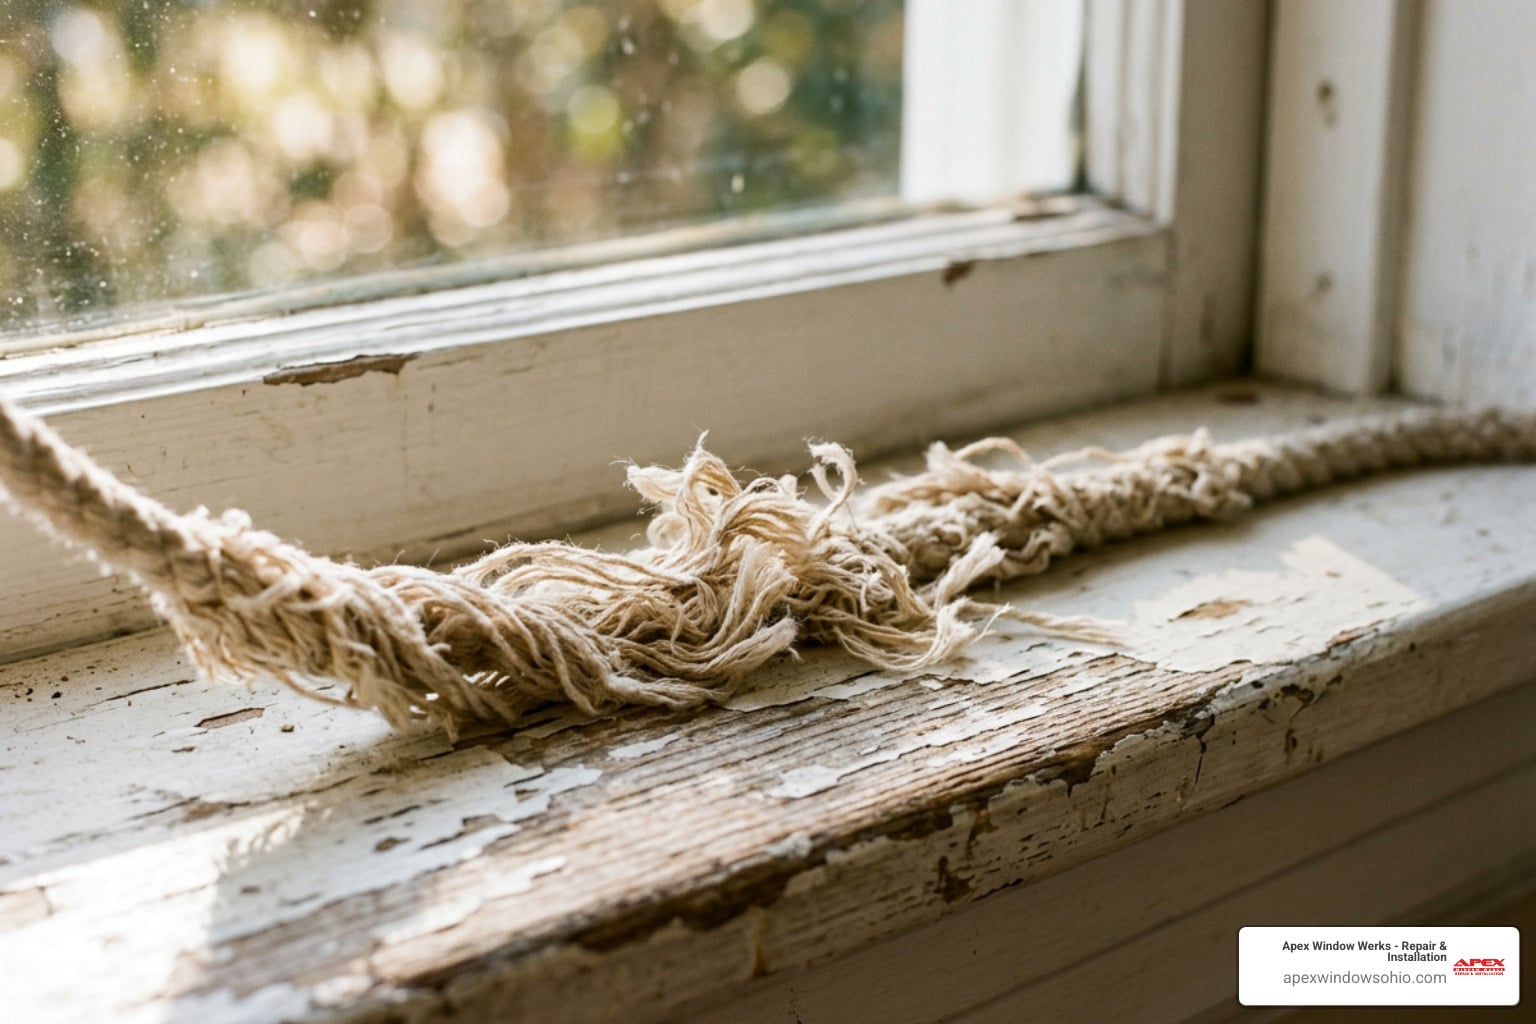
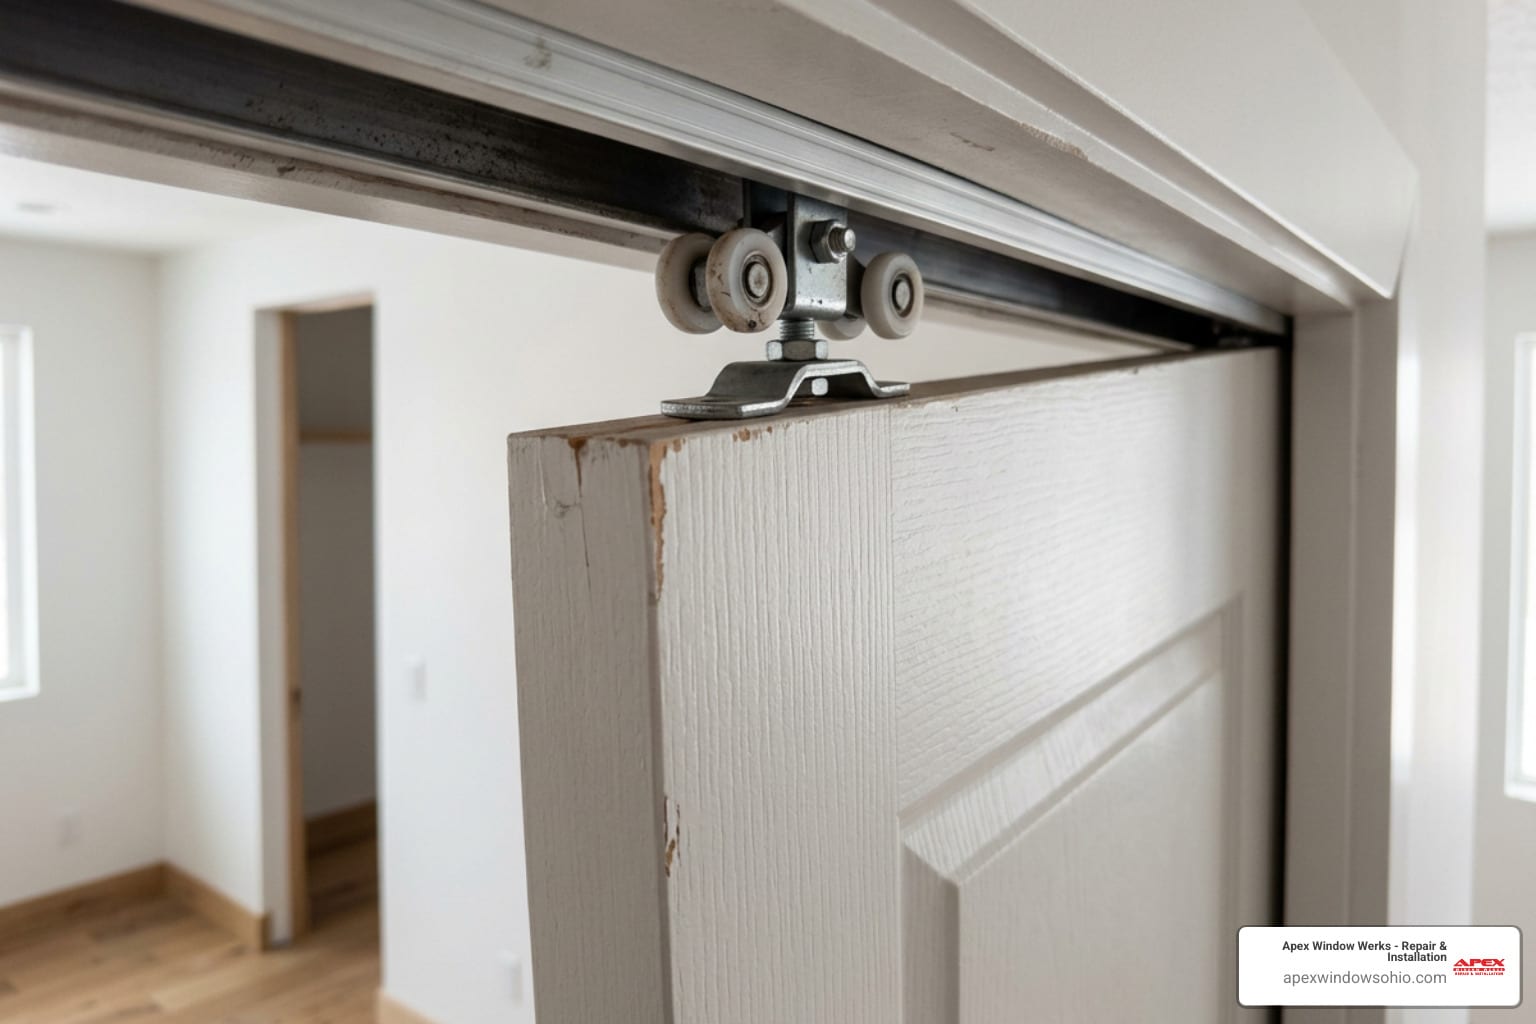
Replacing Ropes and Balancing Weights
While the sashes are out, it’s the perfect time to service the “guts” of the window. Open the access panels (pockets) in the jamb to reach the weights. We recommend replacing old, frayed cords with a high-quality cotton rope like Samson Spot Cord. Cotton lasts 60+ years, whereas synthetic nylon will stretch and degrade under UV light.
Vacuum out the weight pockets, lubricate the pulleys with a little wax or silicone spray, and ensure your counterweights are properly tied. A well-balanced window should stay exactly where you put it—no “guillotine” drops or sticking! For help with tricky pulley systems, look into sash and sill repair in Northfield.
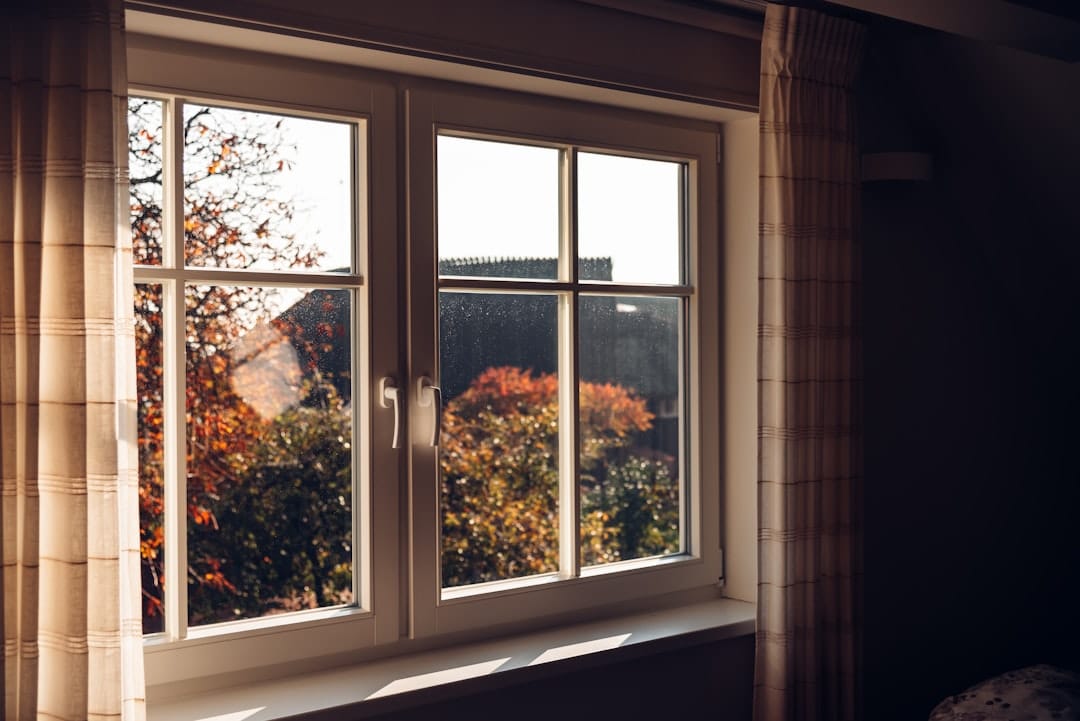
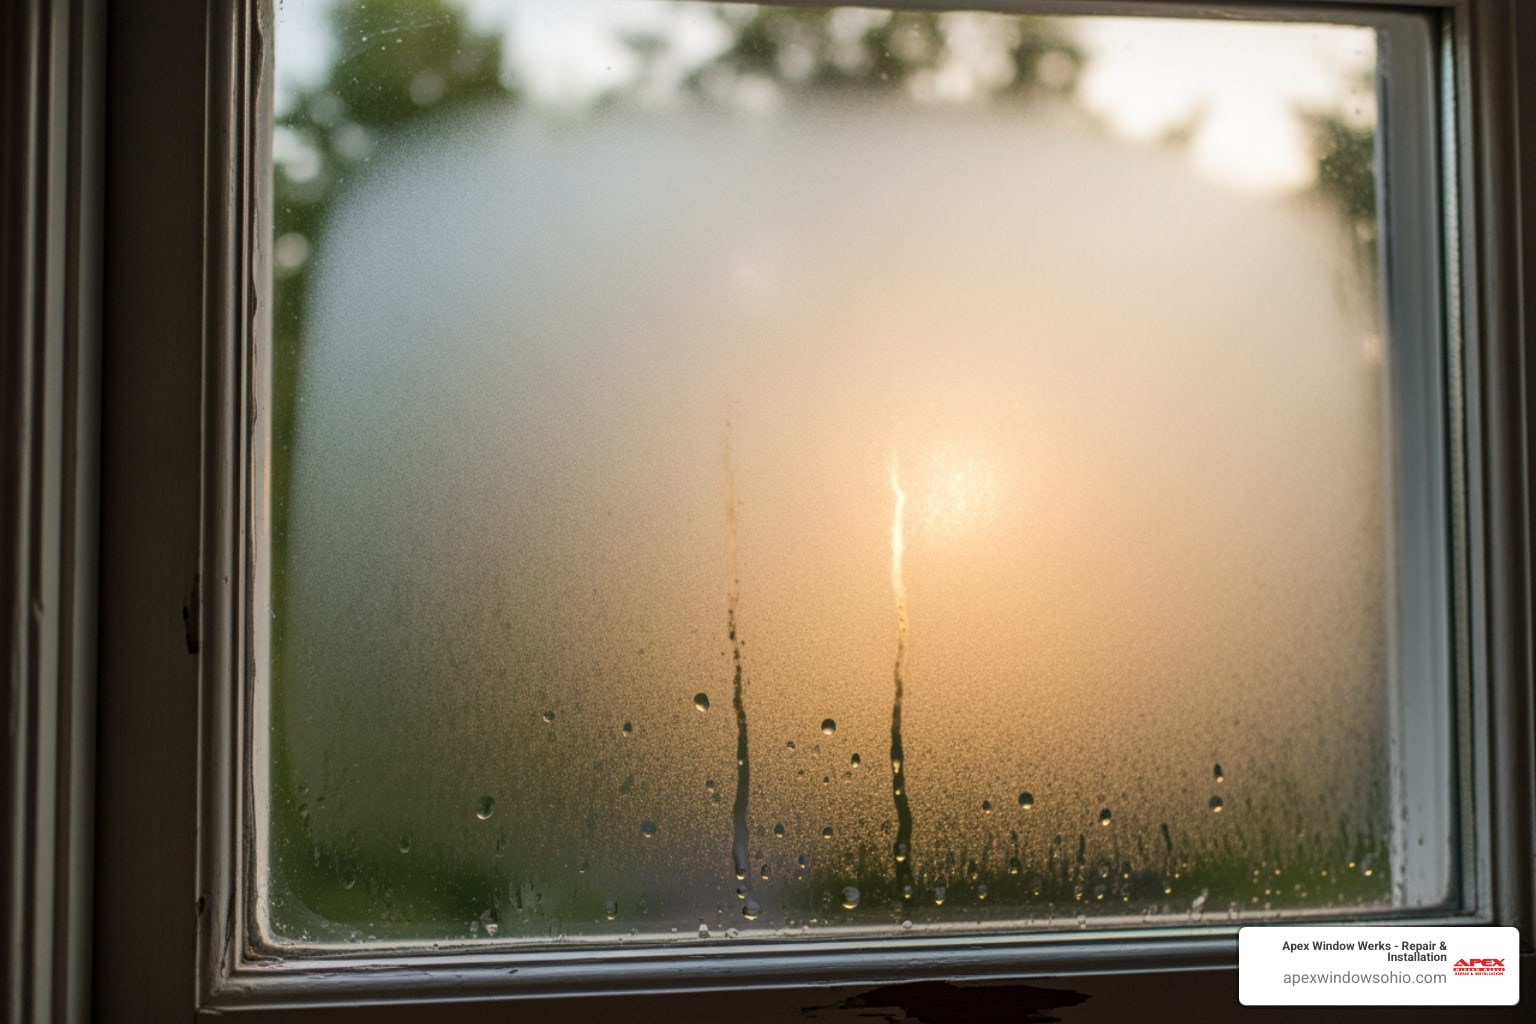
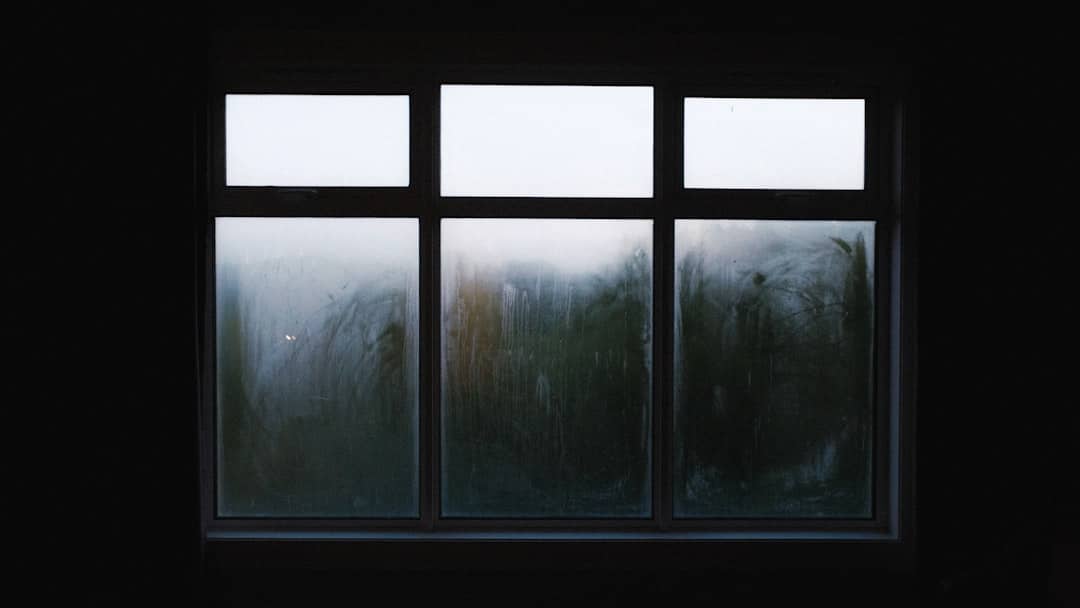
Draught-Proofing for Modern Energy Efficiency
The biggest complaint about old windows is the draft. This usually happens because of a 3mm gap required for the sashes to slide. You can close this gap by installing weatherstripping. We often use “pile” weatherstripping or silicone bulb seals hidden within the staff beads and parting beads. This significantly improves thermal performance and acoustic insulation, making your home quieter and warmer. If you’re in a particularly windy area, wood sash repair in Novelty often involves these advanced sealing techniques.
Frequently Asked Questions About Sash Restoration
Which parts of the sash should I avoid painting?
One of the most common mistakes is painting the window shut. Do not paint the sliding edges (stiles) of the sash. These should be left as bare wood or treated with a light coat of linseed oil or paste wax. You should also avoid painting the top edge of the upper sash and the bottom edge of the lower sash. Leaving these areas bare allows the wood to “breathe” and expel moisture, which prevents rot and keeps the window from sticking in the jamb.
How long does the restoration process typically take?
If you are doing this yourself, expect a single window to take a full weekend of active work, spread out over two weeks to allow for putty curing and paint drying.
- Day 1: Removal and paint stripping.
- Day 2: Wood repairs and priming.
- Day 3: Glazing.
- Wait 3-5 days: Putty needs to “skin over.”
- Day 8: Painting.
- Day 10: Reinstallation.
Professional services can often move faster because we have dedicated drying racks and specialized tools. If you’re on a tight schedule, wood sash repair in Walton Hills can provide a more efficient timeline.
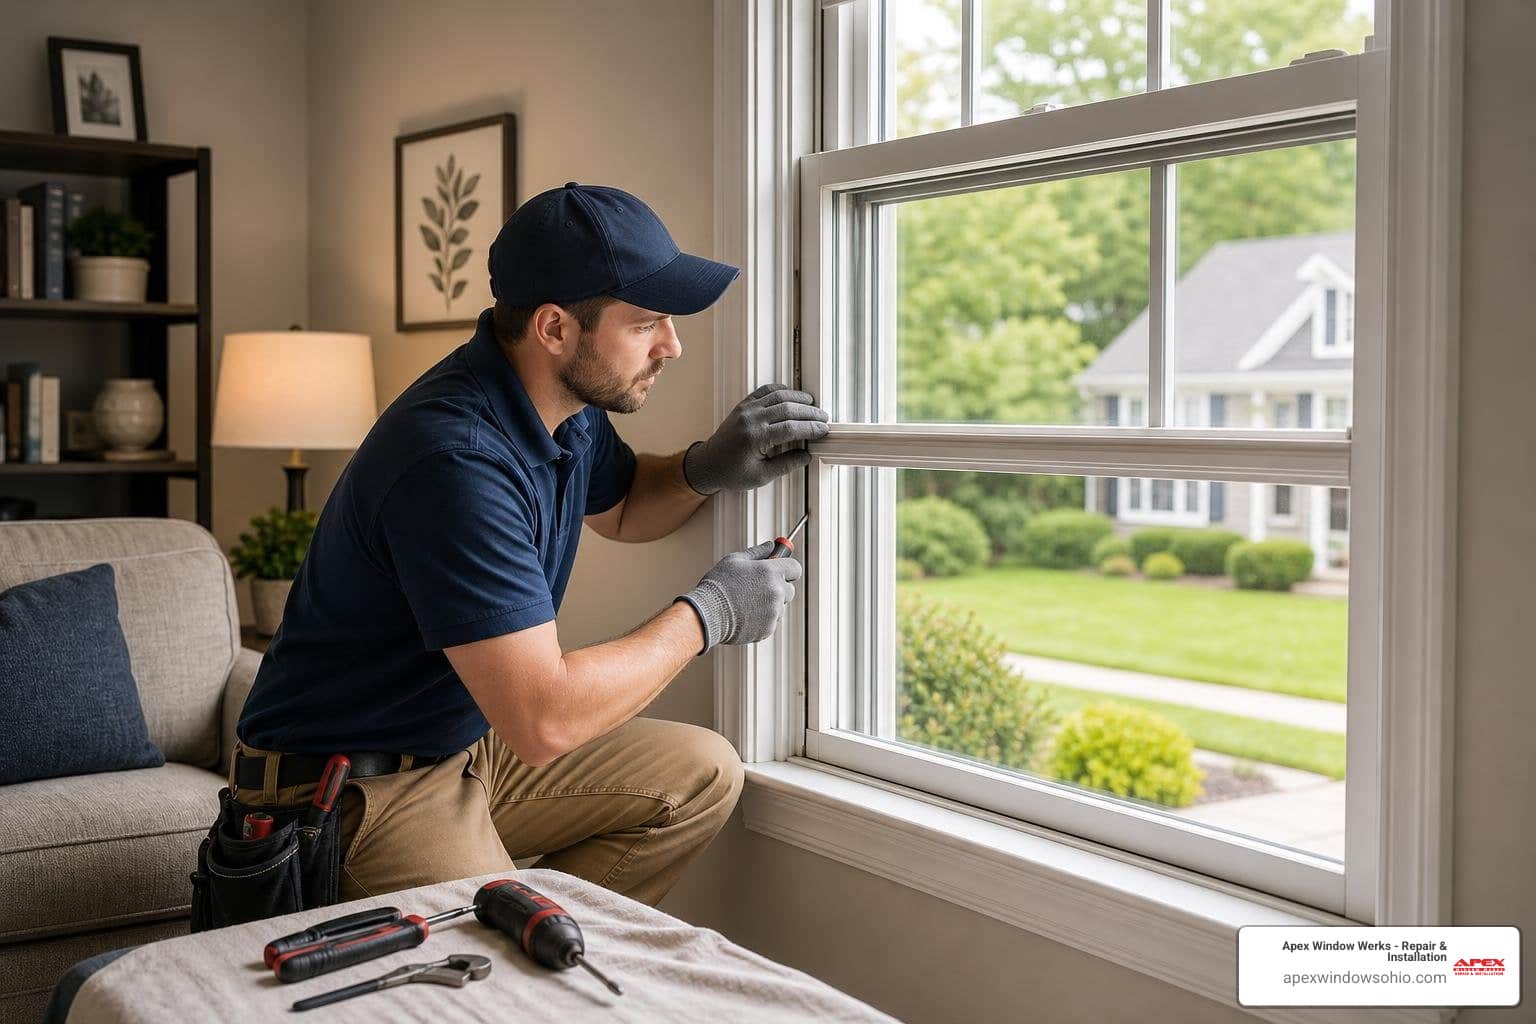
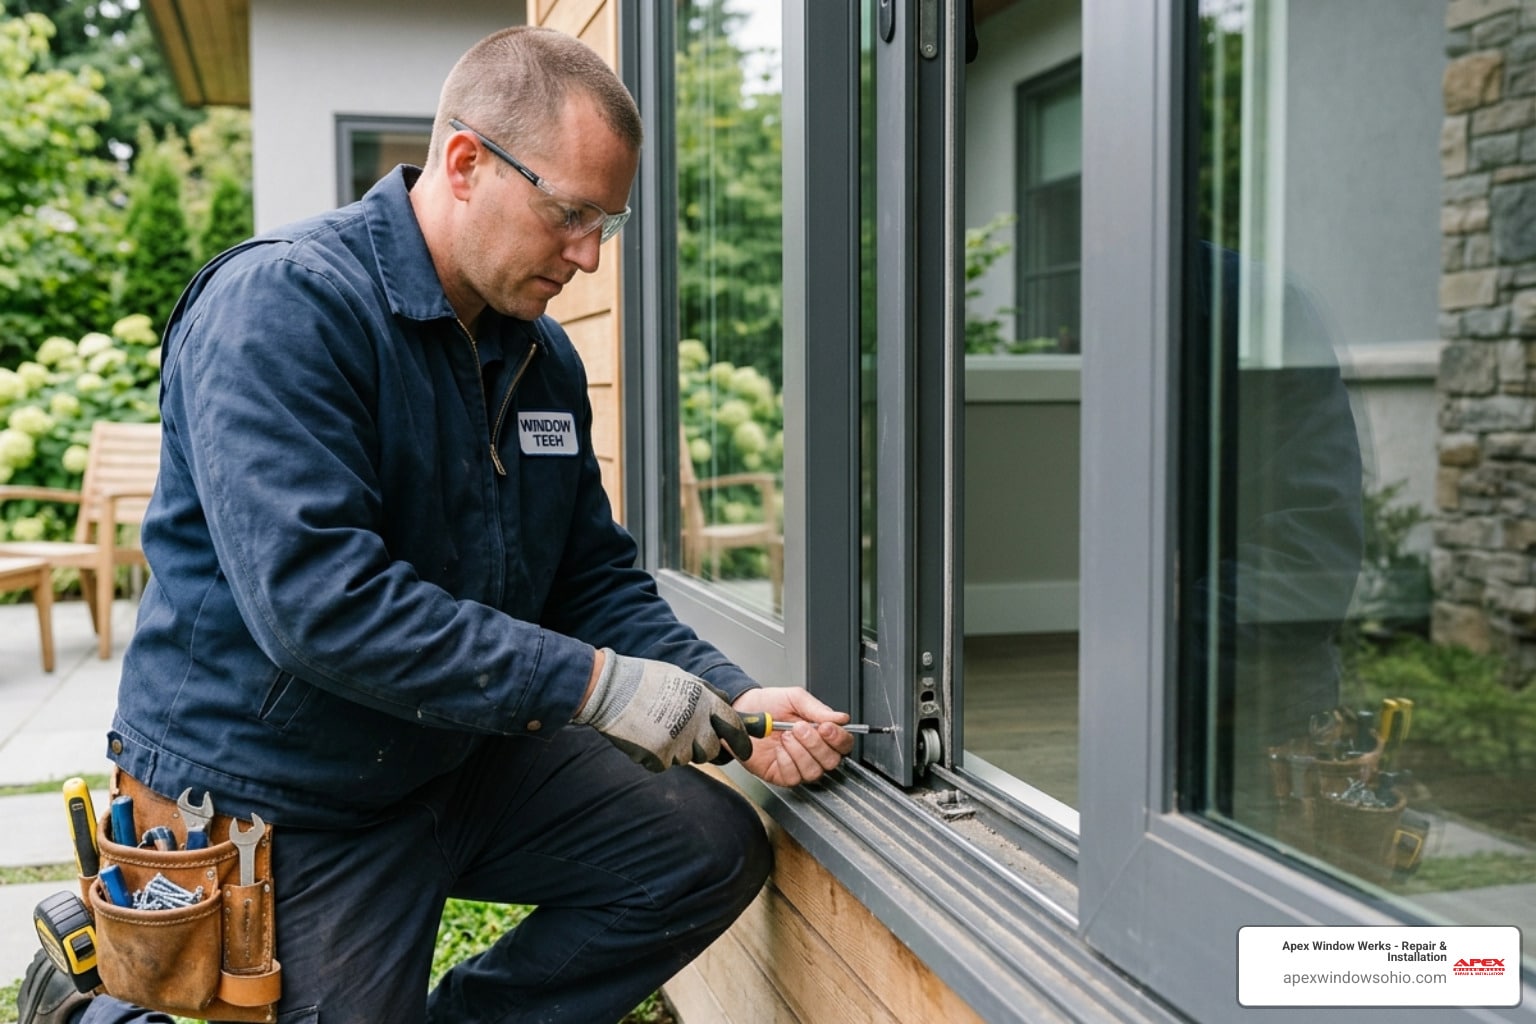
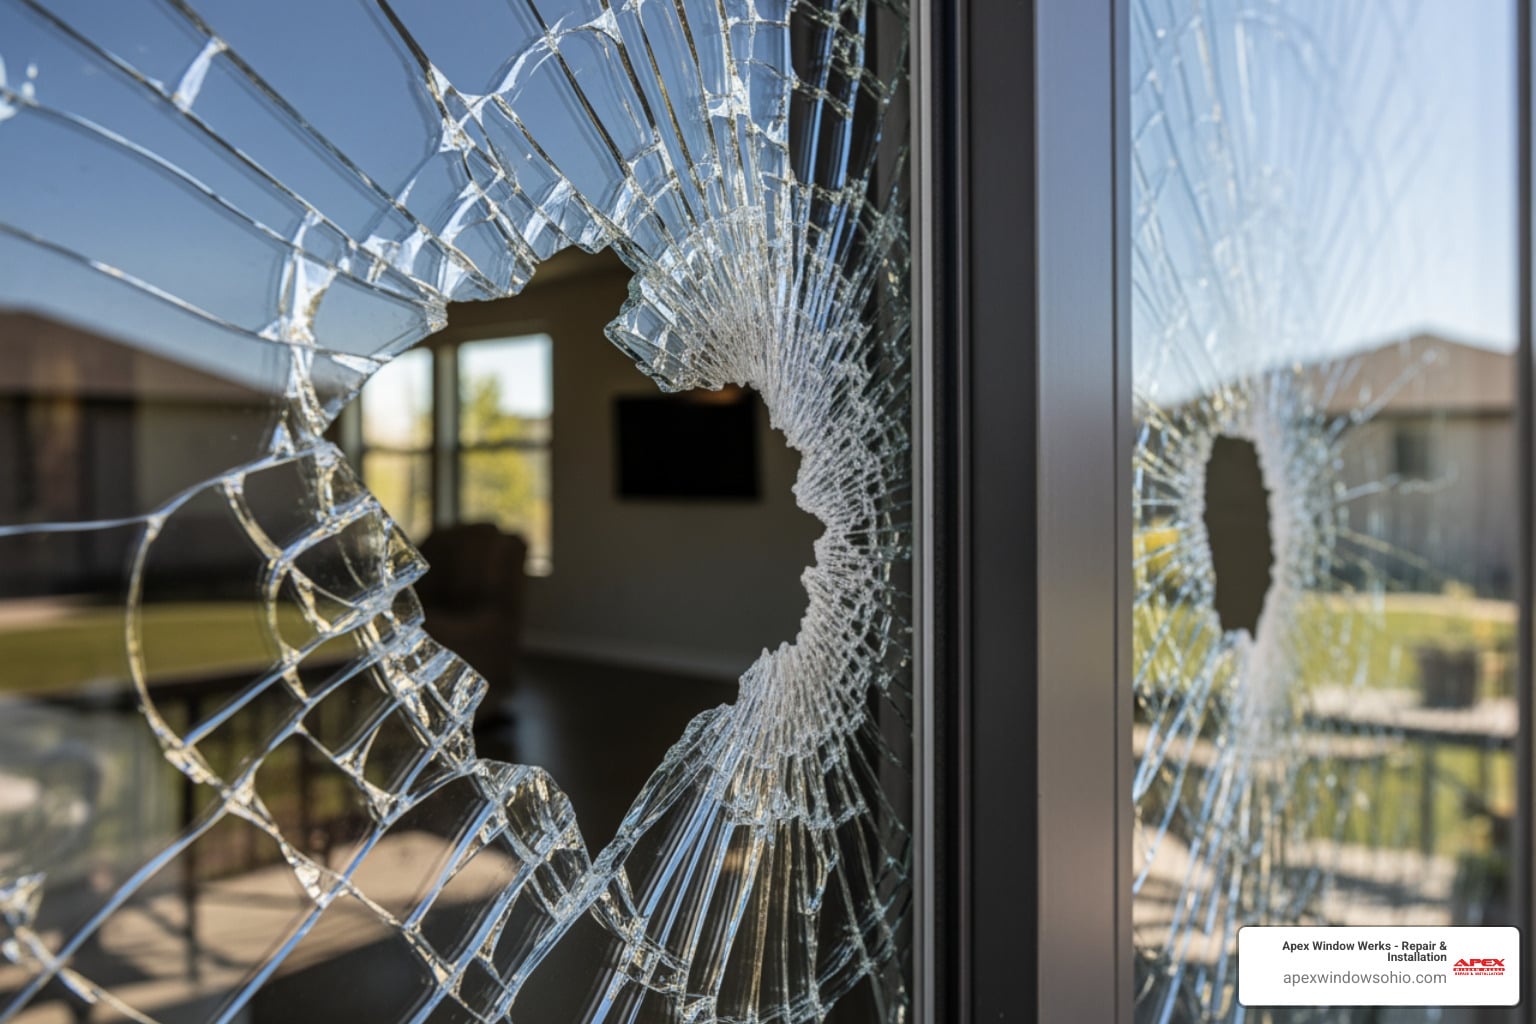
When is it time to call a professional to restore a sash?
While we love a good DIY project, some situations require specialized expertise:
- Structural Failure: If the mortise-and-tenon joints are completely falling apart.
- Broken Muntins: Replacing the delicate bars between panes is advanced carpentry.
- Lead Hazards: If you have small children or can’t safely contain the dust.
- Time Constraints: If you have 20 windows and only one free weekend.
For those in the Summit County area, our Akron wood sash repair services offer a perfect balance of speed and heritage-quality craftsmanship.
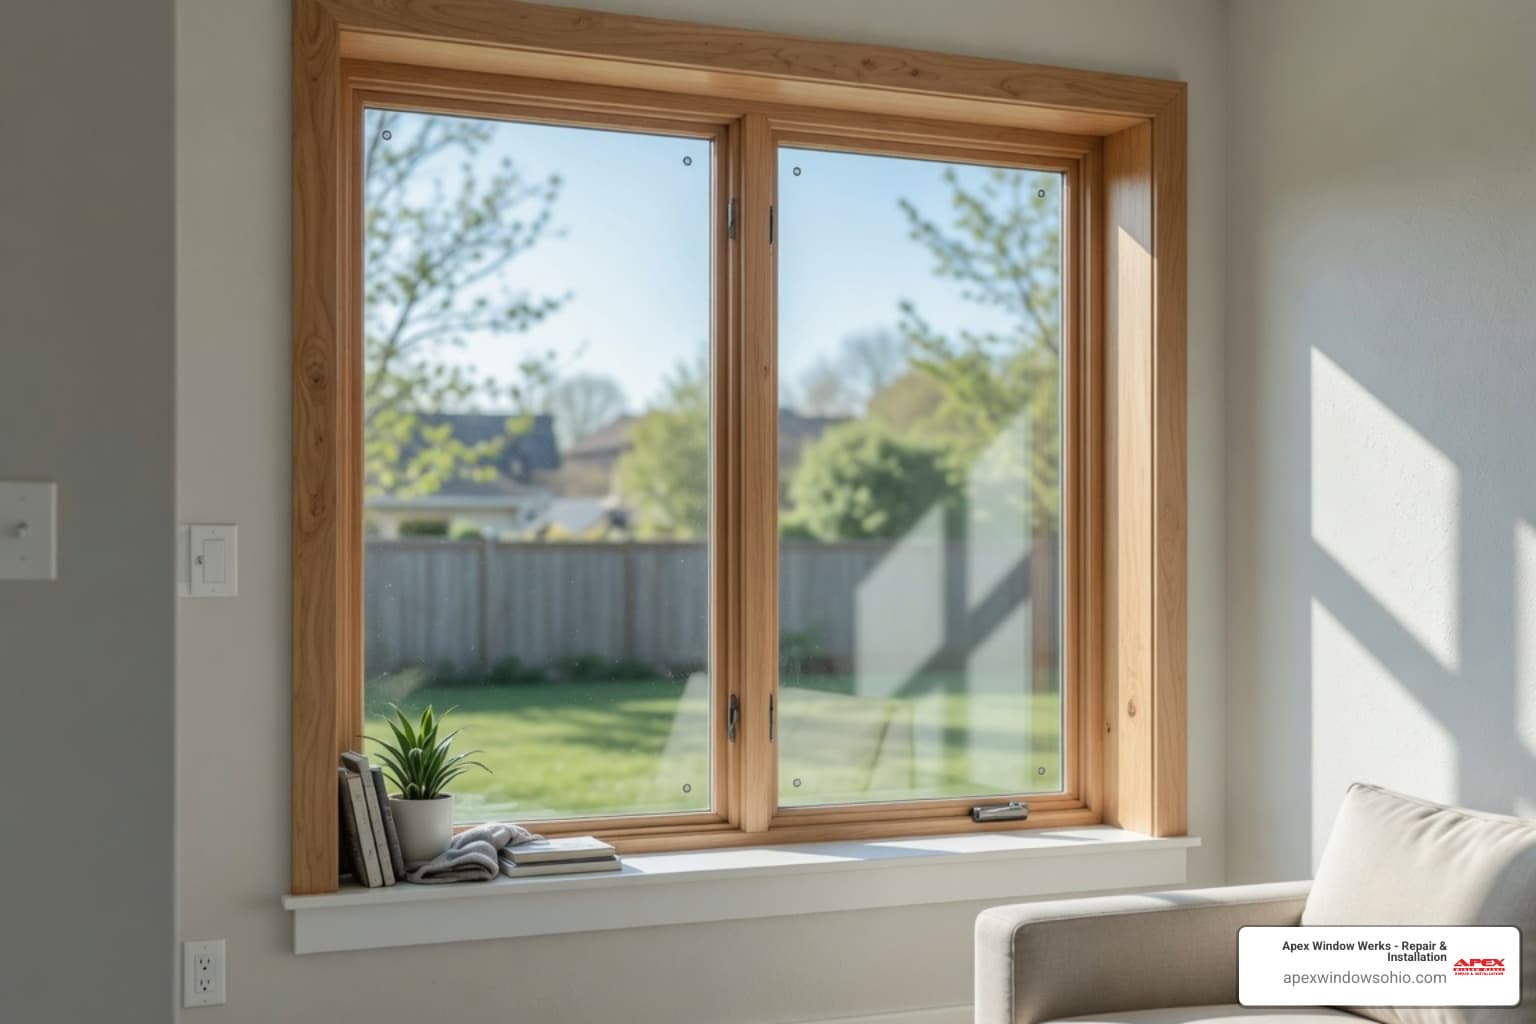
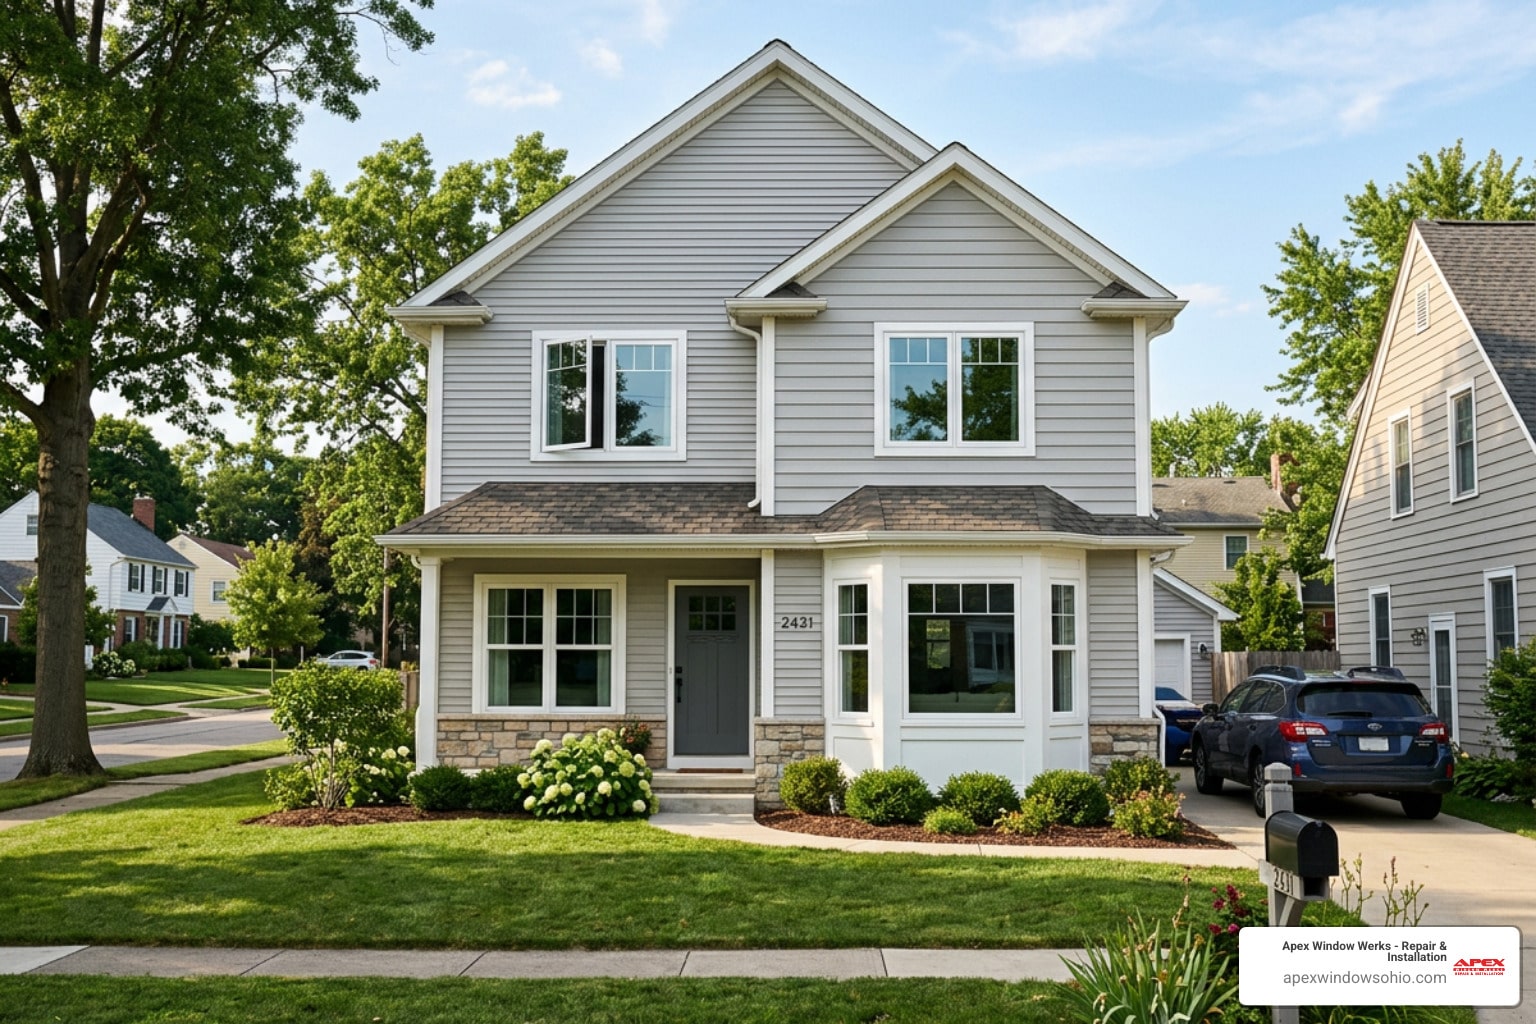
Conclusion
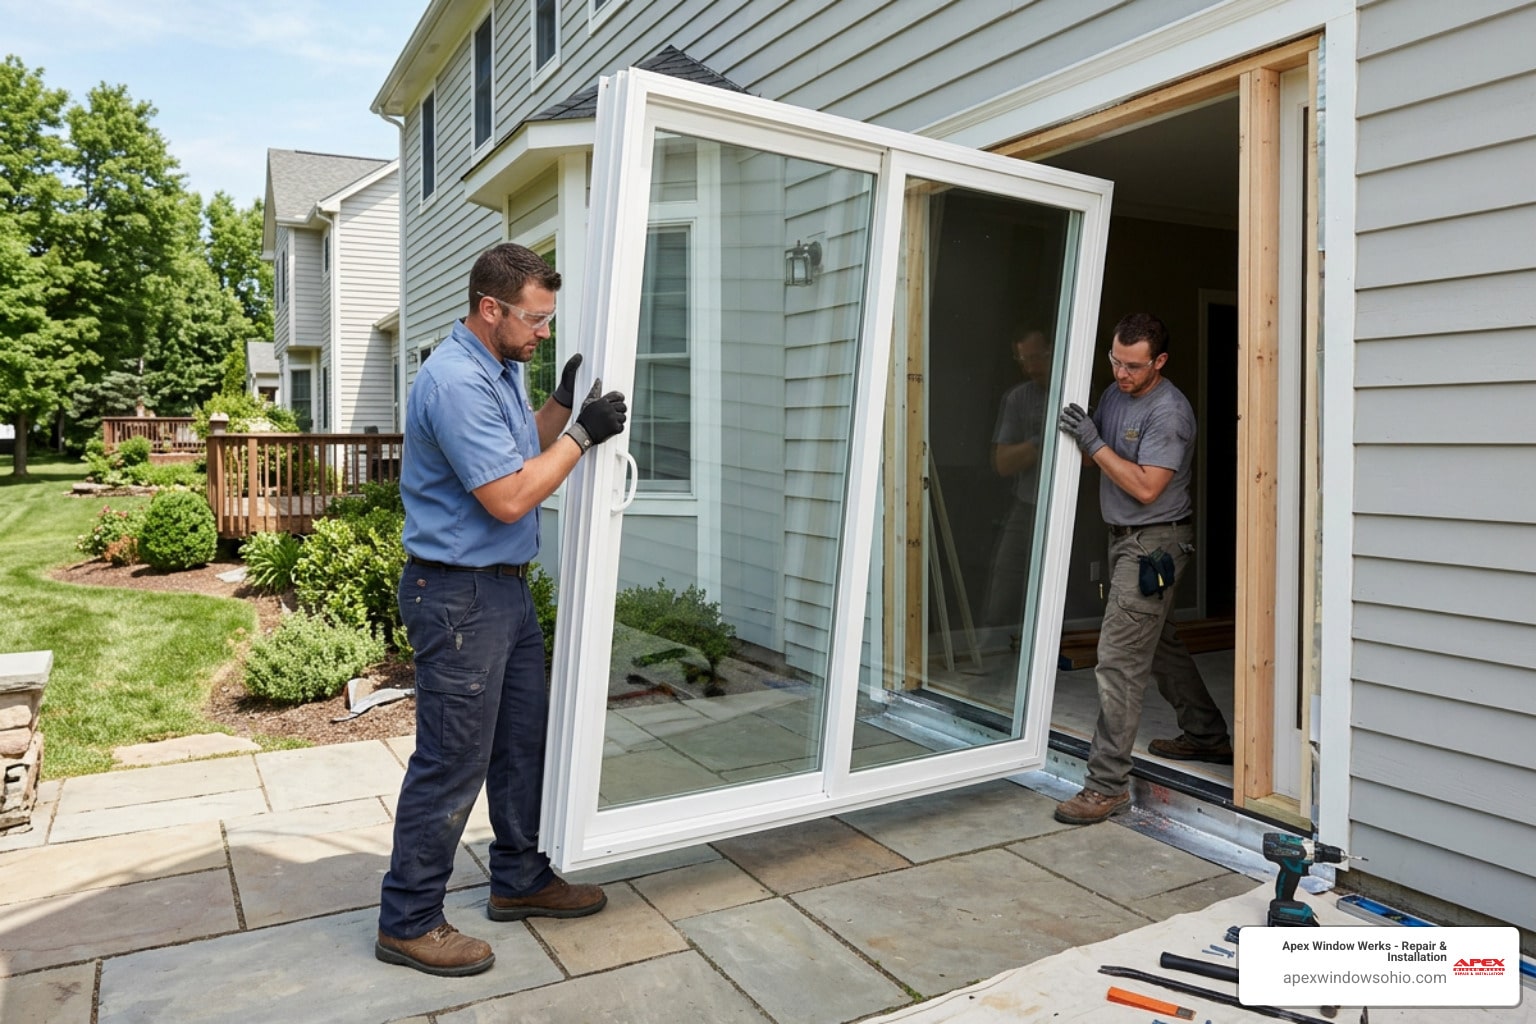
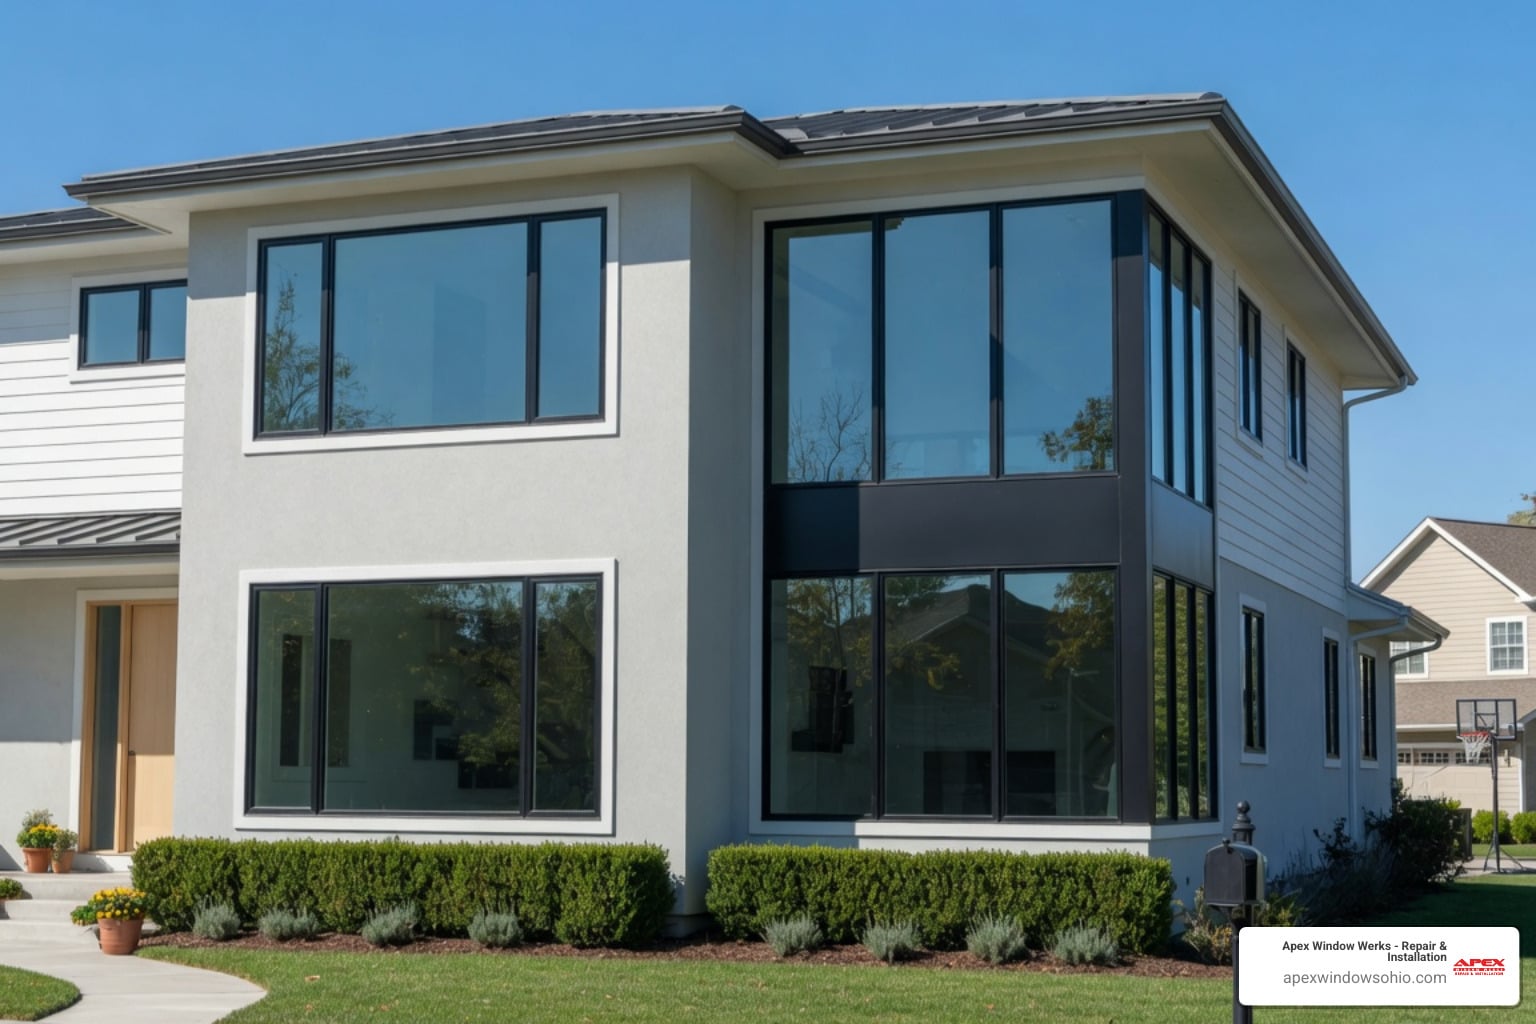
At Apex Window Werks, we believe that your home’s original windows are a legacy worth protecting. Whether you are in Cleveland, Beachwood, or Cuyahoga Falls, we are here to help you restore a sash and bring back the beauty of your period home. We offer same-day service and 2-hour repairs for walk-ins at our local shop, focusing on speed, quality, and affordability.
Don’t let a “replacement window” salesman talk you into trashing your home’s history. With a little bit of epoxy, some fresh cotton rope, and a steady hand with a glazing knife, those windows will be ready for another century of service.
Ready to bring your windows back to life? Schedule your professional wood window repair today and let our experts handle the heavy lifting.