


How to Install a Sliding Patio Door
What You Need to Know Before Installing a Sliding Patio Door in Cleveland
Installing a sliding patio door is a project most intermediate-level DIYers can complete in 2 to 4 hours with the right tools and a helper.
Here is a quick overview of the core steps:
- Measure the rough opening – width and height in multiple places; use the smallest measurements
- Prepare the sill – install a sill pan and self-adhesive flashing to prevent water damage
- Set the door frame – tilt it into the opening with a helper, bottom first
- Level, plumb, and shim – place shims every 12 inches around the frame
- Secure the frame – fasten through pre-drilled or nailing fin holes
- Insulate and seal – use low-expansion foam inside and silicone caulk outside
- Install and adjust panels – set sliding panels on the track and adjust rollers for smooth operation
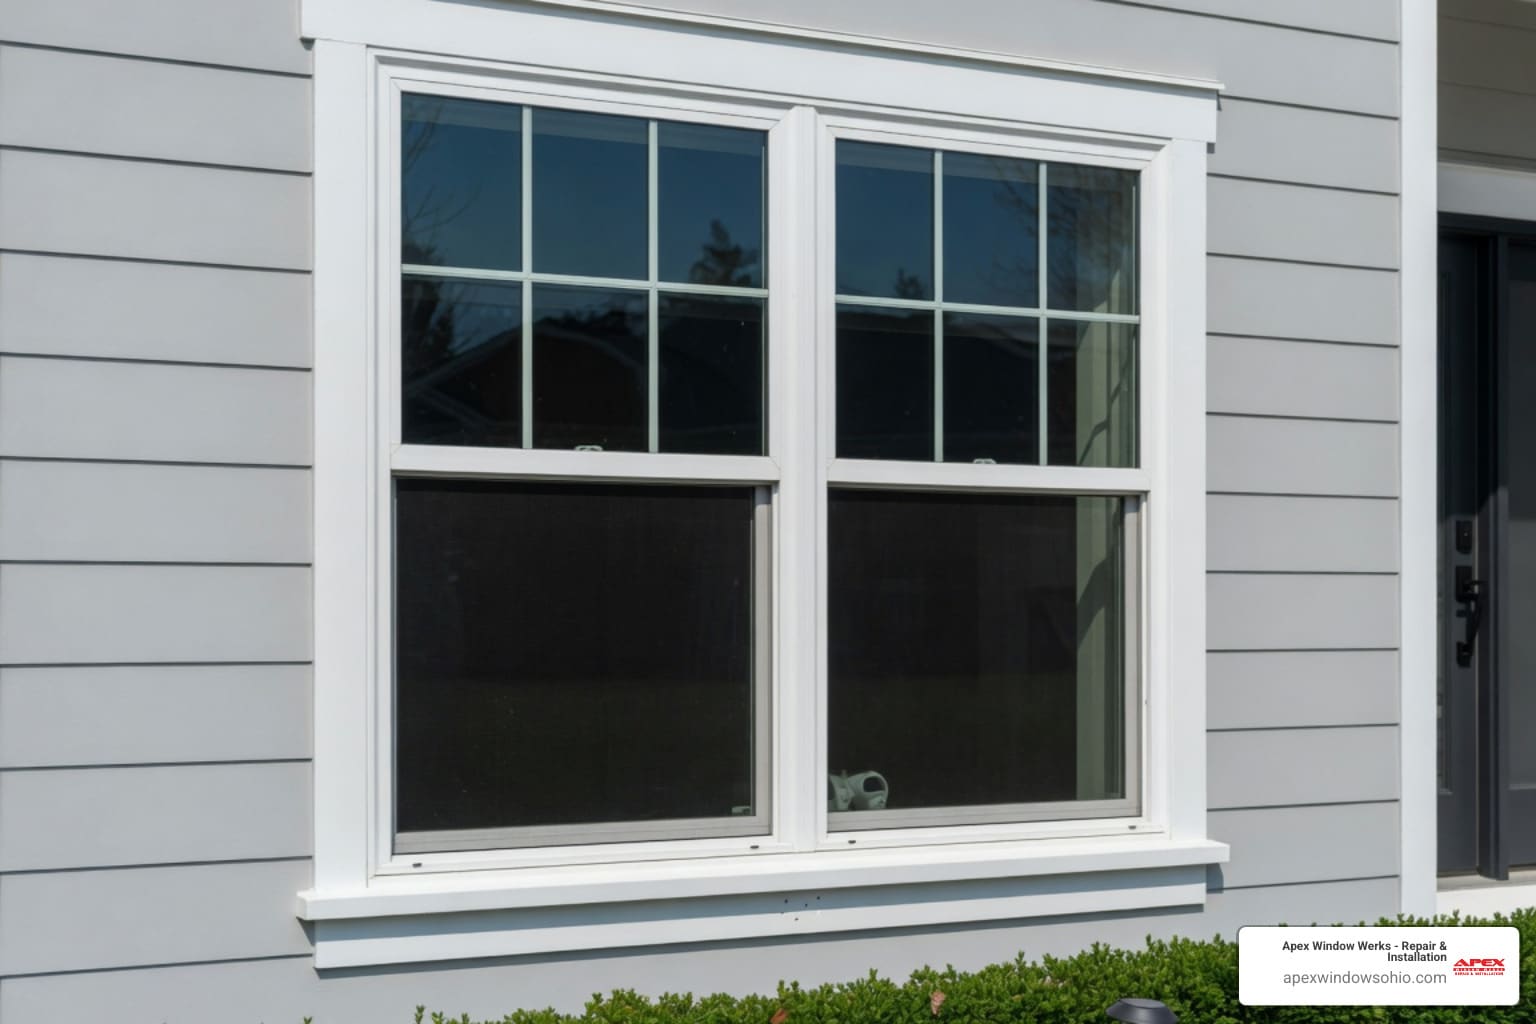
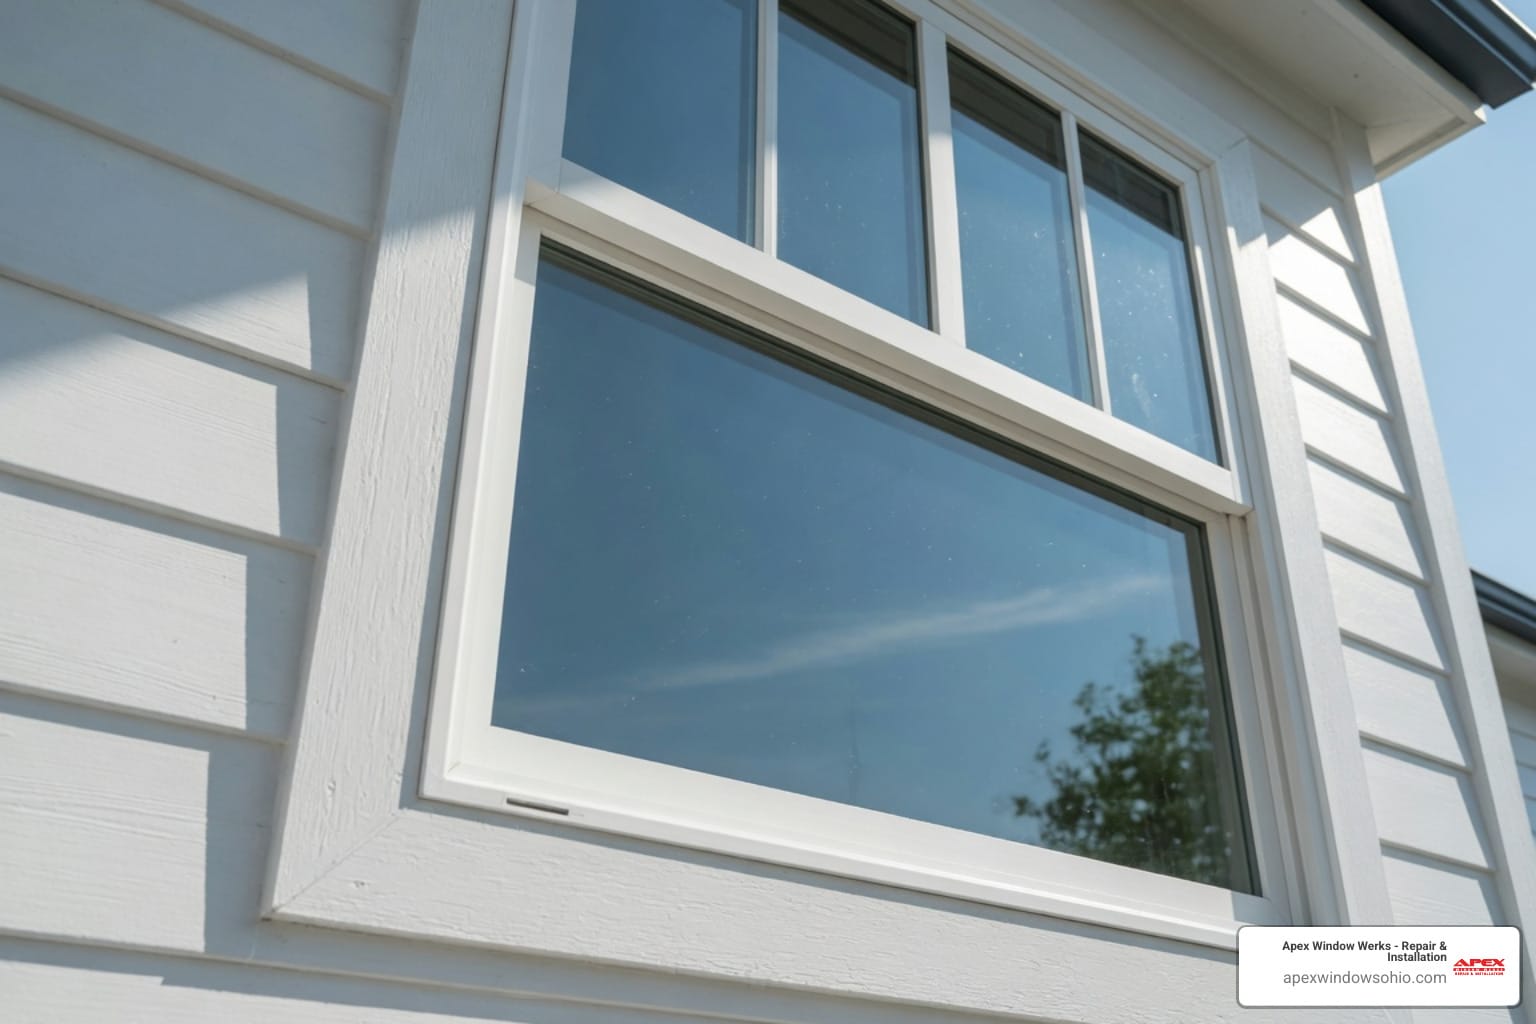
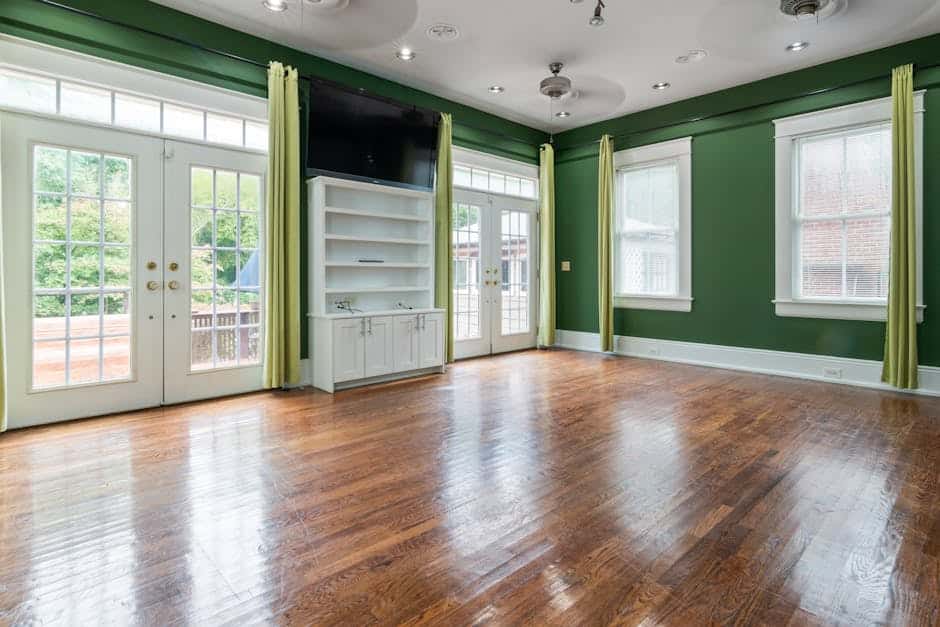
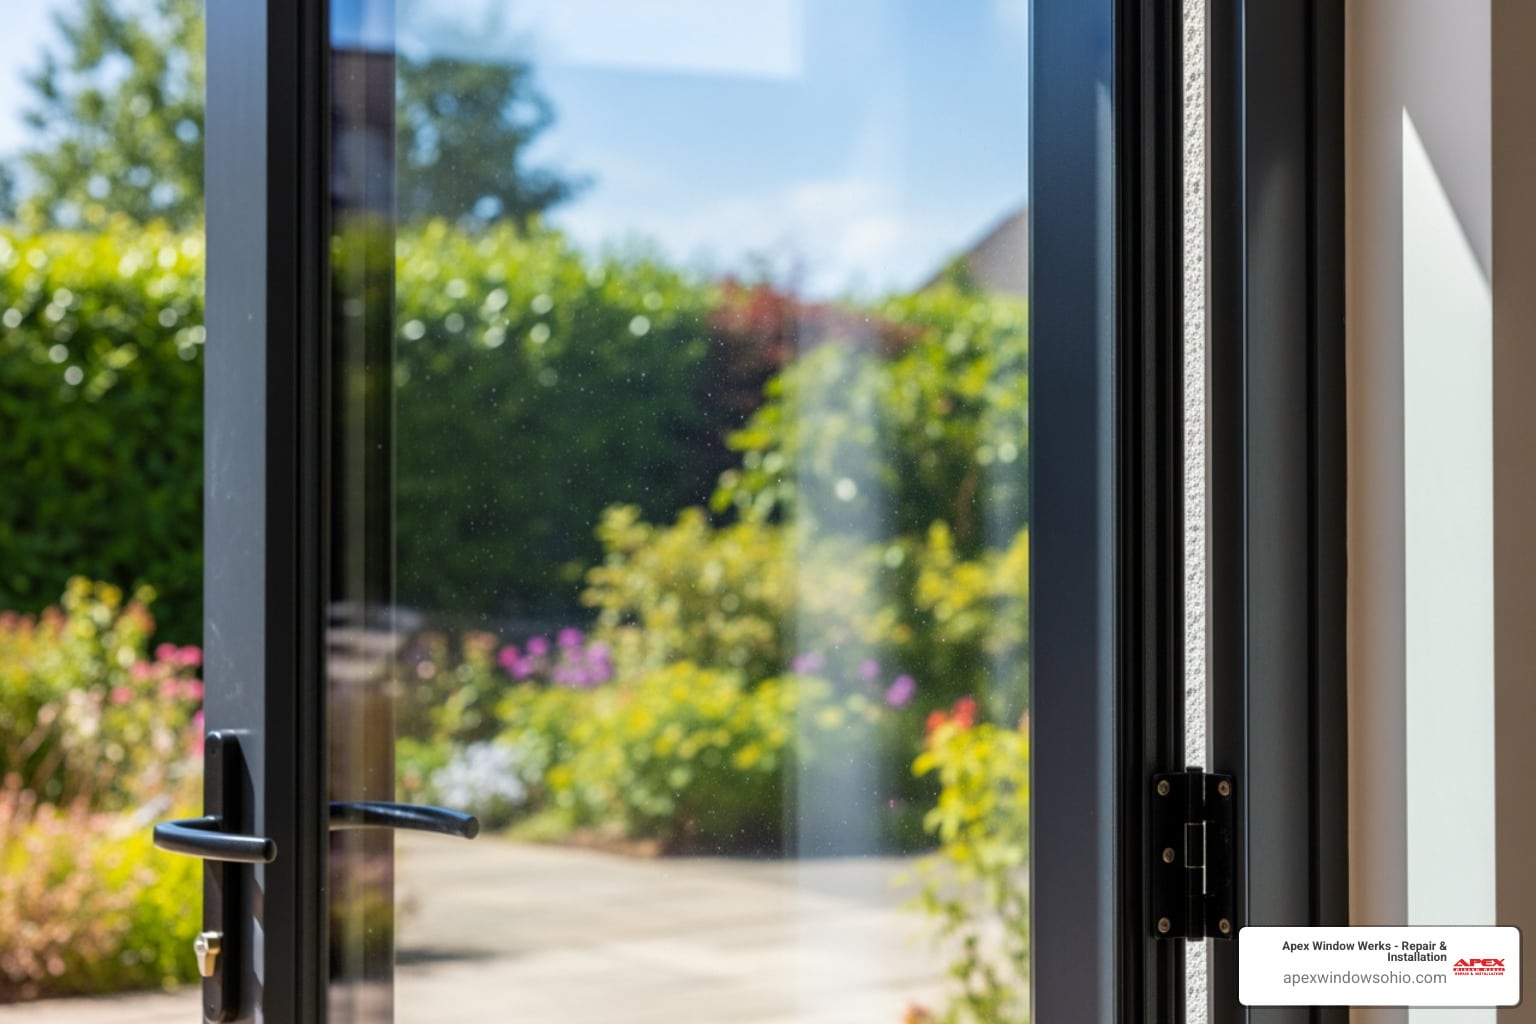
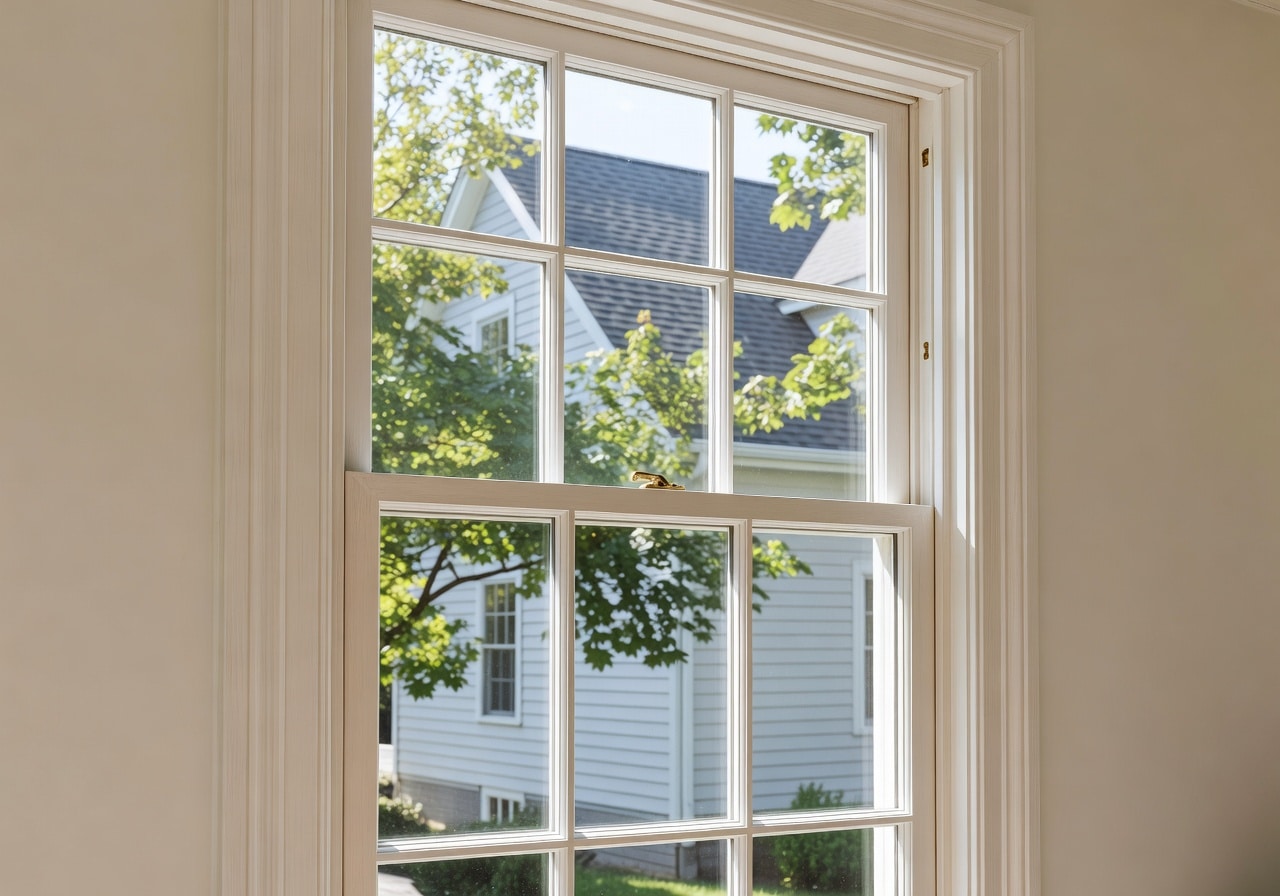
A sliding patio door floods a room with natural light and creates a clean connection between your indoor space and backyard. But get the installation wrong — skip the sill pan, rush the shimming, or neglect the sealing — and you are looking at water damage, drafts, and a door that grinds every time you open it. Done right, it is one of the most rewarding home improvements you can make.
I’m Nataly Godes, General Manager at Apex Window Werks, and I have guided countless homeowners across Northeast Ohio through installing a sliding patio door correctly the first time. In the sections below, I’ll walk you through every step clearly so you can tackle this project with confidence.

Types of Sliding Patio Door Installations in Hudson
Before you purchase a new door or pull out your tool belt, you must determine which type of installation matches your home’s needs. The right approach depends on whether you are working on a brand-new addition or replacing an old, drafty door.

There are three primary installation methods:
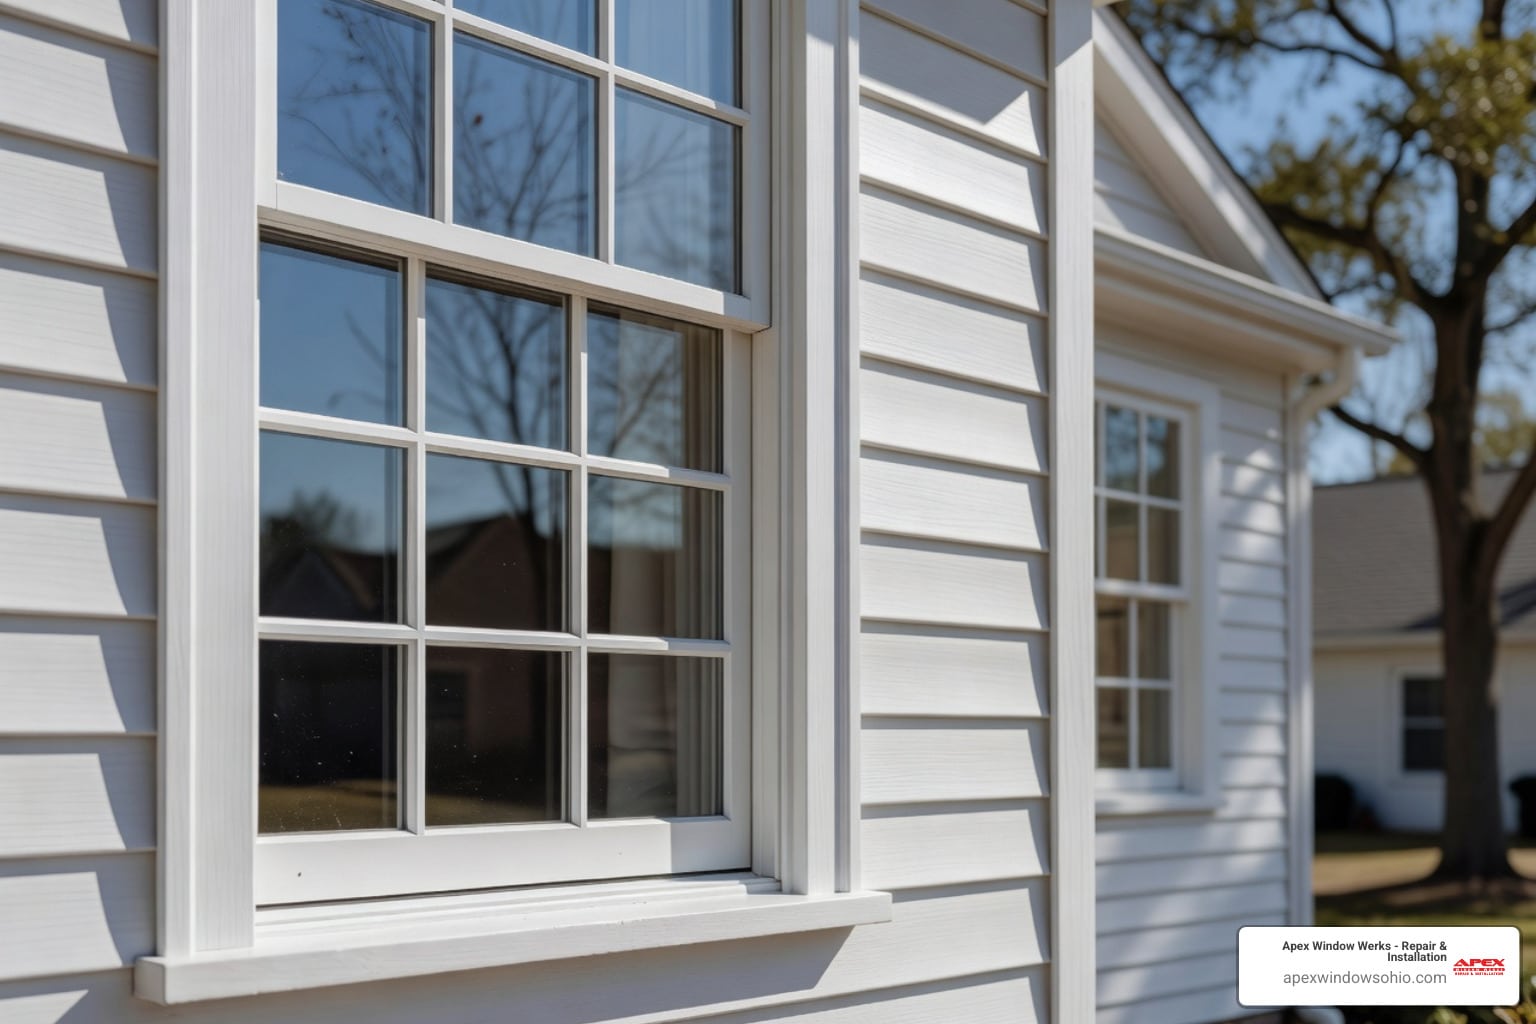
- New Construction Installation: This method is used when building a new home or addition. The door frame features an integral nailing fin that is secured directly to the exterior sheathing before the siding or trim is installed. It provides an exceptional weather seal but requires complete access to the exterior framing.
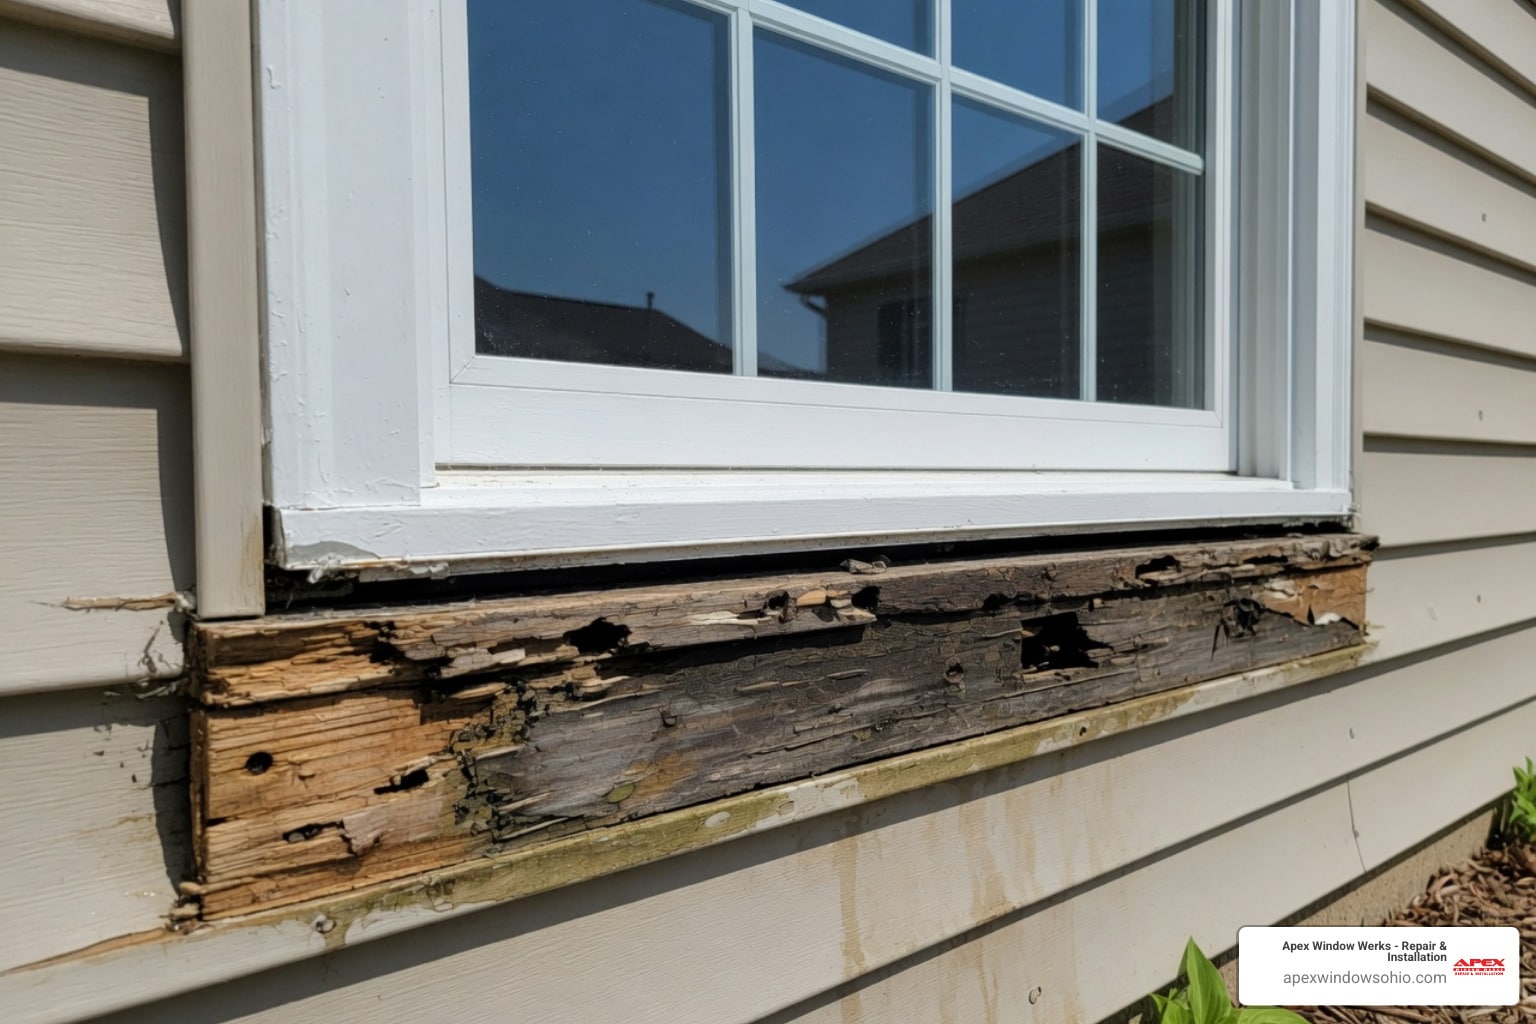
- Full Frame Replacement: This is the most common method for home remodeling. We remove the old door, the entire frame, and the exterior trim down to the rough framing studs. This allows us to inspect the structural wood for rot and install a fresh, modern weatherproofing system. Homeowners opting for Sliding Patio Door Replacement in Hudson often choose this method to ensure maximum energy efficiency.
- Pocket Replacement: In a pocket installation, the new door is fitted directly inside the existing, structurally sound frame. While this saves time and preserves the surrounding interior and exterior trim, it slightly reduces the overall glass viewing area. This option only works if the existing frame is completely square, plumb, and free of moisture damage.
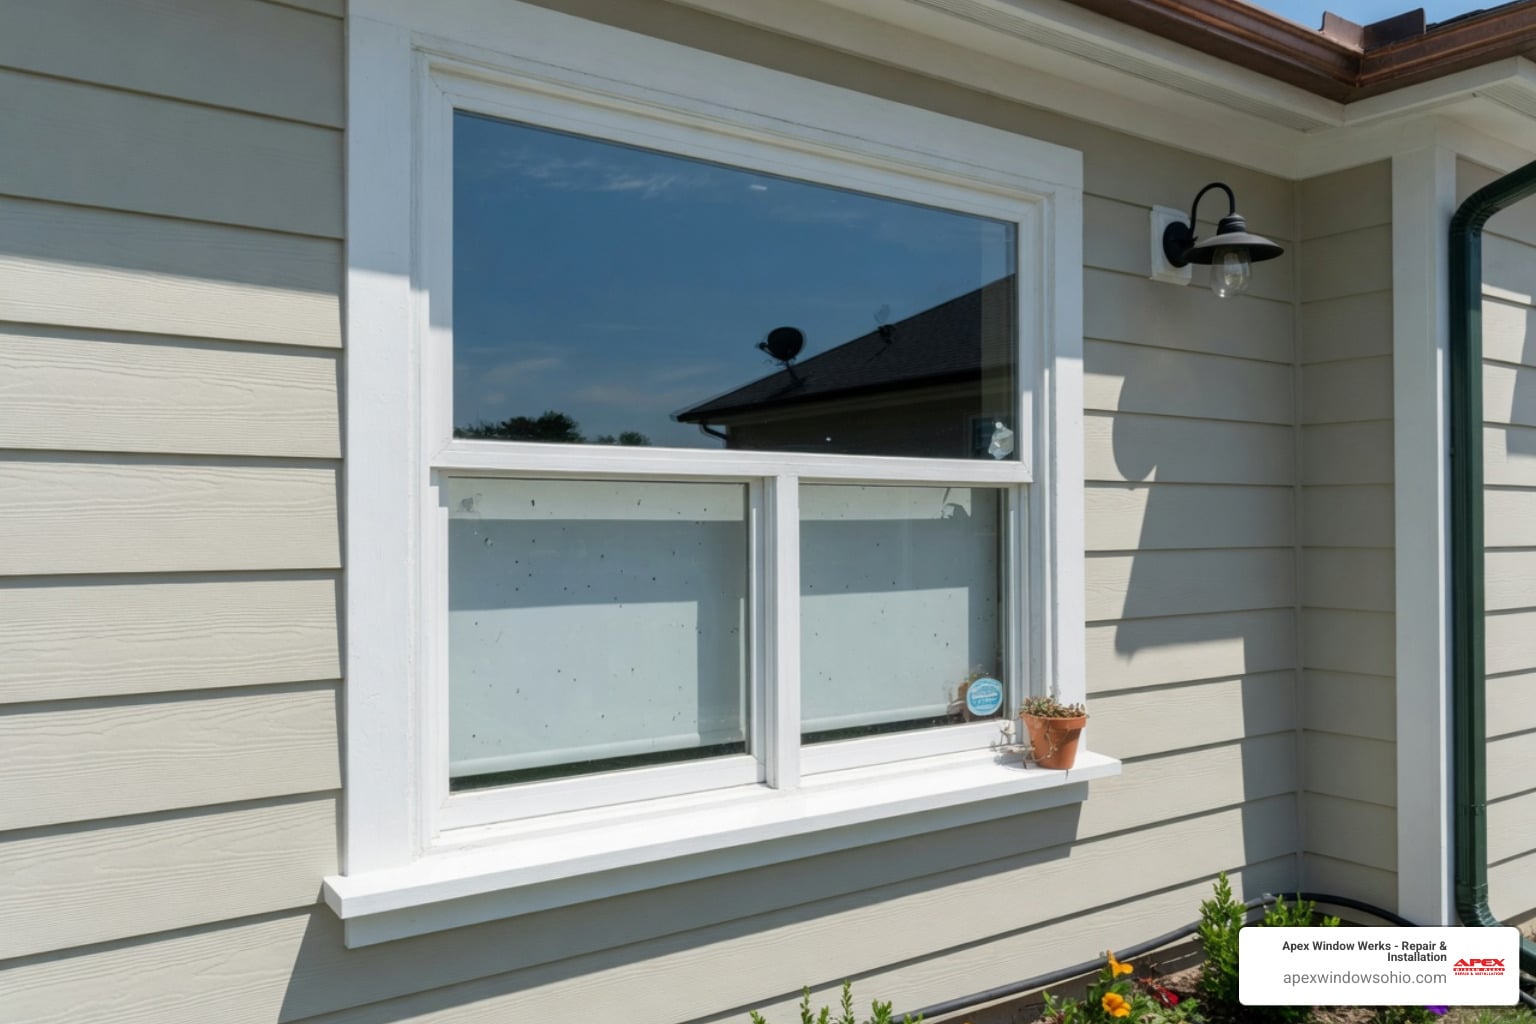
Essential Tools and Materials for Installing a Sliding Patio Door in Akron
Having the correct tools organized before you begin will keep your project on track and prevent unnecessary trips to the local hardware store.

For a professional-grade installation, gather the following tools and materials:
- High-quality measuring tape – essential for getting exact dimensions
- Four-foot spirit level – to verify plumb, level, and square alignments
- High-performance silicone sealant – 100% silicone or polyurethane sealant for the sill and exterior trim
- Self-adhesive flashing tape – for building a waterproof sill pan
- Tapered wood or high-impact composite shims – to support and align the frame
- Low-expansion polyurethane foam – specifically formulated for windows and doors to prevent frame bowing
- Screw gun or drill – with appropriate driver and drill bits
- Safety equipment – including protective eyewear and heavy-duty work gloves
Using the right materials is critical for protecting your home from moisture. As detailed in the SLIDING PATIO DOOR INSTALLATION GUIDE , opting for rot-proof composite shims over traditional wood shims can prevent moisture absorption and long-term frame sagging.
Preparing the Opening and Setting the Frame in Kirtland
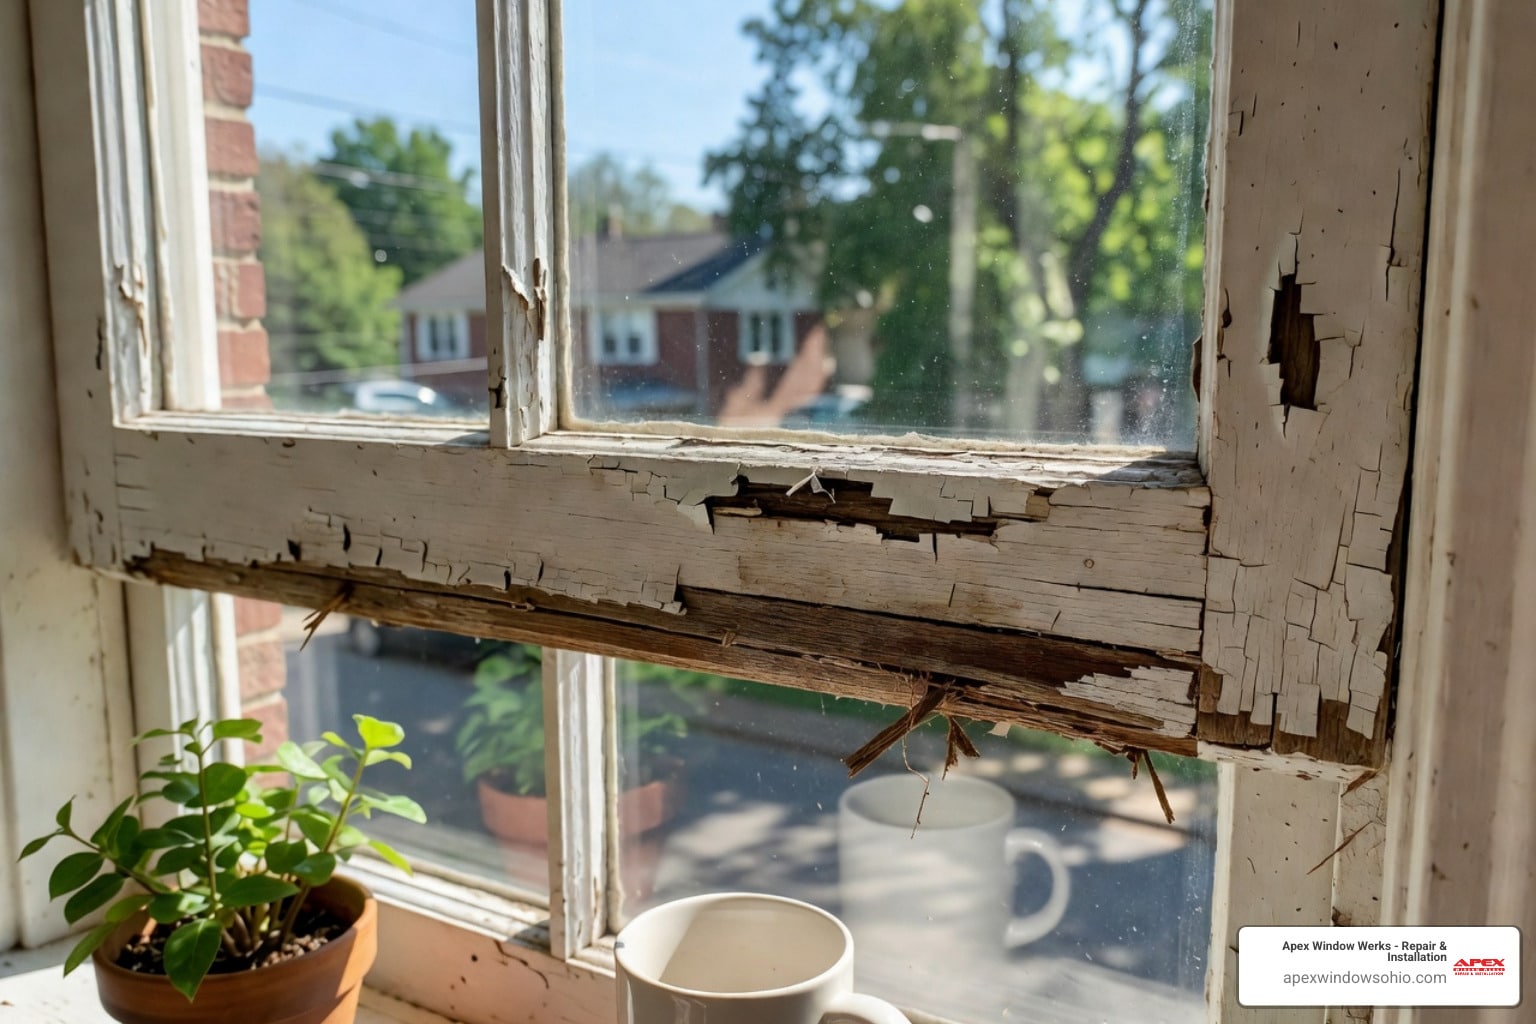
A successful installation relies entirely on how well you prepare the rough opening. If the framing is unlevel or out of square, your new door will stick, leak, or fail to lock properly.
| Installation Type | Recommended Width Clearance | Recommended Height Clearance |
|---|---|---|
| New Construction | 3/4 inch to 1 inch larger than door frame | 1/2 inch to 1 inch larger than door frame |
| Replacement / Standard Fit | 1/2 inch larger than door frame | 1/2 inch larger than door frame |
Preparing the Rough Opening for Installing a Sliding Patio Door
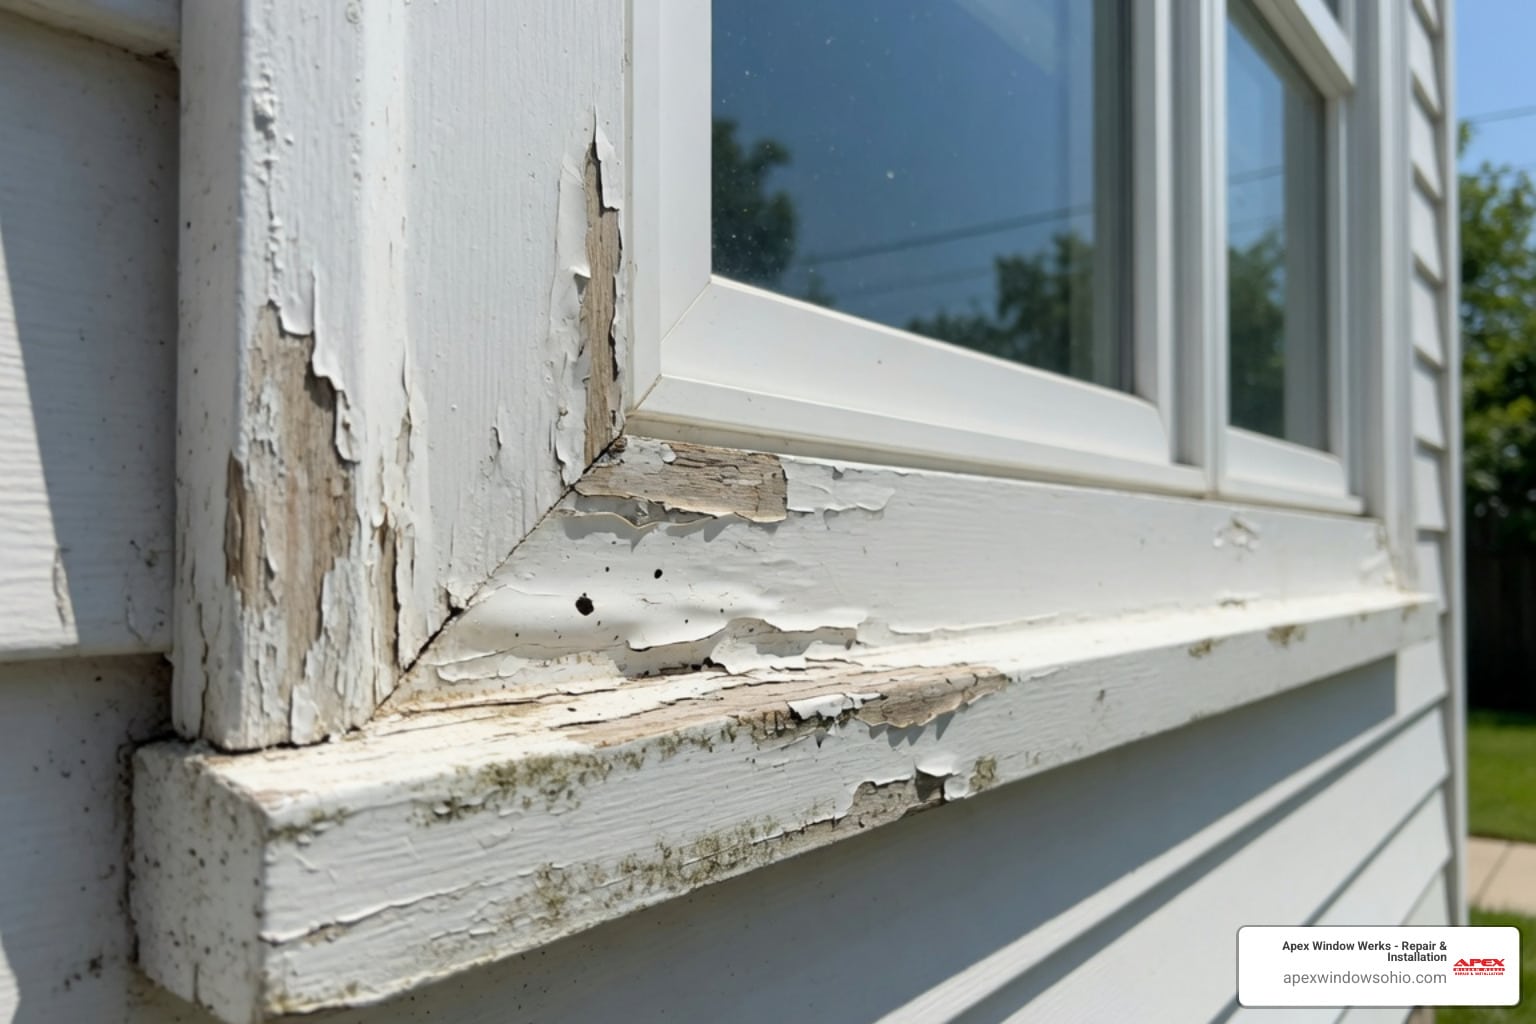
First, clear away any debris, old nails, and residual sealant from the framing studs. Check the sill plate with your spirit level. If the subfloor is unlevel, you must use shims or a self-leveling compound to create a perfectly flat surface before proceeding.
Next, verify that the opening is square by taking diagonal measurements from the top-left corner to the bottom-right corner, and from the top-right to the bottom-left. These two measurements should be within 1/8 inch of each other. If the opening is out of square, you will need to compensate using tapered shims during the frame installation.
To protect your subfloor from water damage, you must install a sill pan. You can use a pre-fabricated rigid sill pan or build one using self-adhesive flashing tape. To create a flashing tape pan, apply the membrane across the rough sill, wrapping it at least 6 inches up the vertical side jambs. This creates a watertight barrier that directs any future water infiltration back to the exterior, as outlined in the How to Install a Sliding Glass Patio Door | 8 Easy Steps (2026) guide.
Step-by-Step Guide to Installing a Sliding Patio Door
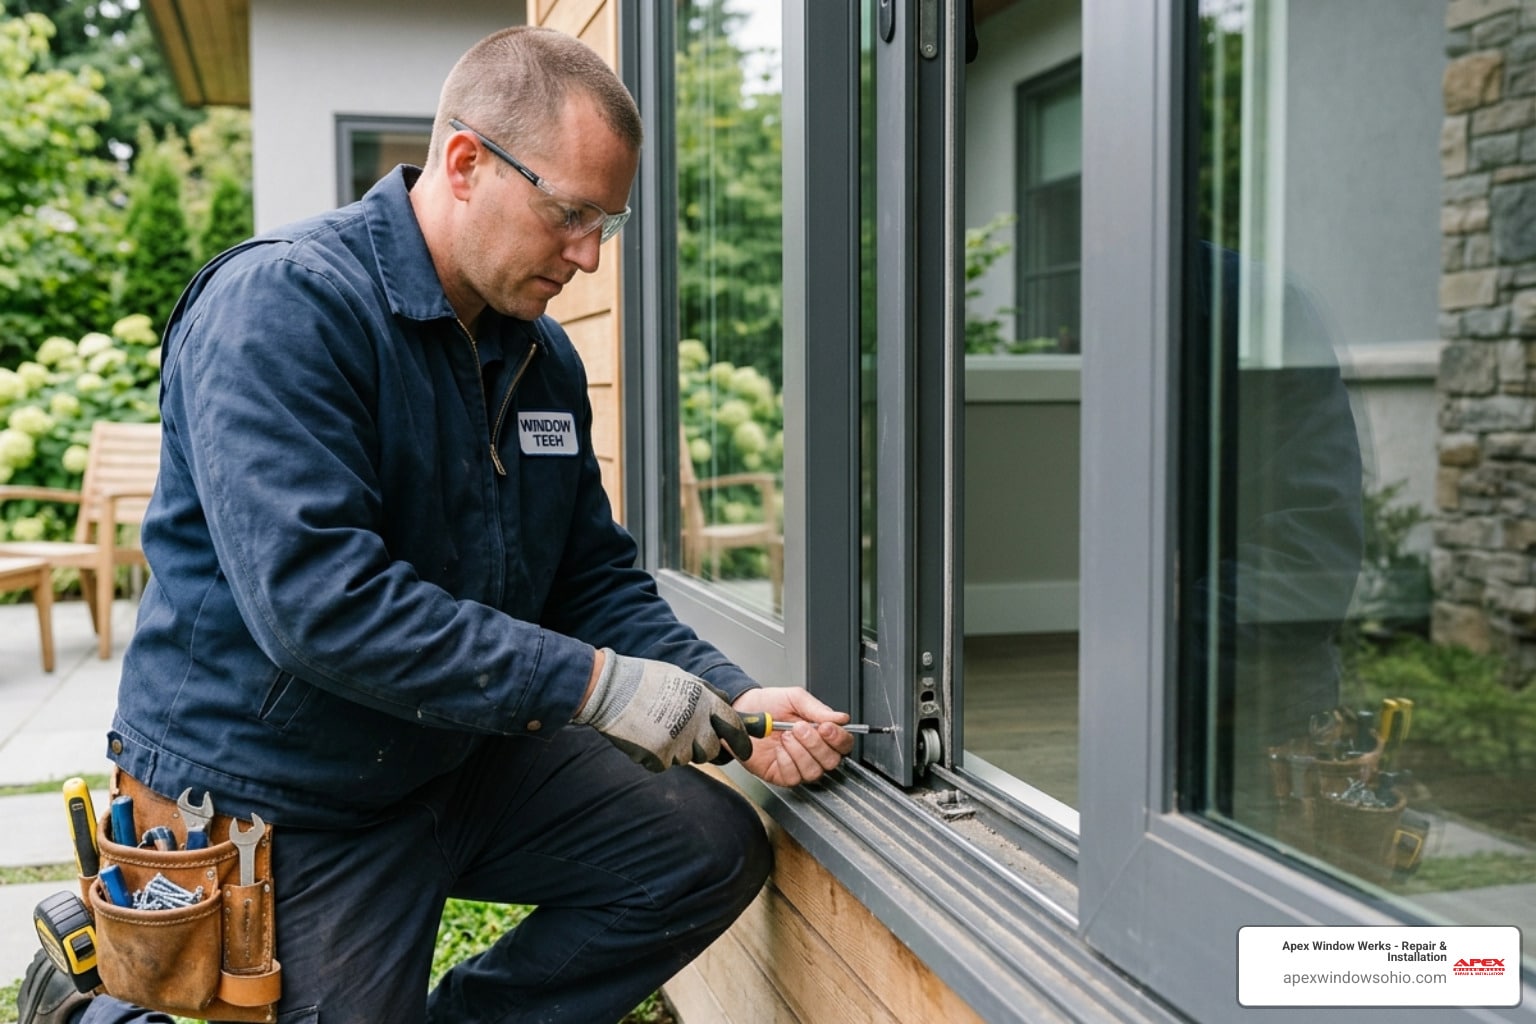
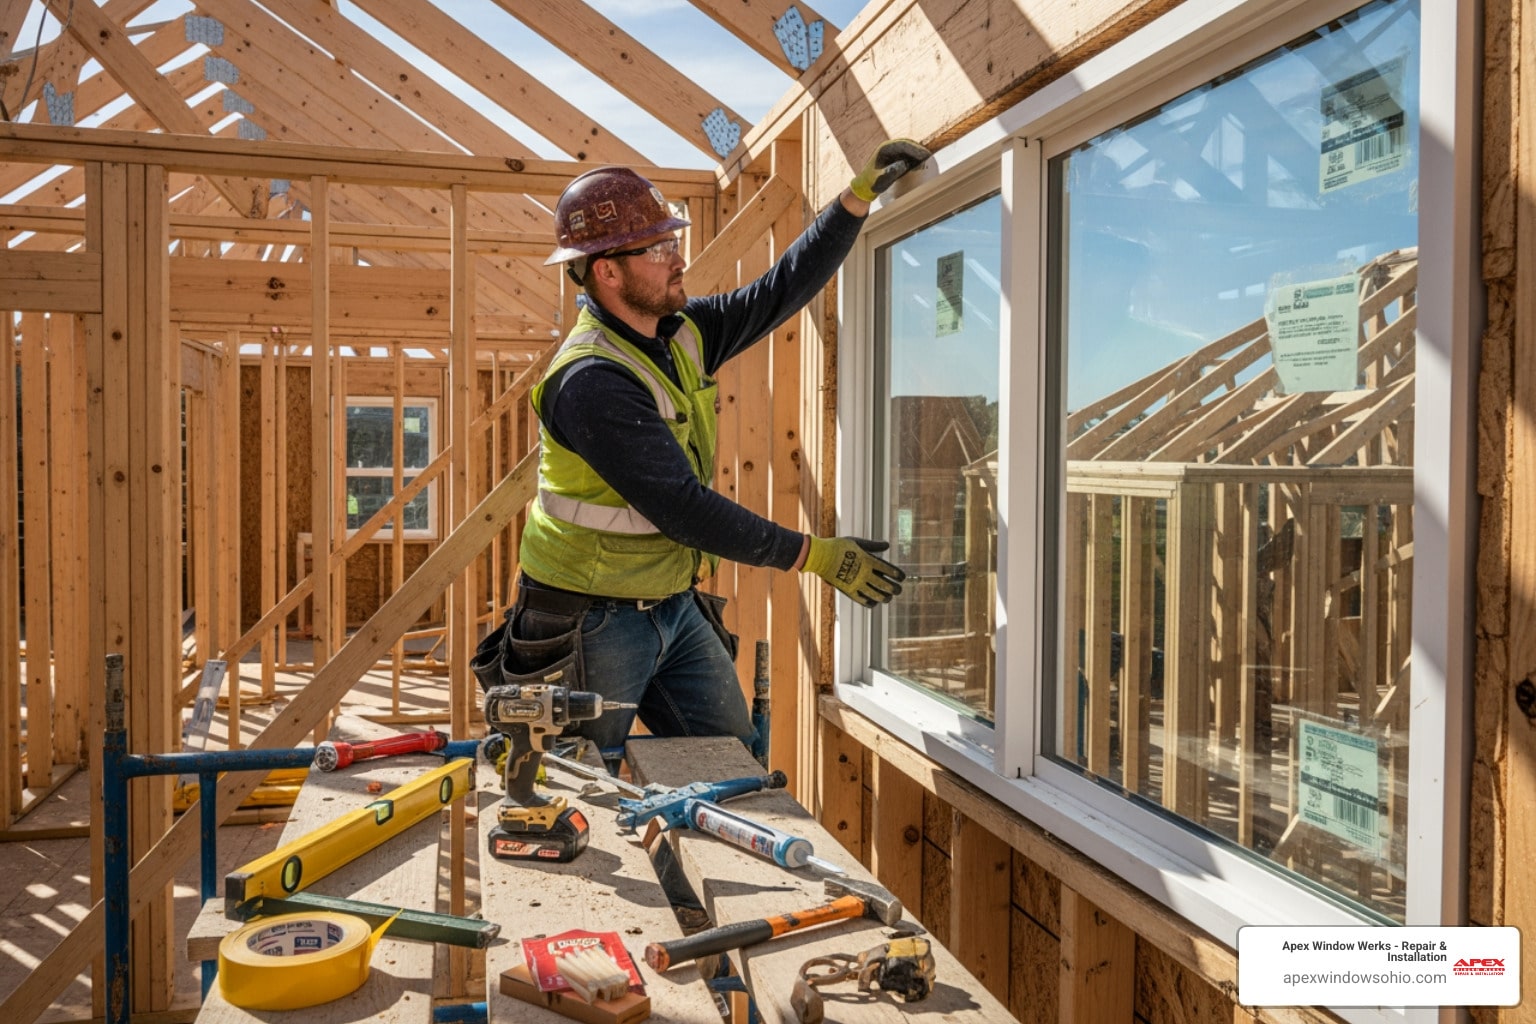
Once the opening is prepped, it is time to set the frame. Because sliding patio doors are incredibly heavy, always complete this step with a helper.
- Apply sealant beads – Run three continuous 3/8-inch beads of high-performance silicone sealant along the sill subfloor. Place the first bead about 1 inch from the interior edge, and space the others evenly toward the exterior.
- Tilt the frame into place – With your helper, lift the door frame from the exterior. Tilt the bottom of the frame into the opening first, pressing it firmly into the sealant beads, then tilt the top of the frame into place.
- Insert temporary shims – Place shims at the top corners to temporarily hold the frame. Verify that the frame is centered in the opening with equal gaps on both sides.
- Plumb and level the frame – Place your spirit level against the side jambs and the head jamb. Insert shims behind the screw locations, spacing them approximately every 12 inches around the perimeter. To prevent the threshold from sagging under foot traffic, place support shims under the sill every 6 inches.
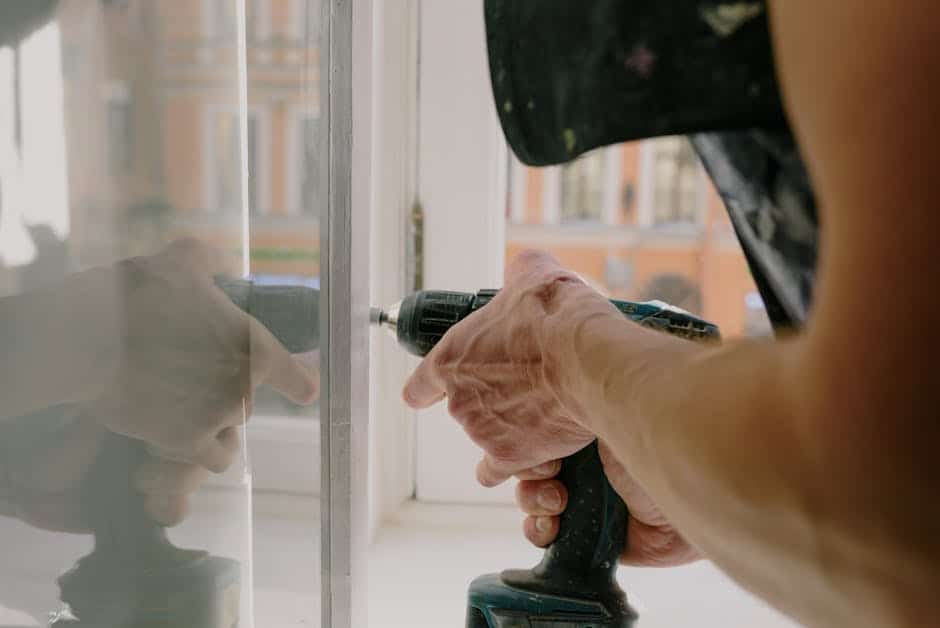
- Secure the frame – Once the frame is perfectly plumb, level, and square, drive screws through the pre-drilled installation holes or the exterior nailing fin. Be careful not to overtighten the screws, as this can bow the jambs and interfere with door operation. If you are completing a New Patio Door Installation in Kirtland, securing the frame properly at this stage ensures a lifetime of reliable performance.
Sealing, Insulating, and Adjusting the Door in Avon
With the frame secured, you can focus on weatherproofing the perimeter and adjusting the moving parts for effortless operation. Taking your time during this step will prevent drafts and keep your heating and cooling bills low. If you are doing an Avon Patio Door Installation, proper insulation is your primary defense against cold winter winds off Lake Erie.
First, fill the gap between the door frame and the rough opening studs with low-expansion polyurethane foam. Always use a minimal-expanding foam designed specifically for windows and doors. Standard expanding foam can exert immense pressure as it cures, warping the frame and binding the sliding panels. Apply the foam from the interior, filling the cavity about halfway to allow room for expansion.
On the exterior, apply a continuous bead of high-quality, paintable silicone caulk around the perimeter where the door frame meets the siding or trim. Ensure you do not block the weep holes at the bottom of the frame, as these holes are designed to drain water away from the tracks.
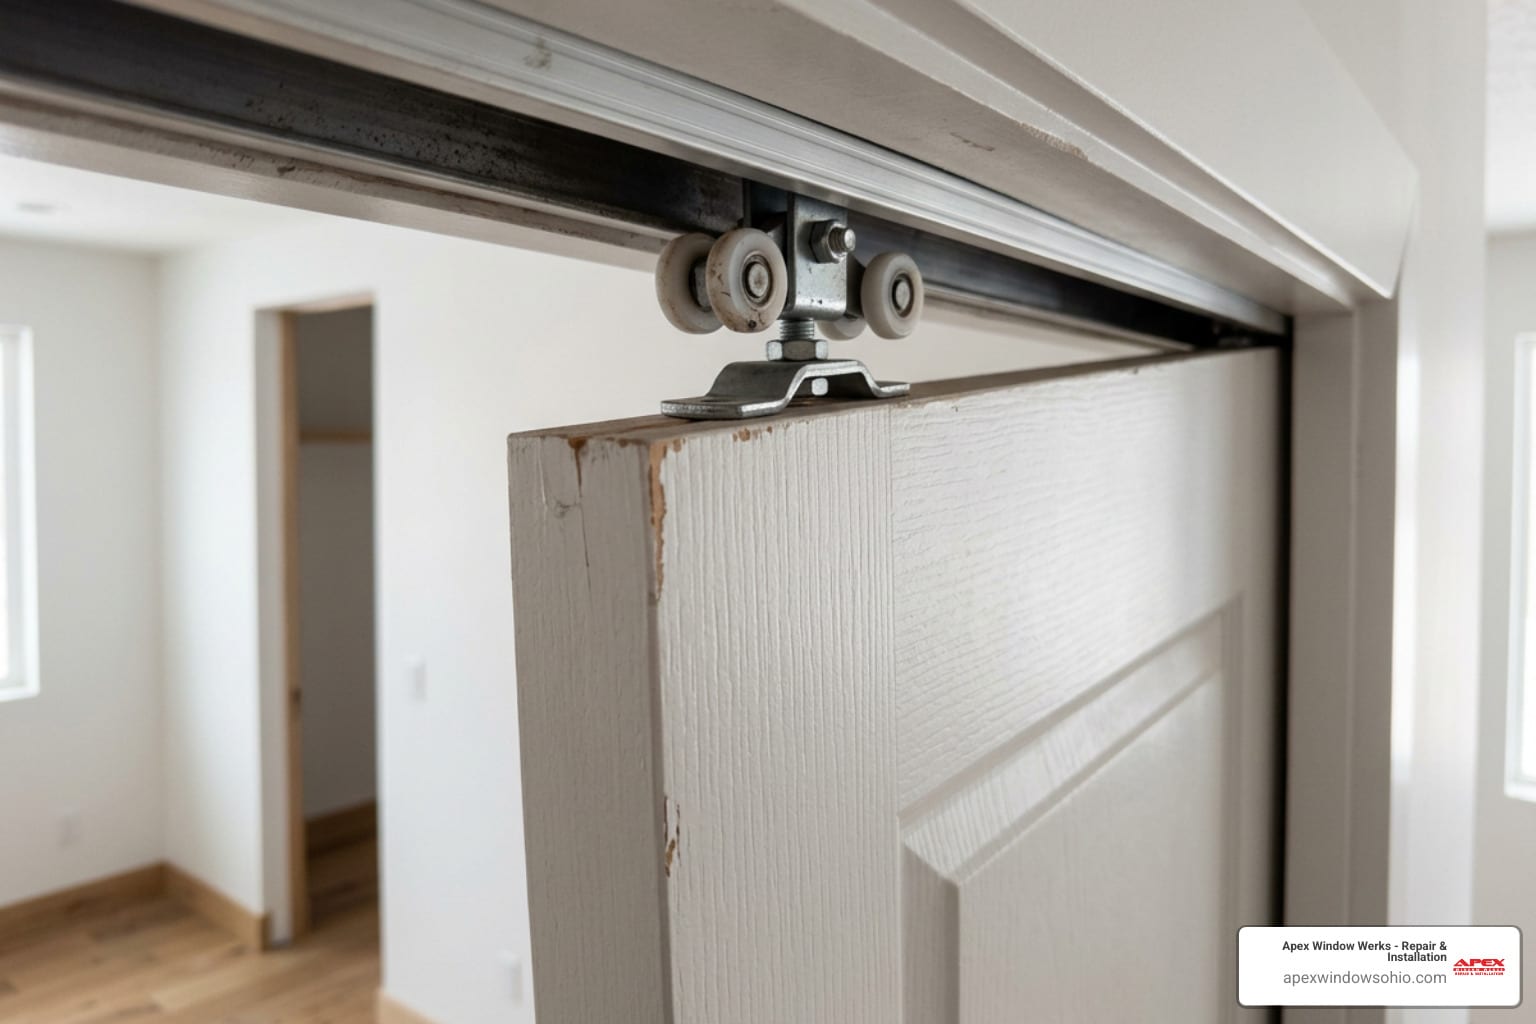
Adjusting Rollers and Hardware for Smooth Operation
Once the sealant has cured, carefully lift the sliding door panel and set its wheels onto the bottom track. Slide the panel back and forth to test its movement. If the door rubs against the track or feels heavy to push, you will need to adjust the rollers.
Locate the small adjustment screws at the bottom edge of the sliding panel. Turning these screws clockwise will raise the door panel, while turning them counterclockwise will lower it. Adjust both sides until the panel sits level and glides smoothly along the track.
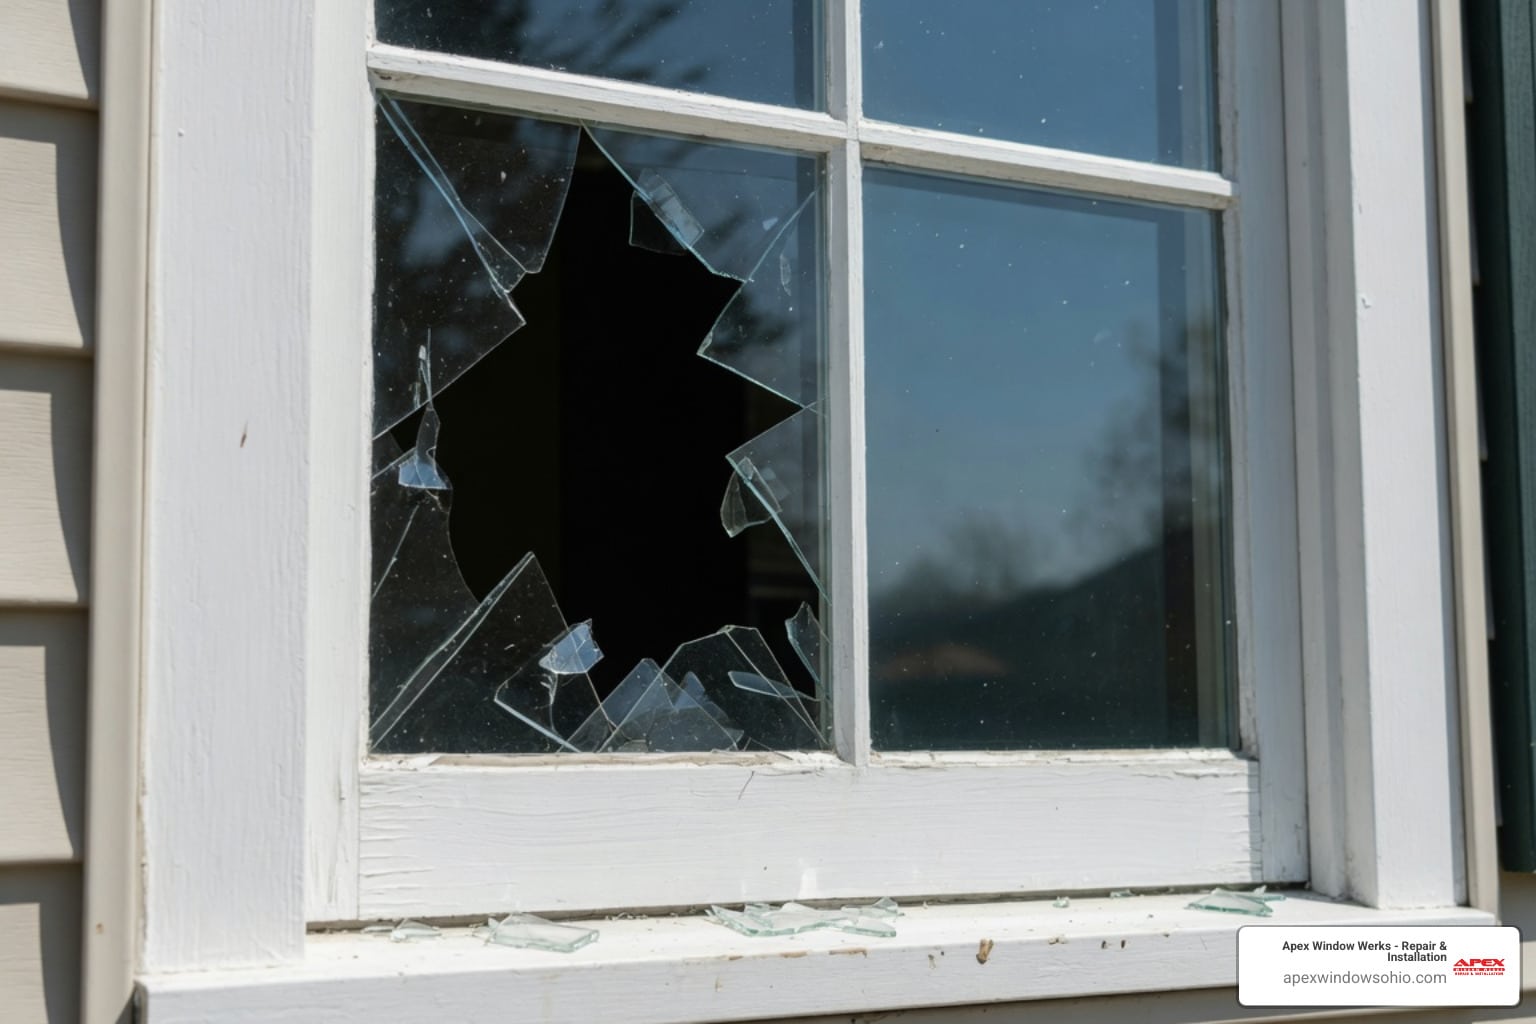
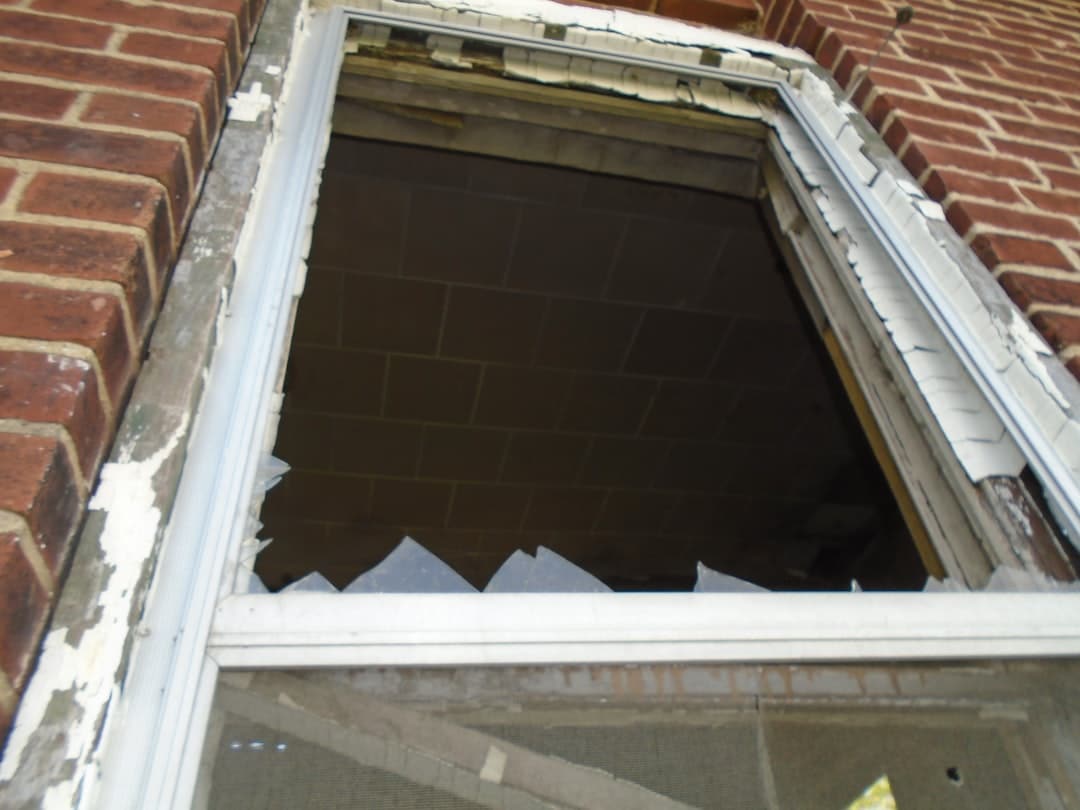
Next, install the handle hardware and align the locking mechanism. Close the door slowly to see where the latch meets the keeper on the side jamb. If they do not align, loosen the keeper screws slightly, slide the keeper up or down to match the latch, and tighten the screws back down. If you ever run into structural issues or accidental damage down the road, understanding your door’s components will help you decide what to do next, especially if you find yourself asking My Sliding Door Glass Broke: Now What? in an emergency.
When to Choose Professional Patio Door Installation in Cleveland and Akron
While installing a sliding patio door is an achievable weekend project for experienced DIYers, there are many situations where calling in a professional is the smartest, safest, and most cost-effective choice.
If your project involves creating a brand-new opening, widening an existing door, or modifying a load-bearing wall, professional installation is highly recommended. Working with load-bearing structures requires temporary support walls, precise structural headers, and a deep understanding of local building codes to prevent structural sagging or home damage.
Additionally, professional installation protects your product warranty. Many high-end door manufacturers require certified installation to keep their comprehensive warranties intact. Choosing a professional service like Sliding Patio Door Replacement in Hinckley guarantees that your investment is fully protected against installation-related failures.
Local Weather Considerations for Cuyahoga Falls and Hudson Homeowners
Living in Northeast Ohio means our homes must withstand extreme weather shifts. From freezing winter temperatures and heavy lake-effect snow to humid summers and wind-driven rain, our exterior doors take a beating.
Homeowners planning a Sliding Patio Door Replacement in Cuyahoga Falls must pay close attention to thermal efficiency and robust weatherproofing. Professional installers understand how to handle the unique expansion and contraction cycles of vinyl, wood, and composite frames in our climate, ensuring the seals remain airtight through every freeze-thaw cycle.
Frequently Asked Questions about Patio Door Installation in Northeast Ohio
How much does professional patio door installation cost in Akron, OH?
The overall cost of professional patio door installation depends on several key factors. The material of the door (such as vinyl, wood, or aluminum cladding) and whether you choose standard or custom sizing will impact the price. Additionally, the complexity of the job plays a major role; replacing an old door of the exact same size is much simpler than cutting into a wall to install a larger door. Labor rates, structural modifications, and local building permit requirements also contribute to the final cost.
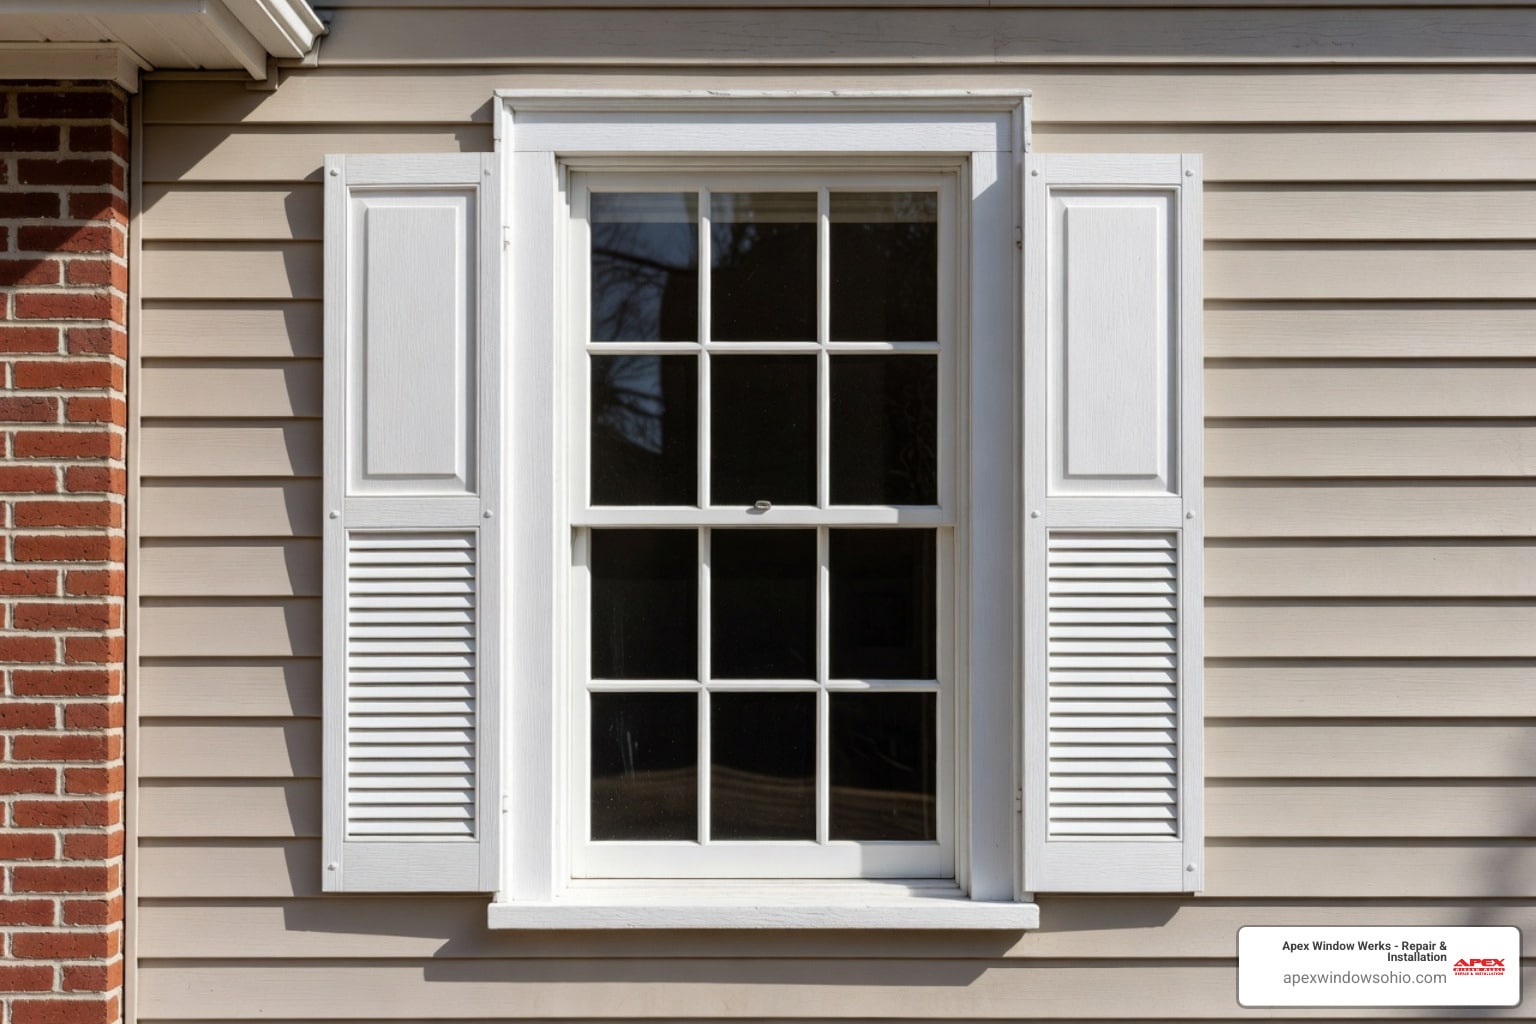
What is the standard rough opening size for a sliding patio door?
Standard sliding patio doors typically feature heights ranging from 80 to 96 inches. For standard two-panel configurations, widths generally run from 60 to 96 inches, while larger three-panel systems span from 108 to 144 inches. As a general rule, your rough opening should be 1/2 inch larger than the door frame in both width and height for a replacement fit, or 3/4 inch to 1 inch larger for new construction to allow adequate space for insulation, shimming, and alignment.
How do I fix a sliding patio door that is hard to open?
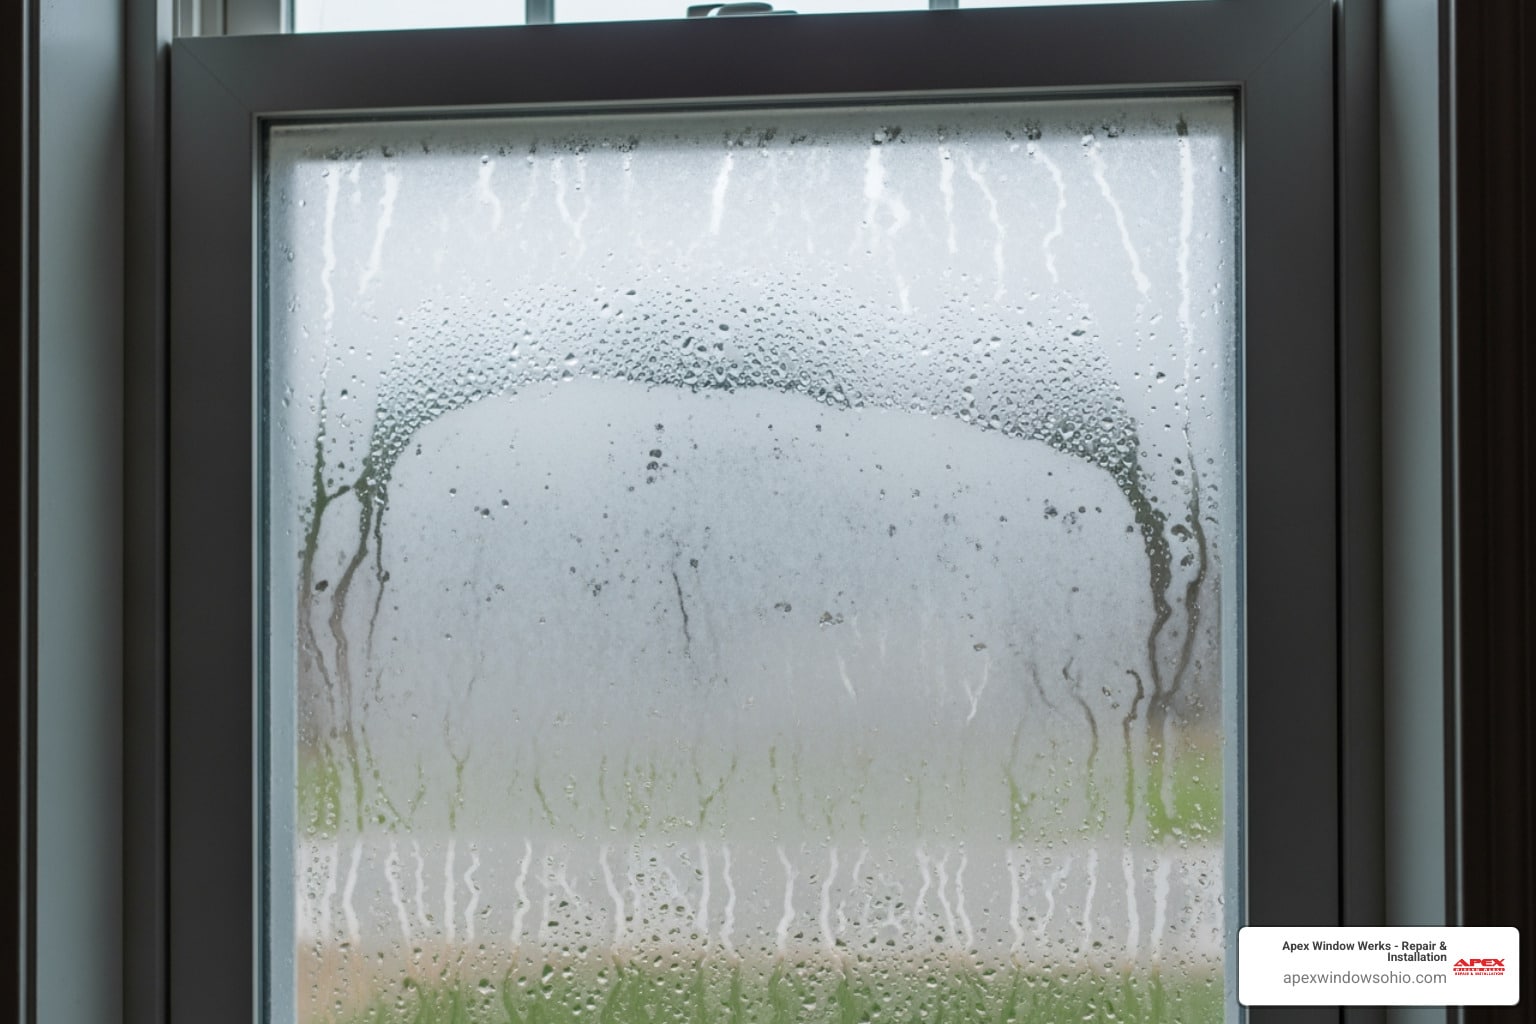
A sticking door is usually caused by dirty tracks or misaligned rollers. Start by thoroughly cleaning the bottom track with a vacuum and a stiff brush to remove dirt, pet hair, and debris. If the door still drags, use a screwdriver to turn the adjustment screws at the bottom of the sliding panel to raise the rollers. If the glass itself is damaged, foggy, or drafty, you may want to explore your options for Fixing Your View Patio Door Glass Replacement Options to restore your door’s efficiency and clarity.
Conclusion: Expert Patio Door Services in Cleveland and Akron
Installing a sliding patio door is an excellent way to brighten your home and improve your daily living space. However, achieving a perfectly square, weatherproof fit requires patience, precision, and heavy lifting.
If you prefer to leave this project to the experts, Apex Window Werks is here to help. We provide top-tier window and door repair and replacement services throughout the Cleveland-Akron area. We pride ourselves on speed, quality, and affordability, offering residential services that keep your home comfortable year-round. Whether you need a brand-new installation or a Foggy Patio Door Glass Replacement in Elyria, our expert team is ready to deliver beautiful, lasting results. Contact us today to discuss your project and schedule a professional consultation.