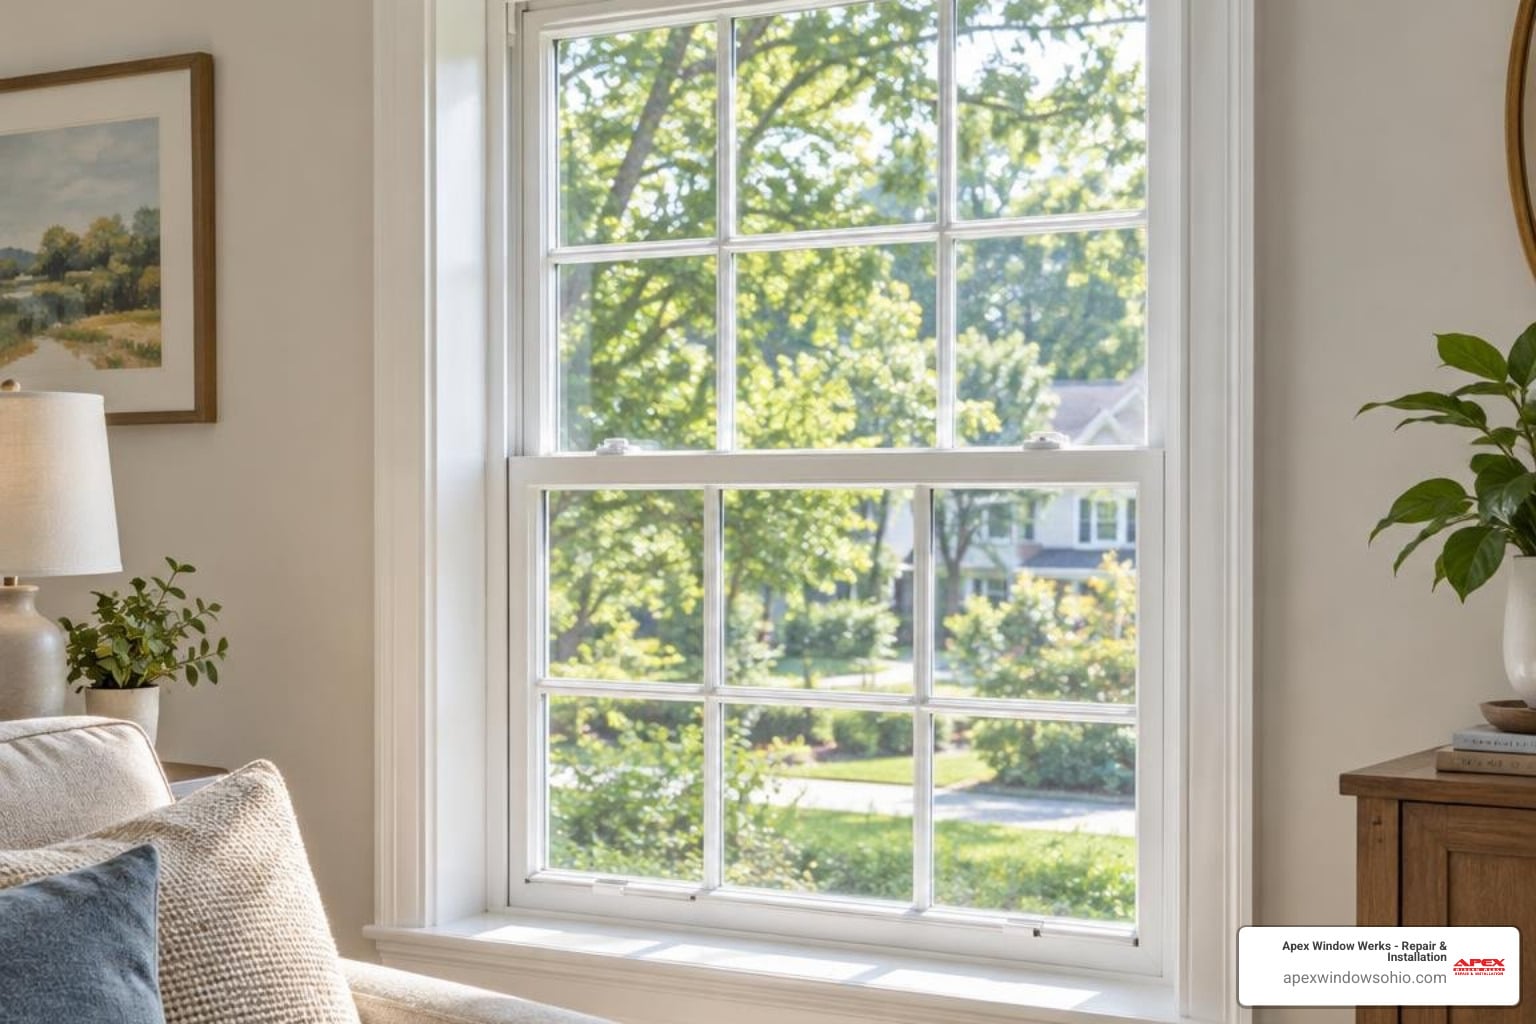
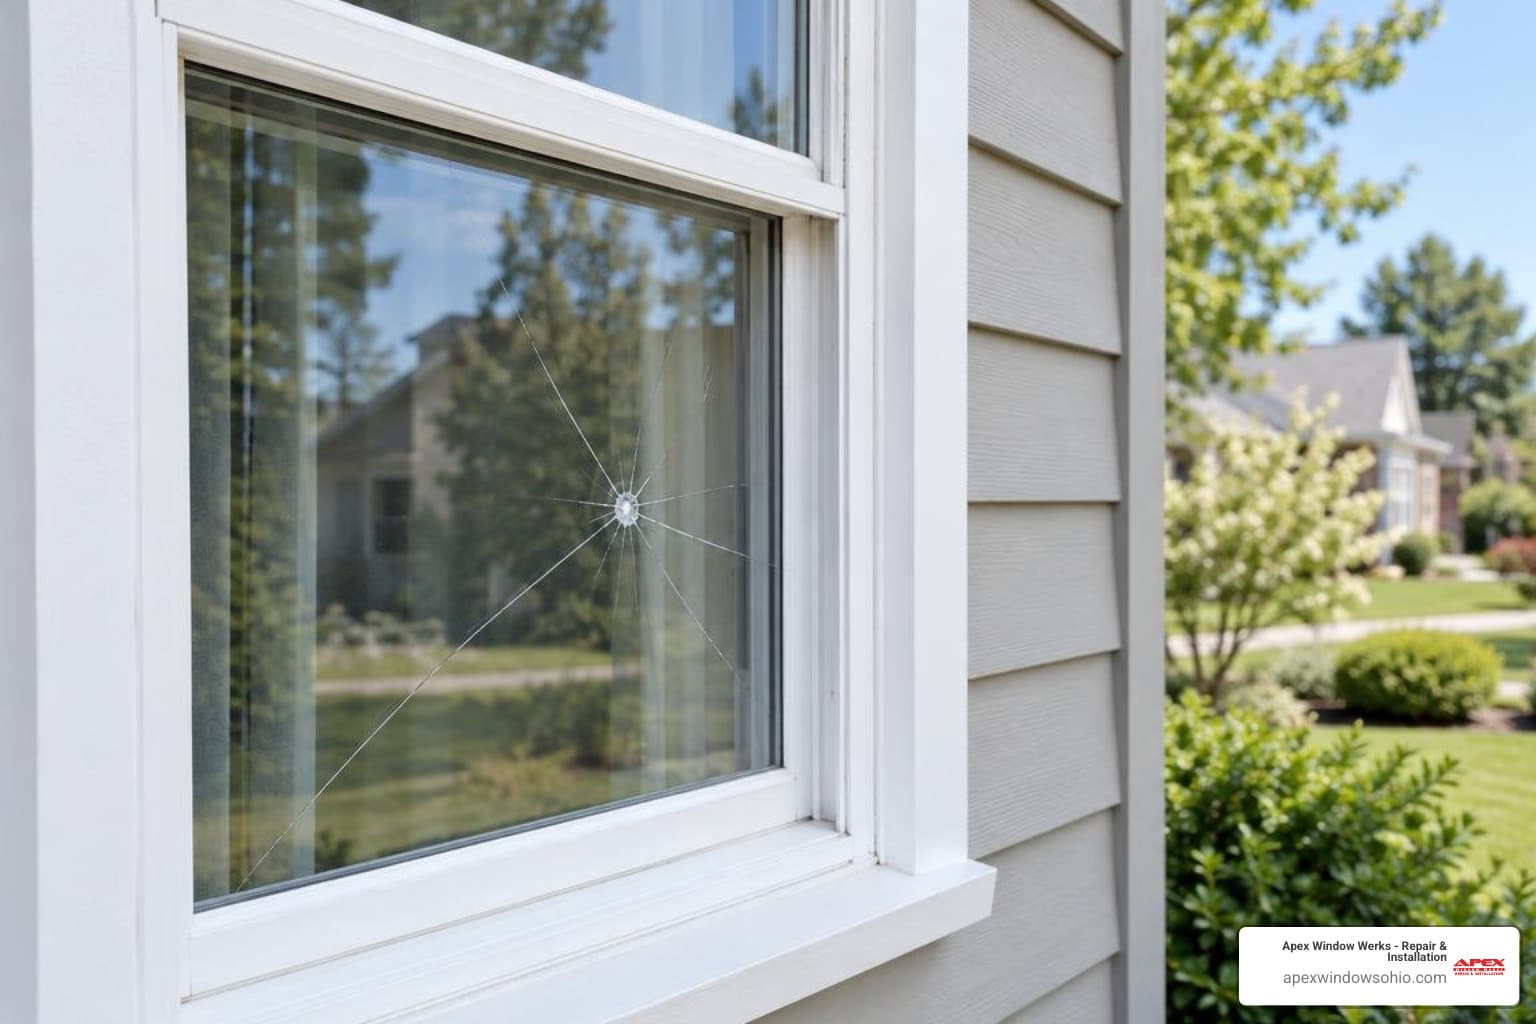
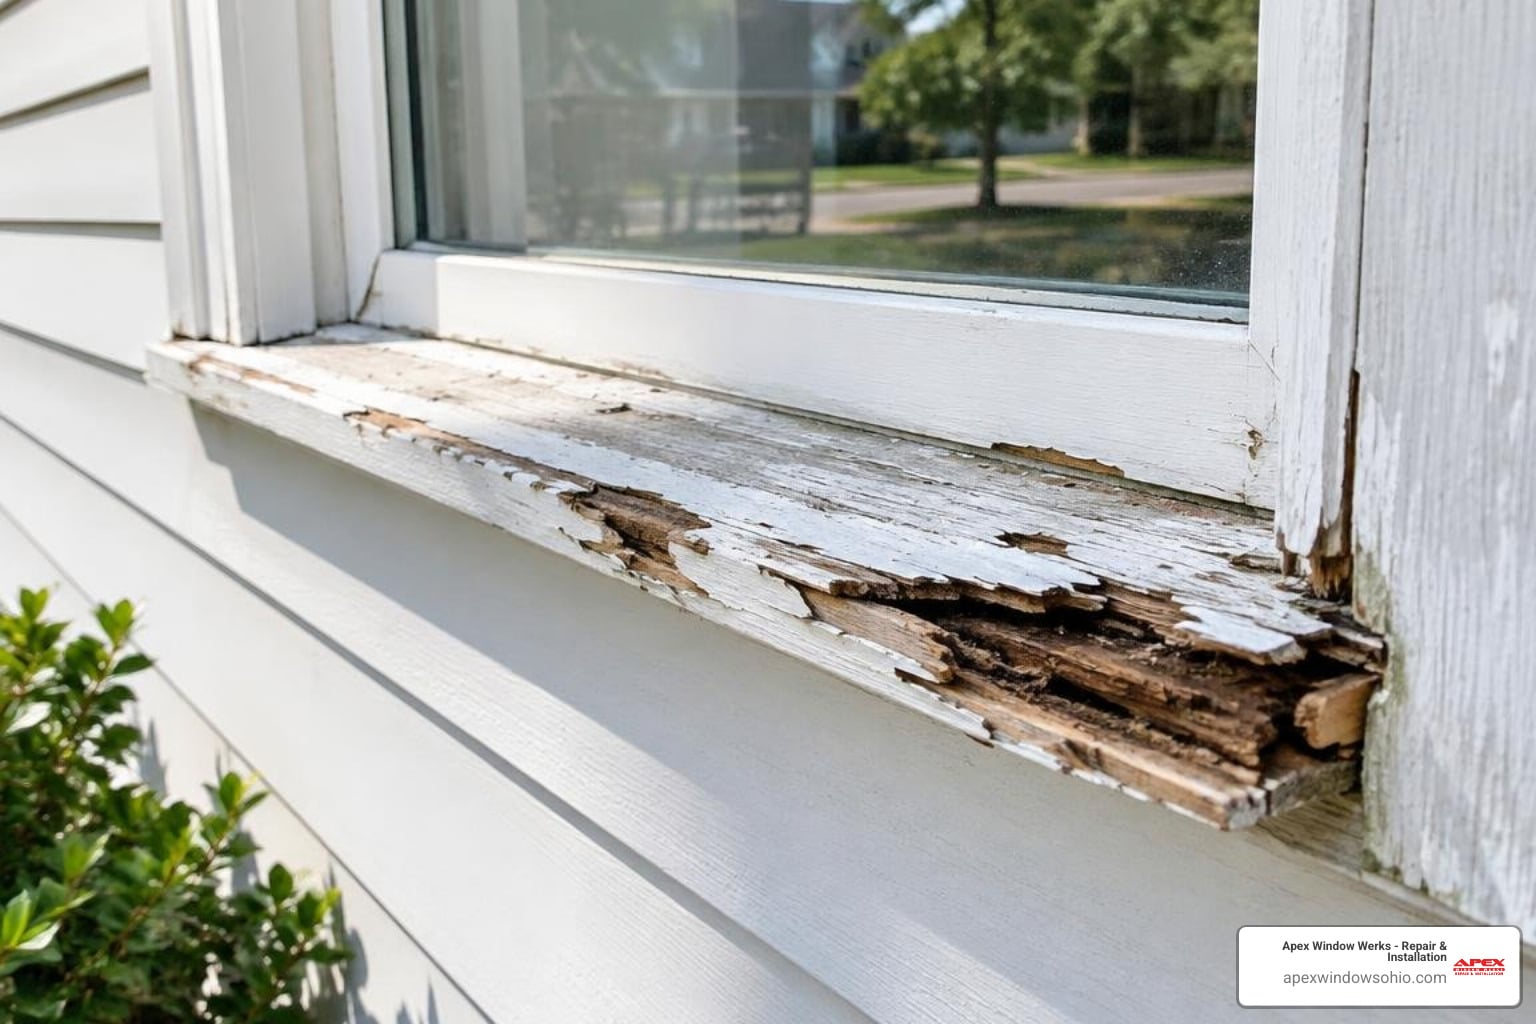
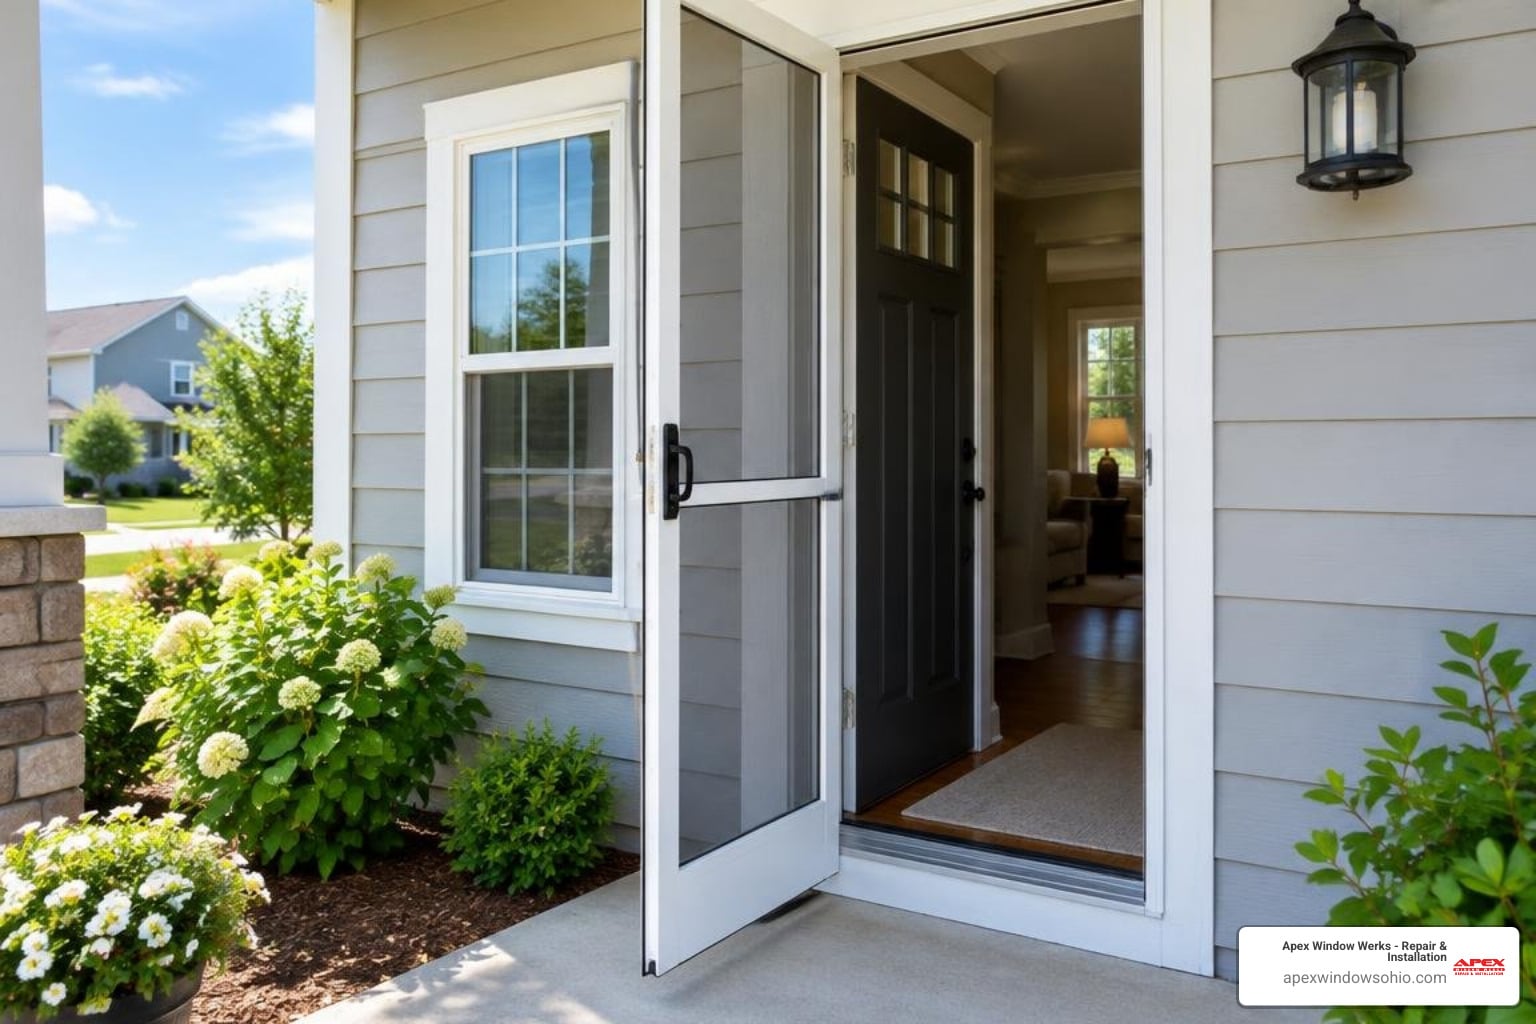
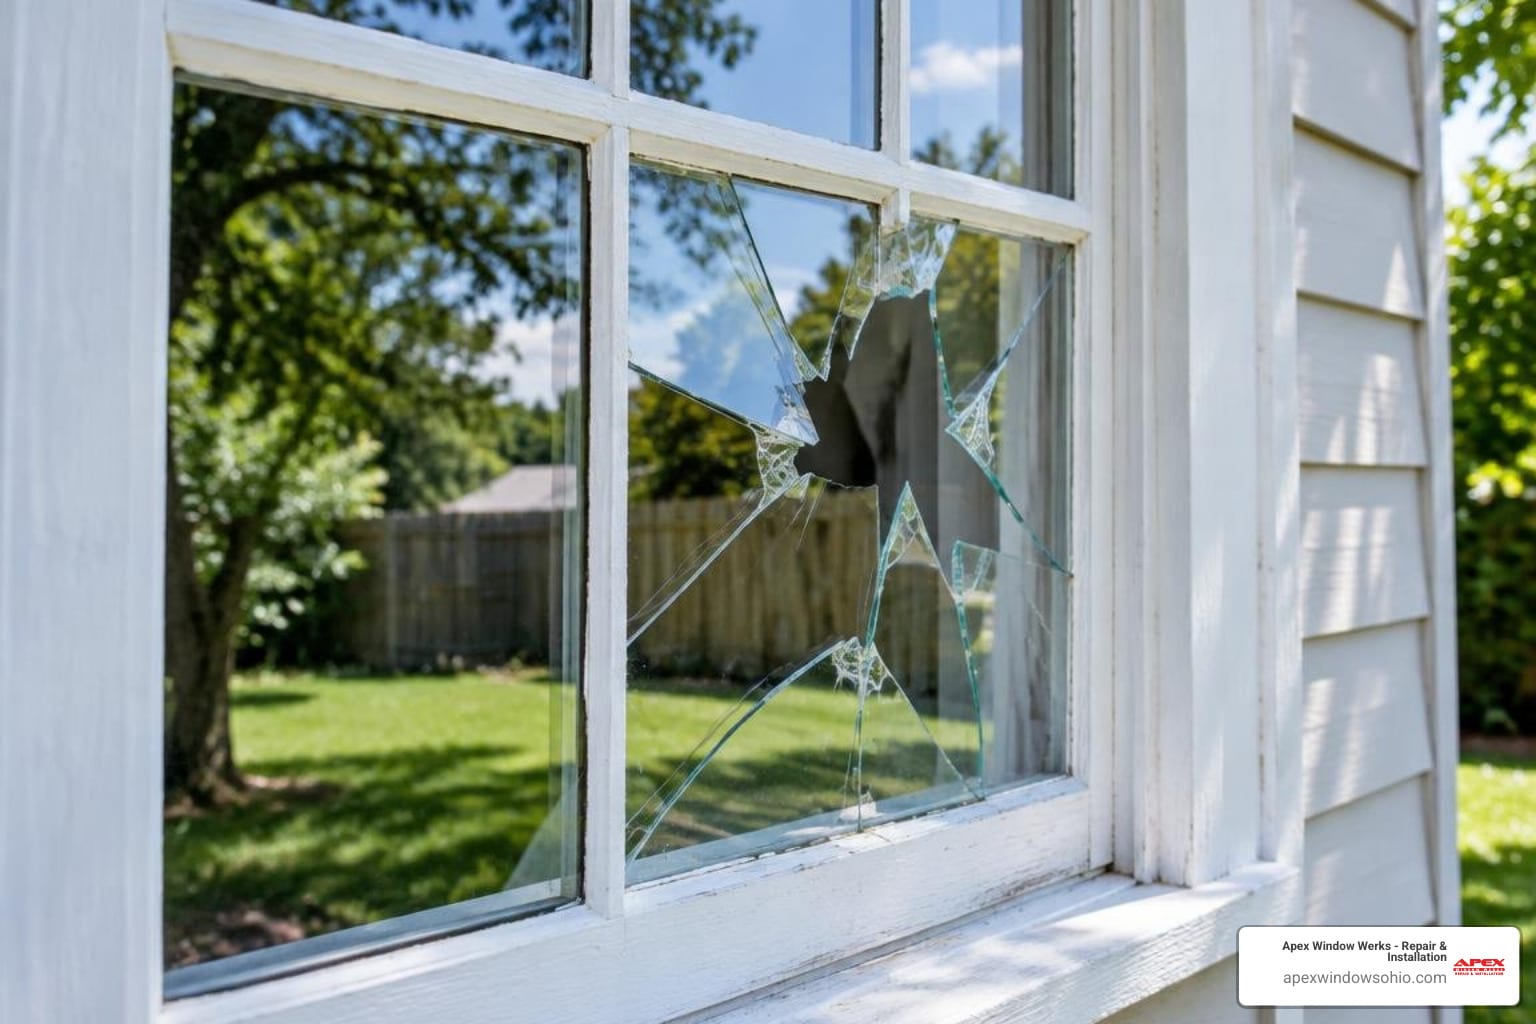
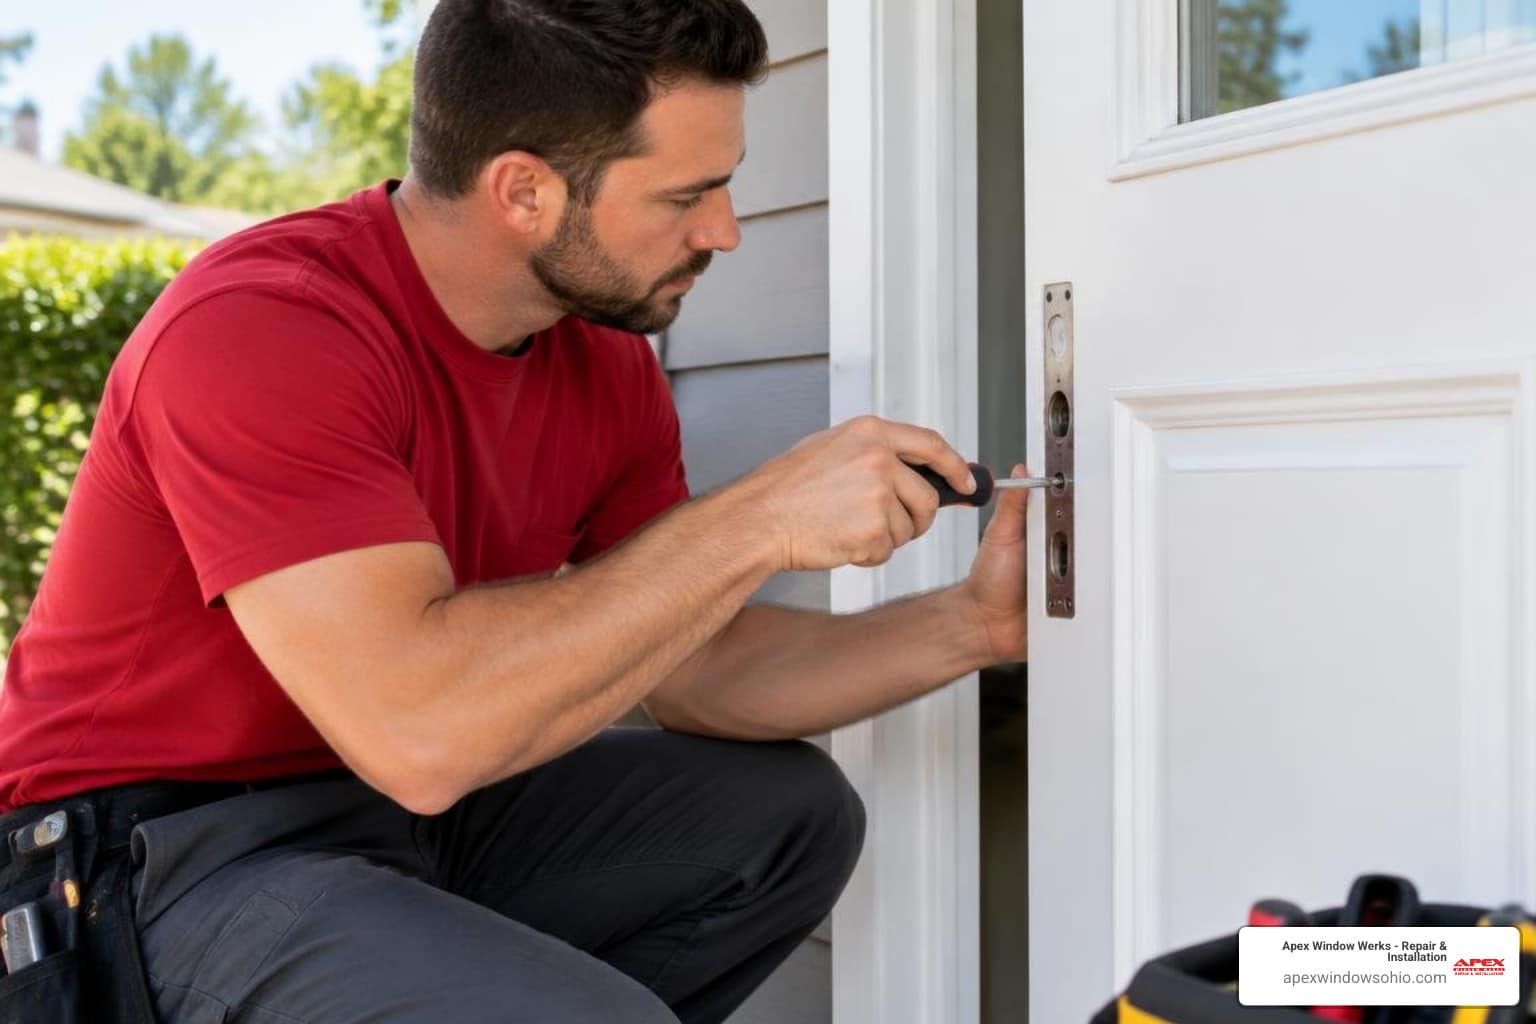
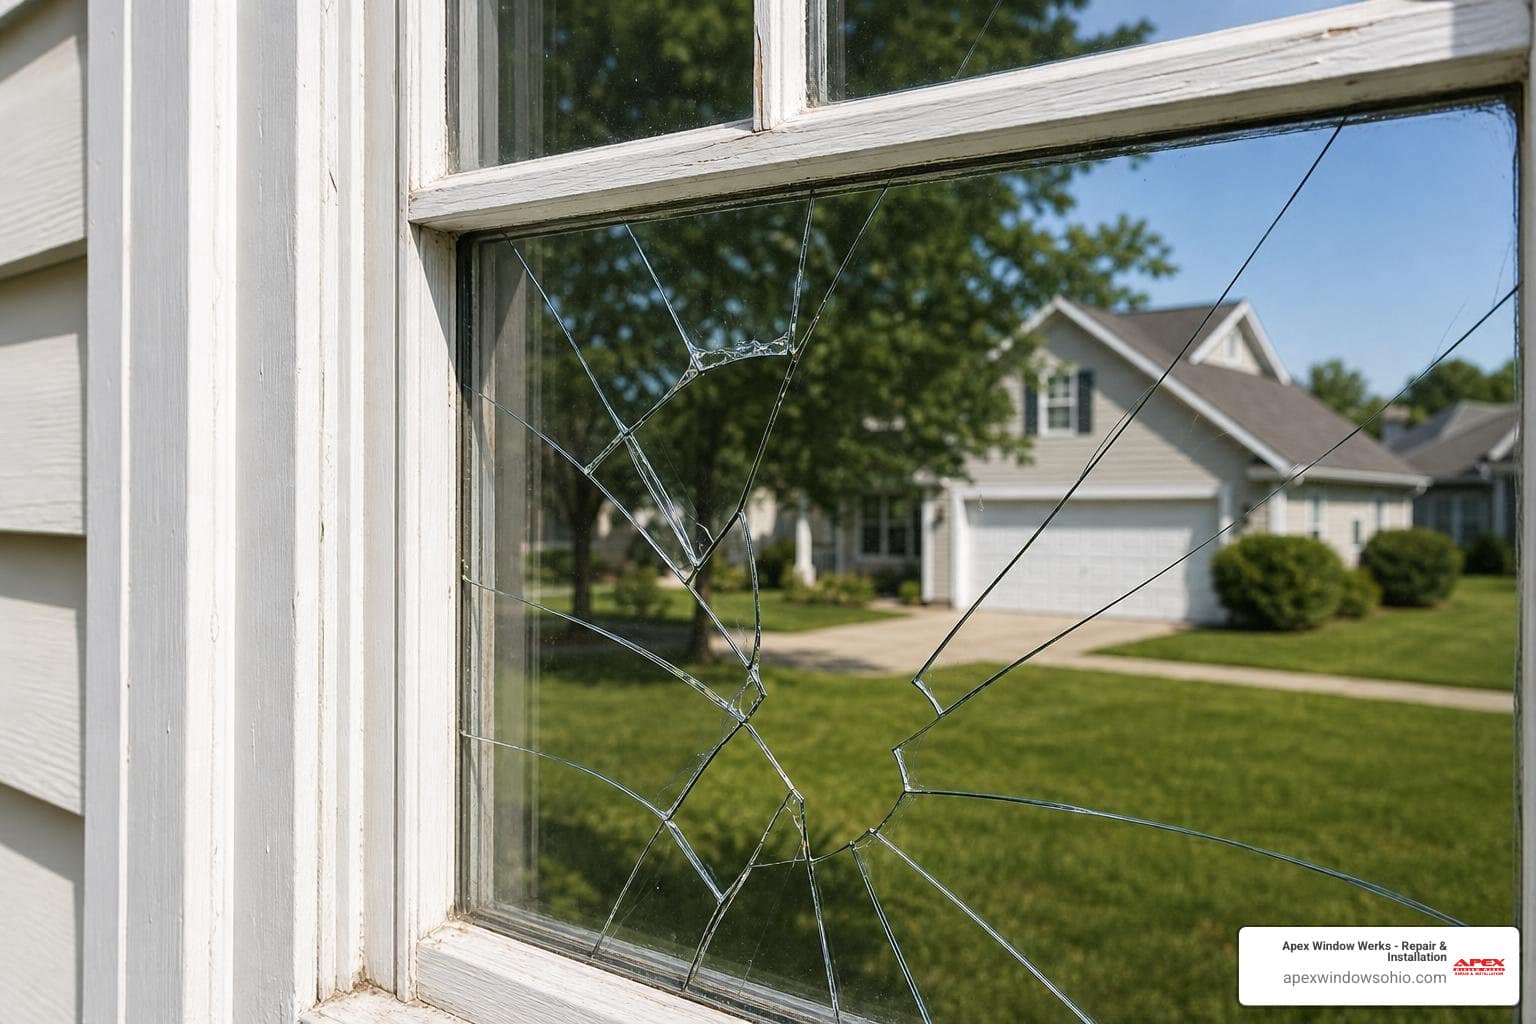
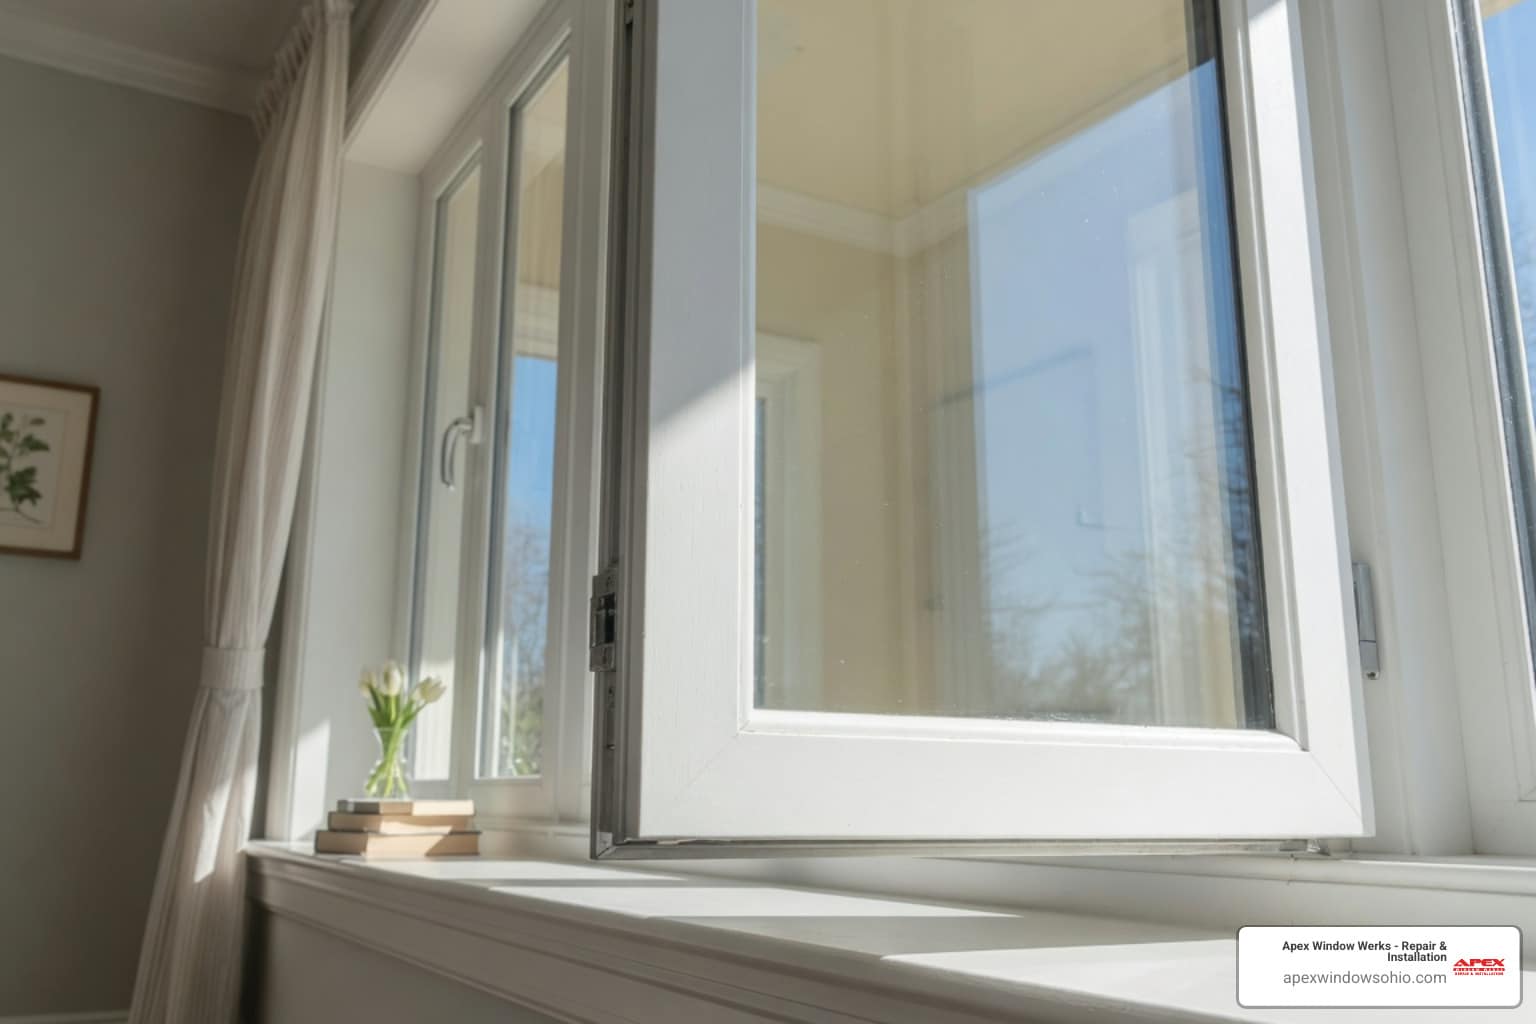
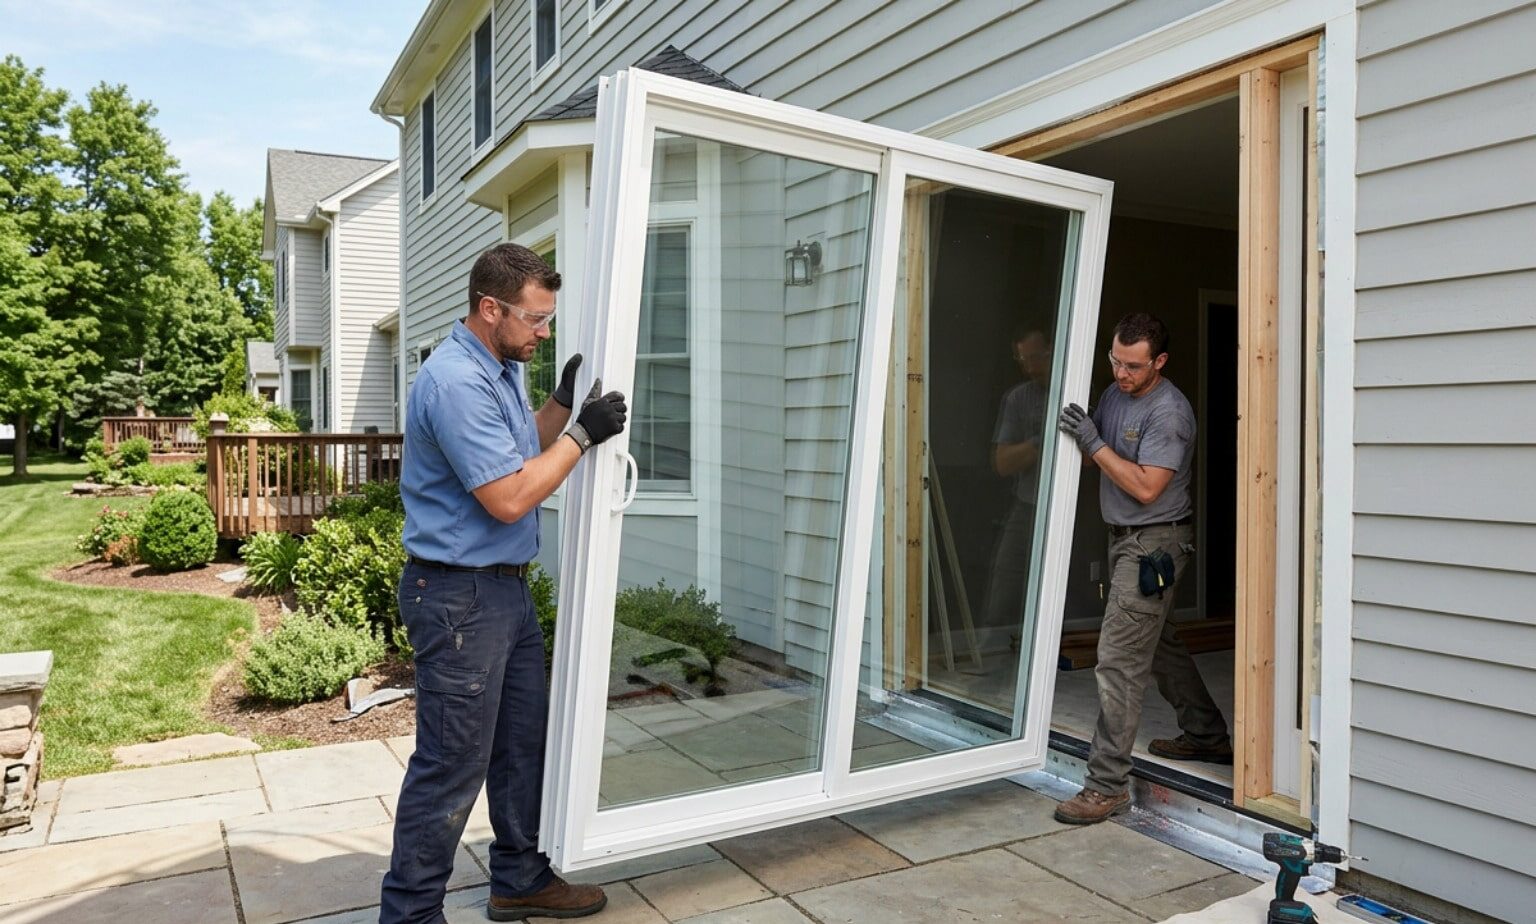
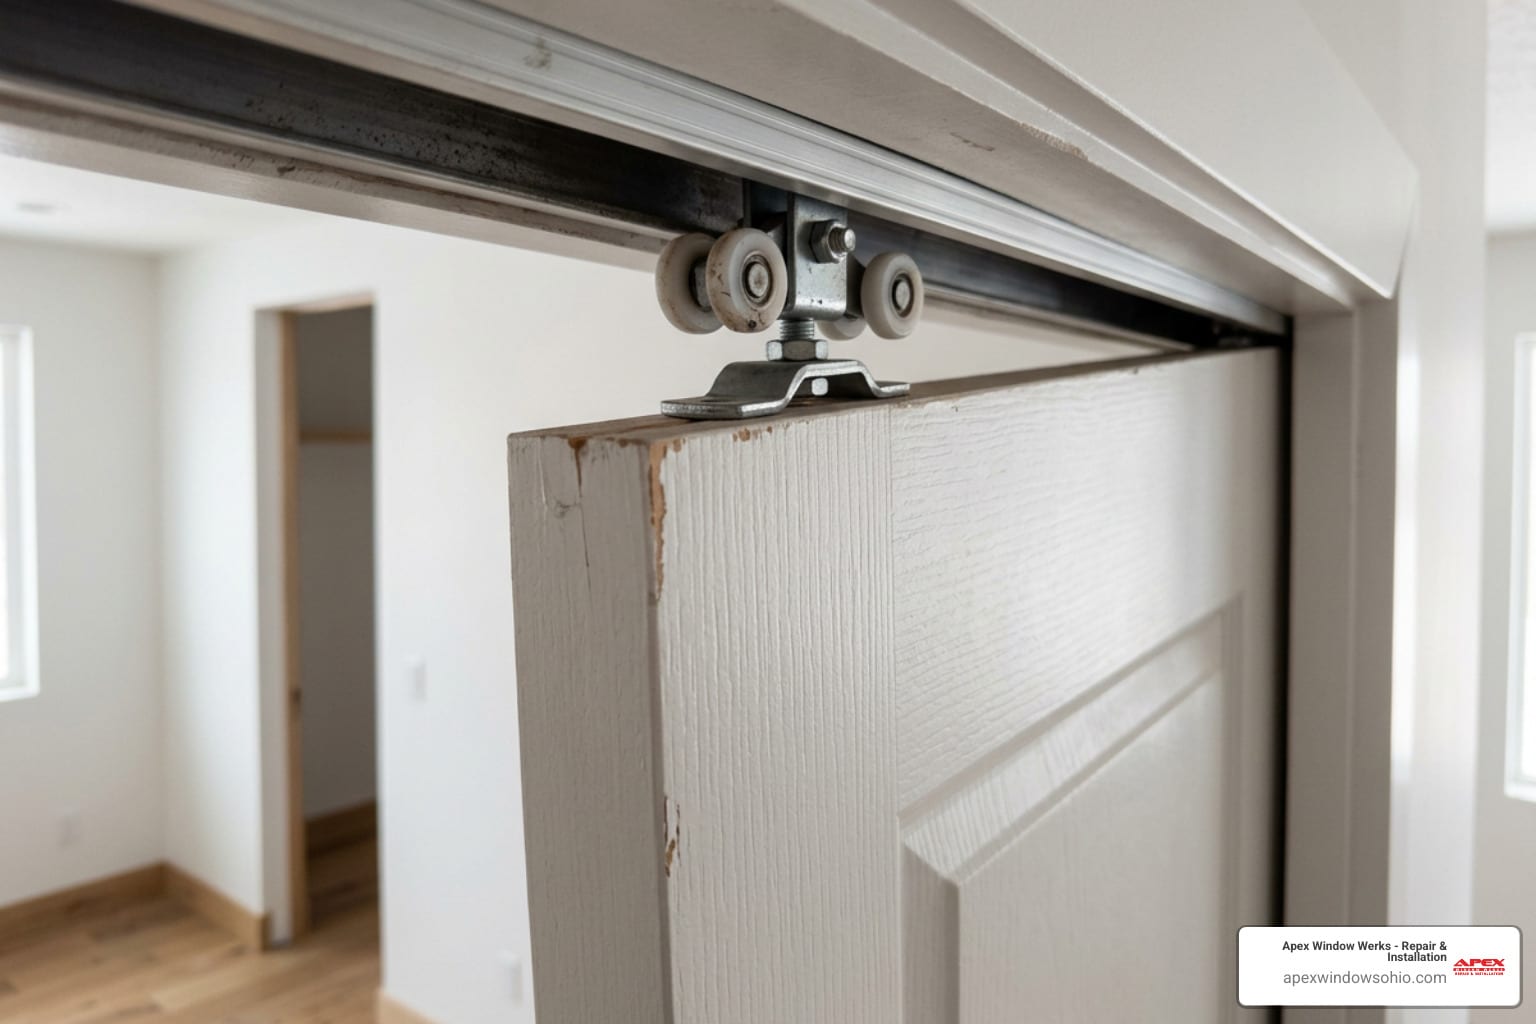
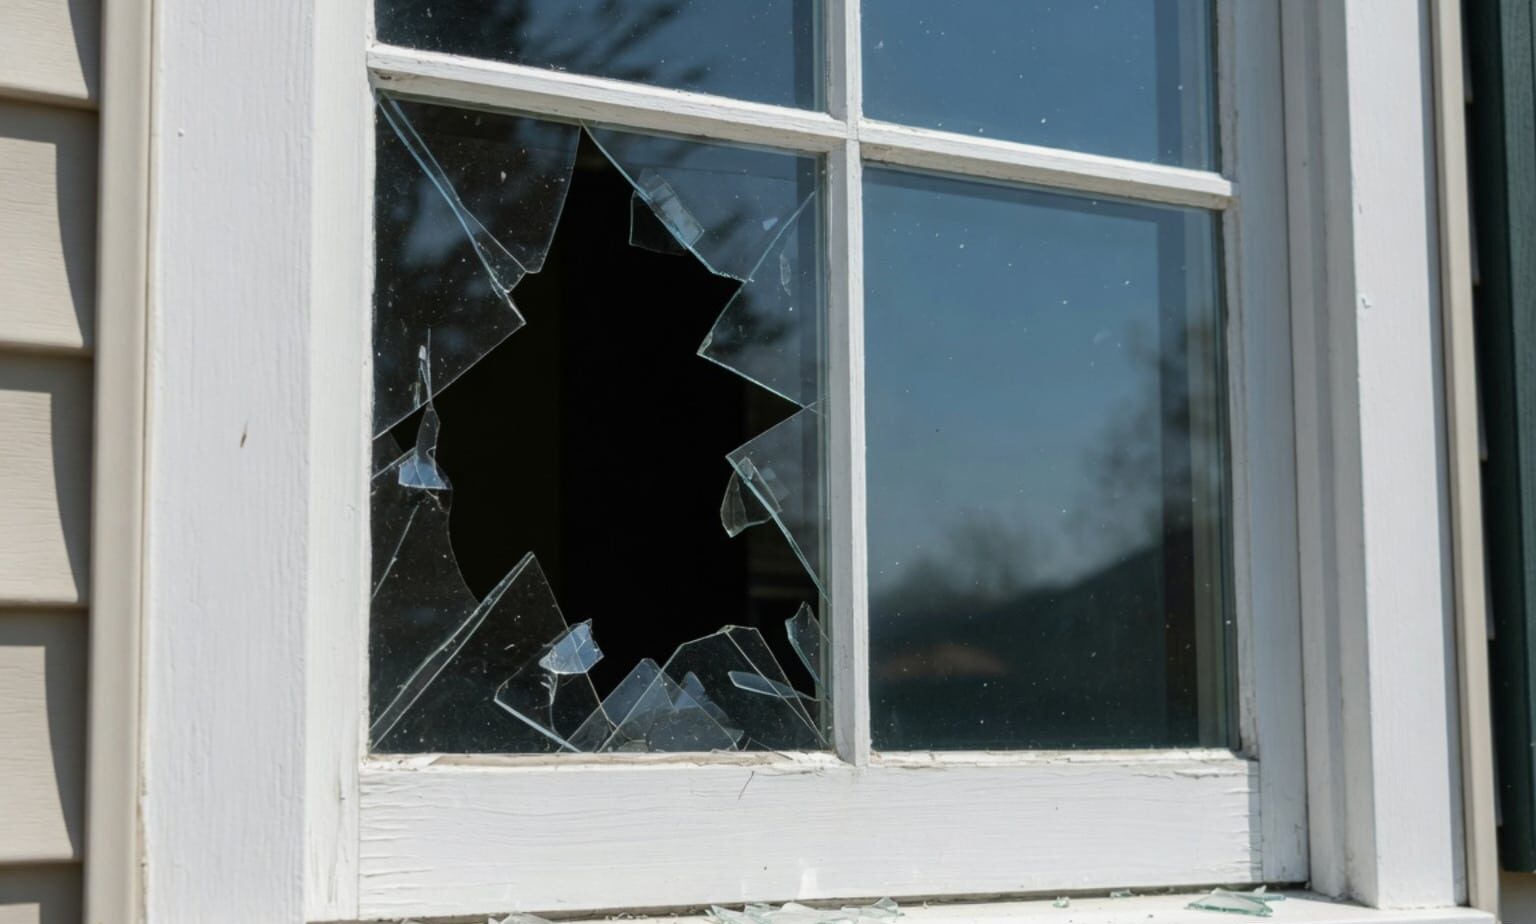
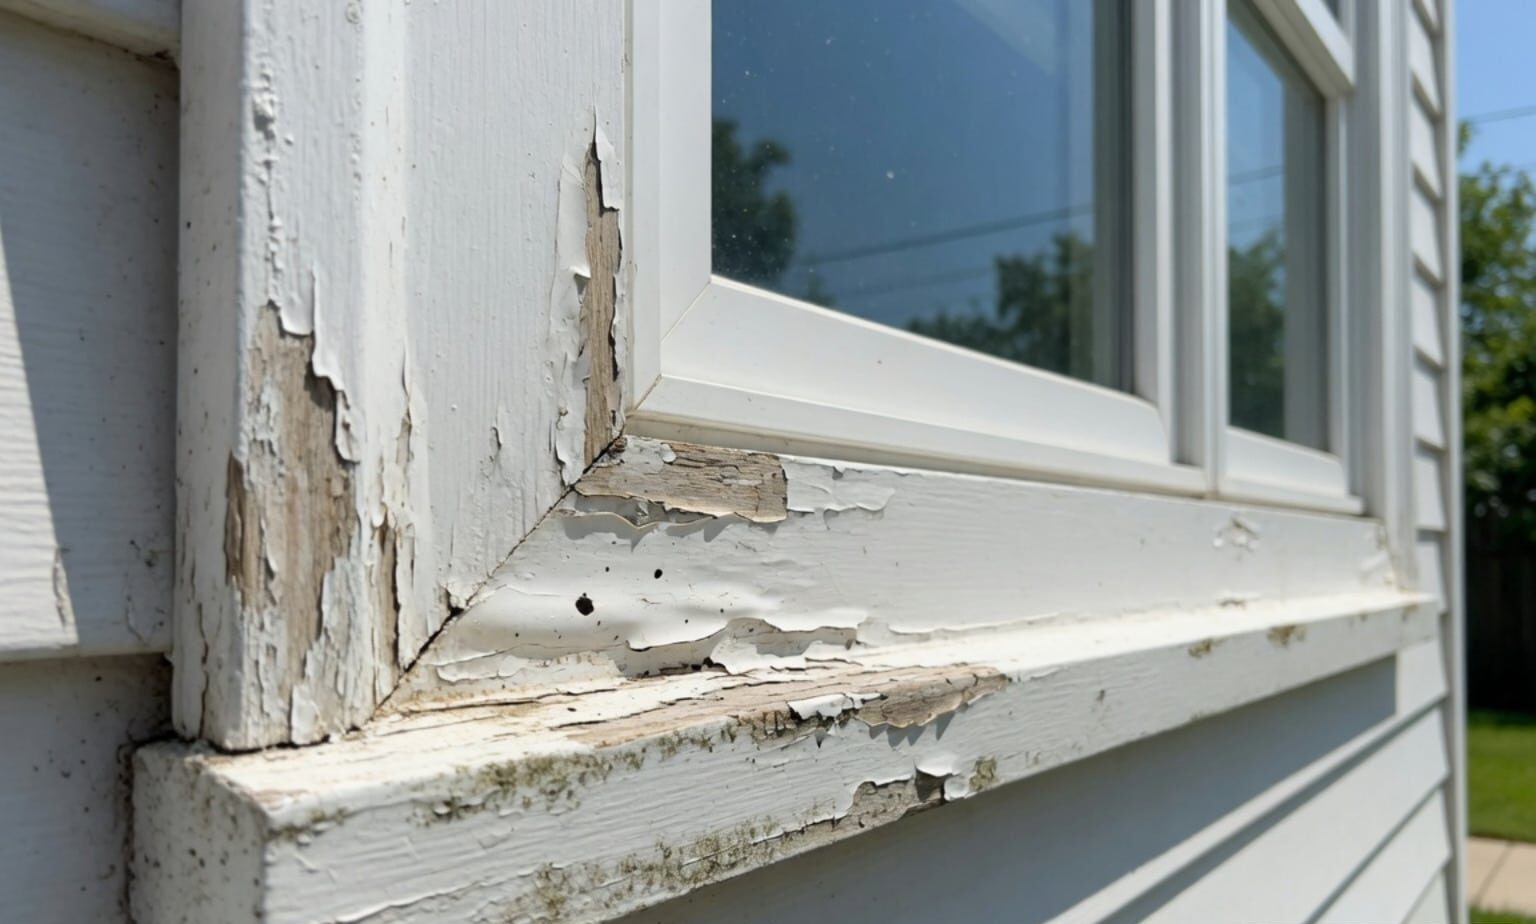
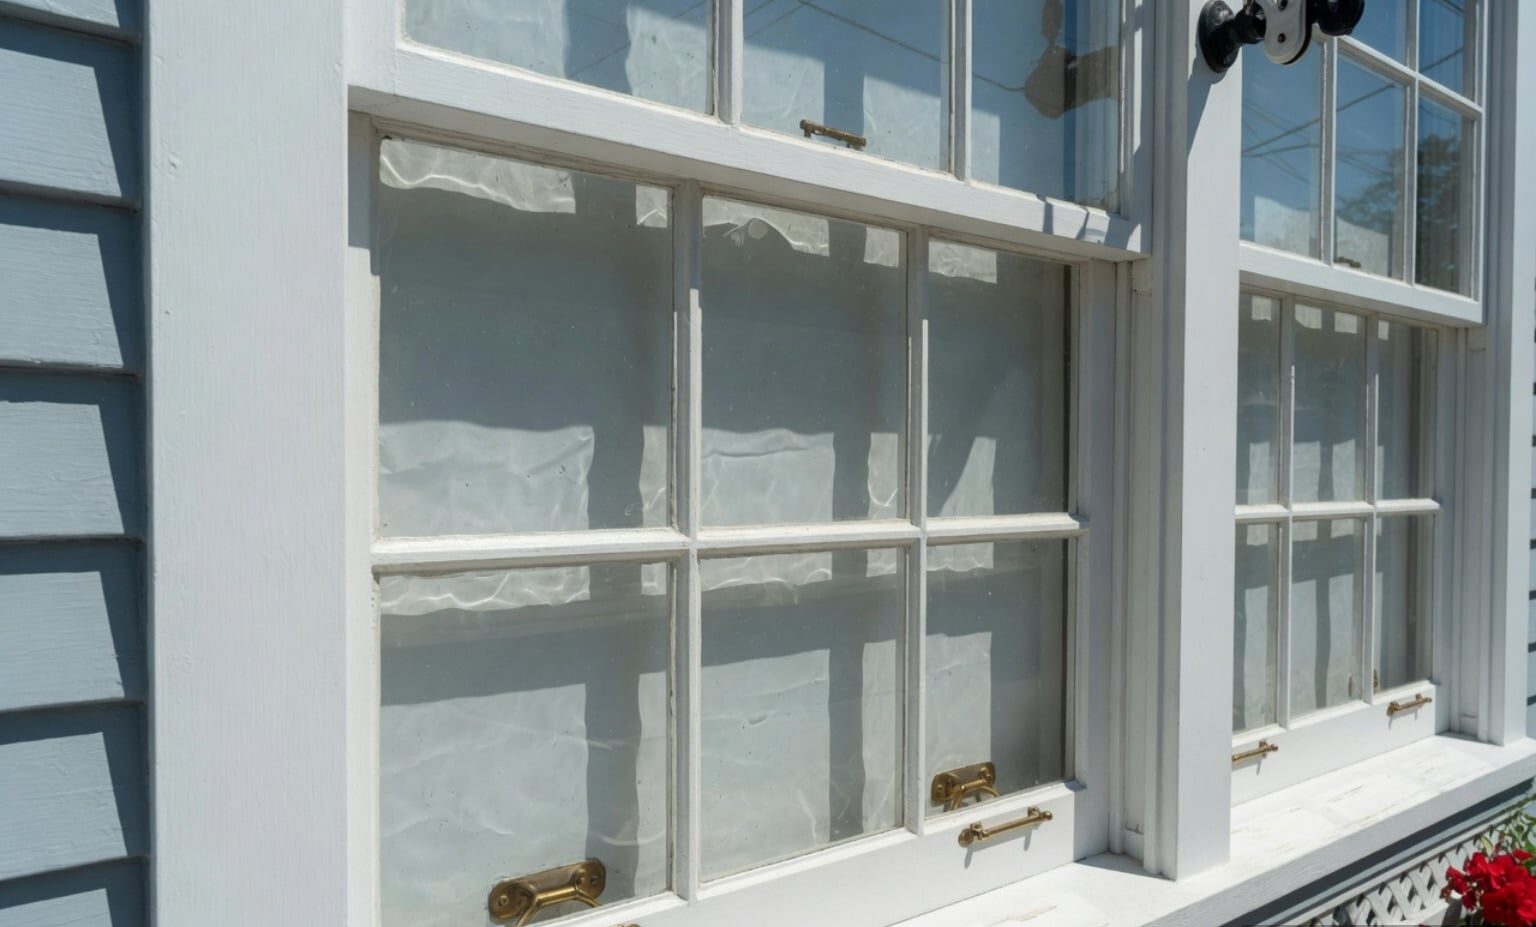
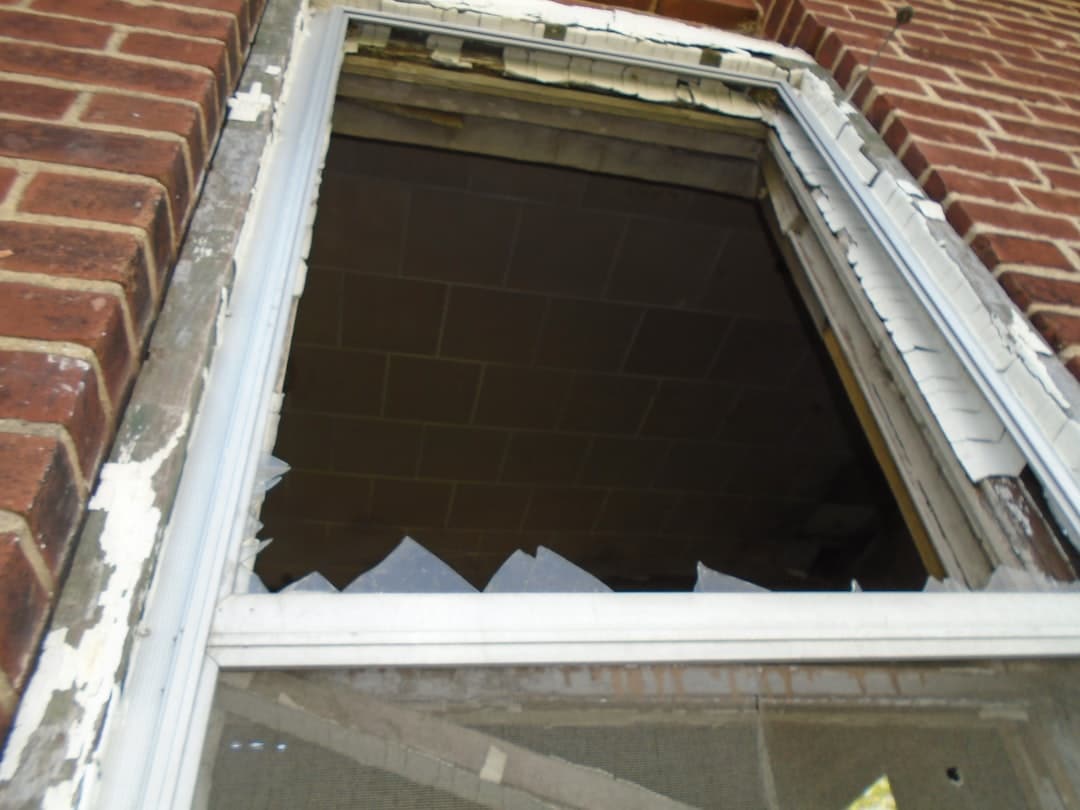
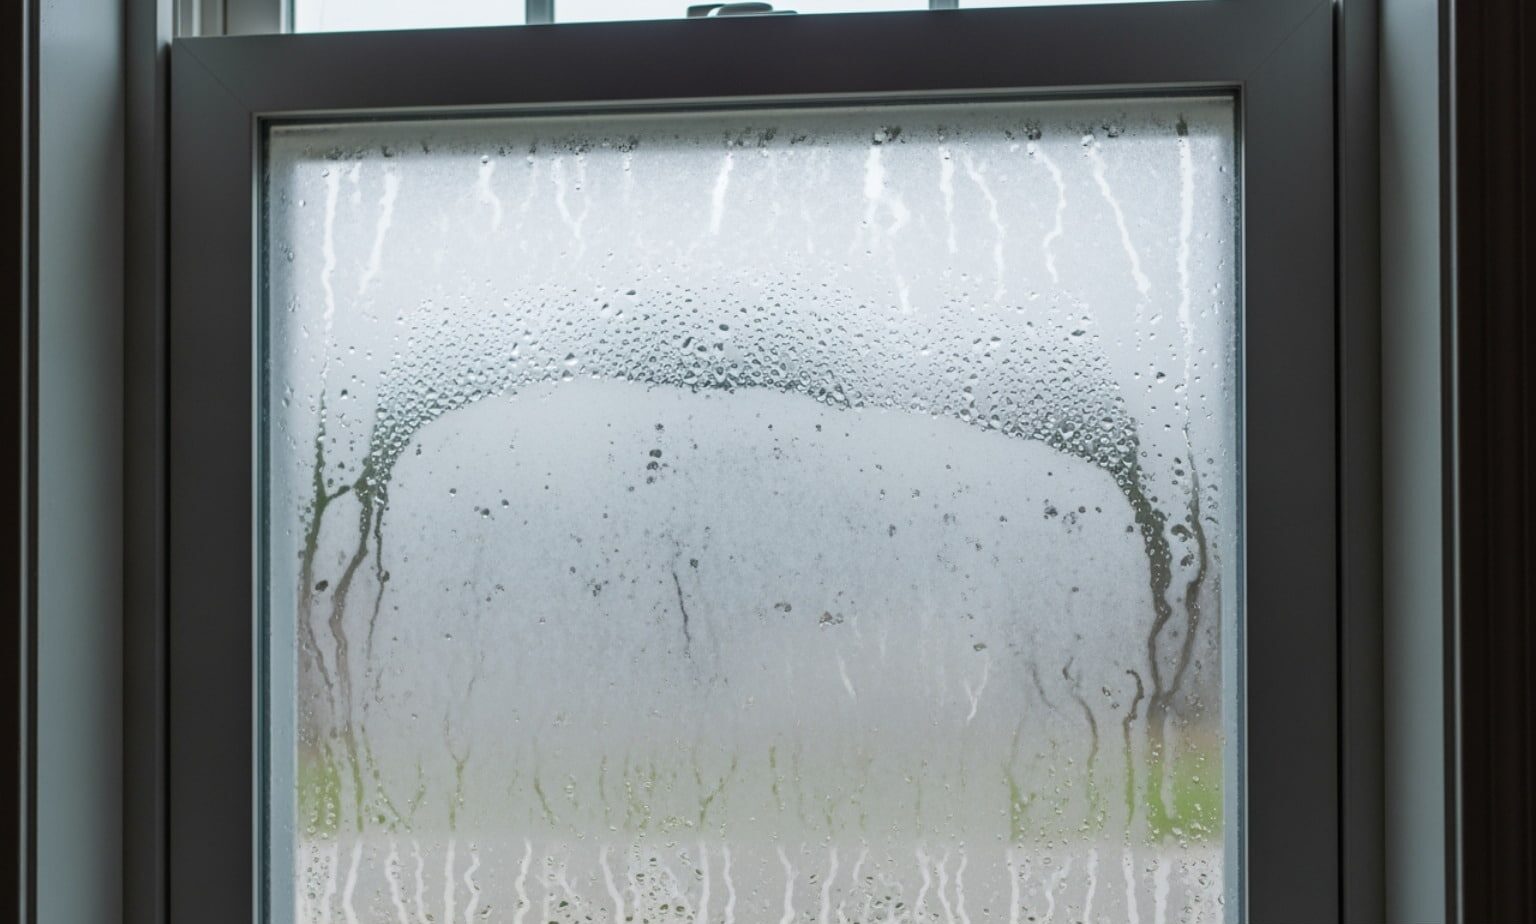
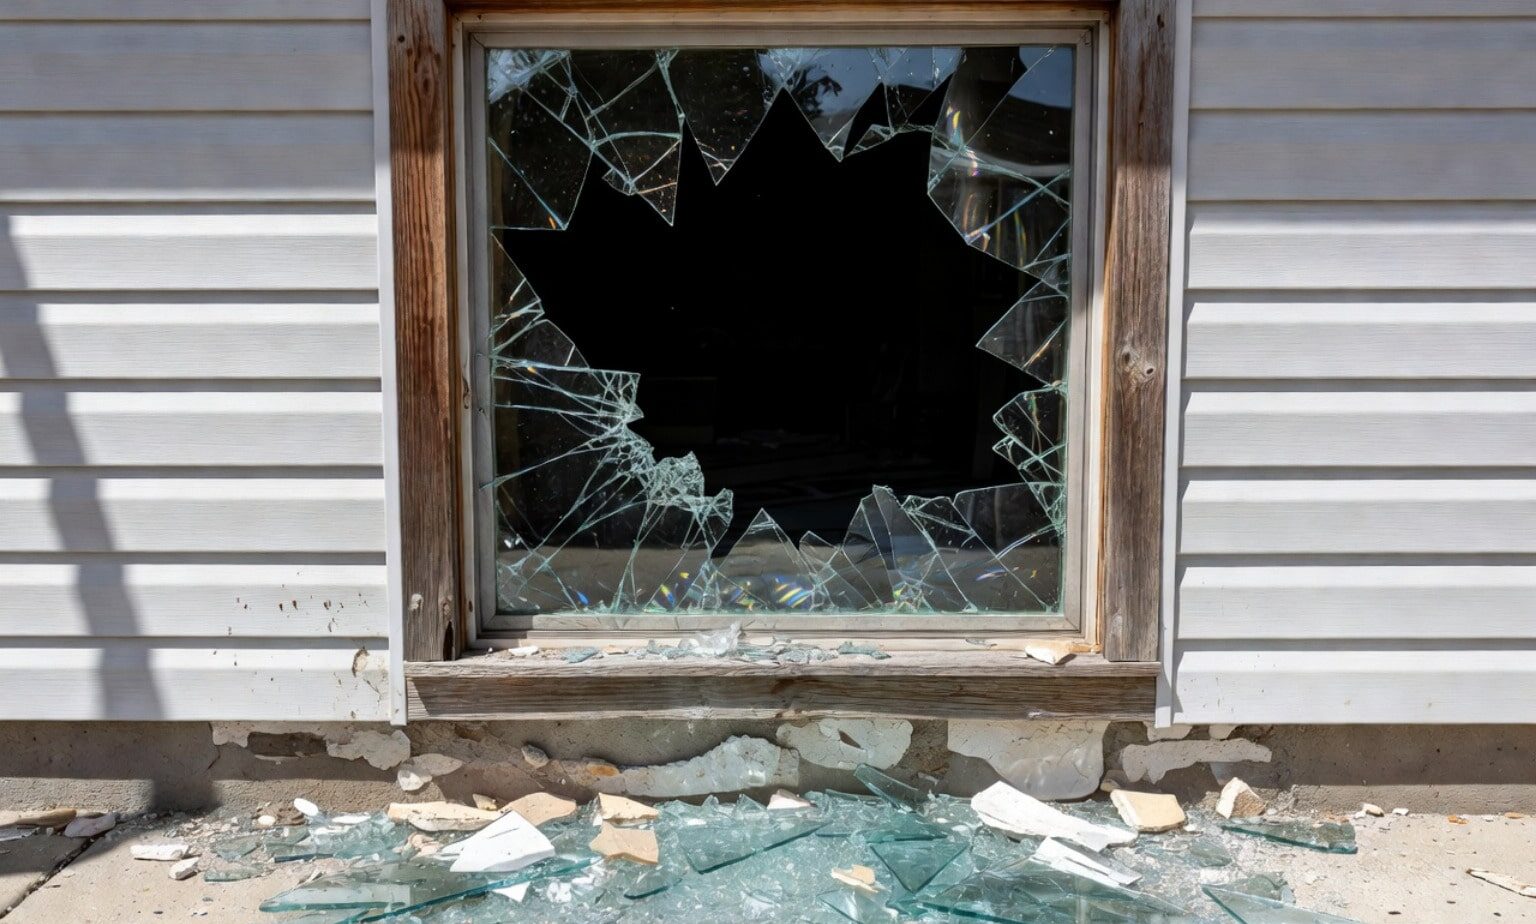
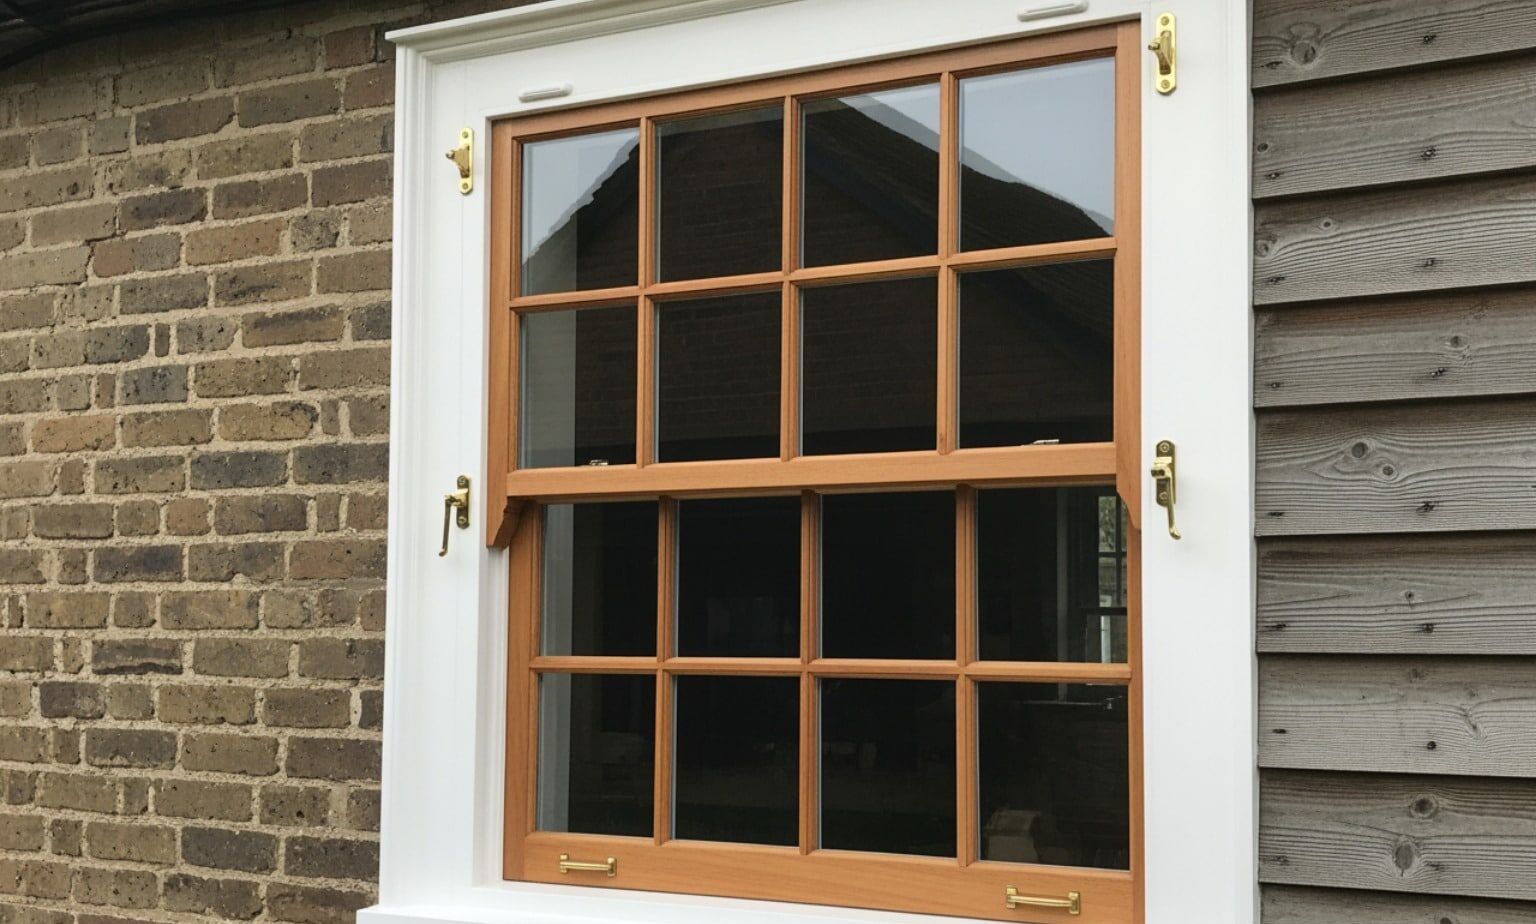
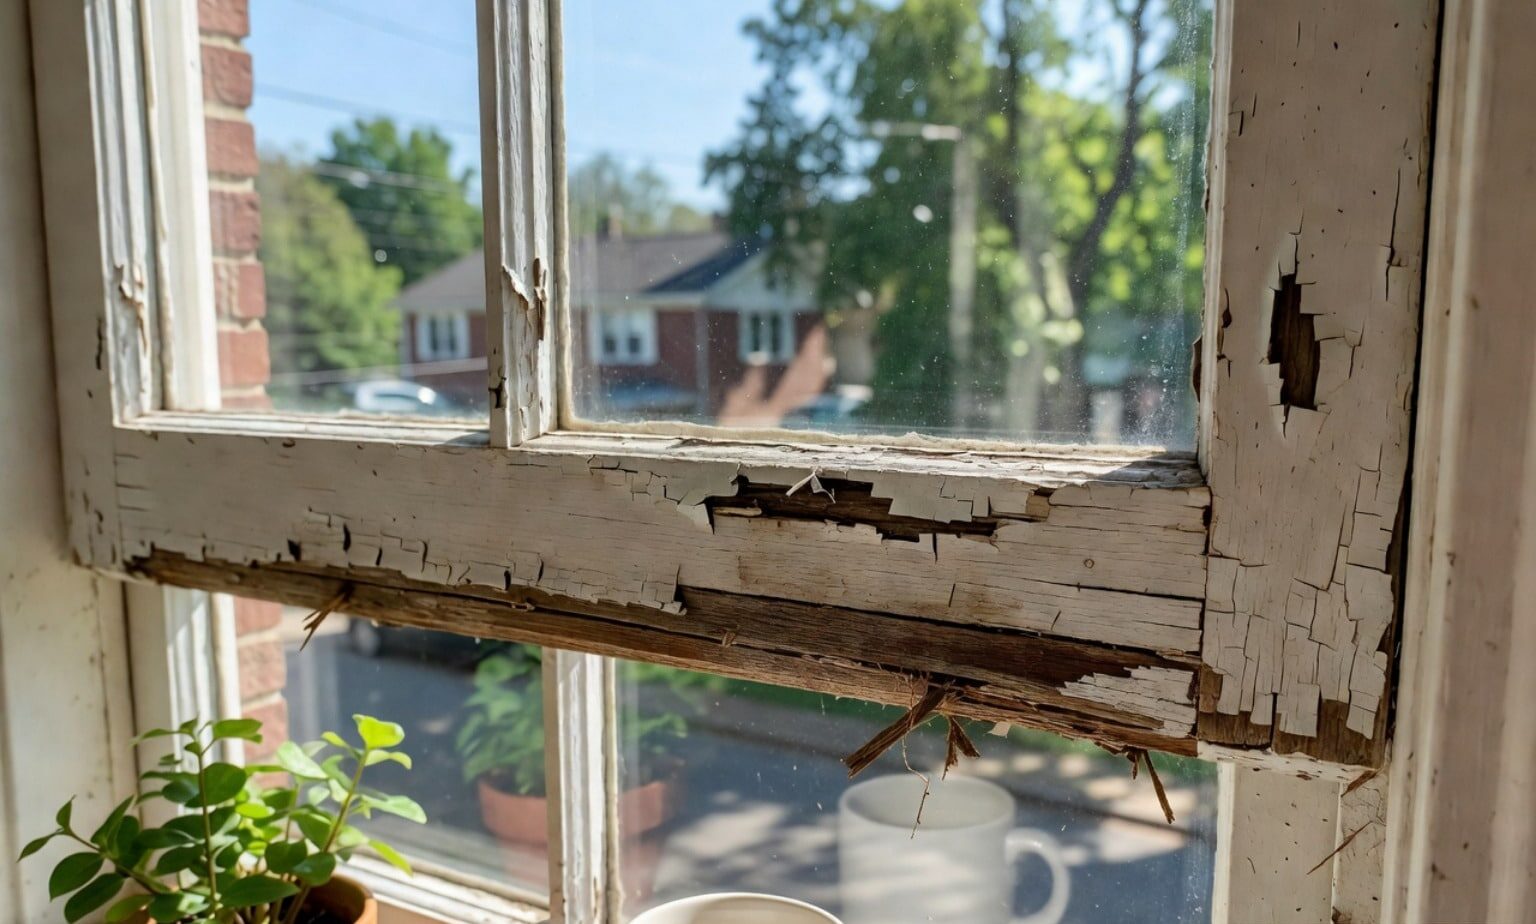
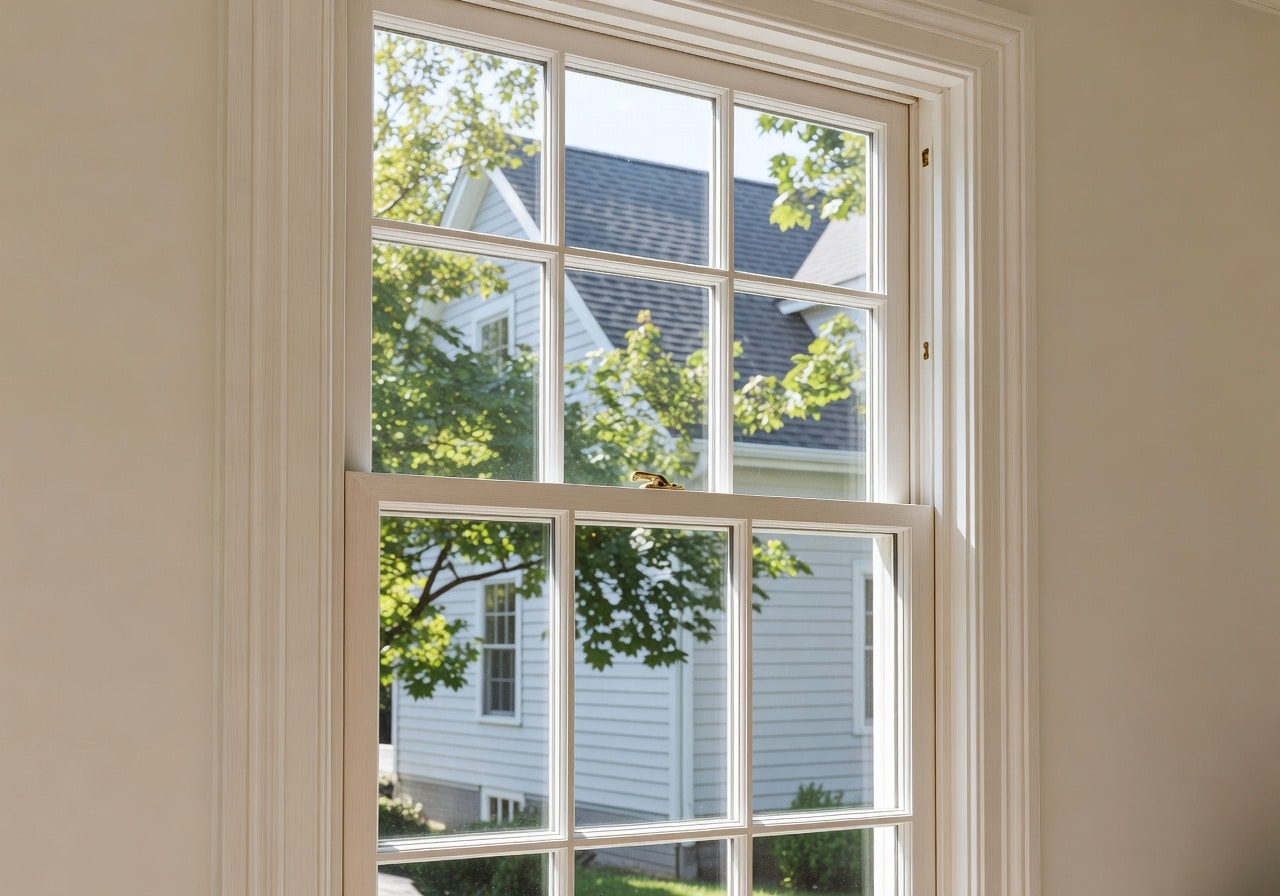
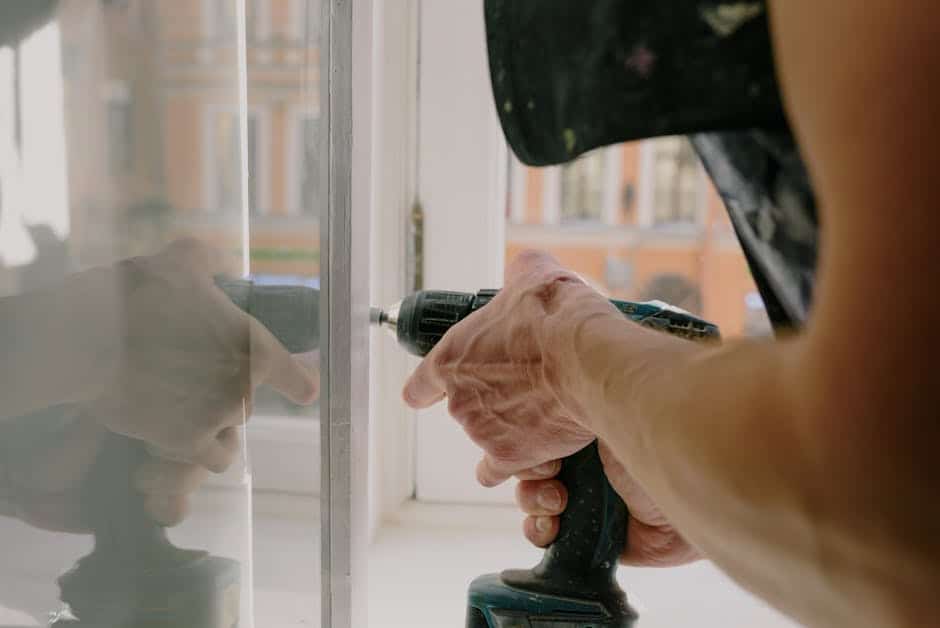
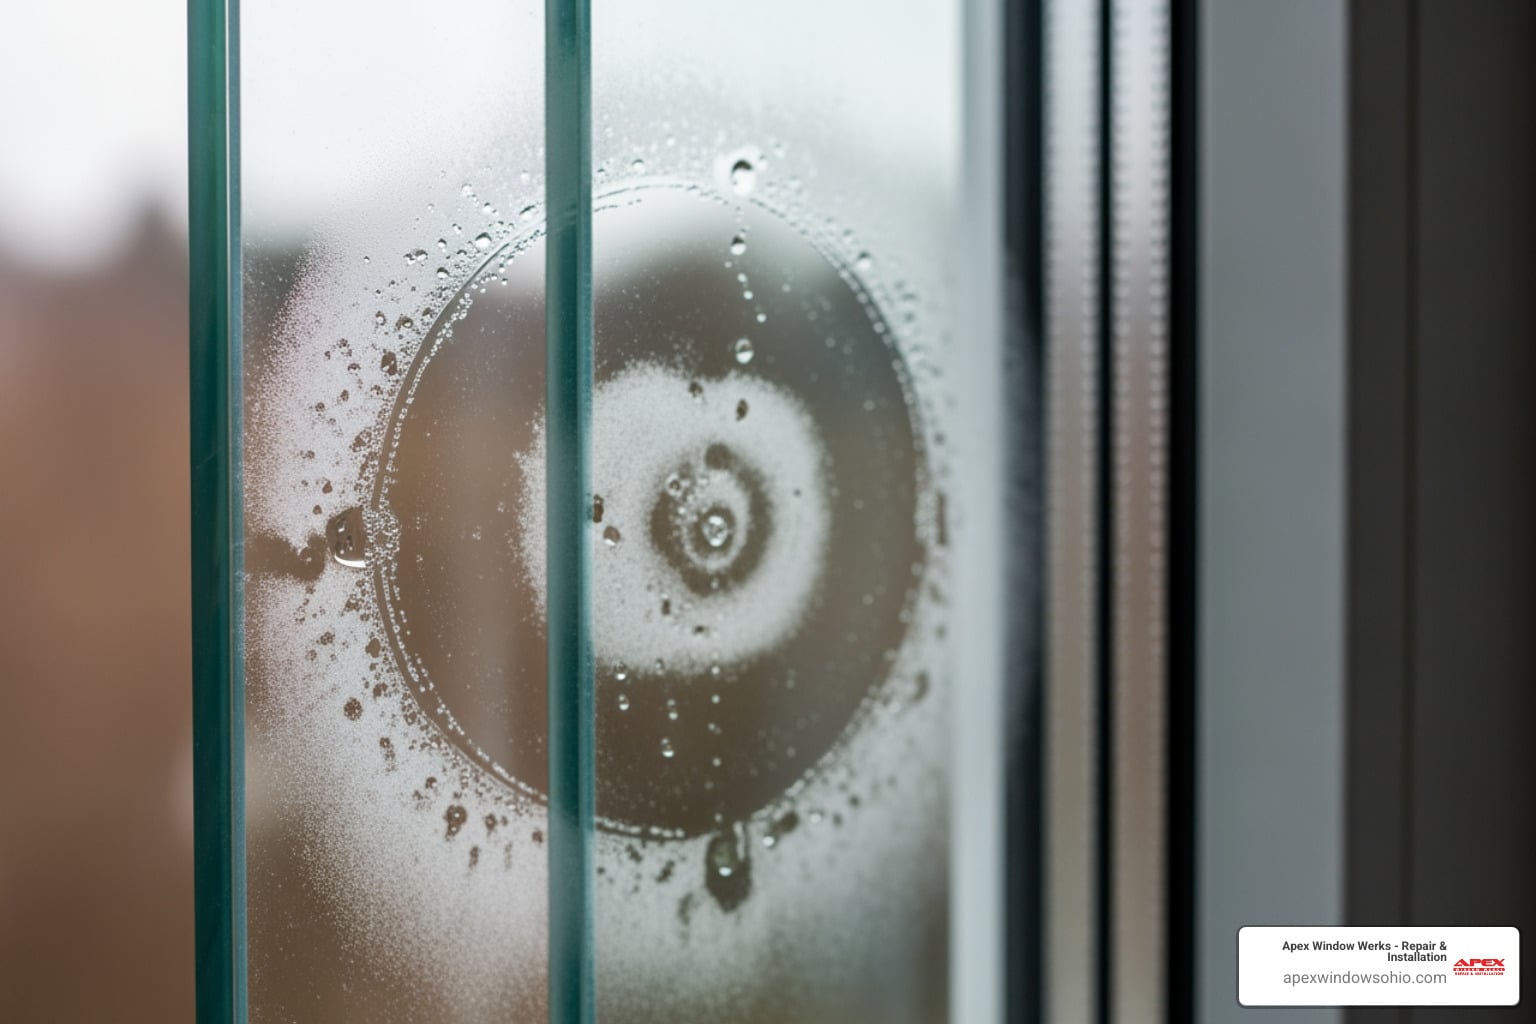
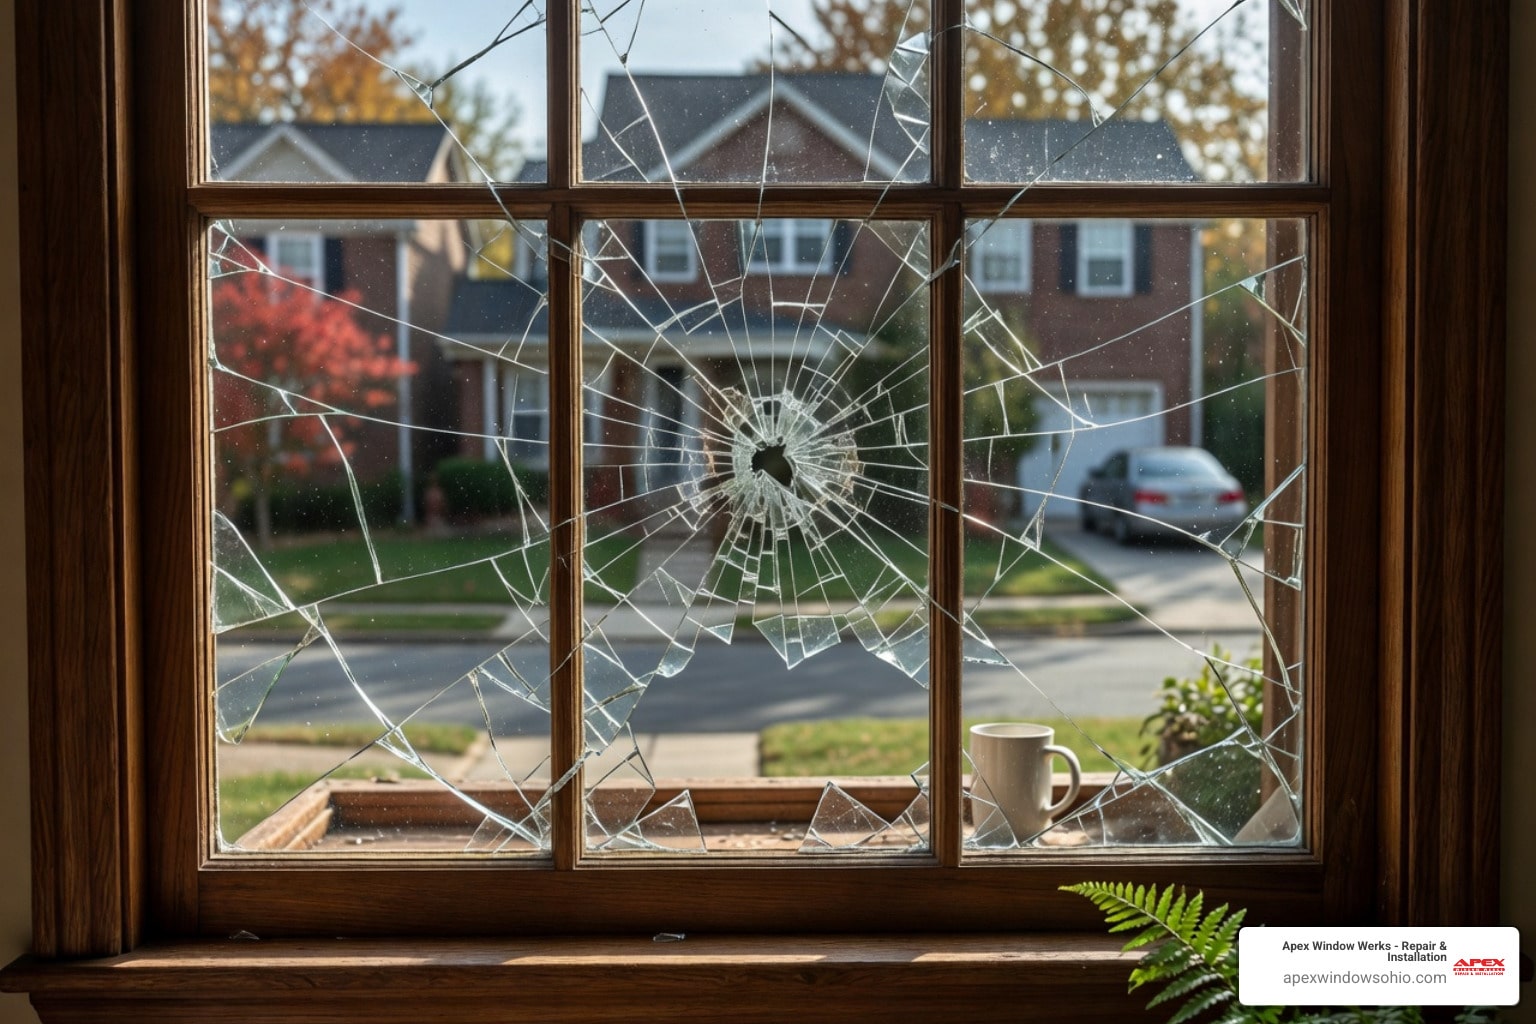
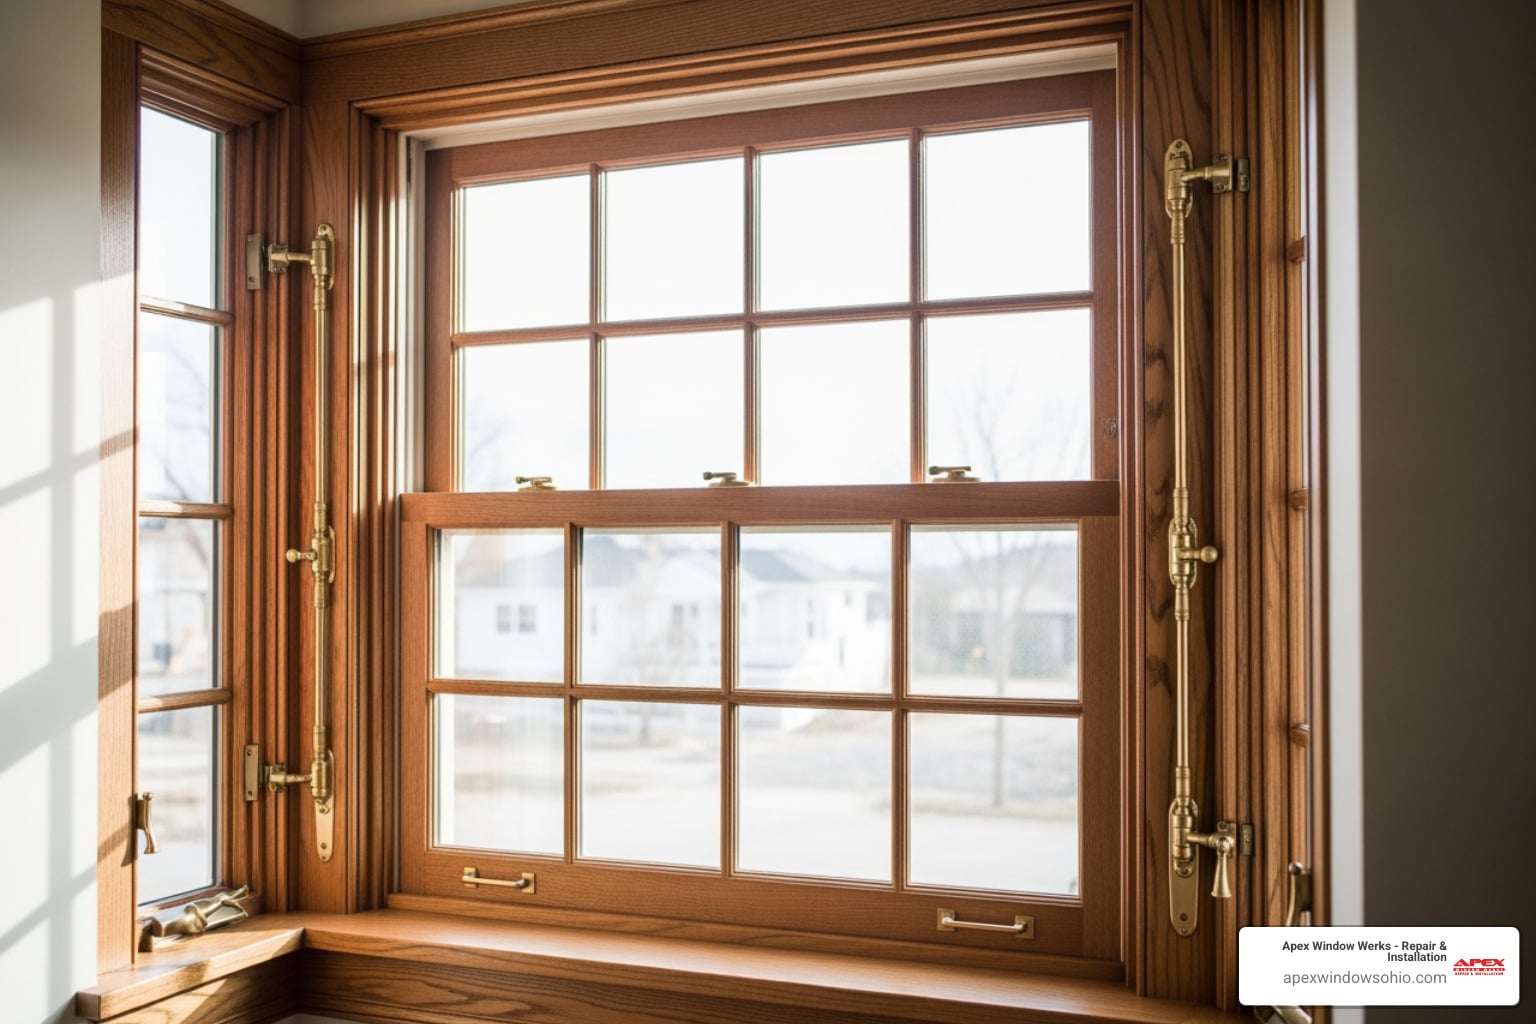
4 Common Signs You Need a Window Balance Replacement
Replacing a Window Balance in Northeast Ohio Without Guesswork
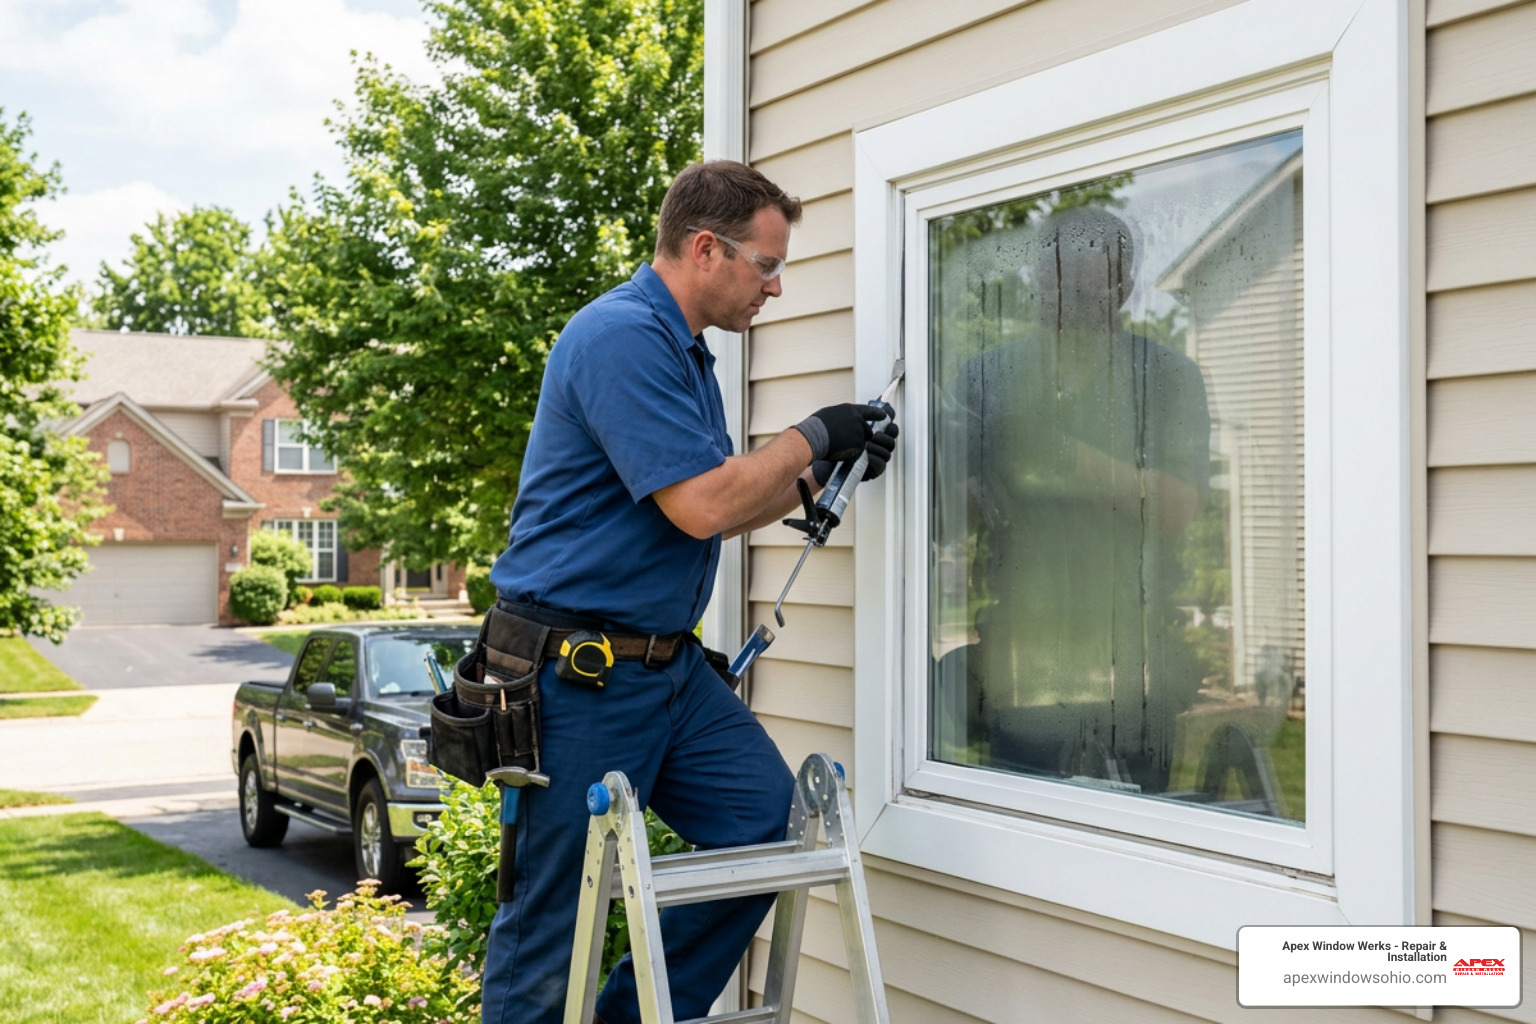
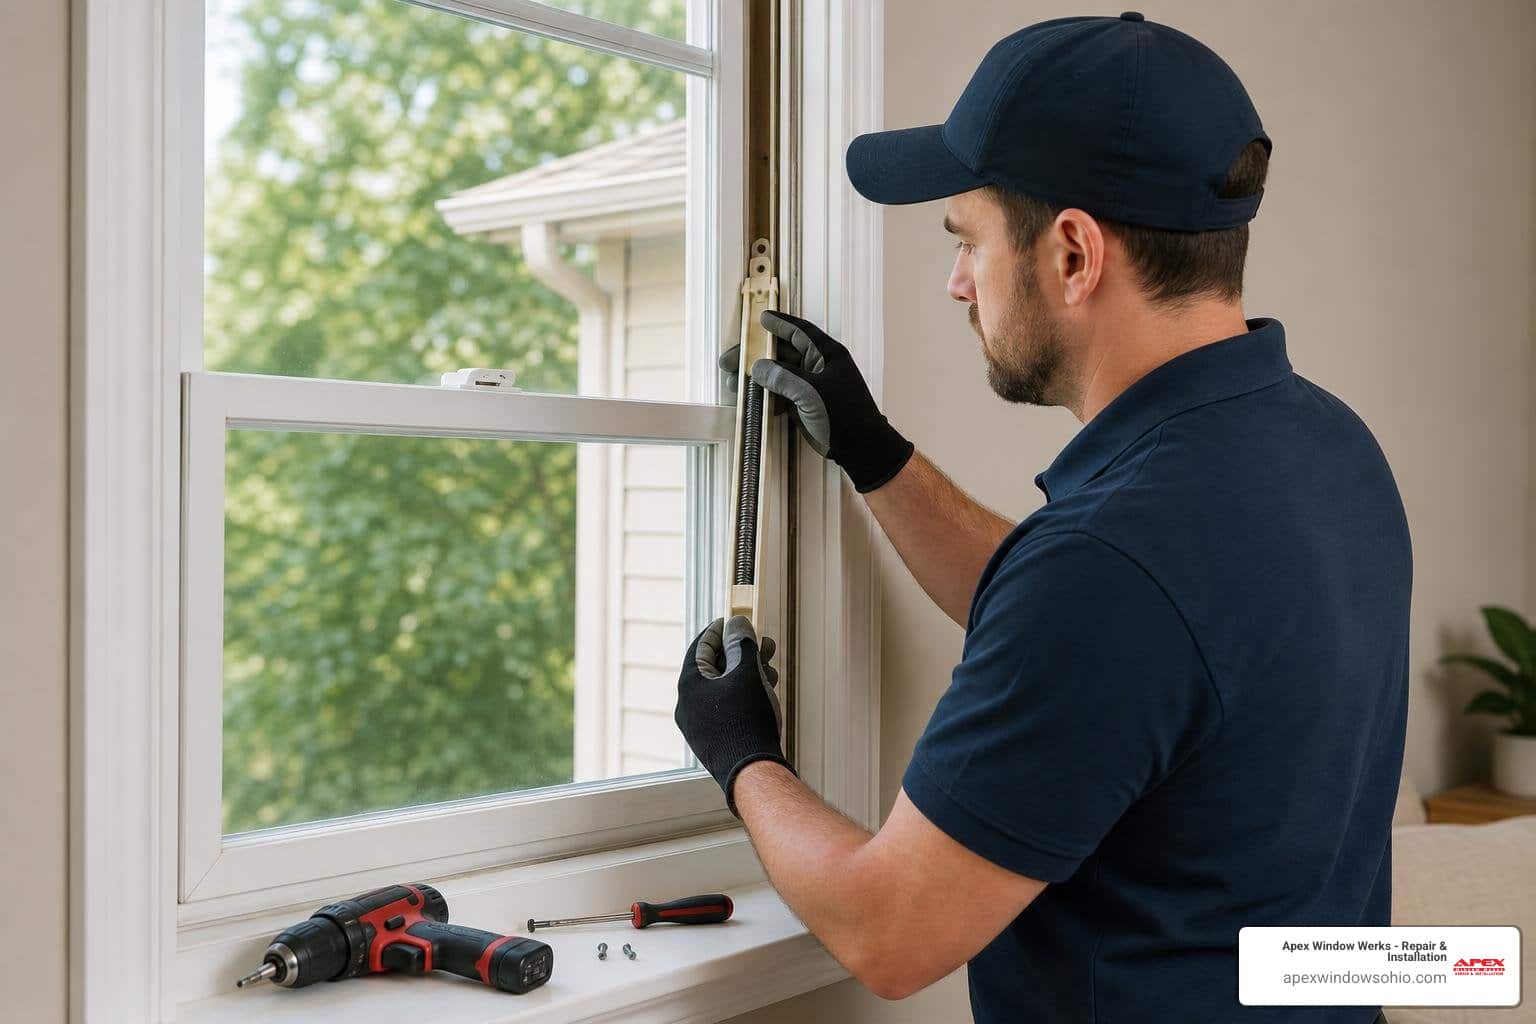
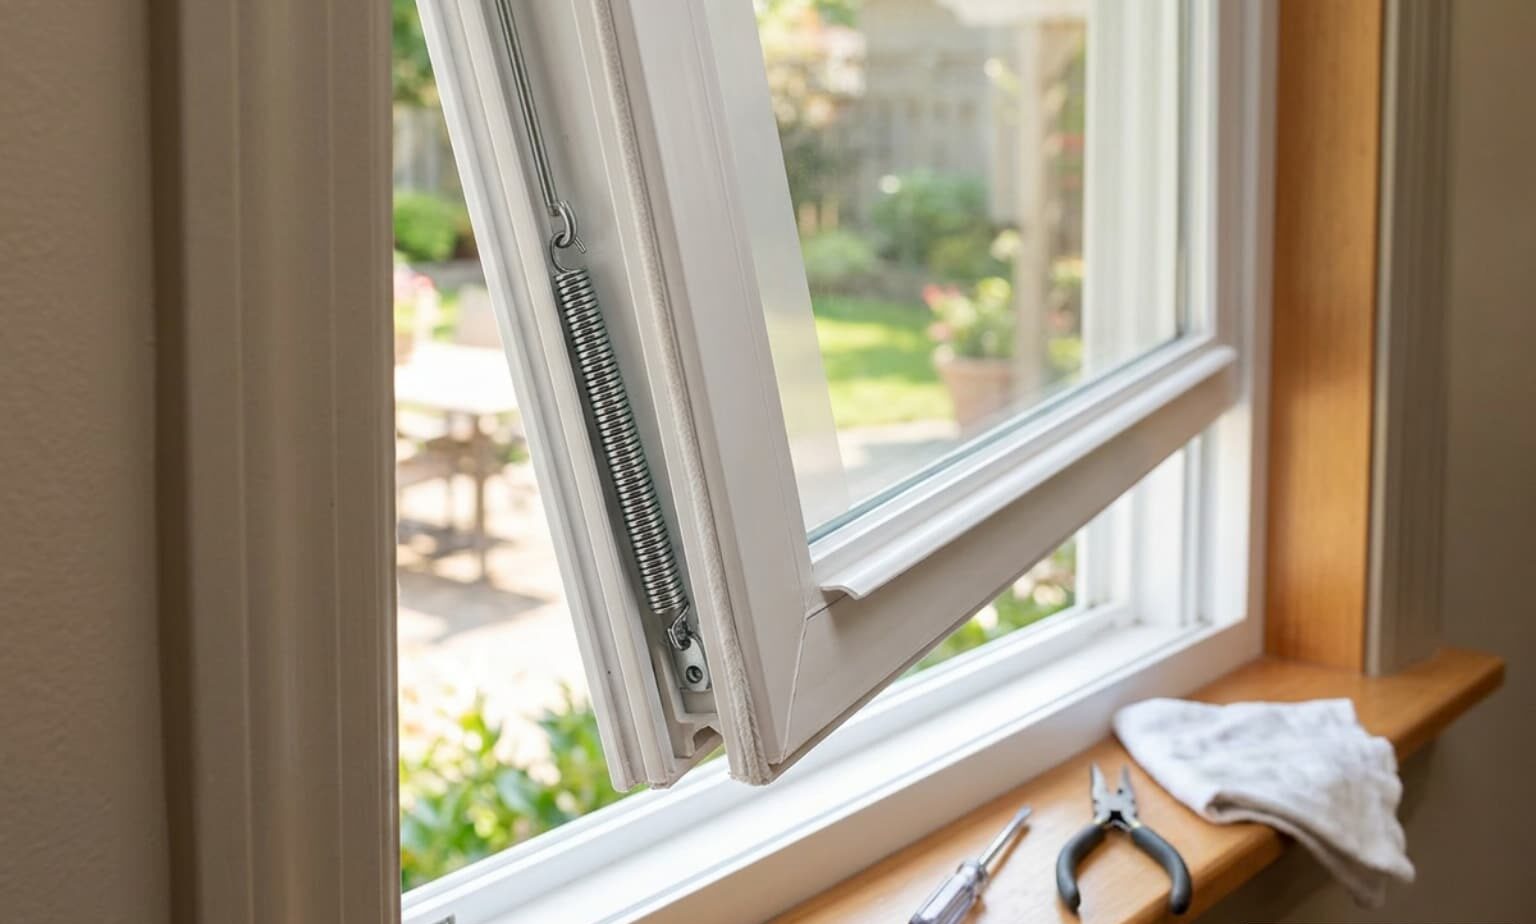
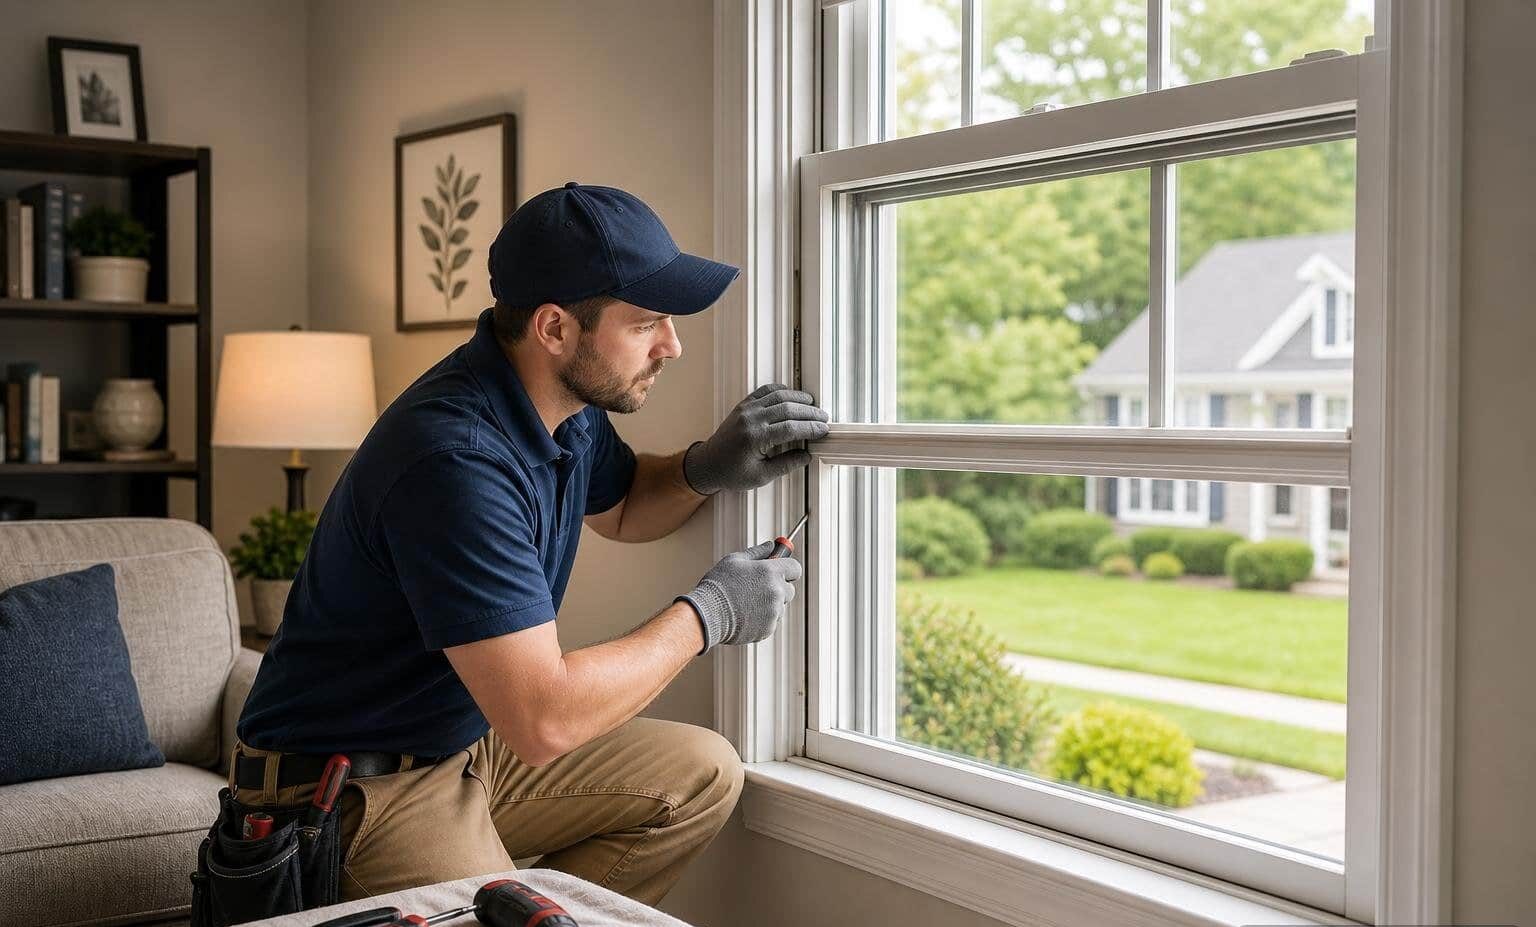
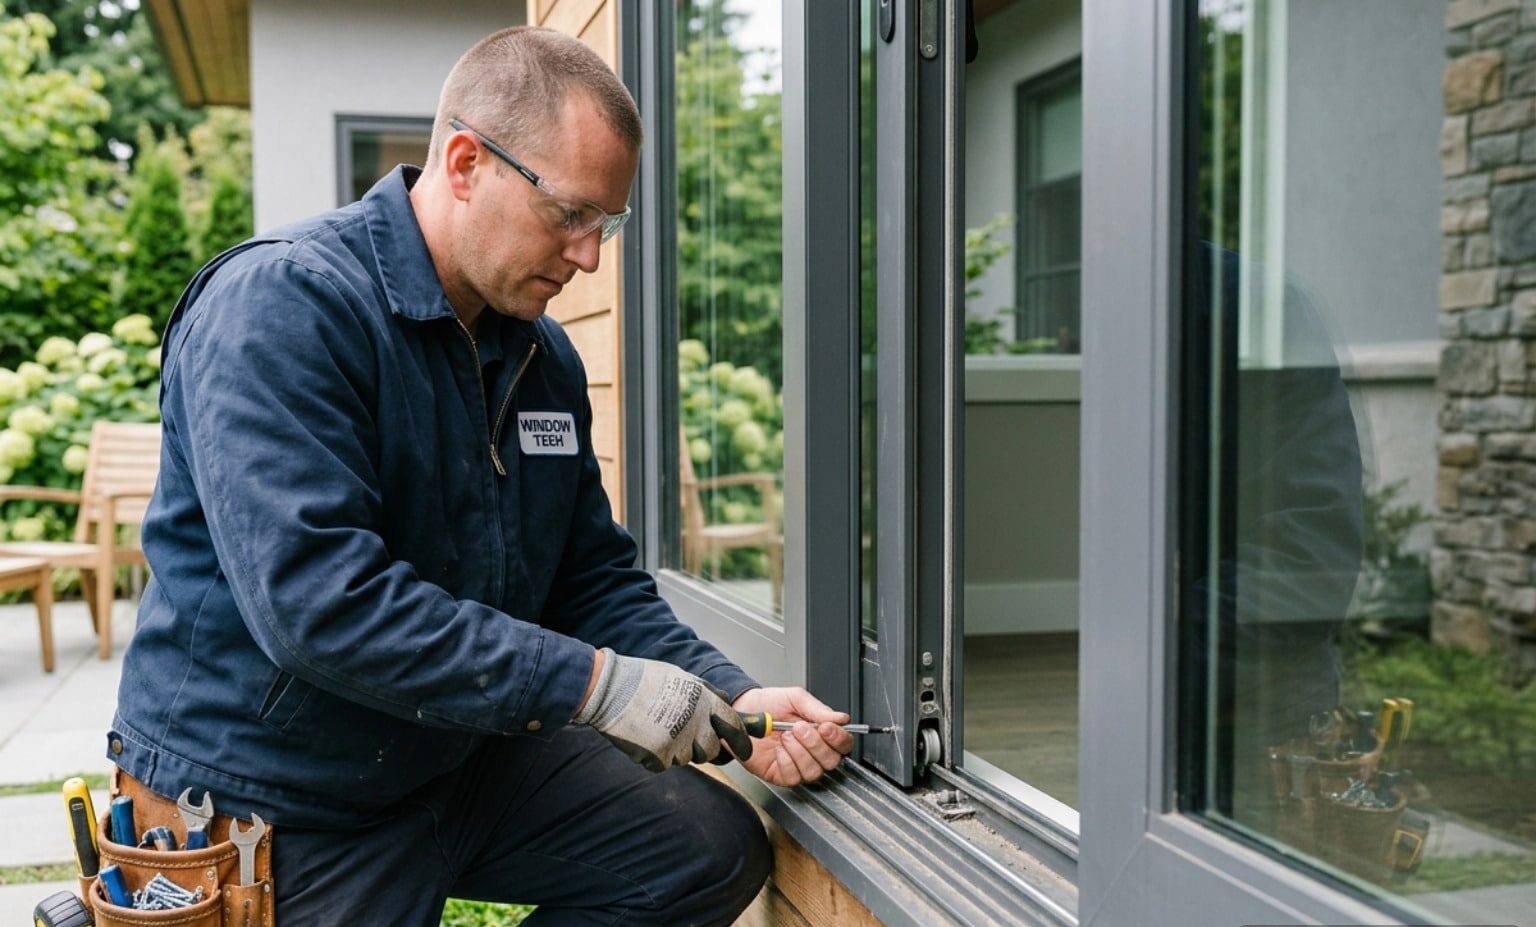
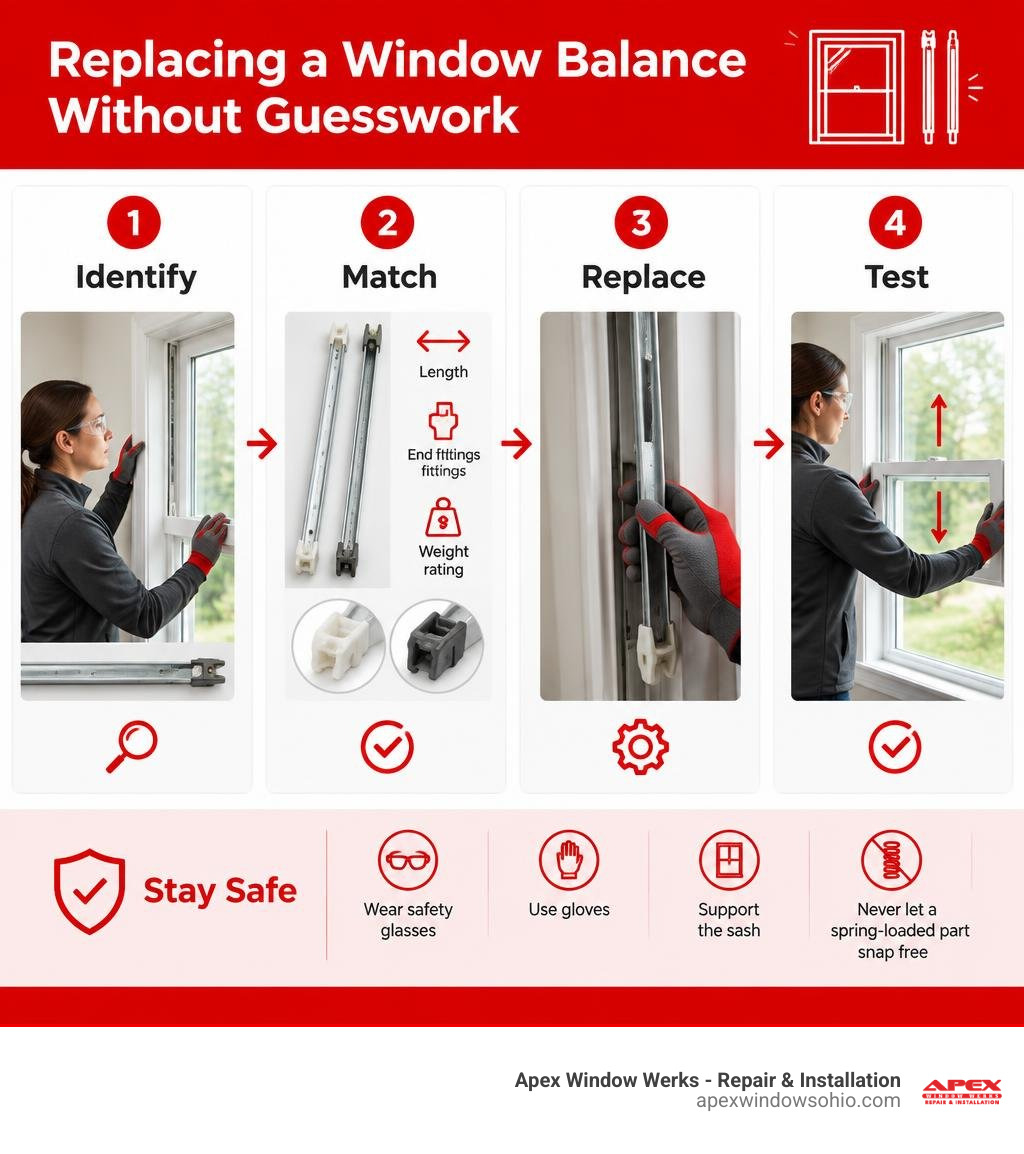
To replace a window balance, first remove the sash and identify the balance type. Match the new parts to the old ones by length, end fittings, and weight rating. Replace both sides, reinstall the sash, then test whether it moves smoothly and stays open. Wear safety glasses and gloves, support the sash, and never let a spring-loaded part snap free.
If the sash drops or takes extra force to lift, the balance may have failed. Check the tracks and sash for damage too – a new balance will not fix a warped frame.
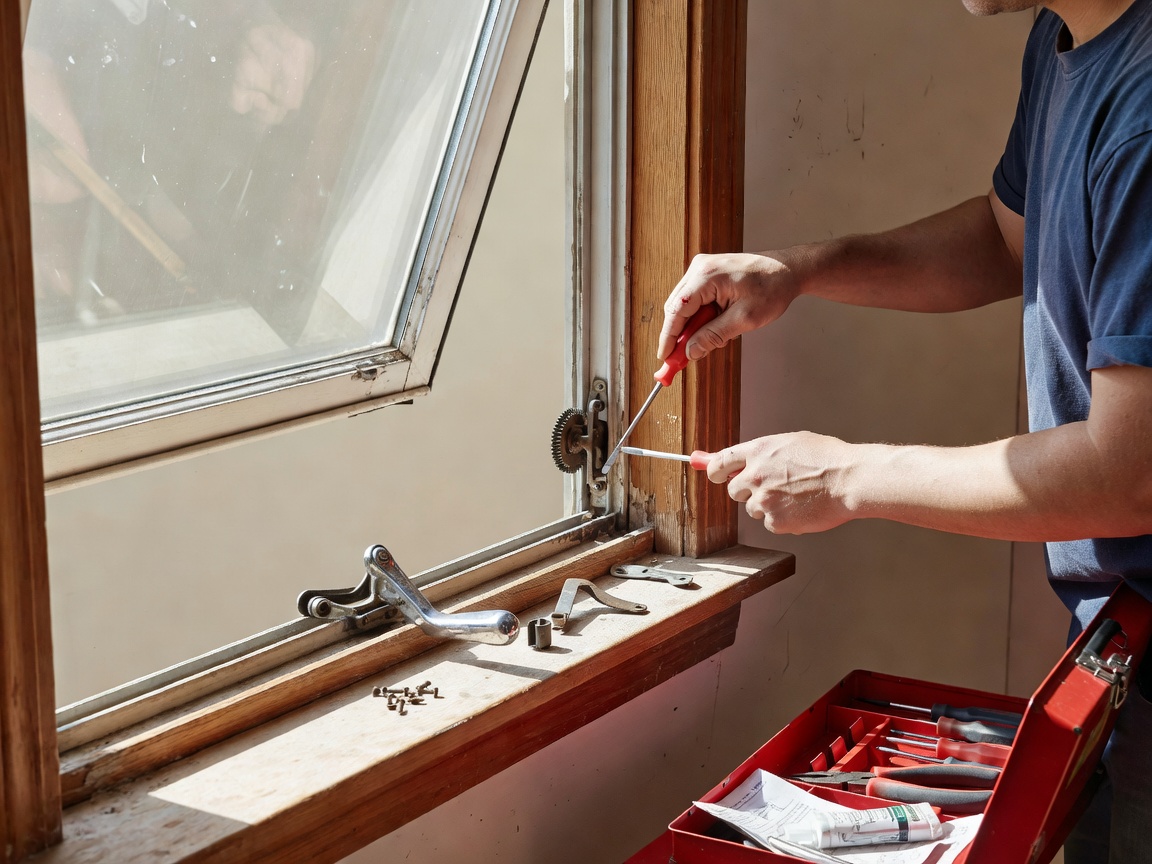
For related hardware maintenance, homeowners can review guides covering double hung window balance replacement, general window sash replacement, and traditional methods for replacing window ropes.
Signs of Balance Failure in Cleveland and Akron Windows
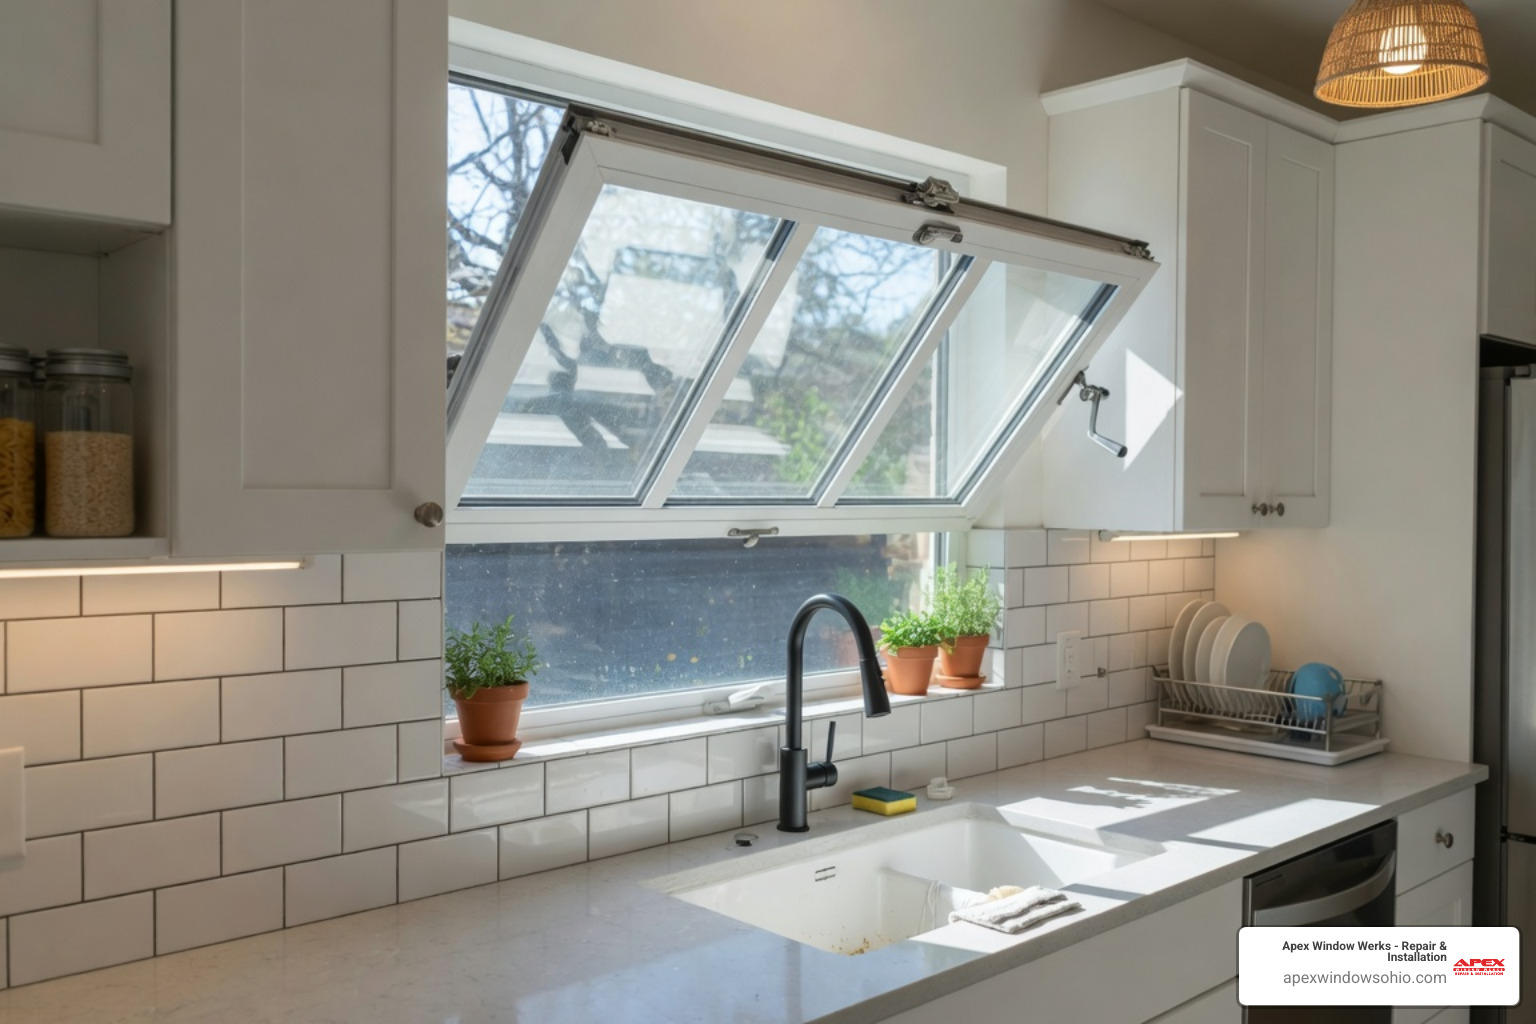
A window balance serves a simple mechanical purpose: it counteracts the downward pull of gravity on your window sash so you can lift it effortlessly and keep it open at any height. In modern double-hung and single-hung windows, these components hide inside the side jamb channels. Most window balances deliver reliable service for 10 to 15 years before the internal springs lose elasticity, cords fray, or plastic guides crack.
When a balance reaches the end of its functional life, the symptoms are immediate and frustrating:
- The sash drops or slams shut: If you raise your window and it immediately slides down or crashes onto the sill, the internal spring tension has completely failed.
- Heavy, straining operation: When opening the window feels like an unplanned weightlifting session, the balance is no longer supporting the sash weight.
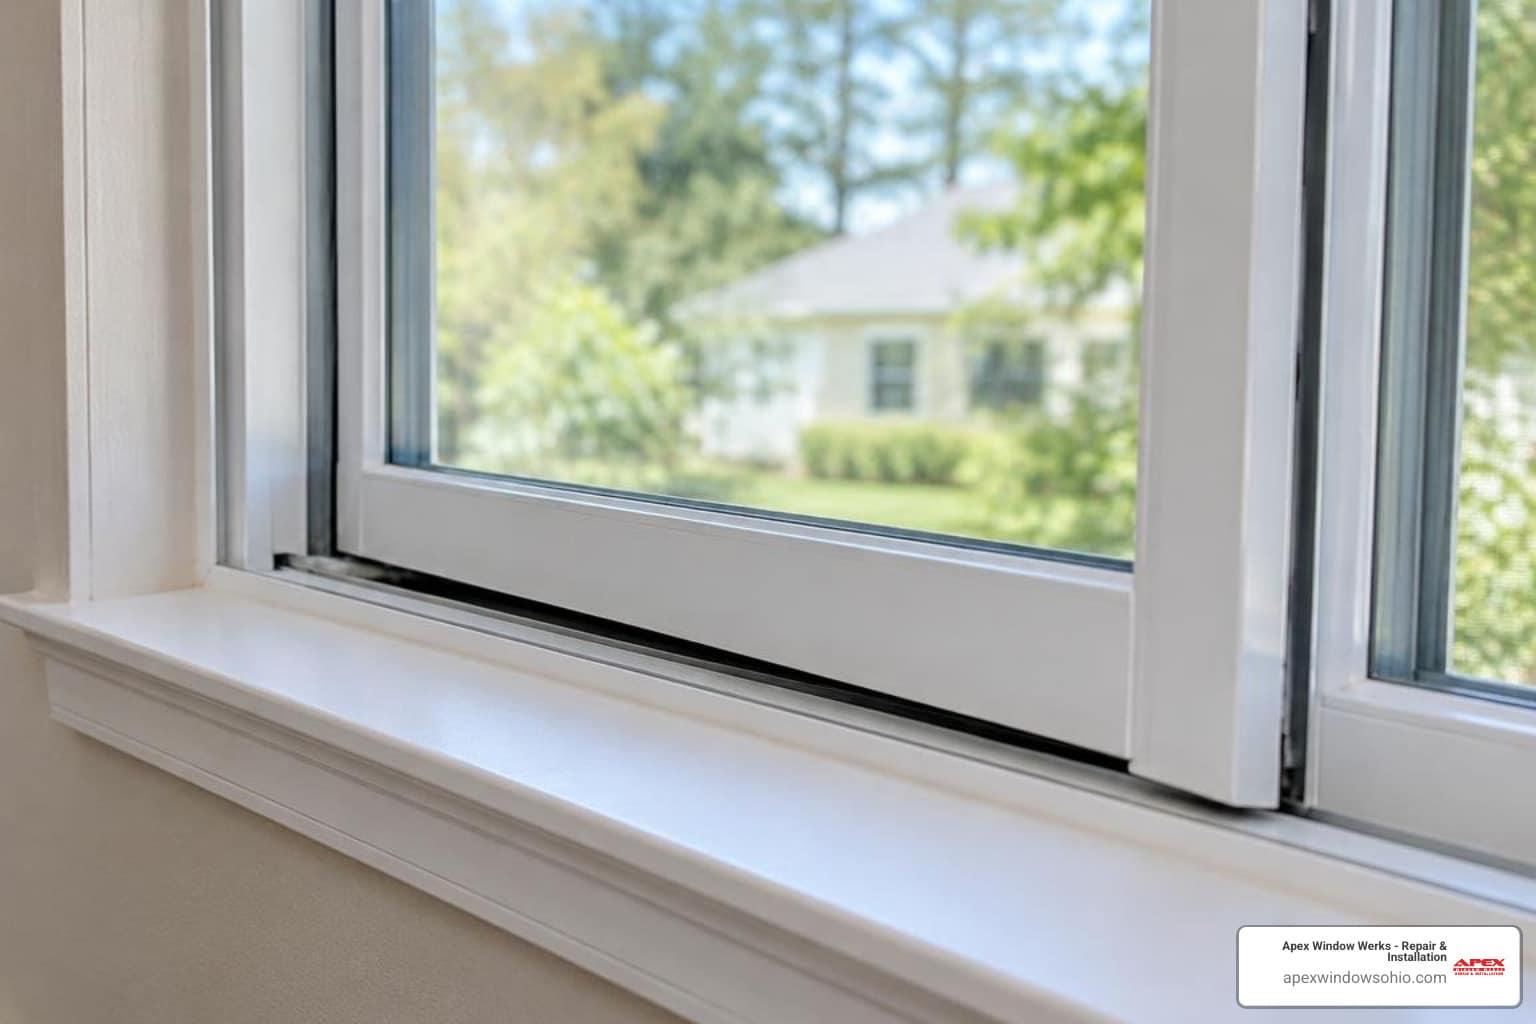
- Crooked or binding movement: If one side catches while the other moves freely, one balance has lost tension, causing the sash to rack and jam in the frame track.
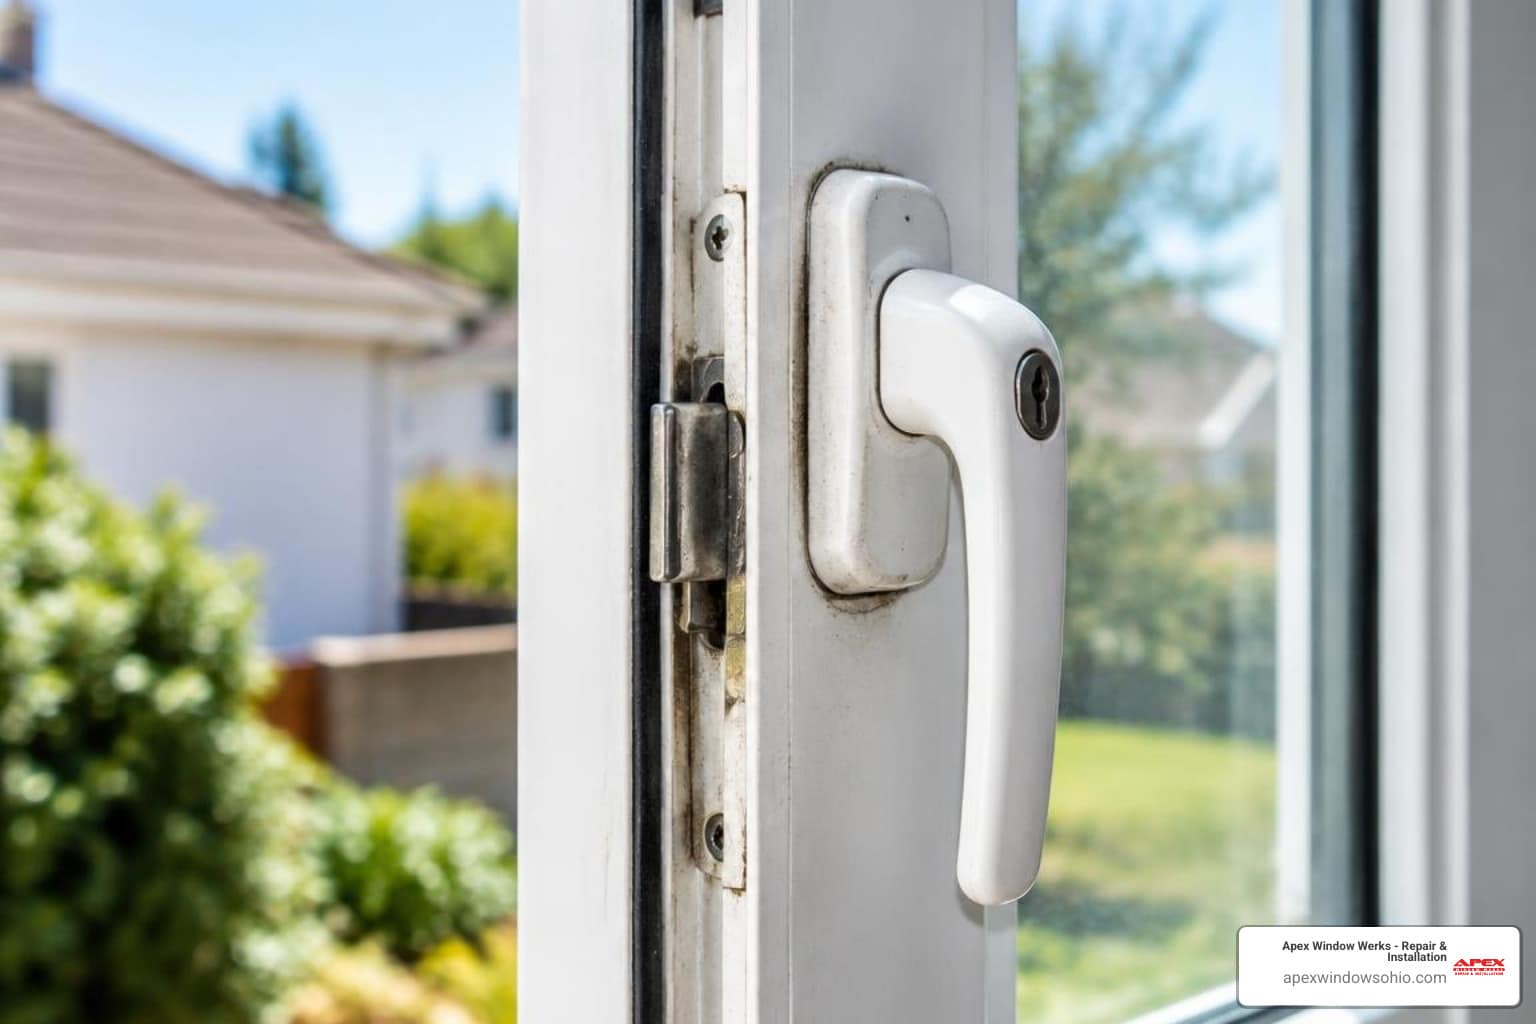
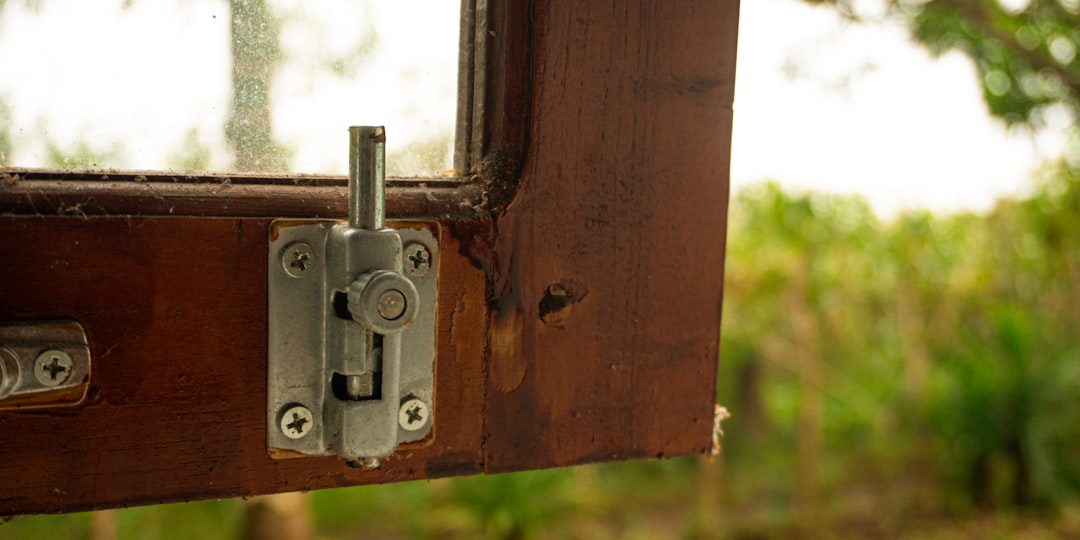
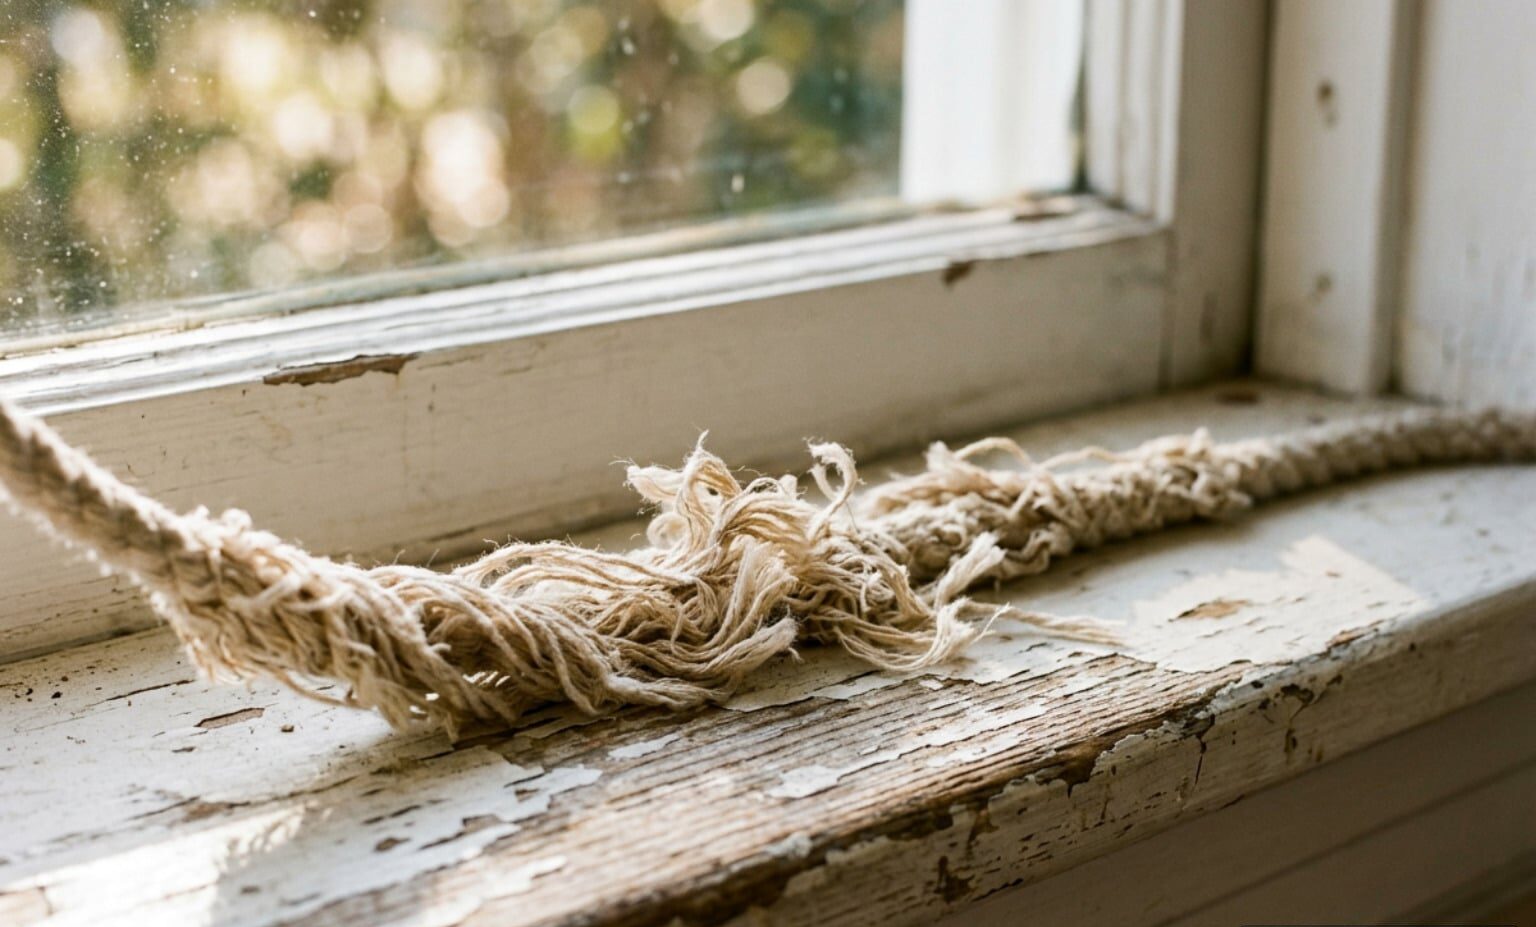
- Visible hardware damage: Snapped cords hanging loose in the jamb, cracked nylon terminal shoes, or metallic rattling sounds when moving the sash point directly to balance failure.
In Northeast Ohio communities like Lakewood, Chagrin Falls, and Akron, harsh winter freeze-thaw cycles and seasonal humidity accelerate the wear on moving hardware. Moisture can corrode metal springs, while temperature swings make aged plastic pulleys brittle.
When addressing these symptoms, always replace balances in pairs. Even if only one balance has visibly broken, the opposite balance has endured the exact same number of operating cycles and will carry uneven tension, leading to rapid wear and track binding.
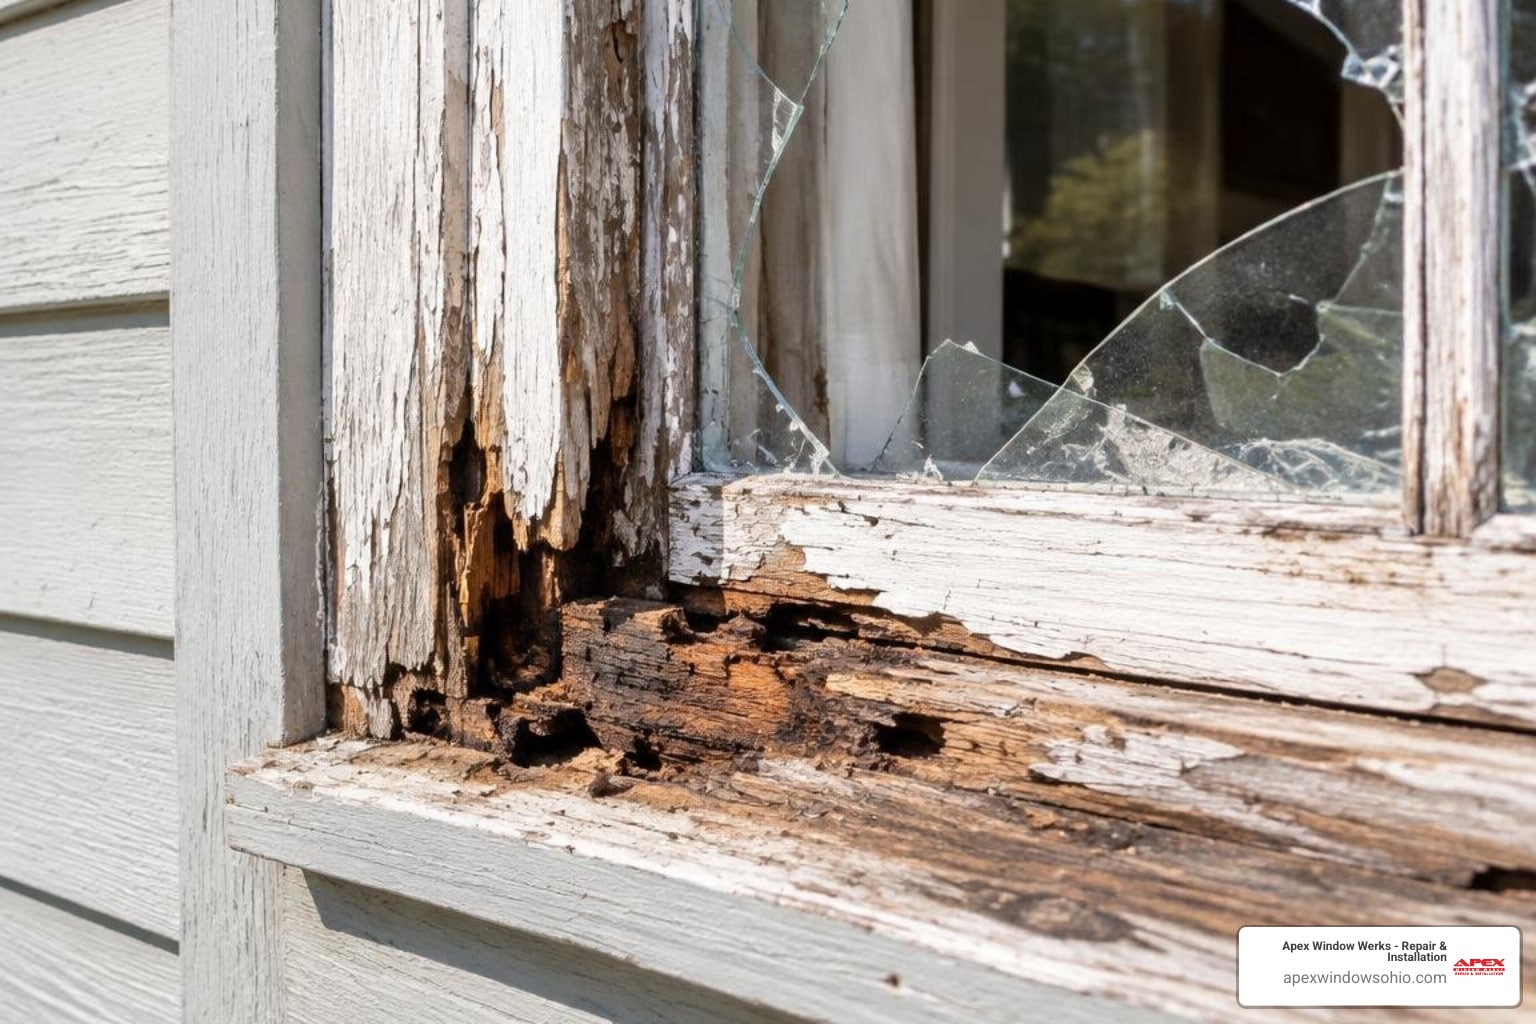
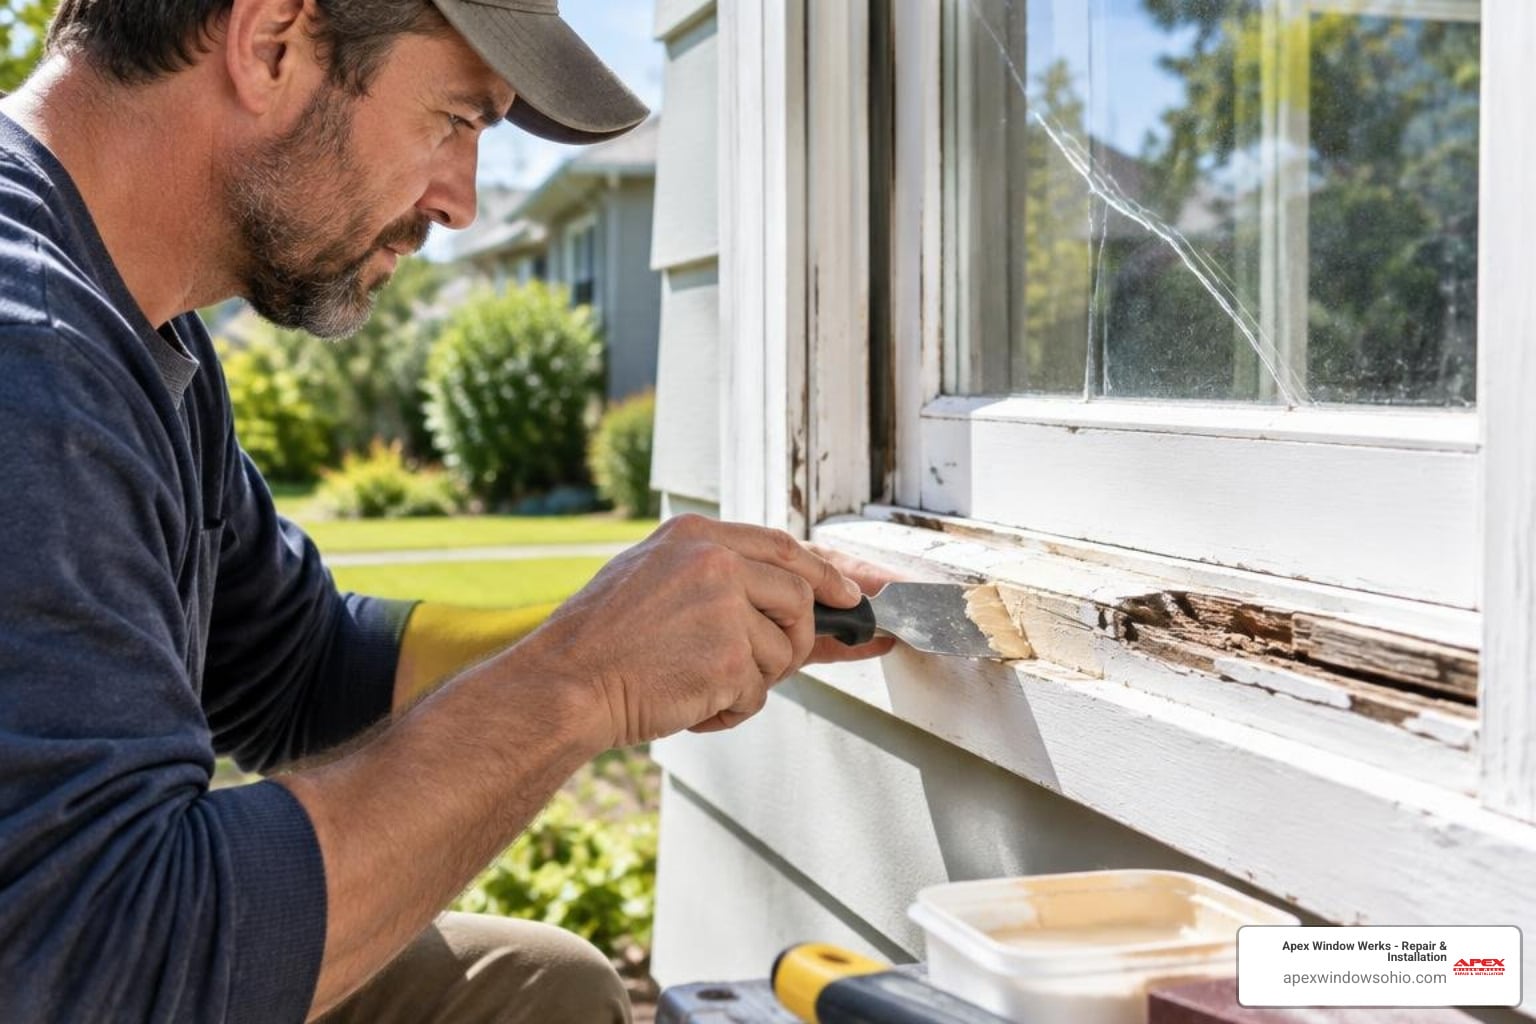
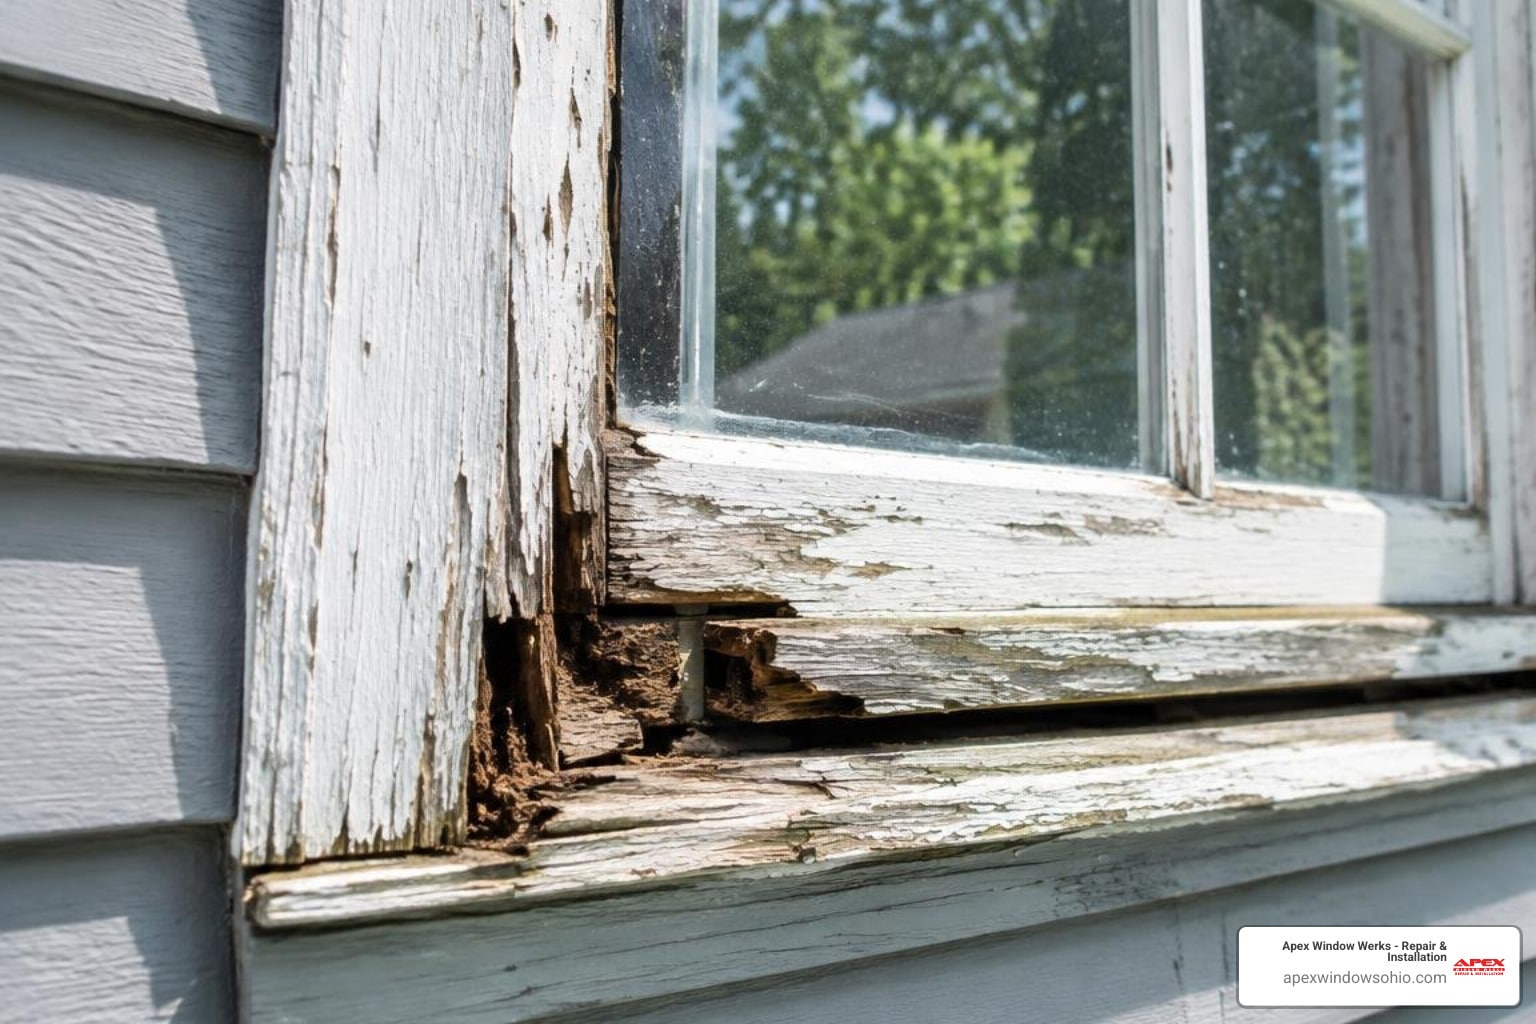
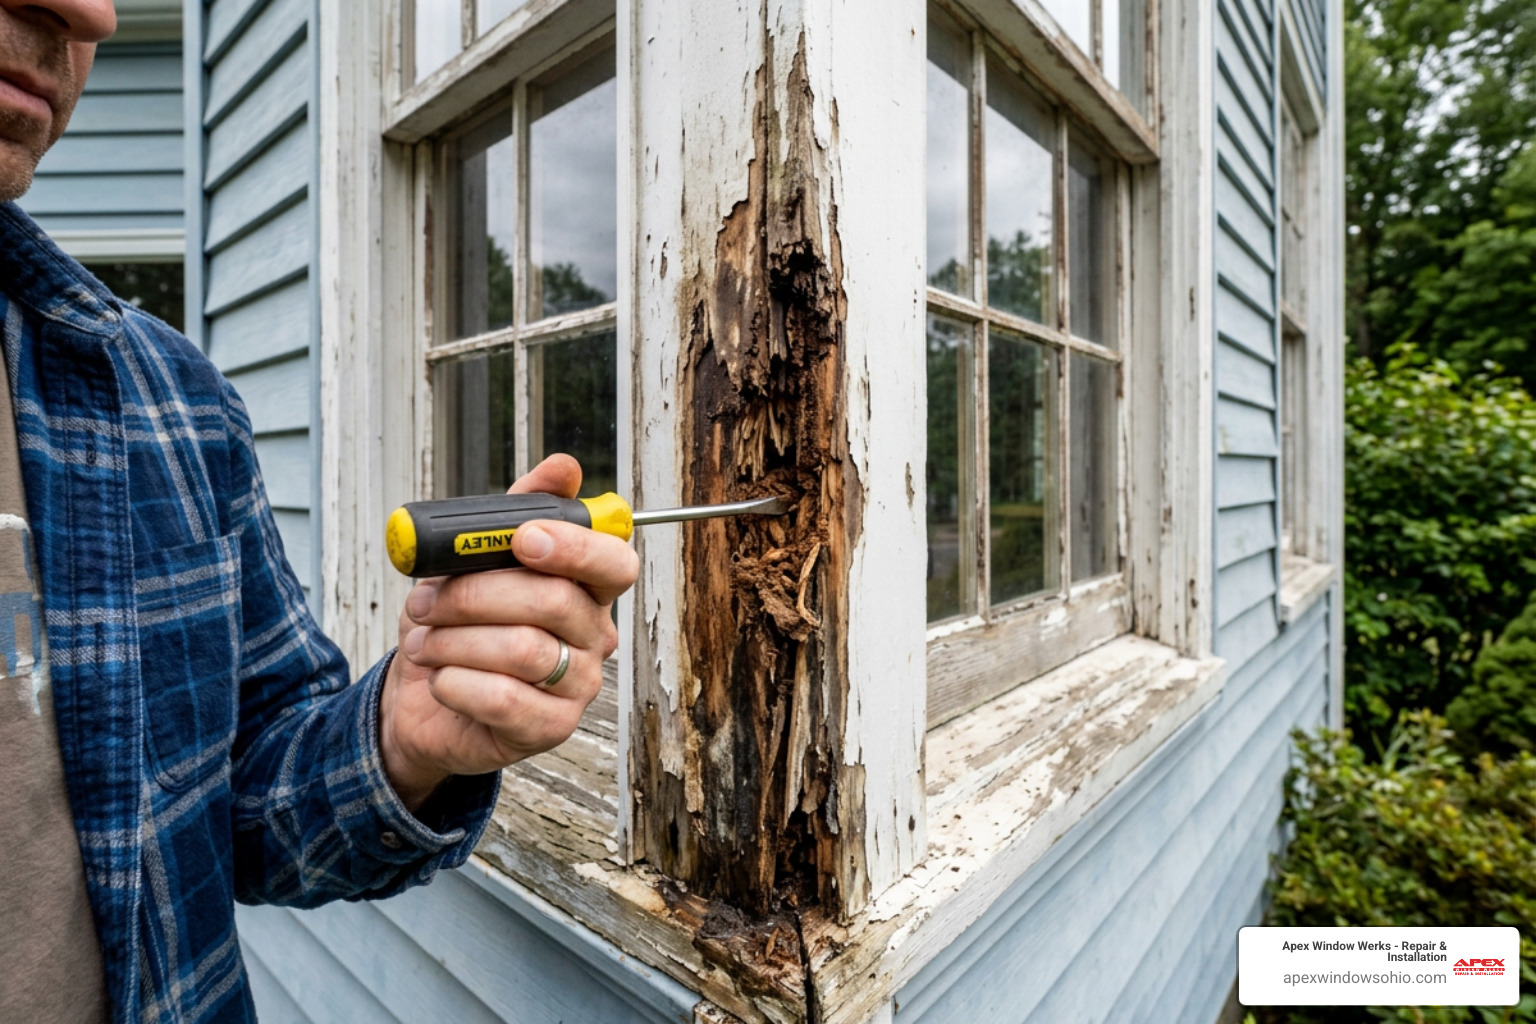
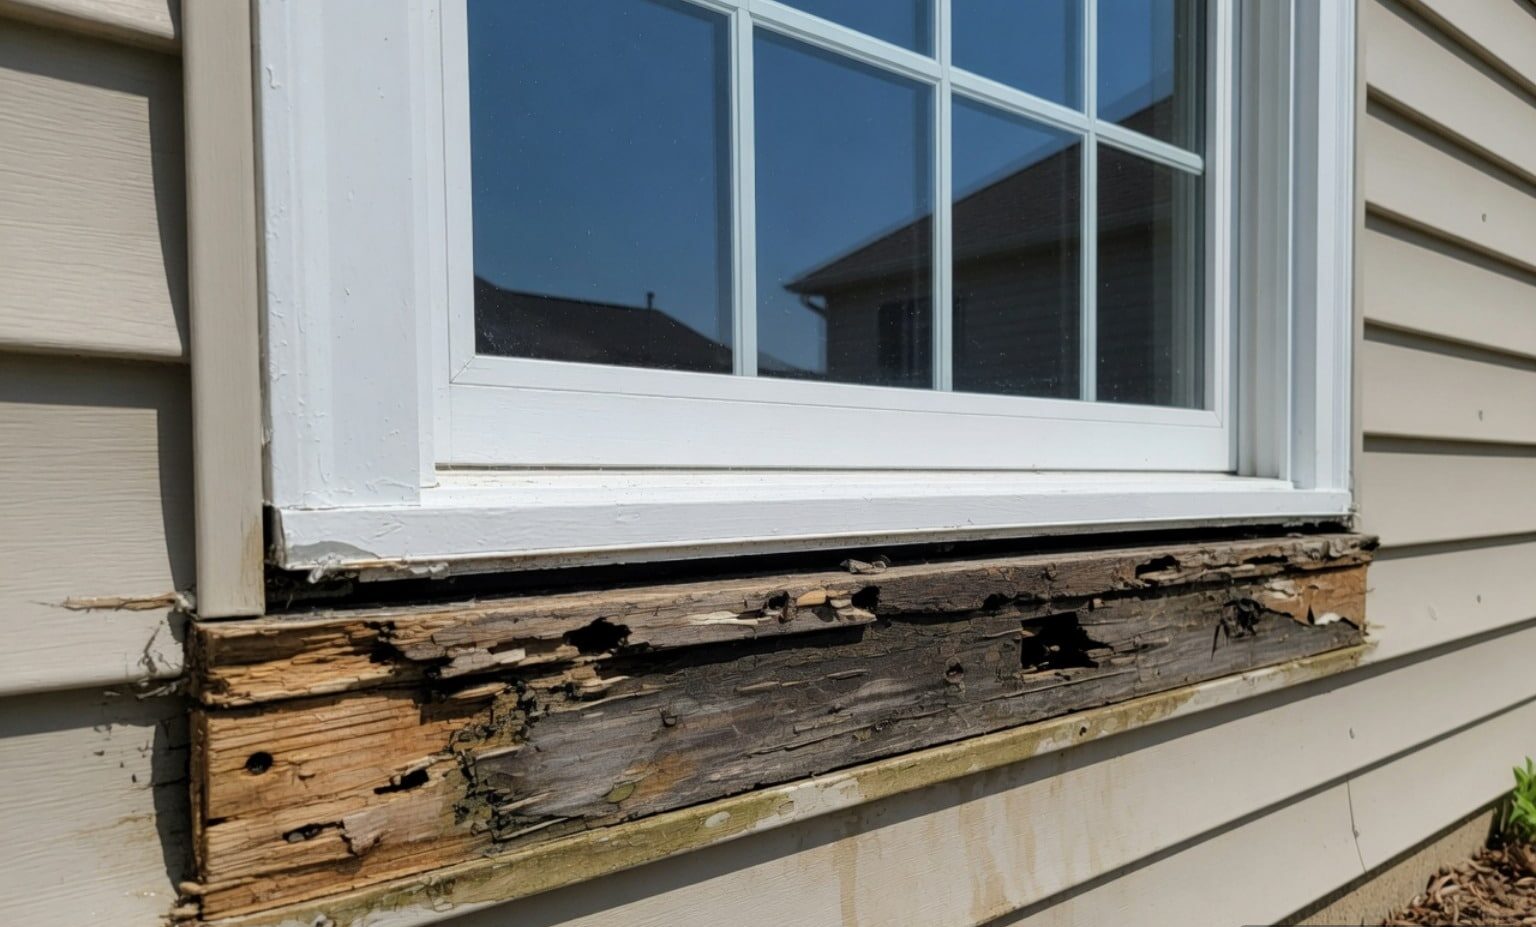
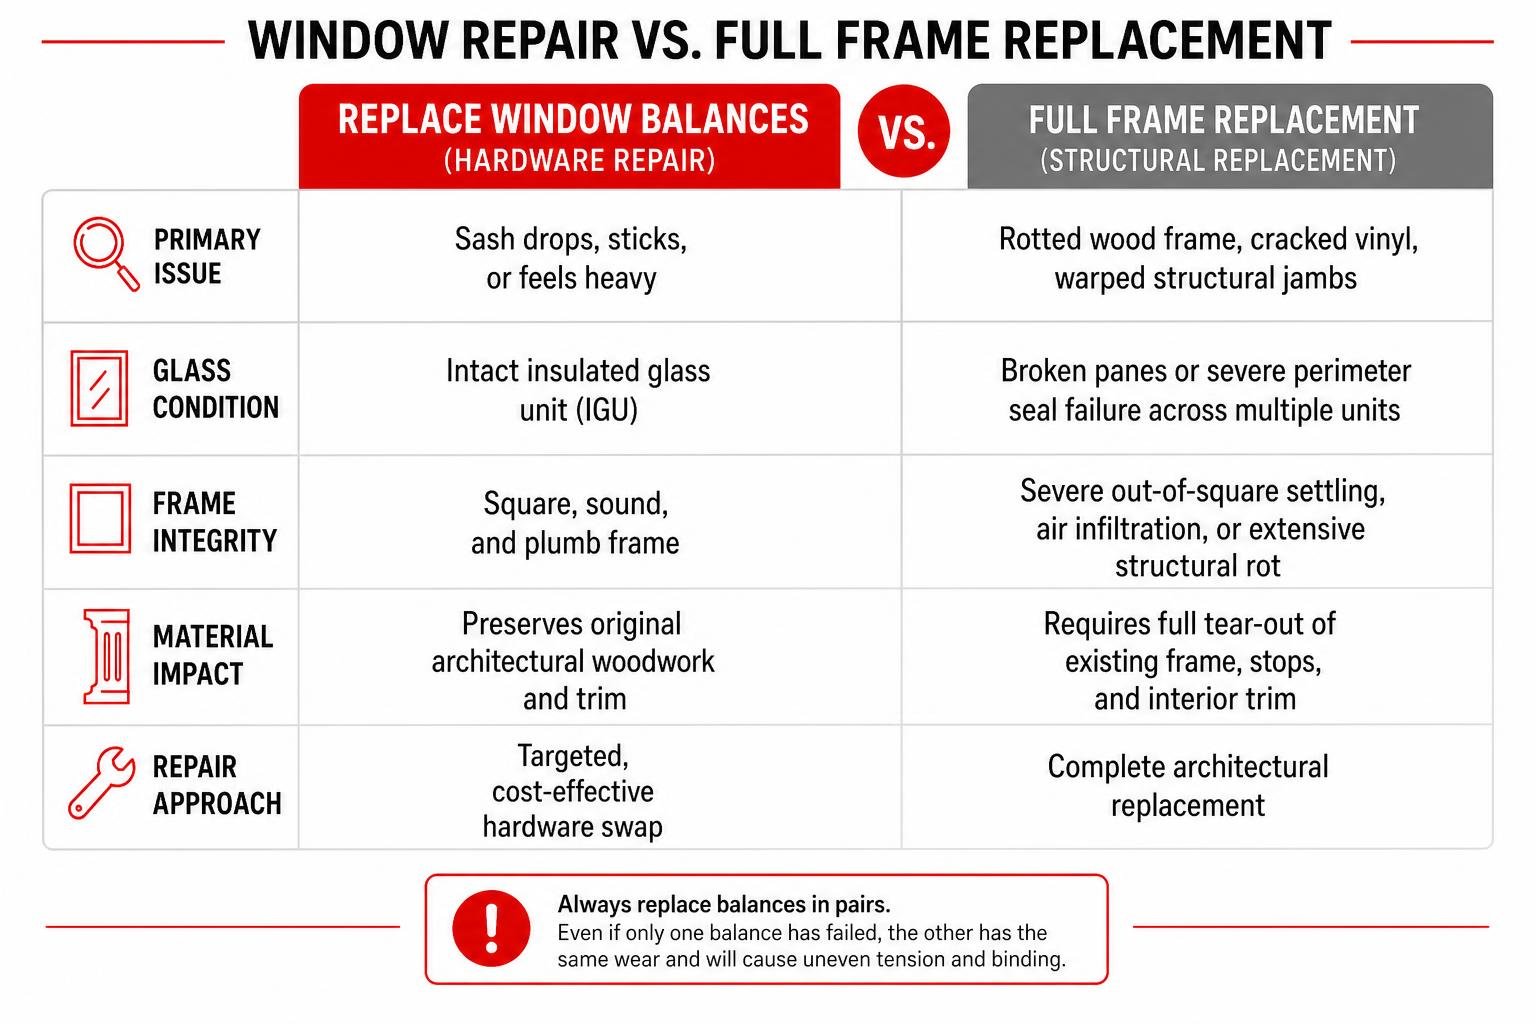
Before ordering parts, evaluate the overall condition of the window to confirm whether hardware replacement is appropriate or if broader structural repairs are necessary, such as repairing damaged window sashes or addressing frame rot.
| Evaluation Factor | Hardware Balance Replacement | Full Window Replacement |
|---|---|---|
| Primary Issue | Sash drops, sticks, or feels heavy | Rotted wood frame, cracked vinyl, warped structural jambs |
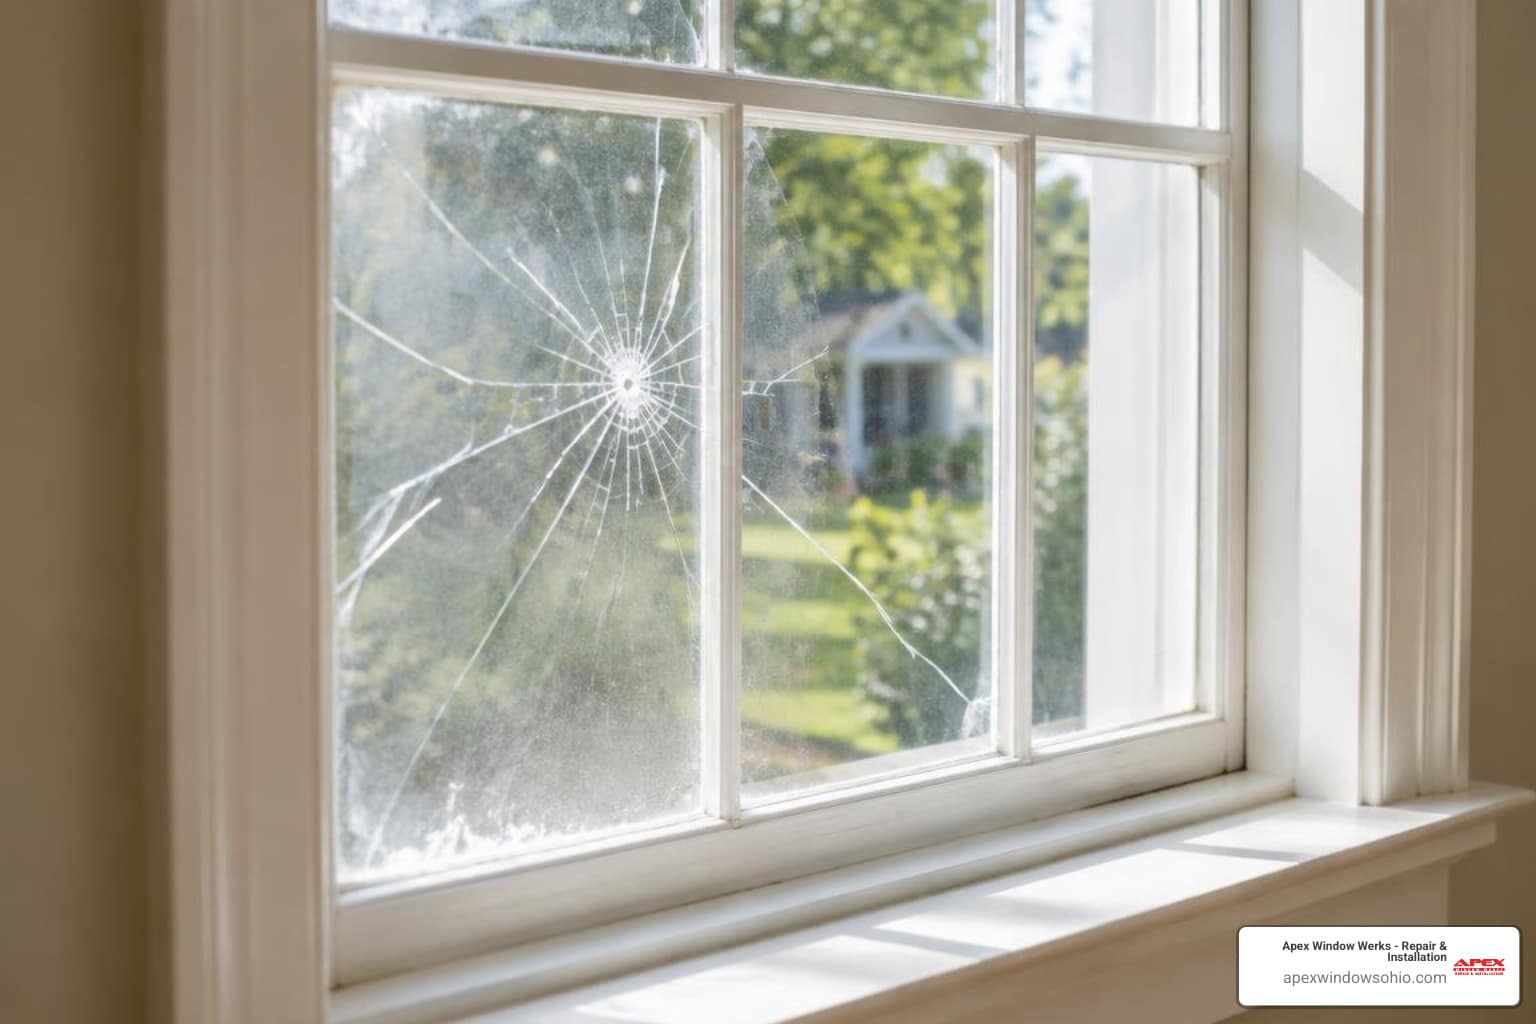
| Glass Condition | Intact insulated glass unit (IGU) | Broken panes or severe perimeter seal failure across multiple units |
| Frame Integrity | Square, sound, and plumb frame | Severe out-of-square settling, air infiltration, or extensive structural rot |
| Material Impact | Preserves original architectural woodwork and trim | Requires full tear-out of existing frame, stops, and interior trim |
| Repair Approach | Targeted, cost-effective hardware swap | Complete architectural replacement |
Identifying Balance Types and Sizing for Northeast Ohio Homes
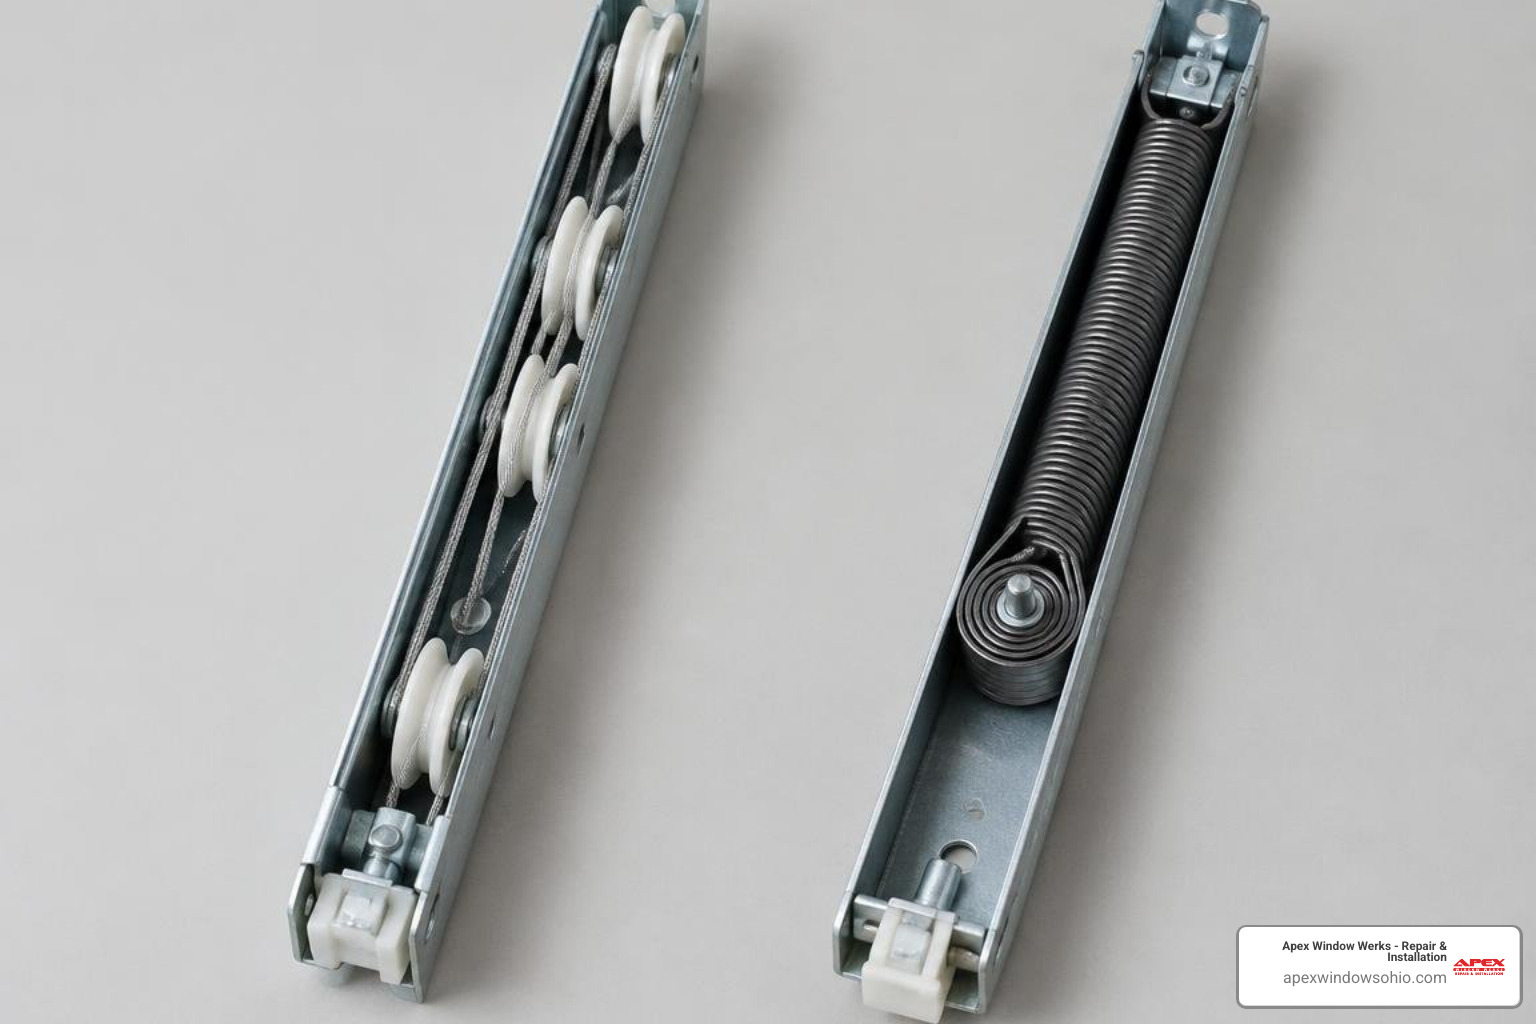
Window manufacturers utilize several balance mechanisms across different operating designs. Identifying your exact style is essential when learning how to choose the right vinyl window balance.
- Block-and-Tackle (Channel) Balances: These feature a U-shaped steel channel housing an internal extension spring connected to a pulley and nylon cord system. Commonly found in vinyl and aluminum windows, they provide smooth travel and high durability. Standard widths are 9/16 inch (often called 1/2 inch in trade terms) or narrow 3/8 inch profiles.
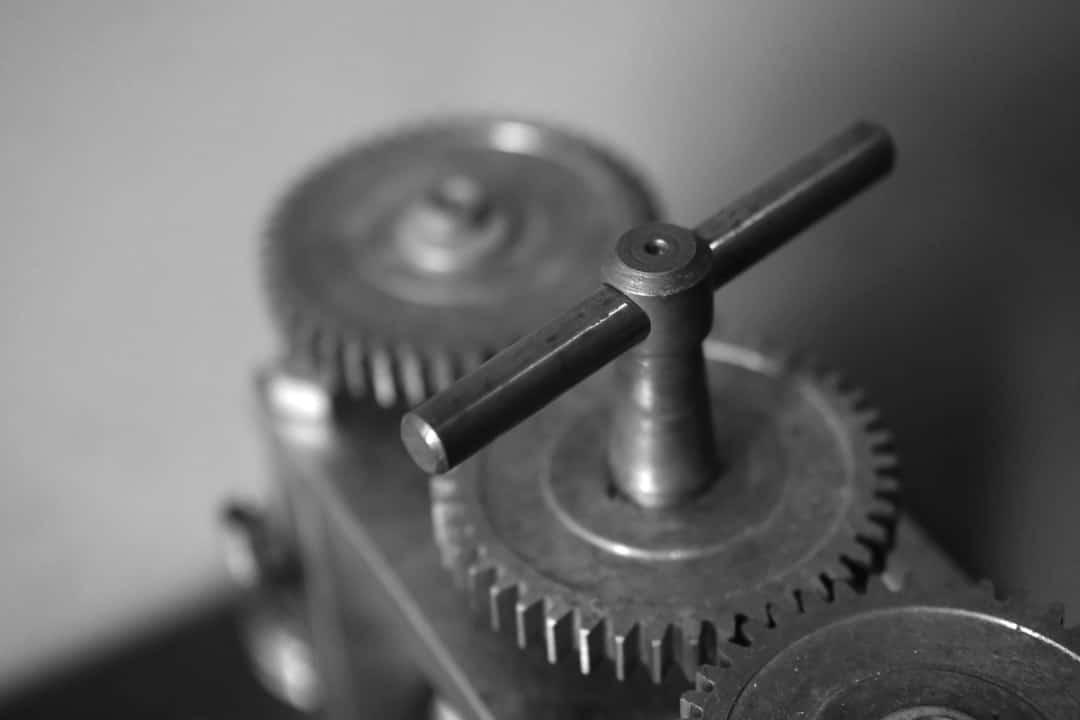
- Spiral (Tube) Balances: These utilize an internal torsion spring wound around a spiral metal rod encased in an aluminum or plastic tube. Common in both tilt-in and non-tilt sashes, they connect at the bottom to a pivot shoe or sash bracket.
- Constant-Force (Coil) Balances: These consist of stainless steel coiled ribbons housed in plastic assemblies within the jamb pocket. Heavier modern sashes often stack two or three coils per side to handle substantial weight.
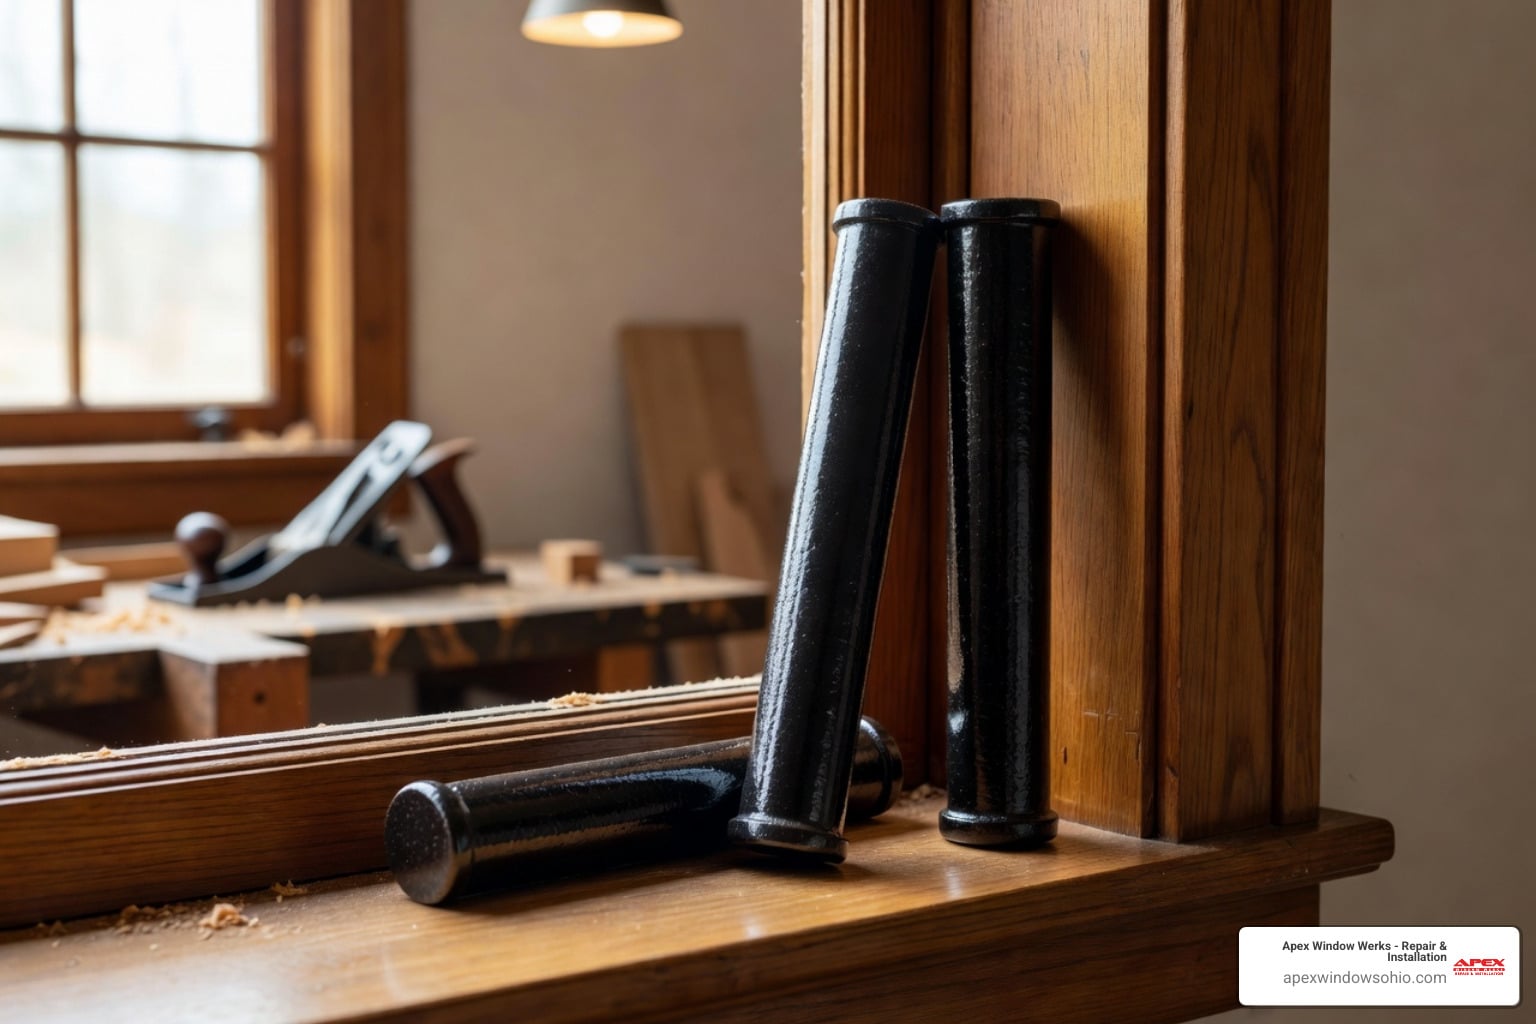
- Traditional Weights and Pulleys: Found in vintage wood homes throughout Cleveland Heights and Shaker Heights, these use cast-iron weights suspended inside hollow wall pockets connected by cotton cord or brass chain, as detailed in the This Old House guide on sash spring balancers.
Sizing and Preparation in Cleveland-Area Window Repairs
To ensure a precise fit, never guess the size or weight rating. Remove the old balance and record the critical specifications:
- Channel or Tube Length: For block-and-tackle balances, measure the metal channel only, excluding the plastic top guide and bottom shoe. For spiral balances, measure the metal tube length excluding the exposed spiral rod.
- Profile Dimensions: Measure the channel width and depth to determine the specific series (e.g., standard 9/16″ plain edge versus heavy-duty hemmed edge).
- Decoding Stamp Numbers: Metal channel balances feature stamped numbers (such as 2630 or 32HD). The first two digits generally signify the channel length (e.g., 26 inches), while the second digits indicate the sash weight range (e.g., 30 indicates a specific spring strength rating for 13 to 19 lb sashes).
- Weighing the Sash: If stamp markings are missing or worn, calculate the exact weight. Remove the sash and step onto a standard bathroom scale while holding it, then subtract your own body weight. A typical 28-by-30-inch vinyl sash with double-pane glass and argon fill often weighs between 12 and 18 pounds, but specialty glazing can push it heavier.
- Terminal Fittings: Inspect the bottom shoe and top guide configurations. Match the shape, locking cams, and attachment clips exactly to prevent binding inside the jamb track.
Step-by-Step Guide to Replacing a Window Balance in Northeast Ohio
Replacing a window balance requires basic hand tools, steady patience, and strict adherence to safety precautions.
Safety Precautions:
- Always wear ANSI-approved safety glasses and cut-resistant work gloves.
- Window balances store significant spring tension; never let spiral rods or tensioned cords snap loose.
- Have a helper assist with large or heavy double-glazed sashes to avoid glass breakage.
Required Tools:
- Phillips #2 and flathead screwdrivers
- Needle-nose pliers and a flat pry bar
- Putty knife (for easing painted wood stops)
- Spiral balance tensioning tool (for spiral mechanisms)
- Measuring tape and painter’s tape
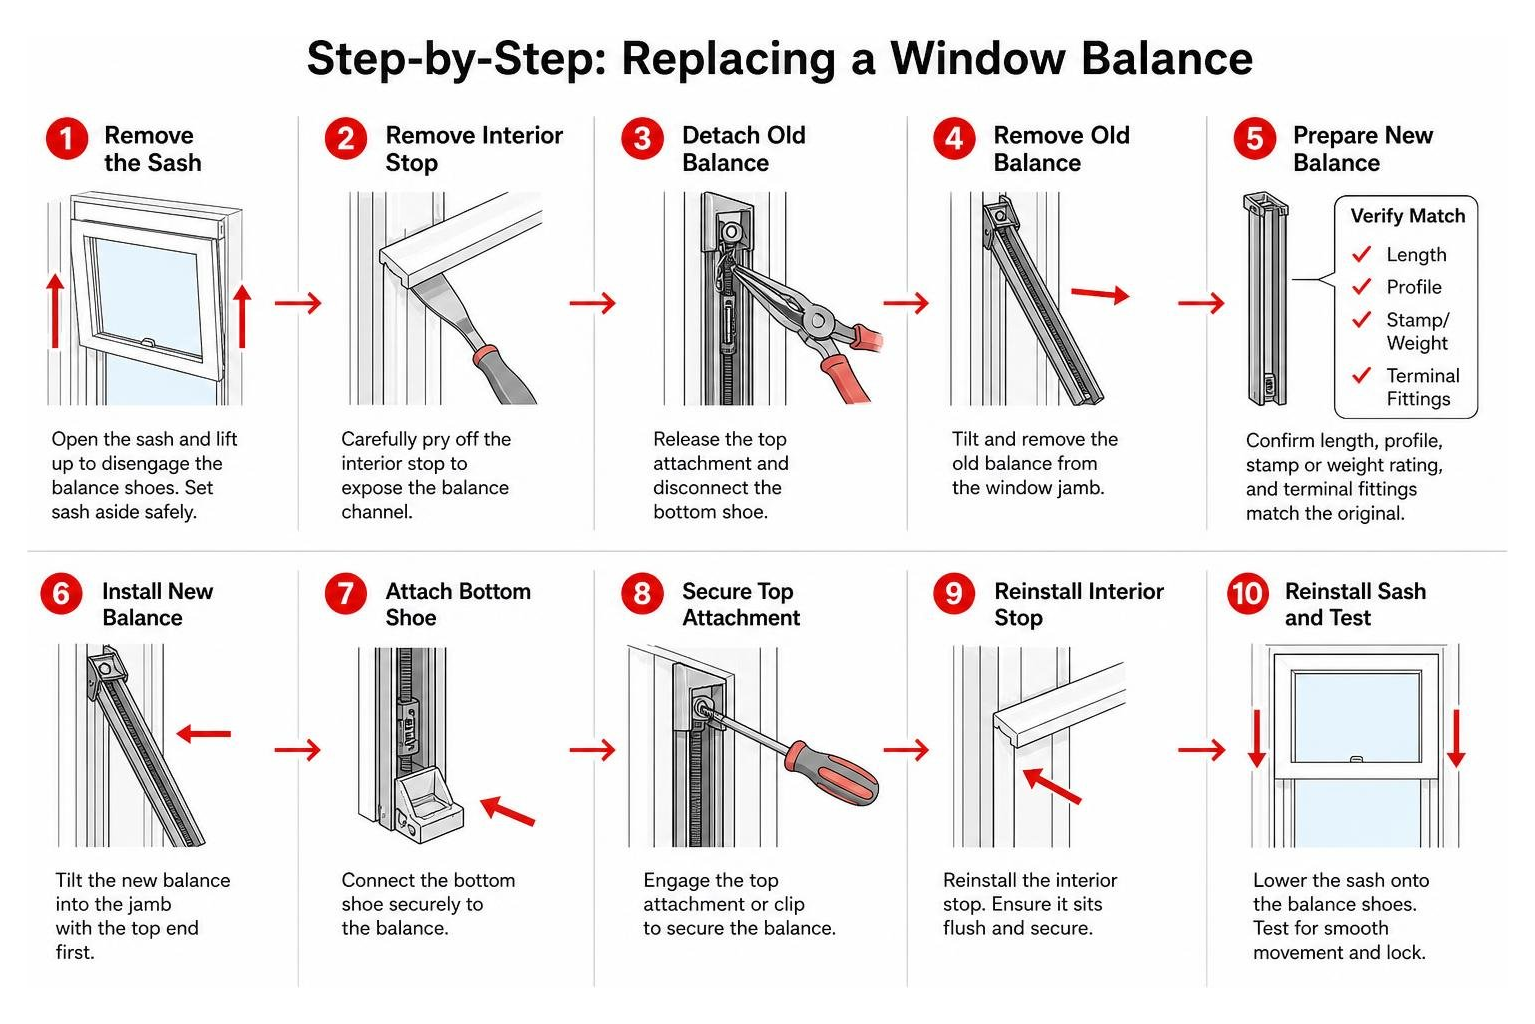
Replacing a Window Balance: Spiral vs Channel Systems
Because mechanical designs vary, follow the appropriate procedure for your window style.
Method A: Block-and-Tackle Channel Balances (Tilt and Non-Tilt)
- Remove the Sash: For tilt windows, raise the lower sash 3 to 4 inches, depress the tilt latches, tilt the sash inward to a 90-degree angle, and lift one side to disengage the pivot bars from the jamb shoes. For non-tilt sashes, locate the metal take-out clips in the upper jamb tracks, flip them open with a flathead screwdriver, raise the sash until it catches the clips, and lift the bottom sash out of the frame.
- Unhook the Balance: On non-tilt models, the balance will now be exposed in the track. Unscrew the top mounting screw or unhook the S-clip from the frame. On tilt models, insert a sturdy flathead screwdriver into the center cam of the pivot shoe, turn it 90 degrees to unlock it from the jamb, carefully walk the shoe upward to release spring tension, and slide the balance out.
- Install the Replacement: Verify that the new balance matches the removed part’s length and guide profile. Secure the top mounting hook or screw into the factory jamb hole. If working on a tilt window, draw the lower shoe down the track, turn the center cam 90 degrees to lock it into position roughly 3 to 4 inches above the sill, and verify it sits level with the opposite side.
- Reinstall and Check Operation: Seat the sash pivot bars firmly into the locking shoes, tilt the sash upright until the top latches snap into the frame channels, and test for smooth travel.
For comprehensive procedures on classic multi-track units, review our guide on double hung window balance replacement.
Method B: Spiral Tube Balances
- Extract the Sash: Raise the sash several inches, disengage the tilt latches, and remove the sash from the frame.
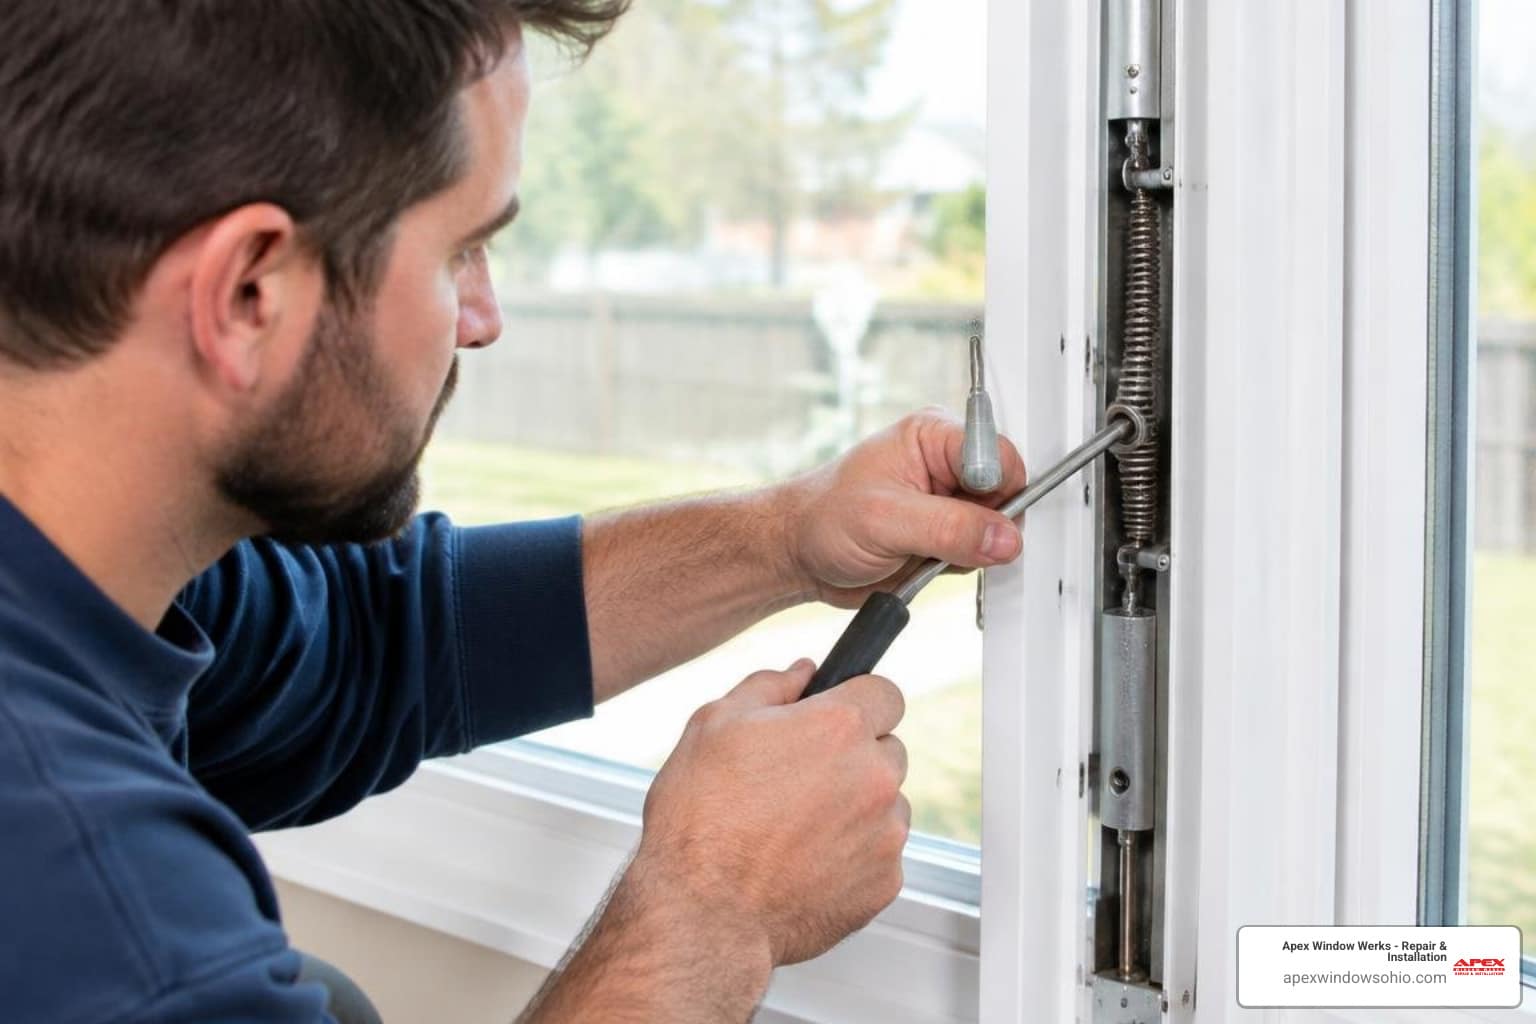
- Release Stored Tension: Hook a specialized spiral tensioning tool onto the cross-pin at the bottom of the spiral rod. Pull down slightly to disengage the rod from the bottom shoe bracket, grip the tool firmly, and allow the rod to unwind slowly in a controlled counter-clockwise motion.
- Swap the Balance Tube: Back out the upper mounting screw at the top of the jamb and remove the old tube. Fasten the new balance tube into the upper jamb using the existing screw hole.
- Charge the New Spring: Engage the tensioning tool onto the new spiral rod pin. Pull the rod down and wind it clockwise to pre-load the internal spring. For standard residential sashes, rotate clockwise approximately 3 to 6 full turns to establish the initial lift rating, following standard Window Hardware Direct spiral balance instructions.
- Lock and Test: Guide the cross-pin into the slot of the pivot shoe or sash carrier, replace the sash, and verify balance.
Troubleshooting Installation Issues and Avoiding Common Mistakes
Achieving balanced, quiet operation requires careful attention to detail. Review these common pitfalls to ensure you are replacing a sash balancer properly.
- The sash creeps upward on its own: This occurs when a balance is over-tensioned or oversized for the sash weight. If using spiral balances, use your tension tool to release one or two turns counter-clockwise. For channel balances, confirm the weight rating stamp is not rated above your actual sash weight.
- The sash still slumps downward: The spring tension is insufficient. Add one or two clockwise turns on spiral balances, or replace the channel balance with a higher weight capacity rating.
- Sash binds or tilts sideways: Unequal spring tension between the left and right balances causes the sash to twist in the frame. Ensure both balances share identical part numbers, stamp codes, and turns of tension. Check that both pivot shoes sit at the exact same height before lowering the sash into place.
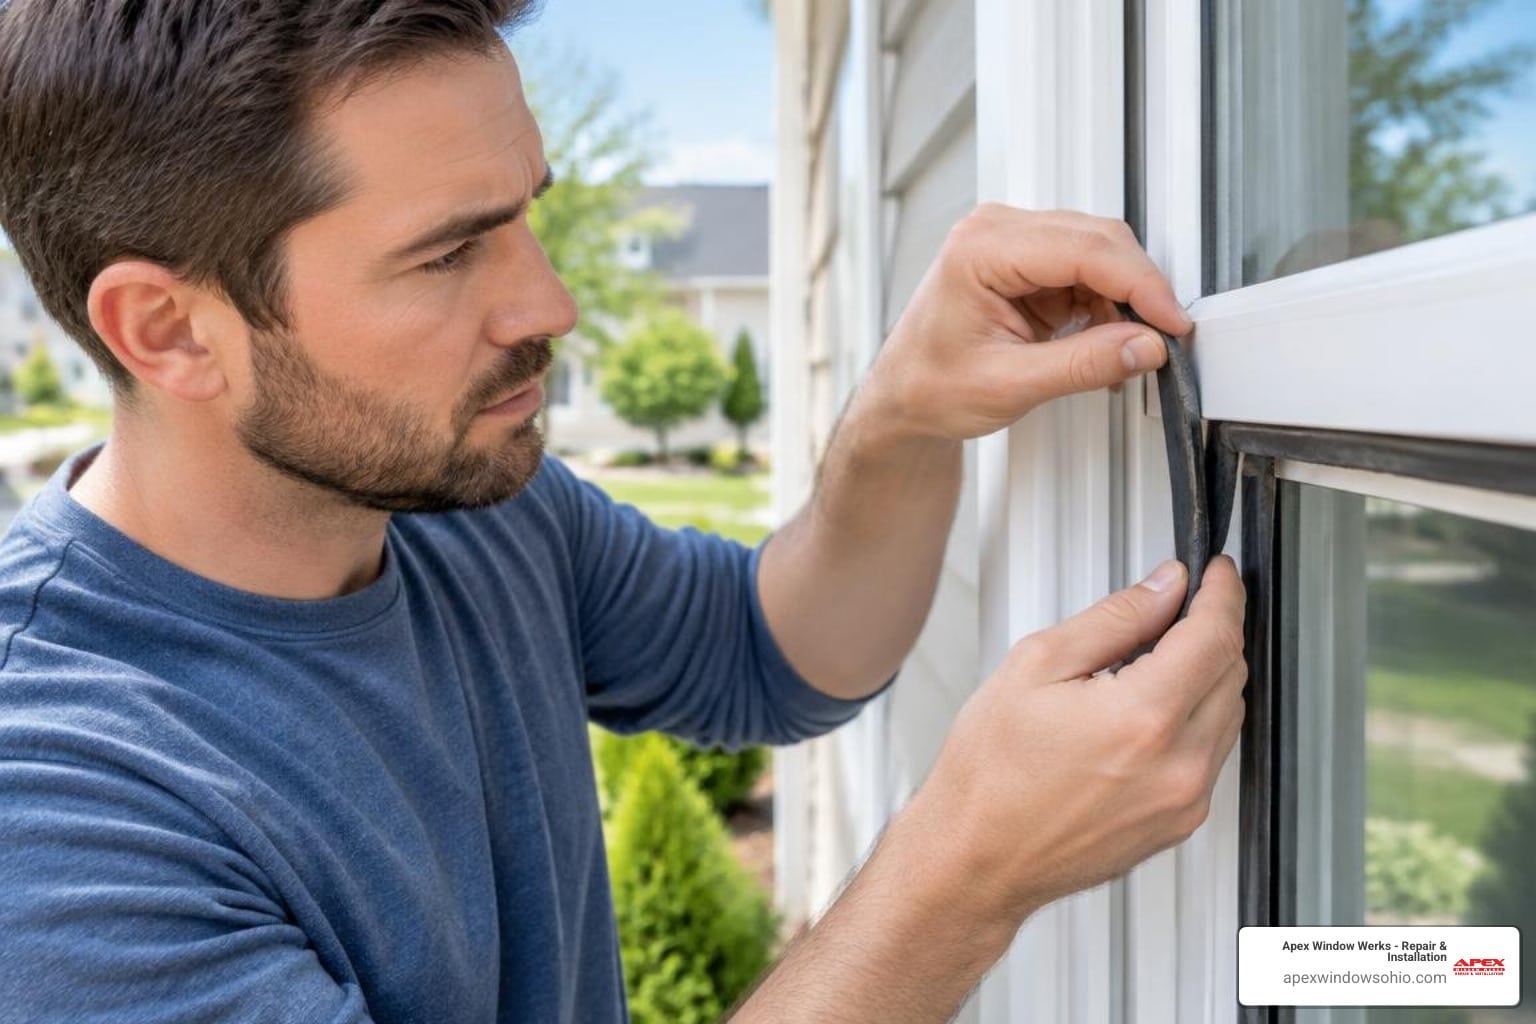
- Squeaking or friction noises: Clean built-up debris, dust, and pollen from the vinyl or aluminum jamb tracks. Apply a light coat of dry silicone spray lubricant along the track surfaces. Never use oil-based lubricants or grease, as they attract dirt and degrade vinyl components.
- Avoid painting over jamb liners: When repainting older wood window frames, keep paint completely away from the balance channels, cords, and shoes to prevent mechanical binding.
Frequently Asked Questions About Window Balances
Why do window balances need to be replaced in pairs?
Window balances experience identical wear over thousands of operational cycles. If only the broken balance is replaced, the fresh spring will exert significantly greater lifting force than the fatigued spring on the opposite side. This uneven tension twists the sash within the frame, causing the glass unit to bind, creating friction against the jamb tracks, and causing the new hardware to fail prematurely.
How do I know the weight rating of my replacement balance?
The simplest way to identify the weight rating is by checking the numbers stamped directly onto the metal casing of the channel balance or the color-coded bushing on the tip of a spiral balance. If the markings have worn away or corroded, remove the window sash entirely and weigh it on a scale. Replacement balances are categorized into distinct sash weight brackets to ensure proper counterweighting.
What is the difference between repairing a balance and replacing the window?
Replacing a window balance is a targeted mechanical repair that addresses lifting hardware failure while preserving the existing frame, glass, and interior trim. Full window replacement is only necessary when the surrounding frame has suffered structural rot, severe frame warping, or extensive multi-pane seal failure where repairing the existing assembly is no longer practical or cost-effective.
Conclusion
A window that functions effortlessly brings everyday comfort, natural ventilation, and safety to your home. By taking accurate measurements, matching weight ratings carefully, and replacing hardware in balanced pairs, you can restore smooth, reliable sash movement for years to come.
When you encounter complex multi-pane commercial assemblies, custom wood jamb configurations, or sash hardware that resists simple adjustment, professional repair ensures your windows are serviced safely and correctly. At Apex Window Werks, we bring comprehensive expertise to residential and commercial window component restoration across the Cleveland – Akron region. Request a free online estimate by submitting photos of your window hardware, or visit our Oakwood Village workshop for dedicated component service.