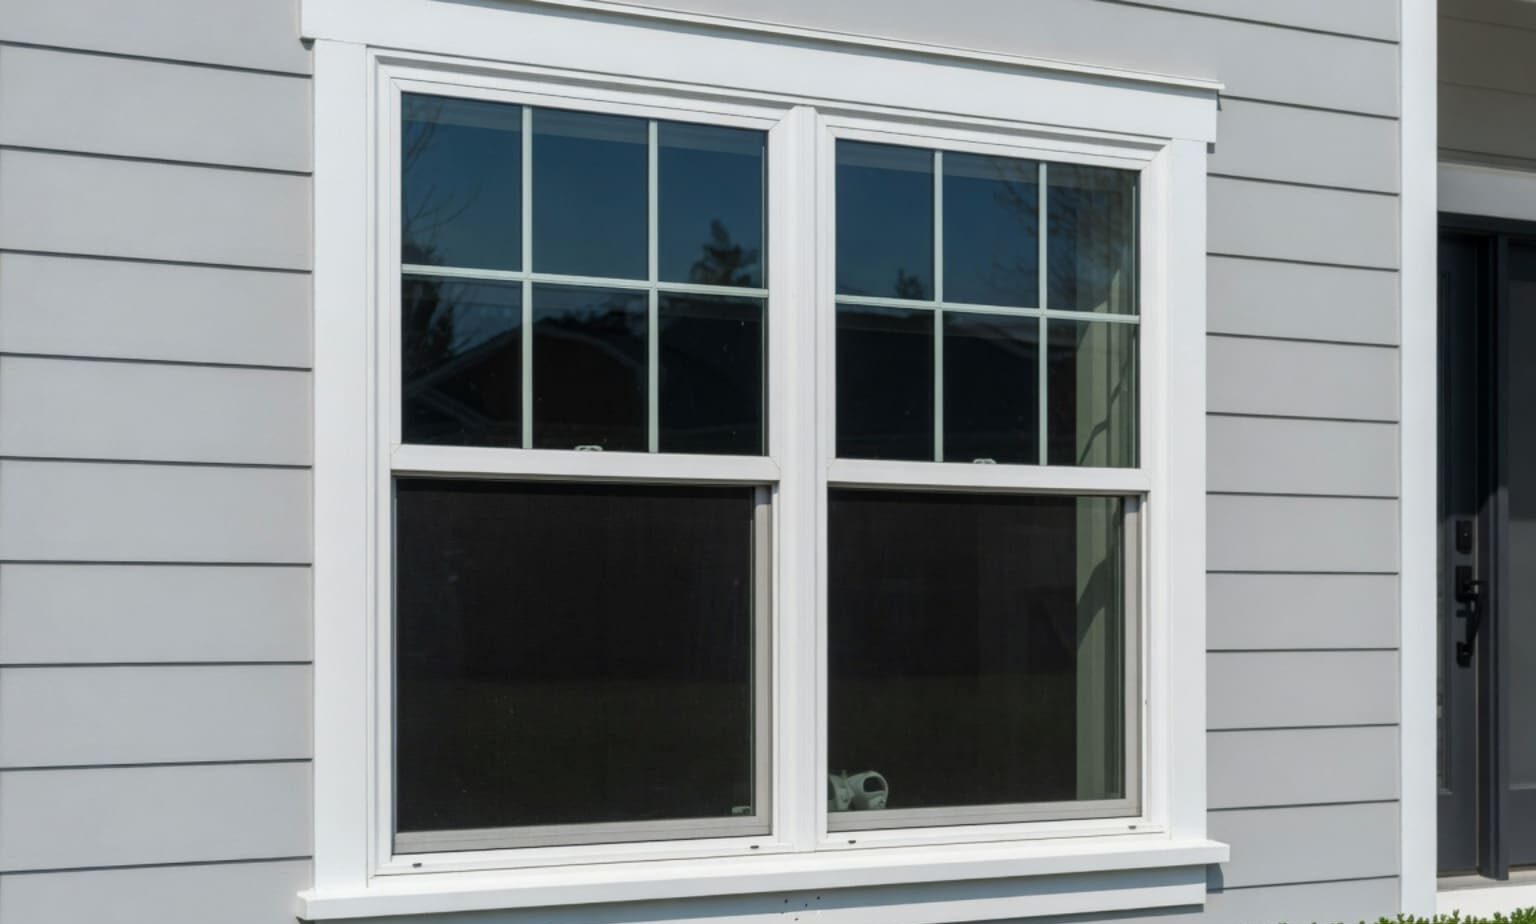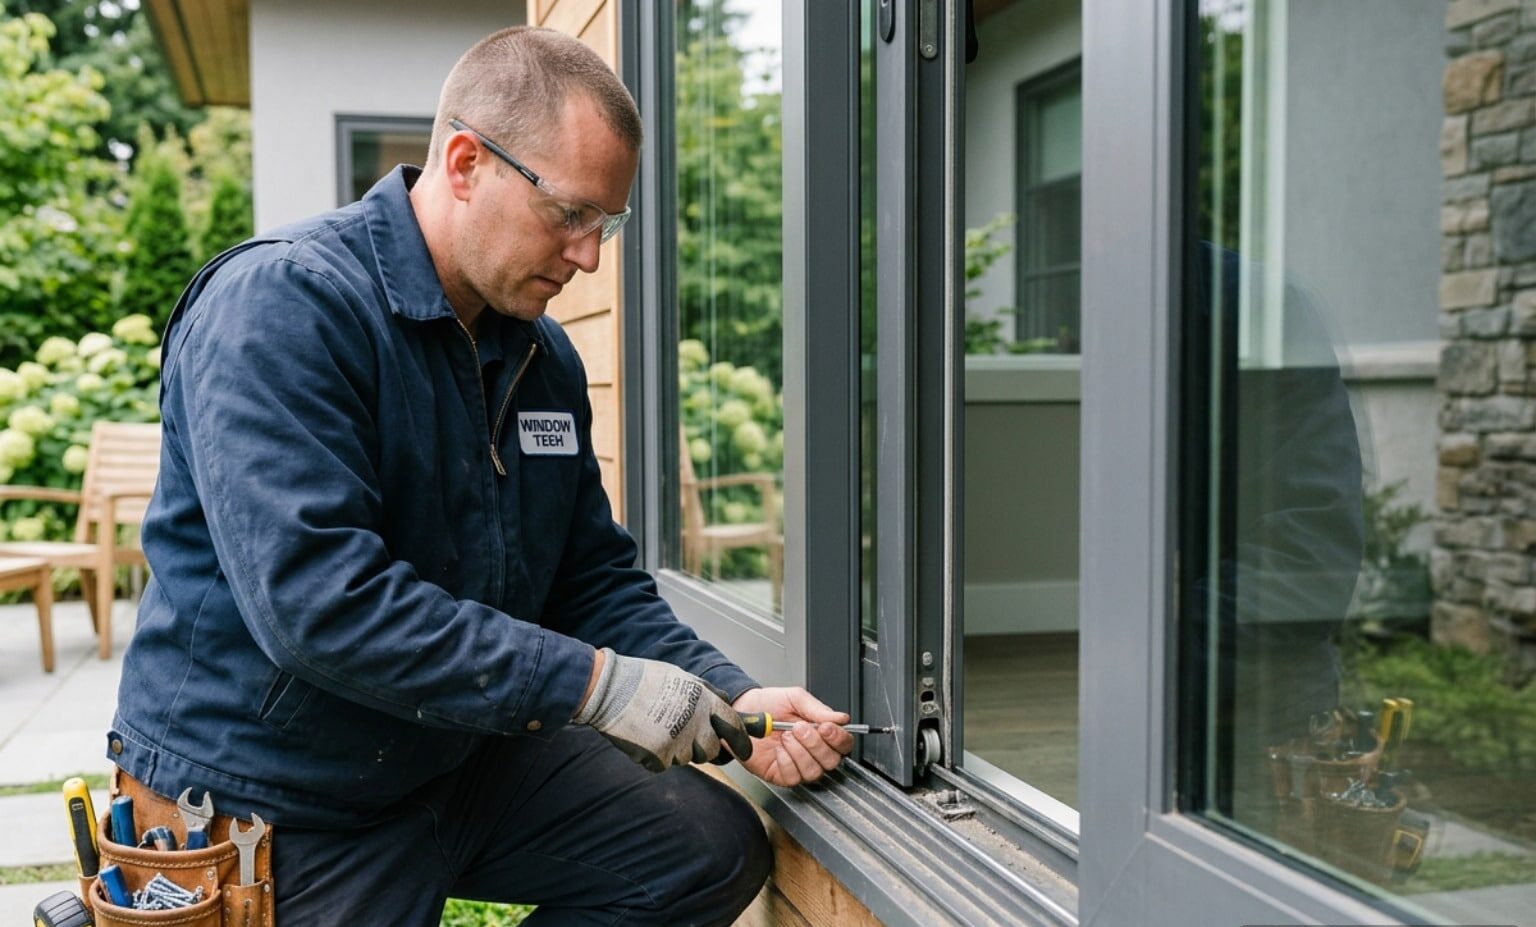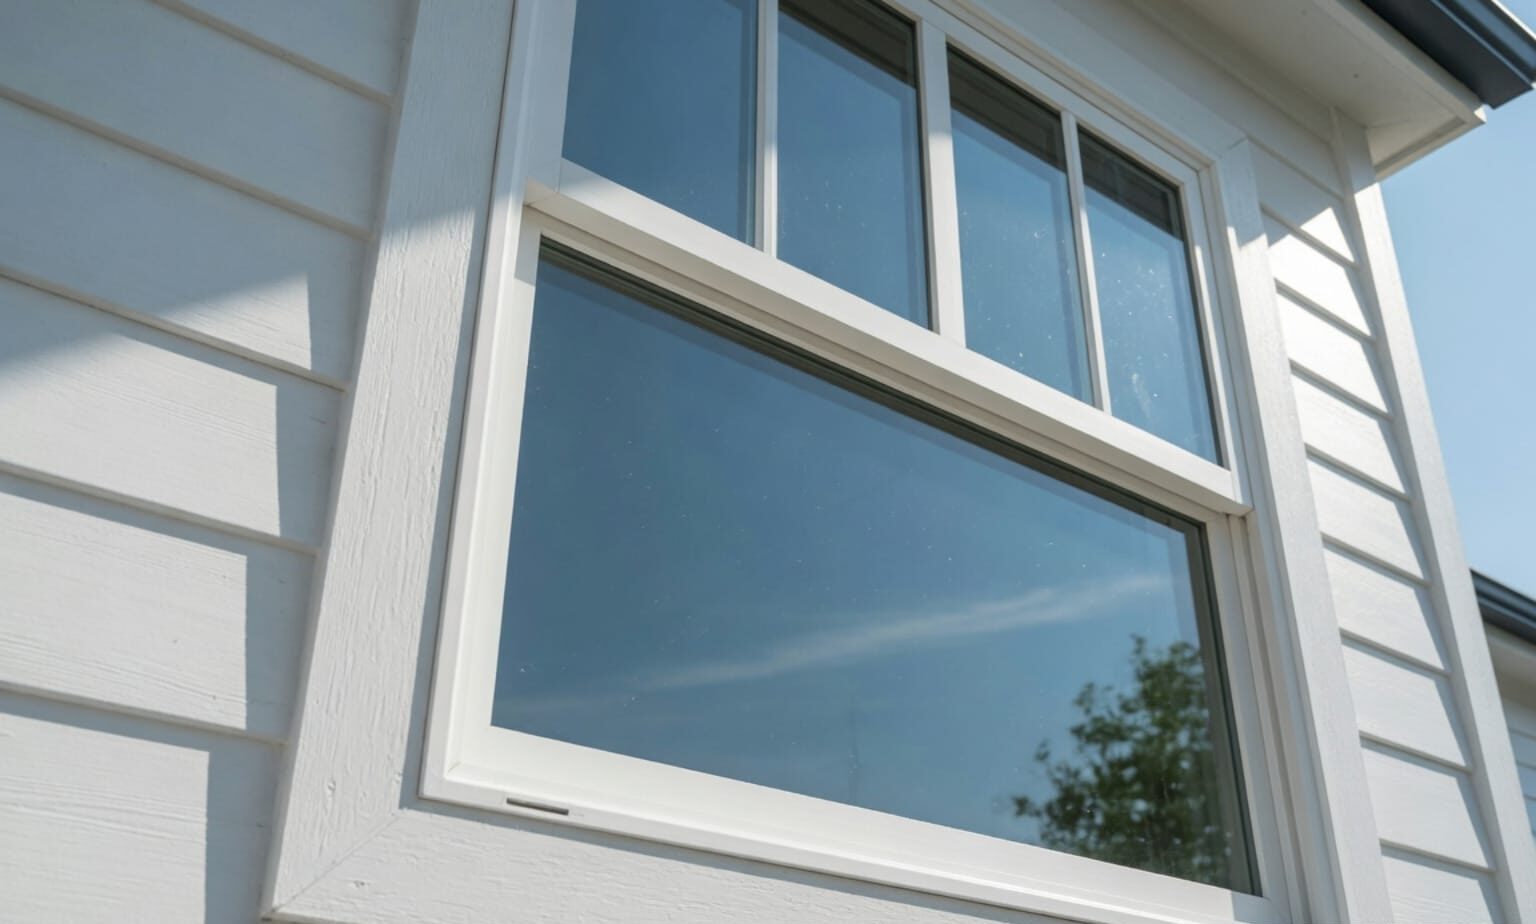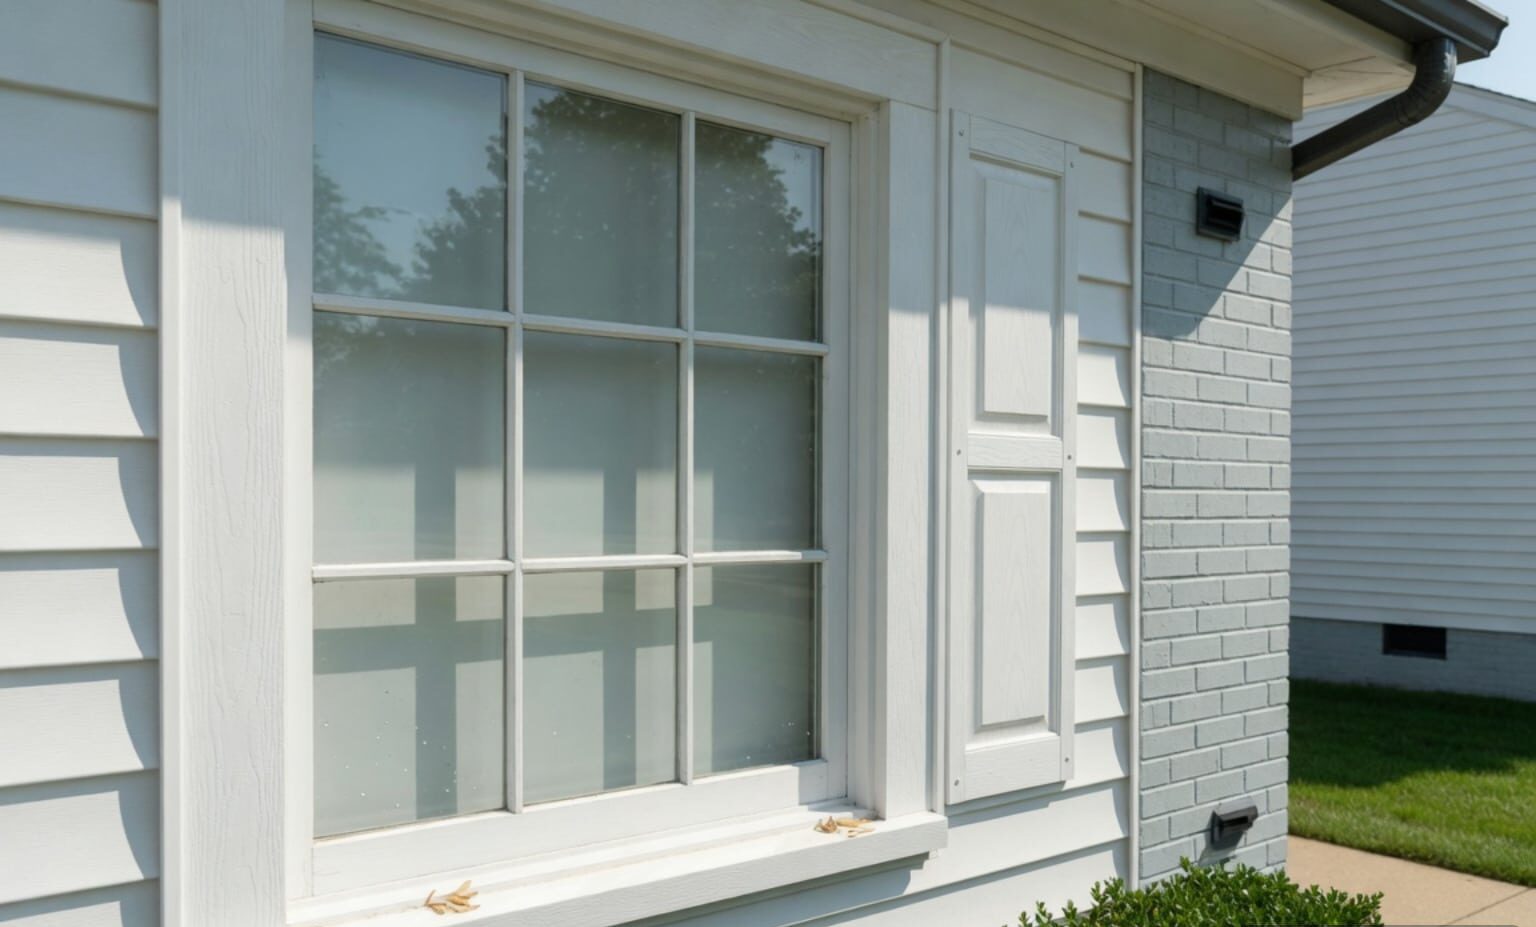


How to Replace a Sash Balancer Without Losing Your Balance
Why Sash Balancer Replacement Fixes a Cleveland Window That Won’t Stay Up
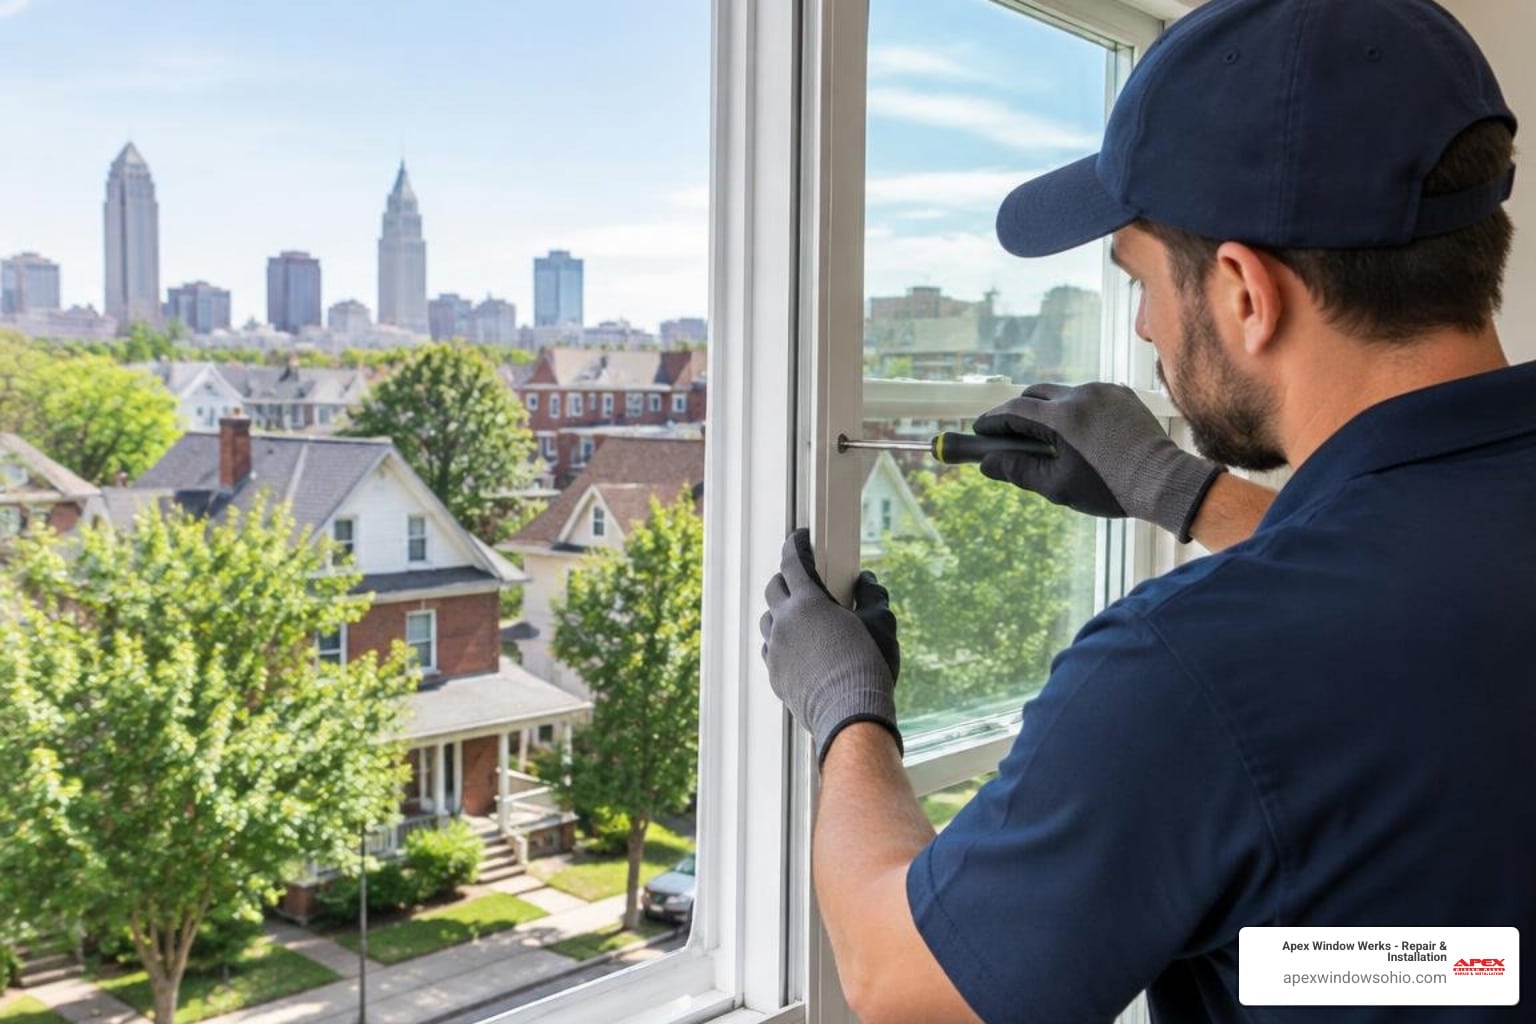
Sash balancer replacement is the repair you need when your double-hung window won’t stay open, slams shut on its own, or feels unusually heavy to lift. Here is a quick overview of how to do it:
- Identify your balance type — spiral, block-and-tackle, top-mounted spring-and-cord, or constant-force coil.
- Match your replacement part — check the stamp code or number on your old balancer before ordering.
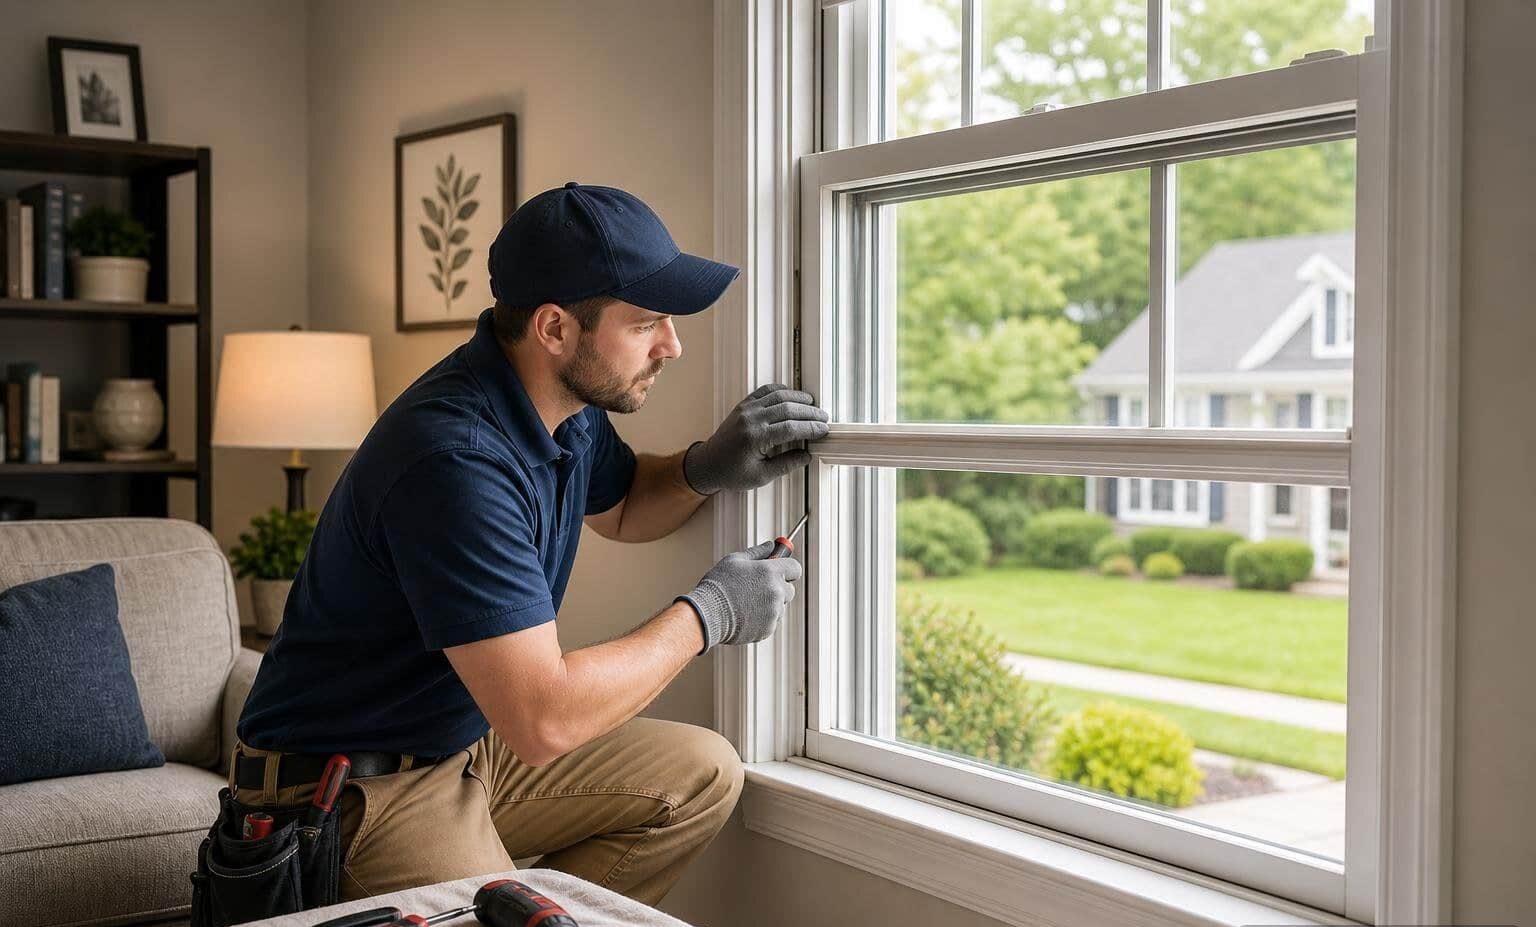
- Remove the sash — tilt or slide it out according to your window type.
- Release tension safely — use a long-handled flat blade screwdriver and wear safety glasses.
- Install new balancers — replace both sides at the same time, every time.
- Reinstall the sash — push it down to re-engage the balancers before testing.
The good news: most homeowners in the Cleveland-Akron area can handle this repair with basic tools and a free afternoon. The catch is that getting the wrong part or skipping a safety step can turn a simple fix into a bigger problem.
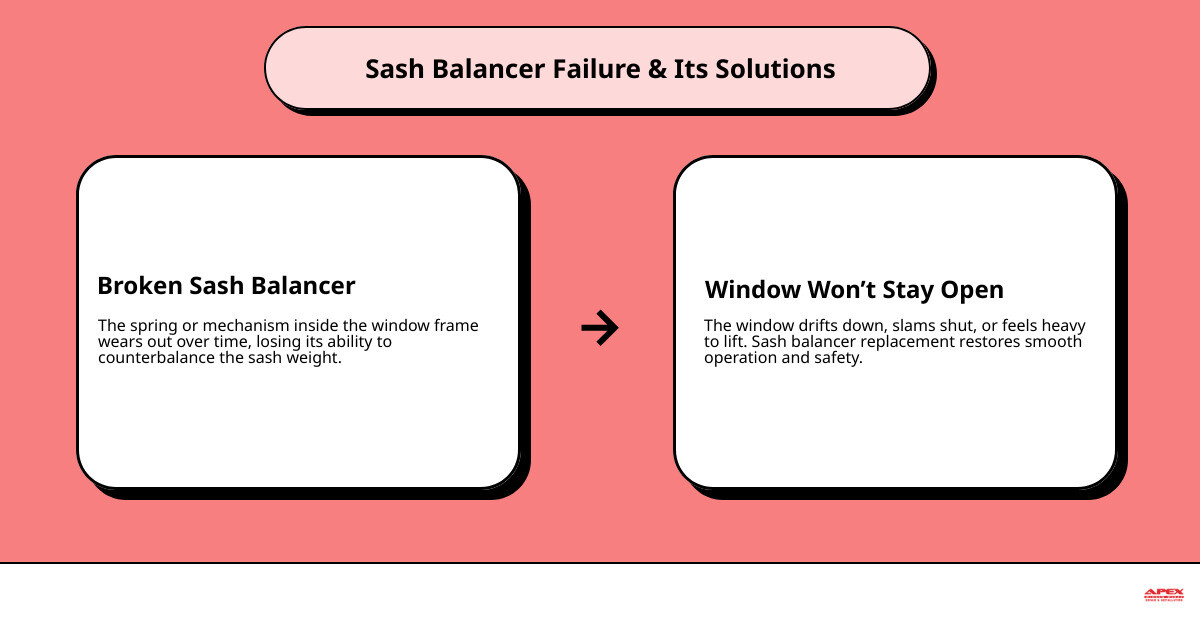
Sash balancers are the hidden springs or mechanisms inside your window frame that carry the weight of the sash. When they fail, your window stops cooperating — and your arms end up doing the job instead.
I’m Nataly Godes, General Manager at Apex Window Werks, and my team handles sash balancer replacement along with a full range of window repair services across Northeast Ohio every day. In this guide, I’ll walk you through everything you need to know to get the job done safely and correctly.
Sash balancer replacement vocab to learn:
What is a Window Sash Balancer and How to Identify Your Type in Northeast Ohio
A window sash balancer is the unsung hero of your double-hung or single-hung windows. It is a mechanical device hidden inside the window frame or jamb liner that counteracts the weight of the heavy glass sash. By providing equal upward tension, it allows you to lift the window with a single finger and keeps the sash securely in place at any height.
When these components begin to fail, the symptoms are hard to miss. You might notice your window drifting downward slowly after you open it, or worse, slamming shut like a guillotine. You might also hear strange snapping, grinding, or metallic twanging sounds coming from inside the side tracks when you operate the window. If the sash suddenly feels like it weighs fifty pounds, your balancer has likely given up the ghost.
Before you purchase any parts, you must spend a few minutes identifying the exact mechanism your window uses. Ordering the wrong type is the most common pitfall in DIY window repair.
There are four primary types of balancers used in modern and classic vinyl or wood windows:
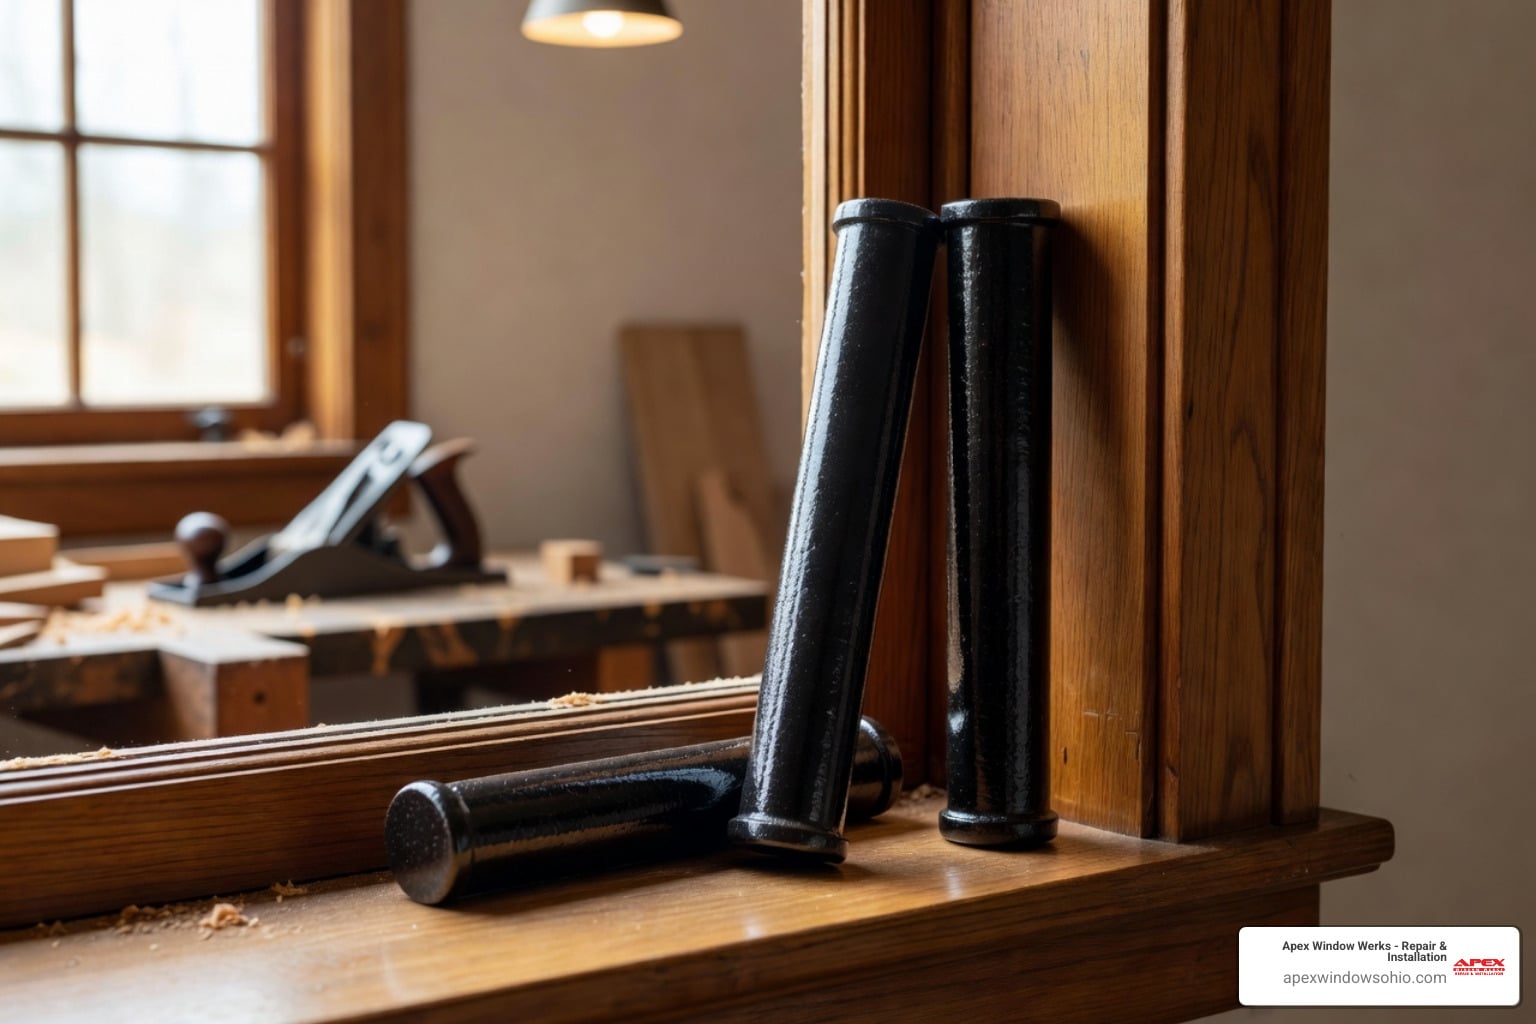
- Spiral Balances: These consist of a metal tube containing a tensioned spring wrapped around a spiral metal rod. As the window moves up and down, the spiral rod rotates to adjust the spring tension. These are highly common in both tilt-in and non-tilt vinyl windows.
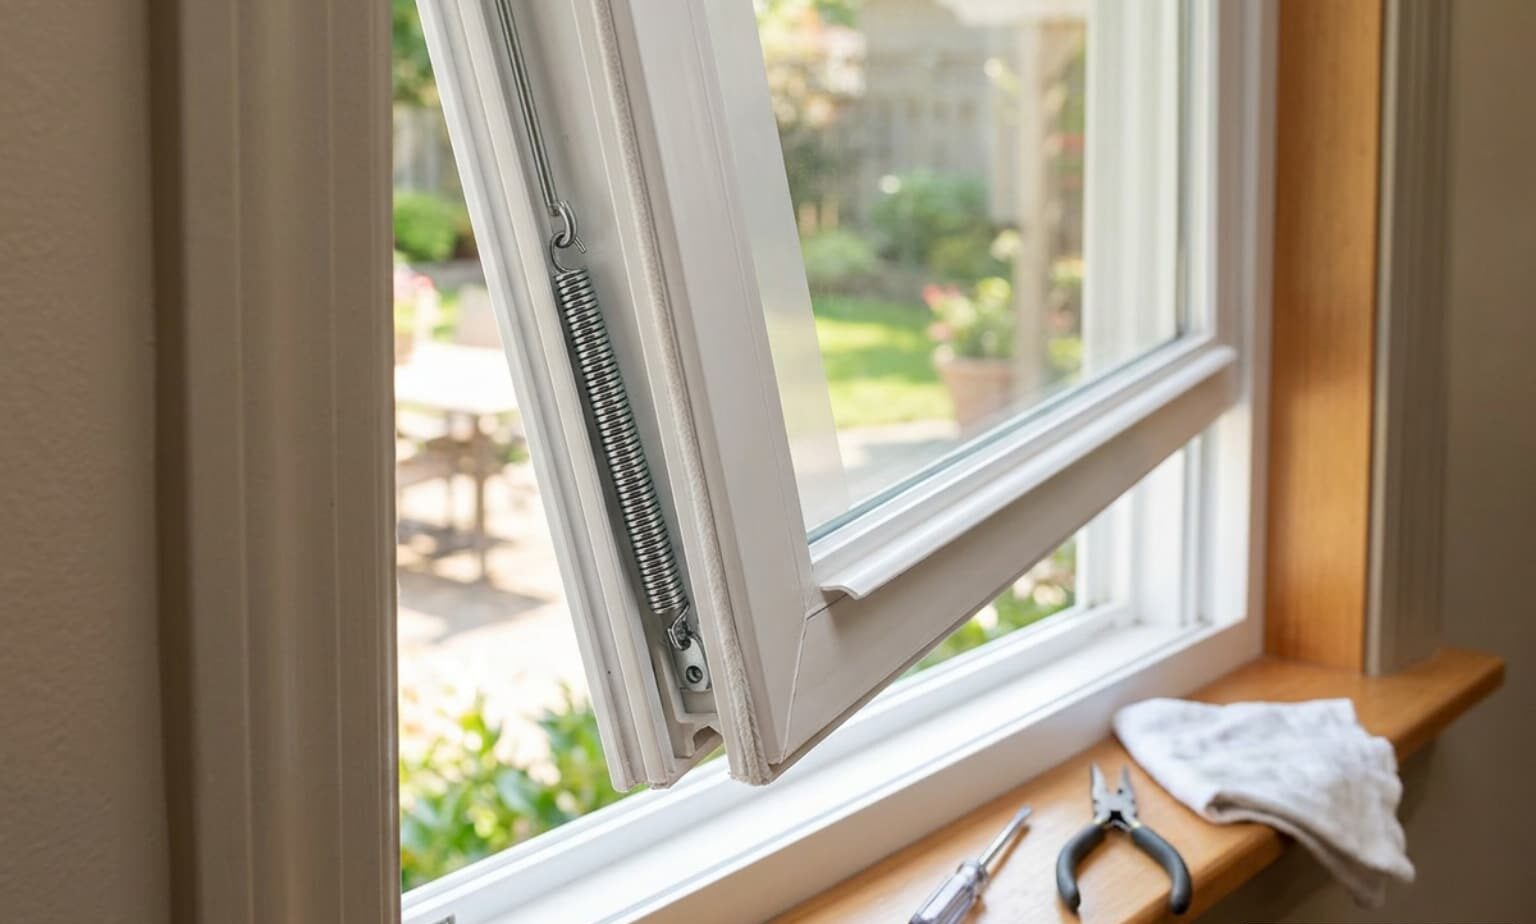
- Block-and-Tackle Balances: Also known as channel balances, these utilize a combination of a heavy-duty extension spring and a series of small pulleys (tackle) wrapped in a nylon cord, all housed inside a sturdy steel channel.
- Constant-Force Coil Balances: Often resembling a heavy-duty steel tape measure, these use a coiled spring steel band that rolls and unrolls inside a plastic housing as the window moves. They are incredibly durable and common in modern vinyl double-hung windows.
- Top-Mounted Spring-and-Cord Balances: Typically found in classic wood windows, these house a spring mechanism directly inside the head jamb (the top of the window frame) with a high-strength cord running down to attach to the sash.
For a deeper dive into how these systems function and how to select the right parts, you can read our guides on How to Handle Double-Hung Window Balance Replacement Like a Pro and learn How to Choose and Buy the Right Vinyl Window Balance.
Identifying Proprietary Systems for Sash Balancer Replacement in Cleveland
Many older homes in Cleveland, Lakewood, and Cleveland Heights feature high-quality wood windows with proprietary balancing systems. A prime example is the classic Andersen 200 Series Narroline double-hung window, which was manufactured from 1968 to 2012. Because these windows were built to last, many in our area are approaching fifty-seven years of service and are finally ready for a balancer refresh.
When dealing with proprietary systems like the Narroline, you cannot simply buy a generic off-the-shelf balancer. You must identify the correct replacement part based on specific stamp codes on the old hardware or by measuring the unobstructed glass size of your window. For instance, the Andersen Replacement Sash Balancer 1033 – 1626044 Andersen Perma-Shield Narroline Double-Hung Balancers is designed to replace older, discontinued balancer sizes like 1027 and 1031.
Similarly, the size 837 balancer is backward-compatible and can replace obsolete sizes 823, 827, and 831. That while some single-hung systems like the Andersen 100 Series use heavy balancers weighing up to twenty-five pounds each, the Narroline counter balancers are compact units weighing only about one pound each.
Essential Tools and Safety Rules for Cleveland and Akron Sash Balancer Replacement
Working with window balancers means working with stored mechanical energy. Those springs are under incredible tension to support heavy glass, and they do not care about your fingers or your eyebrows. Safety must be your absolute first priority.
Before you begin, gather the following essential tools and supplies:
- Safety glasses and heavy-duty protective work gloves.
- A long-handled flat blade screwdriver (crucial for maintaining a firm, two-handed grip when releasing spring tension).
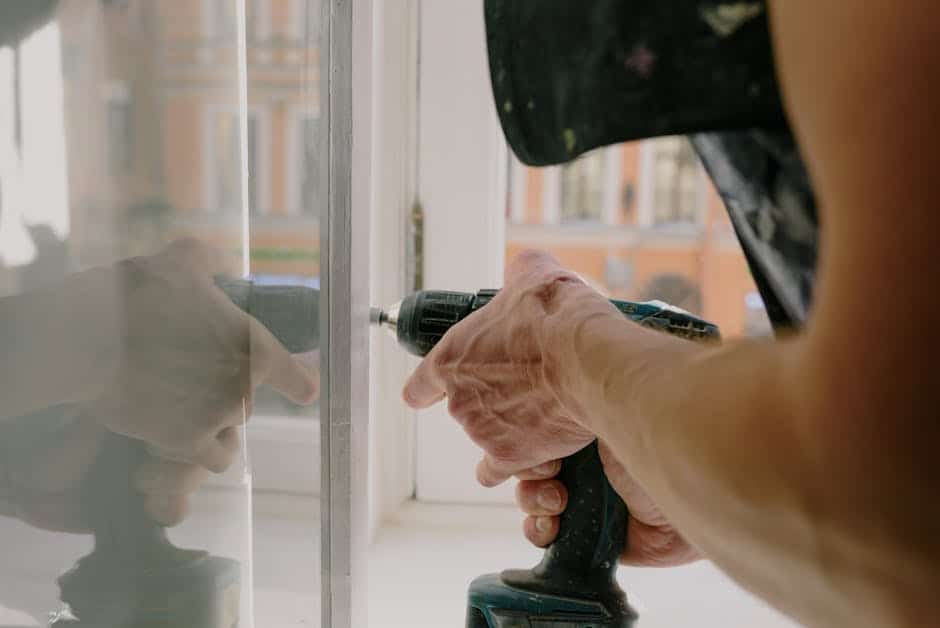
- A manual Phillips screwdriver (avoid using a power drill or driver, as it is incredibly easy to strip the screw holes in vinyl or wood frames).
- Duct tape or filament tape (to secure the glass pane if you are working near cracked or damaged glass).
- A sturdy chair, table, or padded workspace to safely rest the removed sash.
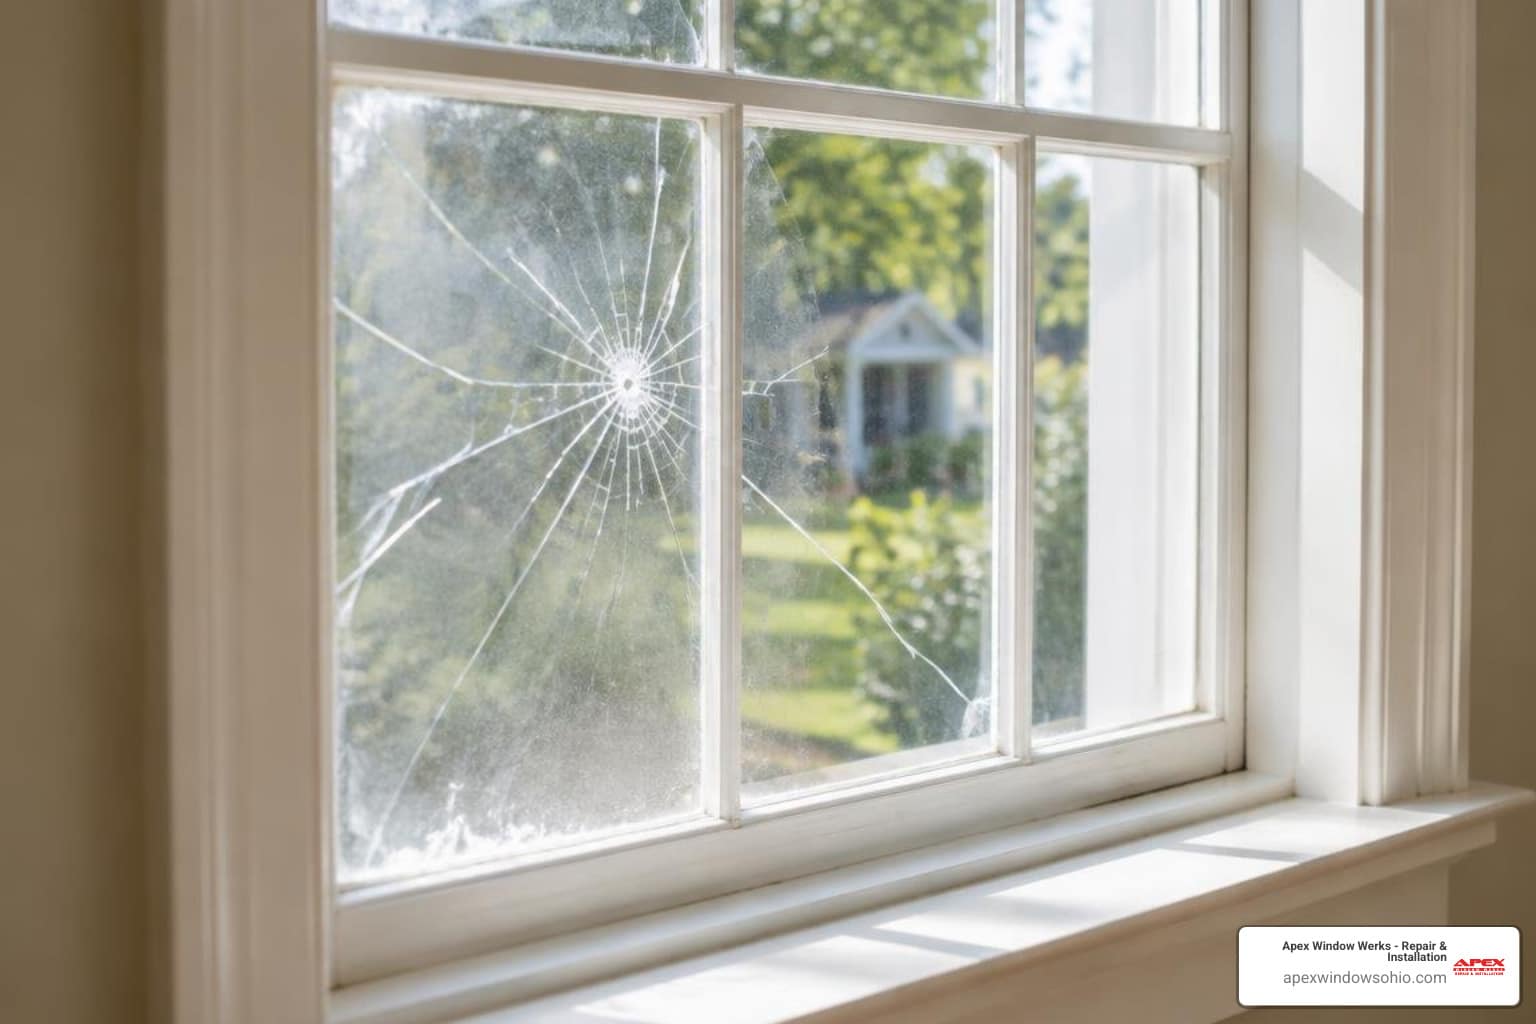
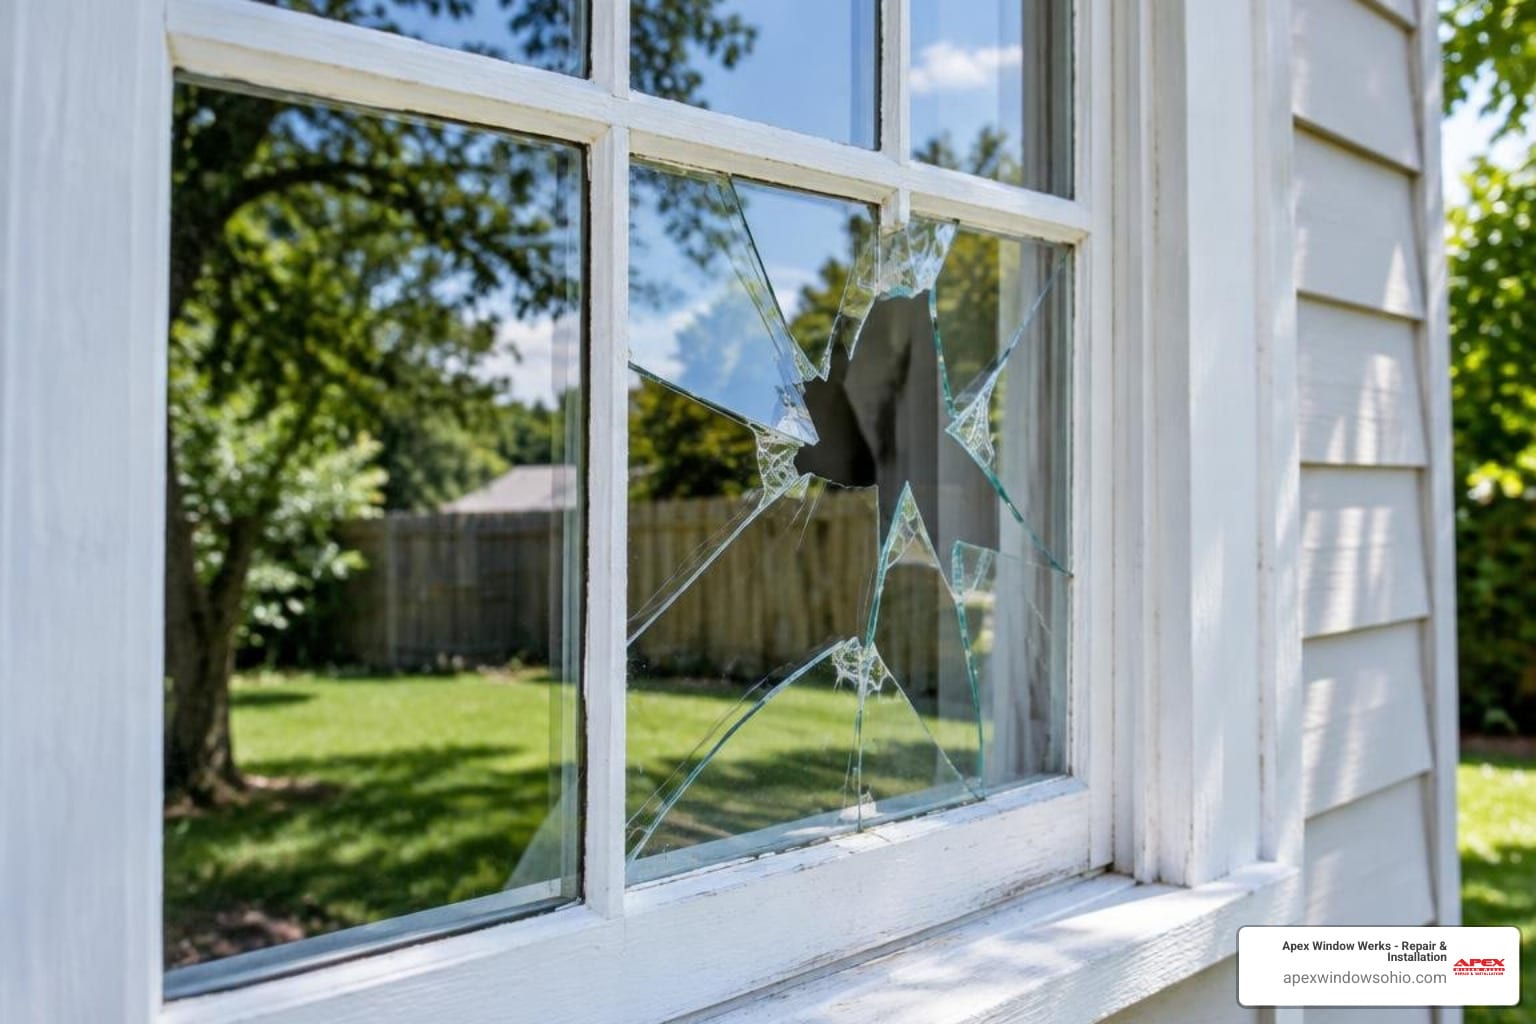
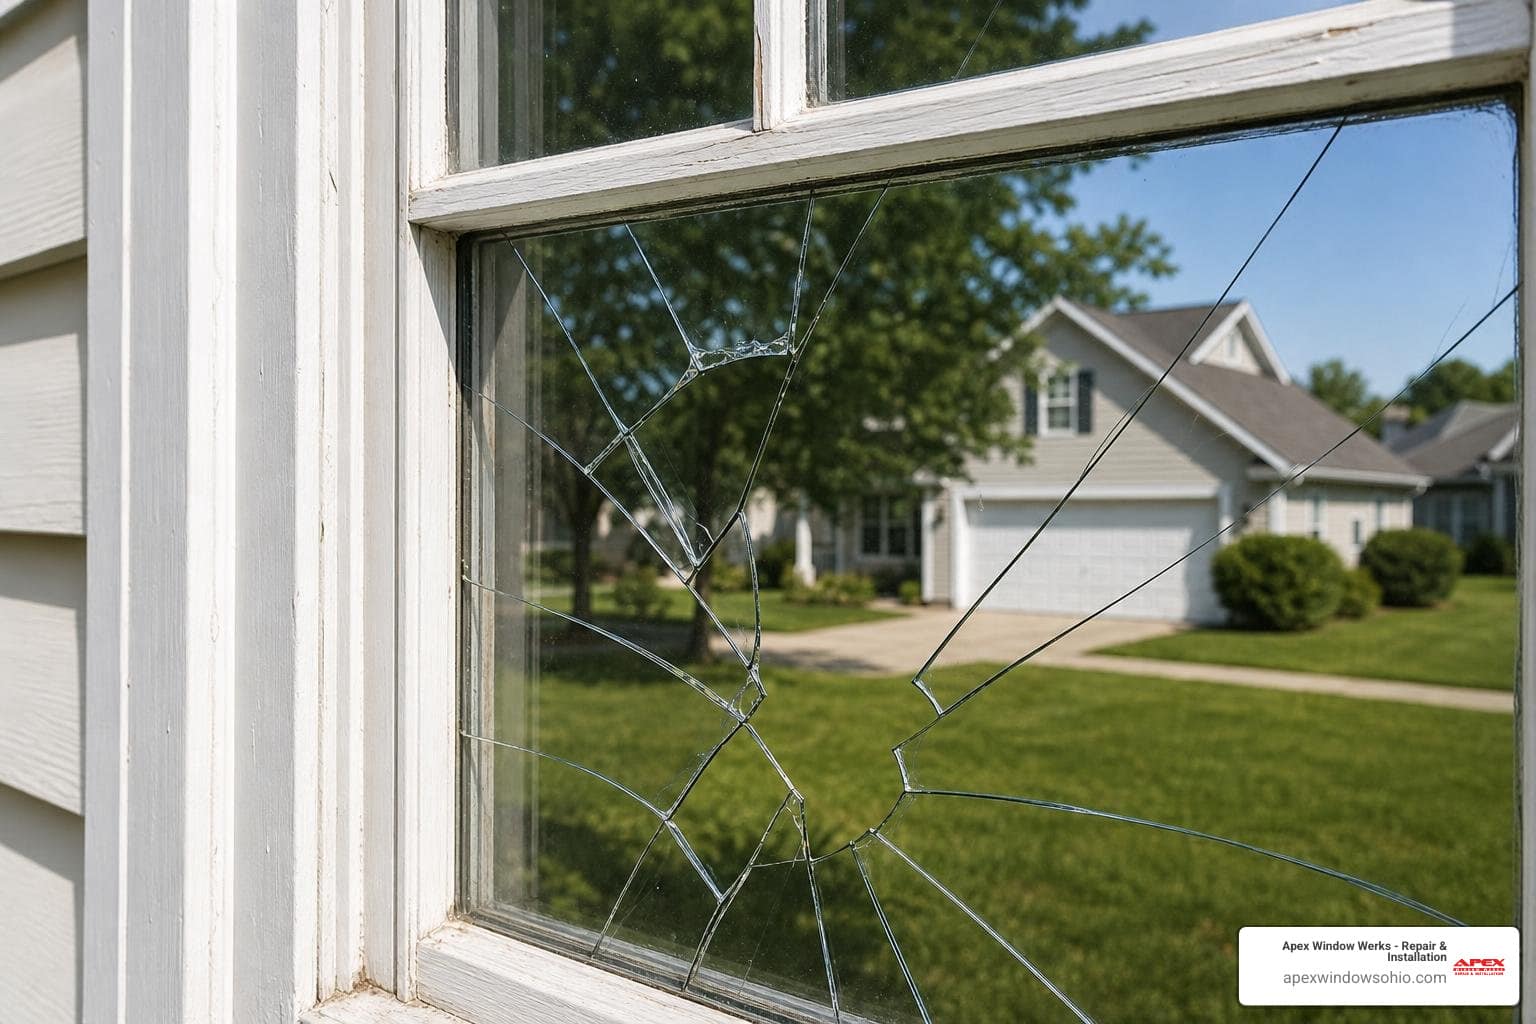
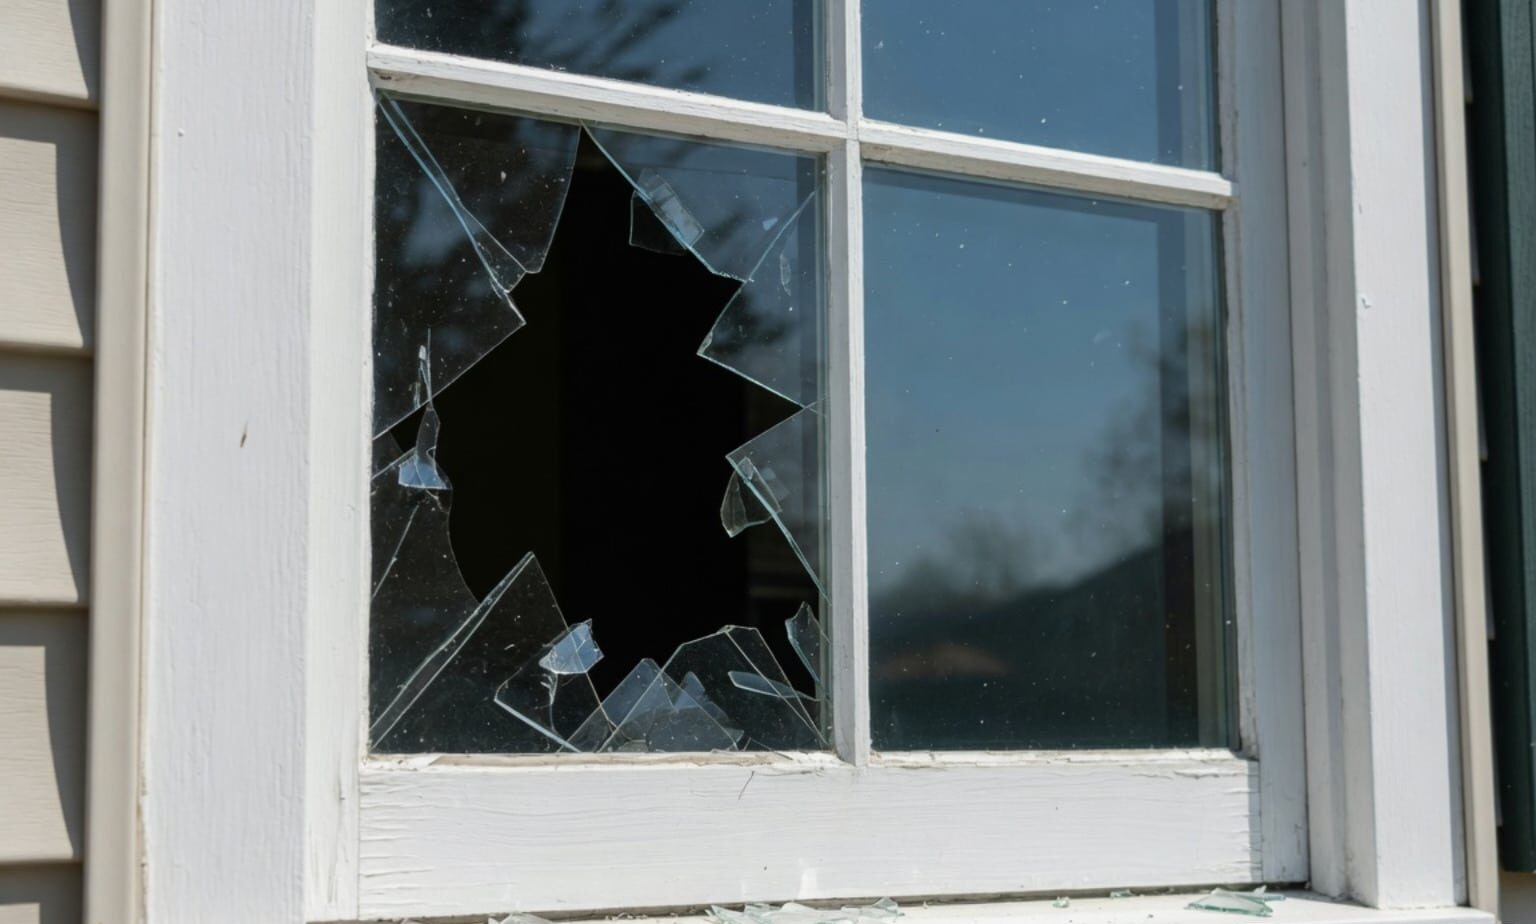
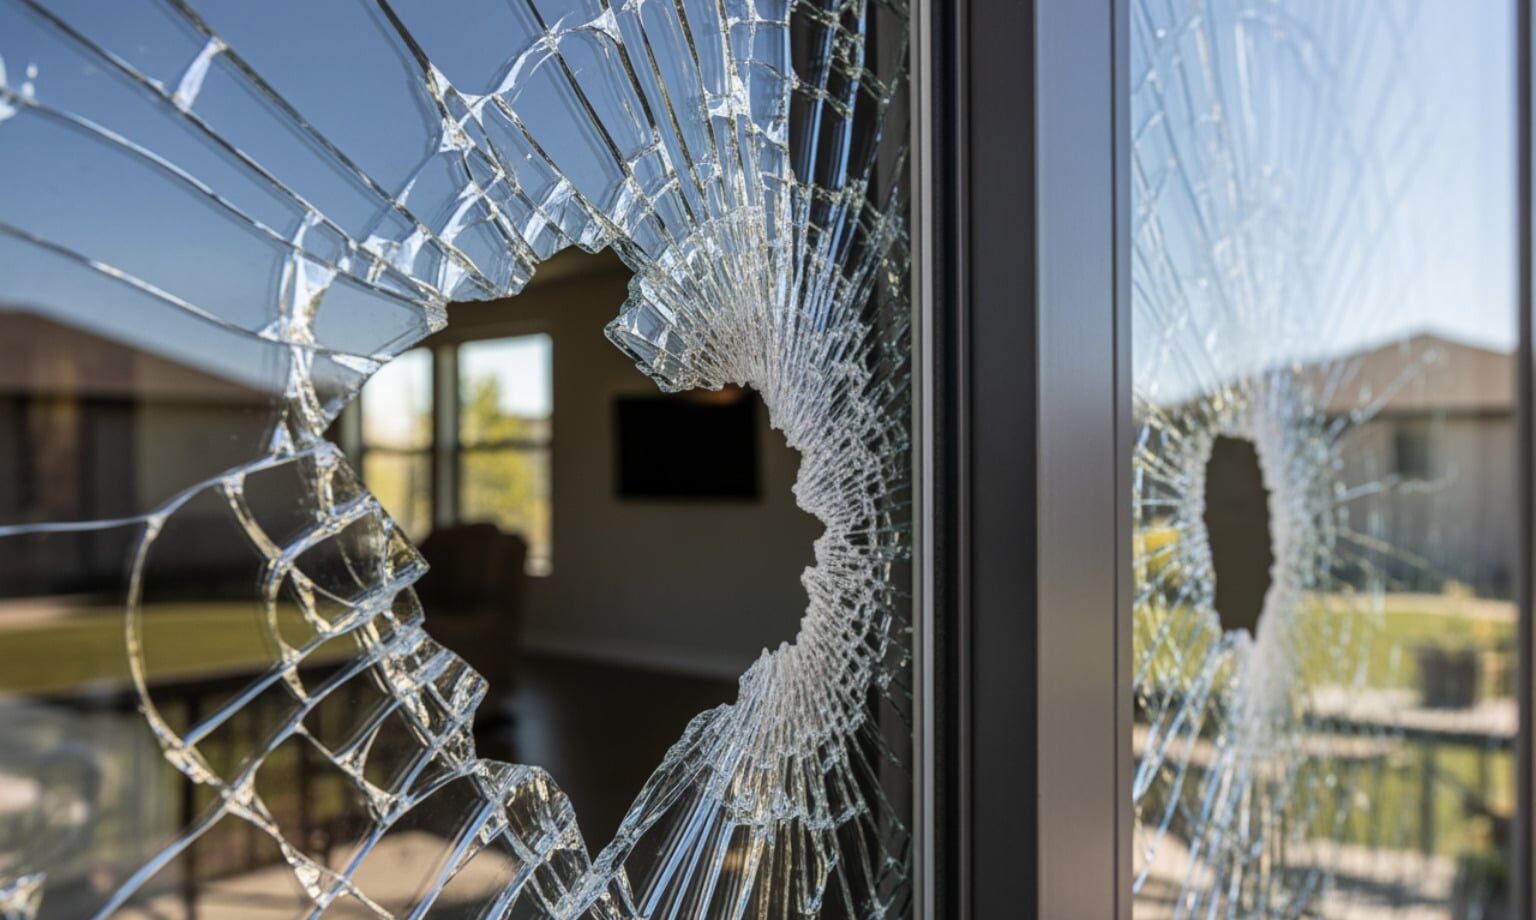
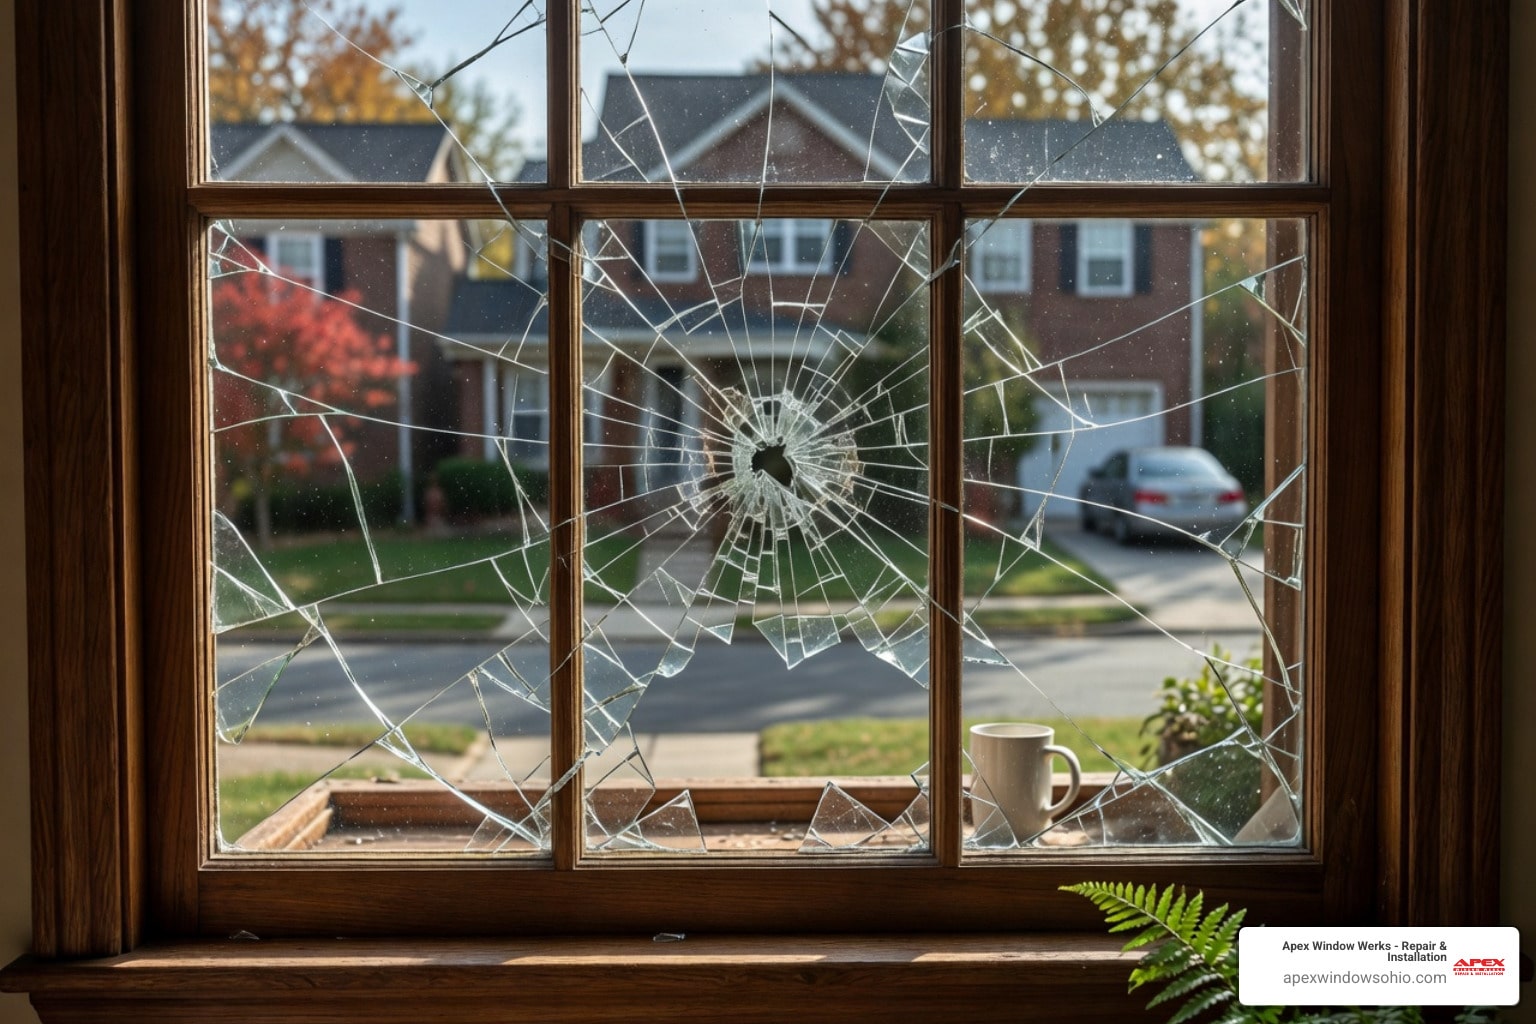
Always assume every spring is fully tensioned until you have safely and intentionally released it. If you are dealing with a broken window pane, apply tape over the cracks in an “X” pattern before starting to prevent the glass from shattering or falling out while you handle the sash.
Step-by-Step Sash Balancer Replacement Instructions for Cleveland Homes
Because different window styles use vastly different balancing mechanisms, the replacement process varies. Below is a quick comparison table to help you visualize the steps required for each type before we dive into the detailed instructions.
| Balancer Type | Typical Location | Key Step for Removal | Special Tool Required |
|---|---|---|---|
| Top-Mounted Spring-and-Cord | Head jamb (top of frame) | Disconnect cord from sash bottom | Flat blade screwdriver, manual driver |
| Spiral Balance | Side jamb tracks | Release rod from pivot shoe | Spiral tensioning wrench |
| Block-and-Tackle | Side jamb tracks | Pop out channel from take-out clips | Flat blade screwdriver |
| Constant-Force Coil | Inside side jamb liners | Detach coil spring from frame | Long-handled flat screwdriver |
Replacing a Top-Mounted Spring-and-Cord Sash Balancer in Cleveland Homes
This style of balancer is common in classic double-hung wood windows, where the spring mechanism sits quietly in a pocket at the very top of the window frame.
- Lower the sashes and remove the jamb liners: Carefully lower both sashes. If your window features removable side jamb liners, flex them gently toward the center of the window to pop them out of their tracks.
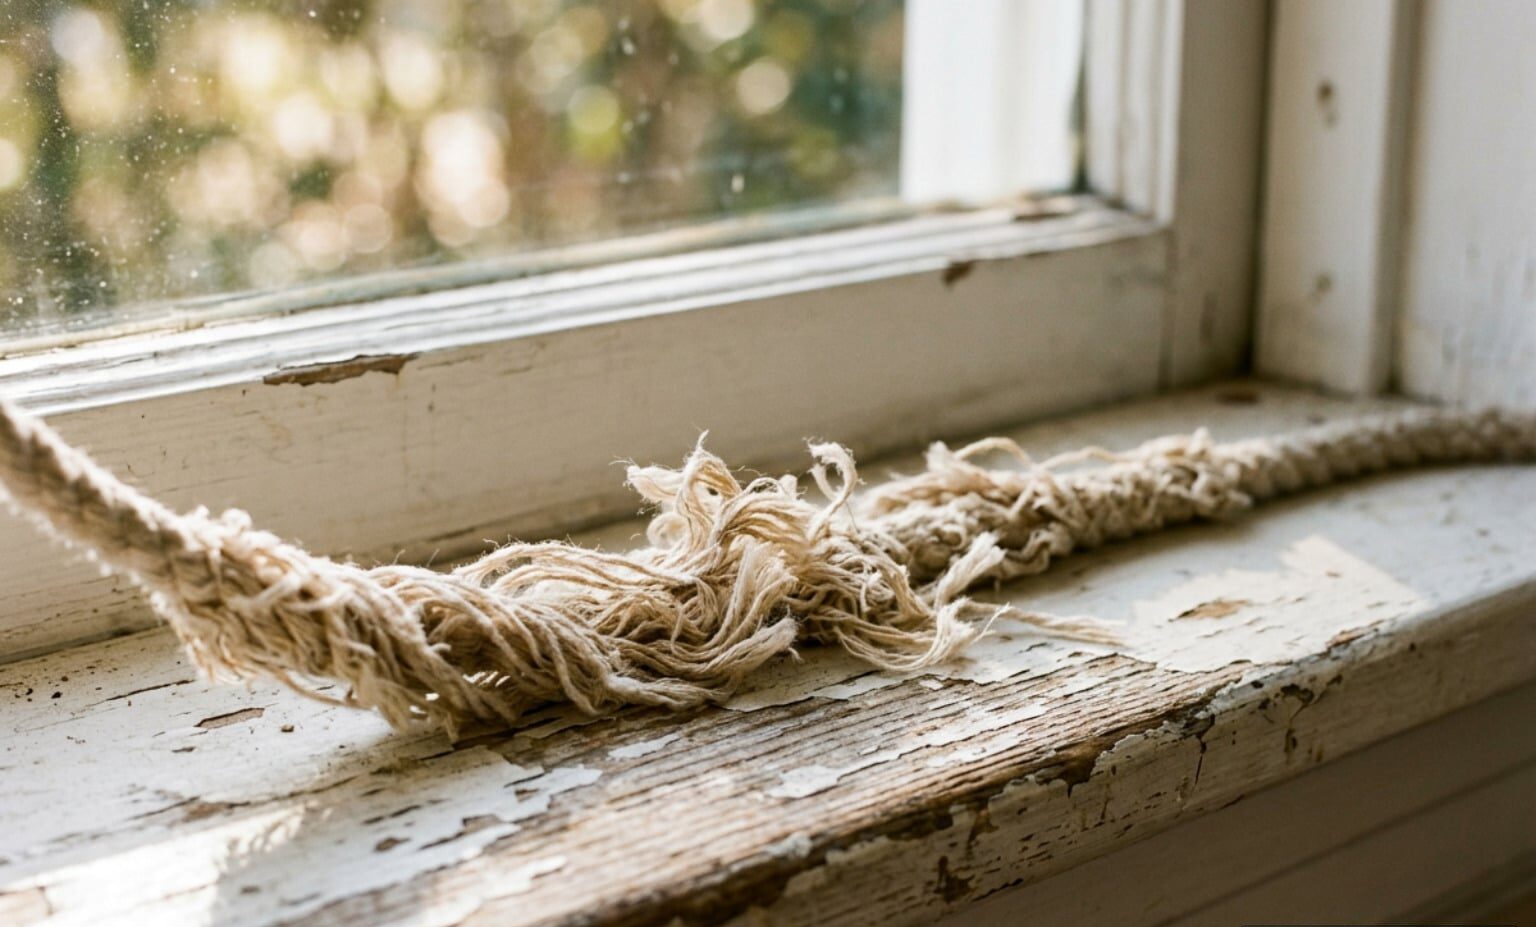
- Remove the sashes and disconnect the cords: While supporting the weight of the sash, carefully tilt it inward and lift it free of the frame. Locate where the balancer cord attaches to the bottom or side of the sash and unclip or unscrew the cord plug. Do not let go of the cord suddenly; let it retract slowly under control.
- Access the spring balancers in the header: Use your manual screwdriver to remove the screws holding the balancer housing in the head jamb. Carefully pull the old balancer assembly out of its pocket.
- Install the new spring balancers: Insert the new balancer into the pocket and secure it with the original screws. For detailed manufacturer-approved steps, you can refer to this guide on How to Replace a Window Sash Spring Balancer .
- Reattach the cords and reinstall the sashes: Pull the new balancer cord down, lock it temporarily using a temporary clamp or the built-in locking mechanism, and attach the cord plug to the sash. Carefully guide the sash back into the frame and test for smooth operation.
Replacing Spiral Balances on Cleveland and Akron Windows
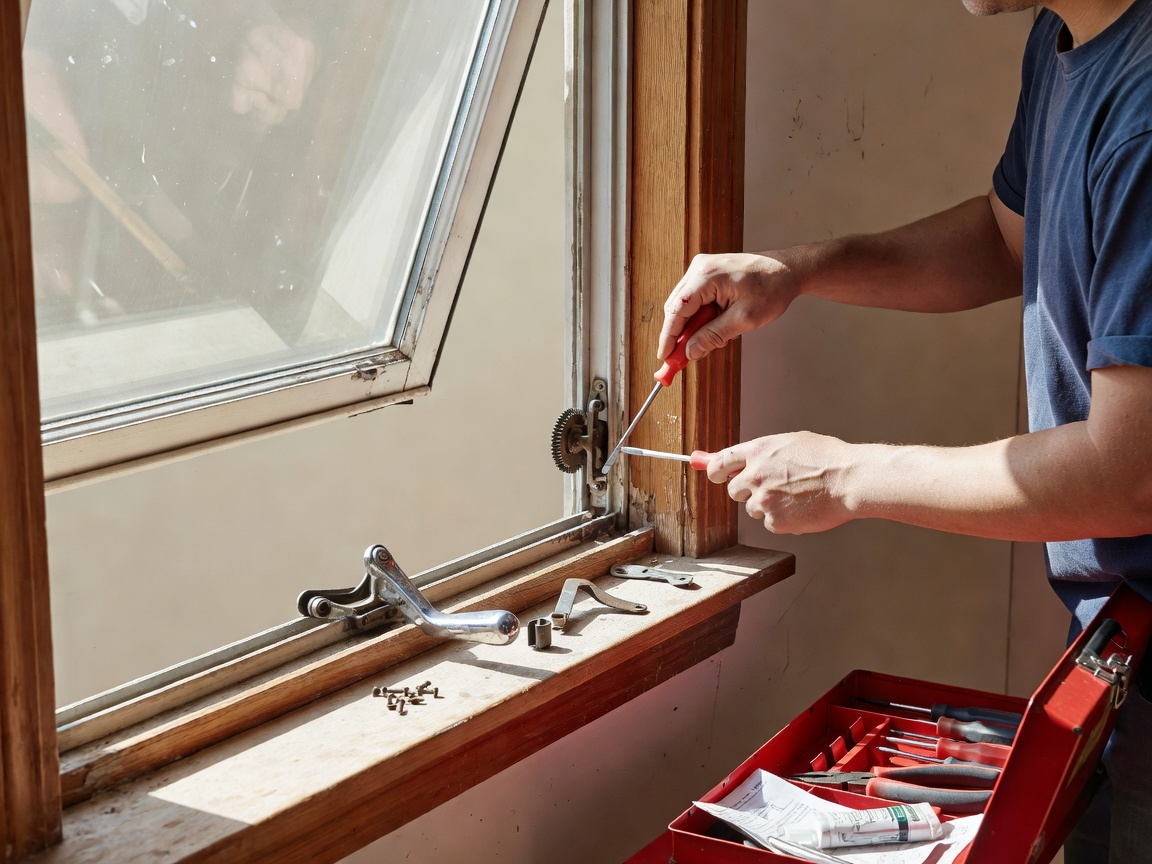
Spiral balances require a specialized tool called a tensioning wrench to safely wind and unwind the internal springs.
- Remove the window sash: For a tilt window, raise the sash a few inches, pull the tilt latches, and fold the sash down to a ninety-degree angle before lifting it out of the pivot shoes. For non-tilt windows, you may need to unscrew the sash stops or use take-out clips at the top of the track.
- Release the tension on the spiral rod: Fit your spiral tensioning wrench onto the pin at the bottom of the spiral rod where it connects to the pivot shoe. Hold the wrench firmly, lift slightly to disengage the pin from the shoe, and slowly let the wrench spin counter-clockwise to completely release the tension.
- Remove and replace the balance tube: Unscrew the mounting screw at the very top of the metal balancer tube and slide the tube out of the window frame. Install the new spiral balance in its place, securing the top screw.
- Tension or charge the new spiral balance: Slide your tensioning wrench onto the bottom pin of the new spiral rod. Pull the rod down to meet the pivot shoe, then rotate the wrench clockwise to wind the spring. As a general rule of thumb, use three to four full turns for small, lightweight windows, and up to six to eight turns for larger, heavier windows.
- Lock the pin into the pivot shoe: Once the proper tension is achieved, lift the pin and lock it securely back into the slot on the pivot shoe. Repeat this exact process on the opposite side of the window, ensuring you apply the exact same number of tensioning turns to both sides.
Replacing Block-and-Tackle and Constant-Force Coil Balances in Northeast Ohio
Block-and-tackle and constant-force coil balances are highly common in modern vinyl windows found throughout areas like Strongsville, Westlake, and Parma.
- Remove the sash: Raise the bottom sash about three to four inches, tilt it inward to a ninety-degree angle, and lift it out of the frame.
- Remove the block-and-tackle channel: If your window uses take-out clips, locate them in the side tracks about halfway up. Pop them out using a flat screwdriver, slide the sash up past the clips to catch the balancer, and then carefully pull the metal channel balance out of the track.
- Release constant-force coil tension: If you are working on an Andersen 400 Series Tilt-Wash window or a similar constant-force coil system, the balance shoe will be under high tension. Insert a long-handled flat blade screwdriver into the metal cam of the balancer shoe. Turn the cam ninety degrees to the unlocked position. Hold the screwdriver firmly with both hands as you allow the shoe to rise slowly to release its stored tension.
- Install the new balance: For block-and-tackle systems, simply hook the top of the new channel into the frame and slide it down. For constant-force coil systems, screw the new coil housing into the frame, pull the spring tape down, and lock the shoe into place. You can find highly detailed technical drawings and steps in the Sash Balancer and/or Balancer Shoe for Andersen 400 Series Tilt-Wash Double-Hung Windows manual.
- Reinstall and re-engage the sash: Set the sash back into the pivot shoes. A critical step after reinstalling the sash is to push it all the way down to the sill to automatically re-engage the sash balancers.
Why You Must Replace Balancers in Pairs on Cleveland Windows
One of the most common mistakes DIYers make is replacing only the single broken balancer that caused the window to fail. It is easy to see why: if only the left side snapped, why spend money on the right side?
However, replacing only one balancer is a recipe for future frustration. The remaining old balancer has been under constant tension for years and is already worn out. If you install a brand-new, stiff balancer on one side and leave a tired, weak balancer on the other, the window sash will experience unequal upward force. This causes the sash to twist slightly or “rack” as it travels up and down.
This racking causes the window to bind in the tracks, makes the tilt latches difficult to operate, and puts excessive wear on the new balancer, causing it to fail prematurely. Always replace balancers in pairs to maintain perfect, symmetrical tension.
While you have the window sash removed, it is the perfect time to inspect the other hardworking components of your window assembly:
- Jamb Liners: Check the vinyl or wood side tracks for cracks, warping, or deep gouges that could impede smooth sash movement.
- Pivot Shoes and Bars: Inspect the small metal or plastic shoes at the bottom of the tracks that the sash pivots on. If they are cracked or seized, replace them.
- Weatherstripping: Look for worn-out felt or rubber seals that could be letting drafts into your home.
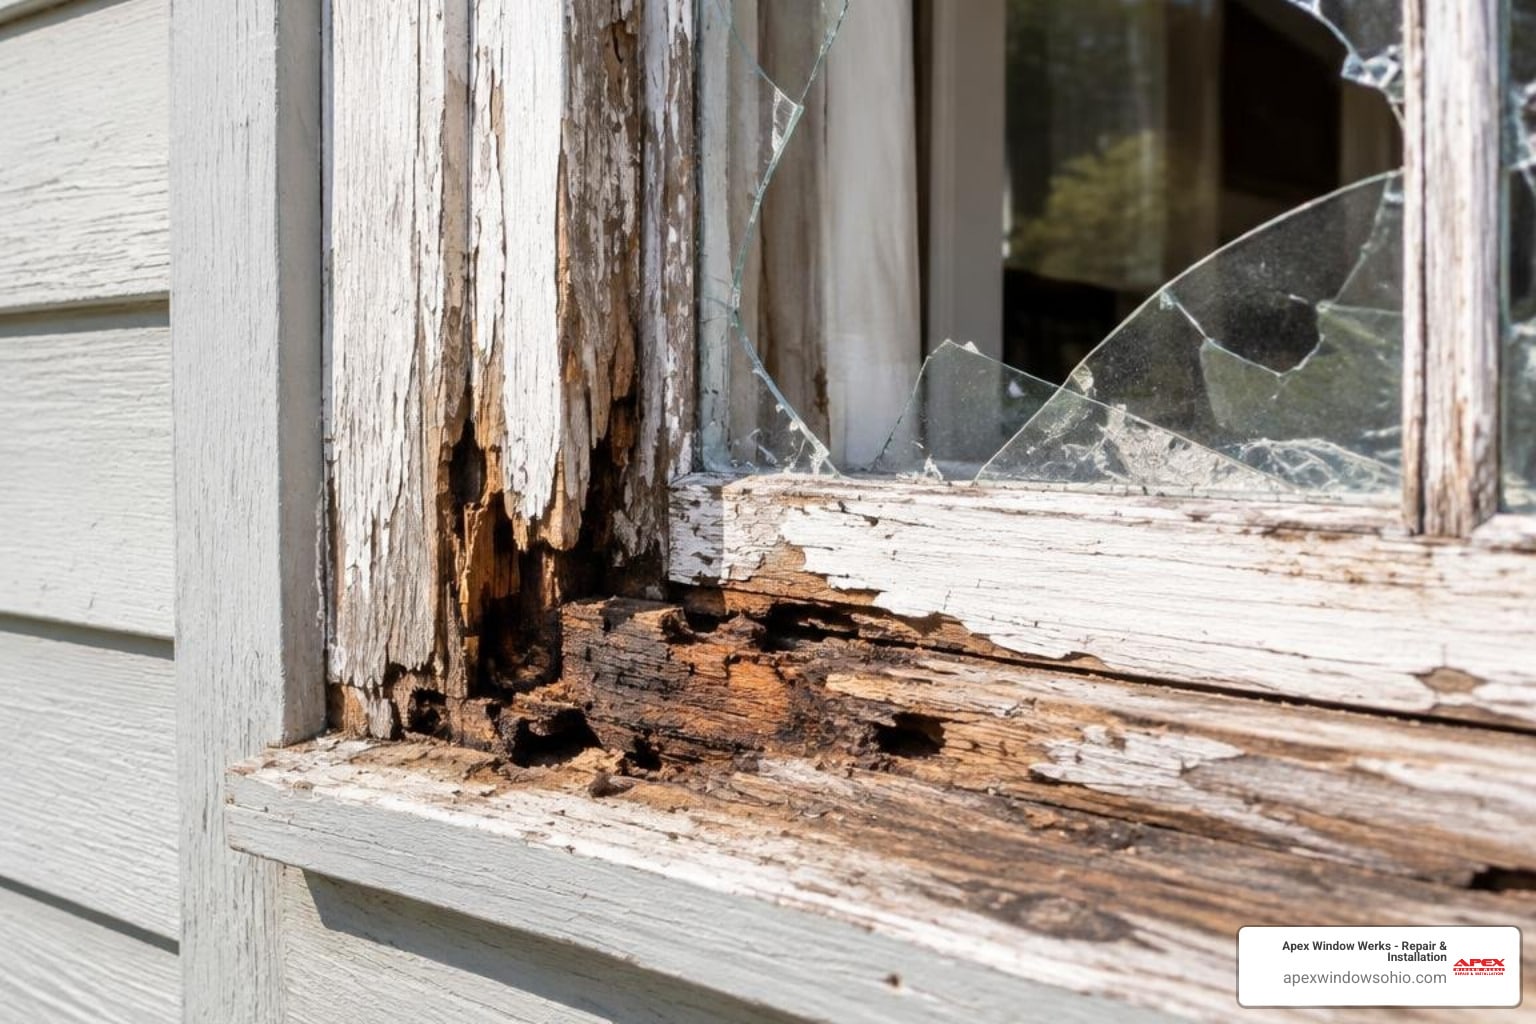
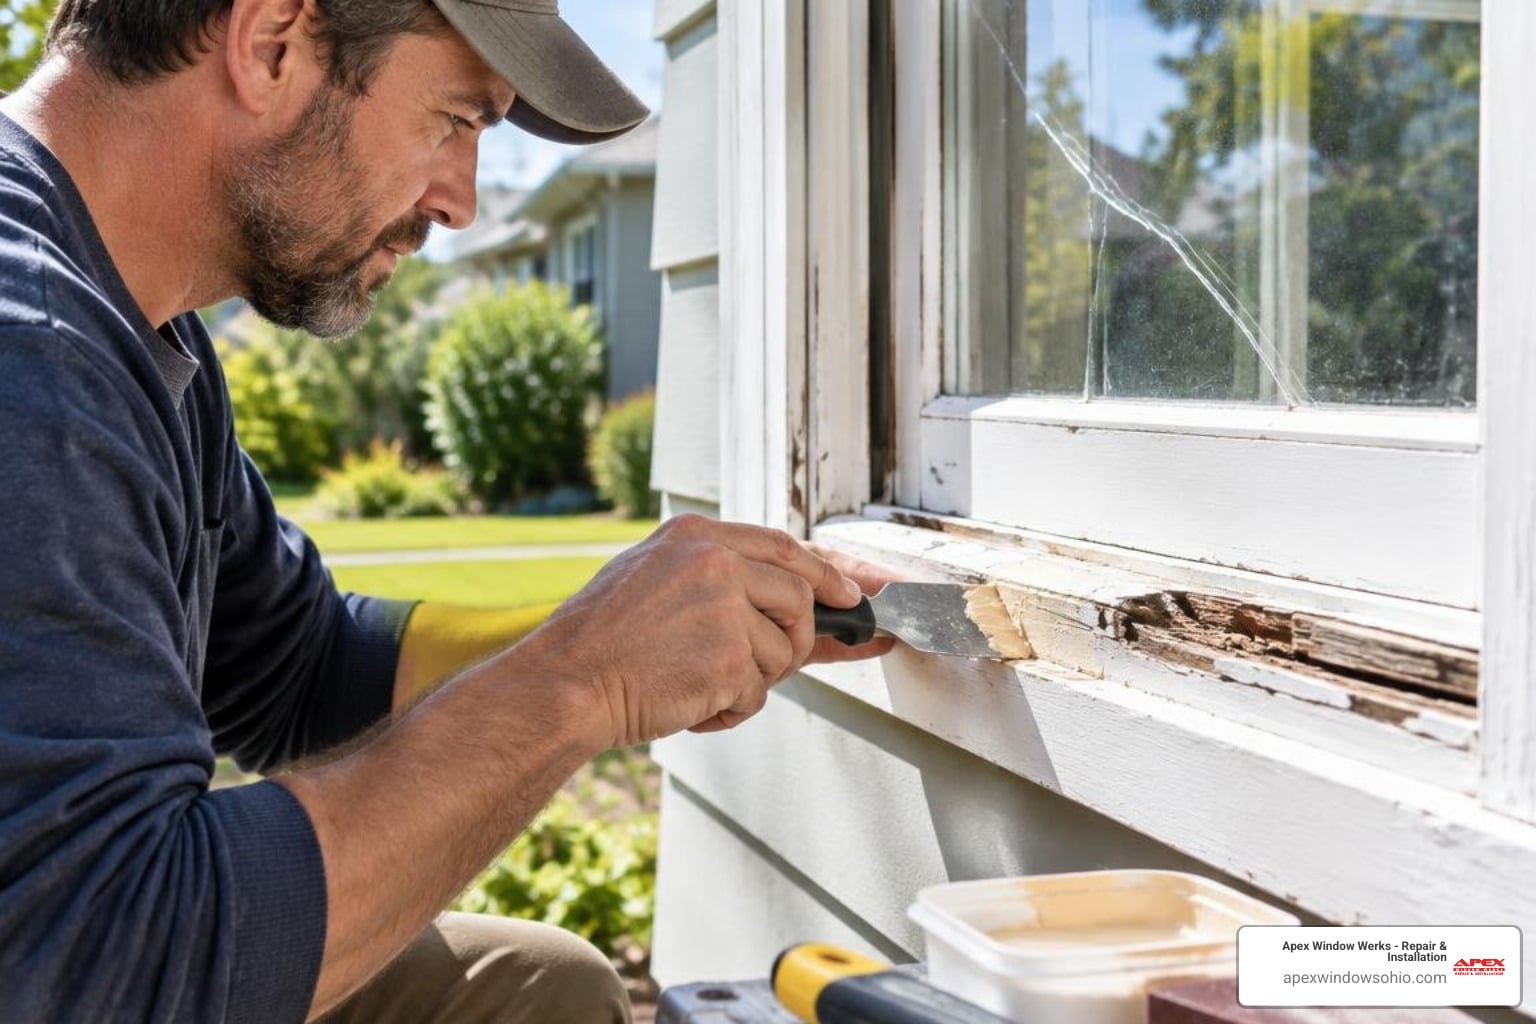
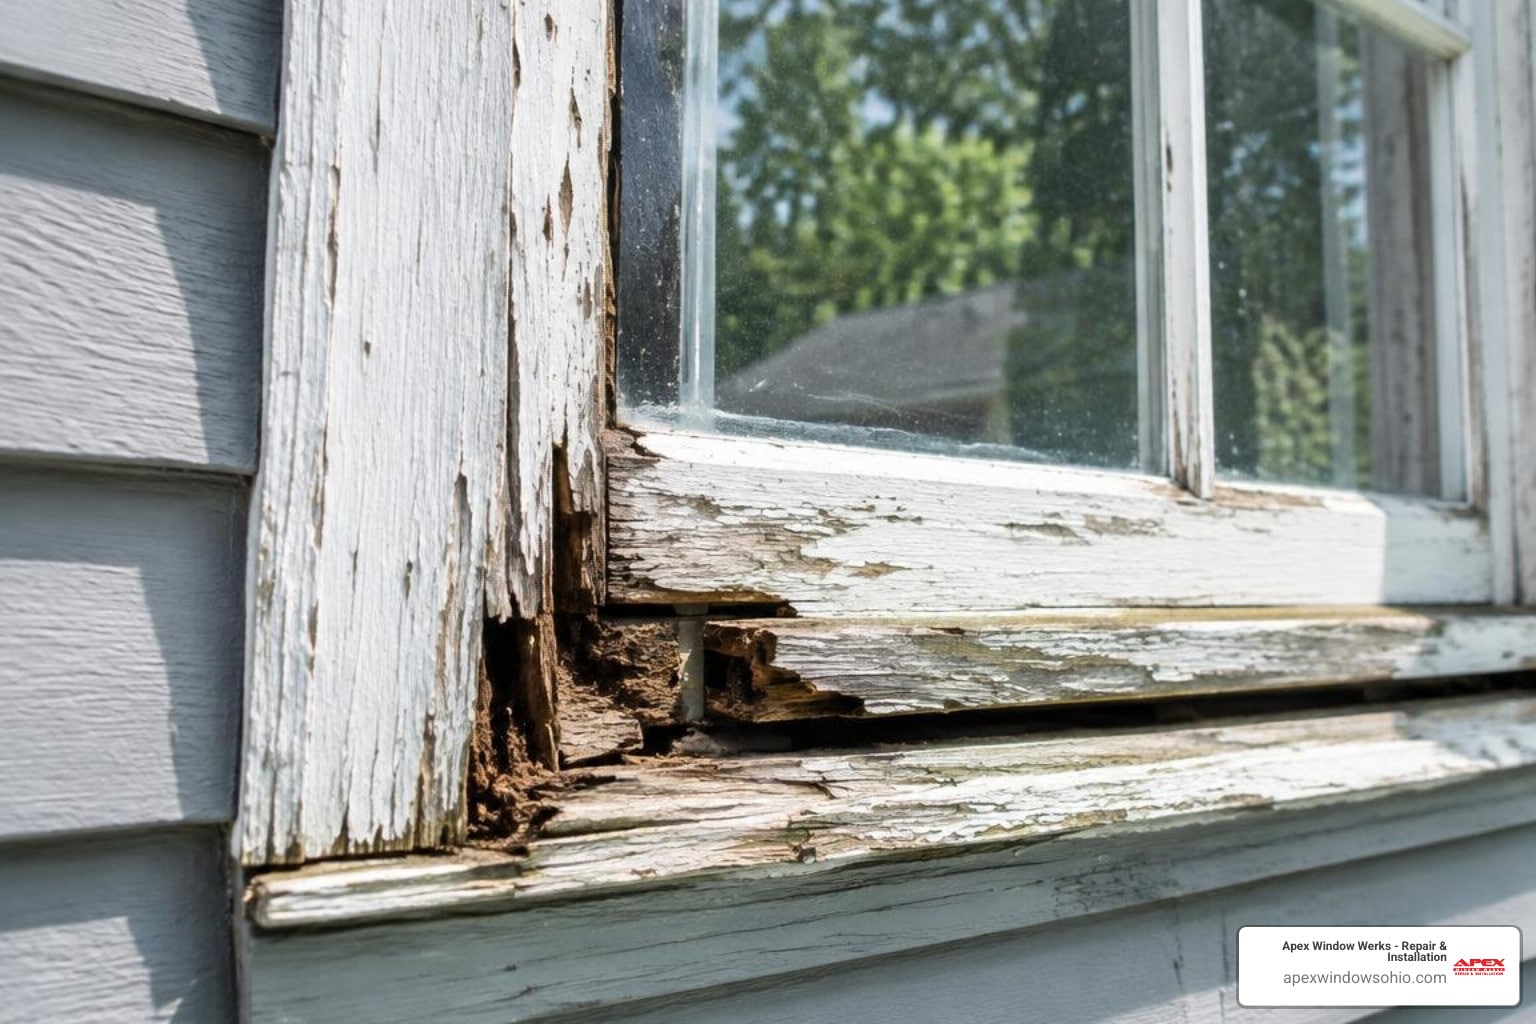
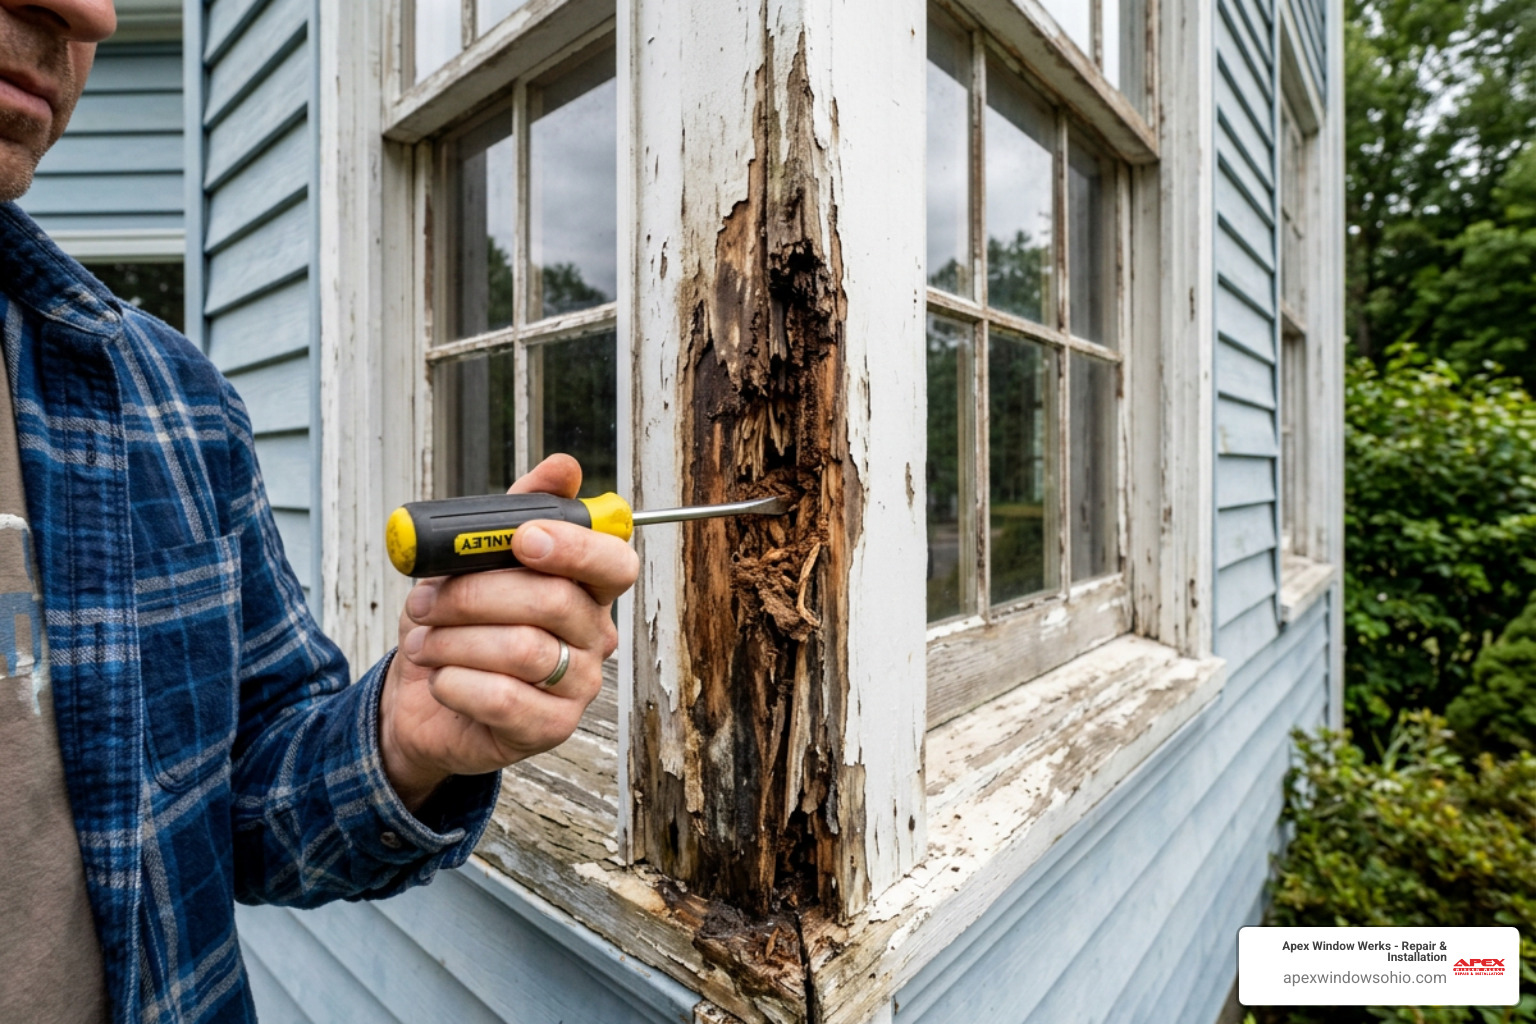
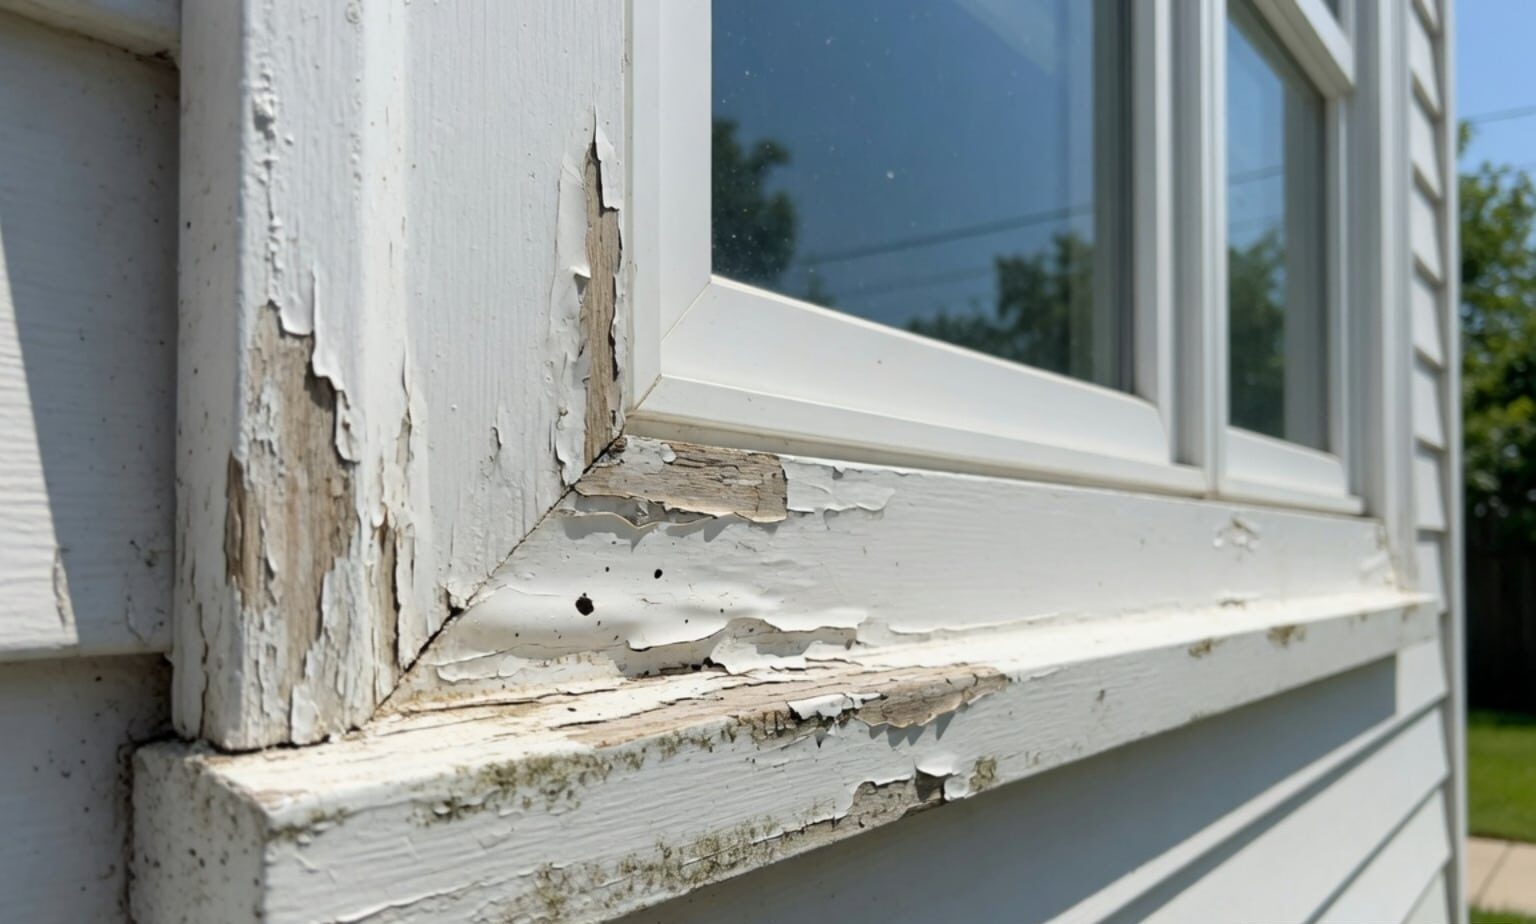
If you find that your wood sash itself is rotting or structurally damaged, you may need more than just new springs. In those cases, we highly recommend checking out our specialized Window Sash Repair in Cleveland, OH: Fix Your Sash services to restore your window to pristine condition.
Troubleshooting and Post-Installation Maintenance in Cleveland-Akron
Once your new balancers are installed, test the window by raising and lowering it several times. If it doesn’t operate perfectly, use this quick troubleshooting guide:
- The sash drifts down slowly: The springs do not have enough tension. For spiral balances, remove the sash and add one or two more clockwise turns to both sides.
- The sash shoots up or is hard to close: The springs are over-tensioned. Remove the sash and release one or two turns from both sides.
- The sash moves unevenly or squeaks: Check that the balancer cords or rods are not wrapped around the pivot pins. Ensure both sides have the exact same amount of tension.
To keep your newly repaired windows operating like new for years to come, regular maintenance is essential. Dust, pollen, and dirt naturally build up in the side tracks, creating friction that forces your balancers to work twice as hard.
Every spring and fall, take a vacuum attachment and clean out any debris from the tracks. Wipe the tracks down with a damp cloth and a mild cleaner. Once dry, apply a light coat of a high-quality, non-greasy dry silicone spray lubricant to the tracks and the pivot shoes. Avoid using heavy oils or WD-40, as these attract dirt and grime, creating a sticky paste that will eventually seize the mechanism.
For complete assistance with frame, sill, or track issues, explore our professional Window Sill, Sash, and Frame Repair Services.
Frequently Asked Questions About Window Sash Repair in Akron, OH
How do I know if my sash balancer is broken or if it just needs lubrication?
If your window is simply a little stiff or squeaks when you move it, a thorough cleaning and a spray of dry silicone lubricant might solve the problem. However, if the window refuses to stay open, falls shut on its own, feels extremely heavy, or if you hear a loud pop or snap from inside the frame, the internal spring has broken. At this point, lubrication will not help, and a complete replacement is required.
Can I perform a sash balancer replacement on my own or should I hire a professional?
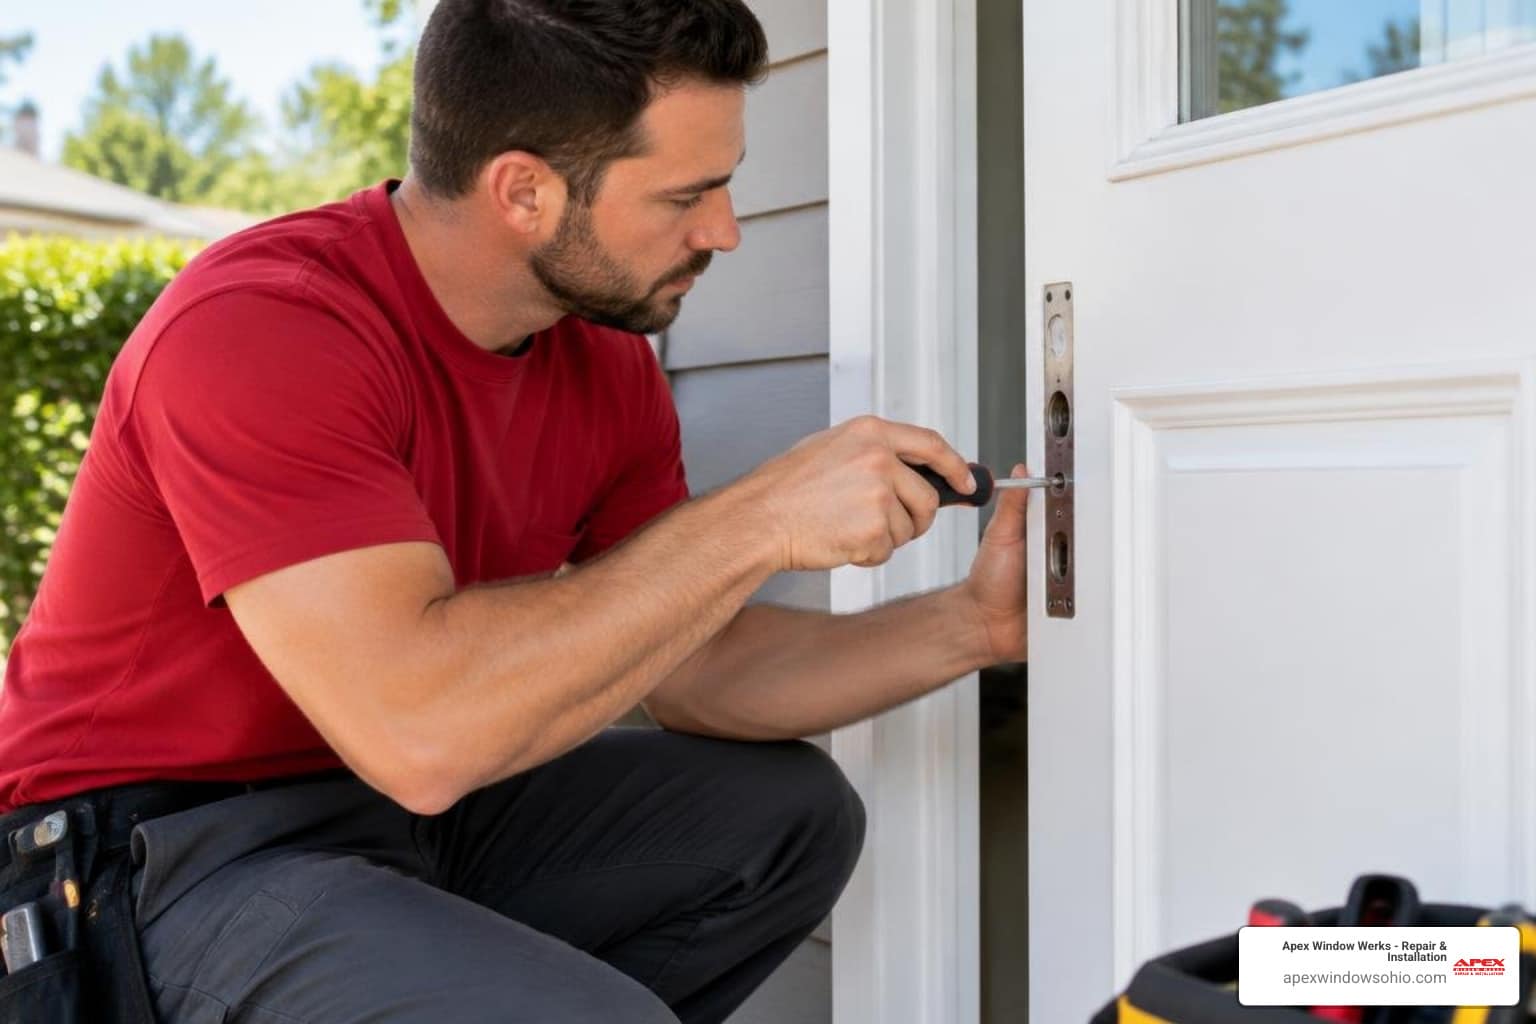
Many homeowners with basic DIY skills can successfully replace their own window balancers. However, it does require patience, precise measurements, and a high level of caution when handling spring mechanisms under high tension. If you do not feel comfortable handling spring-loaded parts, lack the specialized tools for spiral balances, or are dealing with heavy, oversized glass sashes in older historic homes, it is always safer and more efficient to call in a professional window repair team.
How much does window sash repair cost in Akron, OH?
The overall cost of repairing a window sash depends on several factors, including the specific type of balancer system your window uses, the brand of the window, and whether other components like jamb liners or pivot shoes also need to be replaced. Standard vinyl block-and-tackle or constant-force repairs are generally highly affordable, while sourcing vintage or proprietary parts for older wood windows can increase material costs. Opting for professional labor ensures the job is done right the first time and includes a warranty on both parts and service.
Conclusion: Expert Window Sash Support in Northeast Ohio
A window that refuses to stay open is more than just an annoyance; it is a safety hazard and a major source of energy loss in your home. Performing a sash balancer replacement is one of the most effective ways to breathe new life into your existing windows without the massive expense of a full window replacement.
If you run into trouble, find that your window frames are damaged, or simply prefer to leave the heavy lifting to the experts, Apex Window Werks is here to help. We proudly serve homeowners and businesses throughout the Cleveland-Akron area, including Lakewood, Parma, Strongsville, Westlake, Medina, and Mentor. We specialize in fast, affordable, and high-quality window repairs, offering same-day service and rapid turnaround times to get your home back in perfect working order.
Ready to stop the drop? For expert advice or to schedule a professional repair, visit our guide on One Simple Way to Replace Window Sashes or contact our friendly team today!