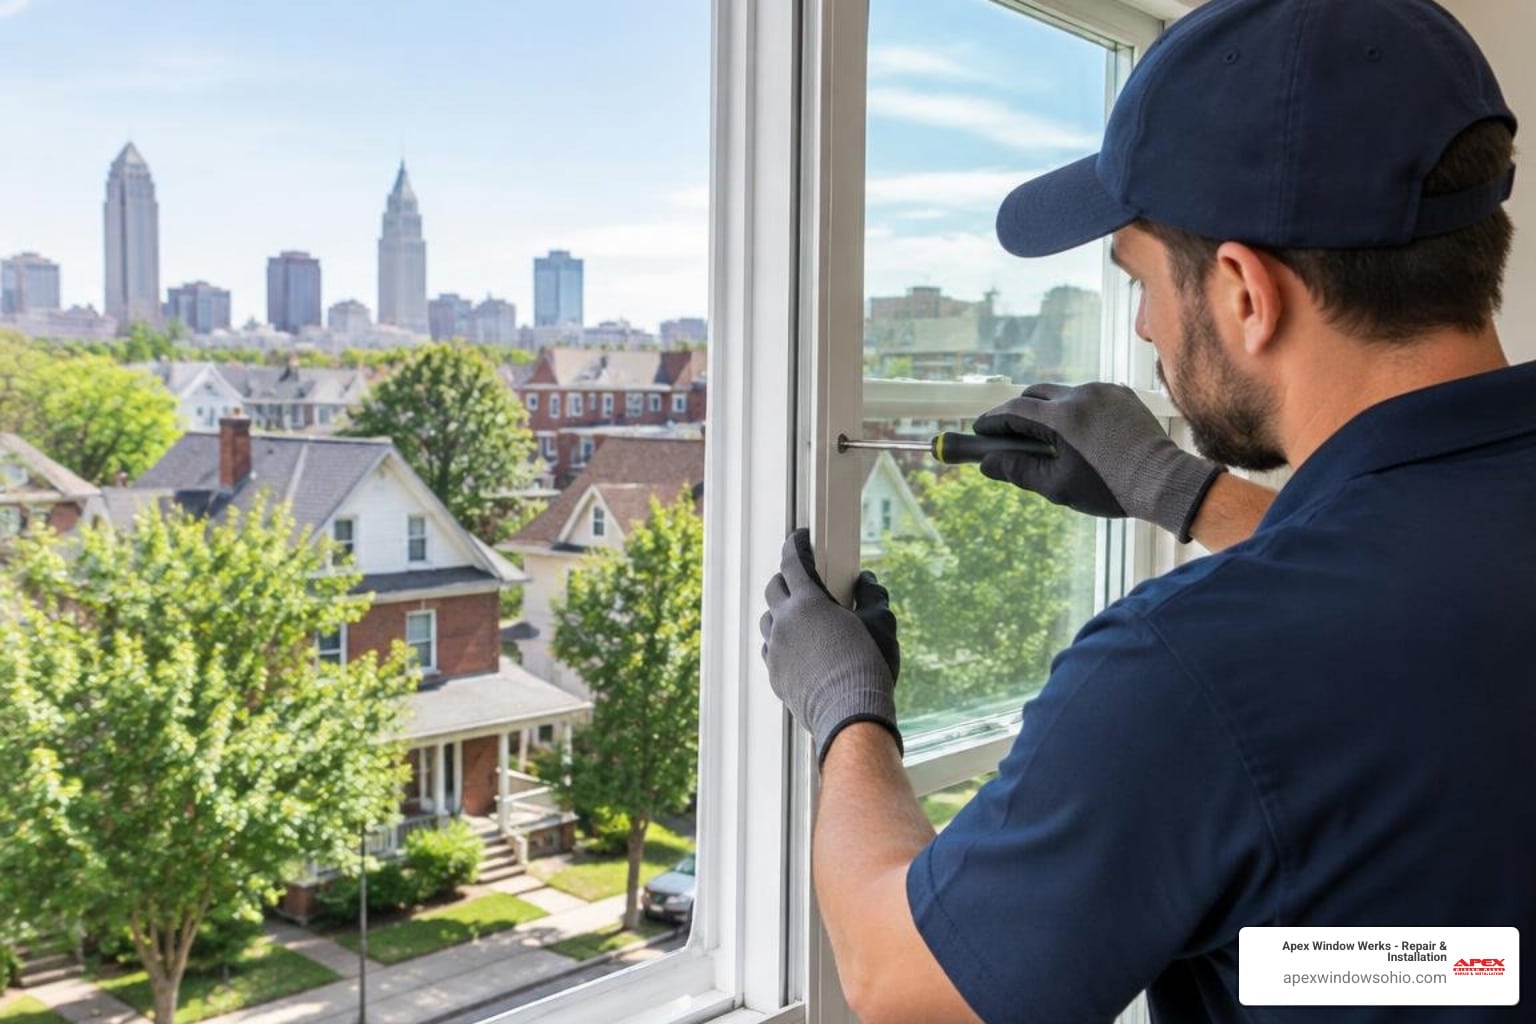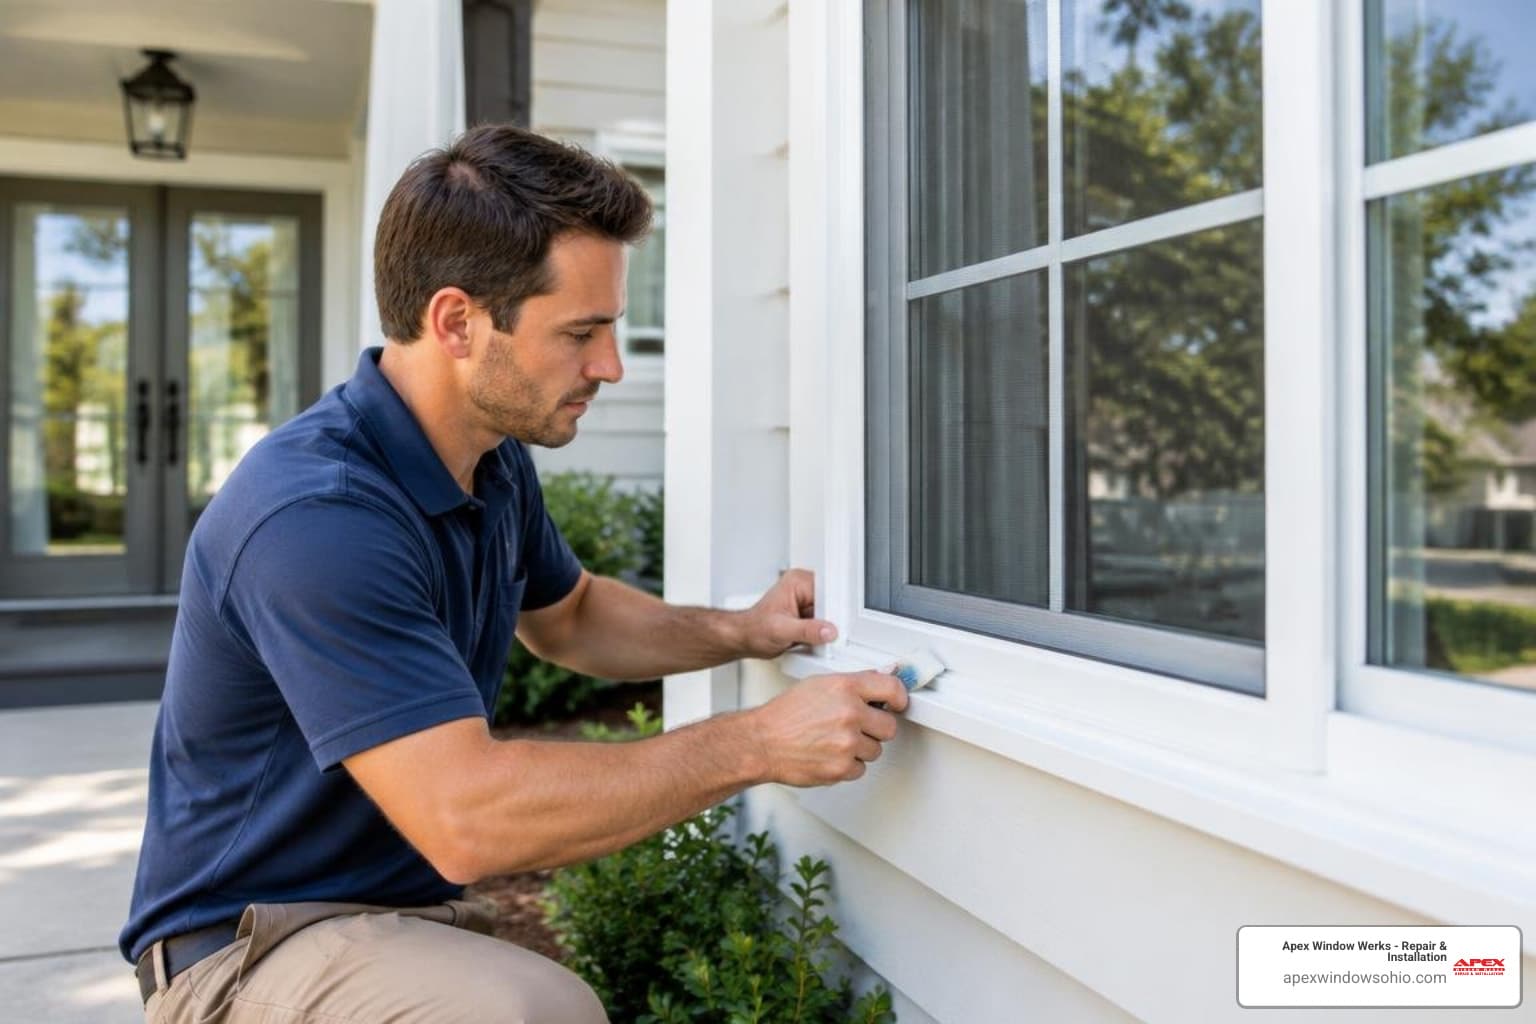


How to Repair Rotted Casement Window Frames
Why a Rotted Casement Window Is a Problem You Shouldn’t Ignore
Repair rotted casement window damage before it spreads — here’s how:
- Probe the wood with a screwdriver to find soft or spongy spots
- Remove all rotted material down to solid, healthy wood
- Apply a penetrating wood hardener to stabilize the remaining wood
- Fill the void with a two-part epoxy filler, slightly overfilled to account for shrinkage
- Sand smooth, then prime and paint with exterior-grade products
- Seal all joints with silicone caulk and replace torn weatherstripping
- Fix the moisture source (gutters, flashing, glazing) so rot doesn’t come back
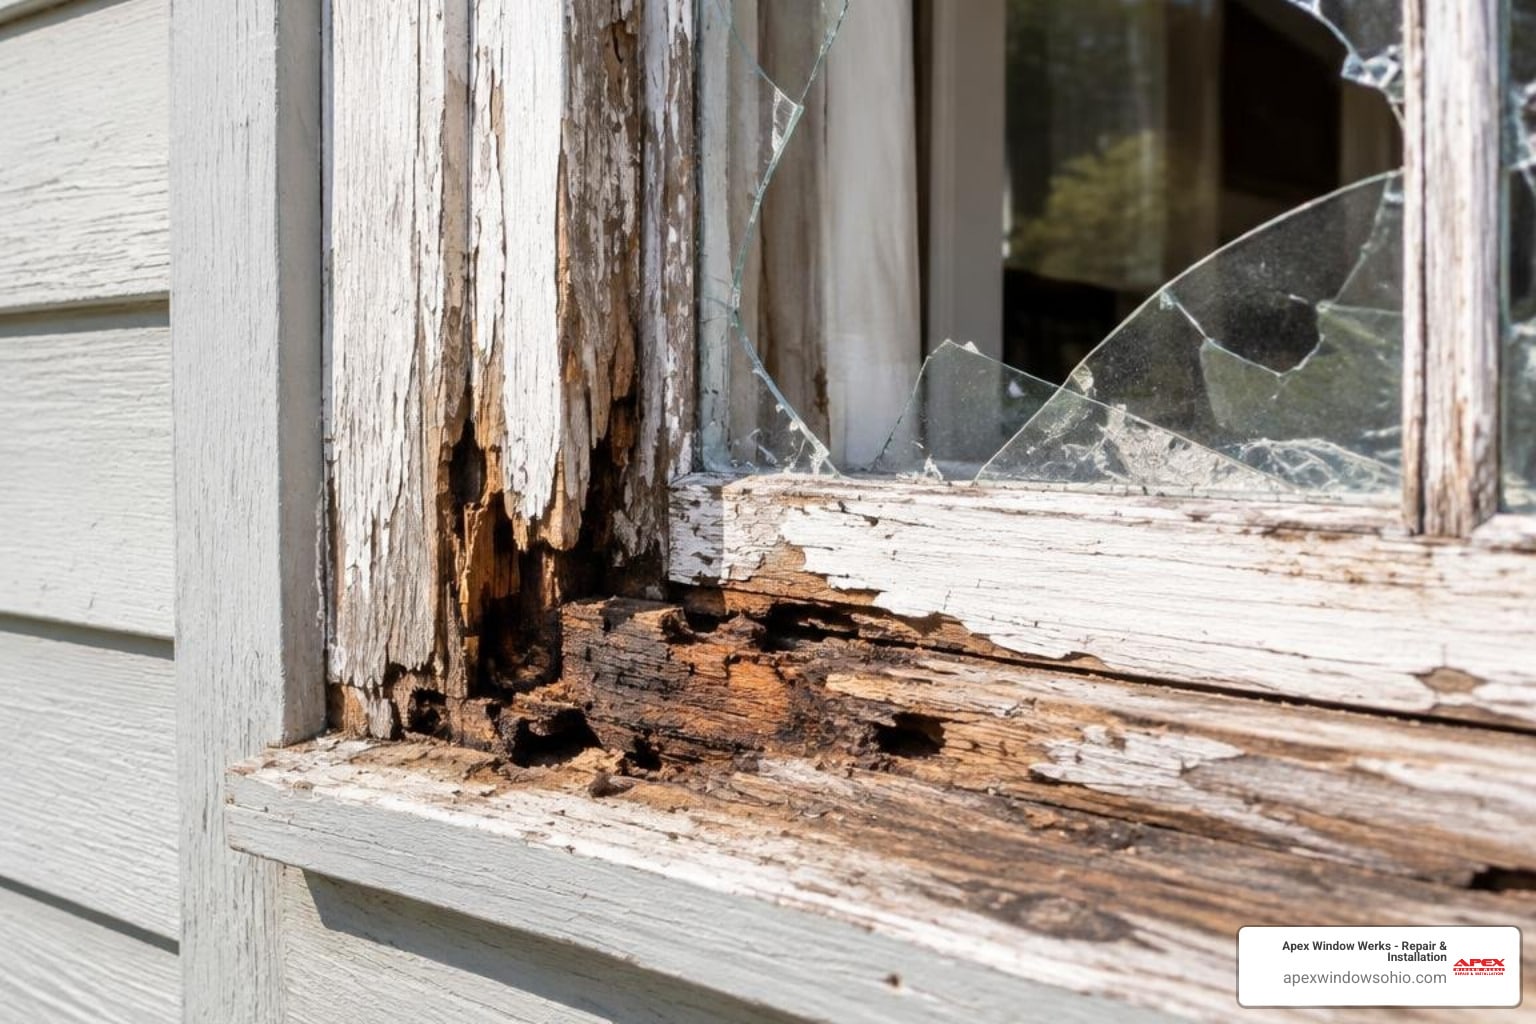
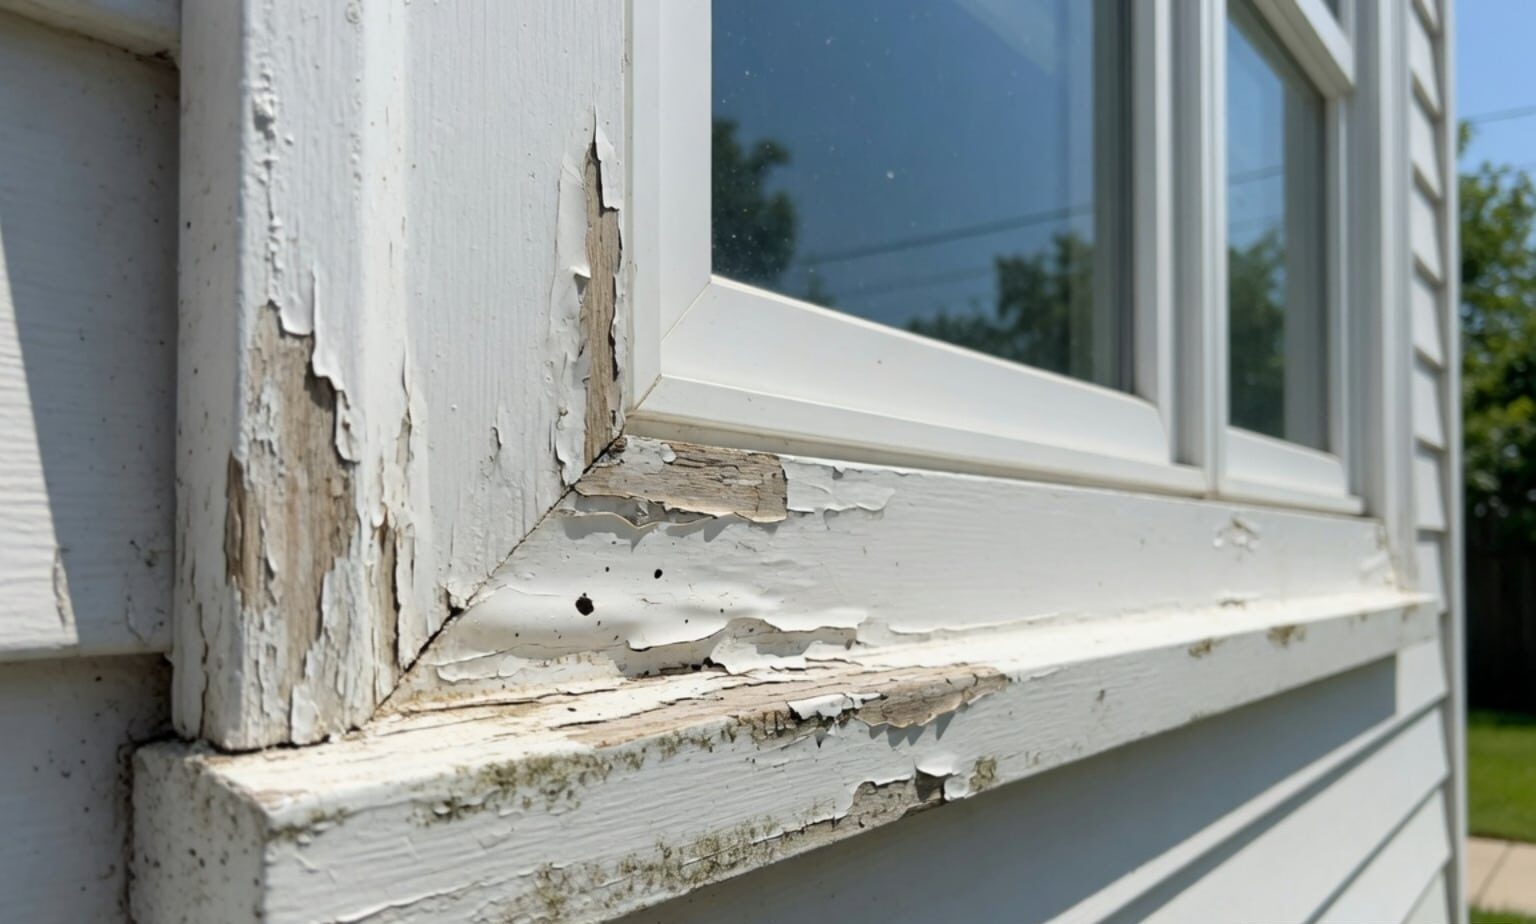
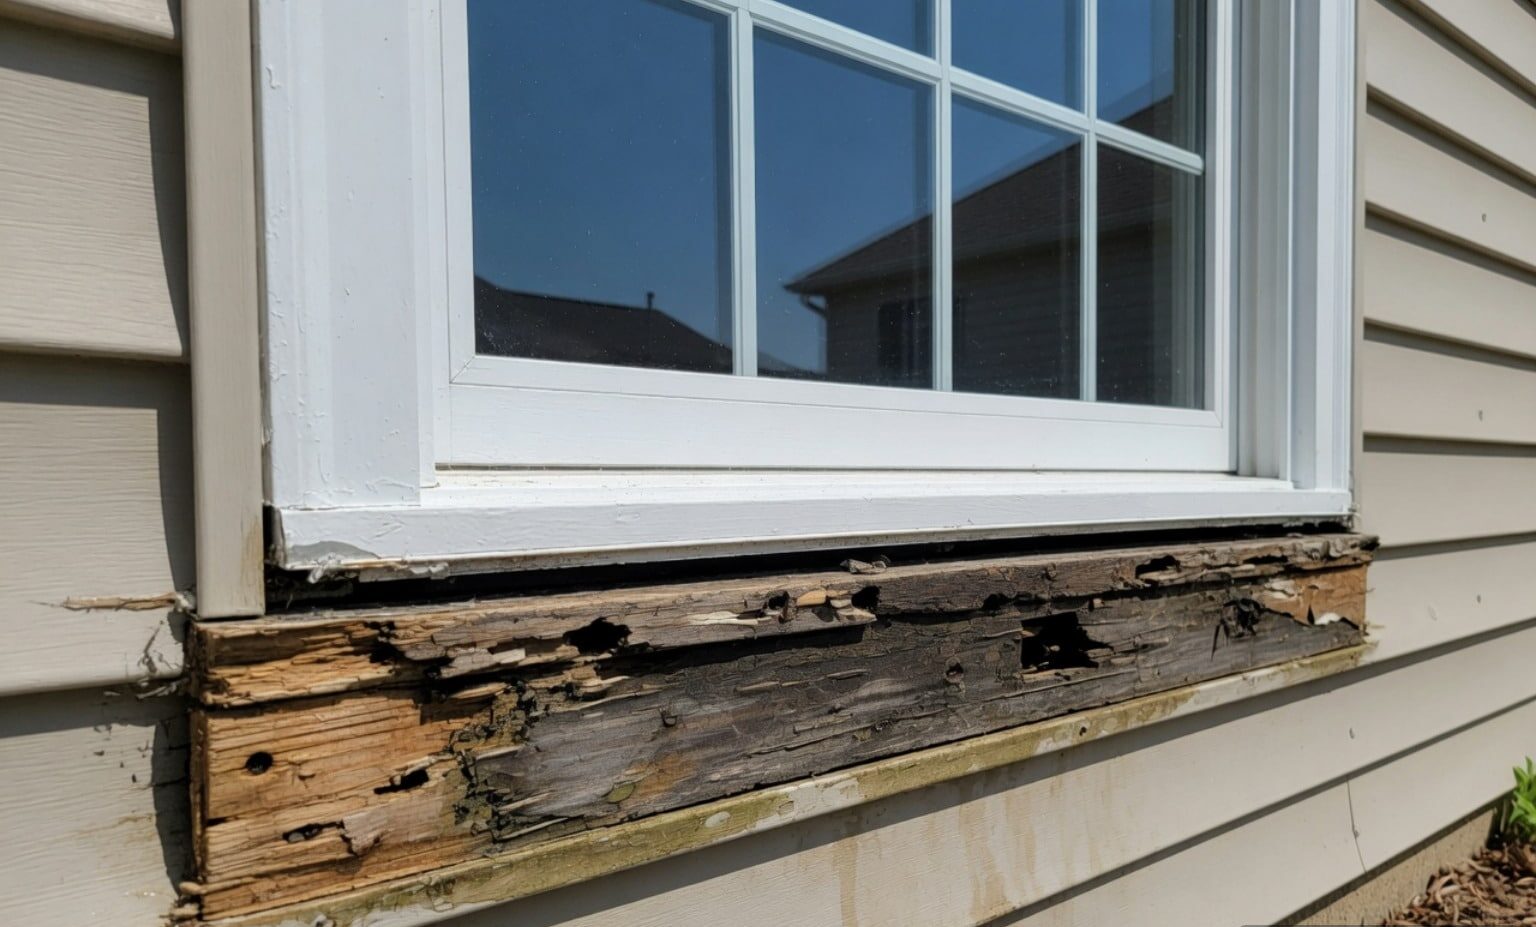
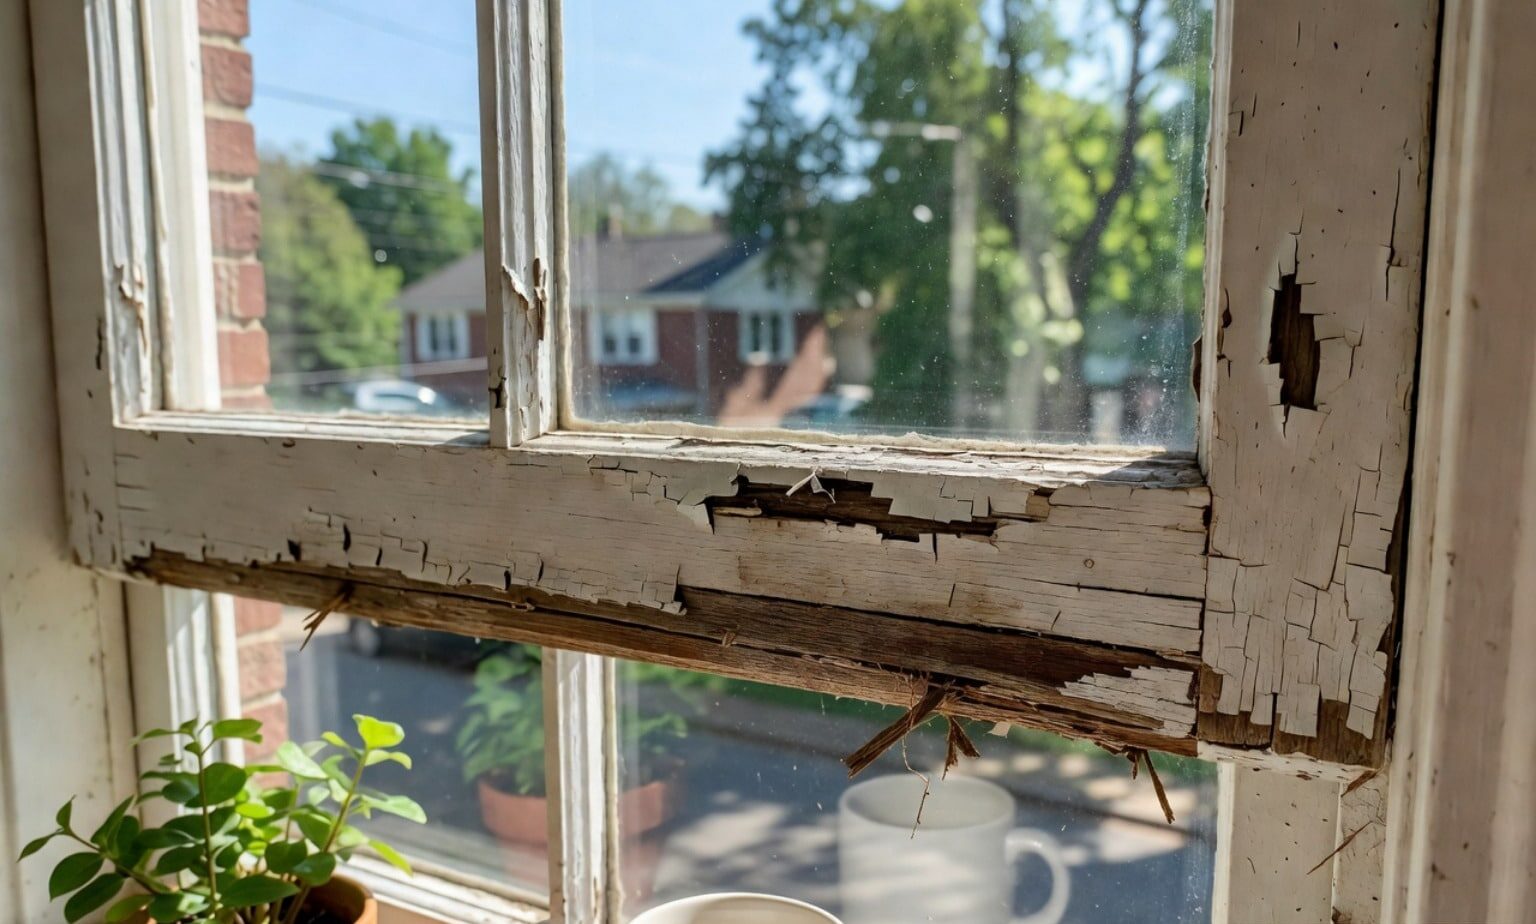
Wood rot in casement windows is one of those problems that looks small at first. A little peeling paint. A soft corner on the sill. Easy to ignore — until the hardware starts pulling out of the frame and the window won’t close properly anymore.
That’s exactly what happens. One homeowner described noticing rot only after a storm, when water had been silently pouring over a clogged gutter onto the window frame for years. By then, the bottom of the frame was gone.
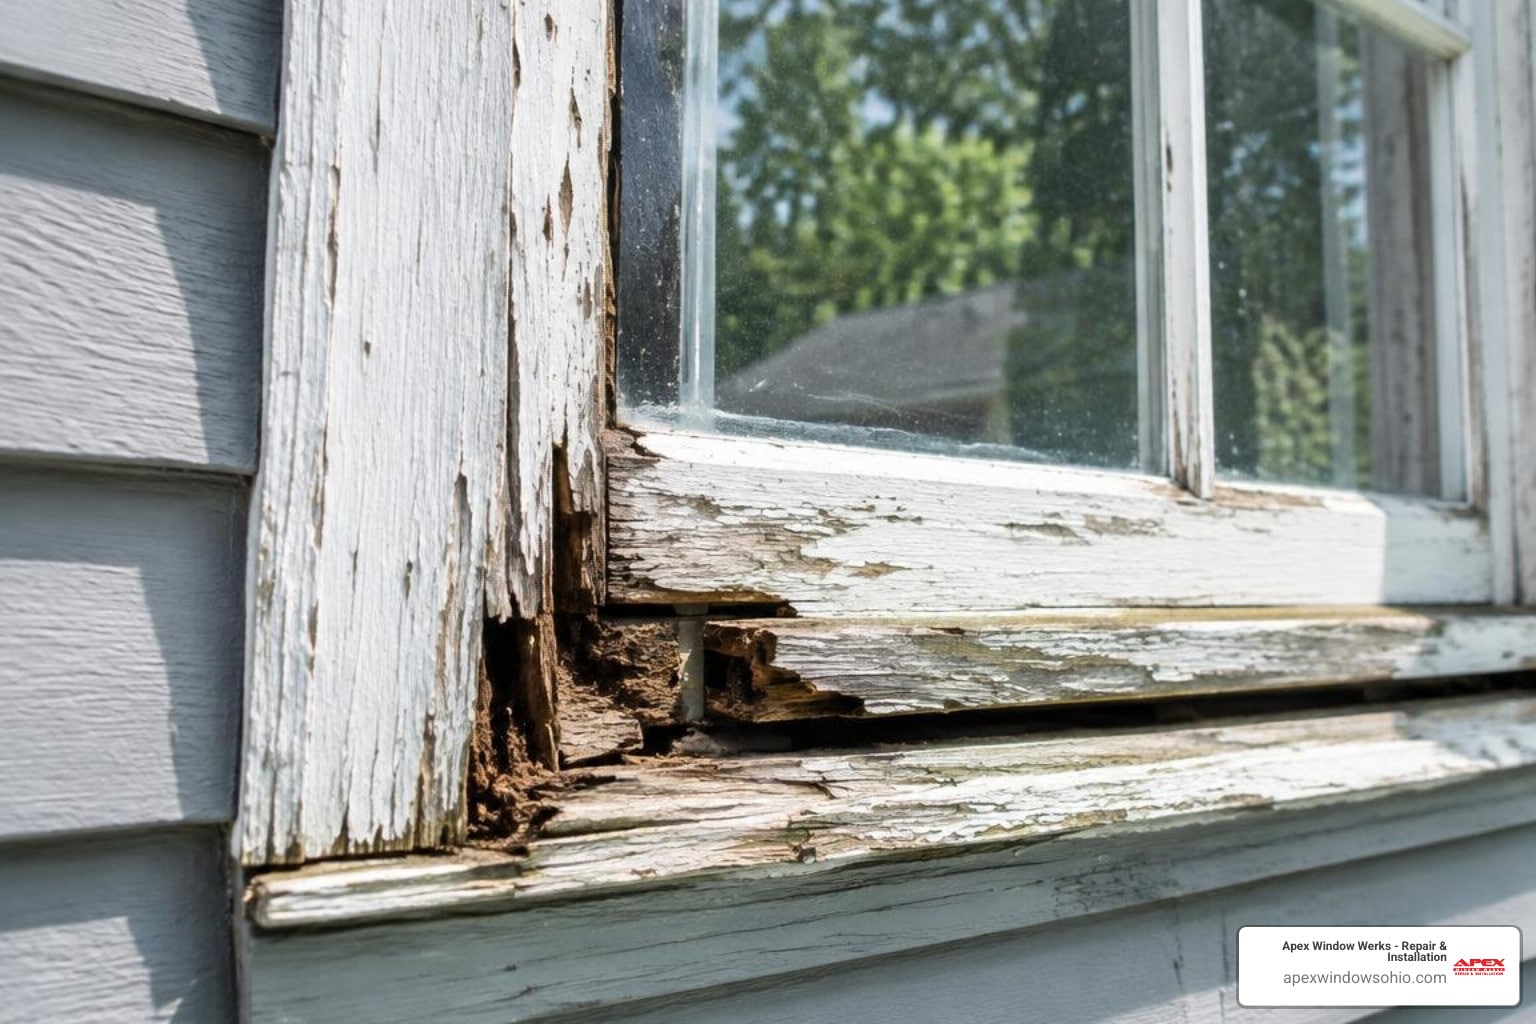
Casement windows are especially vulnerable. Their design exposes the bottom sash rail and frame corners to standing water, failed glazing seals, and poor drainage — a perfect setup for the fungal growth that causes wood rot. Left untreated, what starts as a cosmetic issue becomes a structural one.
The good news: most rot damage can be fixed without replacing the entire window — if you catch it in time and do the repair correctly.
I’m Nataly Godes, General Manager at Apex Window Werks, where I lead a team specializing in wood window restoration — including how to repair rotted casement window frames and sashes across Northeast Ohio. In this guide, I’ll walk you through everything you need to know, from identifying damage to finishing a repair that lasts.
Understanding What Causes Rot in Casement Windows

To effectively repair rotted casement window components, we first have to understand the “enemy.” Wood rot isn’t just “old age”; it is a biological process. It is caused by fungi that eat the cellulose and lignin in the wood, literally digesting your window frame from the inside out.
In our experience serving homeowners from Lakewood to Cuyahoga Falls, we see a few primary culprits:
- Persistent Moisture: Fungi need a moisture content of about 20% or higher to thrive. This usually comes from rain, but in Northeast Ohio, it often comes from melting snow sitting on the window sill or condensation forming on the interior glass during our humid summers and freezing winters.
- Clogged Gutters: This is a classic. When gutters overflow, water cascades directly onto the window casing. If the window isn’t perfectly sealed, that water finds its way behind the wood.
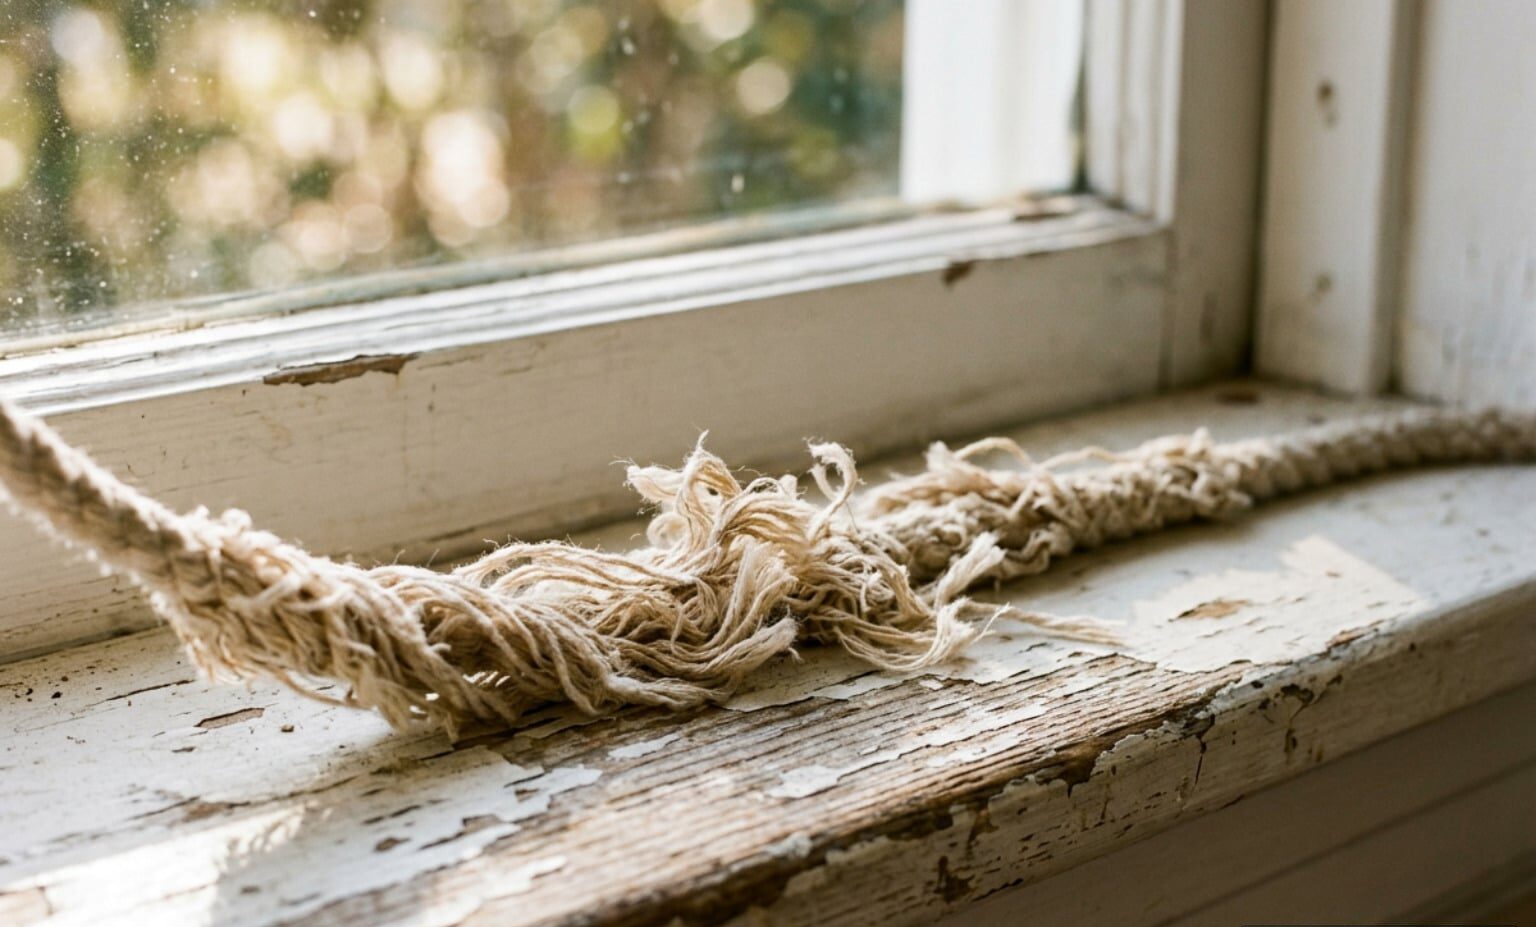
- Failed Glazing and Caulking: Over time, the putty (glazing) that holds the glass in the sash cracks. Water seeps into these cracks and gets trapped against the wood. Because it can’t evaporate, the wood stays perpetually damp.
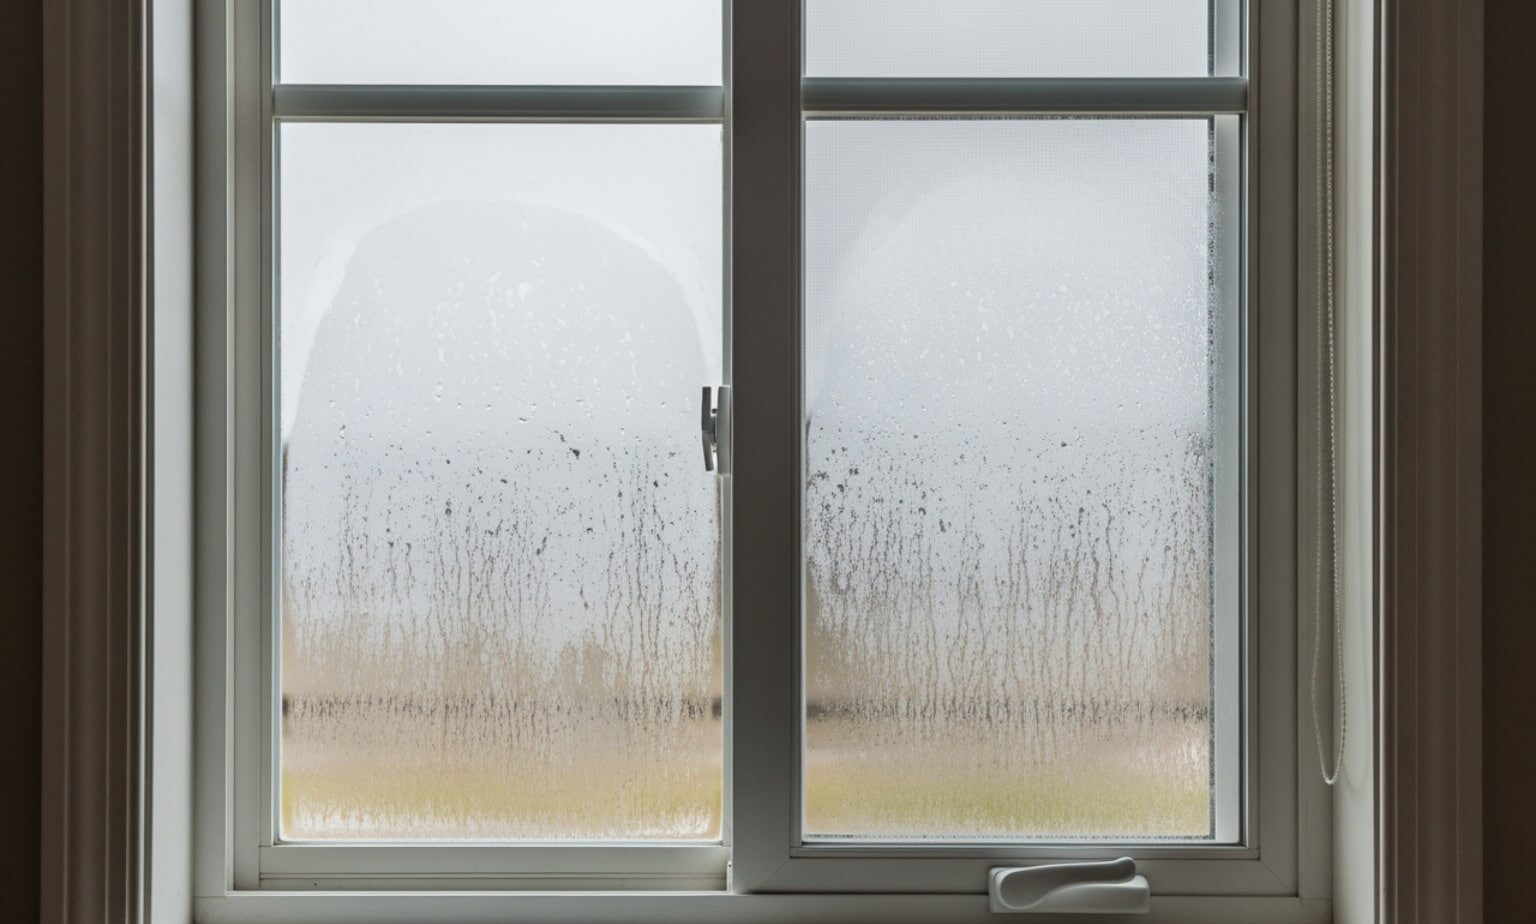
- Poor Ventilation: If your home has high internal humidity and poor airflow, condensation can build up on the inside of the sash, leading to rotten windows repair needs on the interior side of the frame.
There are two main types of rot we encounter: Brown Rot (often called “dry rot,” though it still requires moisture to start) which makes the wood break into small cubes and crumble, and White Rot, which leaves the wood feeling spongy and looking bleached. Both are bad news for your window’s structural integrity.
How to Identify and Assess the Extent of Window Damage
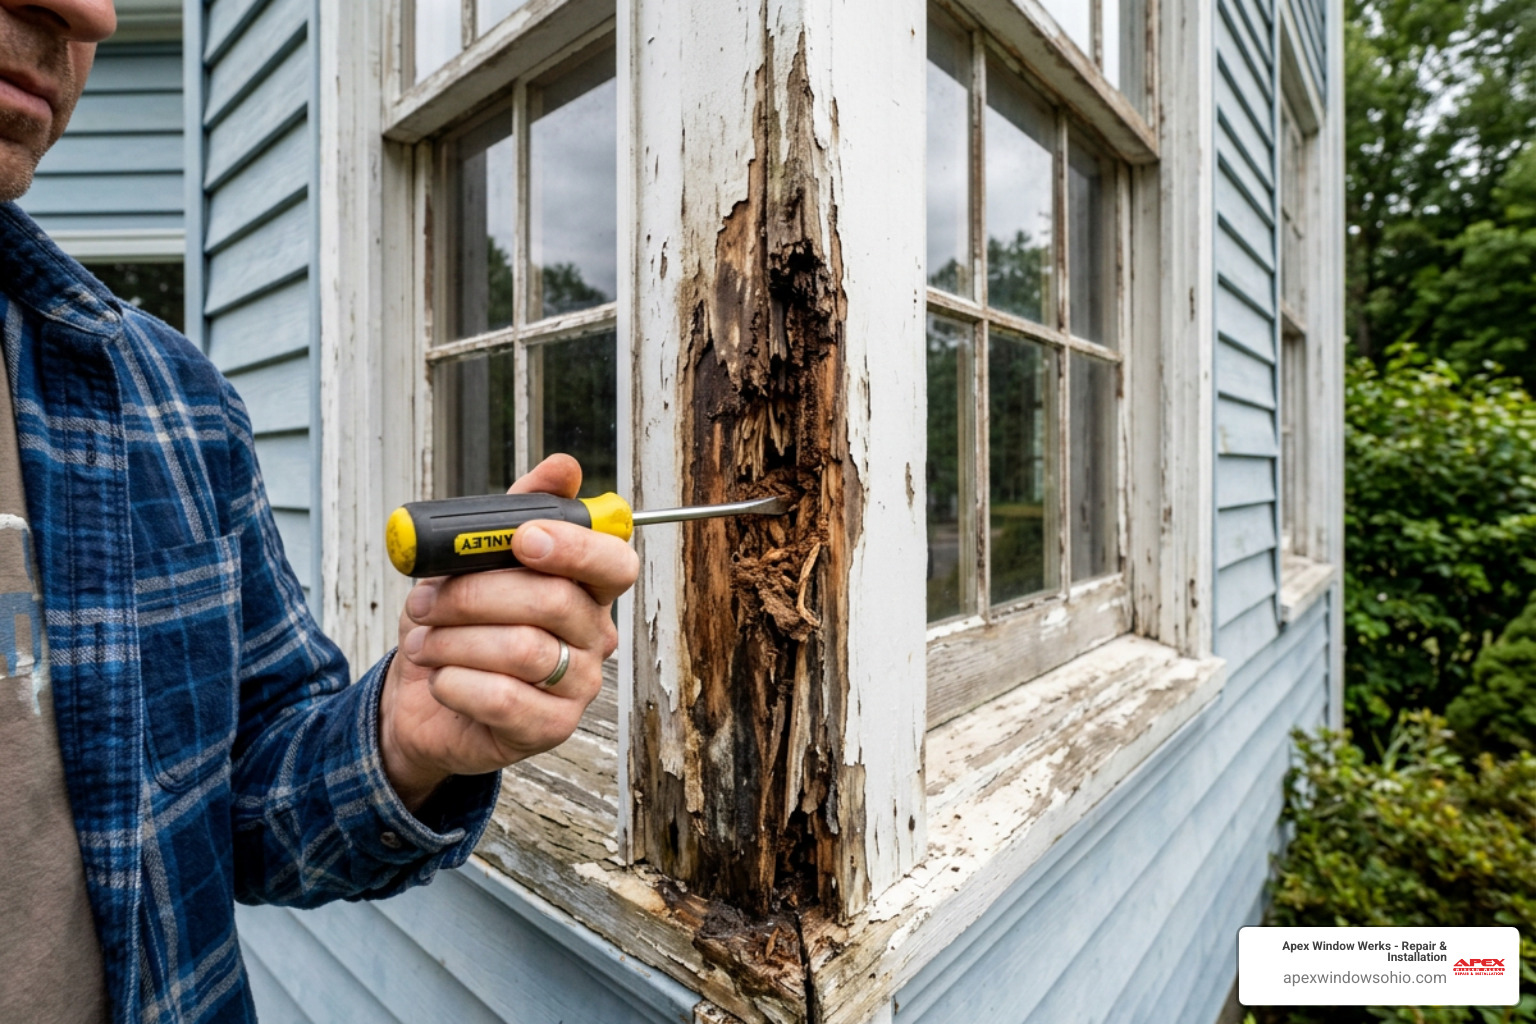
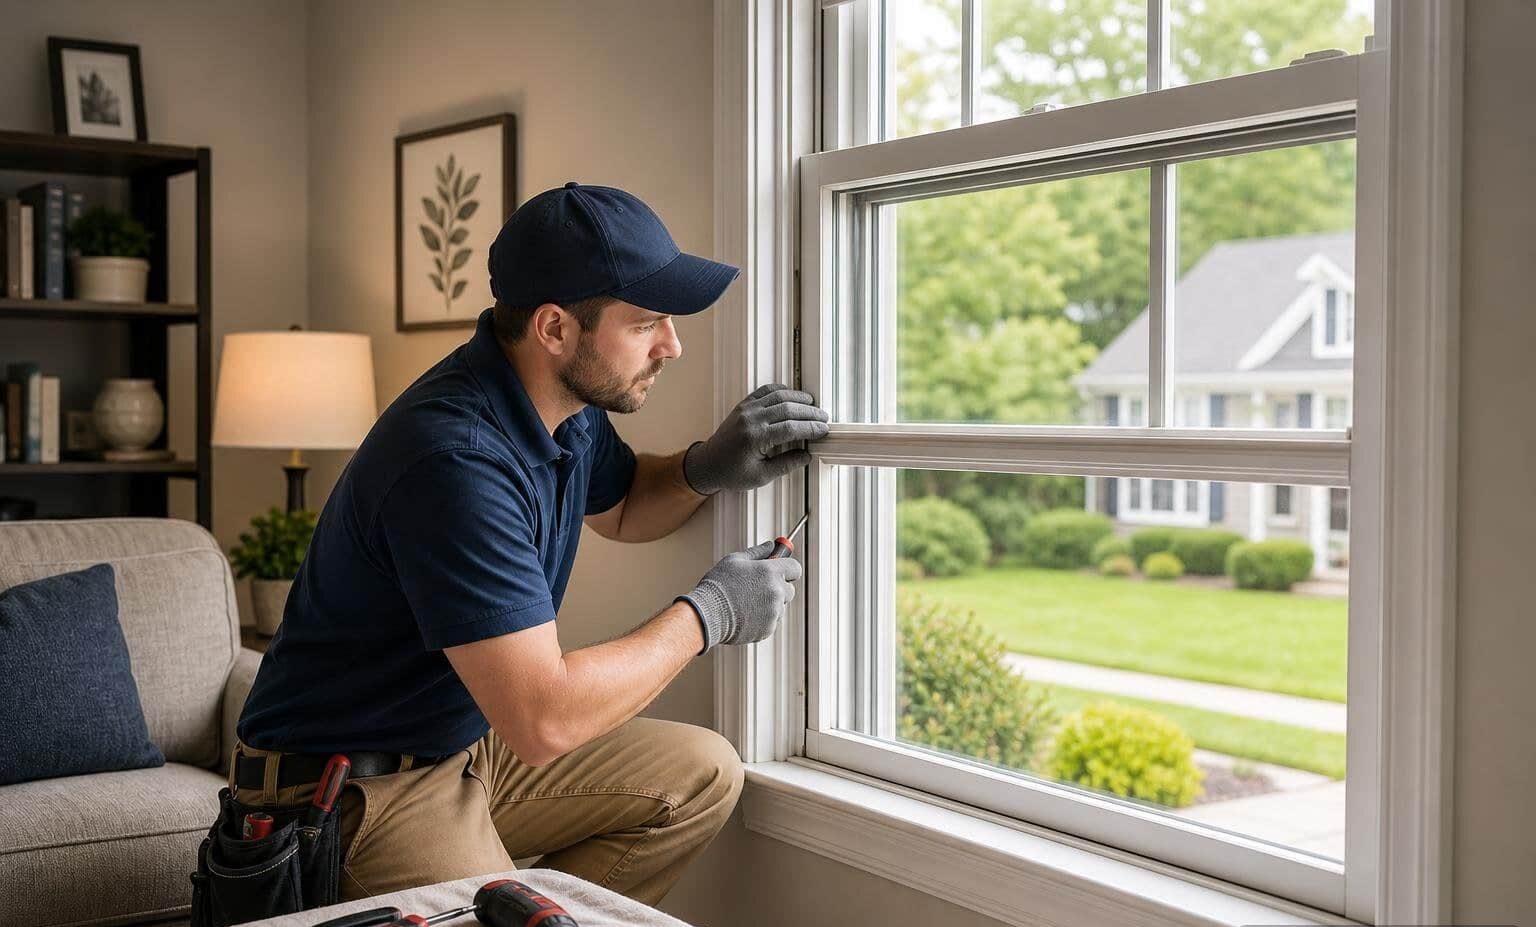
Before you start any repair rotted casement window project, you need to know if the wood is salvageable. We recommend the “Screwdriver Test.” Take a flathead screwdriver and gently press it into any area where the paint is peeling, bubbling, or discolored.
- Solid Wood: The screwdriver will barely leave a mark.
- Surface Decay: The tip goes in a fraction of an inch, but hits solid wood quickly. This is a great candidate for epoxy repair.
- Deep Rot: The screwdriver sinks in an inch or more with little resistance. If the rot has reached the core of the frame or the area where the hinges attach, you may need a more extensive wood window frame repair.
Keep an eye out for other signs:
- Musty Odors: A damp, earthy smell near the window often indicates active fungal growth.
- Discoloration: Dark spots or white, fuzzy growth are clear indicators.
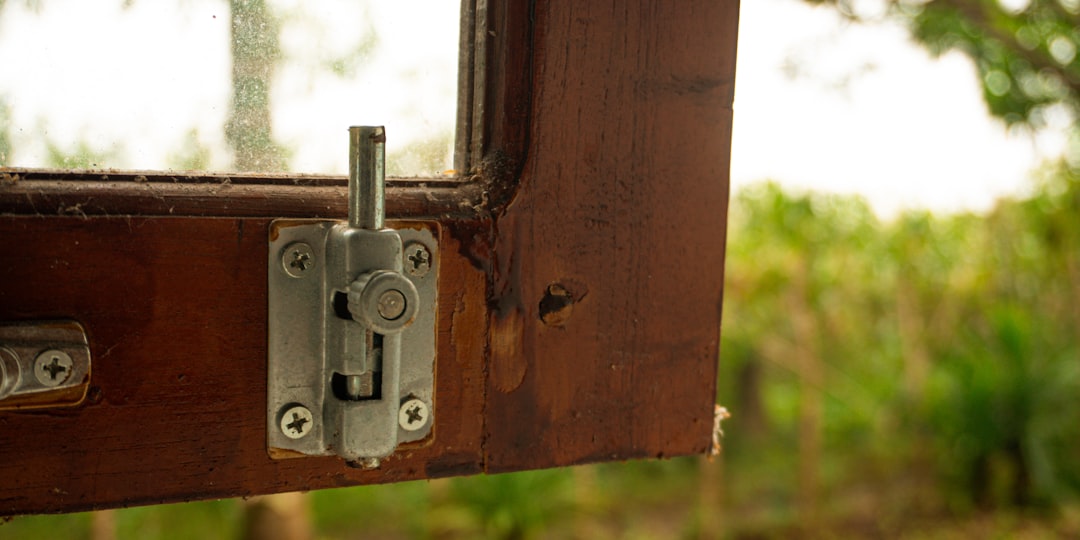
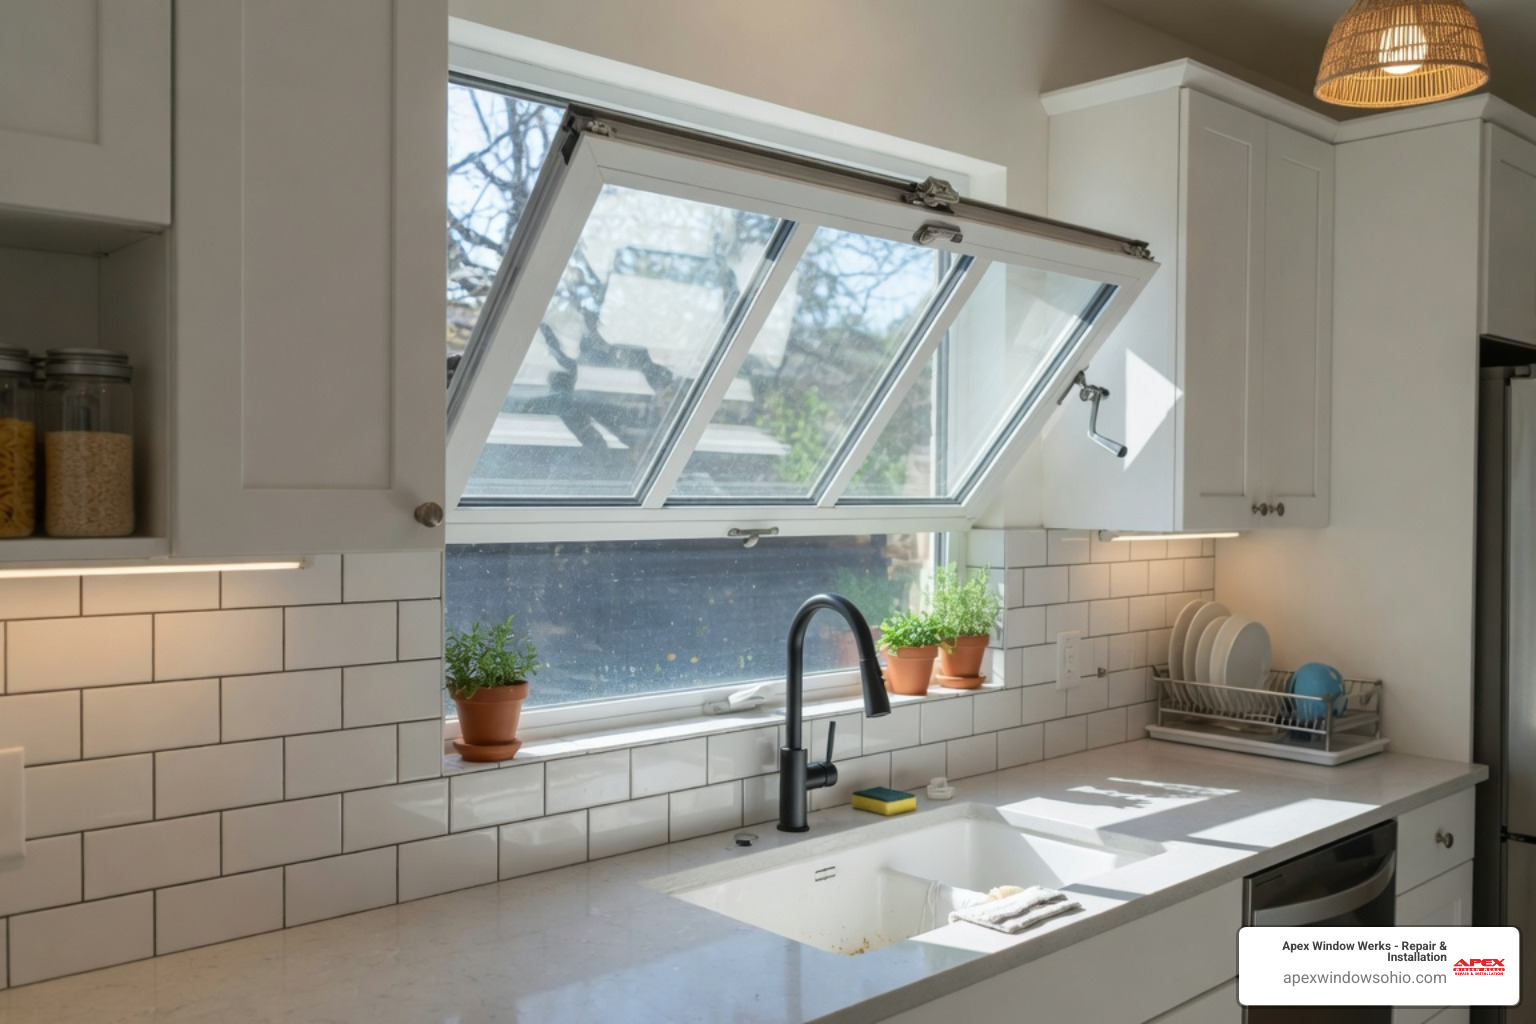
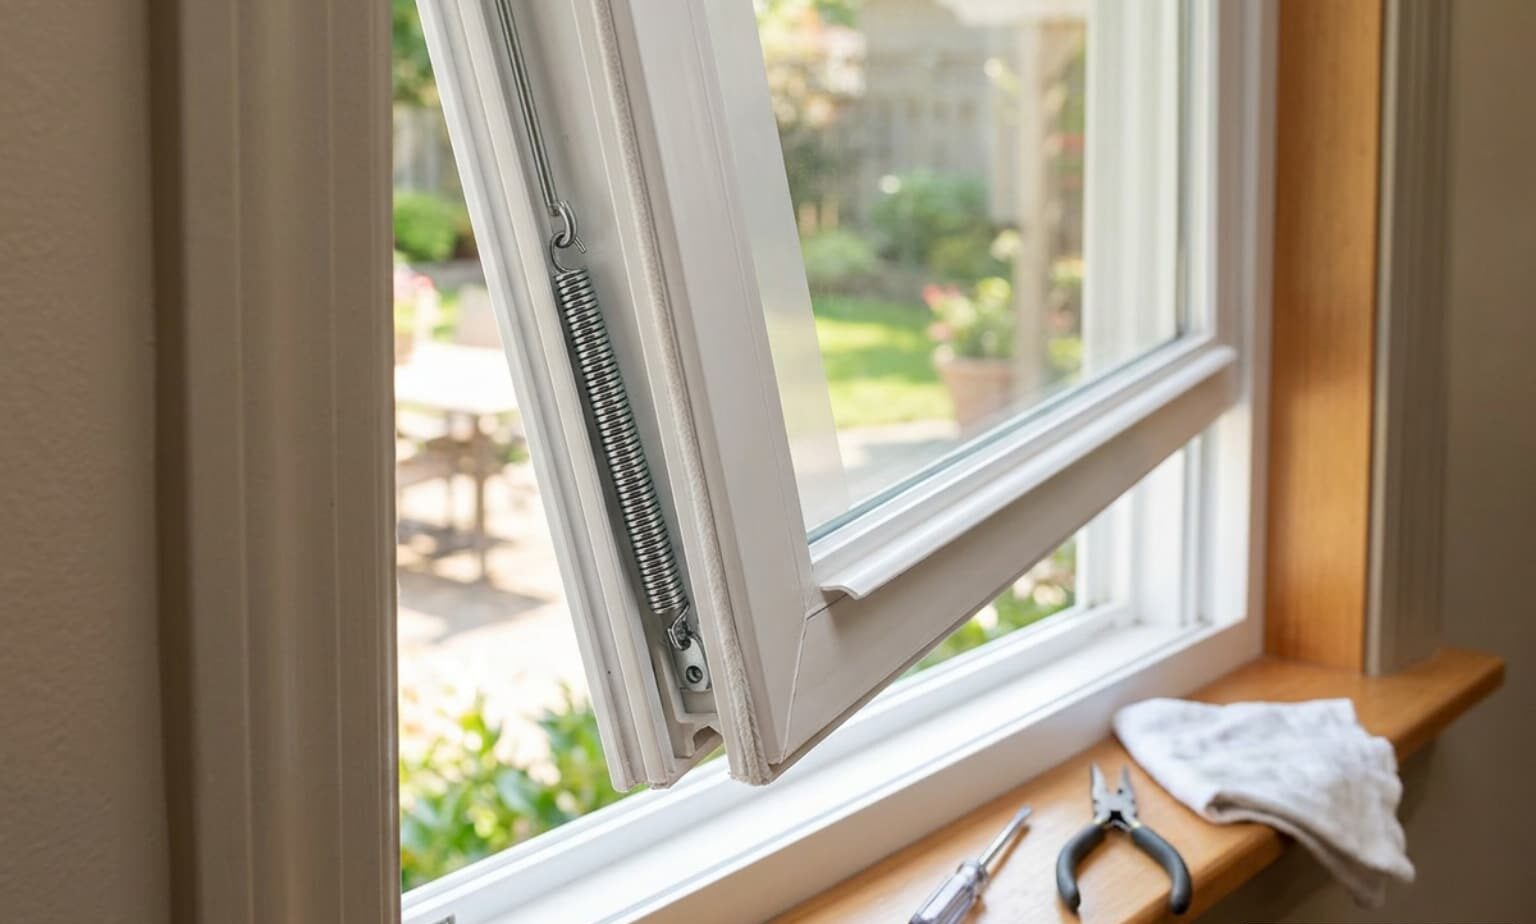
- Operation Issues: If the window is difficult to crank open or won’t stay open, the rot might be affecting the hardware attachment points.
When to Repair Rotted Casement Window vs. Replace
One of the most common questions we get in places like Avon and Solon is: “Is it even worth fixing?”
Repairing a window is almost always more cost-effective than a full replacement, especially if you have high-quality wood windows that match the historic character of your home. However, there is a tipping point.
| Factor | Repair It If… | Replace It If… |
|---|---|---|
| Extent of Rot | Less than 20% of the frame/sash is affected. | More than 50% of the wood is soft or missing. |
| Hardware | The wood around the crank and hinges is solid. | The hardware has pulled out and the wood is “toast.” |
| Glass | Single or double-pane glass is intact. | Seals have failed on multiple panes (foggy windows). |
| Cost | Repair is significantly cheaper than a new unit. | Labor for a complex rebuild exceeds the price of a new window. |
| Energy Efficiency | Frame is solid; weatherstripping just needs replacement. | You want to upgrade to Low-E glass for 25%–50% energy savings. |
If the frame is solid but the sash (the part that moves) is gone, you might consider a “pocket replacement” or a new sash kit. This allows you to keep the existing frame and trim while getting a brand-new, energy-efficient window.
Essential Tools and Materials for a Professional Repair
To repair rotted casement window sections like a pro, you need the right chemistry. Household wood fillers from the hardware store won’t cut it for exterior rot—they shrink and fall out. You need a two-part epoxy system.
Materials Checklist:
- Wood Hardener (e.g., LiquidWood): A thin, liquid epoxy that soaks into the soft fibers to turn them back into solid plastic.
- Epoxy Wood Filler (e.g., WoodEpox): A thick, putty-like epoxy used to rebuild missing sections.
- Exterior Primer and Paint: We recommend a high-quality oil-based primer followed by two coats of exterior latex paint.
- Backer Rod and Silicone Caulk: For sealing large gaps.
- Preservative: To treat the wood and prevent future fungal growth.
Tools Checklist:
- Chisels and Scrapers: For digging out the “gunk.”
- Oscillating Multi-tool: Perfect for making precise cuts if you need to replace a block of wood.
- Sandpaper: 80-grit for shaping, 120 and 220-grit for finishing.
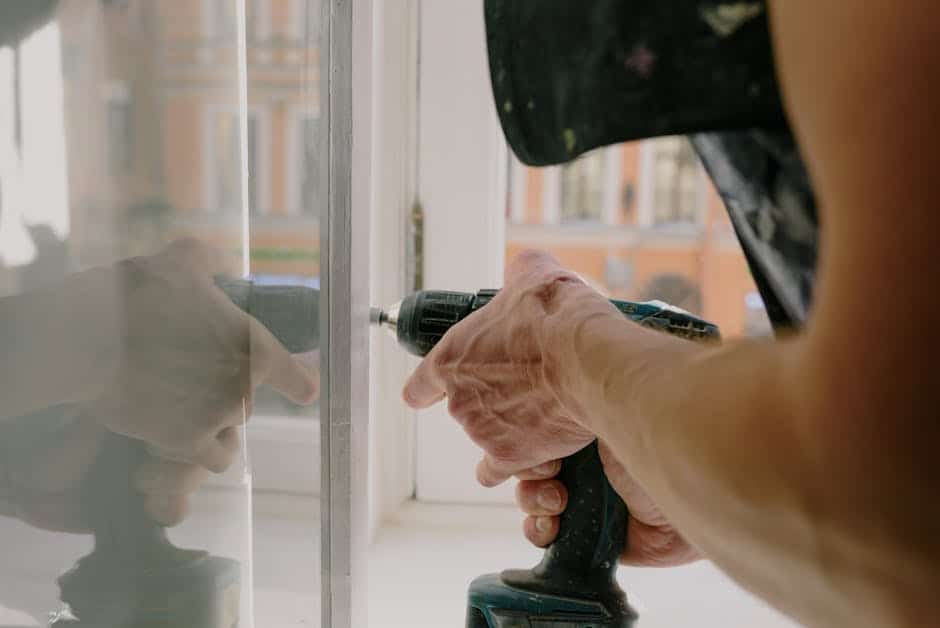
- Drill: To create “irrigation holes” for the wood hardener to penetrate deeper.
- PPE: Gloves, safety glasses, and a respirator (rot spores and epoxy fumes are no joke!).
If you’re looking for professional-grade results for wood sash repair in Cleveland, having these specific tools is non-negotiable.
Step-by-Step Guide to Repair Rotted Casement Window Sections
Ready to get your hands dirty? Follow this process to restore your window’s strength and beauty.
Step 1: Remove the Rot
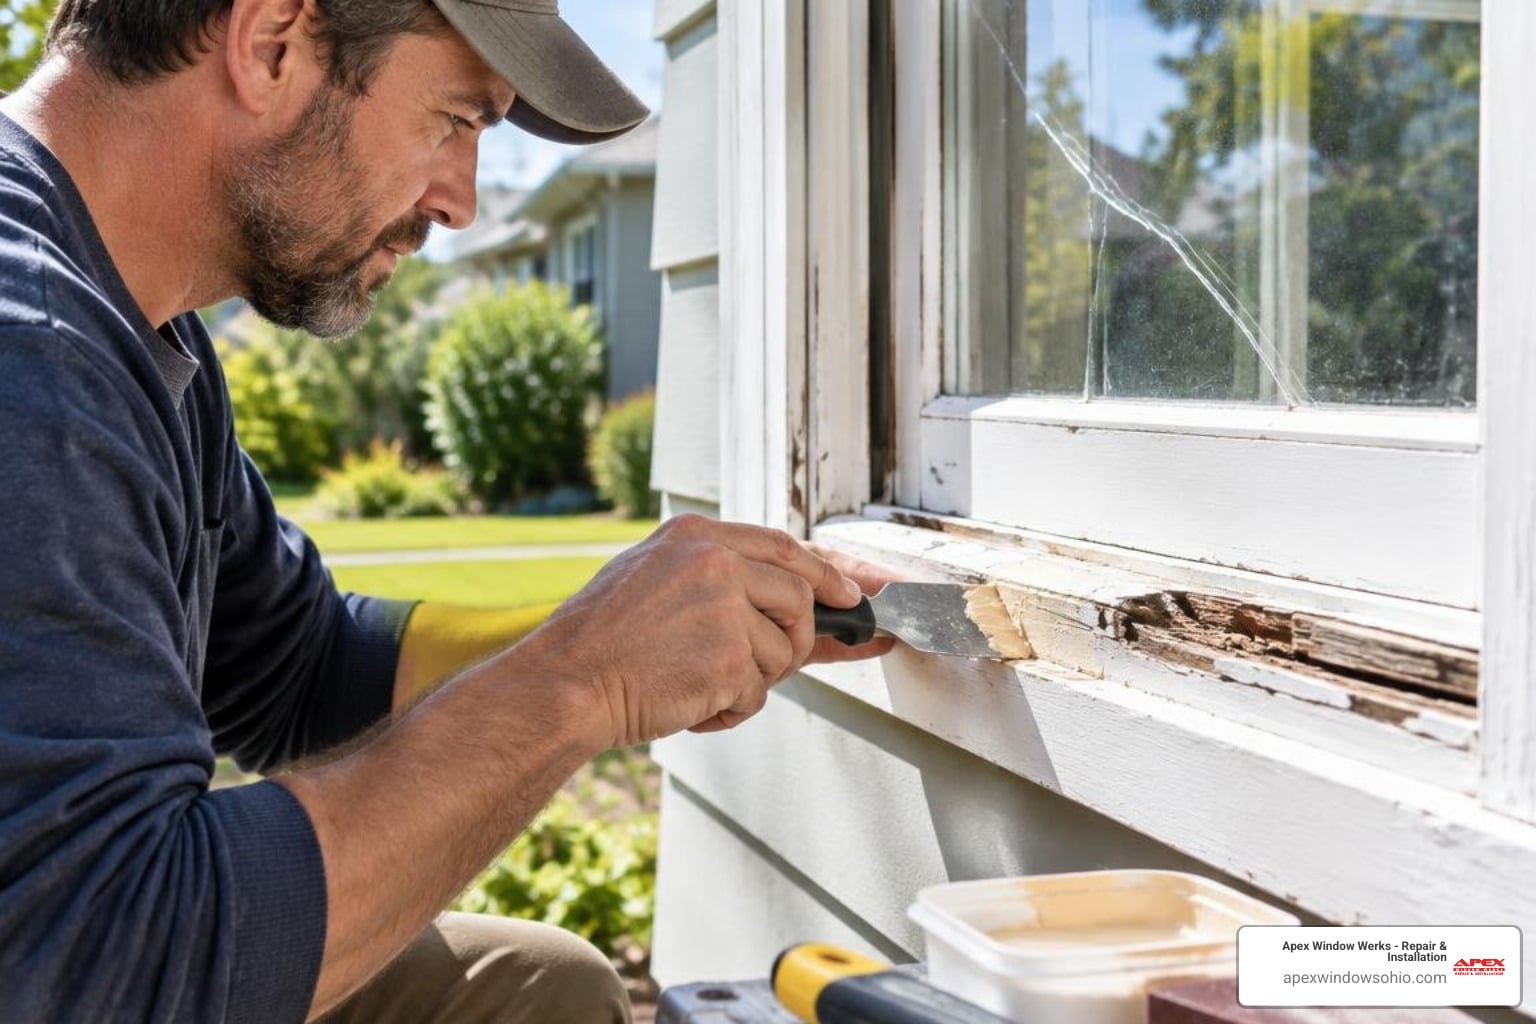
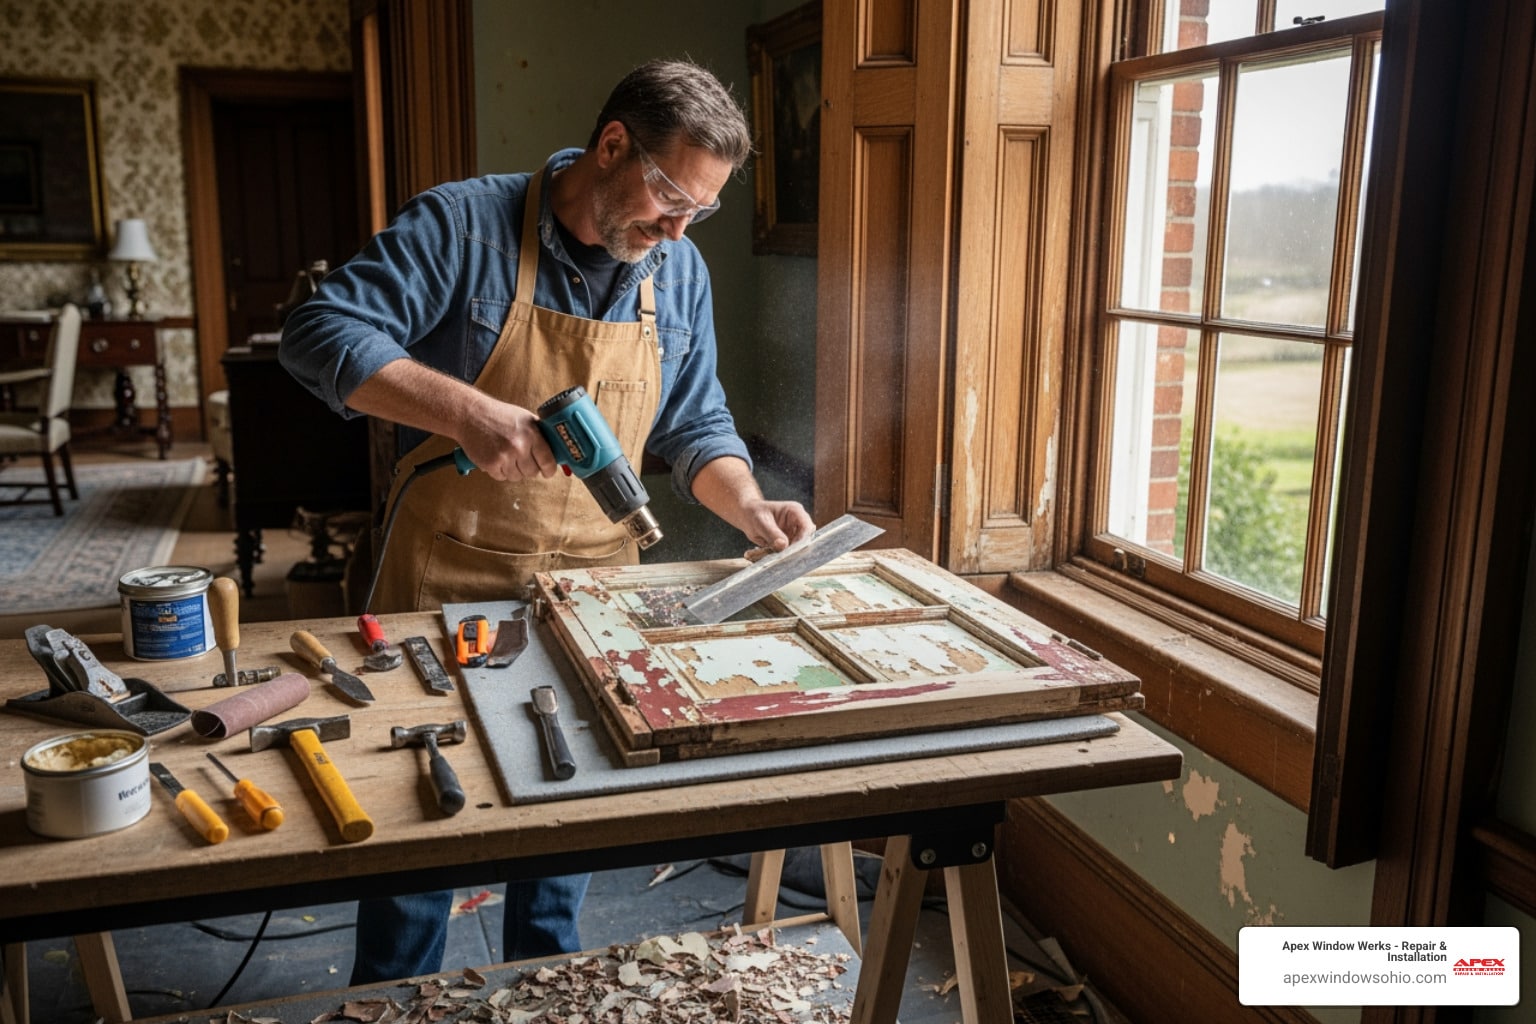
Use your chisel to scrape away all the soft, dark, or crumbly wood. You must keep going until you hit light-colored, solid wood. If you leave even a little bit of active rot behind, it can continue to spread under your repair.
Step 2: Dry the Wood
This is the step most DIYers skip! Epoxy will not bond to wet wood. Use a heat gun (carefully!) or a hair dryer to ensure the area is bone-dry. In our Northeast Ohio climate, you might need to cover the window with plastic and let it air dry for a few days if it’s been raining.
Step 3: Apply Wood Hardener
Drill small 1/8-inch holes into the healthy wood surrounding the repair area. Brush on the liquid wood hardener liberally. It will soak into the wood fibers, consolidating them. This creates a solid foundation for the filler.
Step 4: Mix and Apply the Epoxy
Mix your two-part epoxy filler according to the instructions. It should have the consistency of play-dough. Press it firmly into the cavity.
- Pro Tip: Apply the epoxy in quarter-inch layers if the hole is deep. This prevents the filler from sagging or cracking as it cures.
- Shape It: Use a putty knife to shape the epoxy to match the original profile of the window. Overfill it slightly, as you will sand it down later.
Step 5: Sand and Finish
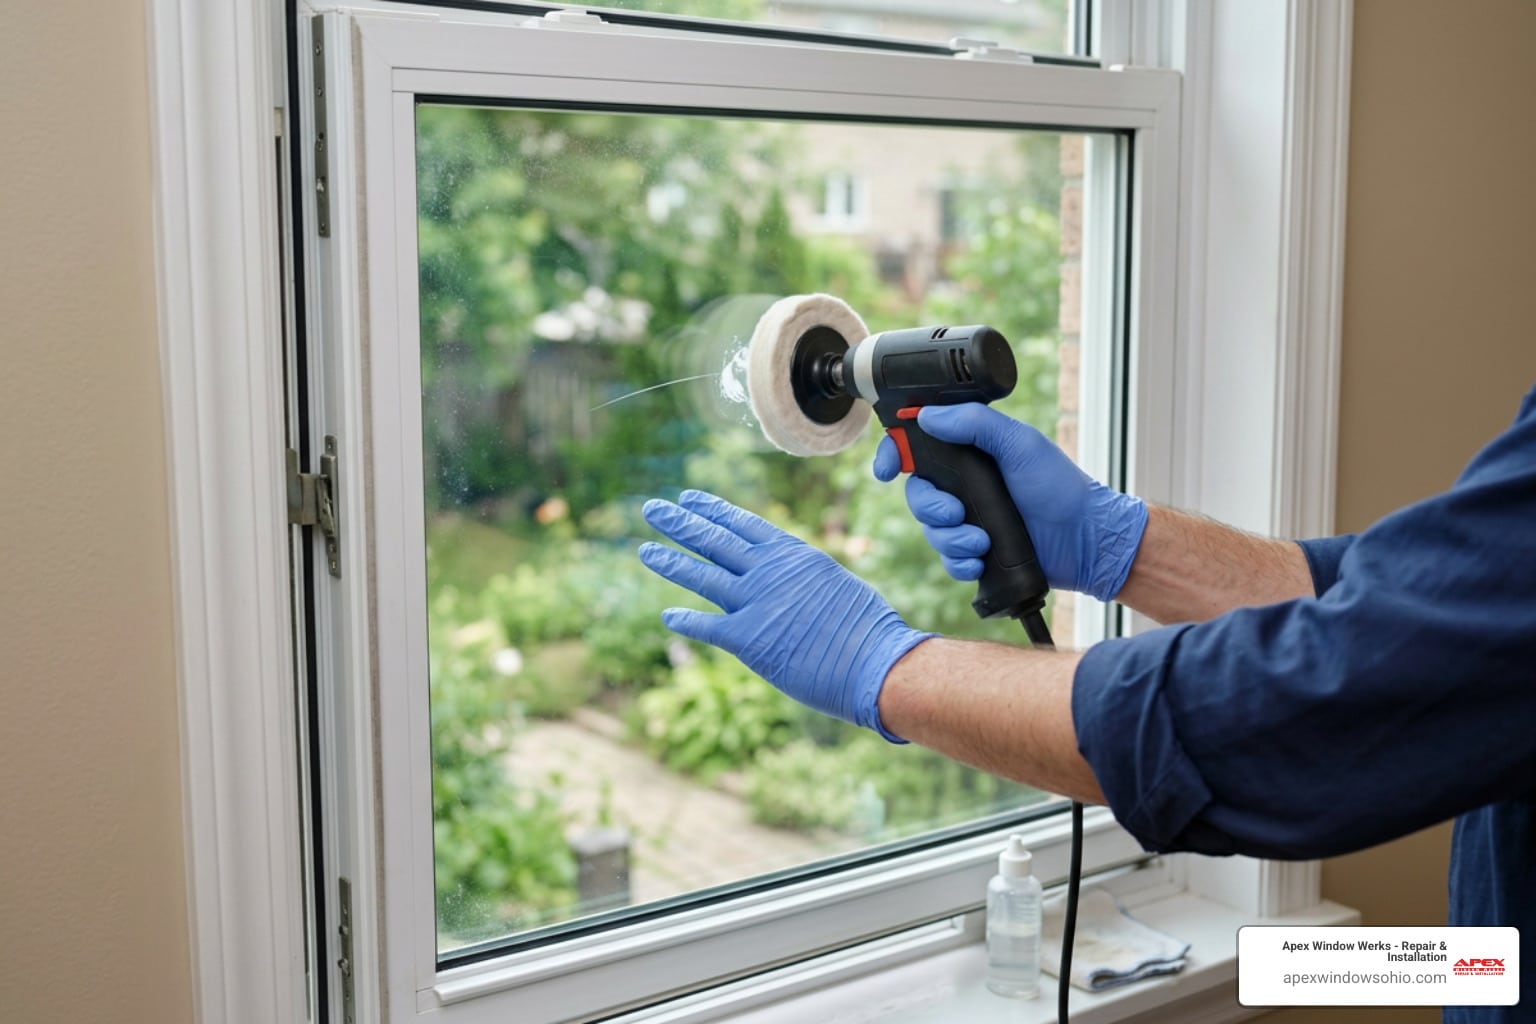
Once the epoxy is hard (usually 2 to 24 hours depending on the temperature), sand it smooth. Start with 80-grit to knock down the high spots, then move to finer grits until the transition between wood and epoxy is invisible to the touch.
Repair Rotted Casement Window Sashes with Wood Inserts
Sometimes the hole is too big for epoxy alone. In these cases, we use a “Dutchman repair”—cutting out a square section and gluing in a new piece of wood.
- Milling: Cut a piece of rot-resistant wood (like cedar or pressure-treated pine) to fit the hole.
- Fastening: Use waterproof wood glue and stainless steel screws to secure the block.
- Gap Filling: Use a small amount of epoxy filler to seal the seams between the new wood and the old frame.
- Alignment: Ensure the new wood doesn’t interfere with the window’s ability to close and seal against the weatherstripping.
Finishing and Preventing Future Wood Decay
A repair is only as good as the protection you put over it. Without a proper finish, the Ohio elements will be back to finish the job within a year.
- Priming: Apply a high-quality primer to the entire repaired area. This creates the “bridge” between the epoxy and the paint.
- Painting: Apply at least two coats of exterior paint. Don’t forget the bottom edge of the sash—that’s where most water enters!
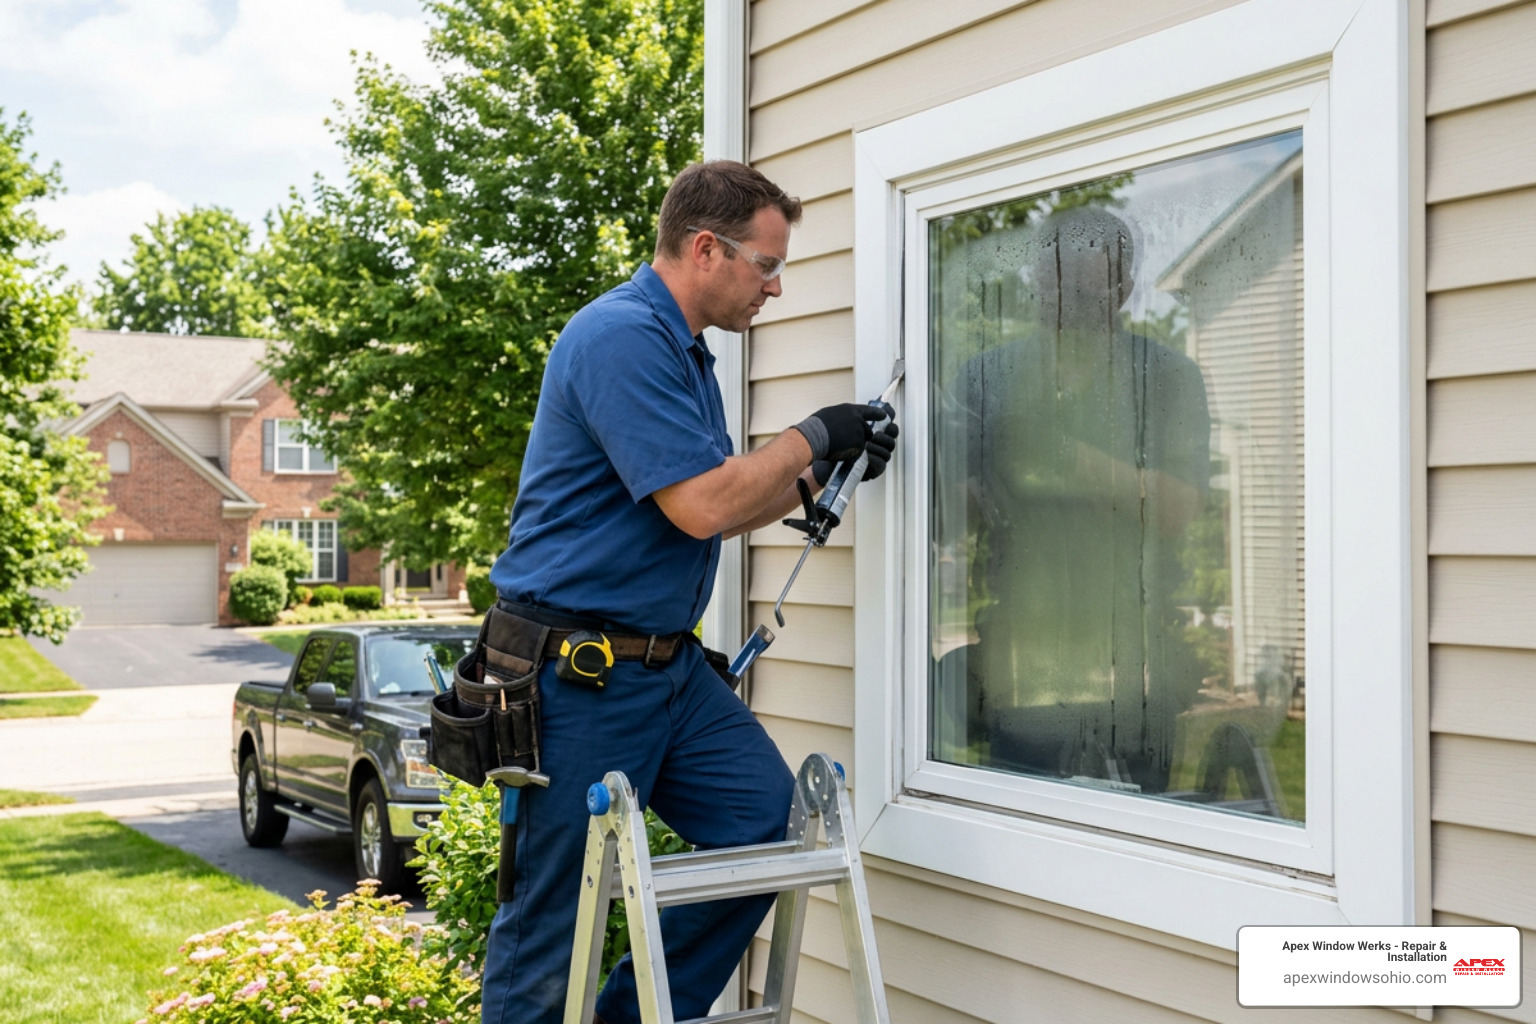
- Caulking: Use a high-quality silicone or polymer caulk to seal the joint where the window frame meets the house siding.
- Weatherstripping: Replace any brittle or torn weatherstripping. New EPDM rubber seals can reduce drafts and prevent water from blowing into the frame during storms.
Energy Efficiency Bonus: While you are working on your windows, consider upgrading to double-pane Low-E glass. According to the U.S. Department of Energy, this can reduce energy loss by 25%–50%. In Cleveland, where heating bills can be a nightmare, this is a smart long-term investment.
Frequently Asked Questions about Casement Window Rot
Is it okay to paint over rotted wood?
Absolutely not. Painting over rot is like putting a Band-Aid on a forest fire. The paint traps the moisture inside, which actually accelerates the fungal growth. Within a few months, the paint will bubble and peel off, and the wood underneath will be even softer than before. Always remove the rot first!
How much does it cost to repair a rotted casement window?
The cost varies wildly based on the damage. A small DIY epoxy repair might cost you $50 in materials and a Saturday afternoon. Professional repairs for dry rot average around $1,400 nationally, but can range from $150 for minor fixes to $10,000 for a whole house. At Apex Window Werks, we focus on making these repairs affordable for Northeast Ohio homeowners by providing targeted fixes rather than forcing a full replacement.
Can I repair a window sash without removing it?
You can, but it’s much harder. Removing the sash allows you to work on a flat surface, reach the bottom edge easily, and ensures you don’t accidentally glue the window shut with epoxy. Most casement sashes can be removed by unscrewing the metal arms from the track. Just be sure to have someone help you hold the glass so it doesn’t fall!
Conclusion
Repairing a rotted casement window might seem daunting, but it is a vital part of home maintenance that can save you thousands of dollars in replacement costs. By catching rot early and using the right epoxy techniques, you can extend the life of your beautiful wood windows for decades.
At Apex Window Werks, we’ve spent years perfecting the art of window restoration in the Cleveland-Akron area. Whether you’re in Beachwood, Medina, or Mentor, our team is ready to help you tackle everything from foggy glass to structural wood rot. We pride ourselves on speed, quality, and a commitment to saving windows that others might say are “past their prime.”
Don’t let a small soft spot turn into a major structural failure. Schedule your wood window repair with us today and let’s get your windows back in tip-top shape!