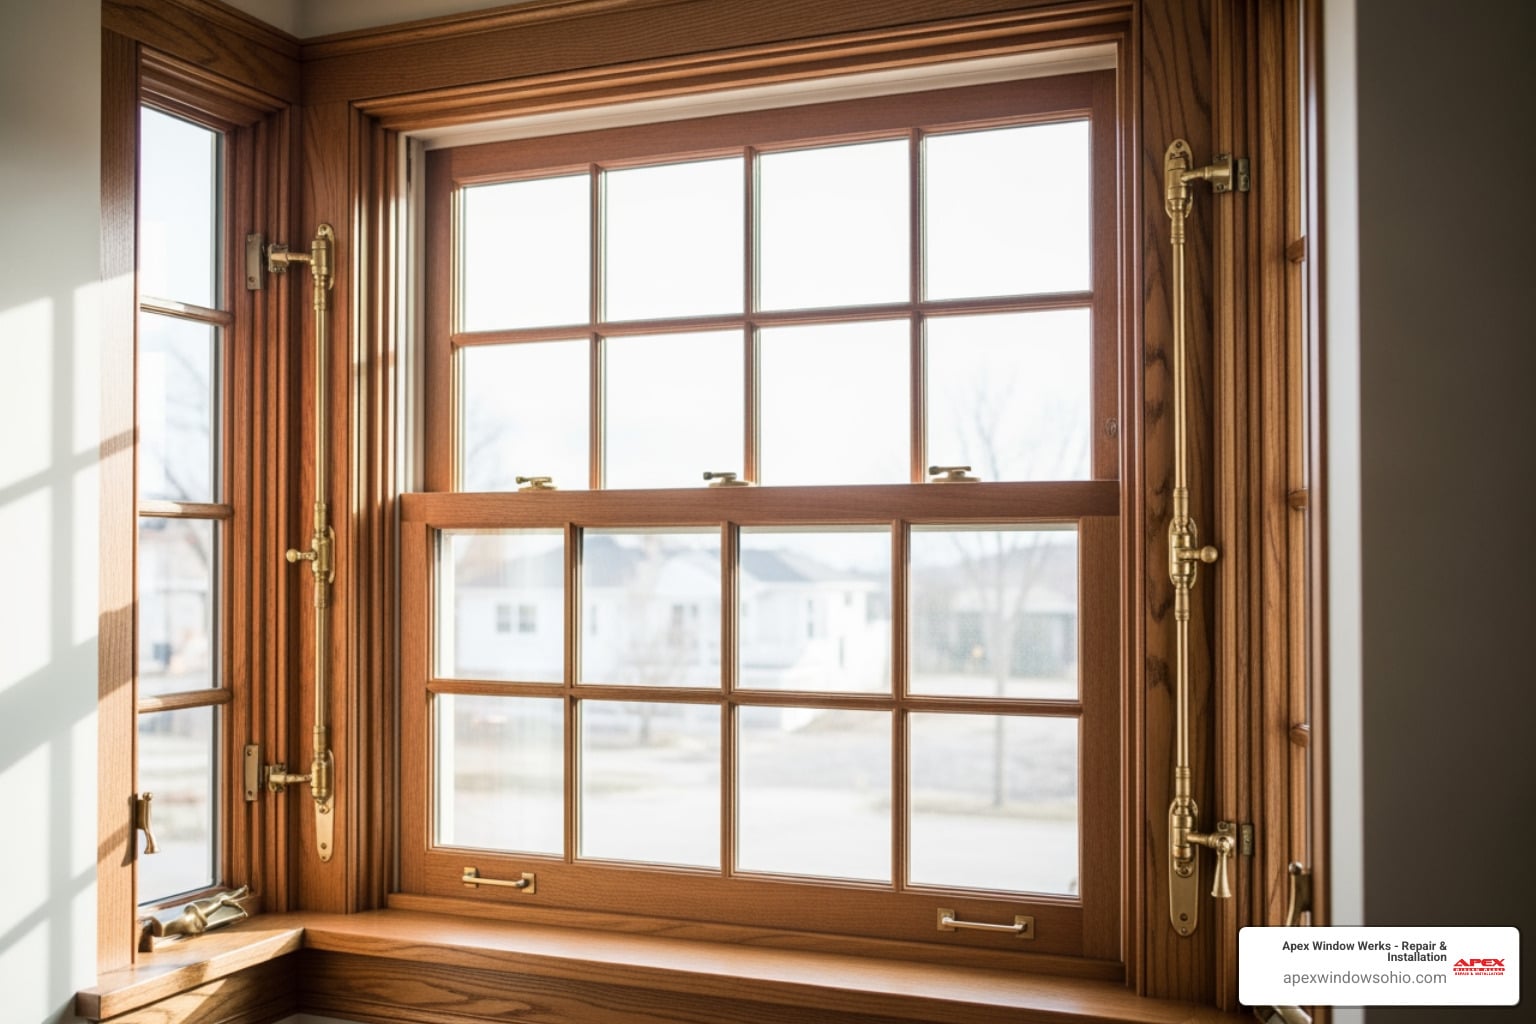


5 Clear Signs It Is Time to Replace a Rotted Window Sash
Why Timber Window Sashes Rot in Northeast Ohio and How to Address It
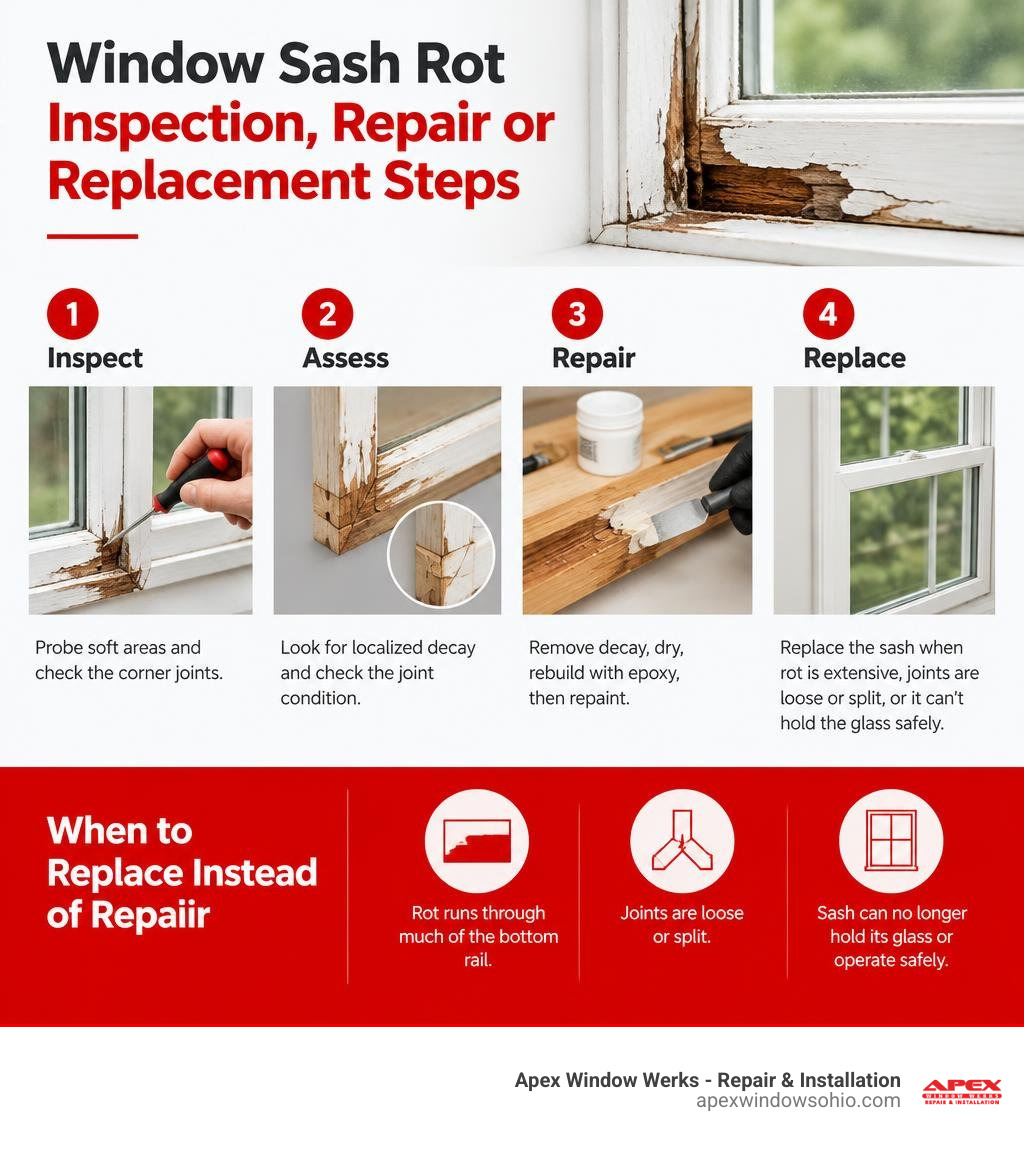
To replace a rotted window sash, first probe the soft area with an awl or screwdriver and check the corner joints. Localized decay with solid mortise-and-tenon joints can often be removed, dried, rebuilt with epoxy, and repainted. Replace the sash when rot runs through much of the bottom rail, joints are loose or split, or the sash can no longer hold its glass and operate safely.
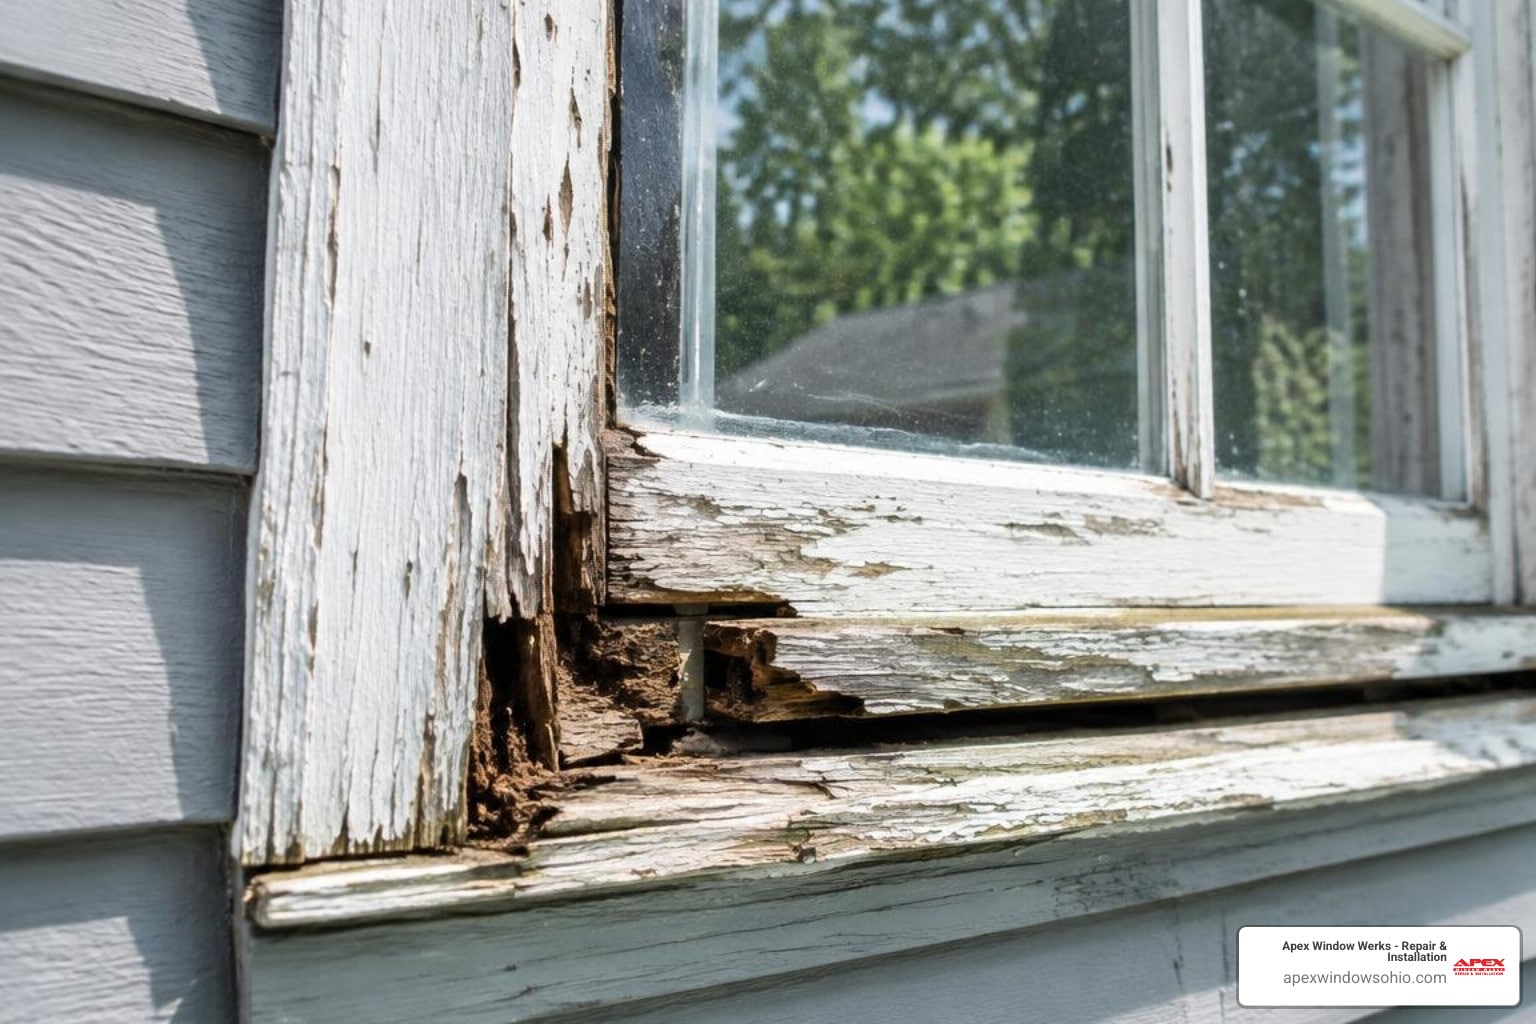
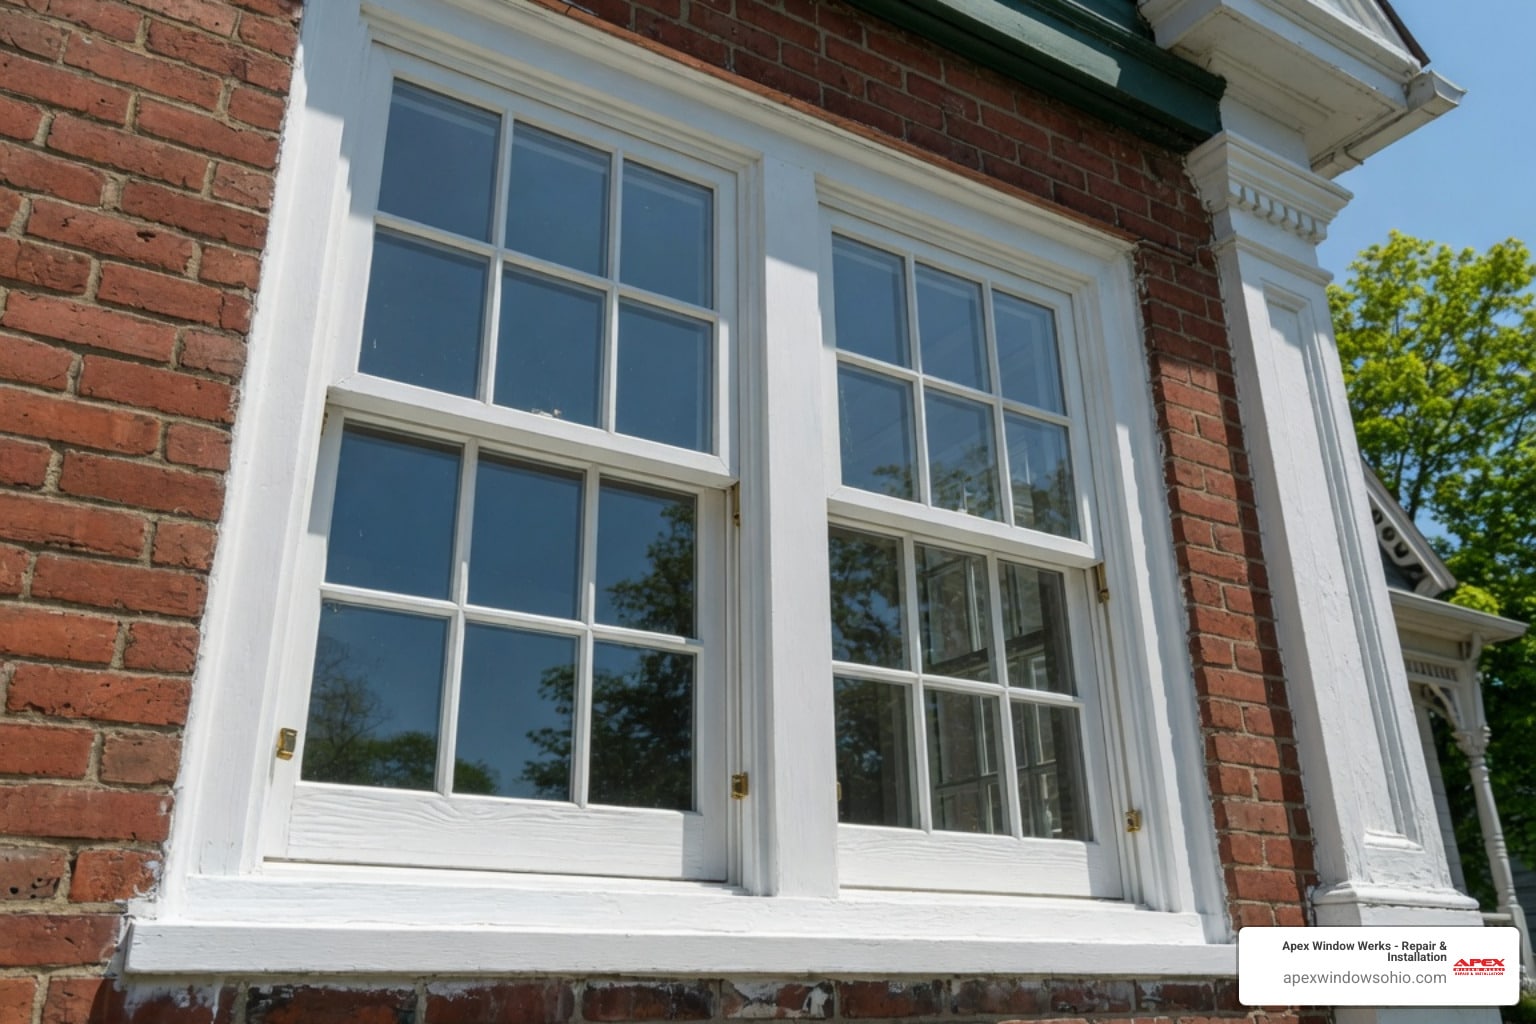
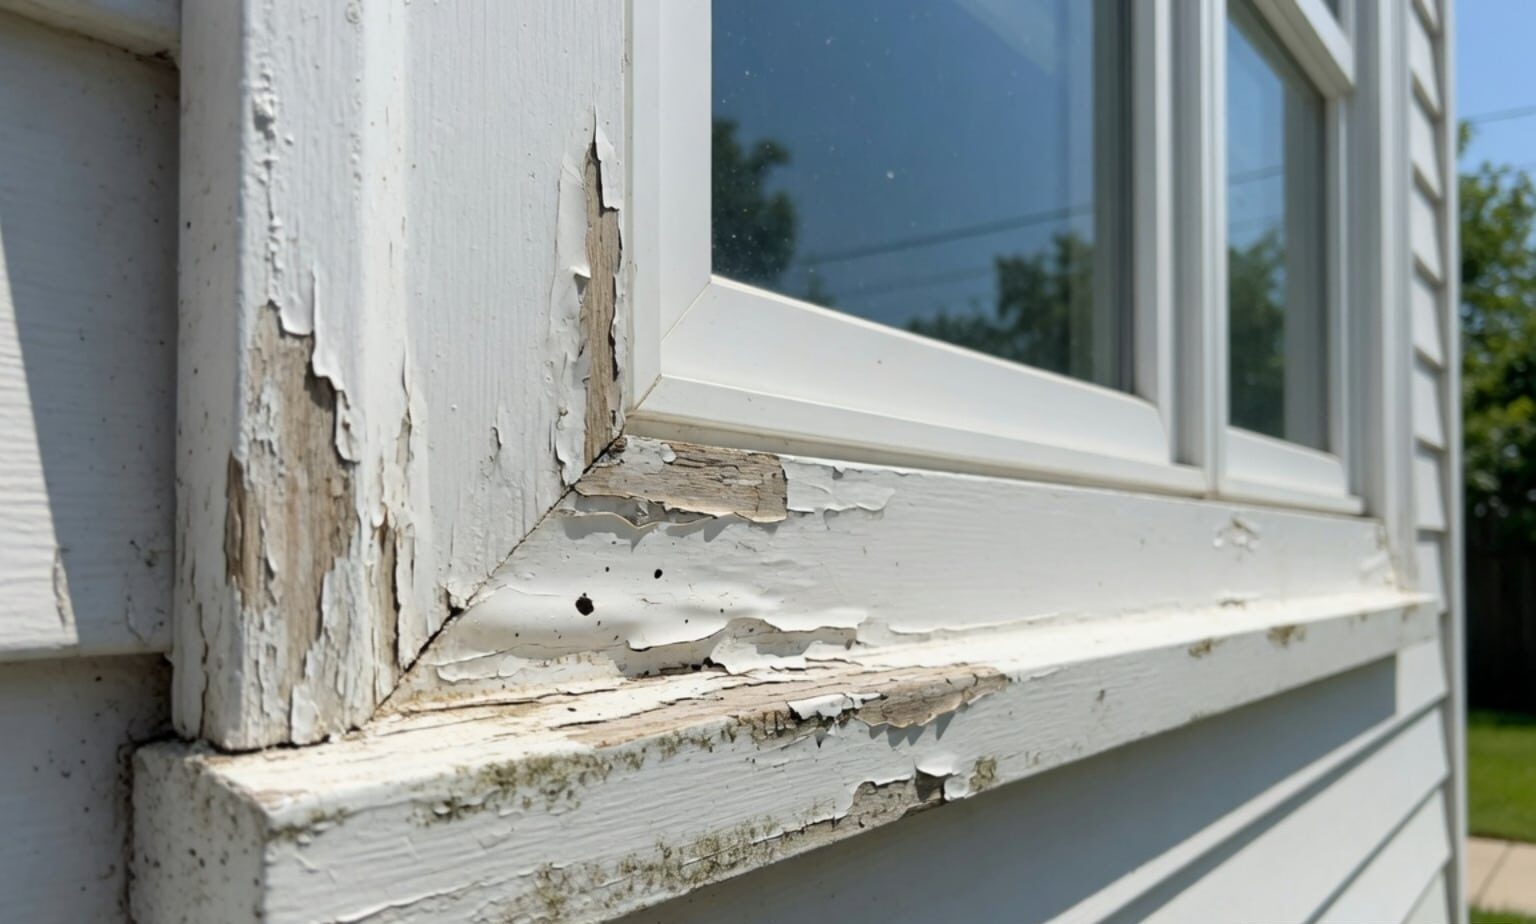
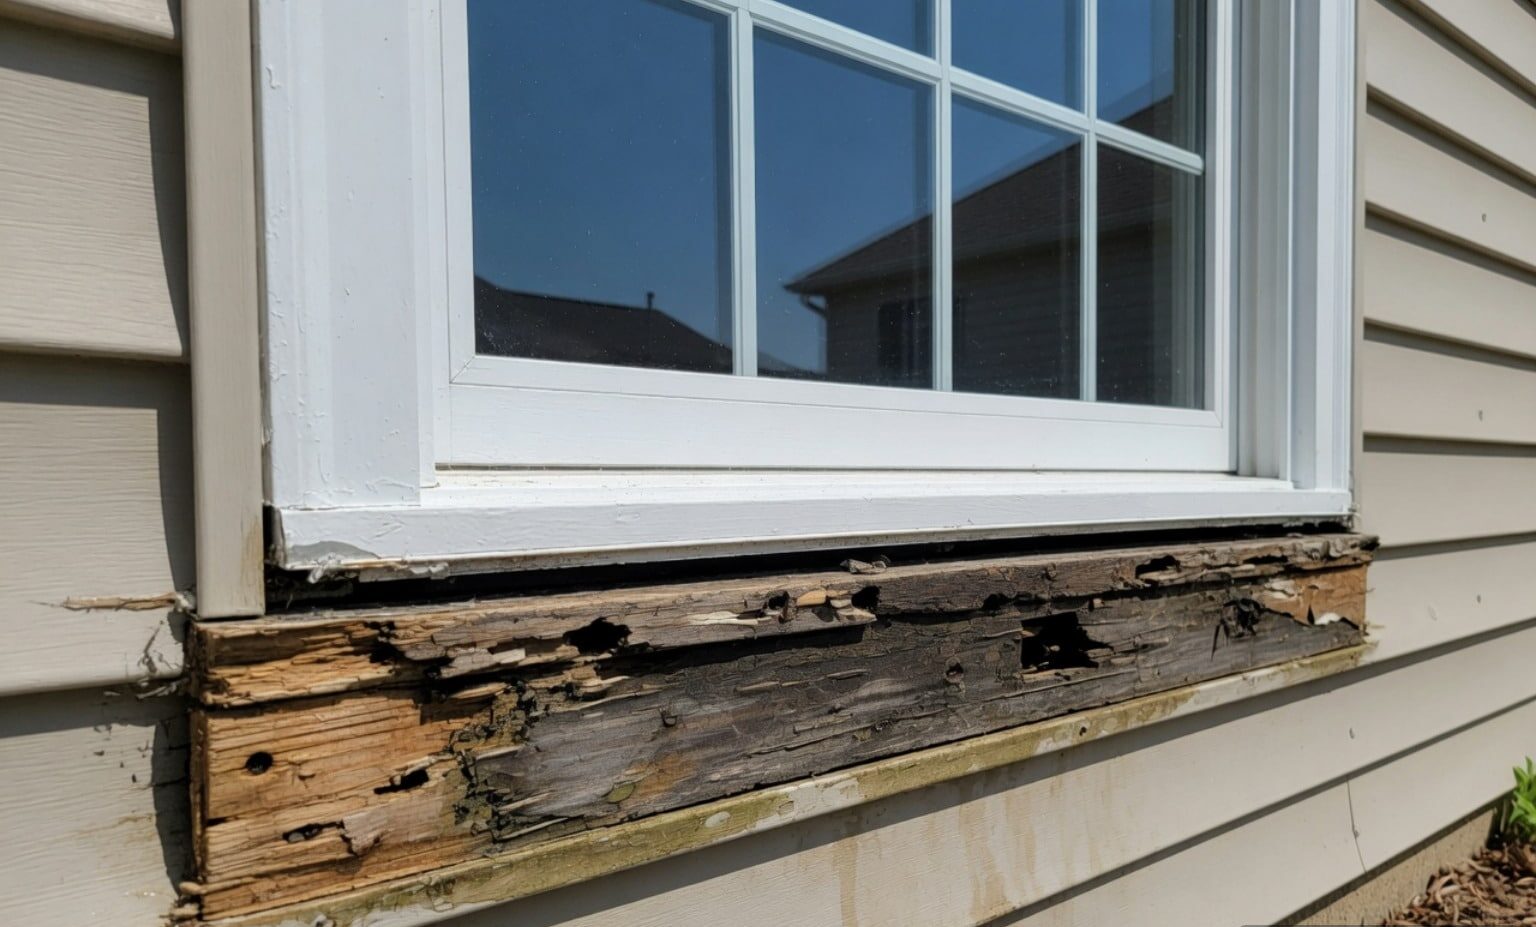
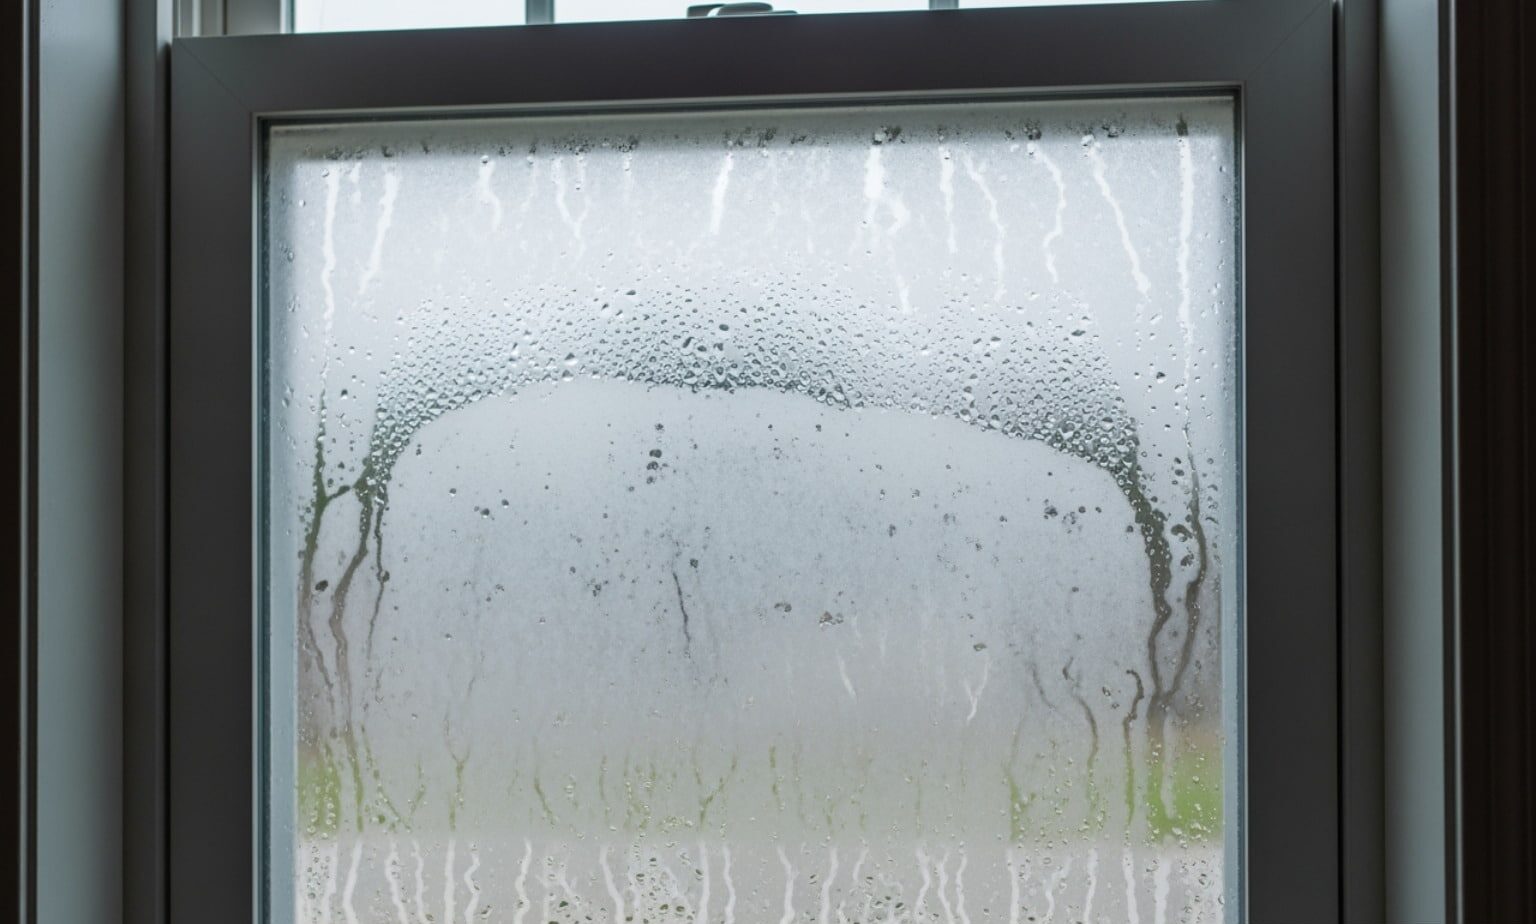
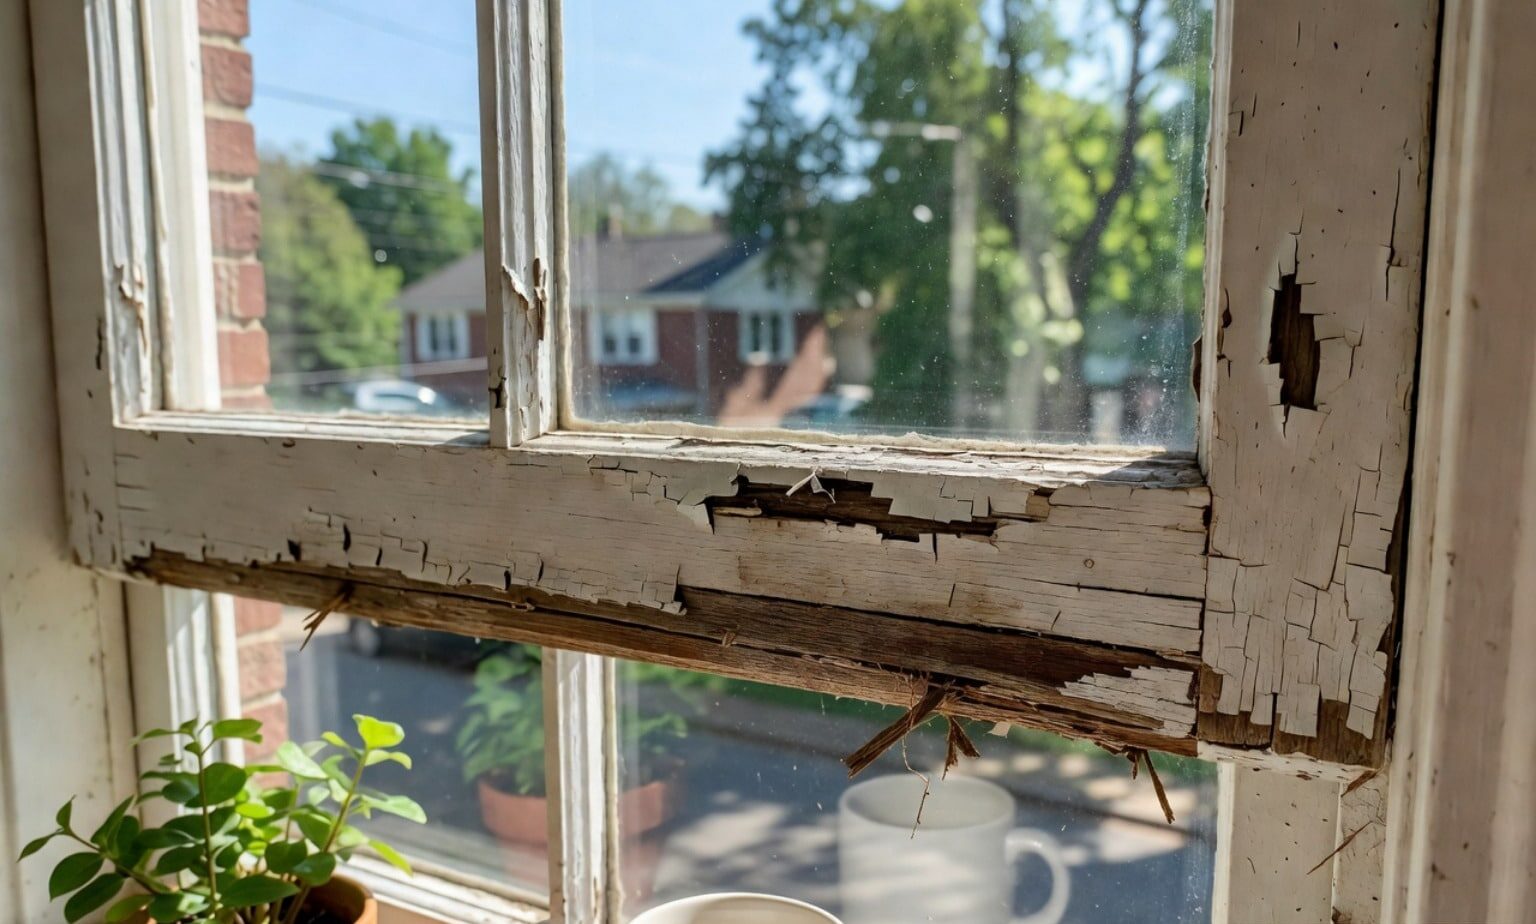
Timber sashes usually rot at the lower rail and corners, where water sits against failed paint, glazing, or caulk. In Northeast Ohio, repeated rain, condensation, and freeze-thaw cycles can turn a small paint crack into deeper decay. The good news: rot in the sash does not automatically mean the whole window frame needs replacement. Older wood windows may be worth saving when the surrounding frame, glass, and hardware remain serviceable.
Nataly Godes is General Manager at Apex Window Werks – Repair & Installation, where the team helps Northeast Ohio property owners assess wood-window damage, preserve repairable components, and replace rotted window sash parts when repair is no longer practical. This guide explains how to make that call and complete the work safely.
Related window sash repair and restoration guides:
Assessing Sash Decay in Cleveland and Akron Homes: Repair vs. Replacement
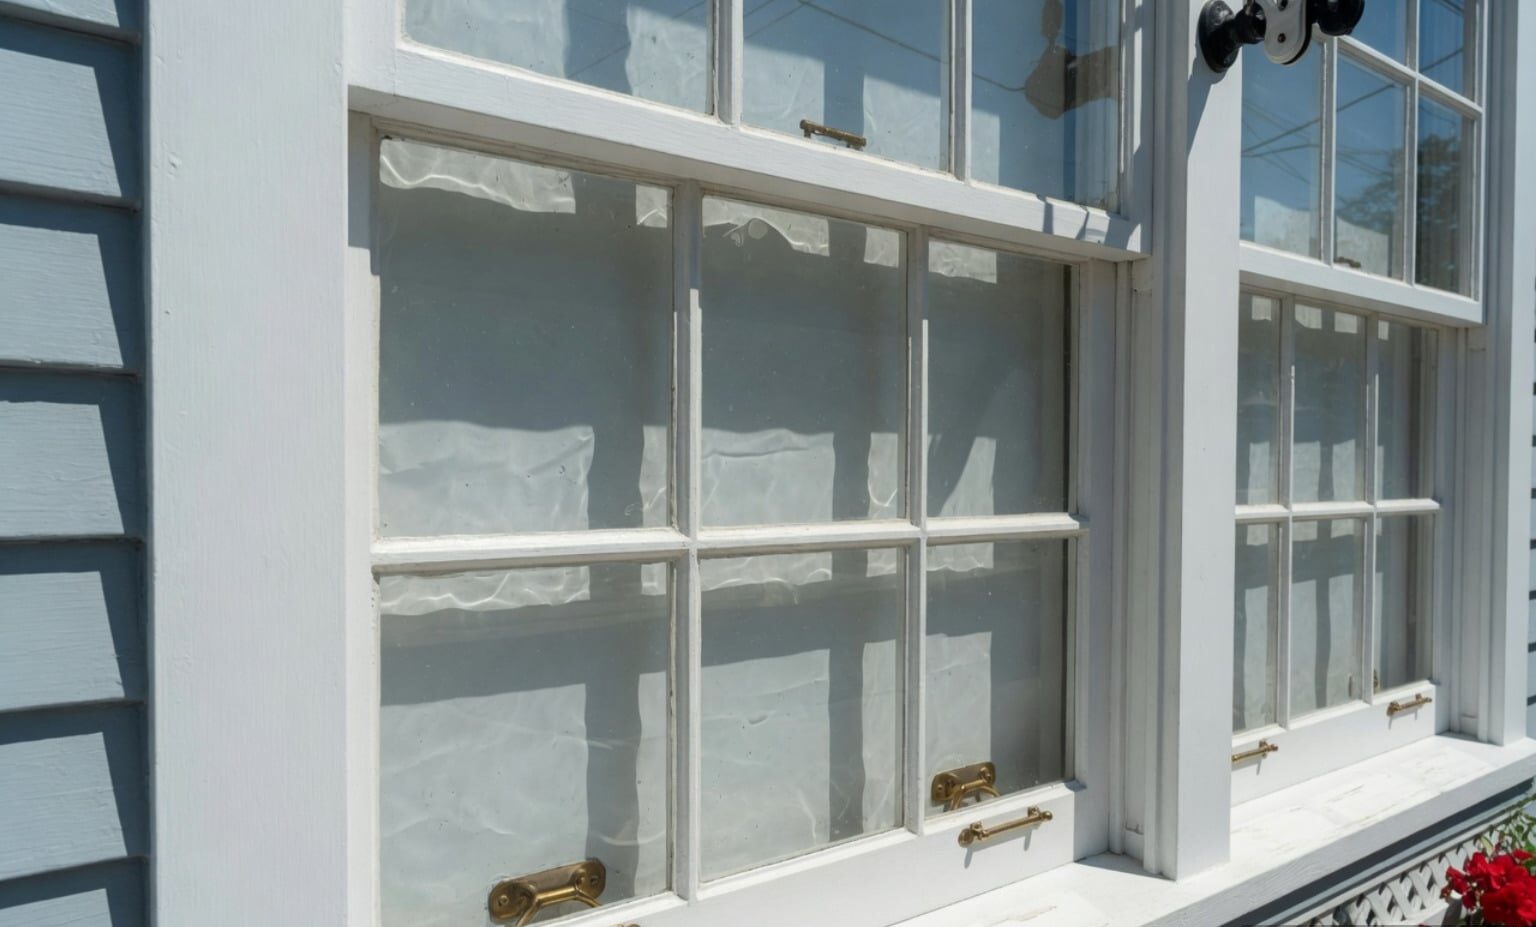
Before jumping into a project, we need to know whether the existing timber can be saved or if building a new sash is the only practical route. Older windows crafted from first-growth, vertical-grain pine feature exceptional natural rot resistance and dimensional stability. Whenever possible, preserving these original components keeps the authentic character and structural strength of your home intact.
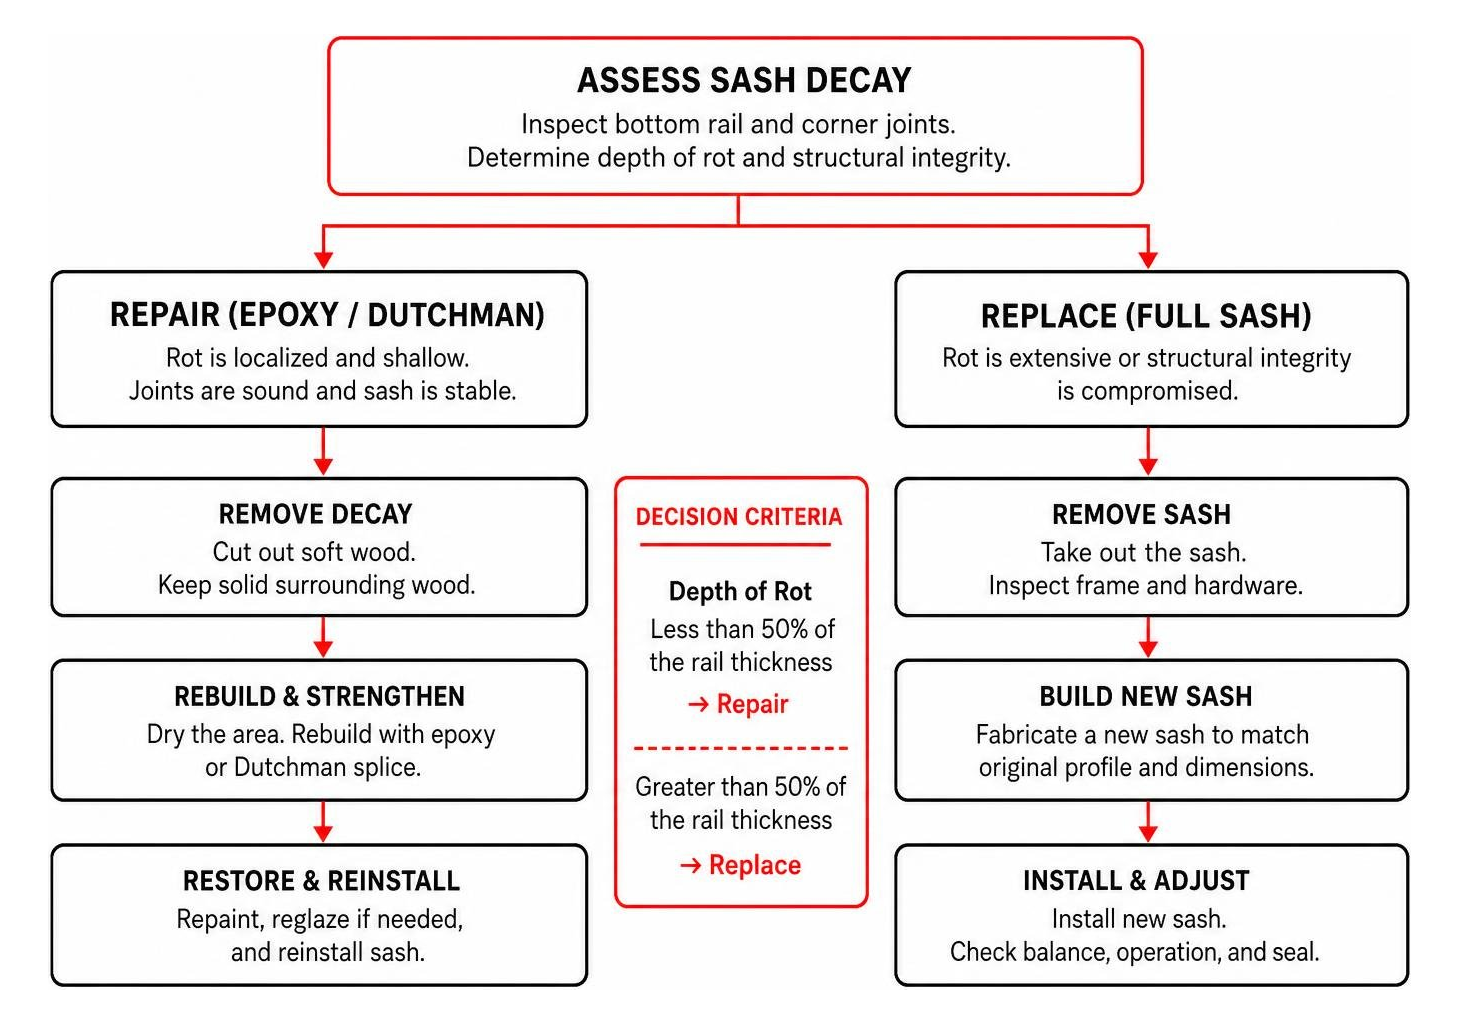
The decision comes down to structural integrity. When decay is isolated to a shallow section of the bottom rail, modern restoration materials let us rebuild the profile without sacrificing the window. However, when the rot penetrates deeply into the mortise-and-tenon joints, the sash loses its structural rigidity and can no longer safely support the weight of the glass.
| Diagnostic Factor | Suitable for Epoxy / Dutchman Repair | Requires Full Sash Replacement |
|---|---|---|
| Depth of Rot | Less than 50% of the rail thickness | Greater than 50% of the rail thickness |
| Corner Joints | Mortise-and-tenon joints tight and intact | Loose, fractured, or completely rotted away |
| Glass Support | Glazing rabbet is firm and holds glazier points | Rabbet is rotted; glass is loose or unsupported |
| Wood Condition | Localized soft spots surrounded by sound timber | Timber is spongy throughout stiles and rails |
| Hardware Anchors | Screws for sash locks and lifts hold firmly | Hardware pulls free from deteriorated wood |
Evaluating Wood Decay and Joint Stability in Older Homes
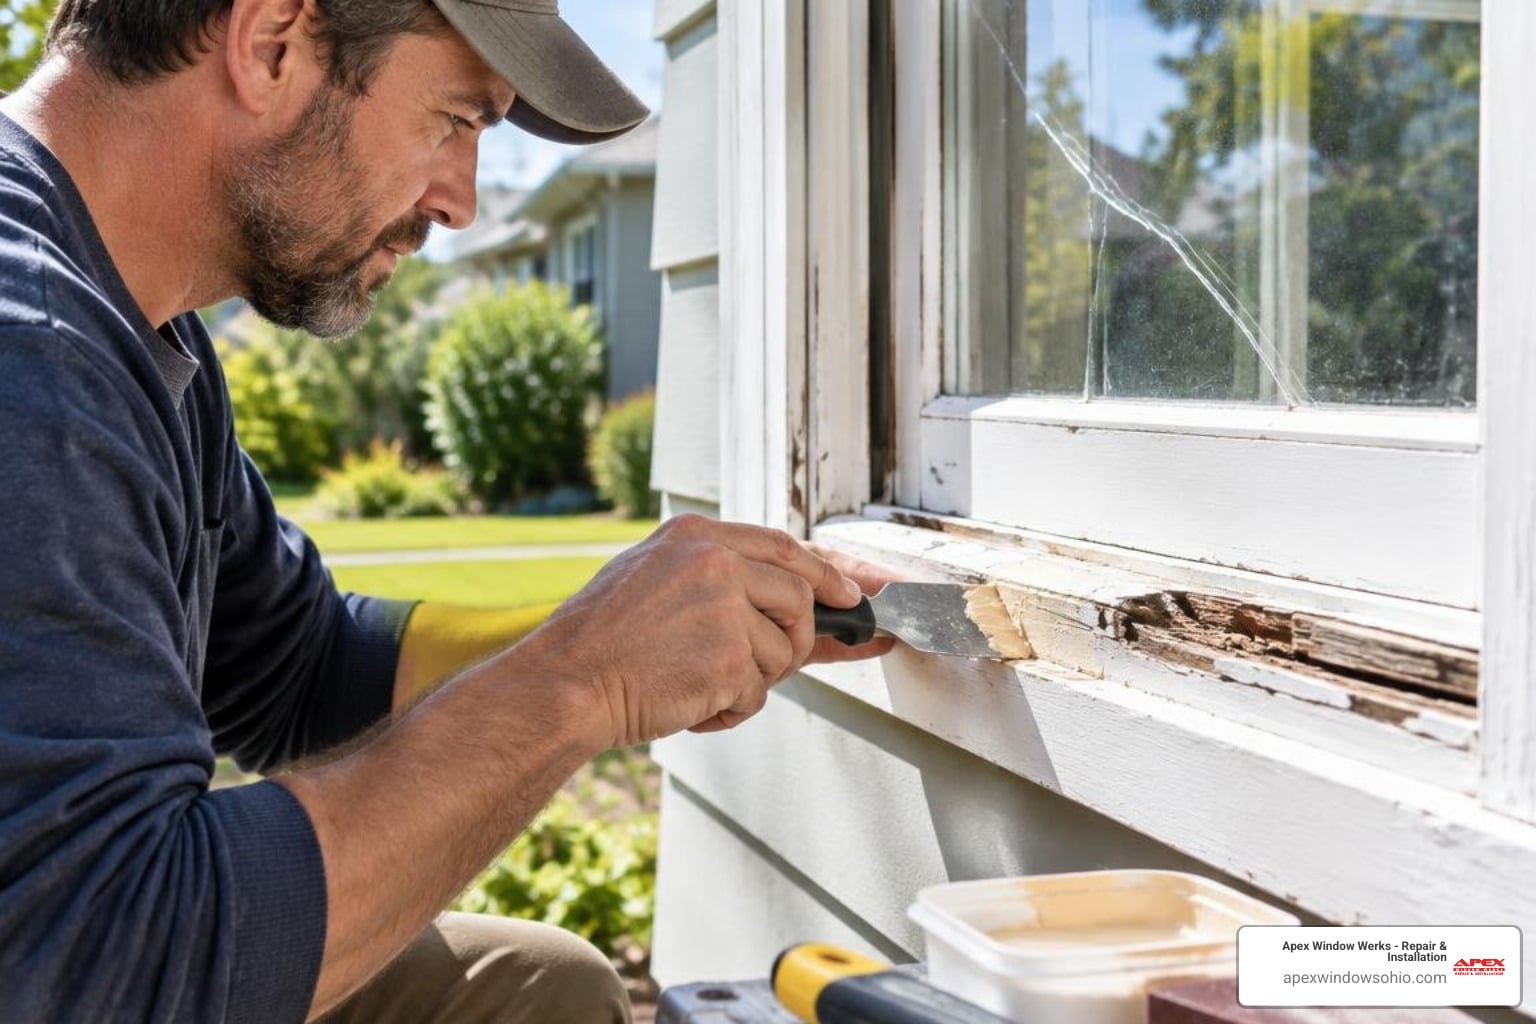
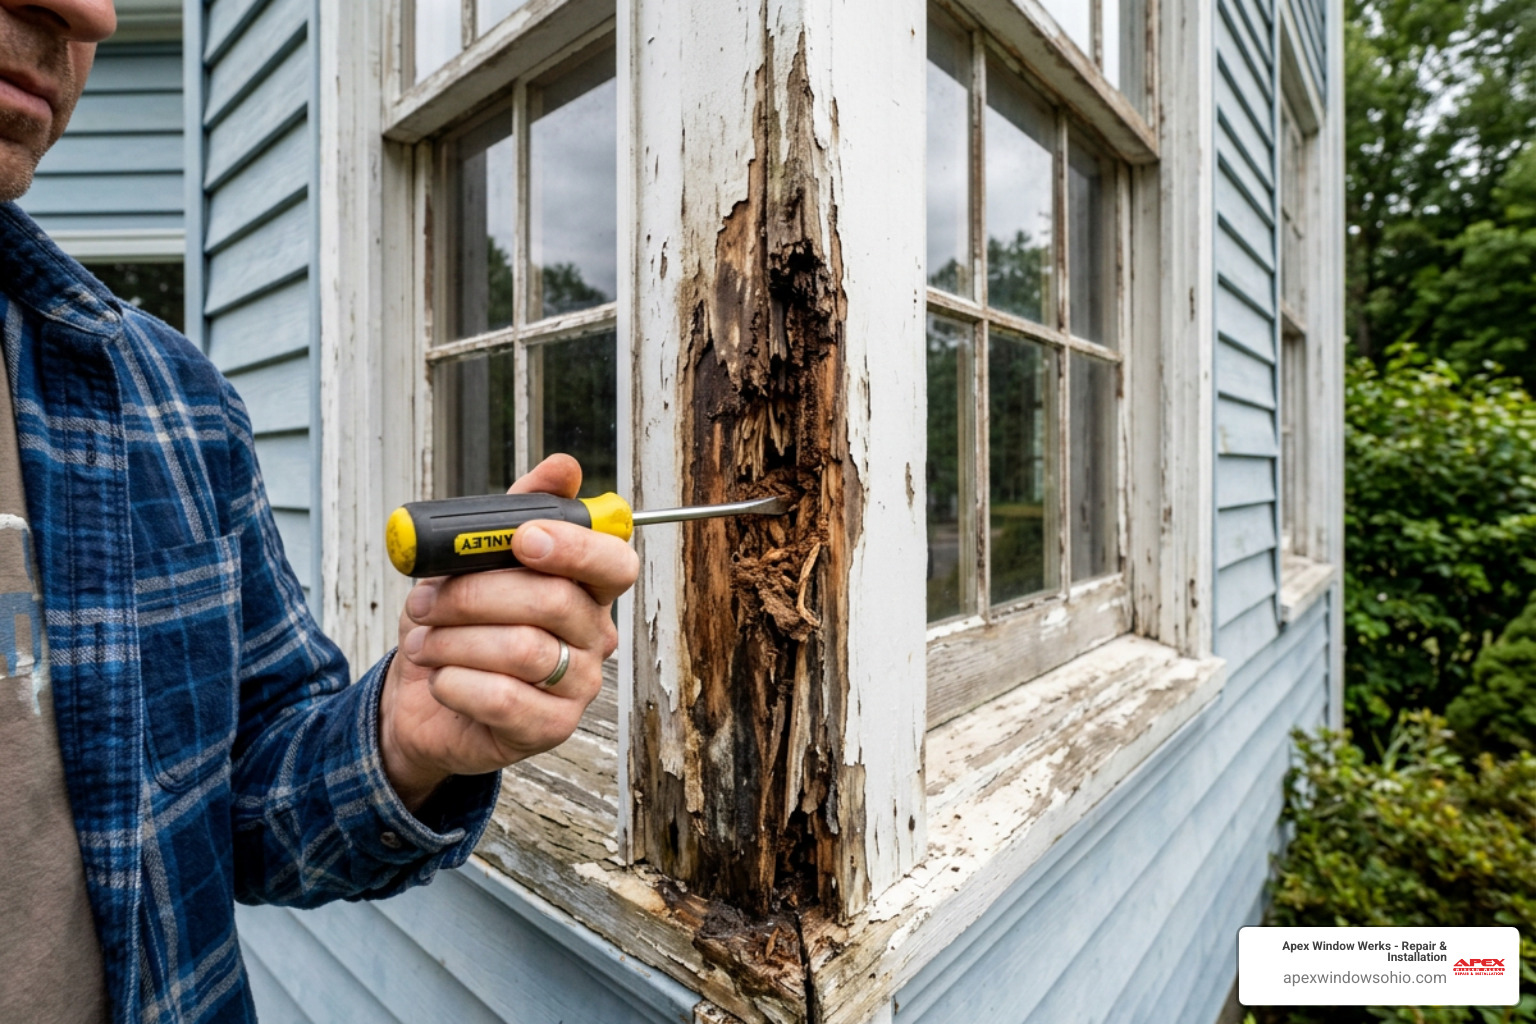
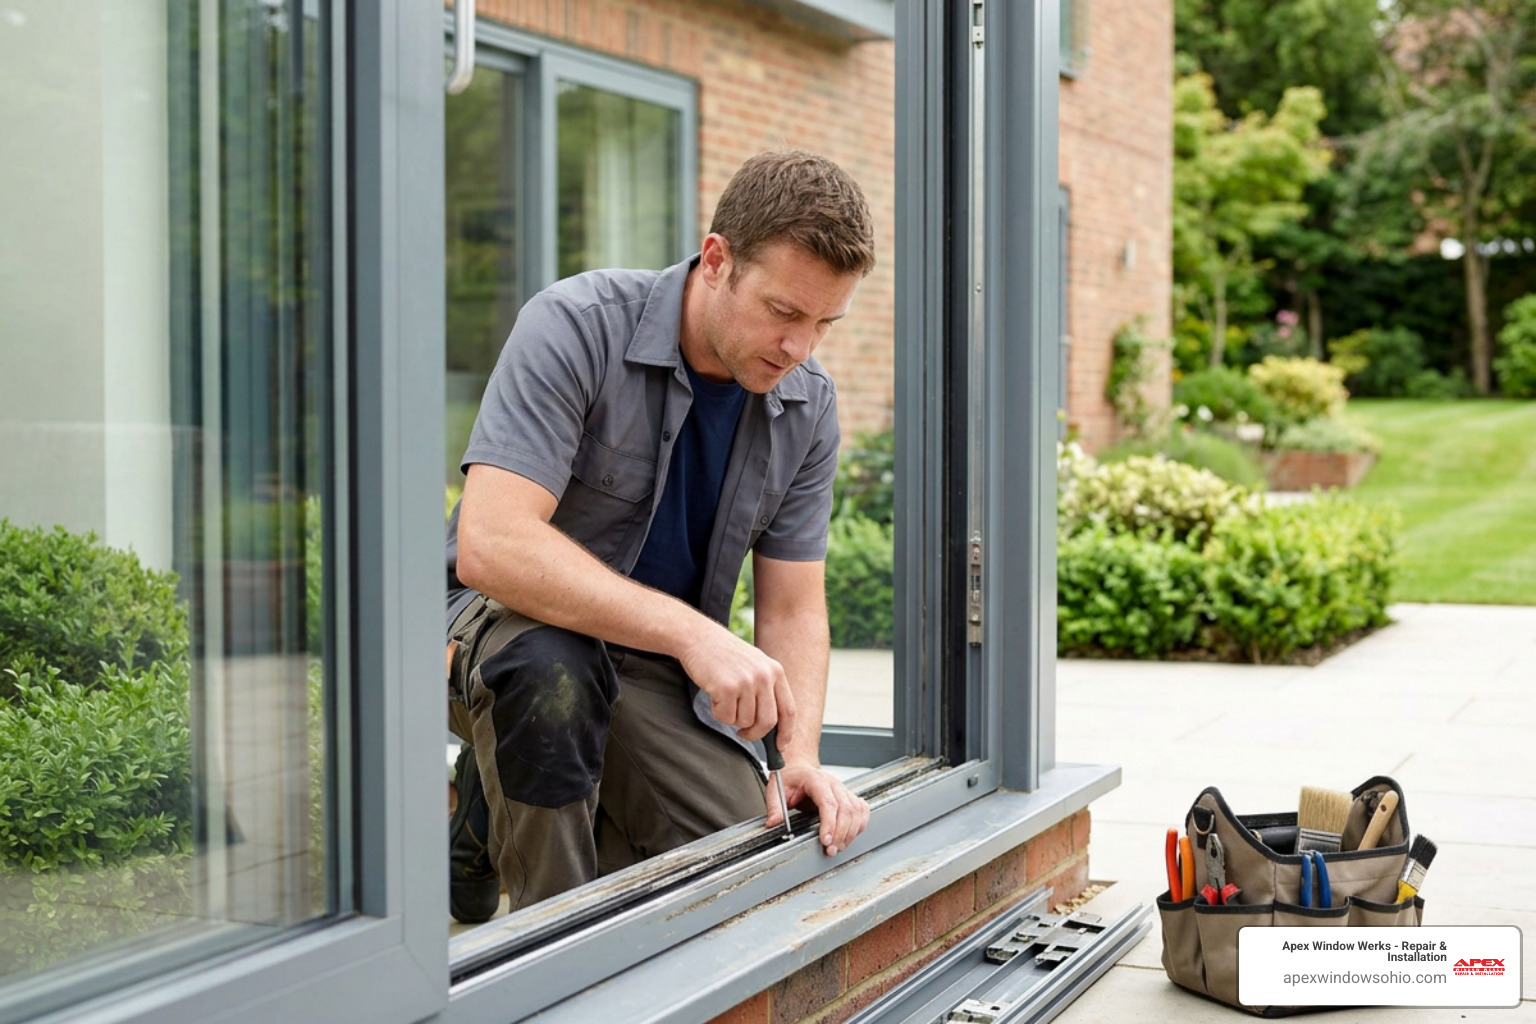
To check your window’s condition, take a scratch awl or a flathead screwdriver and gently press into the exterior face of the bottom rail, lower corners, and muntin bars. Sound wood resists pressure, while rotted timber feels spongy – much like a dry marshmallow.
Look closely at where the vertical stiles meet the horizontal rails. If the joinery remains square and firm when you operate the window, localized decay can usually be resolved through professional wood window repair. In homes across Lakewood, Cleveland Heights, and Akron, tackling these minor soft spots early stops moisture from migrating into the balance channels and interior window sills.
Signs It Is Time to Replace Rotted Window Sash Units
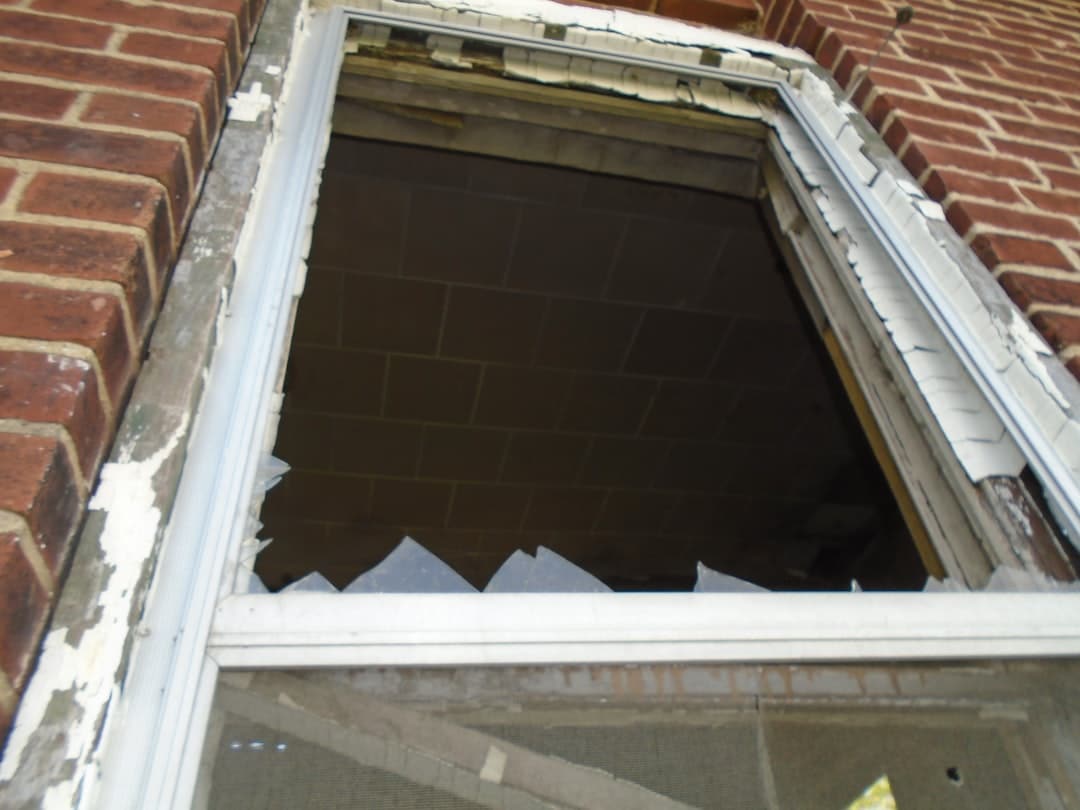
There is a distinct point where repairing decayed timber is no longer practical. If fungal rot extends through more than half the rail’s thickness, or if lifting the sash causes the bottom rail to flex away from the glass, the structural framework has failed.
At this stage, attempting to patch the timber with fillers will only trap remaining moisture inside. Fabricating or ordering a custom-milled replacement sash ensures your window operates smoothly, seats tightly against the weatherstripping, and maintains proper insulation during cold Lake Erie winters.
Step-by-Step Guide to Removing and Repairing Localized Sash Rot in Northeast Ohio
When an inspection reveals that the decay is localized and the joints remain strong, a structural repair can restore the sash for decades to come.
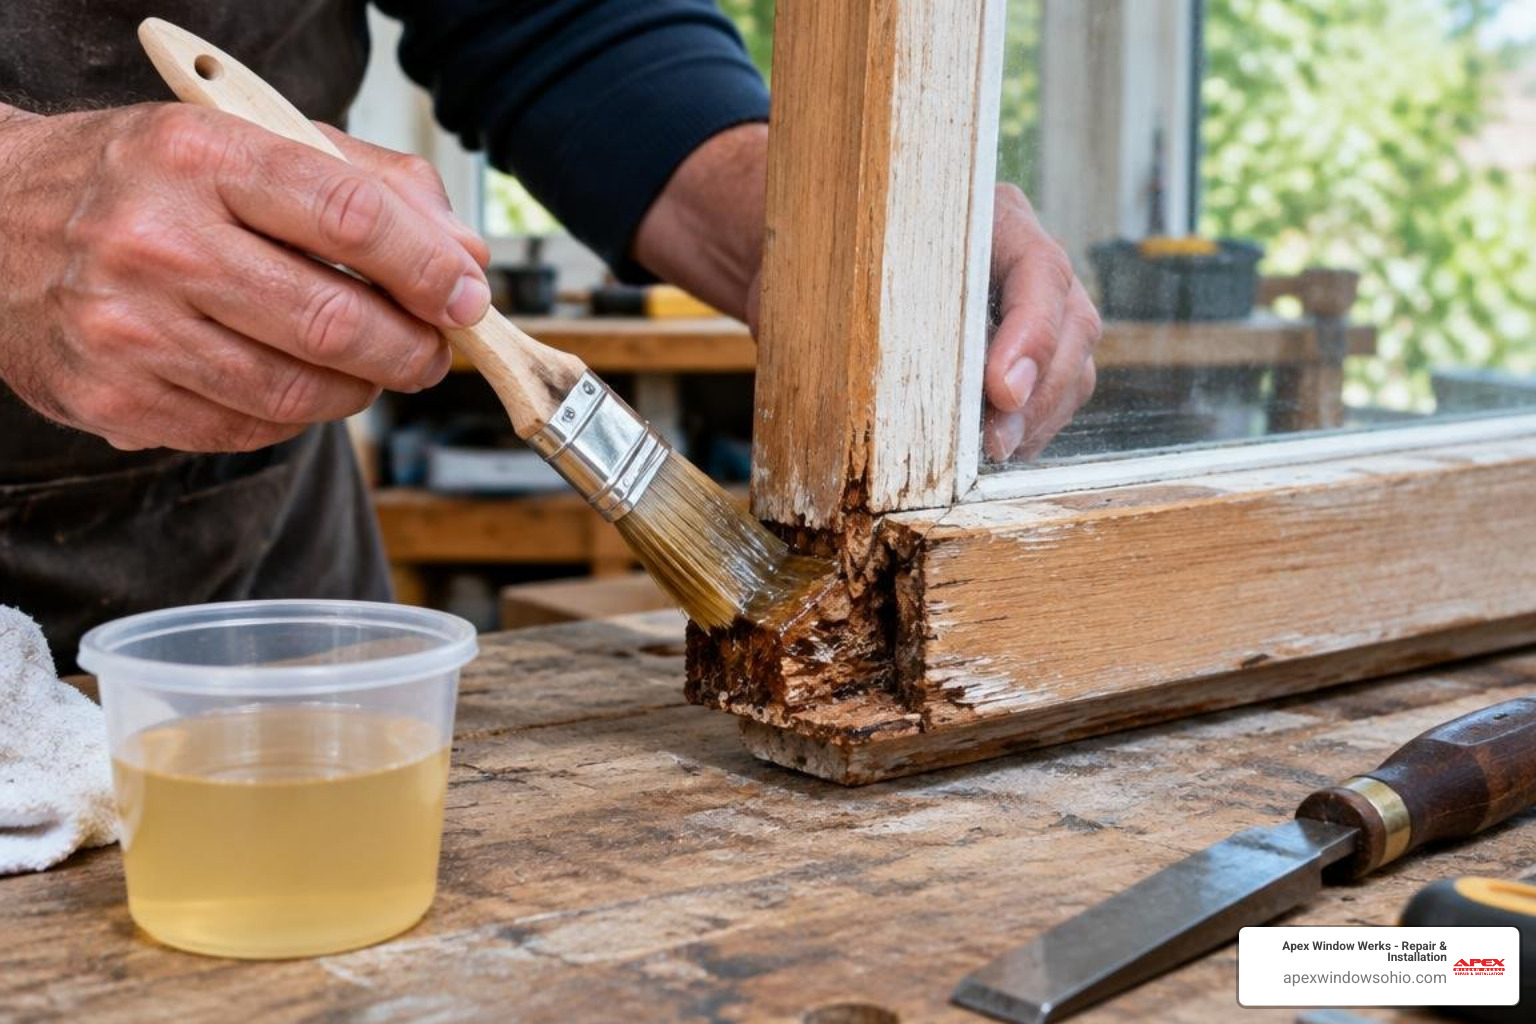
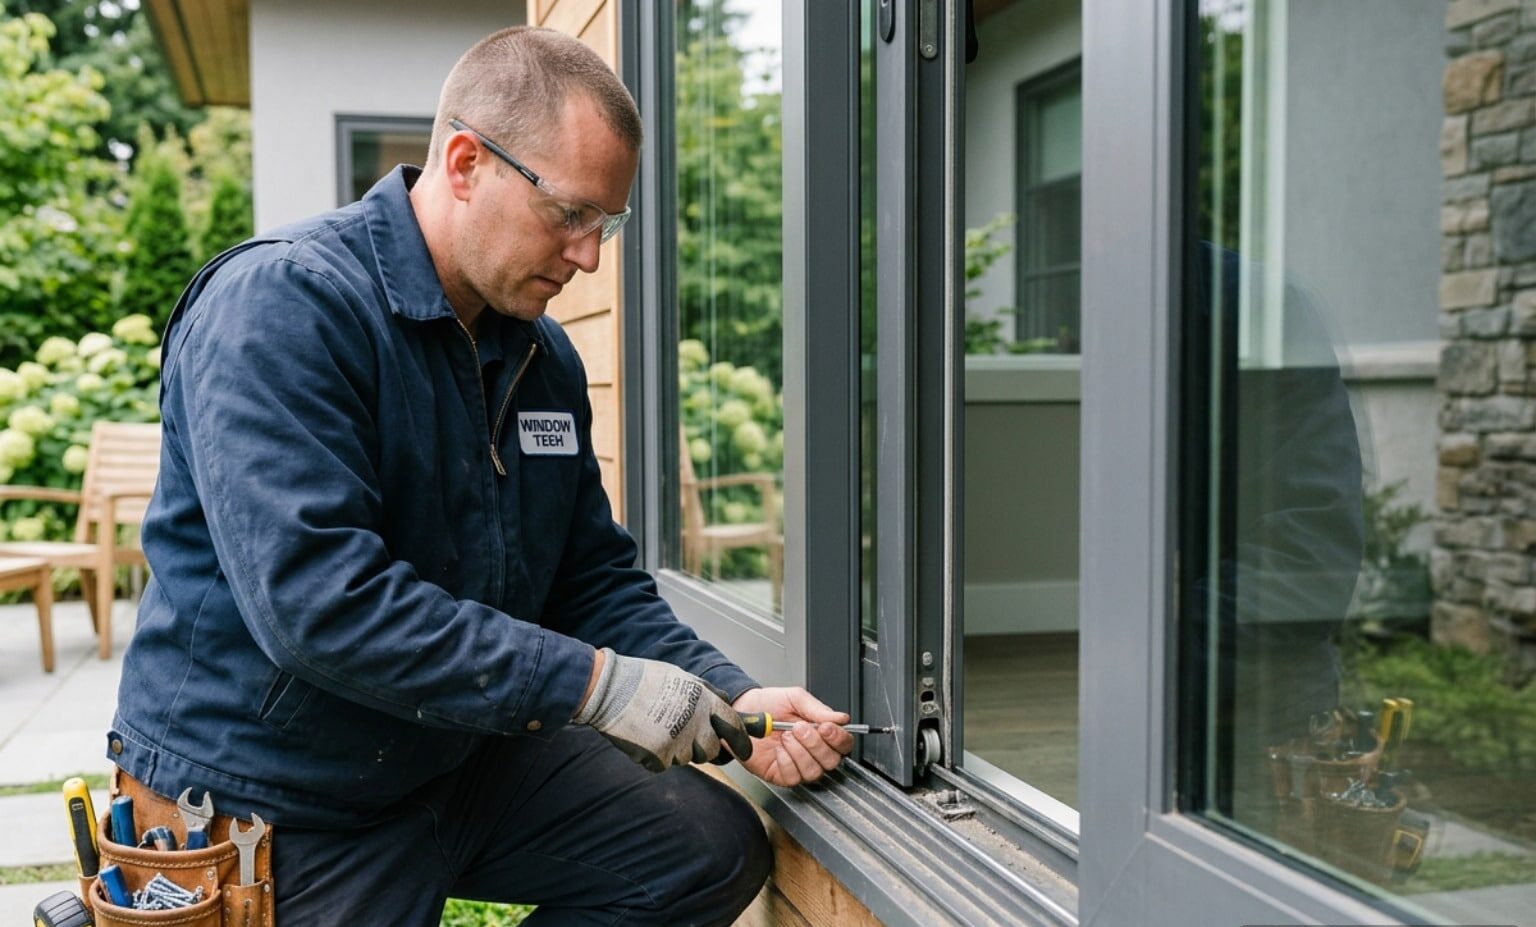
Safely Removing the Window Sash and Glazing
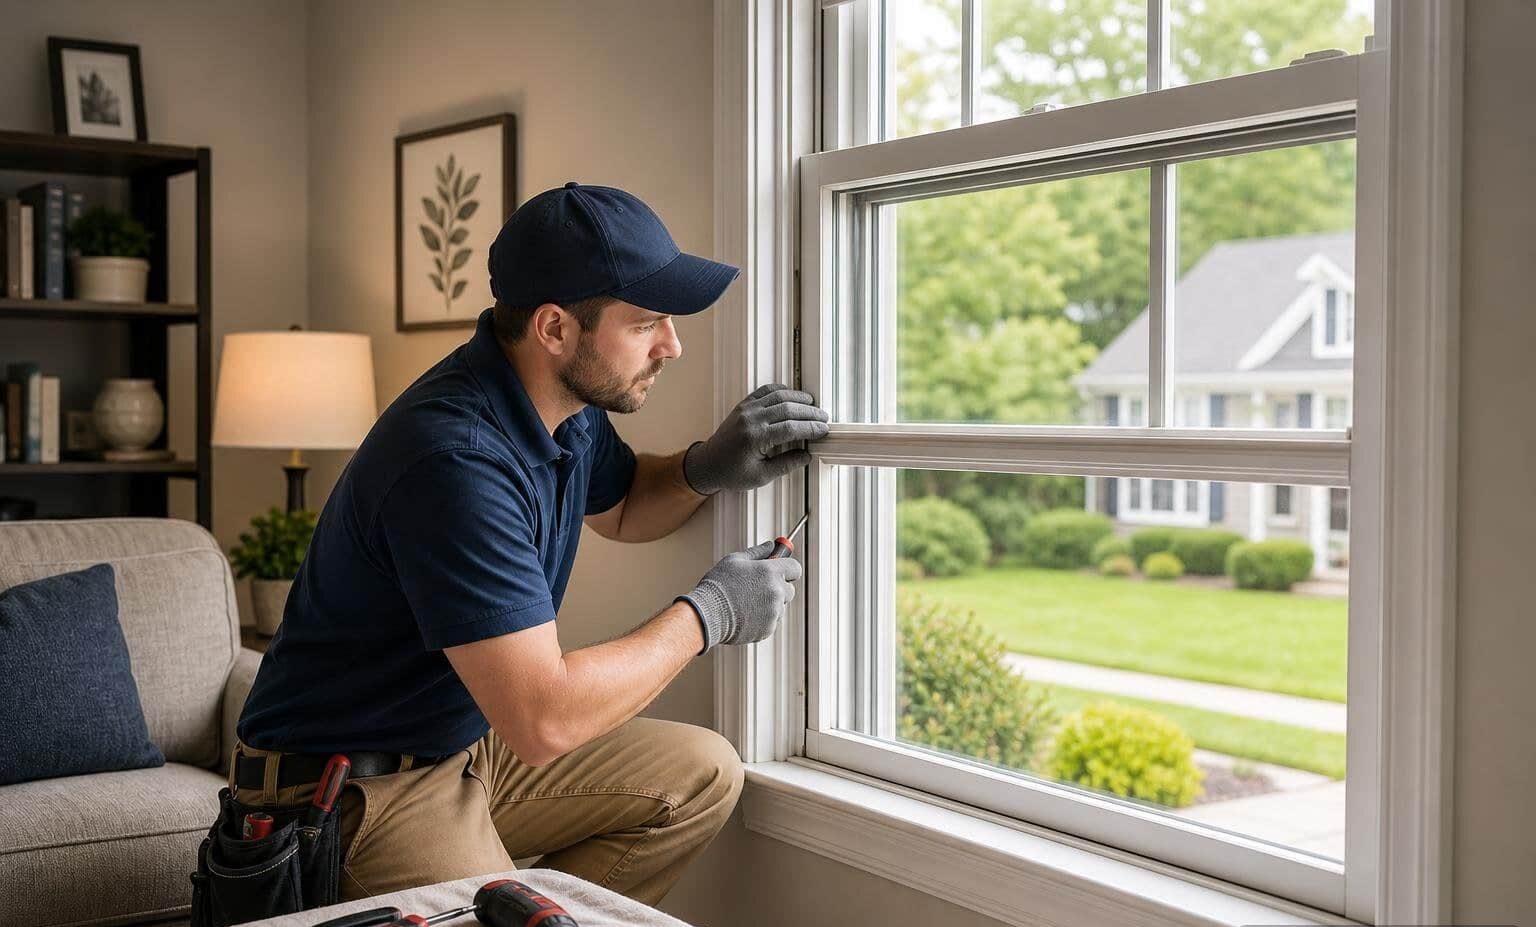
- Remove the interior stops: Use a utility knife to score the paint seam between the interior trim and the stop bead. Gently pry the stops away with a flat pry bar to avoid snapping the wood.
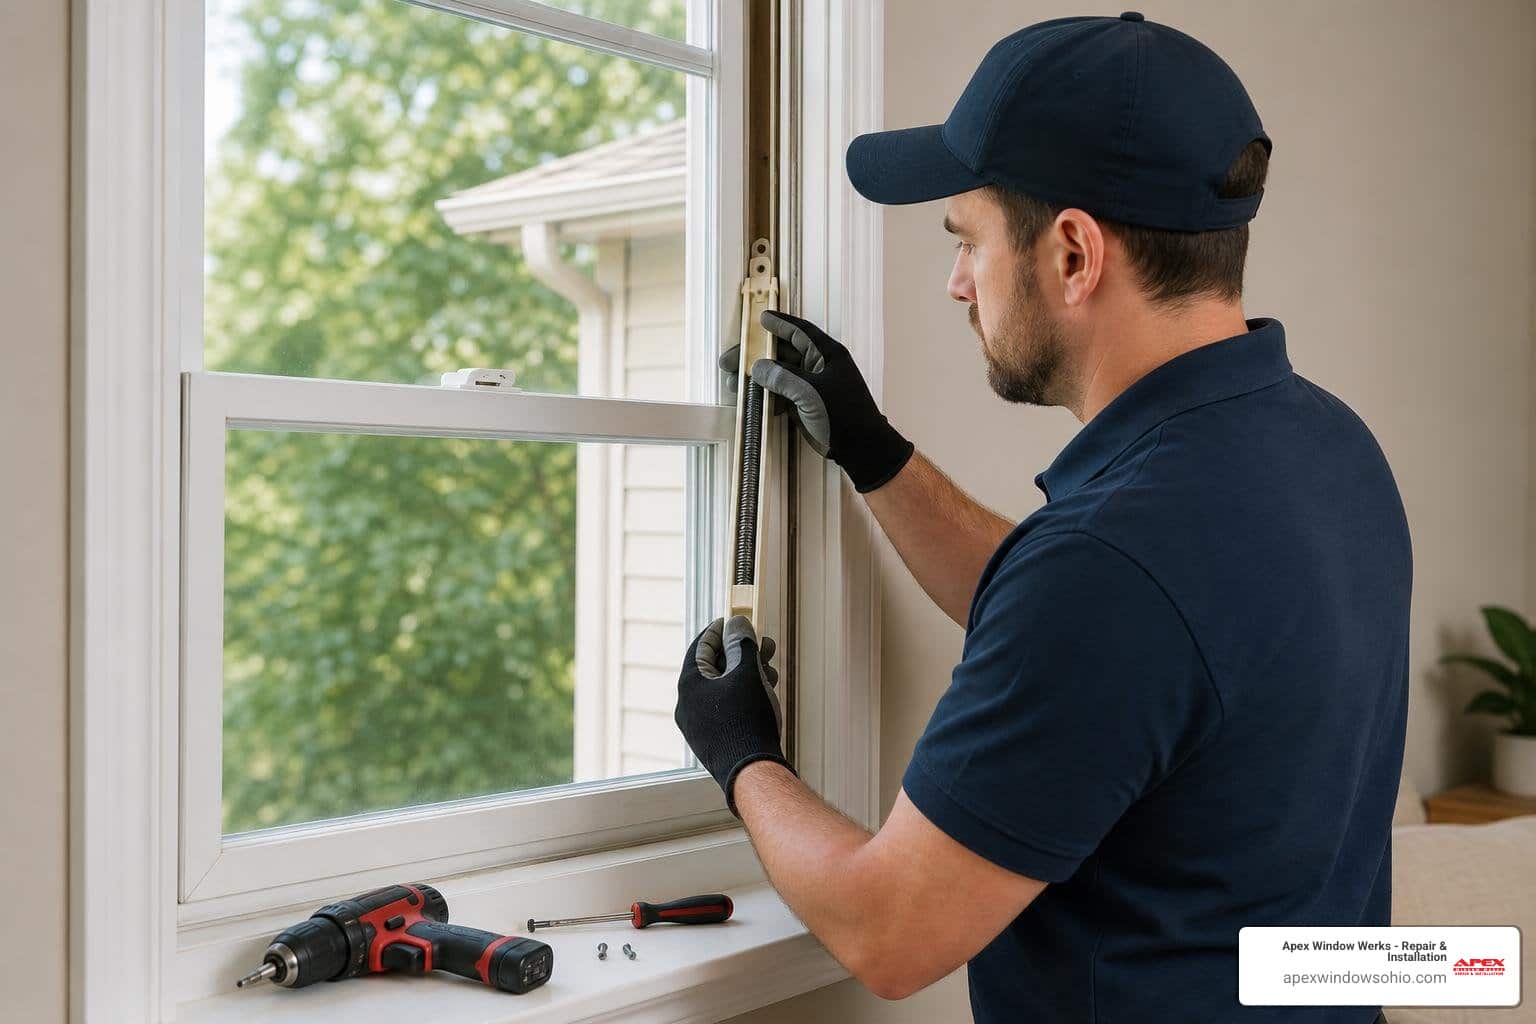
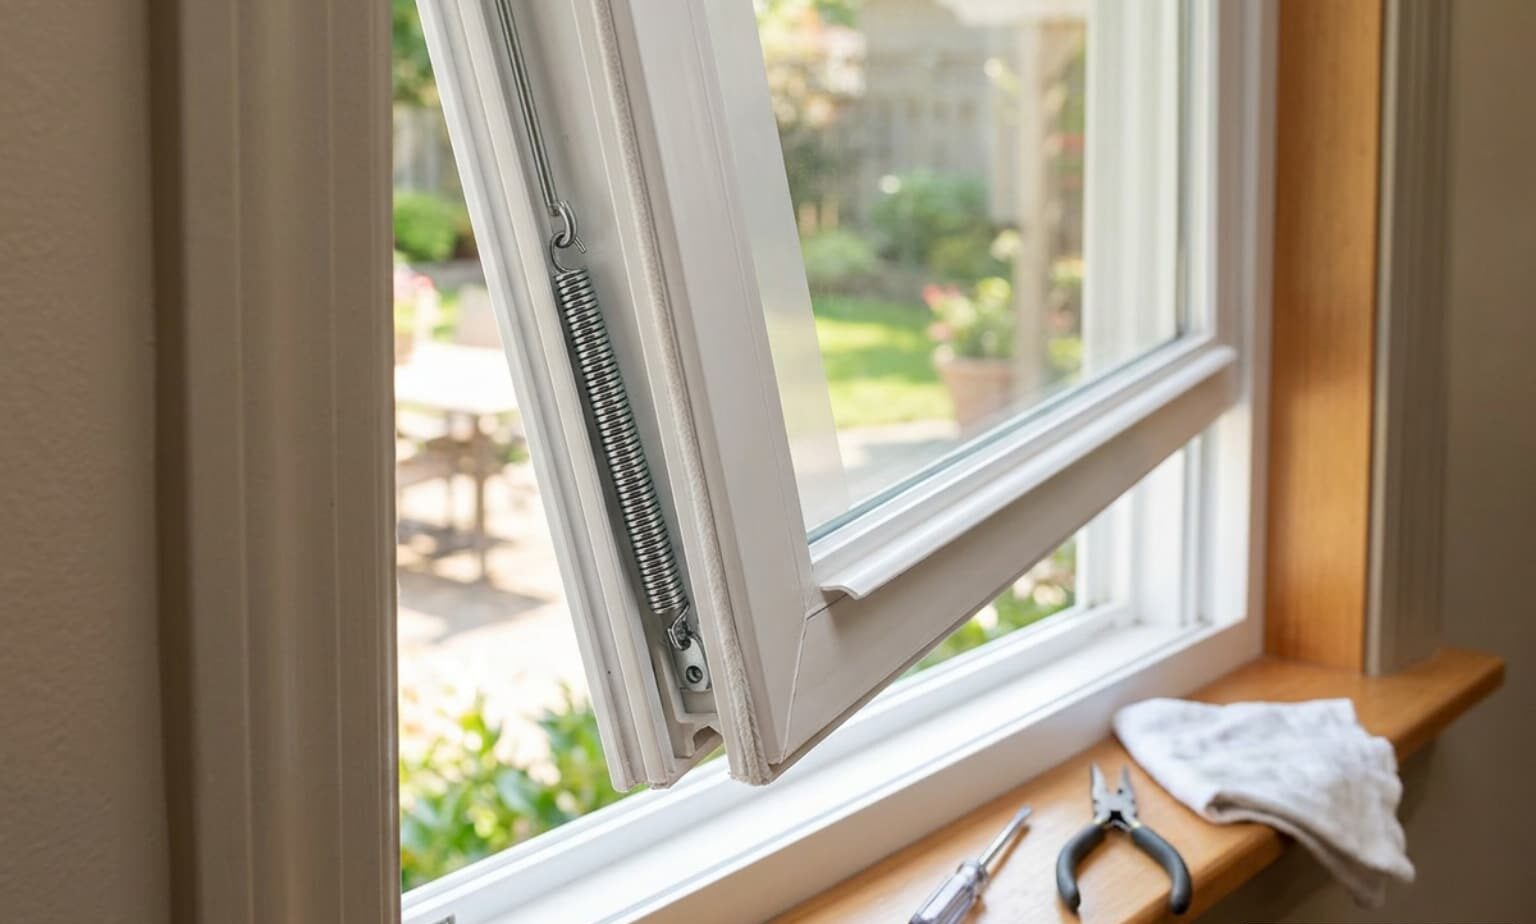
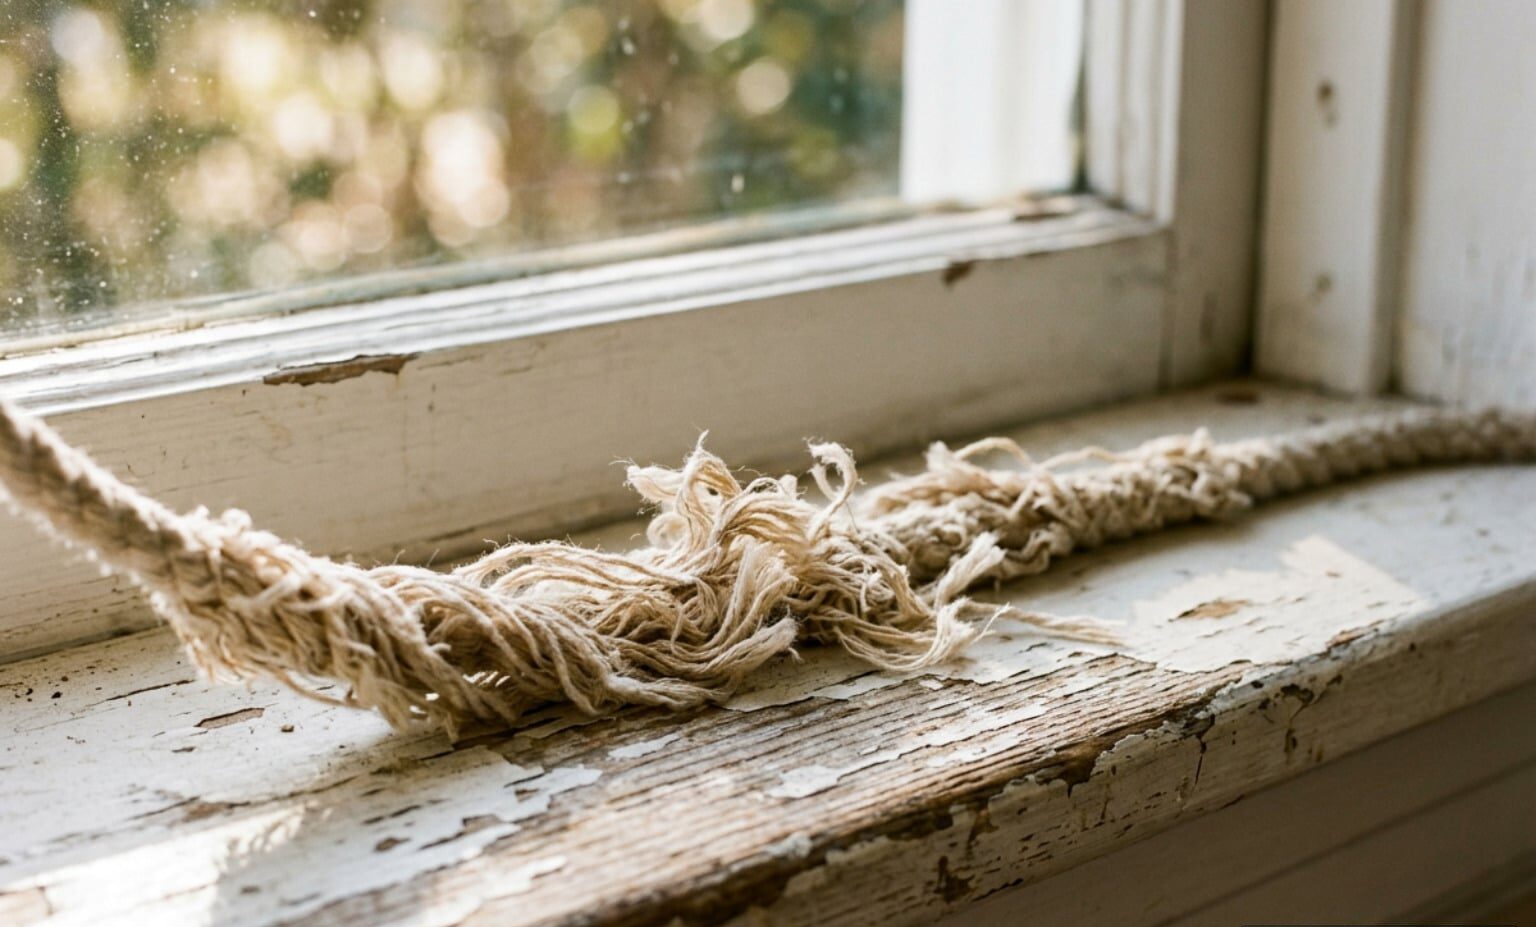
- Disconnect balances or cords: Tilt the lower sash forward. If your window uses traditional cast-iron counterweights, untie or unhook the sash cords from the side channels and secure the cords so they do not snap into the weight pocket. For modern spring-loaded balances, unhook the balance foot.
- Transport to a stable workspace: Lay the sash flat on a padded workbench.
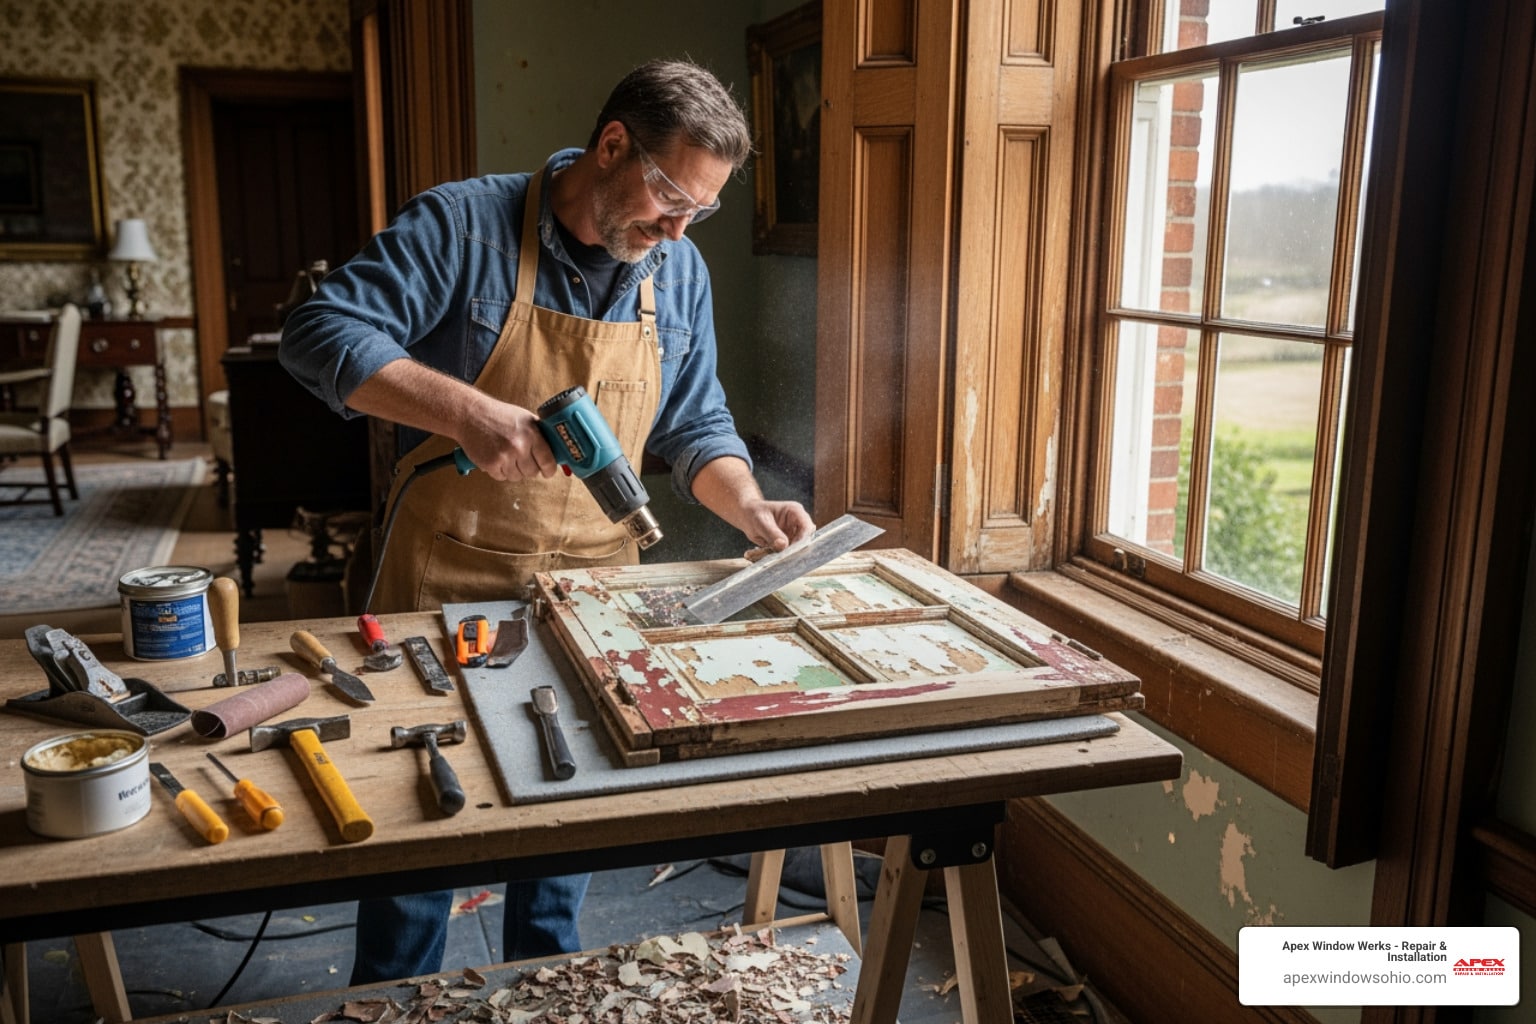
- Remove glazing and glass (if necessary): If the rot is directly beneath the glass bed, soften the old rock-hard putty with a heat gun or infrared stripper, shielding the glass to prevent thermal stress fractures. Carefully remove the glazier points, pull out the glass pane, and label its orientation. For historic single-pane sashes, homeowners often discover that learning how to replace old glass in wood windows makes the surrounding woodwork much easier to clean and restore.
Restoring Damaged Wood with Epoxy Consolidants
Standard wood fillers and auto body products lack the flexibility needed for exterior architectural woodwork. Instead, we use two-part structural epoxy systems that bond chemically with wood fibers.
- Excavate all decayed wood: Use a sharp wood chisel, carbide scraper, or rotary tool to carve away all soft, punky wood until you reach bright, solid timber.
- Dry the substrate: Wood must have a moisture content below 12% for epoxy resins to cure and bond properly. Allow the sash to dry thoroughly indoors, using fans or gentle heat if necessary.
- Drill saturation holes: Drill small, angled holes into the sound wood bordering the repair area to act as access reservoirs for the consolidant.
- Apply liquid wood hardener: Saturate the exposed fibers with a two-part liquid epoxy consolidant. This thin resin penetrates deep into the grain to petrify weakened wood and create an impervious base.
- Pack and sculpt two-part epoxy putty: While the consolidant is still tacky, mix a two-part epoxy wood paste. Pack the putty firmly into the cavity, pressing out any trapped air bubbles, and build the profile slightly proud of the original surface.
- Sand and shape: Once fully cured (typically overnight), shape the patch flush with the surrounding rail using 80-grit sandpaper, finishing with 120-grit for a seamless surface. You can learn more techniques in our guide on how to repair damaged window sashes.
How to Fit and Replace Rotted Window Sash Components in Greater Cleveland
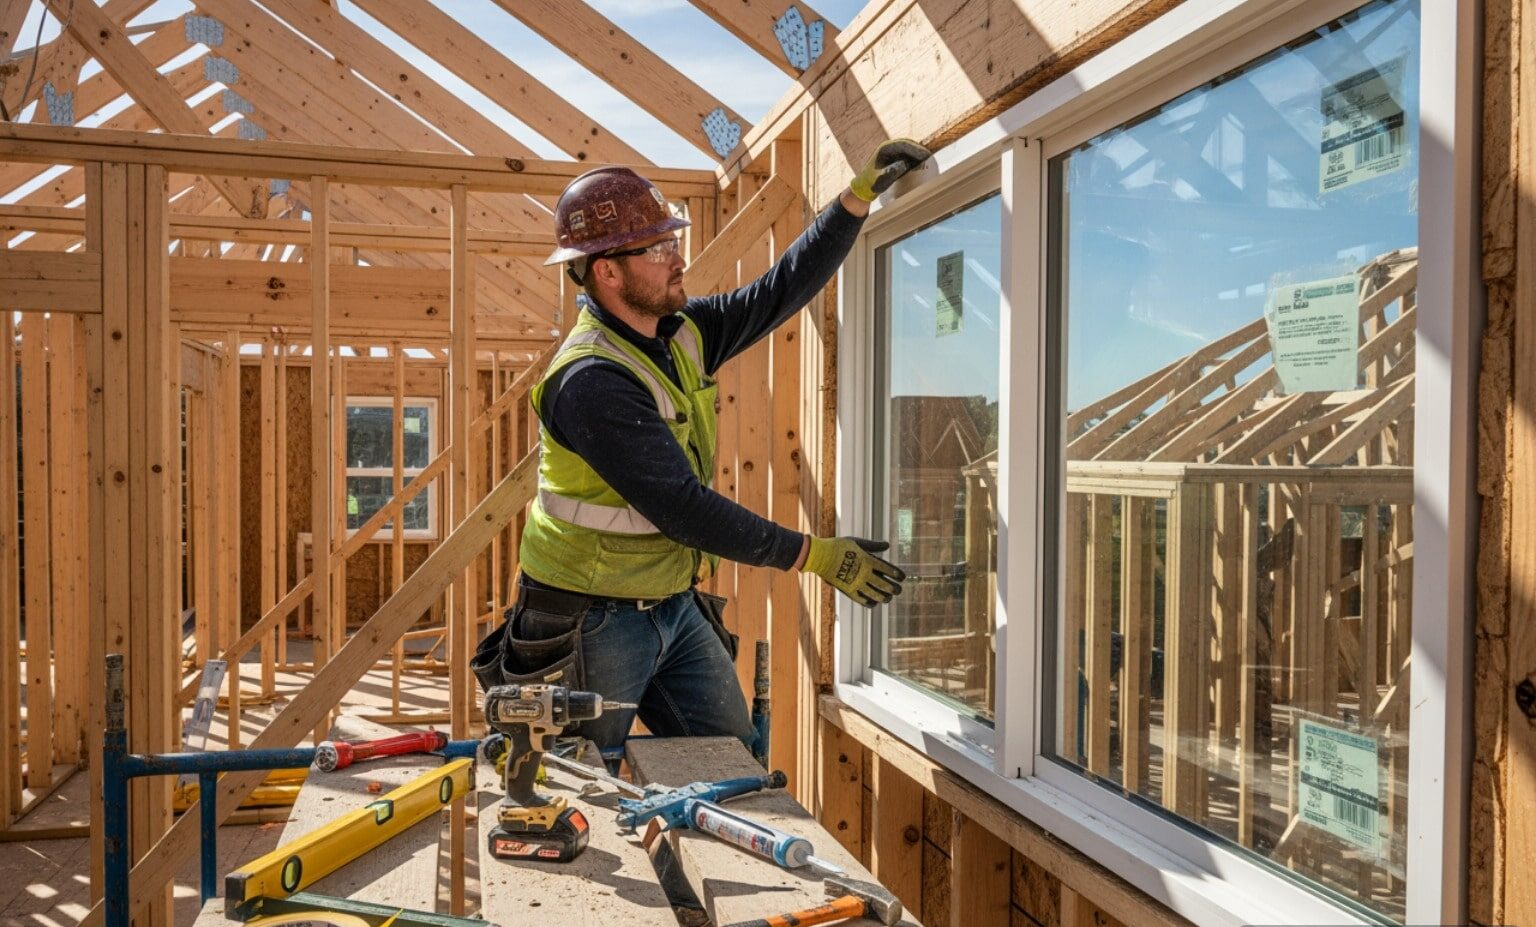
When structural rot has consumed the joinery, building or installing a replacement sash is the right course of action.

Measuring and Fitting Replacement Window Sash Parts
Achieving a weathertight fit requires precise measurements of the existing window opening rather than the deteriorated sash itself, which may have swollen or sagged over time.
- Measure the opening dimensions: Measure the width between the side jambs at the top, middle, and bottom. Measure the height from the highest point of the sloped sill to the head jamb on both the left and right sides. Record the smallest measurements.
- Check the sill angle: Older wood window sills typically feature a slope (often between 8 and 14 degrees) designed to shed rainwater. The bottom rail of your replacement sash must be bevel-cut to match this exact angle.
- Source or mill replacement parts: New stiles and rails can be milled from kiln-dried, rot-resistant wood to match your existing sash profile and glass thickness. For full restoration projects, review our guide on how to restore and fix old double hung windows to coordinate your sash milling with your original casing.
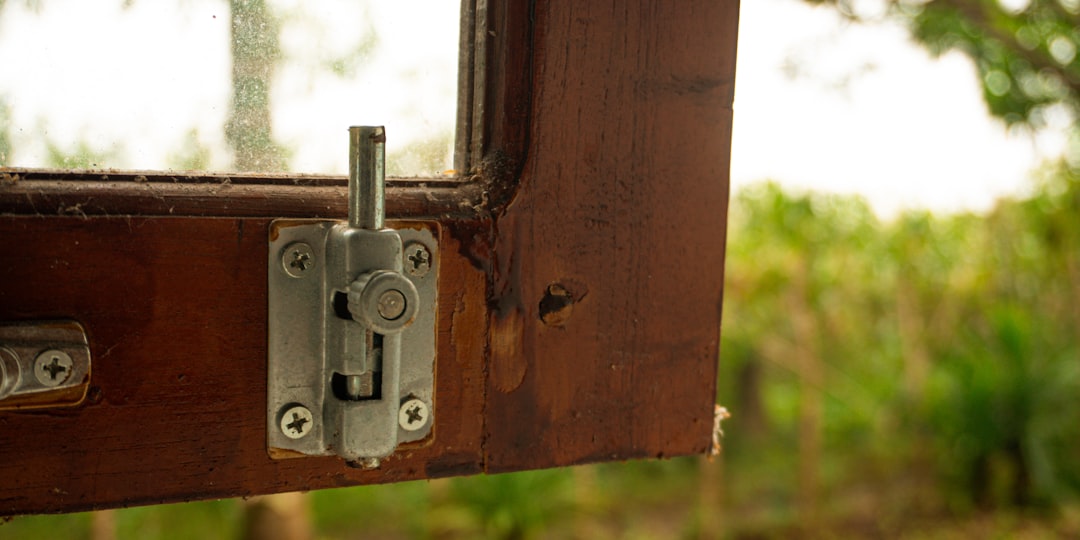
- Transfer existing hardware: Remove the original sash locks, lifts, and balance attachments from the old sash. Clean away corrosion and remount them onto the replacement timber, pre-drilling pilot holes to prevent splitting.
Installing and Sealing the New Sash Unit
Before placing the replacement sash into the opening, ensure your jamb tracks and weatherstripping are clean and sound. According to the Window Sash Replacement Guide from Building America Solution Center, proper air sealing and moisture drainage around the sash perimeter are essential to achieving rated thermal performance.
Test-fit the sash dry in the opening. It should slide freely without binding, leaving an even gap (about 1/16 to 1/8 inch) on both sides for paint clearance. Reattach the counterweight cords or connect the modern balance shoe. Once aligned, reinstall the parting bead and interior stop mouldings, fastening them with finish nails.
Long-Term Prevention: Keeping Timber Sashes Rot-Free in Northeast Ohio Climates
Restoring or replacing your window sash represents a real investment in your home. Protecting that timber from future moisture intrusion requires a reliable coating system and routine maintenance.
Protective Coatings and Moisture Barriers
Wood decay cannot take hold without moisture. To safeguard newly repaired or installed sashes:
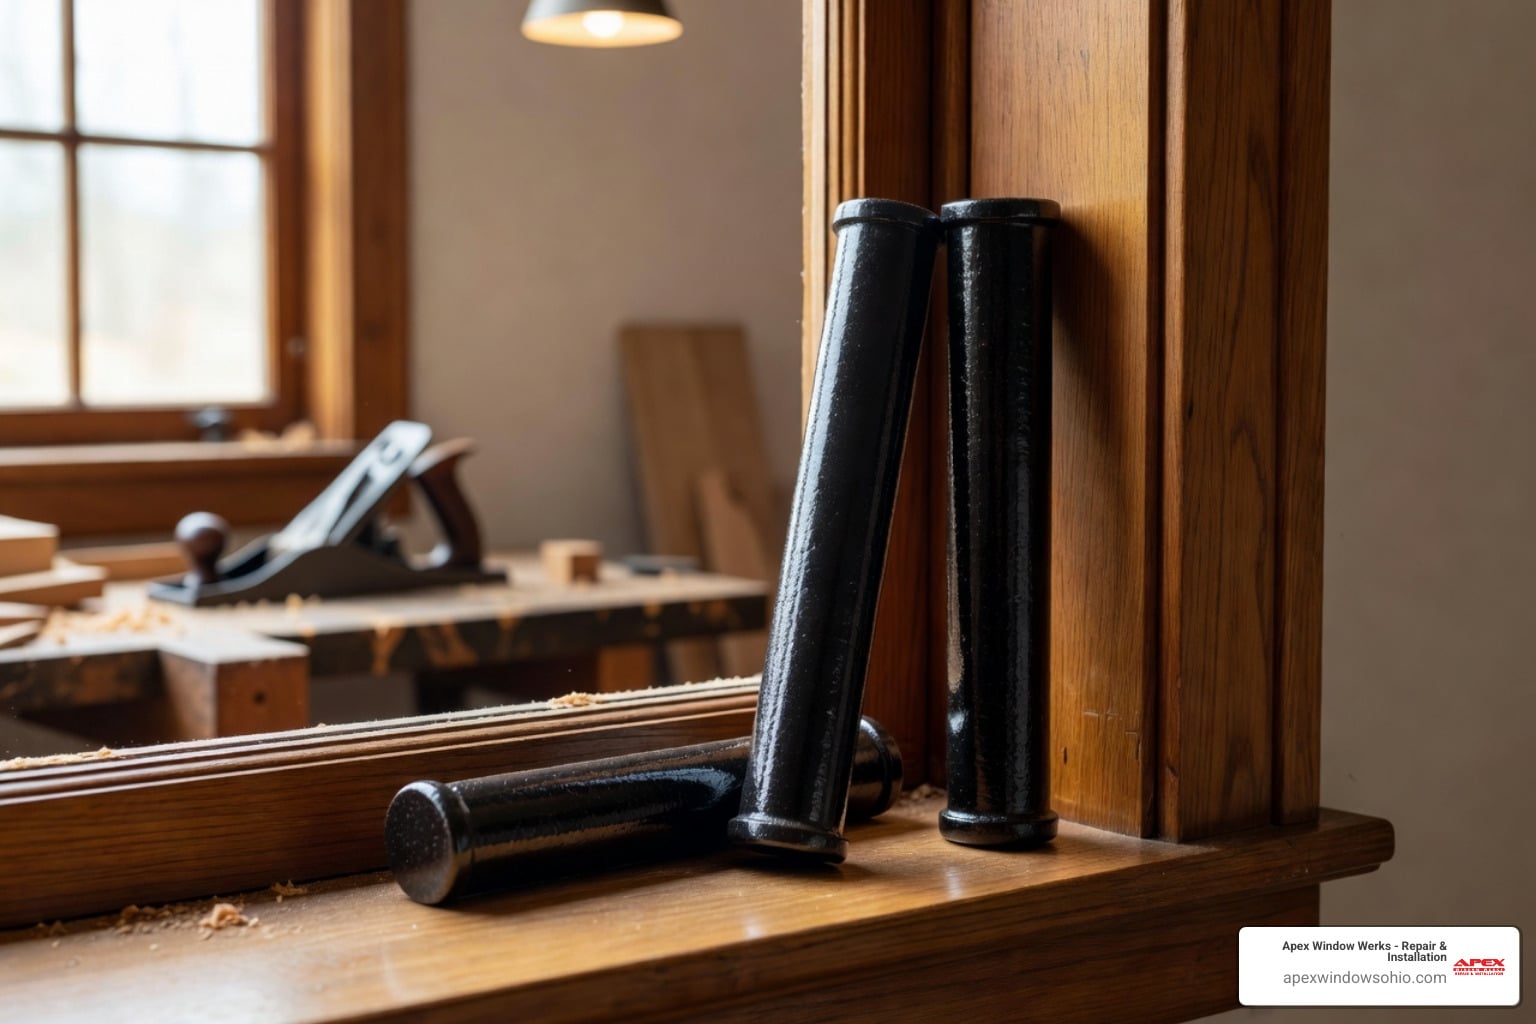
- Embed borate rods: Inserting small, solid borate preservative rods into holes drilled near the lower corners provides continuous internal protection. If water ever breaches the exterior paint, the rods dissolve slowly to stop fungal growth in its tracks.
- Prime all six sides: Before installation, seal every surface of the timber – including the top rail, bottom bevel, and glazing rabbet – using a high-grade oil-based or shellac-based exterior primer. Leaving the bottom rail raw invites moisture to wick up into the end grain.
- Maintain a proper glazing lap: When applying paint, allow the topcoat to lap onto the glass by roughly 1/16 inch. This tiny paint overlap creates a vital watershed seal, preventing rain from slipping down between the glass and the putty.
Routine Inspections for Regional Weather Shifts
In regions that experience heavy seasonal temperature shifts, timber windows undergo frequent expansion and contraction cycles. Inspect your sashes twice a year:
- Look for micro-cracks or “checking” in the exterior paint film along the lower horizontal rail.
- Check that the weep holes and exterior sill channels remain clear of dirt, leaves, and peeling paint.
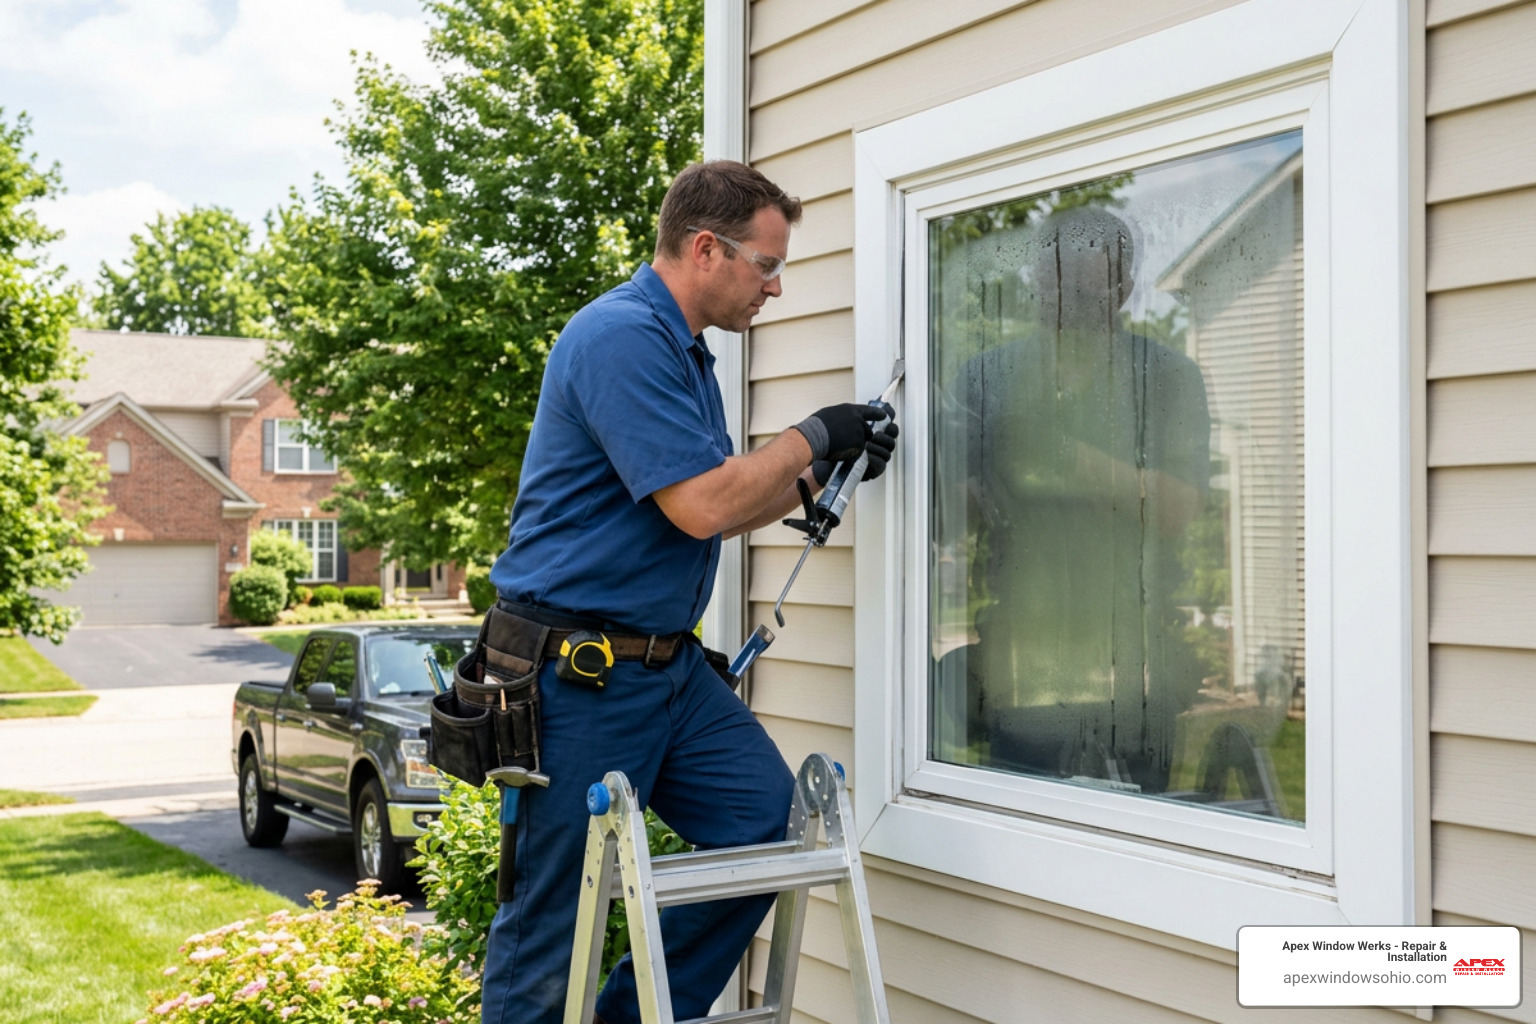
- Verify that perimeter caulk joints around the exterior brickmould remain pliable and well-adhered.
Frequently Asked Questions About Window Sash Rot
Can I use auto body filler like Bondo on a rotted window sash?
No. Auto body fillers are formulated for rigid metal surfaces and do not possess the thermal elasticity of wood. Because timber naturally expands and contracts with humidity and temperature changes, polyester body fillers will eventually crack away from the wood substrate, creating hidden pockets that trap rainwater and accelerate rot. Always use a dedicated two-part architectural epoxy wood consolidant and paste.
Do I have to replace the whole window frame if only the sash is rotted?
In most cases, no. The window sash is an independent, movable component that sits within the stationary frame. As long as the surrounding jambs, head casing, and exterior sill remain solid, you can repair or replace the sash unit alone. This saves substantial time and cost while preserving your home’s original interior trim and exterior siding.
How long does a structural epoxy sash repair last?
A properly executed structural epoxy repair that is fully primed and protected with high-quality exterior paint can last 20 to 30 years. Because the cured epoxy resin is completely hydrophobic and impervious to fungal decay, the repaired area will often outlast the untreated natural timber surrounding it.
Conclusion
Protecting your home’s architectural character doesn’t mean living with drafts, sticking frames, or decaying wood. By taking a repair-first approach to wood window maintenance, you can address early signs of rot, preserve durable vintage lumber, and replace damaged sash components only when structurally necessary.
If you are dealing with decayed lower rails, failing balances, or moisture damage, our team at Apex Window Werks is here to help. Contact us to request a free estimate, submit photos through our virtual estimate tool, or visit our Oakwood Village workshop for expert window assessments. Reach out today or visit our rotten windows repair service to schedule an evaluation with our specialists.