Is Your Window Sill Rotting? How to Replace It Step by Step
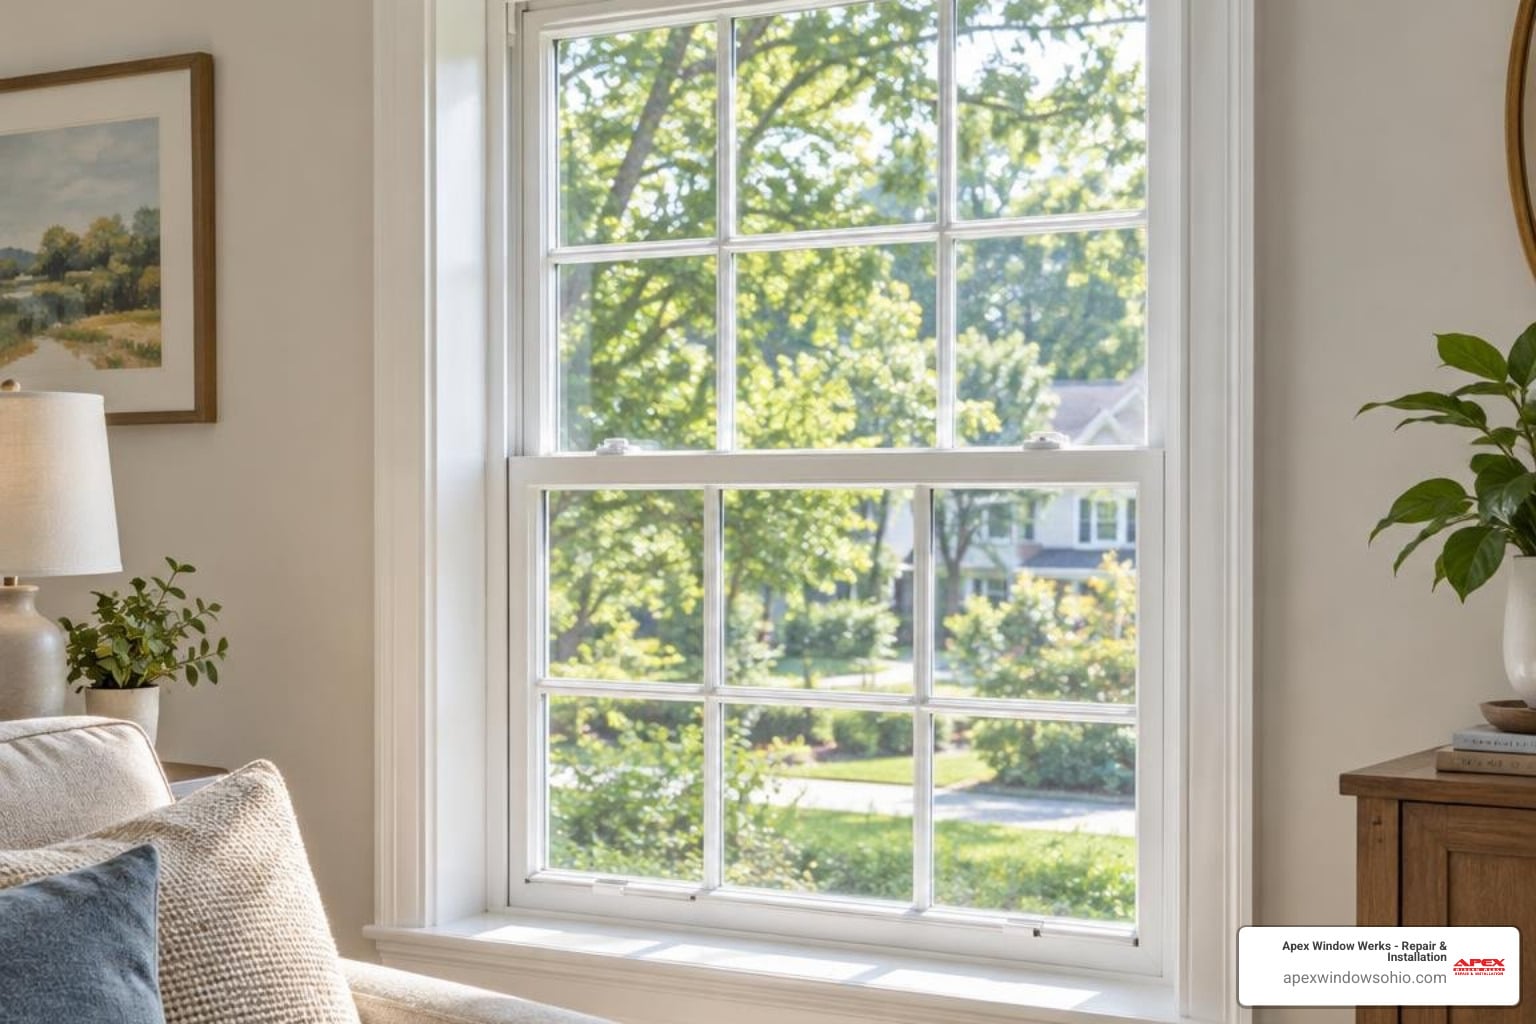
How to Replace a Rotted Sash Window Sill
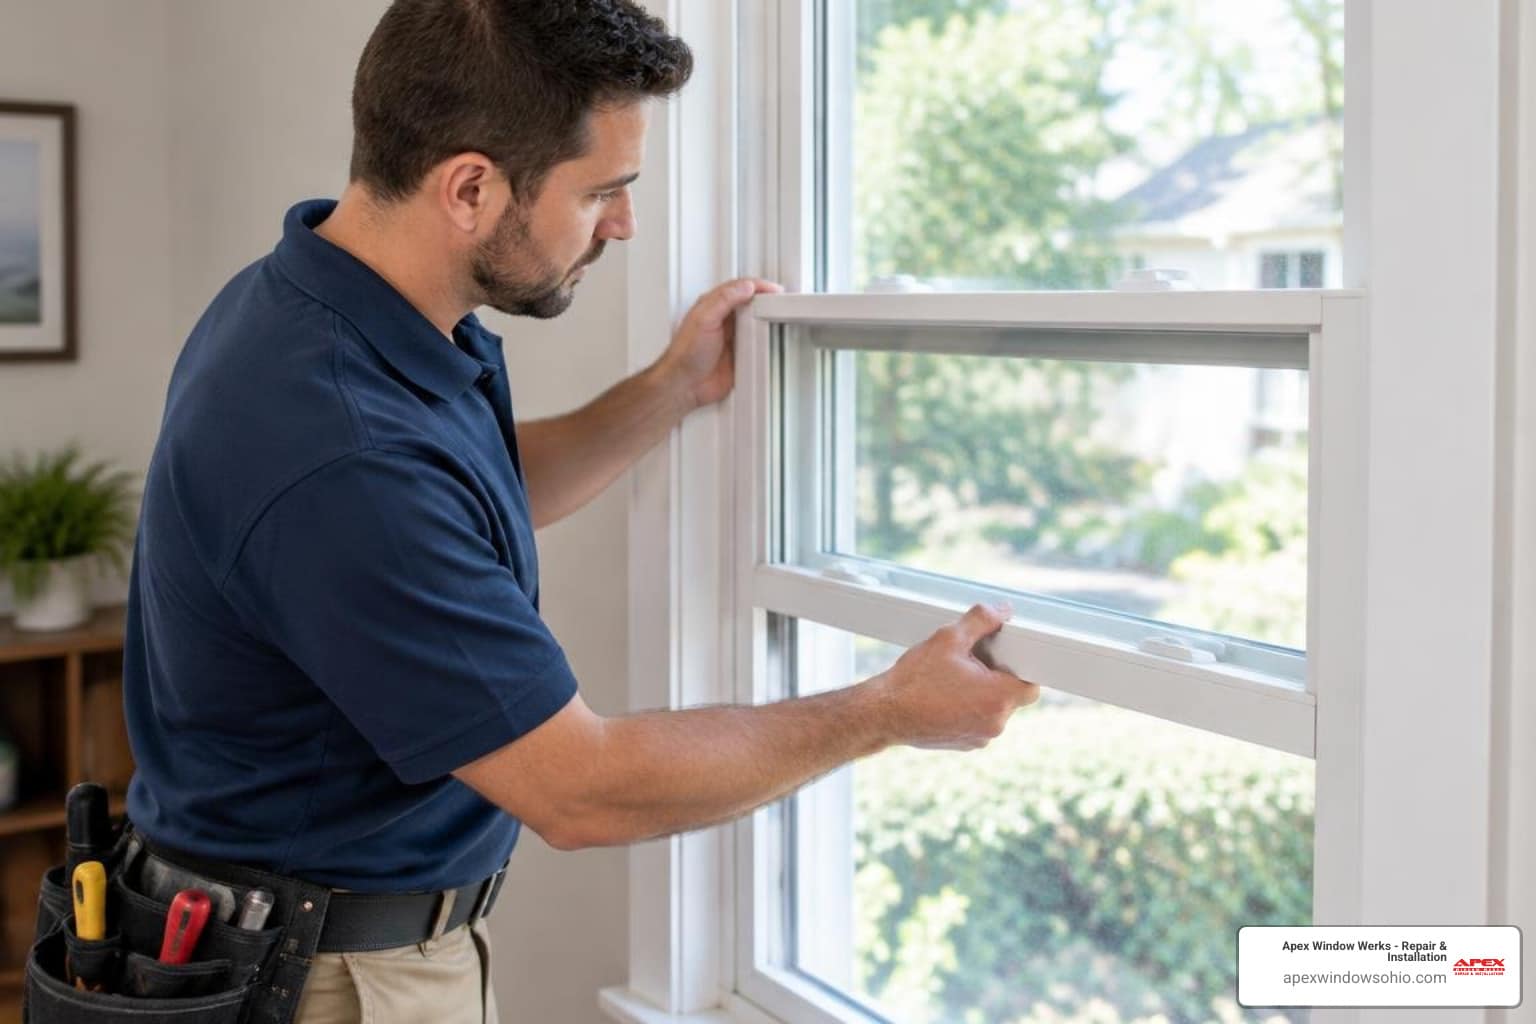
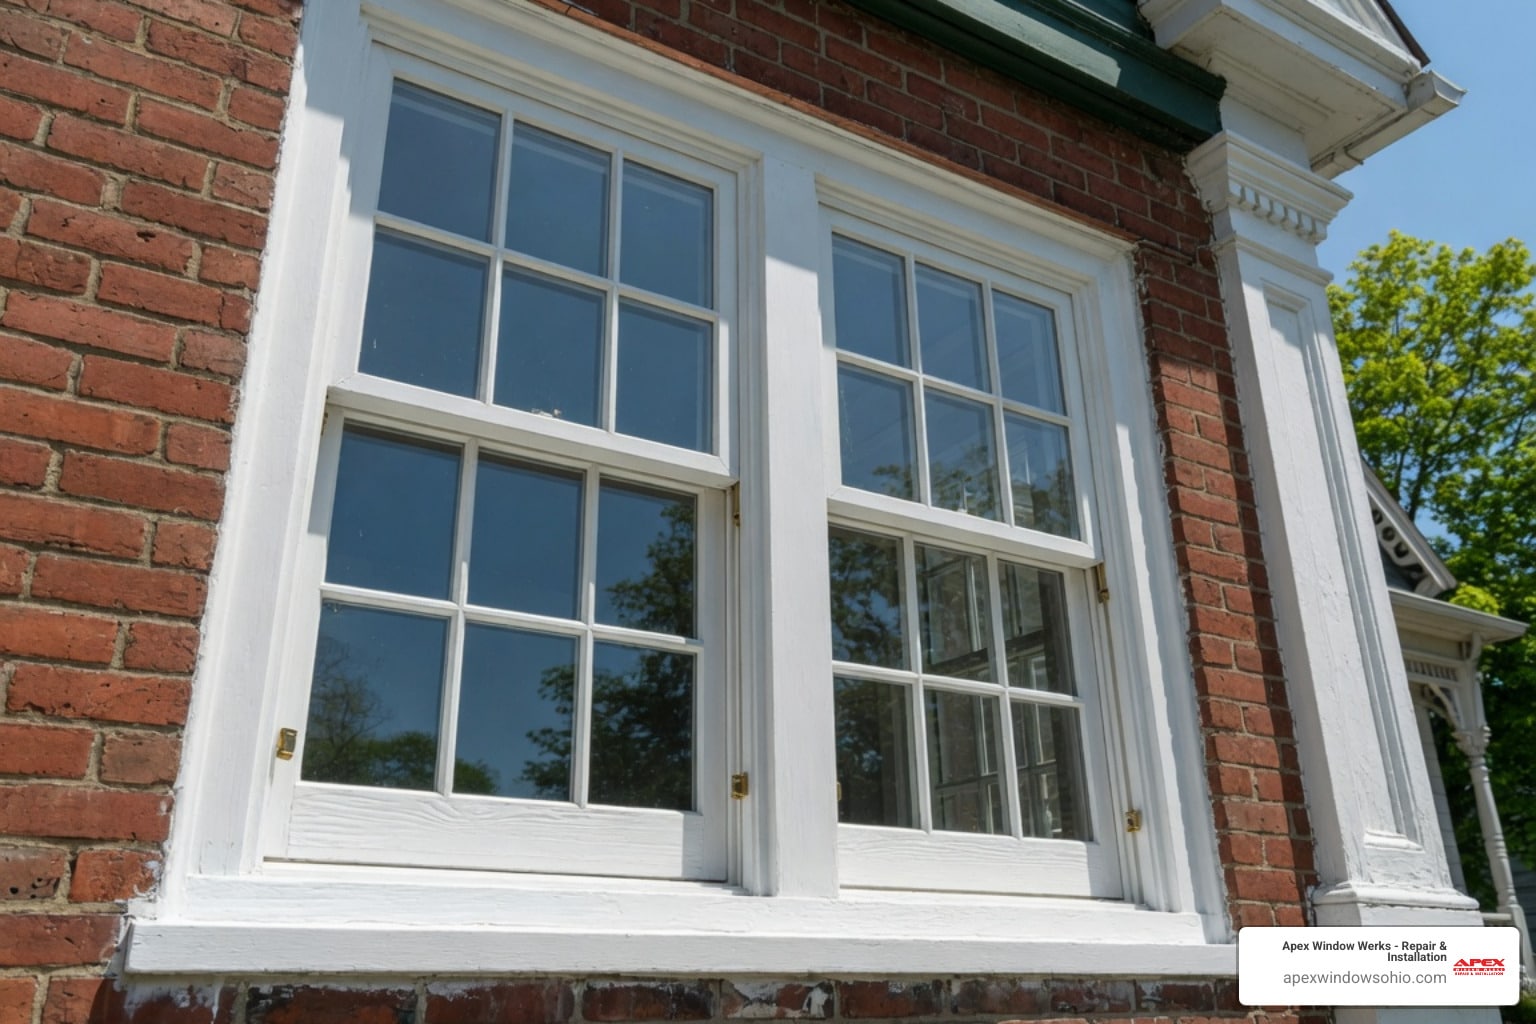
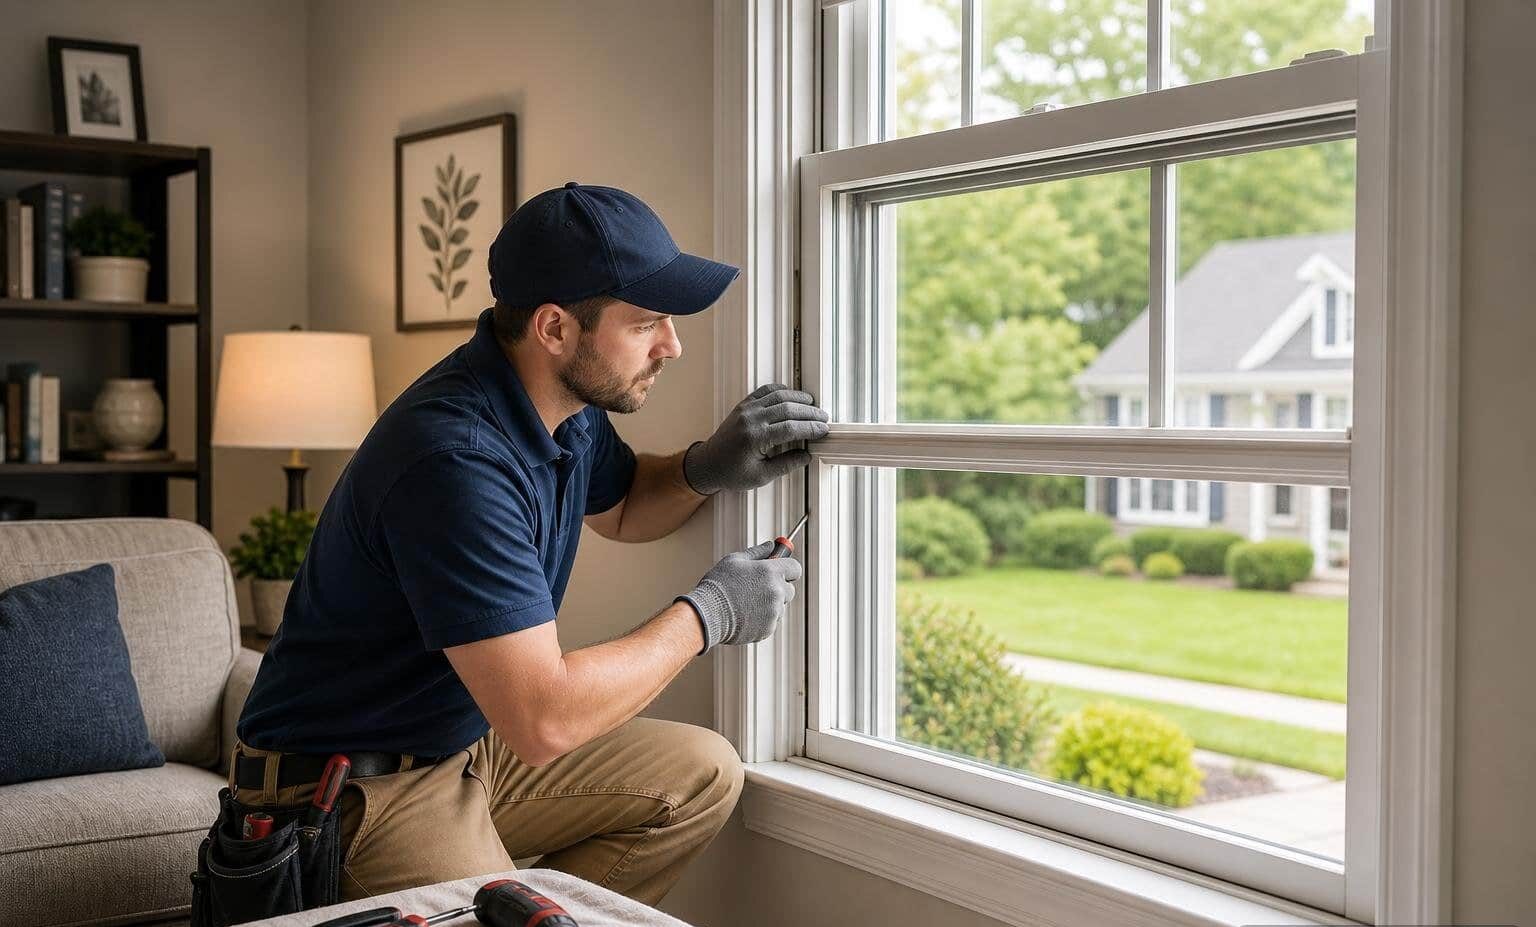
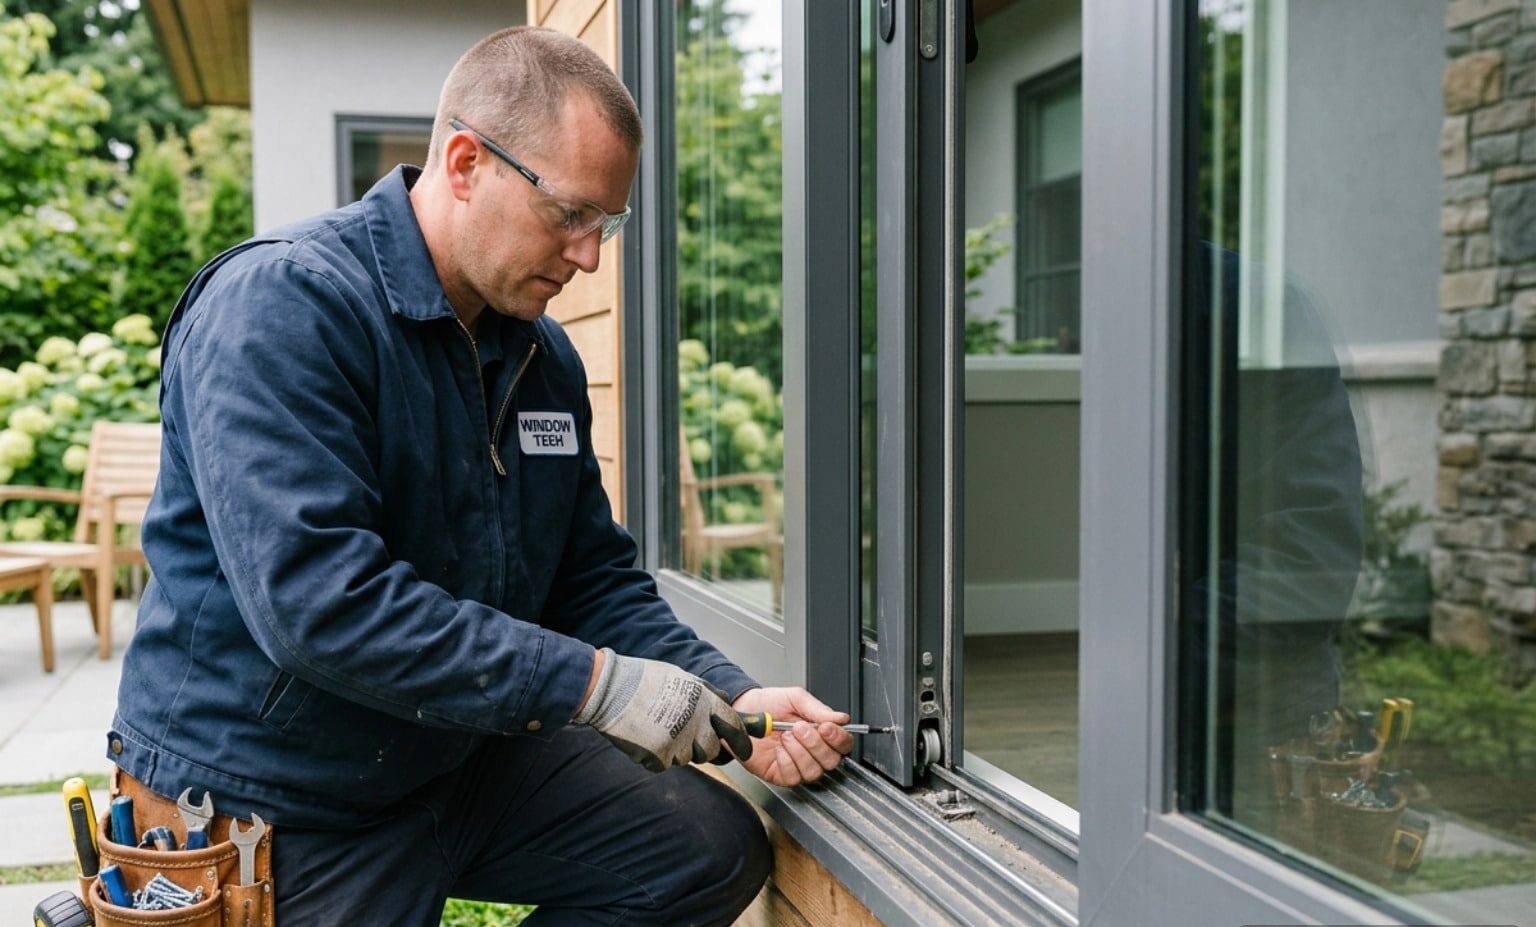
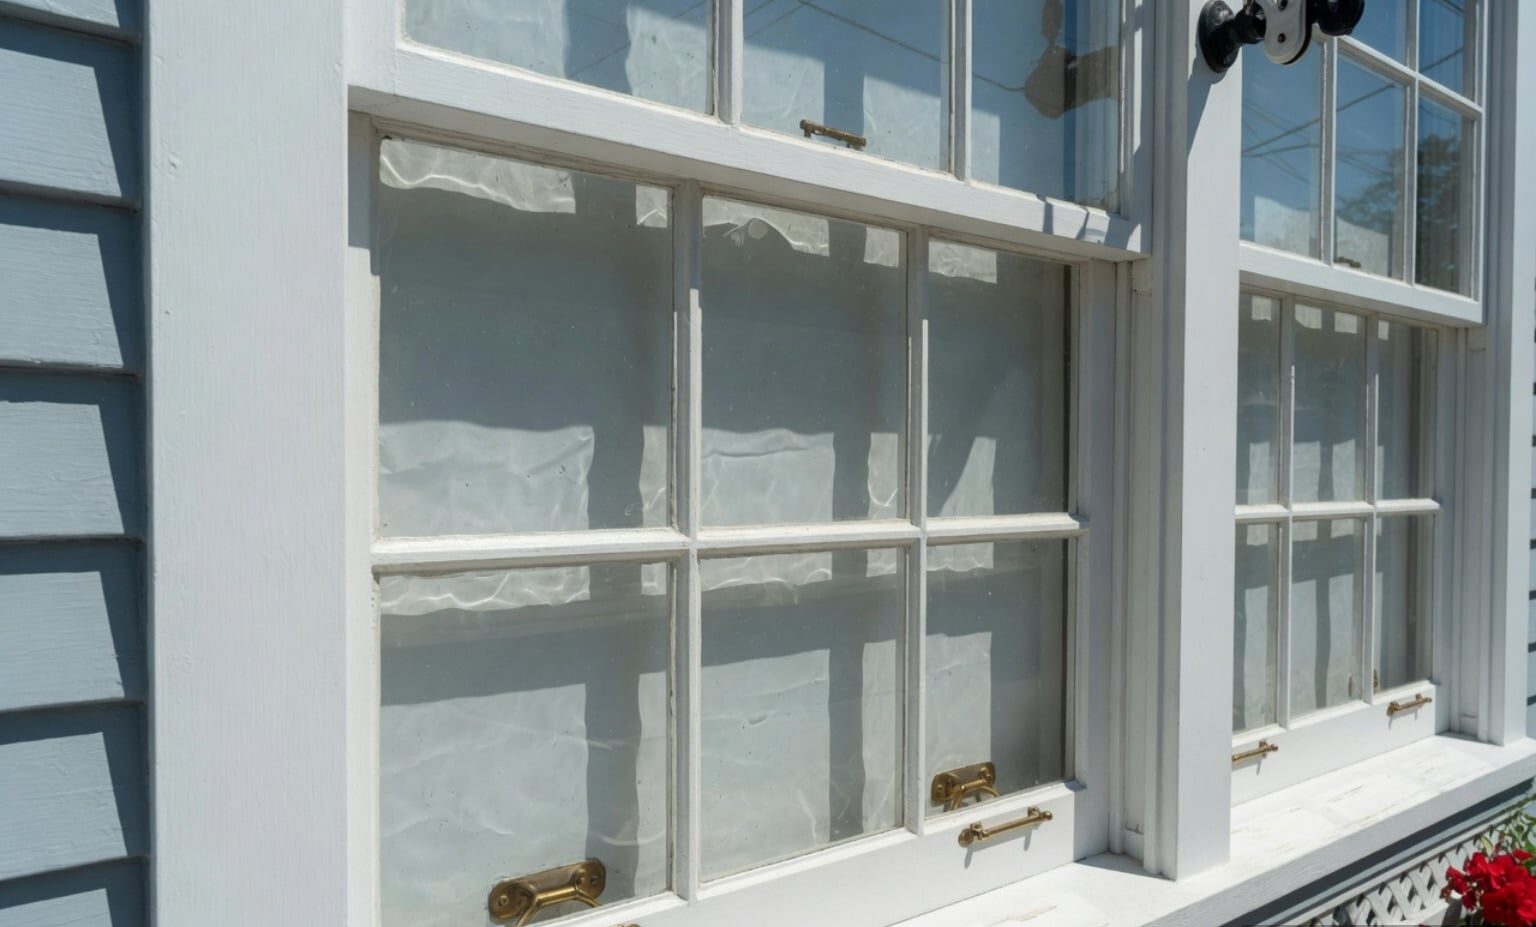
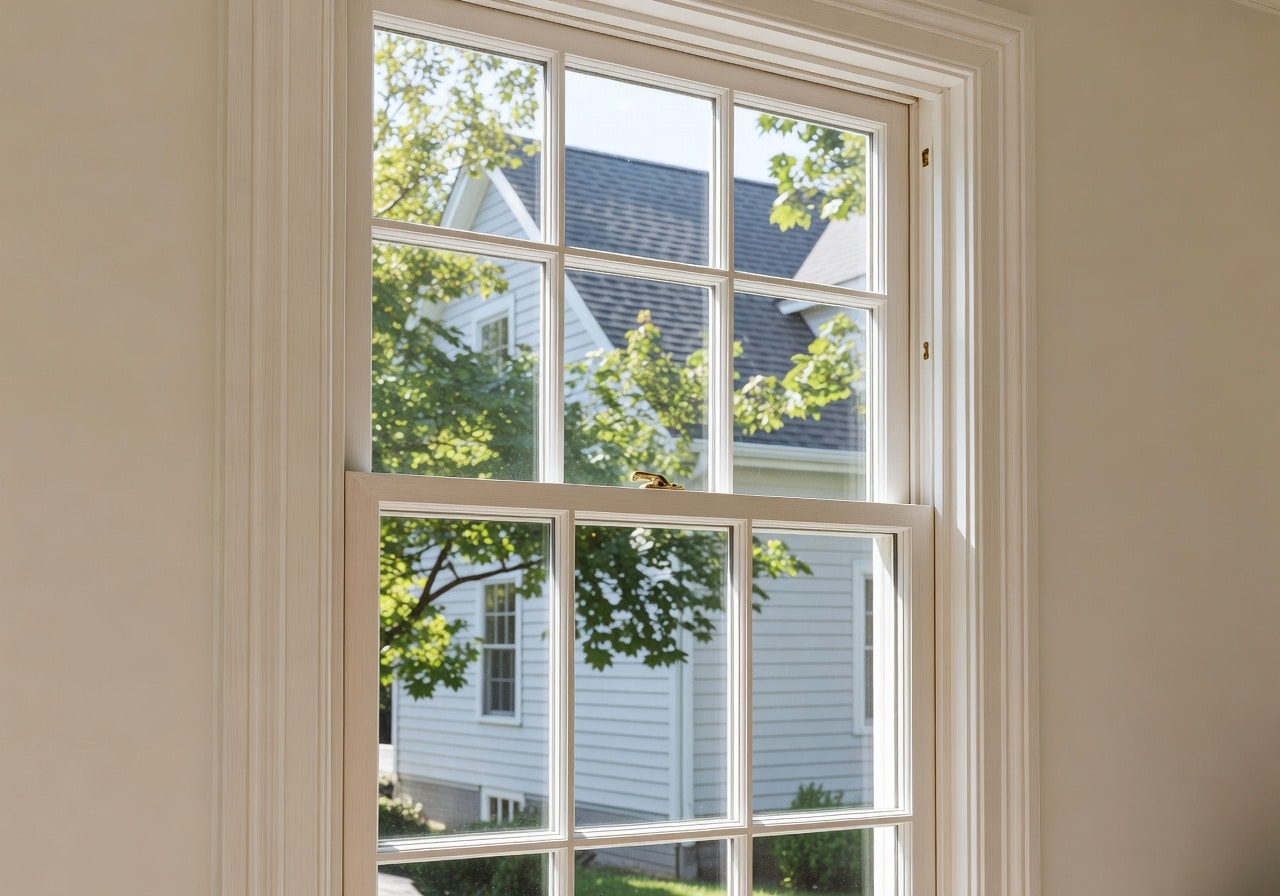
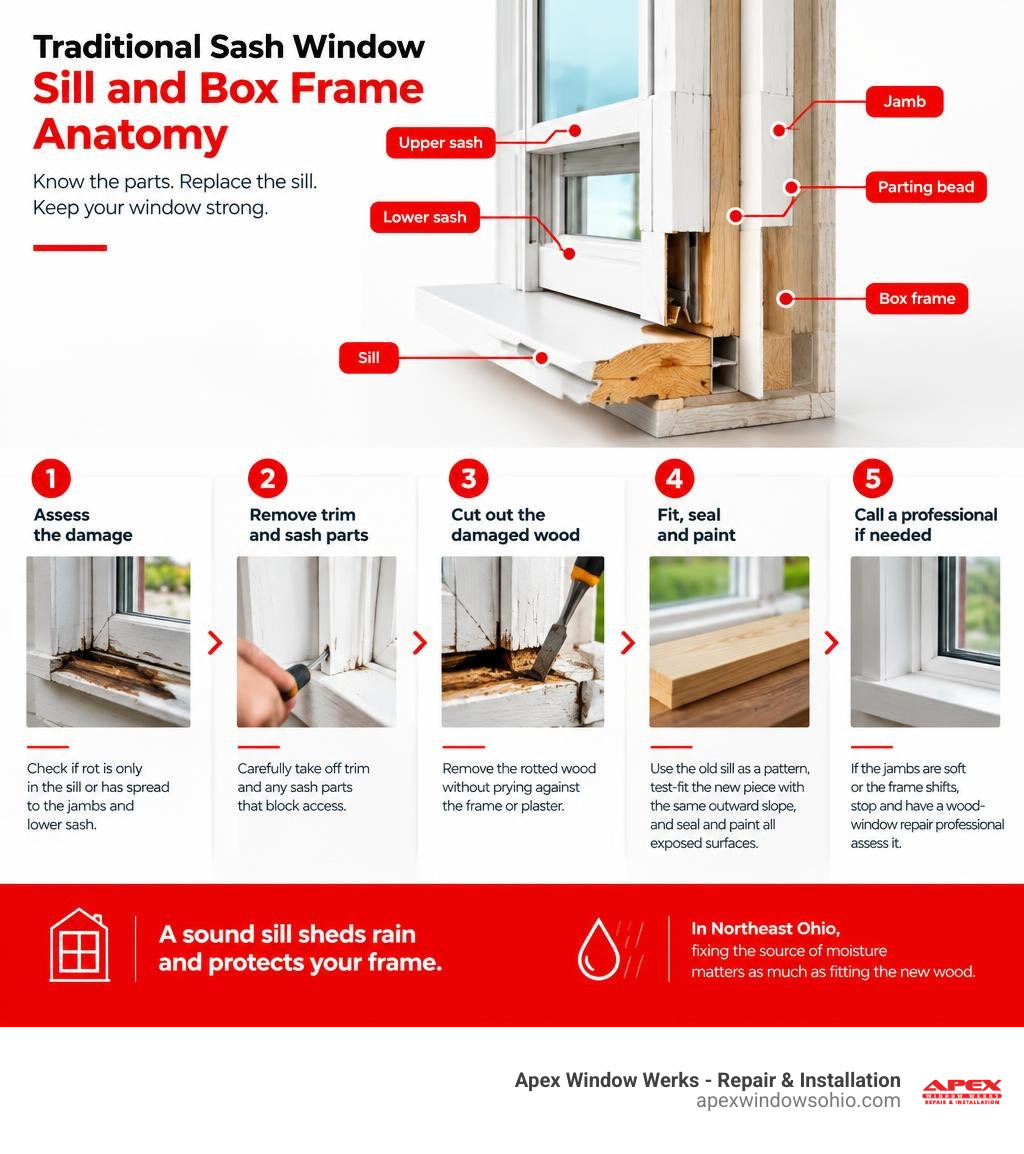
To replace a sash window sill, first check whether the rot is limited to the sill or has spread into the jambs and lower sash. Carefully remove trim and any sash parts that block access, then cut out the damaged wood without prying against the frame or plaster. Use the old sill as a pattern, test-fit a new piece with the same outward slope, and seal and paint every exposed surface. If the jambs are soft or the frame shifts, stop and have a wood-window repair professional assess it.
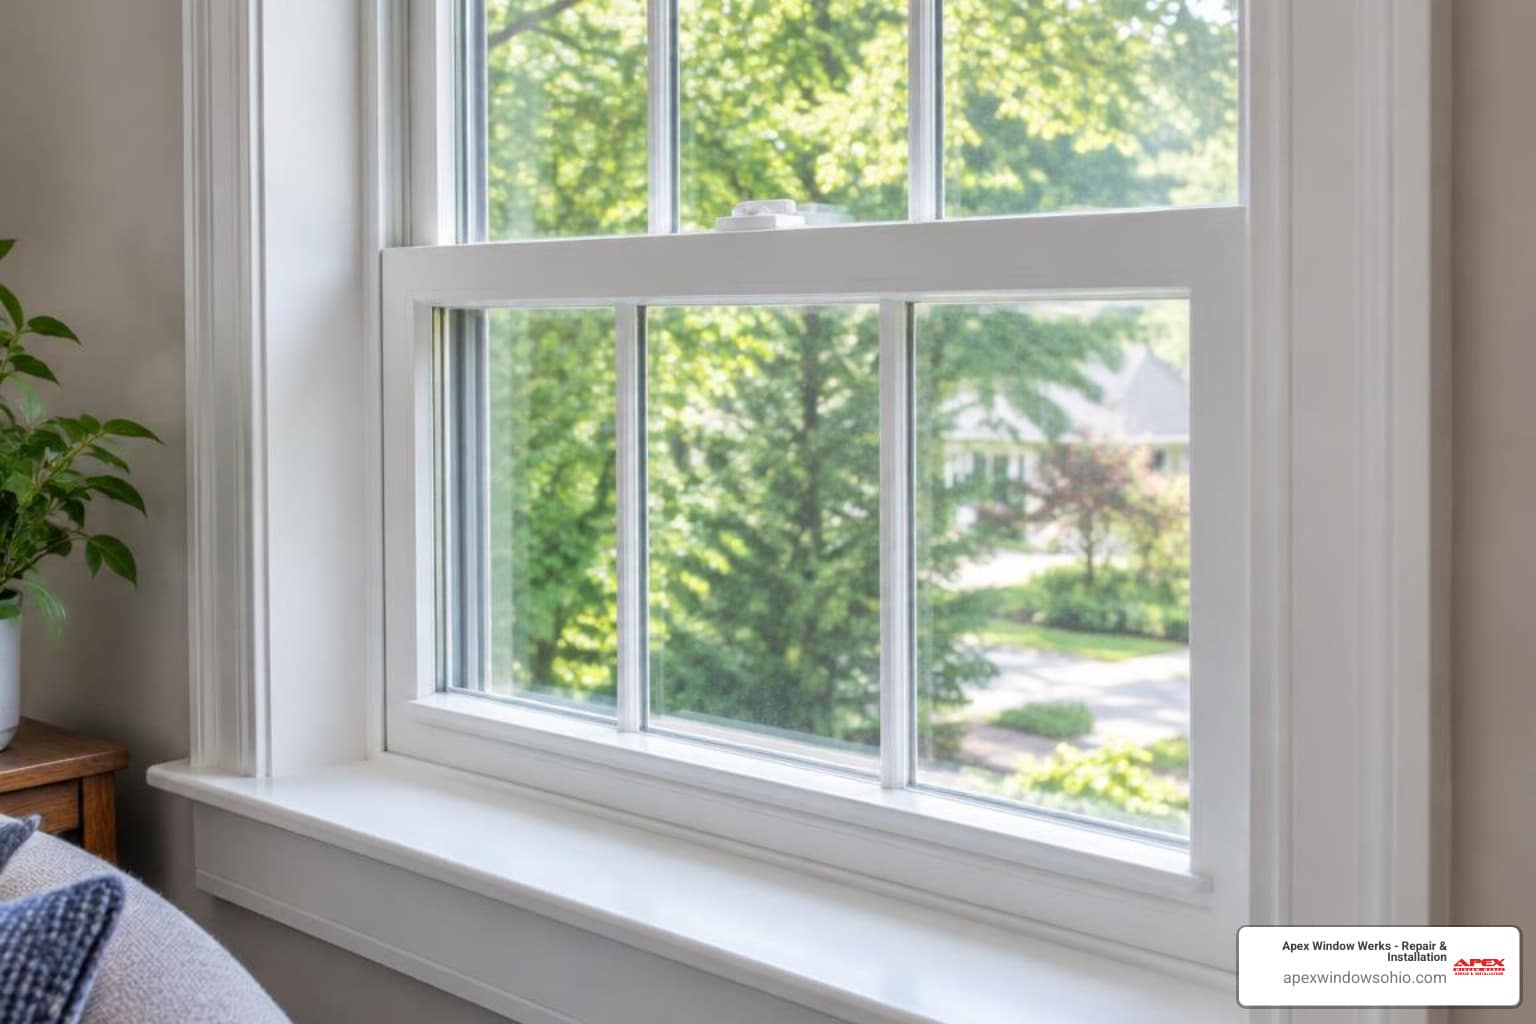
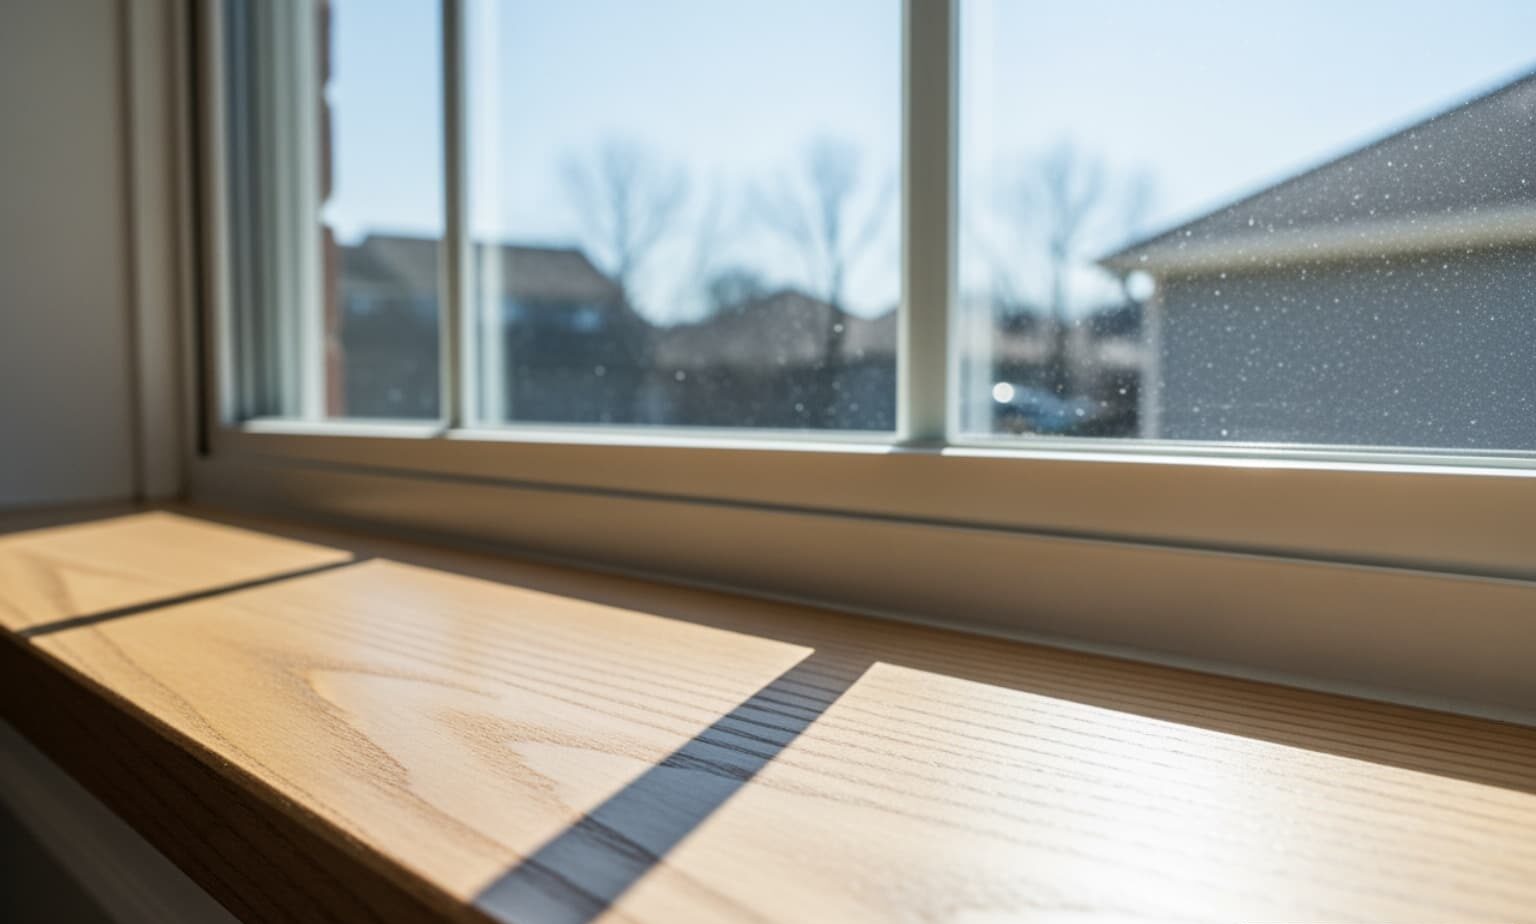
A sound sill helps shed rain and protects the frame beneath your sash window. In Northeast Ohio, fixing the source of moisture matters as much as fitting the new wood.
I’m Nataly Godes, General Manager at Apex Window Werks, where I lead a team that handles wood-window repair and restoration across the Cleveland – Akron area. This guide explains how to assess the damage before you replace sash window sill wood and choose a repair that lasts.
Helpful sash window restoration topics include window sash replacement, discovering when to replace rotted window sash wood, and addressing double hung window balance replacement.
Signs It Is Time to Replace a Sash Window Sill in Northeast Ohio
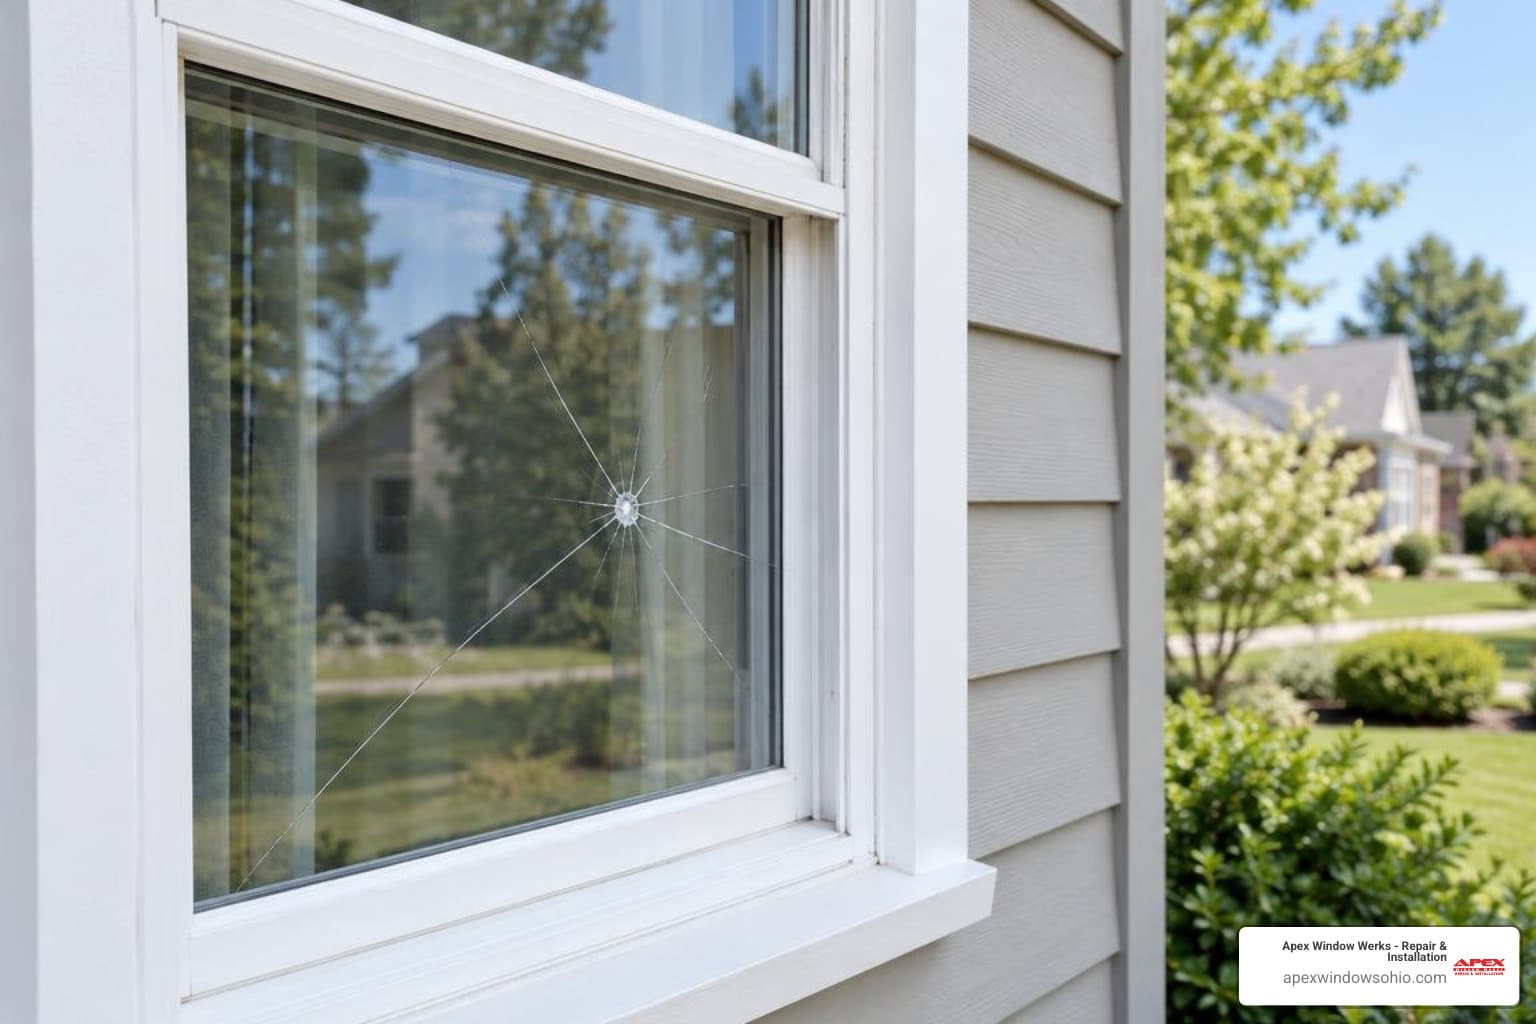
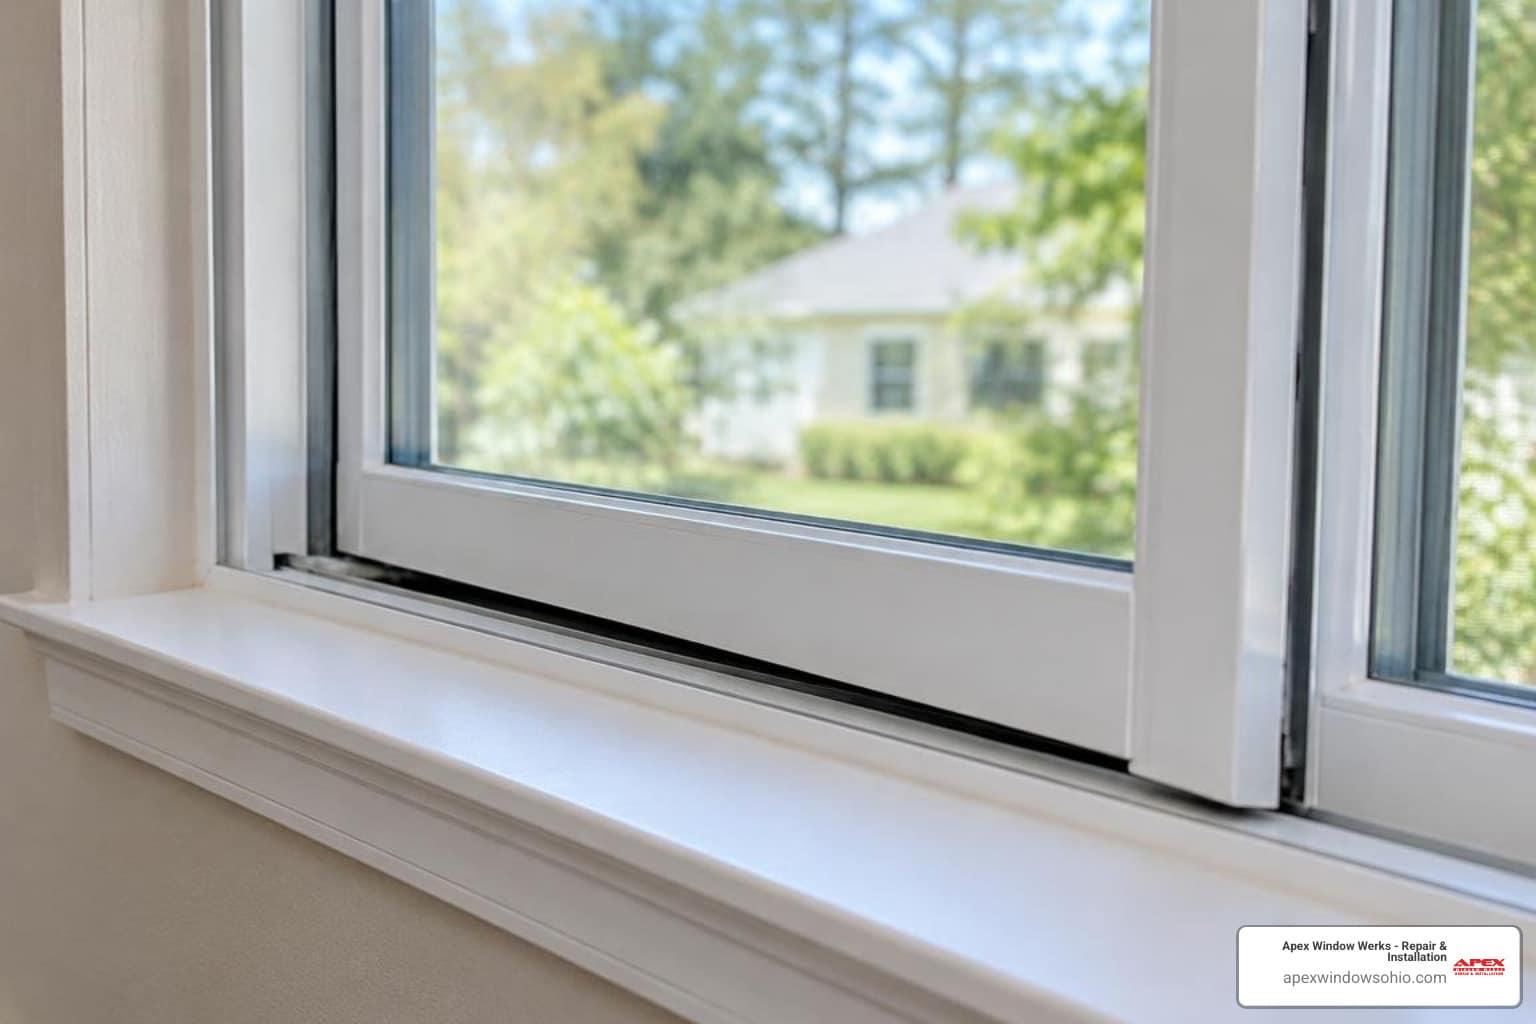
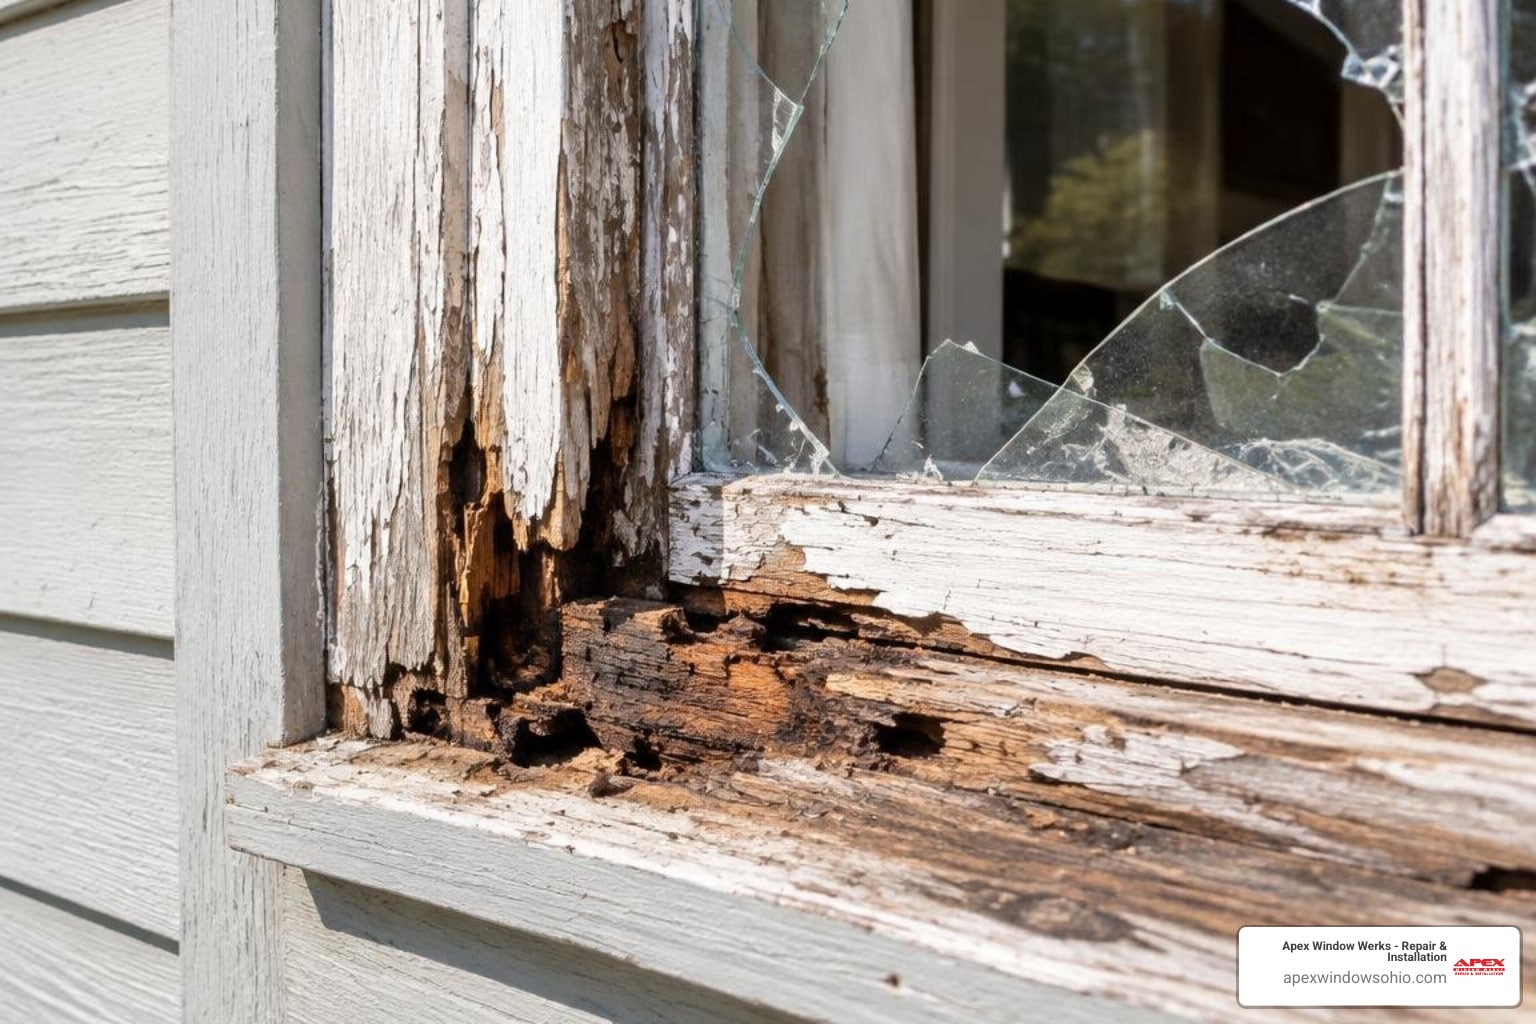
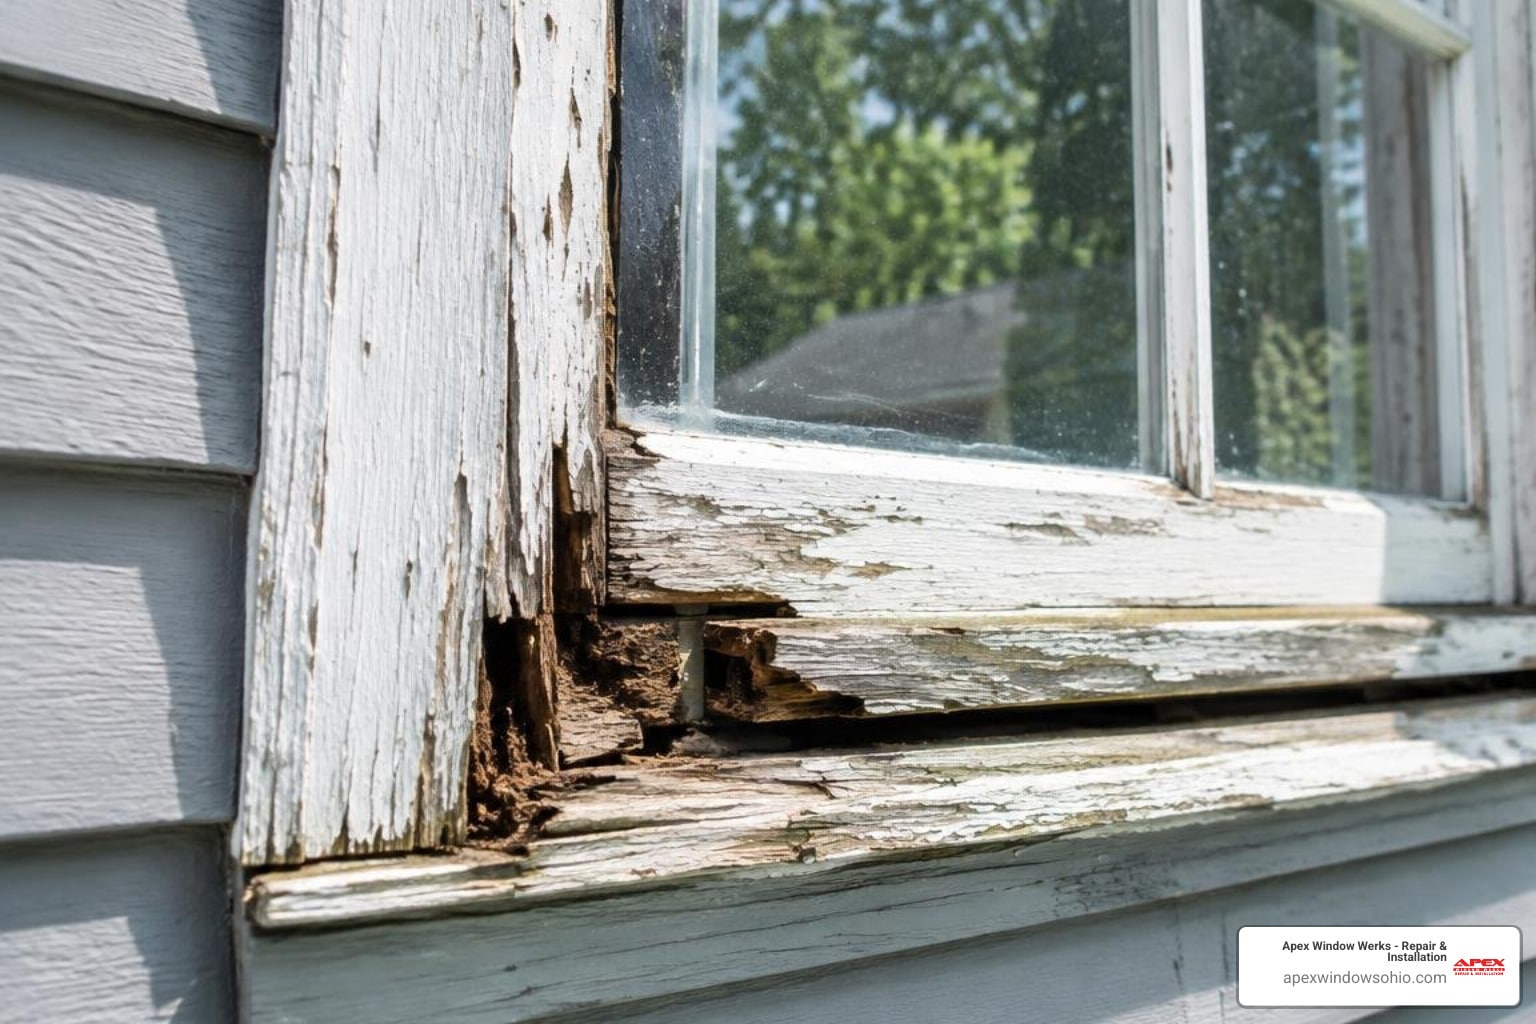
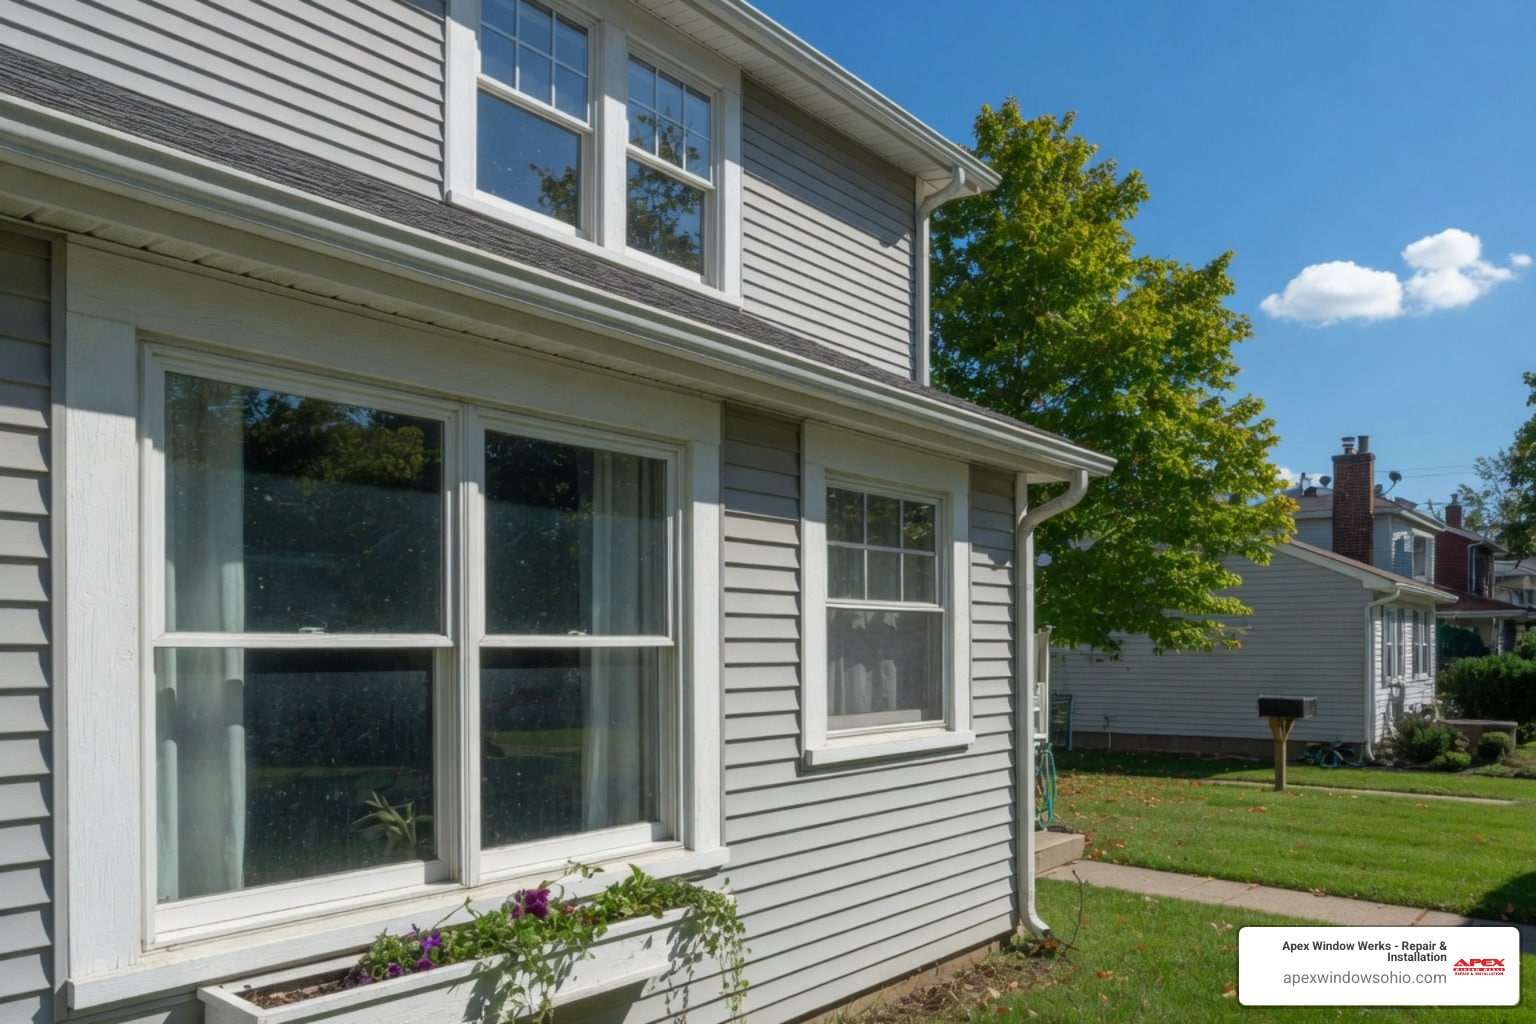
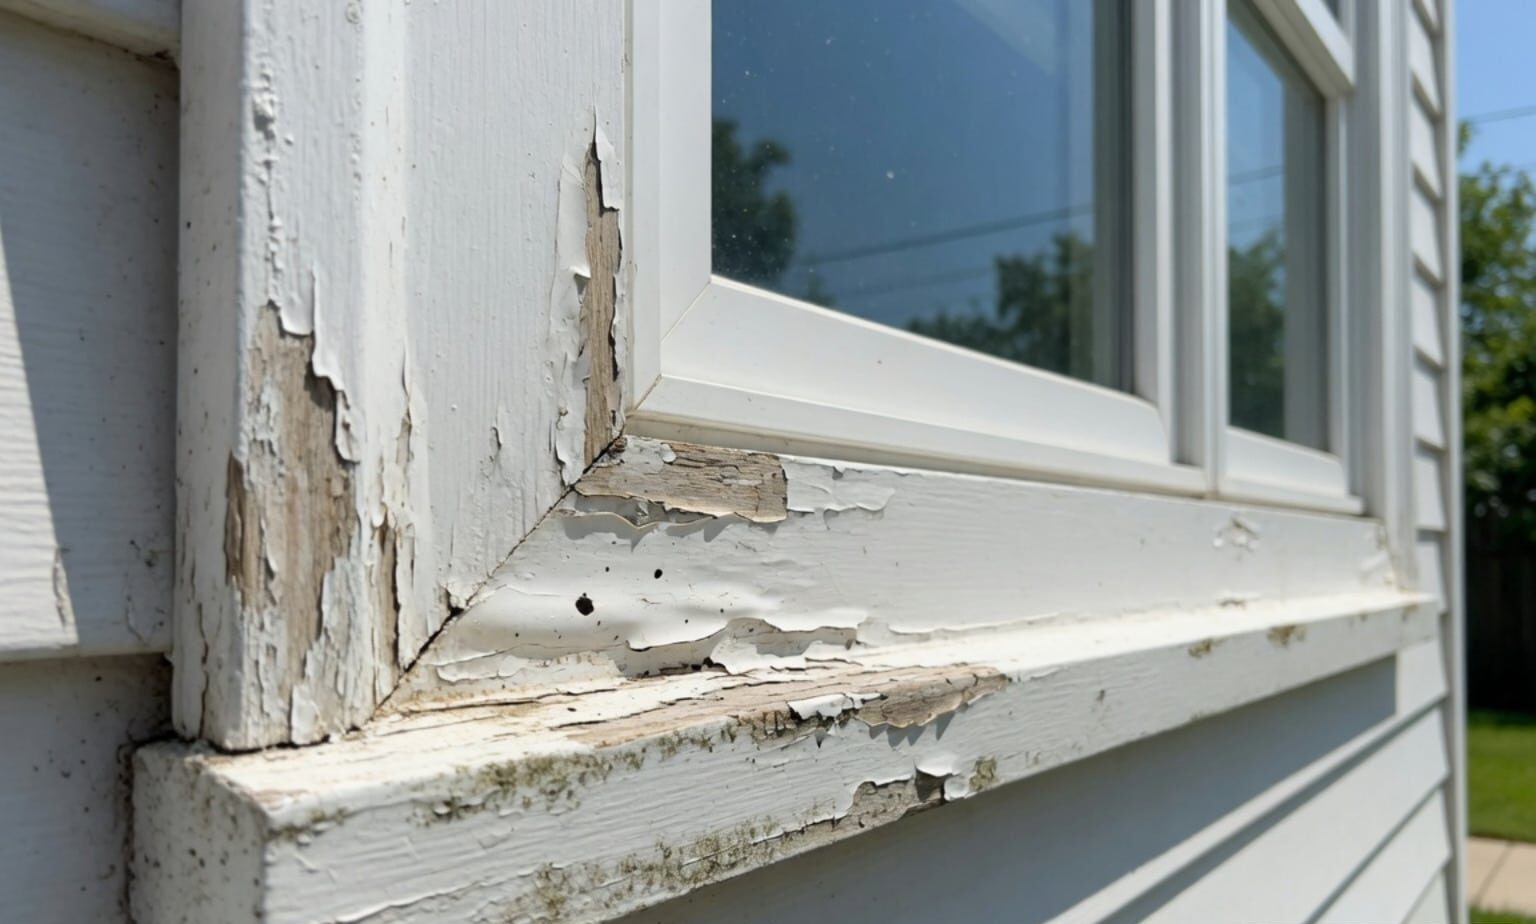
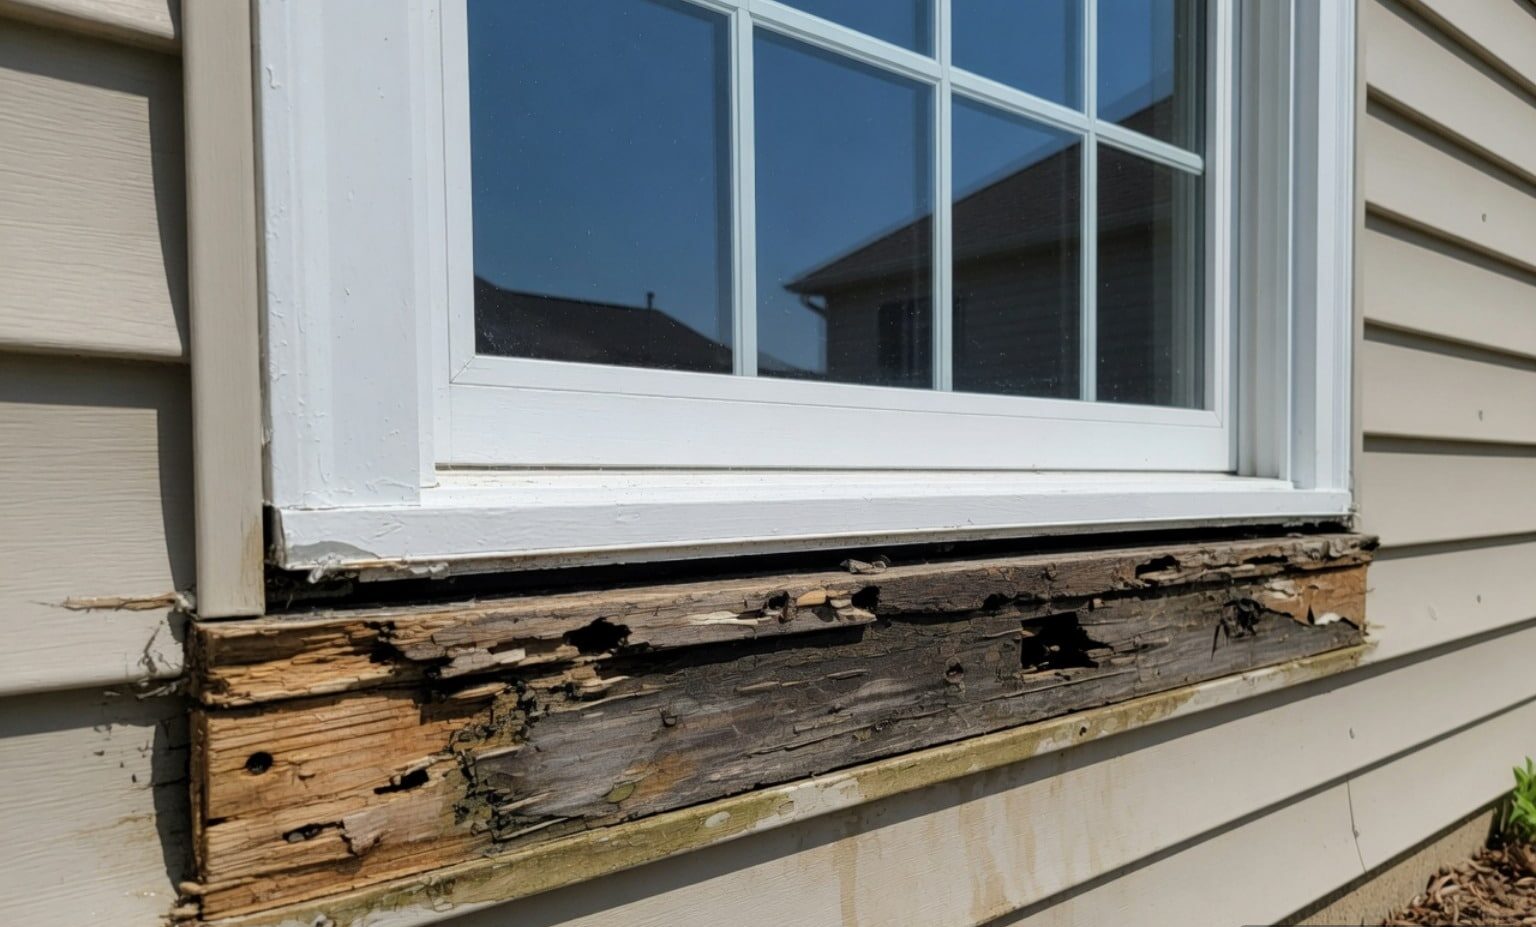
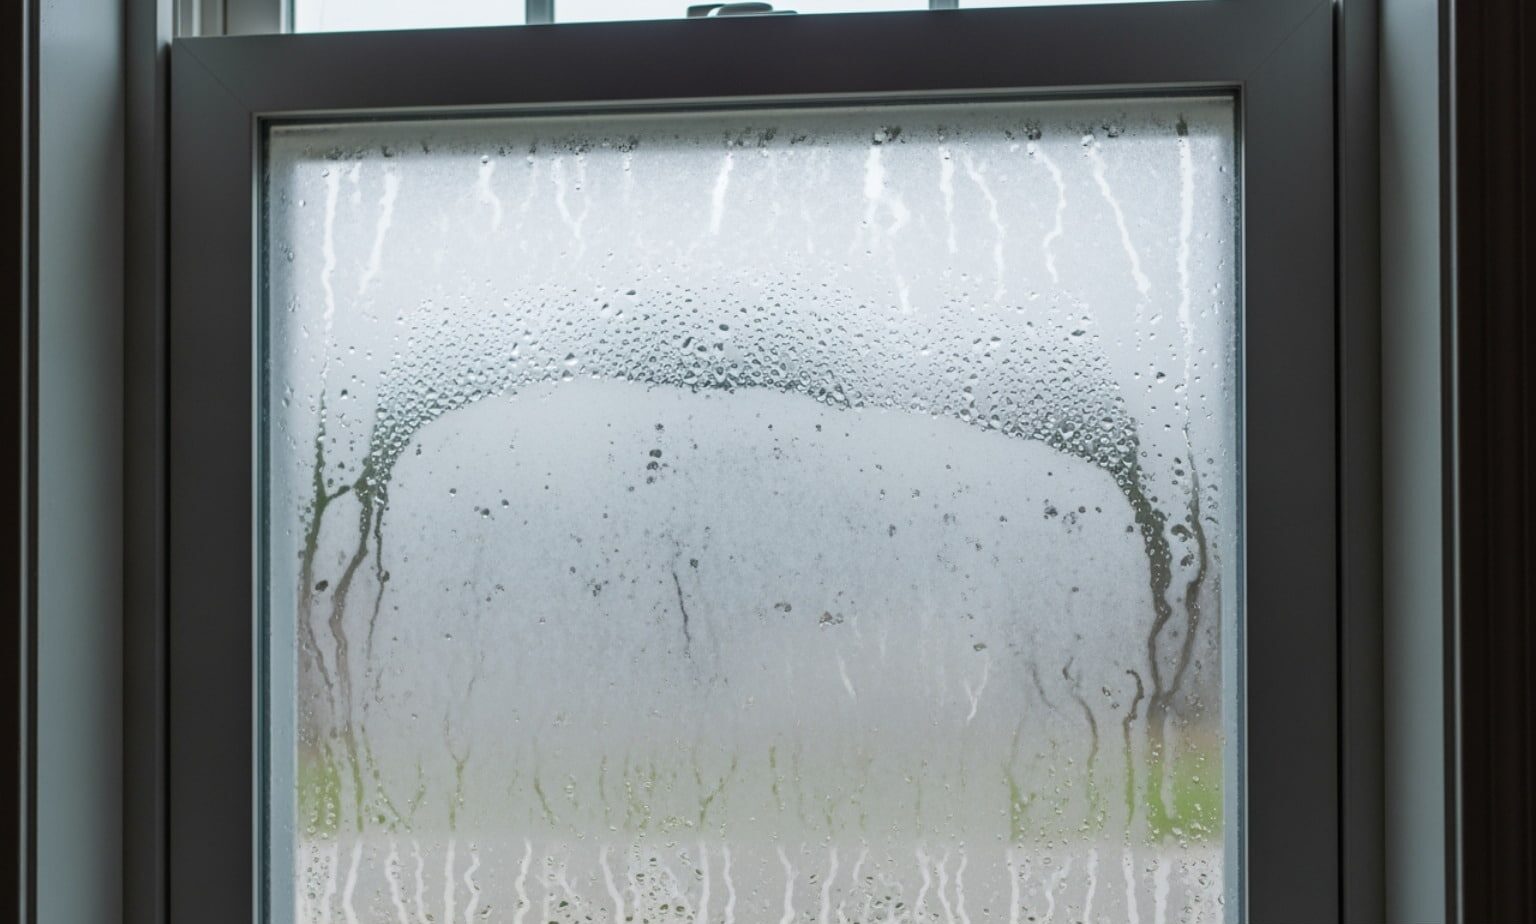
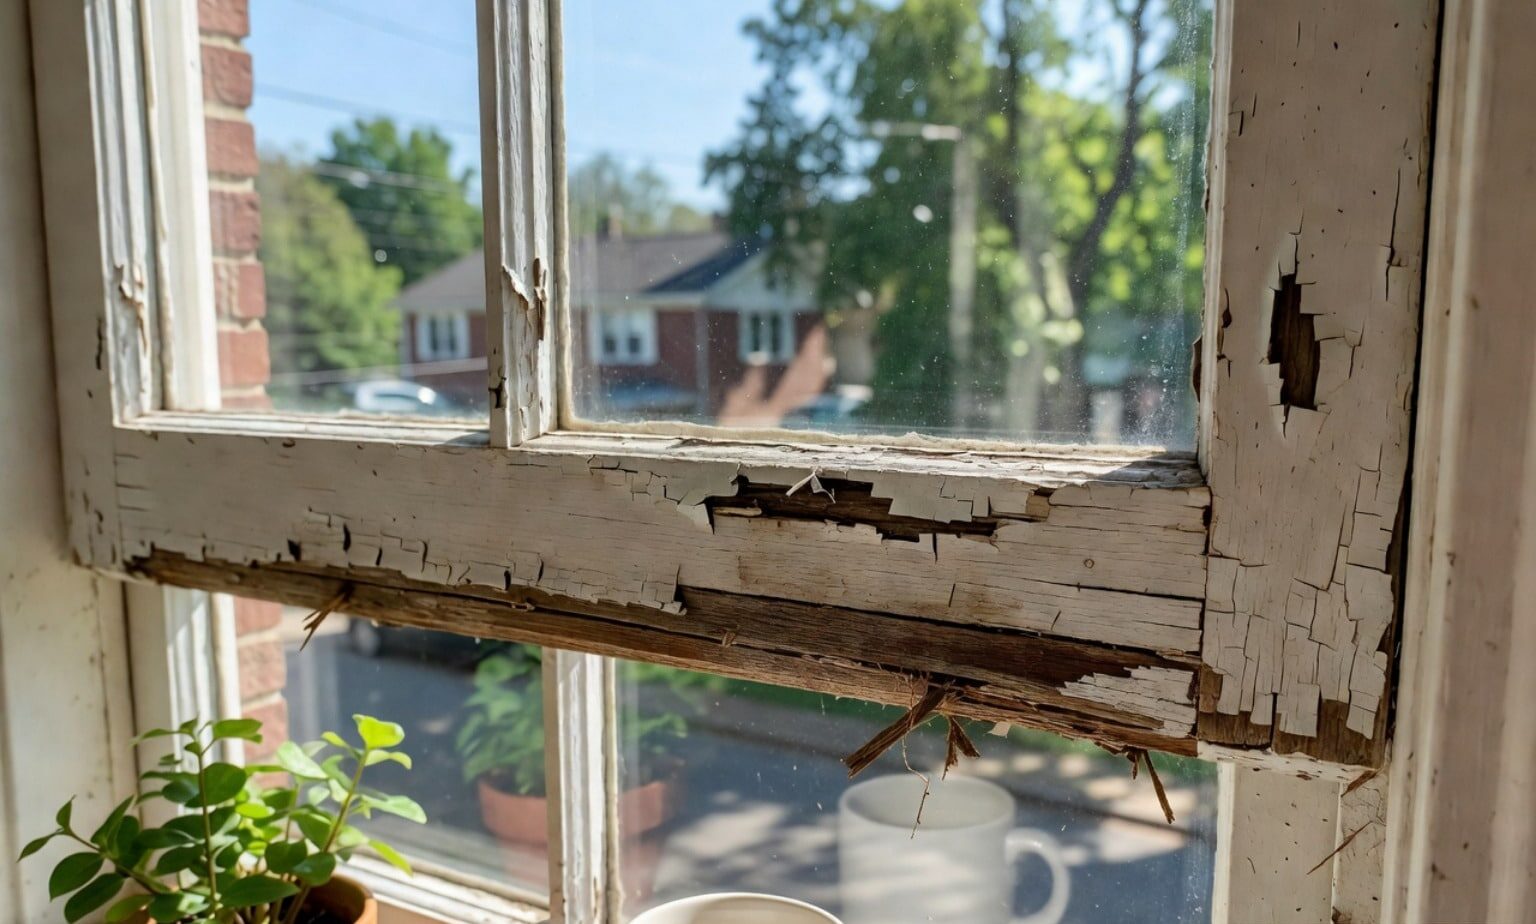
Sash window sills take the brunt of Northeast Ohio’s weather, from summer rainstorms to winter freeze-thaw cycles. Because water naturally flows down the glass, it collects at the bottom rail and rests on the sill. Over time, failing paint or compromised caulking lets moisture seep into the timber fibers.
Recognizing early warning signs prevents hidden structural damage from spreading into your wall framing. The preservation guidelines outlined in Traditional Windows: their care, repair and upgrading emphasize that catching moisture problems early protects historic fabric while keeping repair scope manageable.
Evaluating Rot Depth and Moisture Infiltration in Cleveland Homes
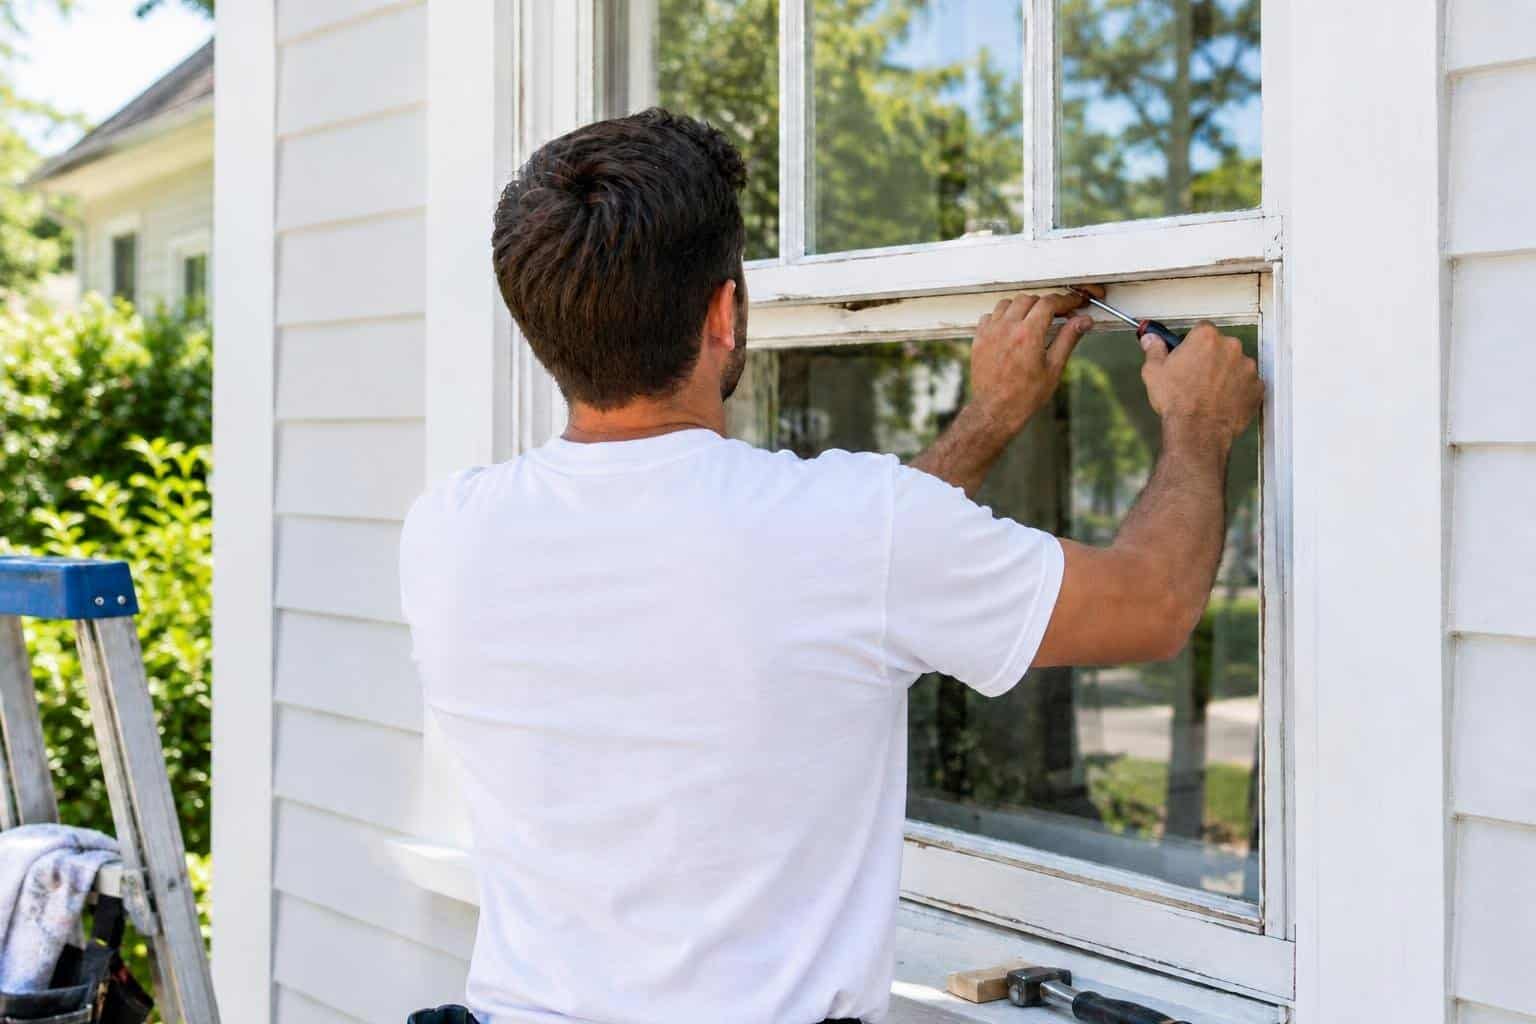
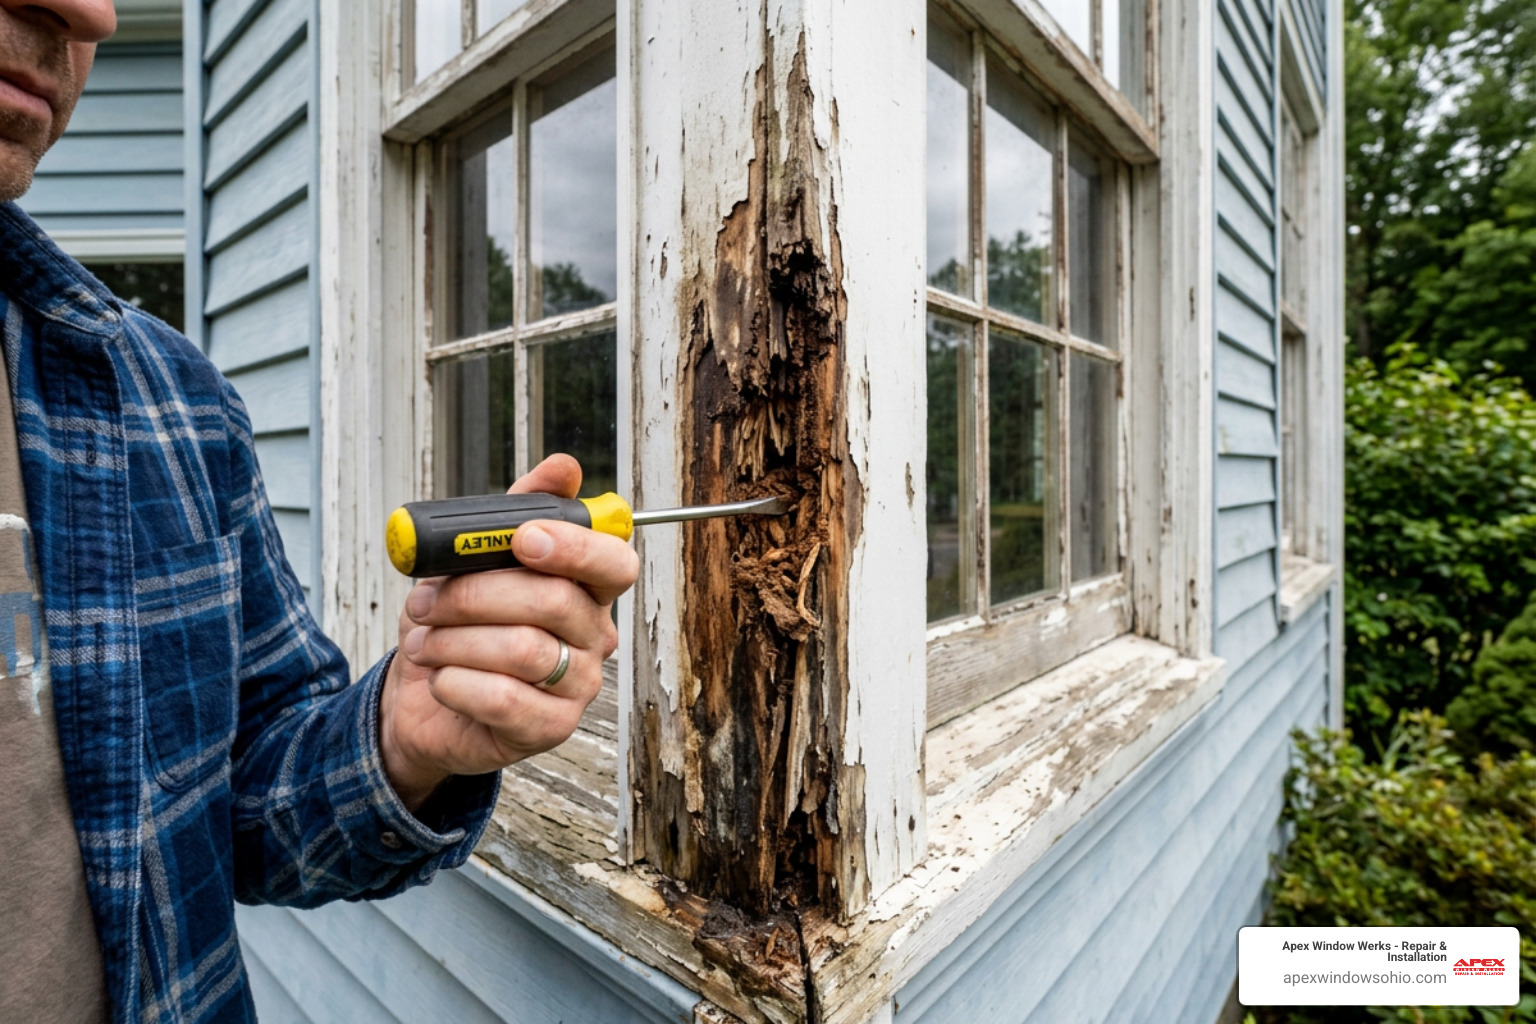
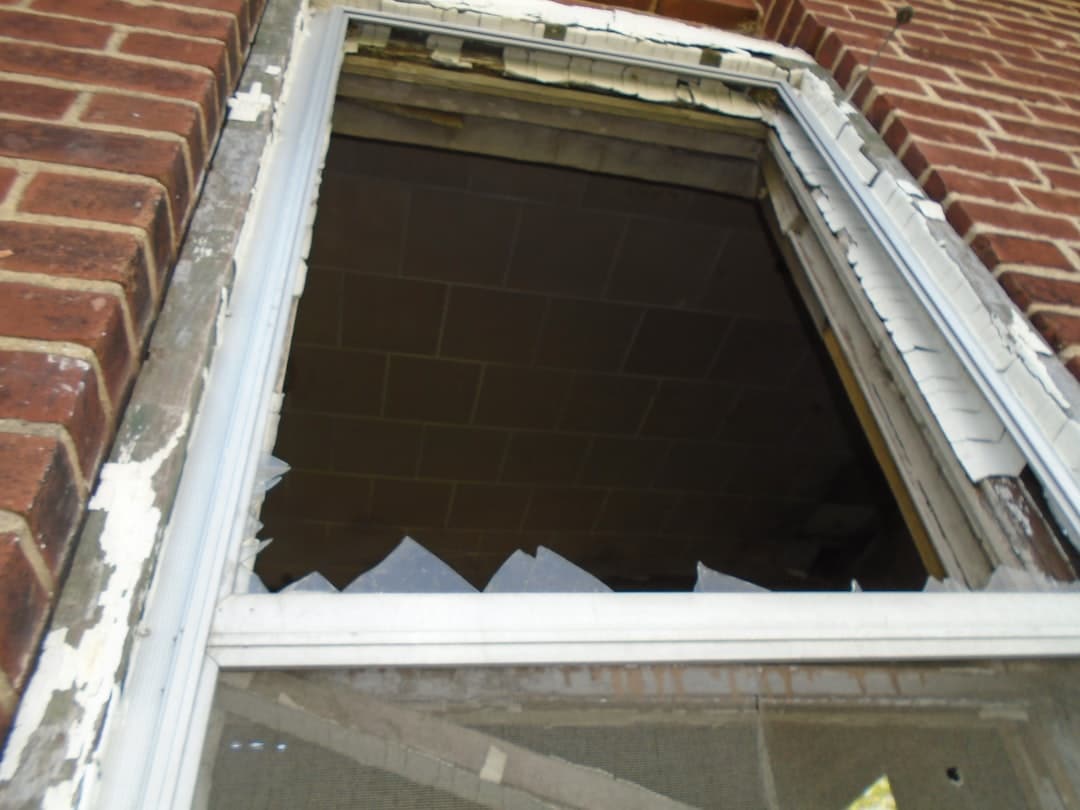
Before grabbing your pry bar, determine whether the timber needs a localized patch or complete replacement. Surface paint flaking often masks deep fungal decay.
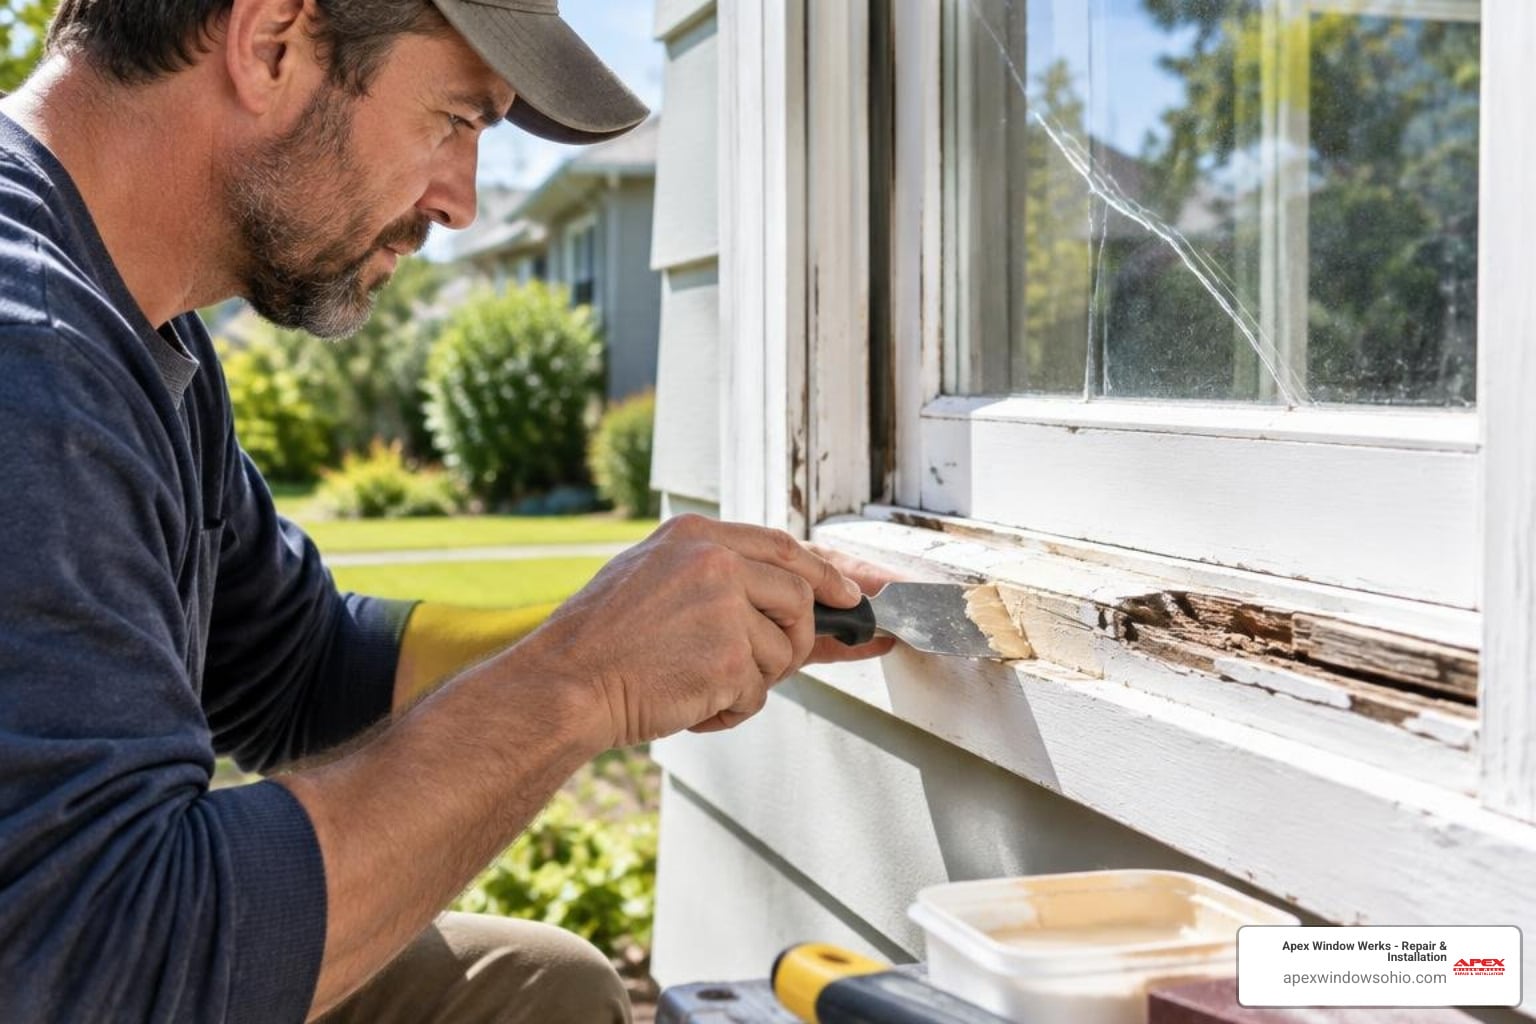
- The Awl or Screwdriver Test: Press a sharp awl or flathead screwdriver into suspicious areas, particularly near the outer corners and under the lower sash. If the tool sinks into soft, spongy timber with little resistance, active rot is present.
- Moisture Meter Testing: A digital moisture meter provides an objective baseline. Wood with moisture levels consistently above 15% to 20% creates an ideal environment for wood-decaying fungi.
- Localized vs. Structural Decay: If decay penetrates more than one-third of the sill’s total depth or spans the full width of the window opening, standard epoxy filling won’t restore its structural capacity. Reviewing proven methods for window sill wood repair helps clarify when surface repairs are viable and when a physical timber replacement is required.
Checking Frame and Sash Integrity in Akron Properties
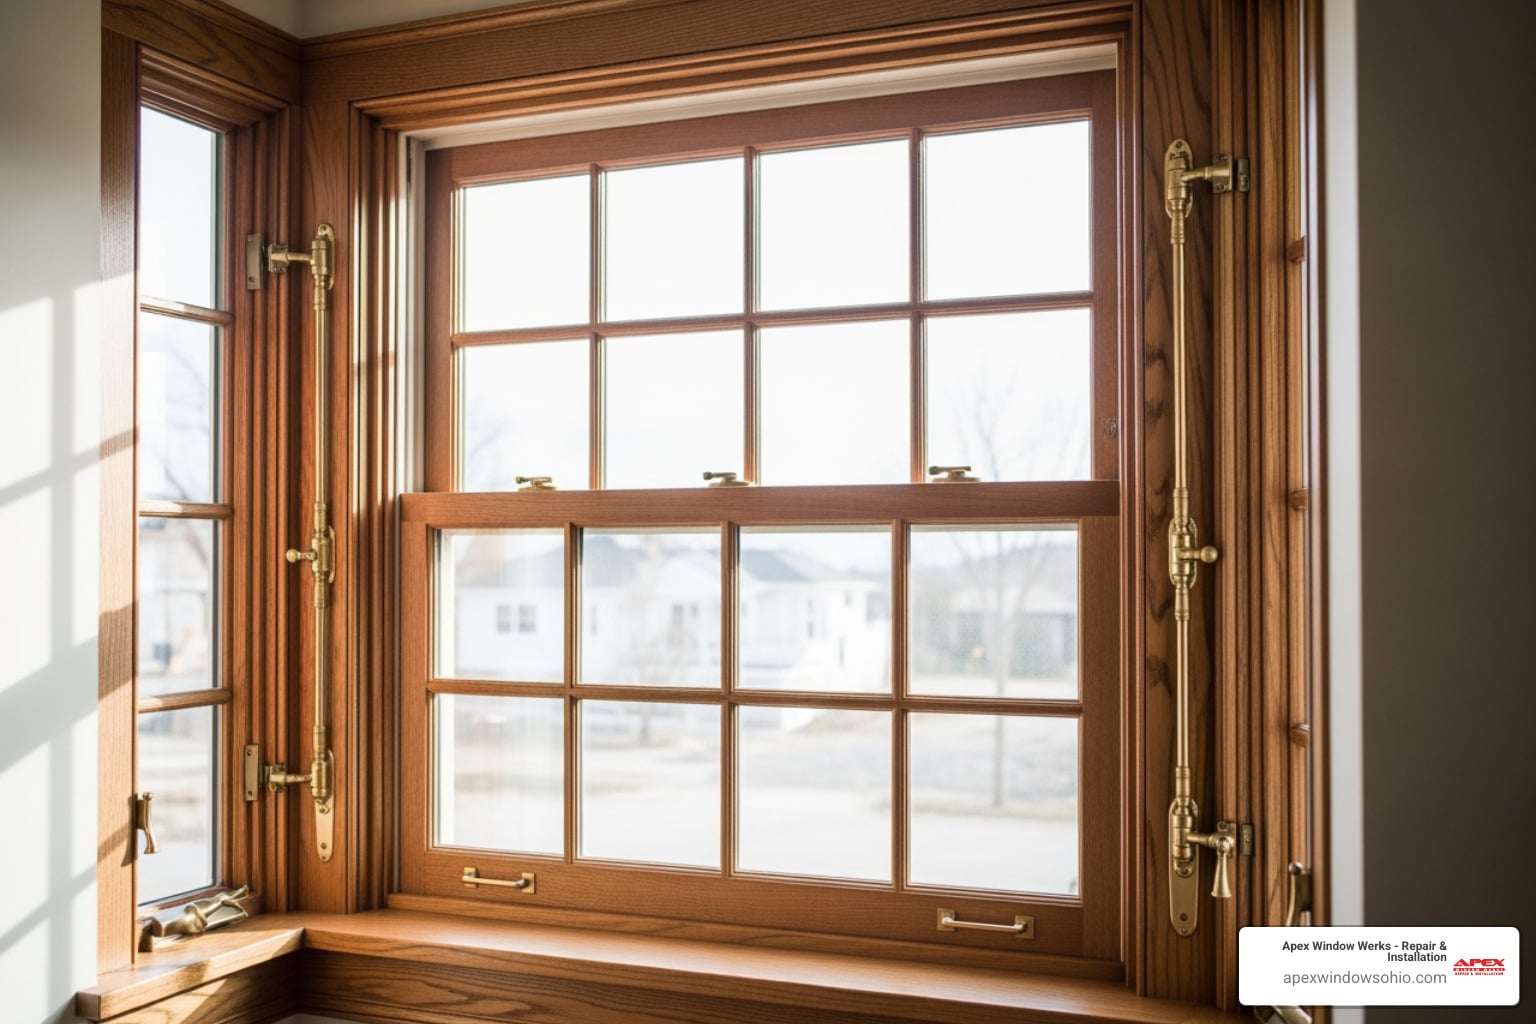
A window sill does not live in isolation; it supports the vertical box frame and interacts directly with the moving sashes.
- Pulley Stiles and Outer Cheeks: Inspect the base of the vertical pulley stiles (the side jambs where the sash weights travel). Moisture sitting on the sill often wicks upward into these vertical components, turning the bottom few inches soft.
- Bottom Rail Condition: Examine where the bottom rail of the lower sash meets the sill. If the sash rail is decayed, you may need to learn signs it is time to replace a rotted window sash alongside your sill repairs.
- Assessing Frame Viability: If the side jambs are structurally solid above the bottom few inches, the overall box frame is fully salvageable. Restoration practices confirm that combining new sill timber with targeted jamb stabilization preserves original architecture without requiring full tear-outs.
Preparing for the Project: Materials and Workspace Setup
A successful sill replacement requires precise cuts and durable, weather-resistant joinery. Setting up your workspace correctly protects your interior trim, historic plaster, and flooring.
Tools and Materials Needed to Replace a Sash Window Sill
Gather these tools and materials before starting:
- Safety Gear: Safety glasses, heavy work gloves, and a dust mask rated for sanding.
- Cutting Tools: Oscillating multi-tool with wood and flush-cut blades, Japanese pull saw or fine-tooth hand saw, and sharp wood chisels (1/2-inch to 1-inch).
- Prying and Measuring Tools: Flat pry bar, wrecking chisel, utility knife, carpenter’s pencil, level, and sliding bevel gauge.
- Adhesives and Fillers: Two-part structural epoxy resin, exterior-grade polyurethane wood glue (or waterproof wood glue), and wood hardener.
- Fasteners and Insulation: Corrosion-resistant exterior wood screws (such as 3-inch coated screws), cedar shims, and low-expansion minimal expanding foam.
- Protection and Finishing: Heavy drop cloths, exterior-grade oil-based primer, paintable polyurethane caulk, and premium exterior acrylic topcoat.
| Timber Material | Moisture Resistance | Workability | Dimensional Stability | Best Use Case |
|---|---|---|---|---|
| Treated Softwood (Pine/Fir) | Moderate (relies on chemical treatment) | High (easy to cut and plane) | Moderate (prone to seasonal swelling) | Budget-conscious repairs where regular paint maintenance is kept up |
| Hardwood (White Oak/Sapele) | High (natural tannin and density) | Moderate (requires sharp tools, pre-drilling) | High (resists physical denting and decay) | Period properties and heavy-exposure sills requiring maximum lifespan |
| Modified Wood (Accoya) | Exceptional (chemically altered cell structure) | High (machines smoothly) | Exceptional (virtually zero shrink or swell) | Premium historic restoration where extreme stability and joint longevity are needed |
Selecting the Right Timber for Longevity in Ohio Climates
Choosing the right wood species is critical for exterior durability. A dense hardwood or modified timber prevents seasonal movement that breaks paint seals.

When selecting your timber, match the original profile’s dimensions as closely as possible. Ensure the grain runs horizontally along the length of the sill to minimize cupping, and always let the timber acclimatize to your workshop or garage before making final cuts.
How to Replace a Sash Window Sill: Step-by-Step Instructions
Replacing a sash window sill without removing the entire window frame requires systematic dismantling. Follow this structured workflow to protect surrounding finishes.
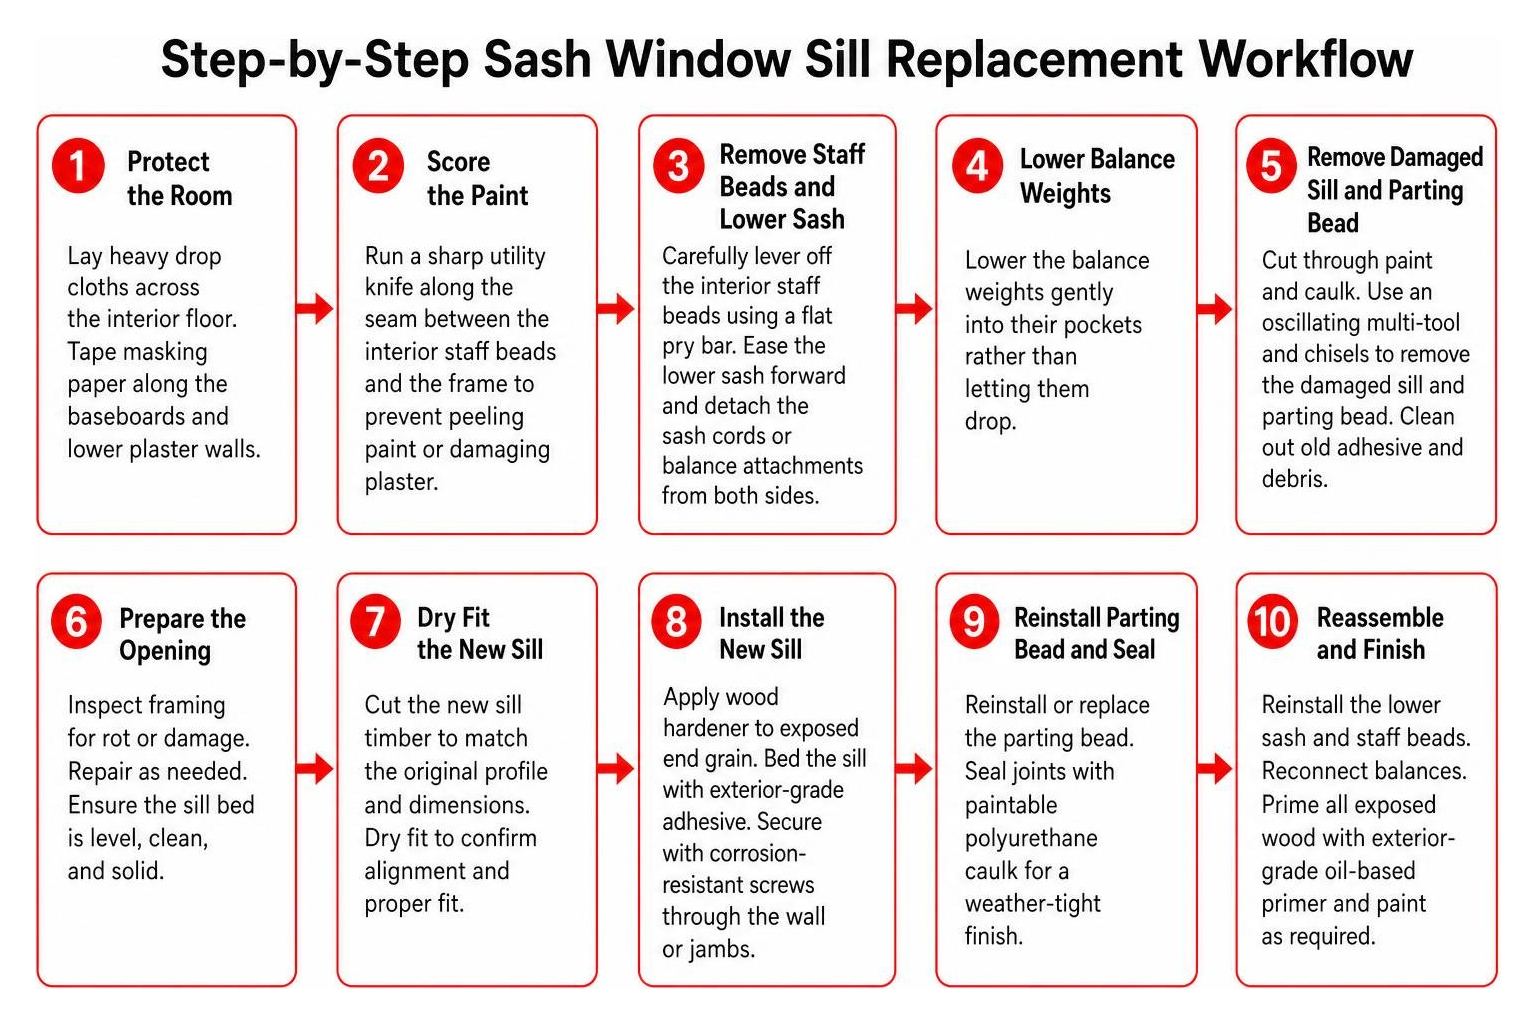
Step 1: Removing Sashes, Beads, and Damaged Wood
- Protect the Room: Lay heavy drop cloths across the interior floor. Tape masking paper along the baseboards and lower plaster walls.
- Score the Paint: Run a sharp utility knife along the seam between the interior staff beads (stop mouldings) and the frame to prevent peeling decorative paint or damaging plaster.
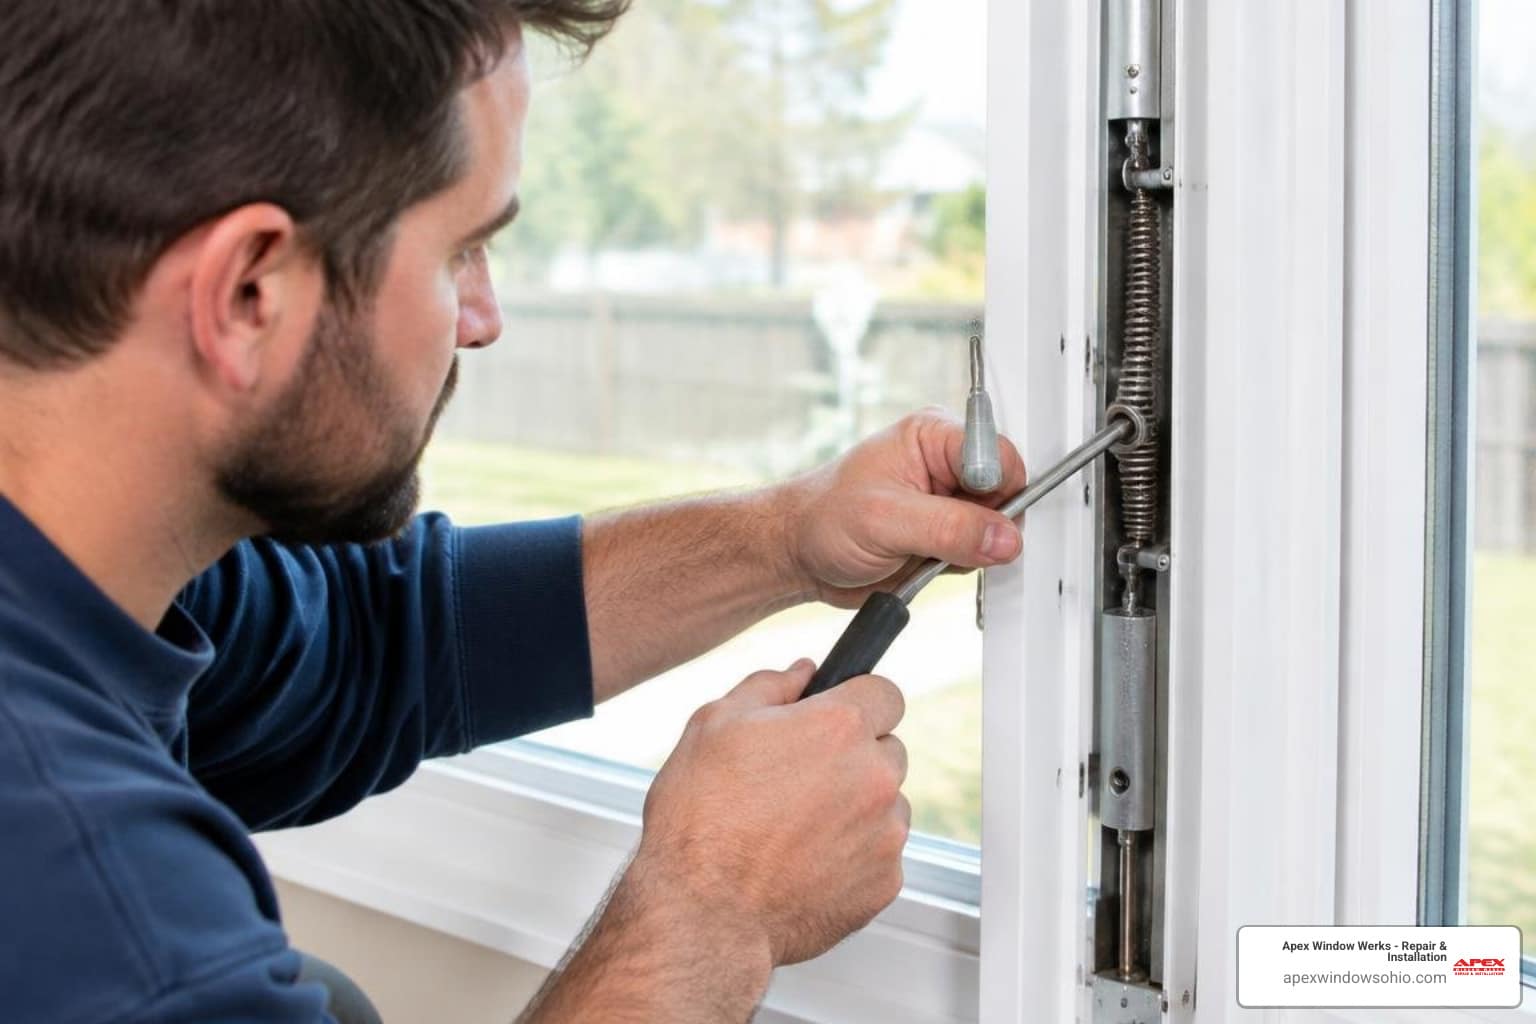
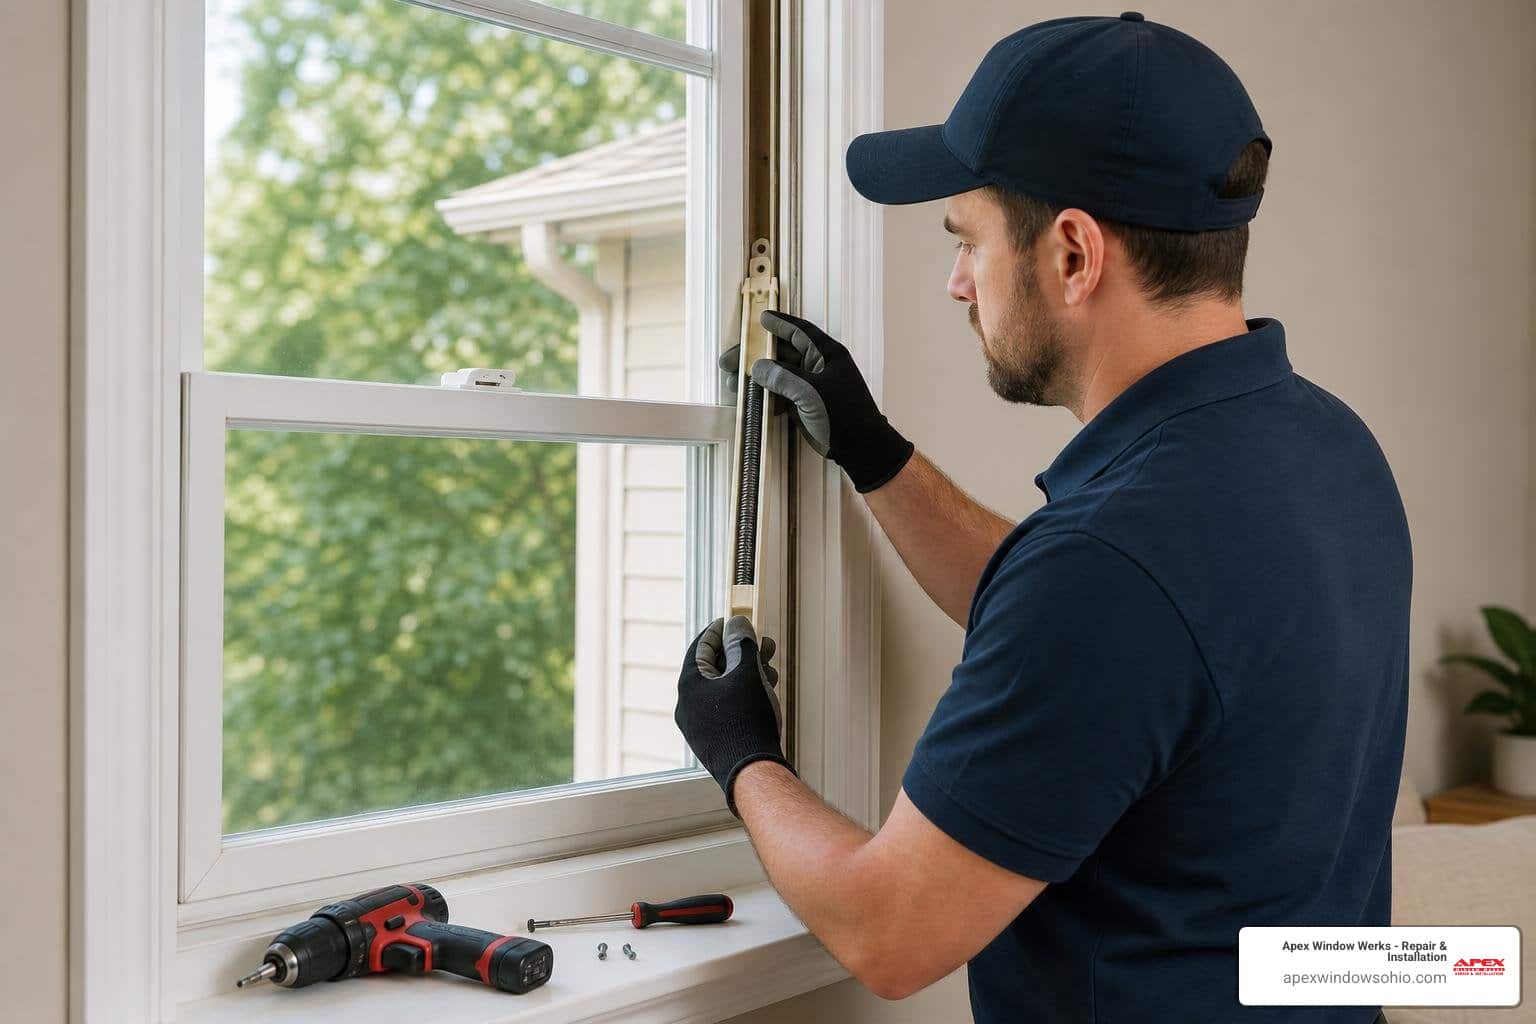
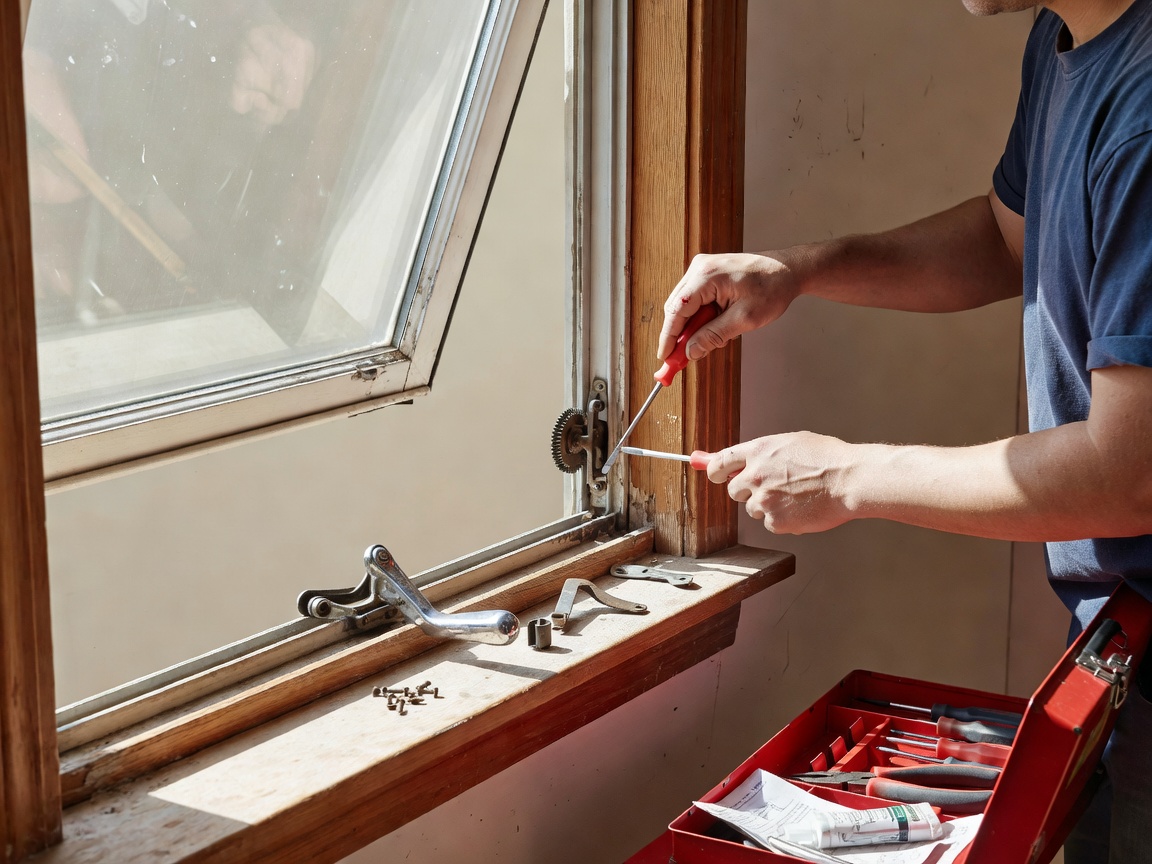
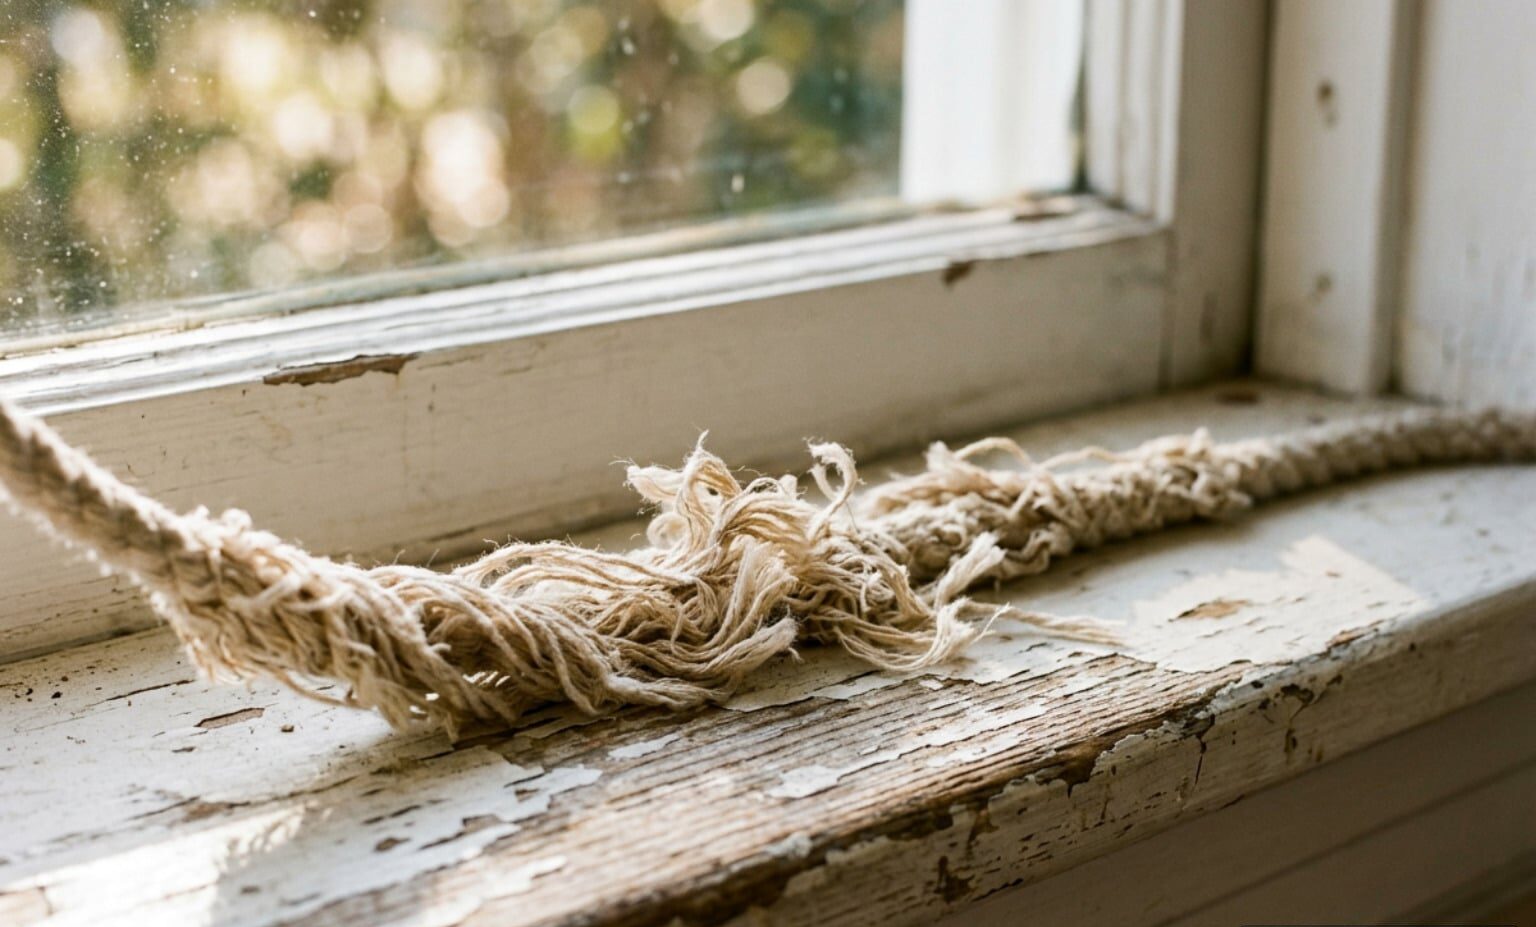
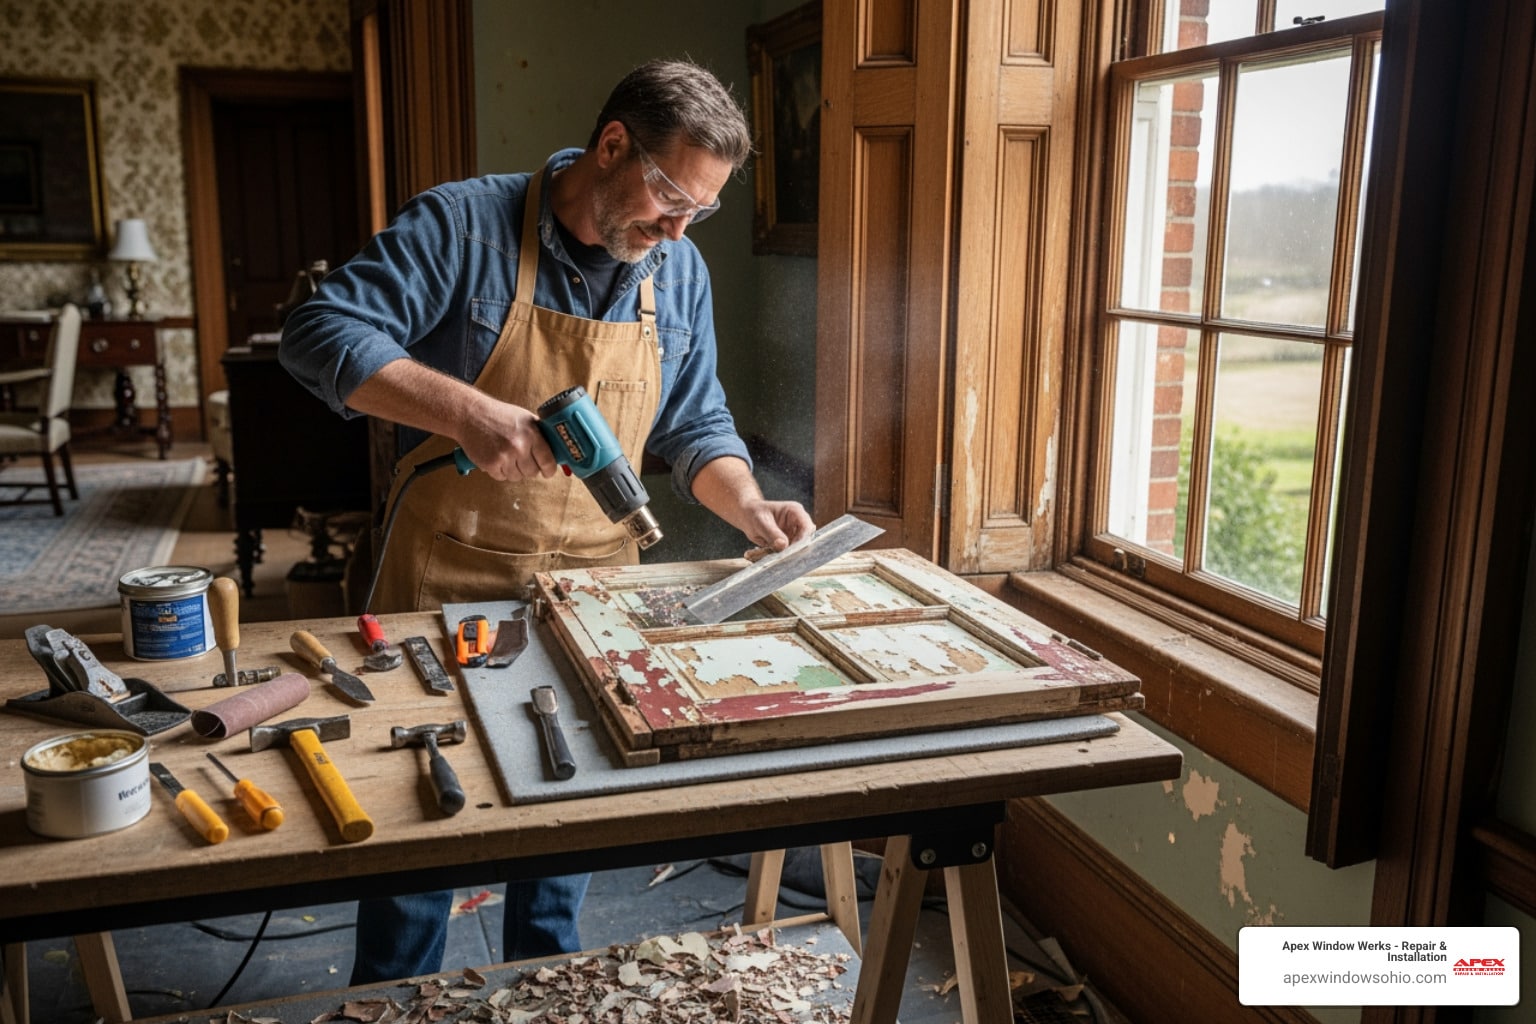
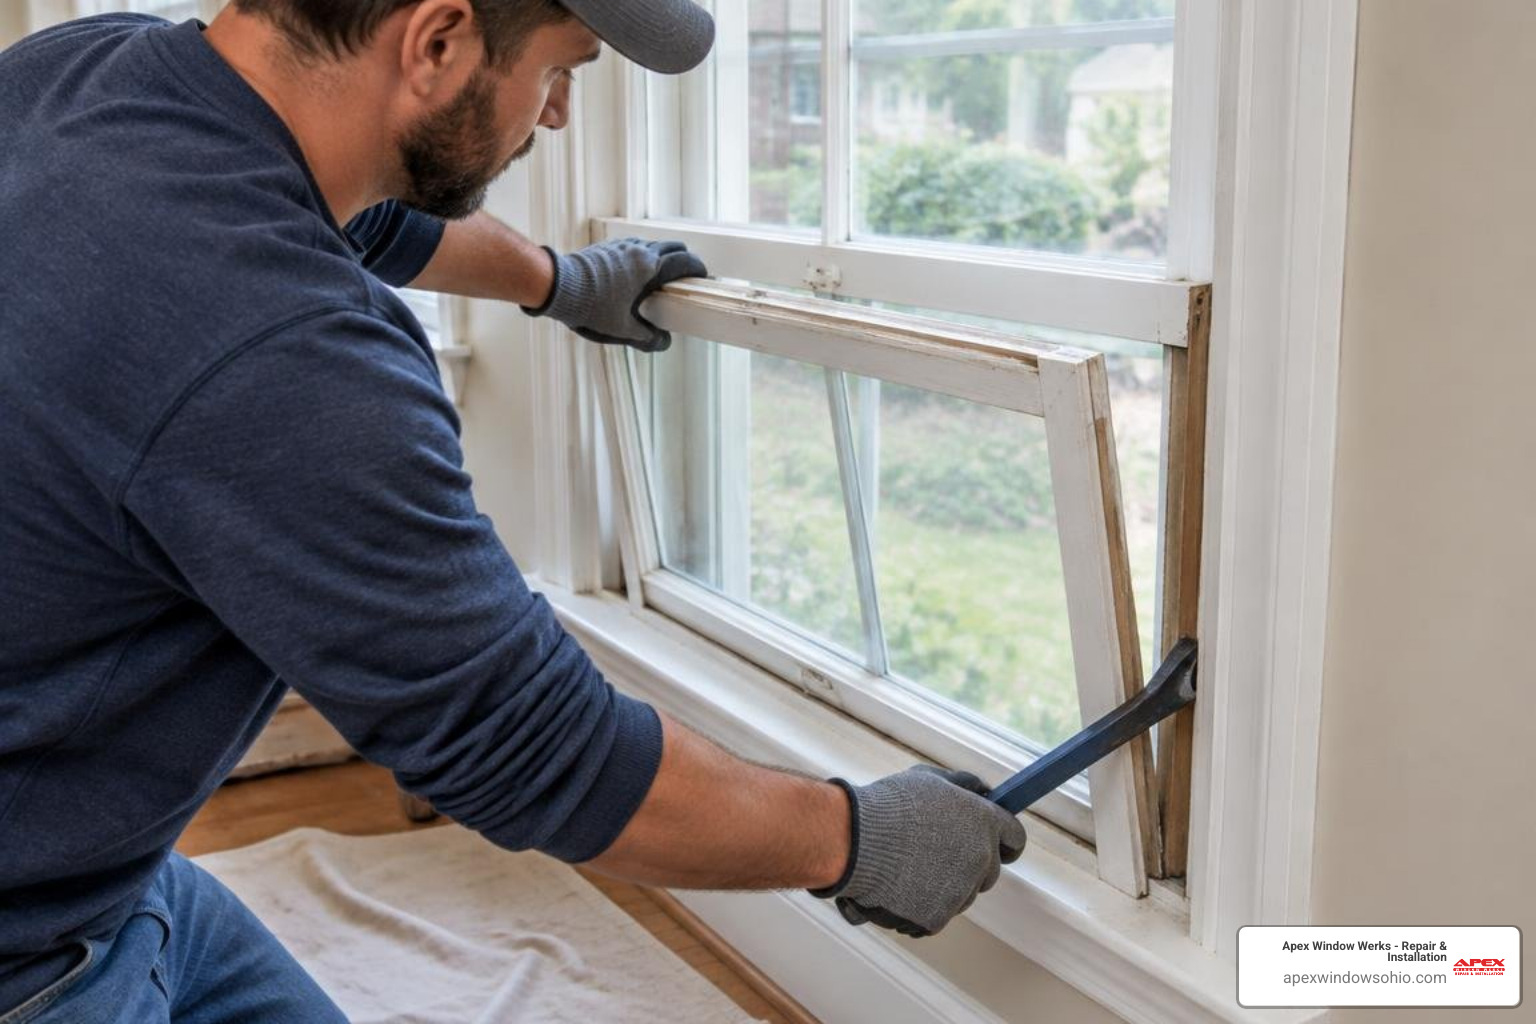
- Remove Staff Beads and Lower Sash: Carefully lever off the interior staff beads using a flat pry bar. Ease the lower sash forward, support its weight, and detach the sash cords or balance attachments from both sides. Lower the balance weights gently into their pockets rather than letting them drop. Guidance from restoring old double hung windows and our detailed handbook, Don’t Trash the Sash: Your Complete Guide to Window Restoration, provides helpful walk-throughs for handling older counterweight mechanisms safely.
- Remove the Parting Stop: Pry out the bottom portion of the vertical parting bead on both sides to give your cutting tools clear access to the sill surface.
Splicing vs. Full Removal: Methods for Cleveland and Akron Homes
Decide between a partial timber splice (a dutchman patch) or a complete cross-section replacement:
- Splicing (Dutchman Repair): Ideal when the decay affects only the outer nose or front half of the sill while the inner stool remains sound. Using an oscillating multi-tool, cut away the rotten section along a clean, stepped line. Shape a new piece of hardwood to match, glue it in place using two-part structural epoxy resin, and secure it with countersunk stainless steel screws.
- Full Section Replacement: Necessary when rot extends across the full depth of the sill into the sub-sill or jamb housings. Cut through the old sill near the middle at an outward 45-degree angle. This center cut relieves tension, allowing you to pry each half inward and away from the exterior masonry or siding without disturbing the exterior casing.
Step 2: Cutting, Profiling, and Fitting the New Sill
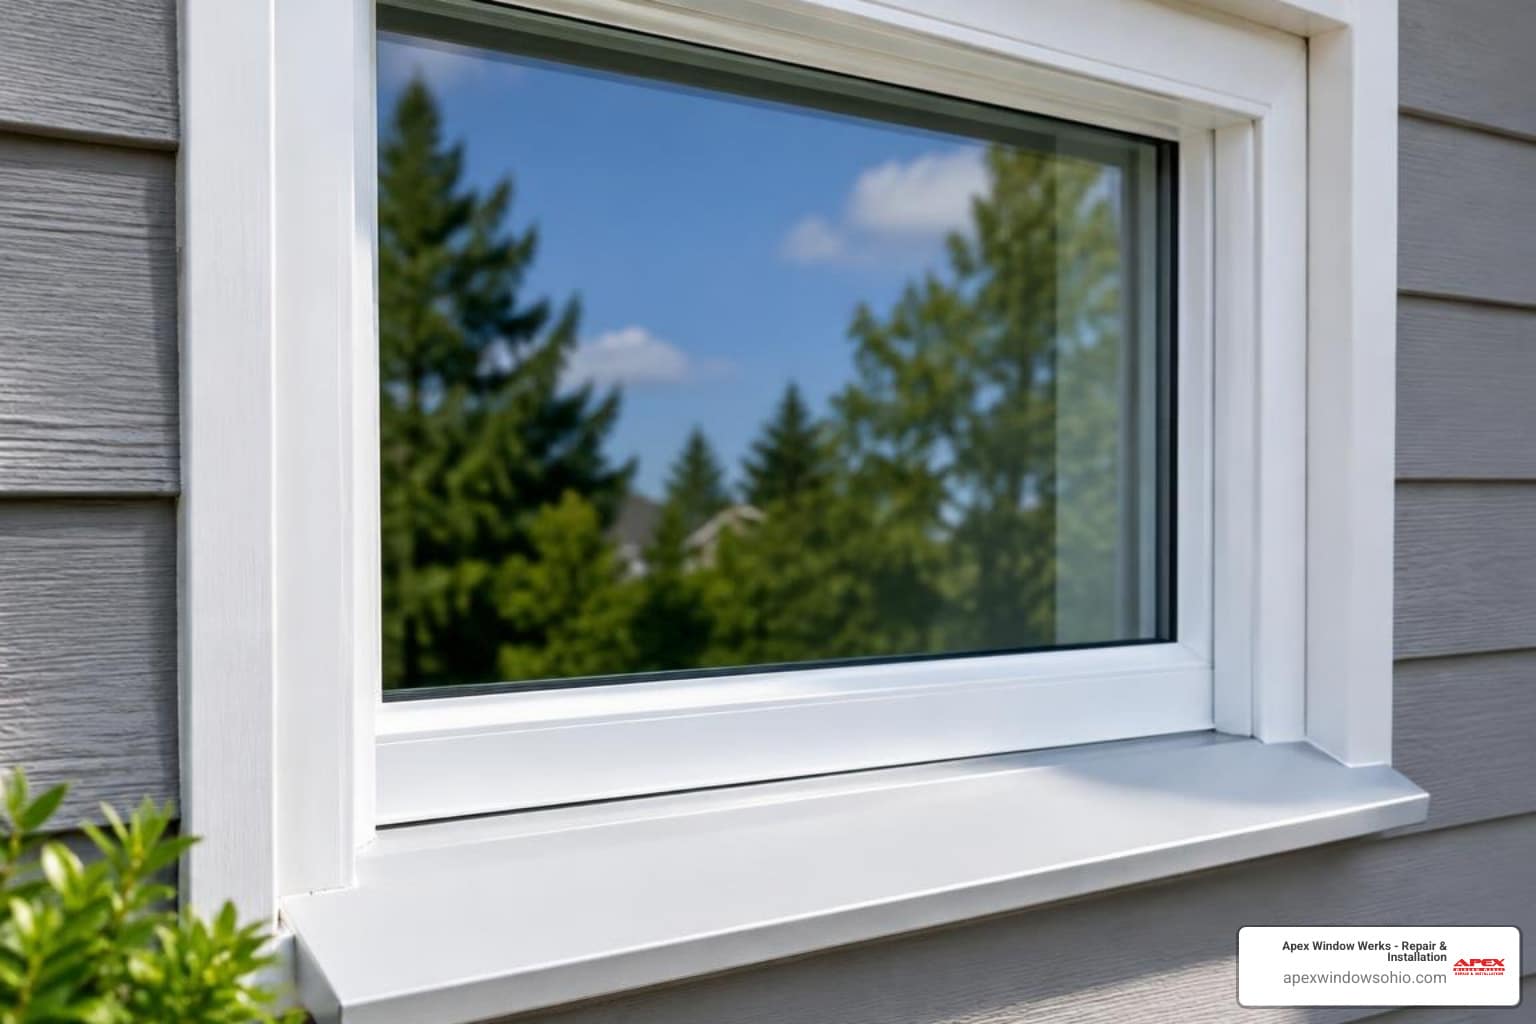
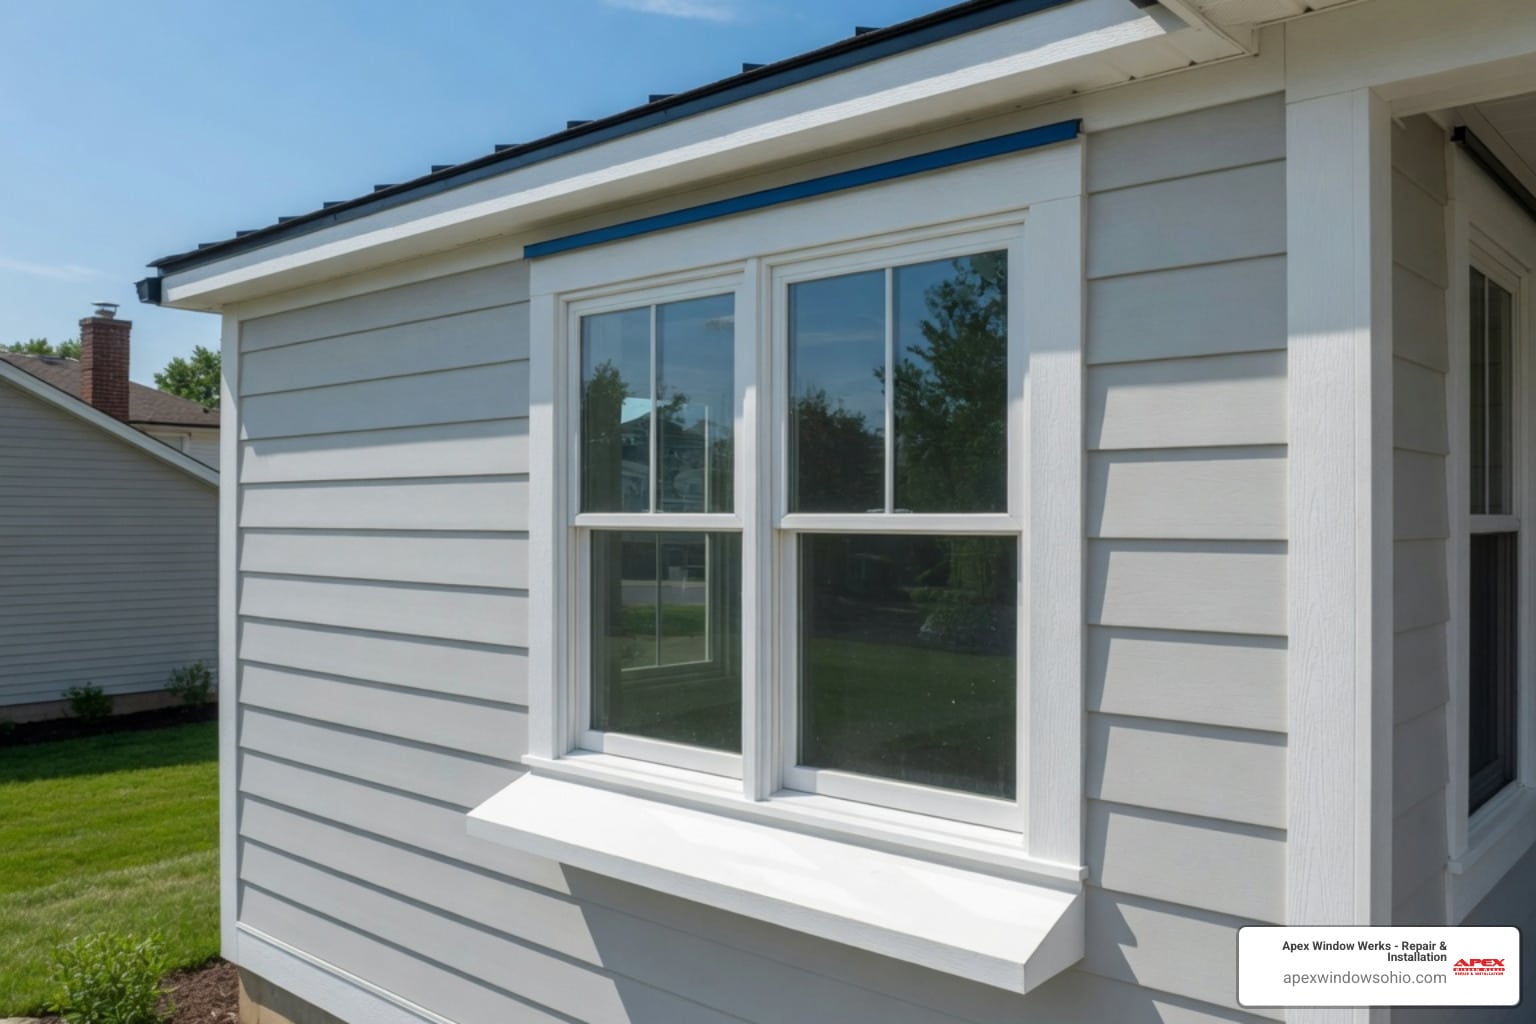
- Replicate the Original Profile: Use intact sections of the old sill as a template. Mark the exact cross-section, including the critical 14-degree downward slope (which sheds rainwater away from the house) and the bottom drip groove (which stops water from curling back toward the exterior wall).
- Cut Pulley Stile Housings: If the original sill featured rebates (notches) to receive the vertical pulley stiles and outer cheeks, replicate these on your new timber using a router or hand chisel.
- Perform a Dry Fit: Slide the new sill into position under the pulley stiles. Check that it sits level along its length while maintaining its outward slope. Use a sliding bevel to verify that the joint between the vertical jamb and the horizontal sill is tight and square. Insert rot-proof composite or cedar shims underneath to provide solid support across the masonry or rough framing.
Step 3: Fastening, Sealing, and Weatherproofing
- Seal All End Grain: Before final installation, apply two coats of end-grain sealer or wood hardener to every cut edge and exposed joint. End grain absorbs water rapidly if left unsealed.
- Set in Bedding Compound: Apply a generous bead of paintable polyurethane adhesive/sealant along the rough opening where the new sill rests.
- Secure with Fasteners: Pre-drill pilot holes and drive heavy-duty exterior-grade screws downward through the sill into the sub-framing, countersinking the heads below the wood surface. If fastening through the side jambs, toe-screw upward from underneath or secure through the pulley stile base.
- Insulate Cavities: Apply low-expansion minimal expanding foam beneath the sill from the inside to block drafts without bowing the timber.
- Prime and Finish: Fill all screw countersinks with a two-part epoxy filler. Once cured, sand smooth, apply a high-grade exterior oil-based primer to all bare wood, and finish with two coats of exterior acrylic latex paint. Reinstall your parting beads, sash cords, and interior staff mouldings.
Common Mistakes to Avoid During Sash Window Sill Replacement in Northeast Ohio
Avoiding these installation pitfalls ensures your newly installed sill lasts for decades:
- Using Standard Silicone at Joint Lines: Silicone creates a surface film that can pull away during seasonal movement, trapping water underneath and accelerating wood rot. Use high-performance polyurethane sealants or flexible structural epoxy resins instead.
- Overlooking Rot in the Pulley Stiles: Installing a brand-new sill beneath rotted vertical jambs traps moisture and compromises the entire frame. Always cut back soft stile wood to clean timber and splice in new blocking before seating the sill. When damage has spread extensively into the surrounding casing, exploring options for rotten windows repair ensures structural stability throughout the opening.
- Flattening the Outward Slope: Sills require an outward fall (typically between 10 and 15 degrees). A flat sill allows standing water to pool against the bottom sash rail during heavy rains.
- Neglecting the Underside Drip Groove: Without a small continuous groove cut into the underside of the exterior sill overhang, water running down the face will track back toward the siding or masonry wall.
- Overtightening Mechanical Fasteners: Driving screws too forcefully into un-shimmed sections can bow the sill downward in the center, causing the lower sash to bind or leave uneven gaps.
Frequently Asked Questions About Sash Window Sill Replacement in Cleveland and Akron
What factors influence the cost between DIY and professional sill replacement?
DIY costs involve purchasing specialized timber profiles, structural epoxies, oscillating blades, and premium primers. Professional service costs depend on project scope: the extent of rot in the pulley stiles, window size and accessibility, standard versus custom-milled profiles, glass unit handling, and whether surrounding casing requires repair. Getting an evaluation clarifies whether a quick splice or full workshop rebuild is the most sensible investment.
Can I replace the window sill without taking out the entire window frame?
Yes. By removing the interior stops, parting beads, and lower sash, you can cut and slide out the rotted sill from the bottom of the opening while leaving the upper sash, weight pockets, and exterior head casing intact.
How do I prevent a newly replaced sash window sill from rotting again?
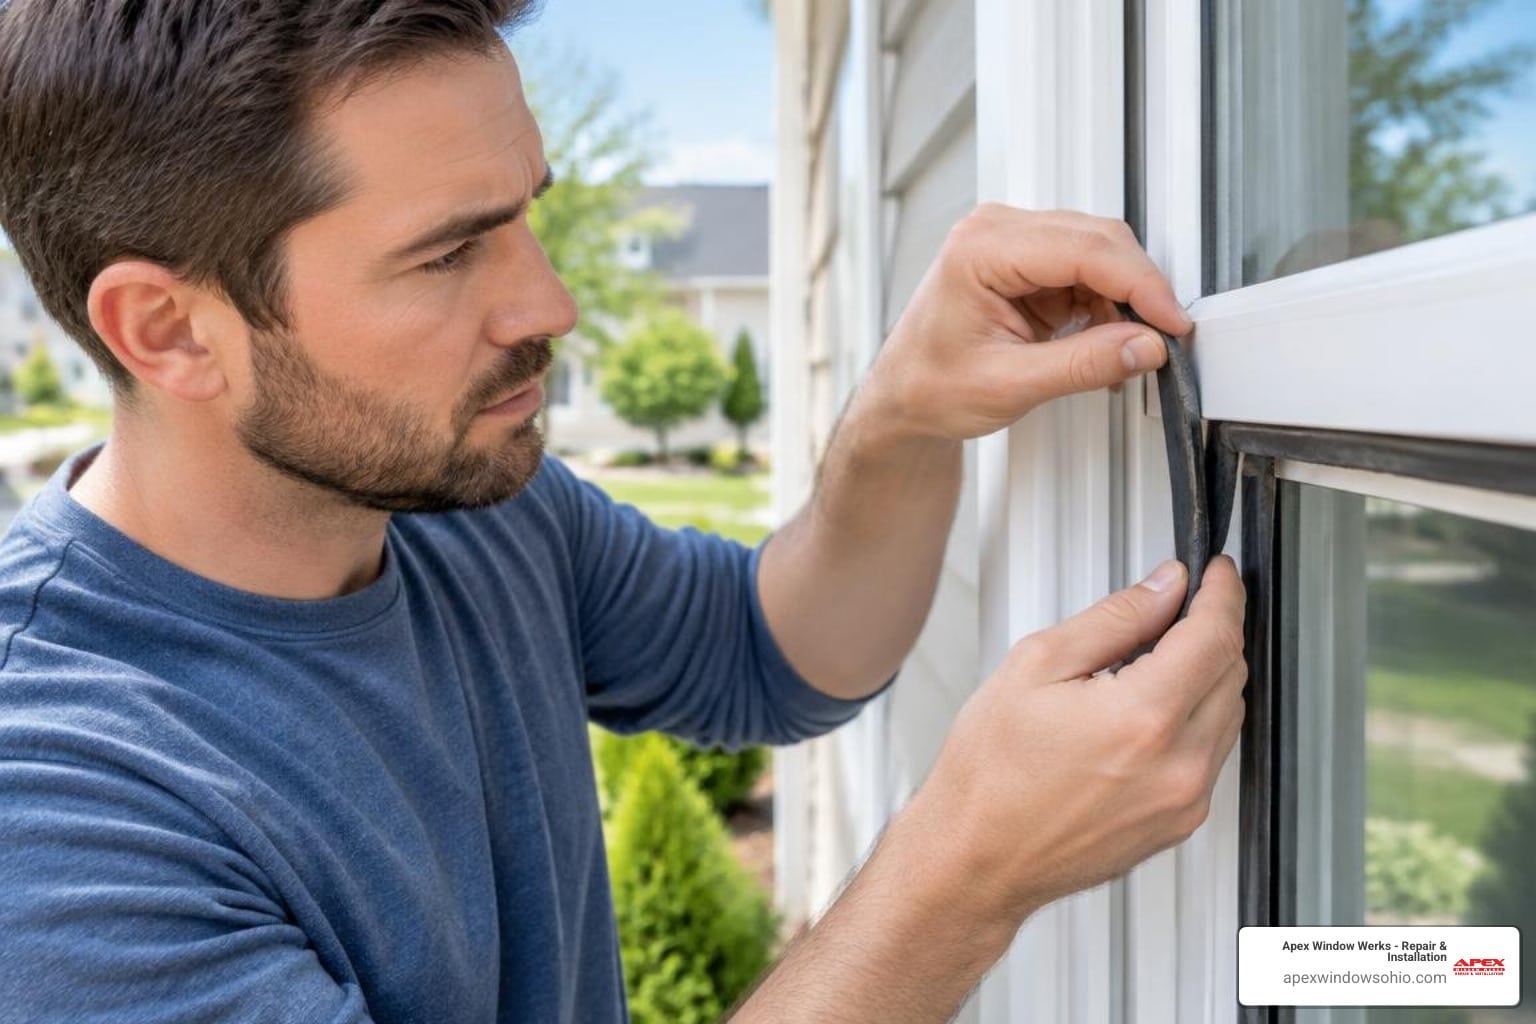
Ensure the sill maintains a consistent outward slope, seal all timber end grain prior to installation, maintain intact paint coatings with regular inspections every few years, and keep bottom weatherstripping clean and flexible to prevent water from becoming trapped against the wood.
Conclusion
A well-crafted sash window sill replacement protects your home from water intrusion while preserving classic architectural charm. In Northeast Ohio communities across Cuyahoga, Summit, Lake, Lorain, Medina, Geauga, and Portage counties – from Lakewood, Cleveland Heights, and Rocky River to Hudson, Cuyahoga Falls, and Medina – historical window systems face demanding seasonal weather. Maintaining healthy sills is essential for long-term weather tightness and draft reduction.
When decay extends deep into the weight boxes, jambs, or balance systems, partnering with experienced technicians ensures the job is done right. Apex Window Werks brings Years of proven Expertise to every home, following a repair-first approach that saves original woodwork whenever possible. Same day repairs available depending on damage, materials, technician availability, and scheduling.
If your window sills show signs of soft wood, peeling paint, or draftiness, contact us to schedule a free estimate. You can also submit photos, measurements, or window markings through our easy Virtual Estimate tool, or bring removable components directly to our Oakwood Village workshop for evaluation. Call our team today at 440-496-7415 or explore our professional wood window repair services to restore comfort and durability to your home.