DIY Sash Window Repair Made Simple
Why Knowing How to Repair Sash Windows Can Save Your Cleveland Home’s Character and Your Budget
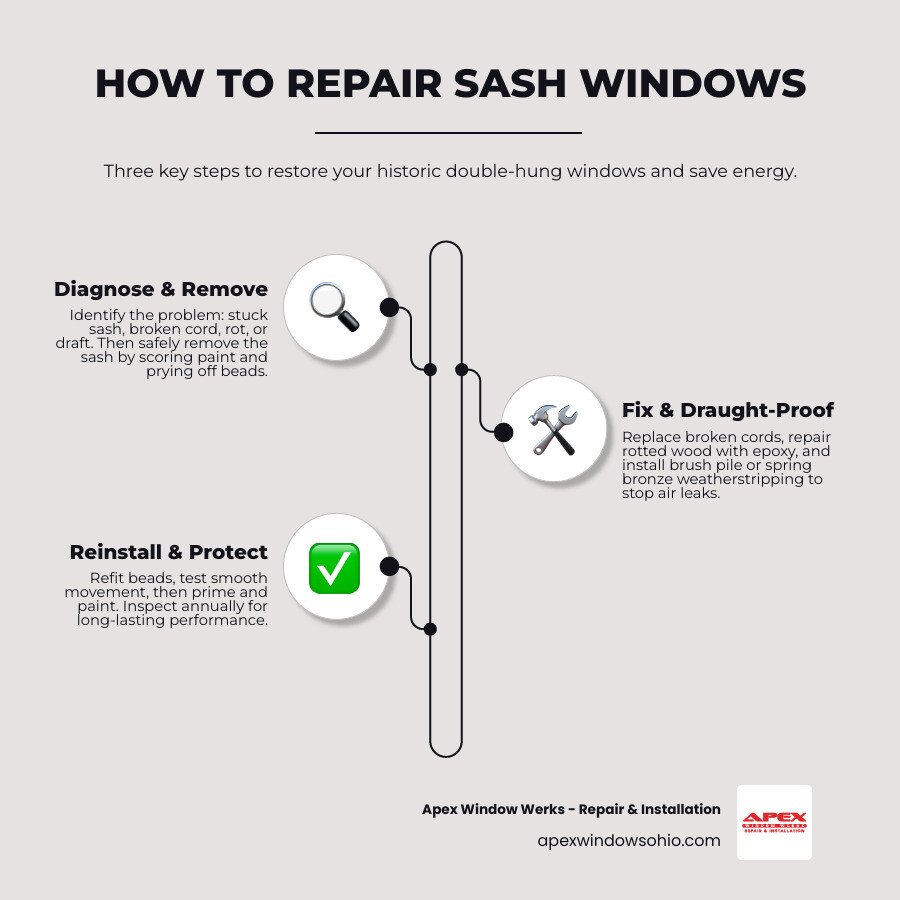
How to repair sash windows in 6 basic steps:
- Diagnose the problem — identify whether you have stuck sashes, broken cords, wood rot, drafts, or failed glazing putty.
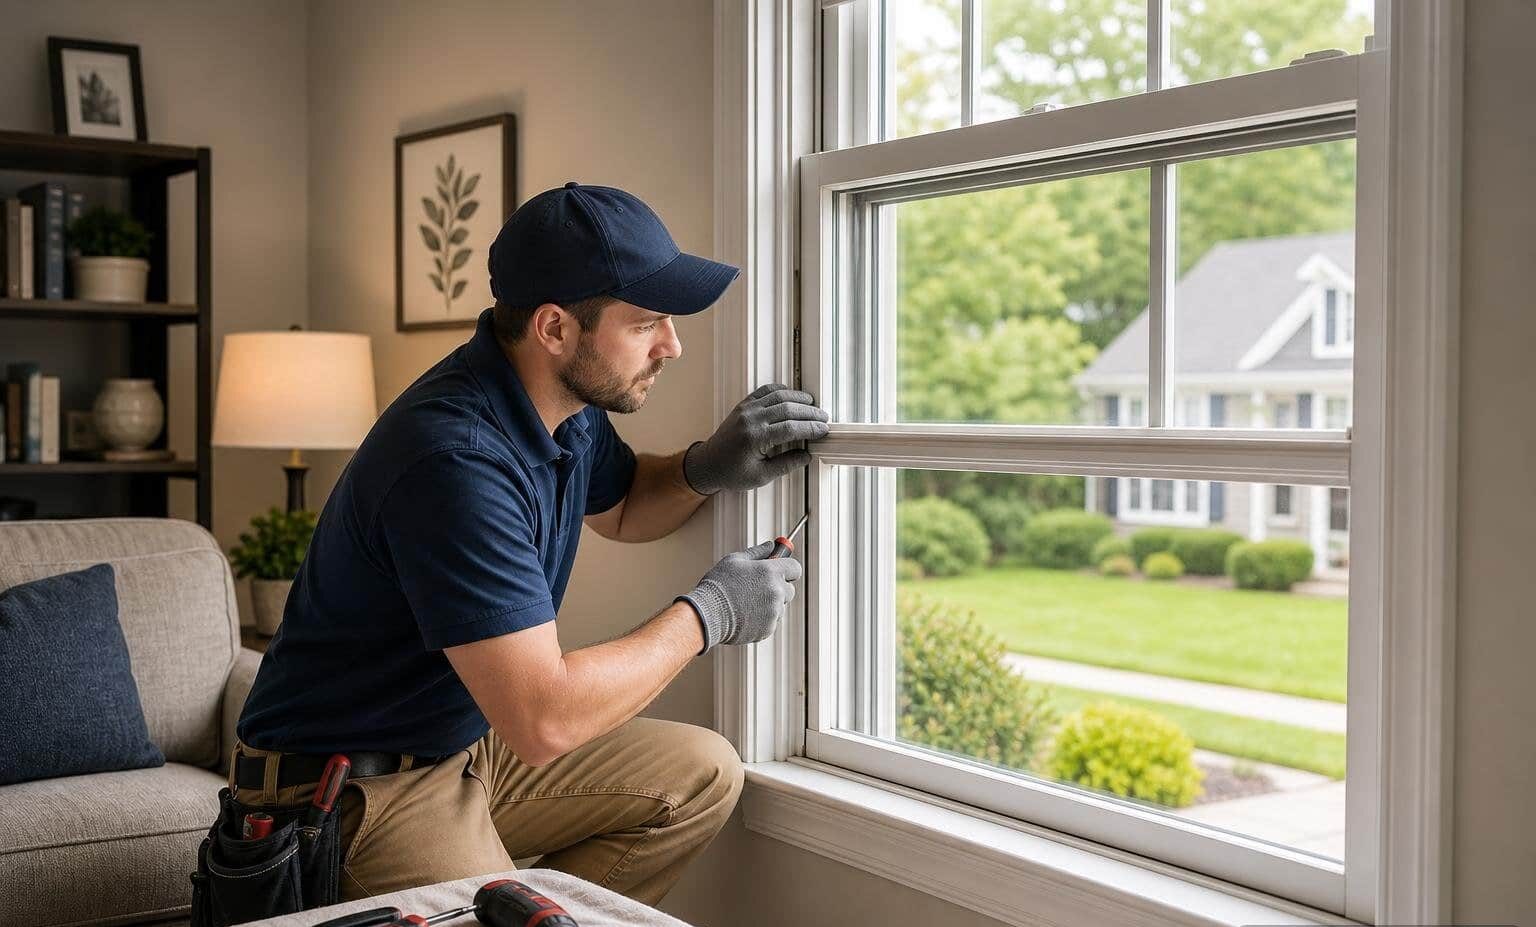
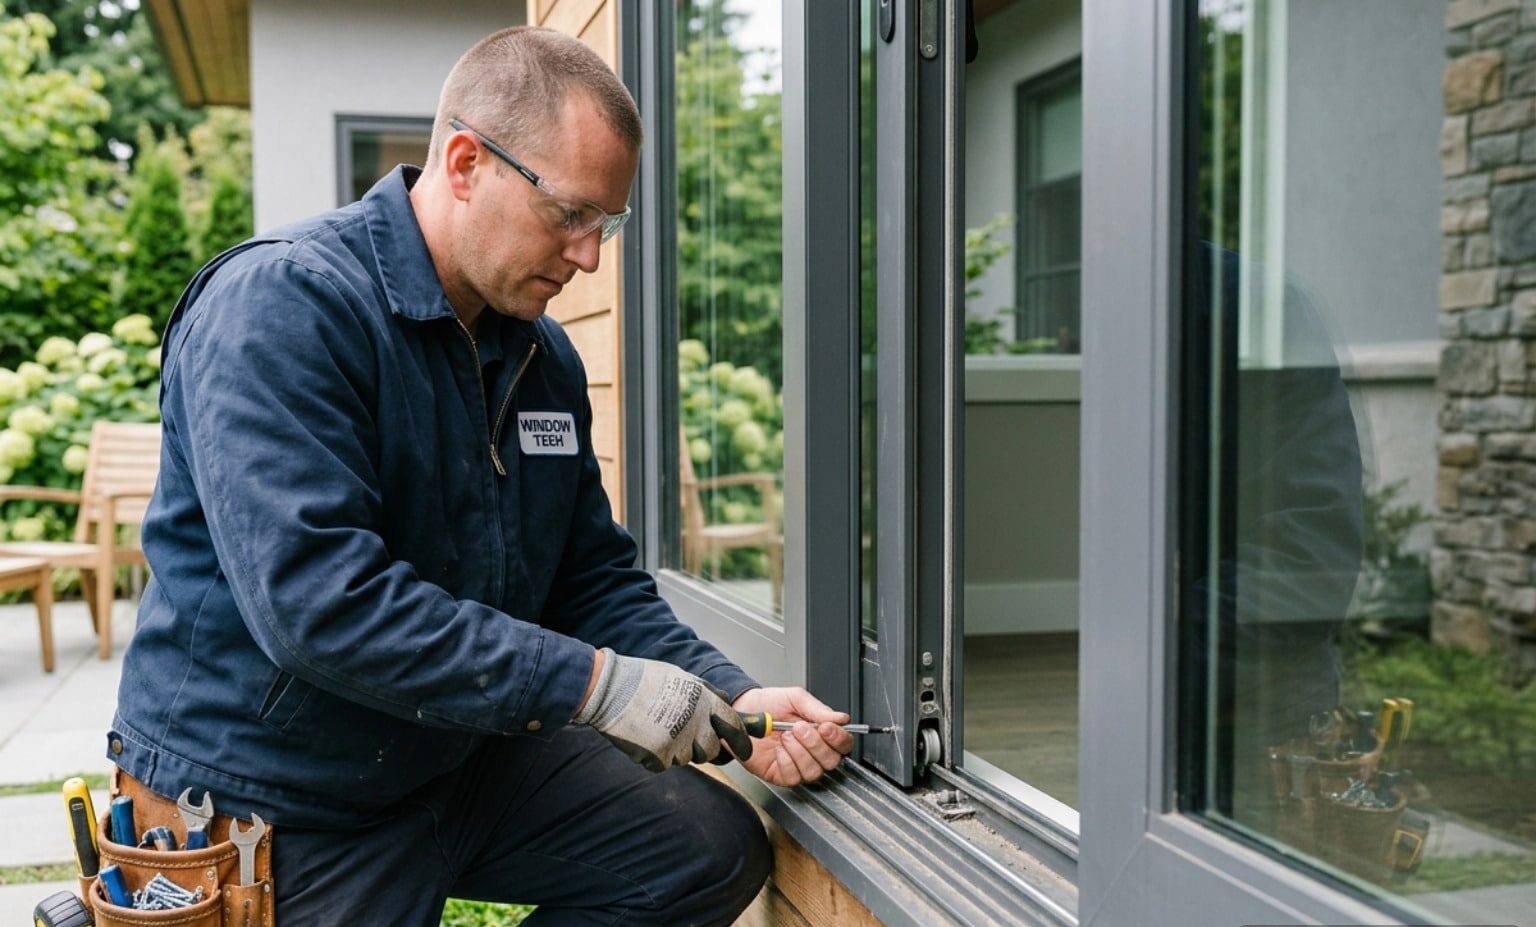
- Remove the sash safely — score the paint seal, pry off the staff bead, and slide out the lower sash before tackling the upper.
- Fix the core issue — replace broken sash cords, excavate and fill rotted wood with epoxy, or re-glaze cracked panes.
- Draught-proof the window — fit brush pile seals or spring bronze weatherstripping to stop air leaks.
- Reinstall the sashes — refit the parting bead and staff bead, then test for smooth movement.
- Finish and protect — prime, paint, and inspect annually to keep repairs lasting for decades.
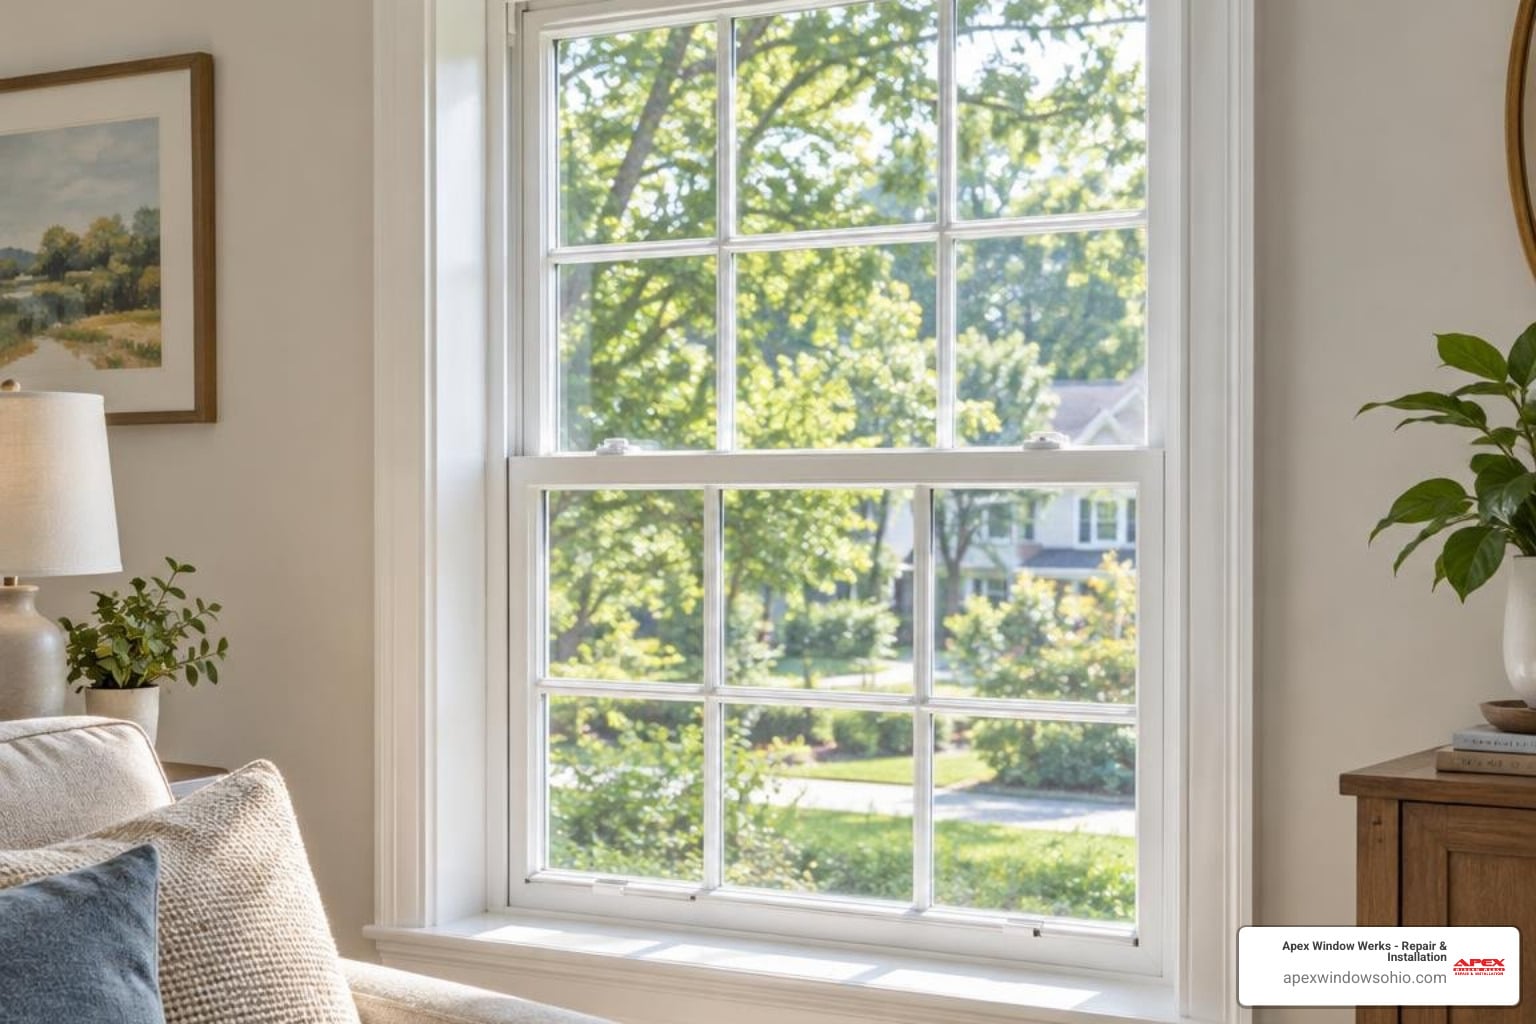
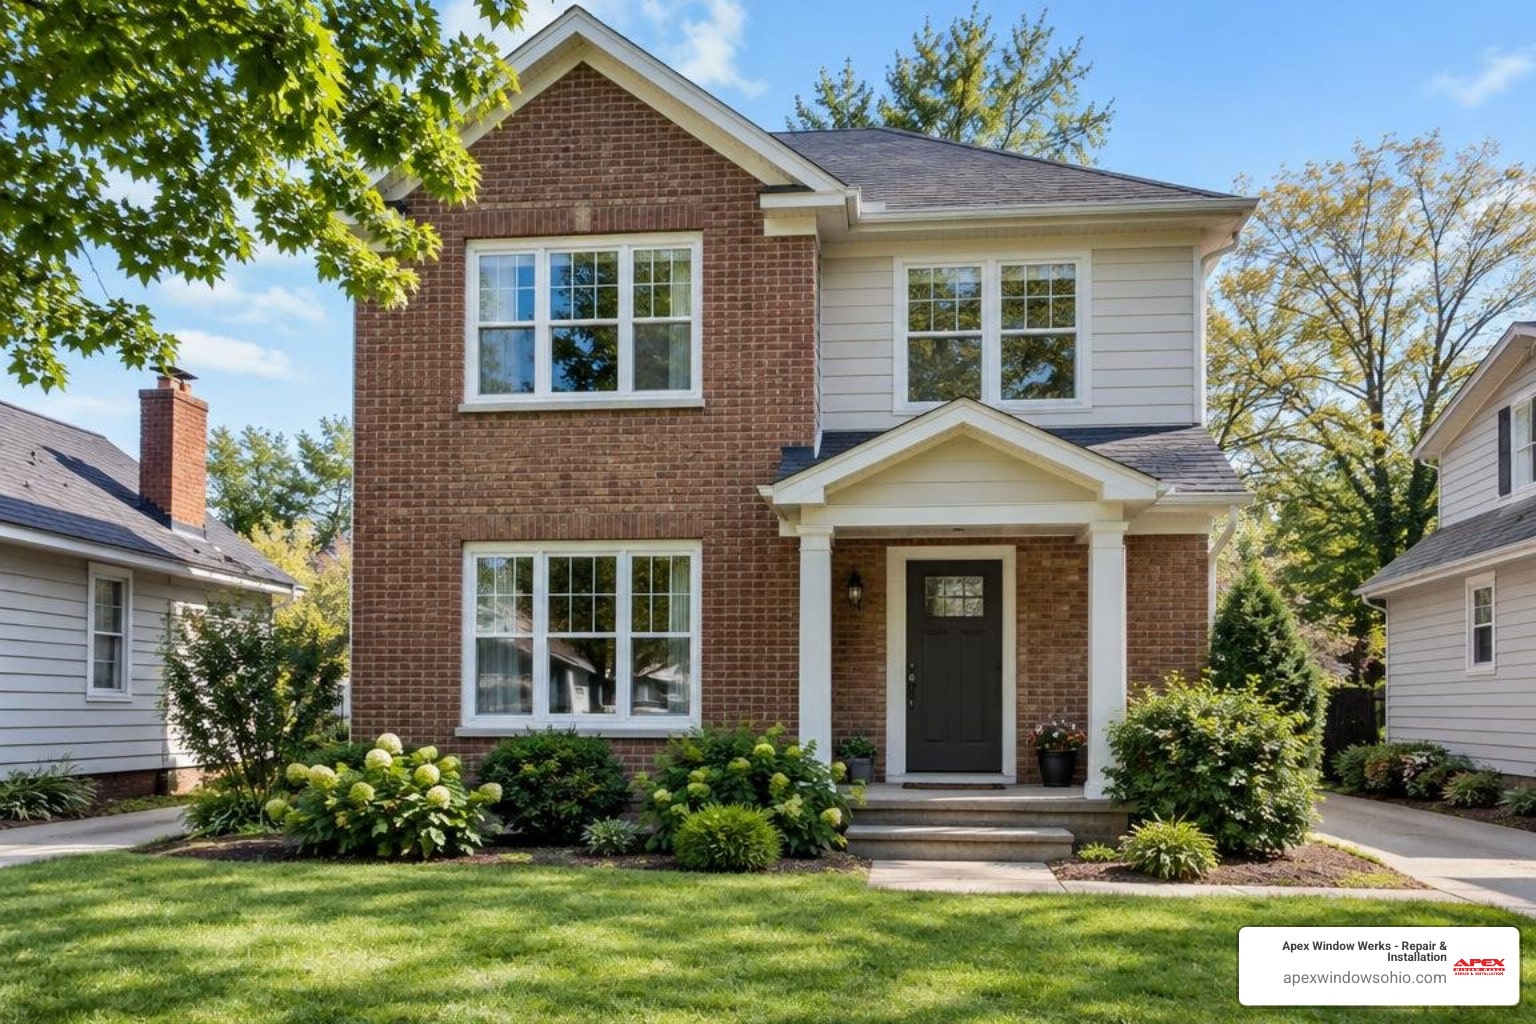
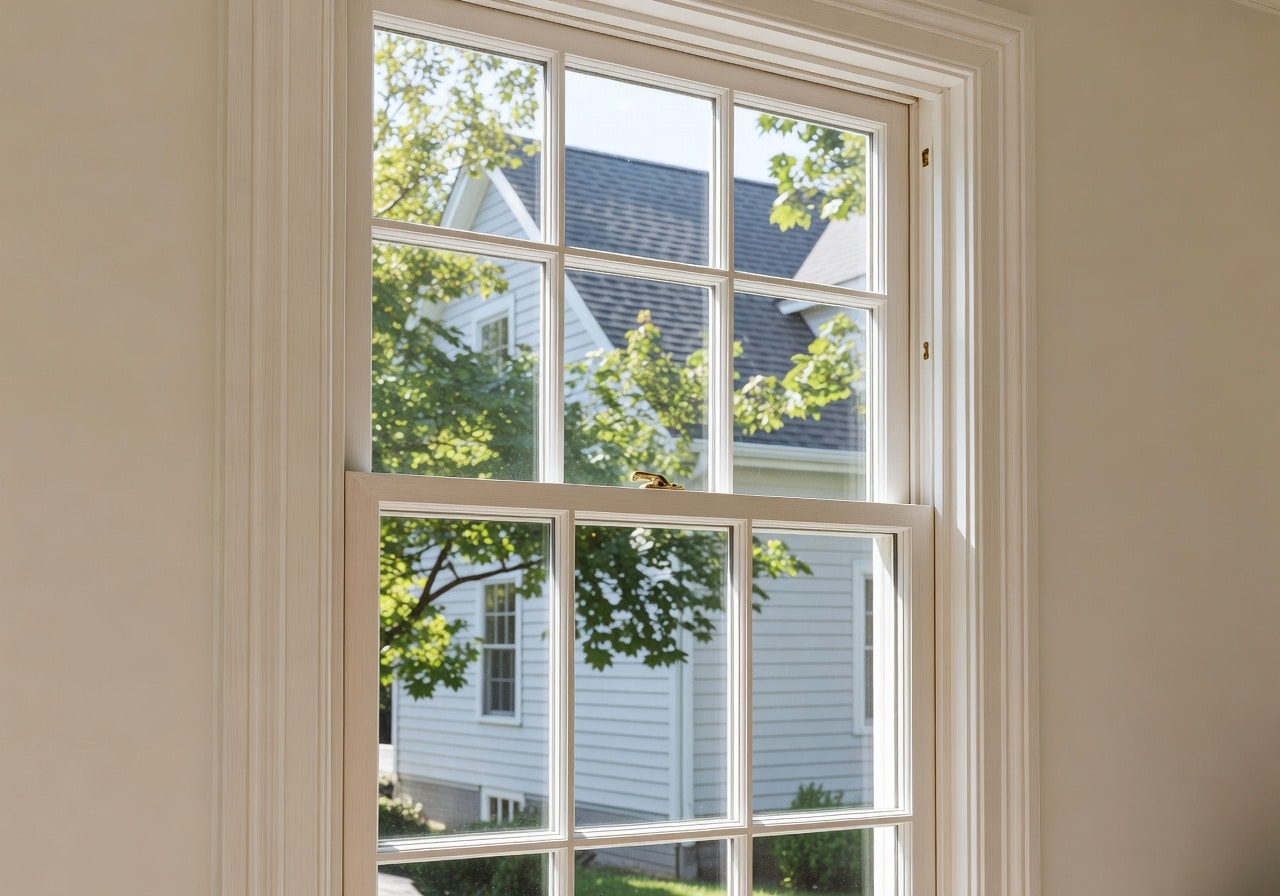
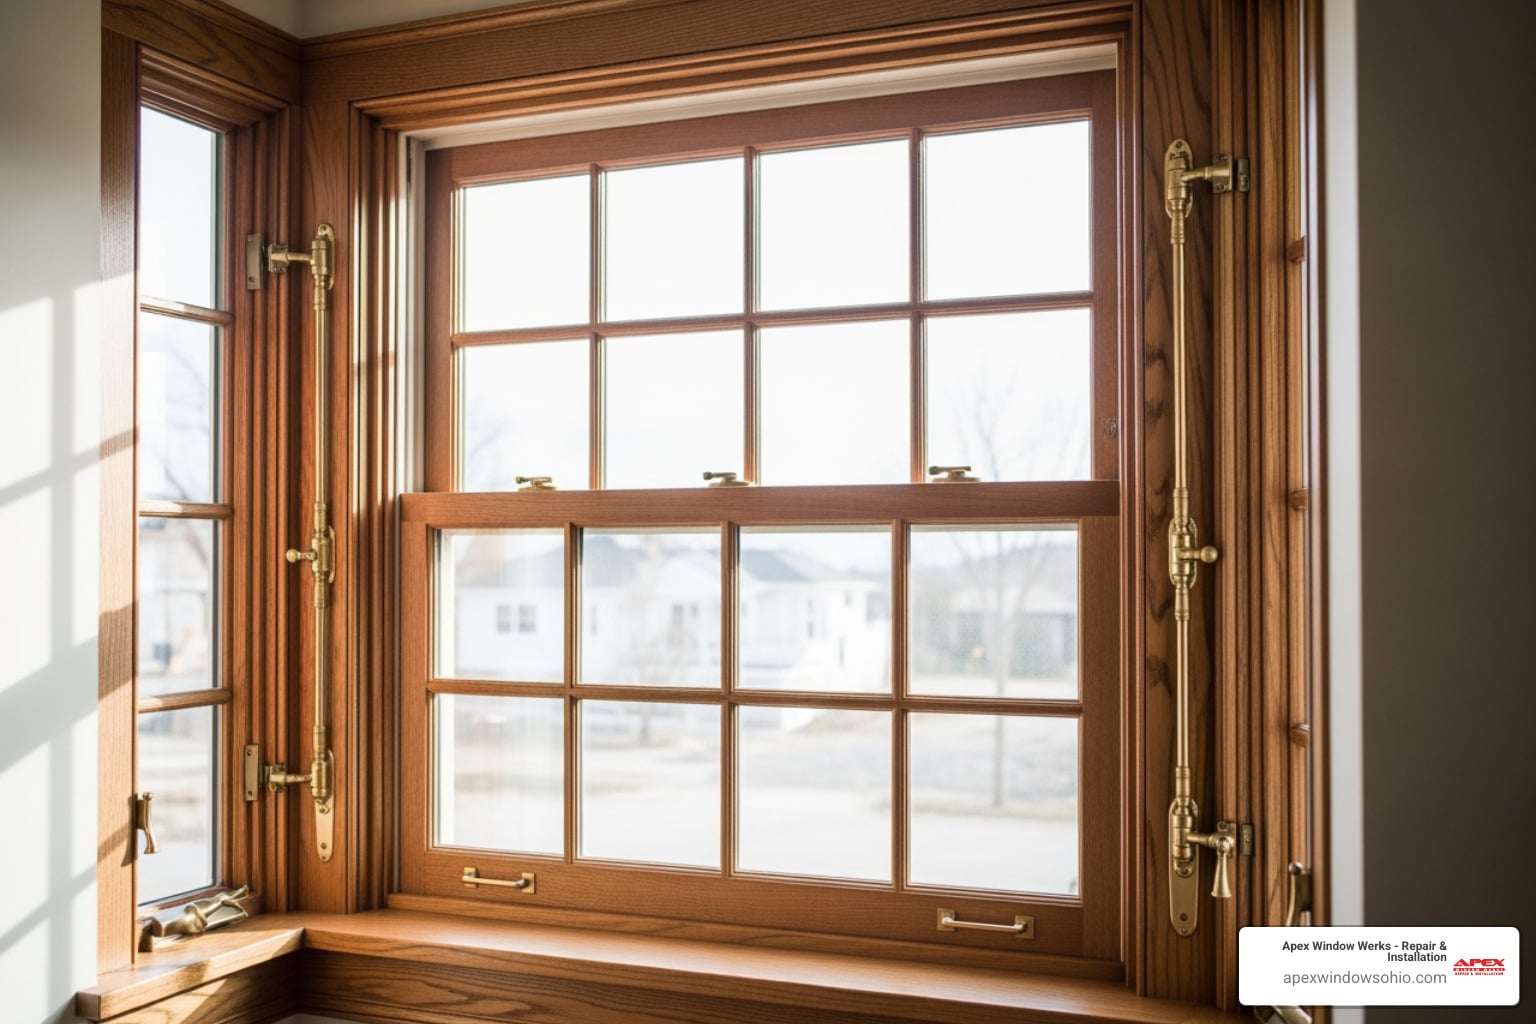
Sash windows are one of the most distinctive features of older homes across Northeast Ohio — from classic Cleveland doubles to century-old craftsman bungalows in Akron. But they come with a reputation for sticking, rattling, and drafting, which leads many homeowners to assume replacement is the only answer. It rarely is. Repairing sash windows can save a significant amount compared to full replacement, and properly refurbished windows with modern draught-proofing can meaningfully cut your annual energy bills too.
As one preservationist put it, “other than a lighted match, nothing will ruin the charm of an old house faster than ripping out the original double-hung windows.” That sentiment holds true whether you’re restoring a Victorian in Shaker Heights or a mid-century double-hung in Medina.
I’m Nataly Godes, General Manager at Apex Window Werks, where my team handles everything from wood window restoration to full sash cord replacement across Northeast Ohio — giving me a front-row view of exactly what it takes to repair sash windows correctly and cost-effectively. In this guide, I’ll walk you through each repair step clearly so you can decide what you can tackle yourself and when it makes sense to call in a pro.
Common Sash Window Problems and How to Diagnose Them in Northeast Ohio
Before picking up a hammer or chisel, you need to understand exactly what is wrong with your window. Old double-hung windows are beautifully simple machines, but decades of paint, seasonal humidity changes, and general neglect can cause several common issues.
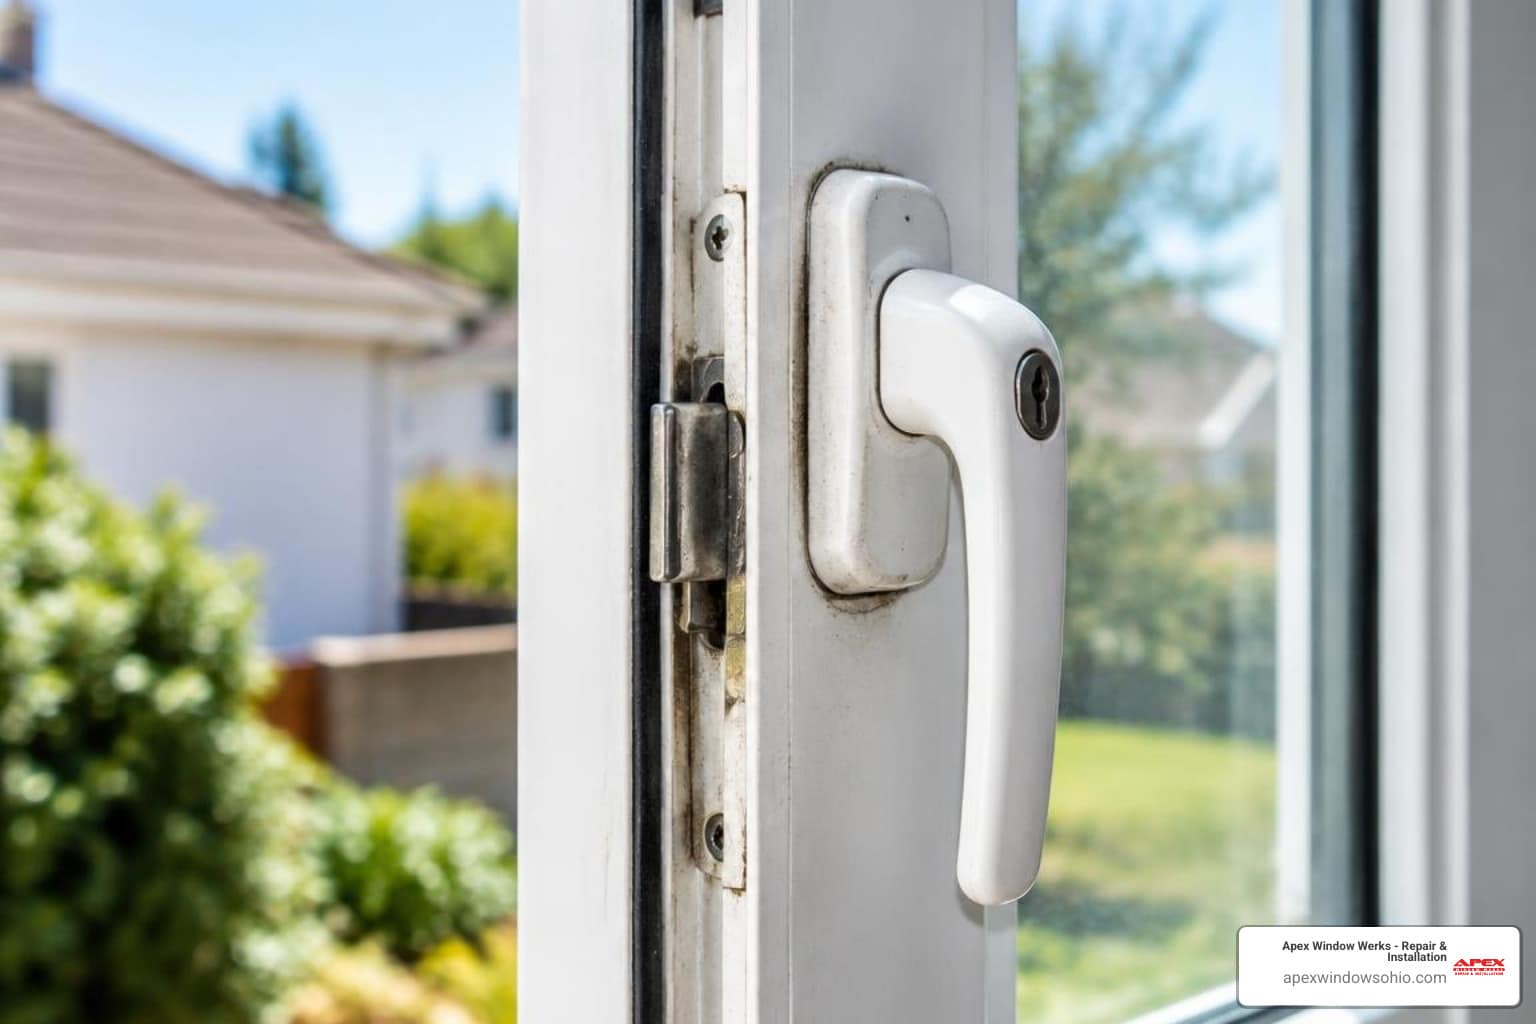
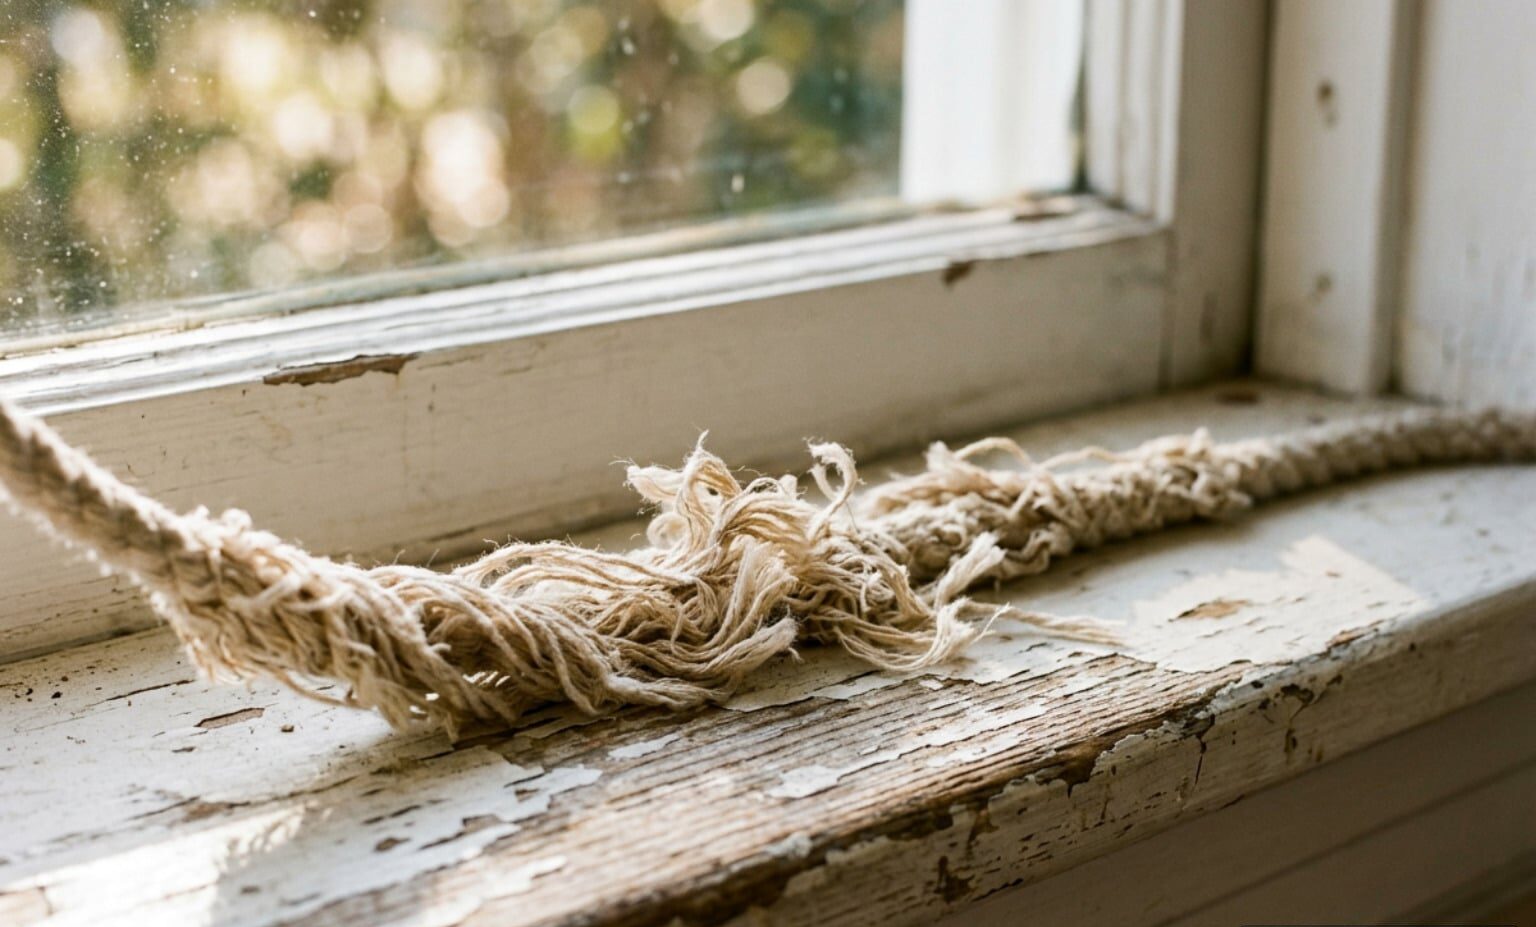
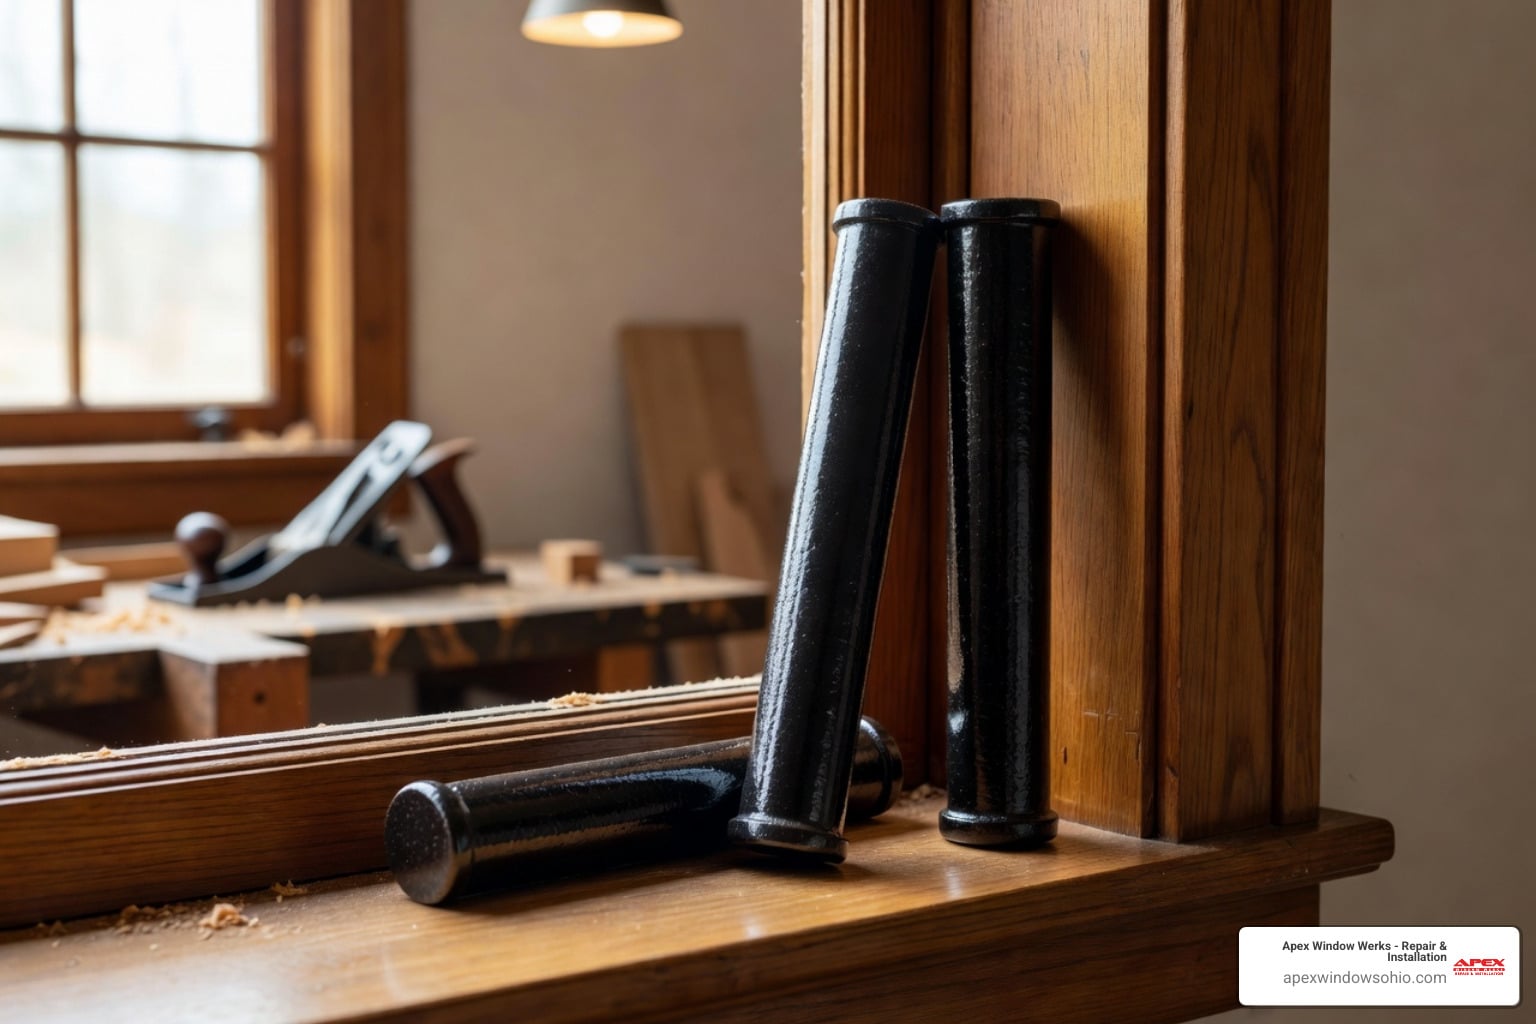
- Broken sash cords: If your window slams shut like a guillotine or feels incredibly heavy to lift, the internal cotton cords have likely snapped. This leaves the heavy cast-iron counterweights sitting uselessly at the bottom of the weight pocket.
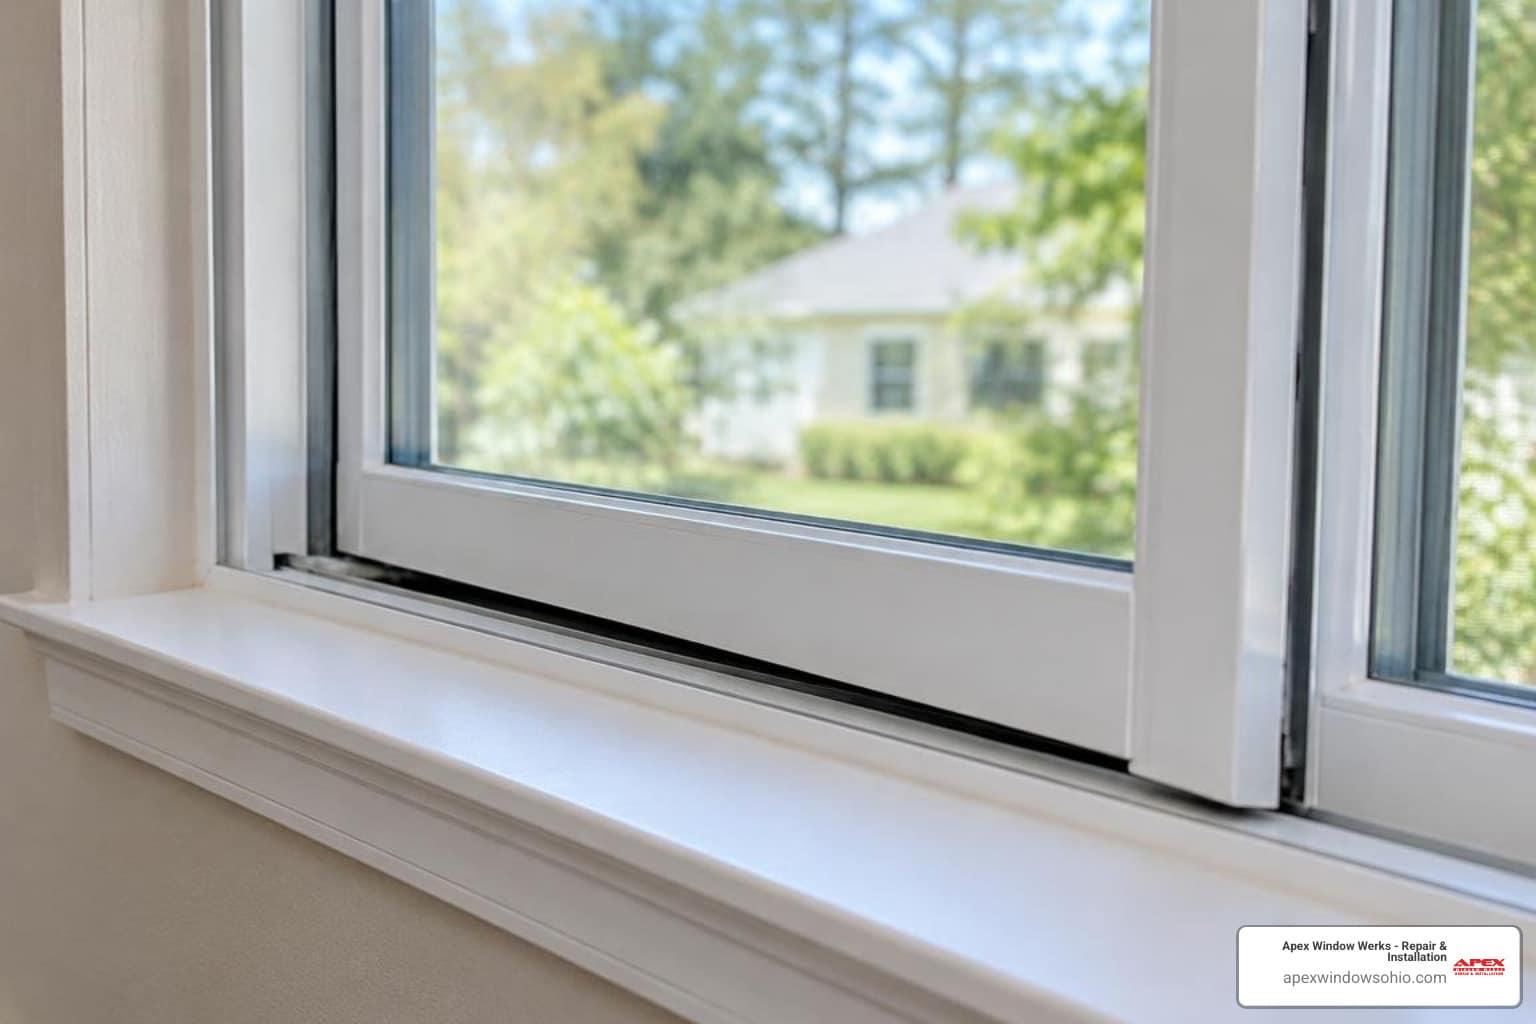
- Stuck or painted-shut sashes: Years of sloppy paint jobs often fuse the moving sash to the frame. Additionally, high humidity in Northeast Ohio summers can cause the wood to swell, jamming the sash in its tracks.
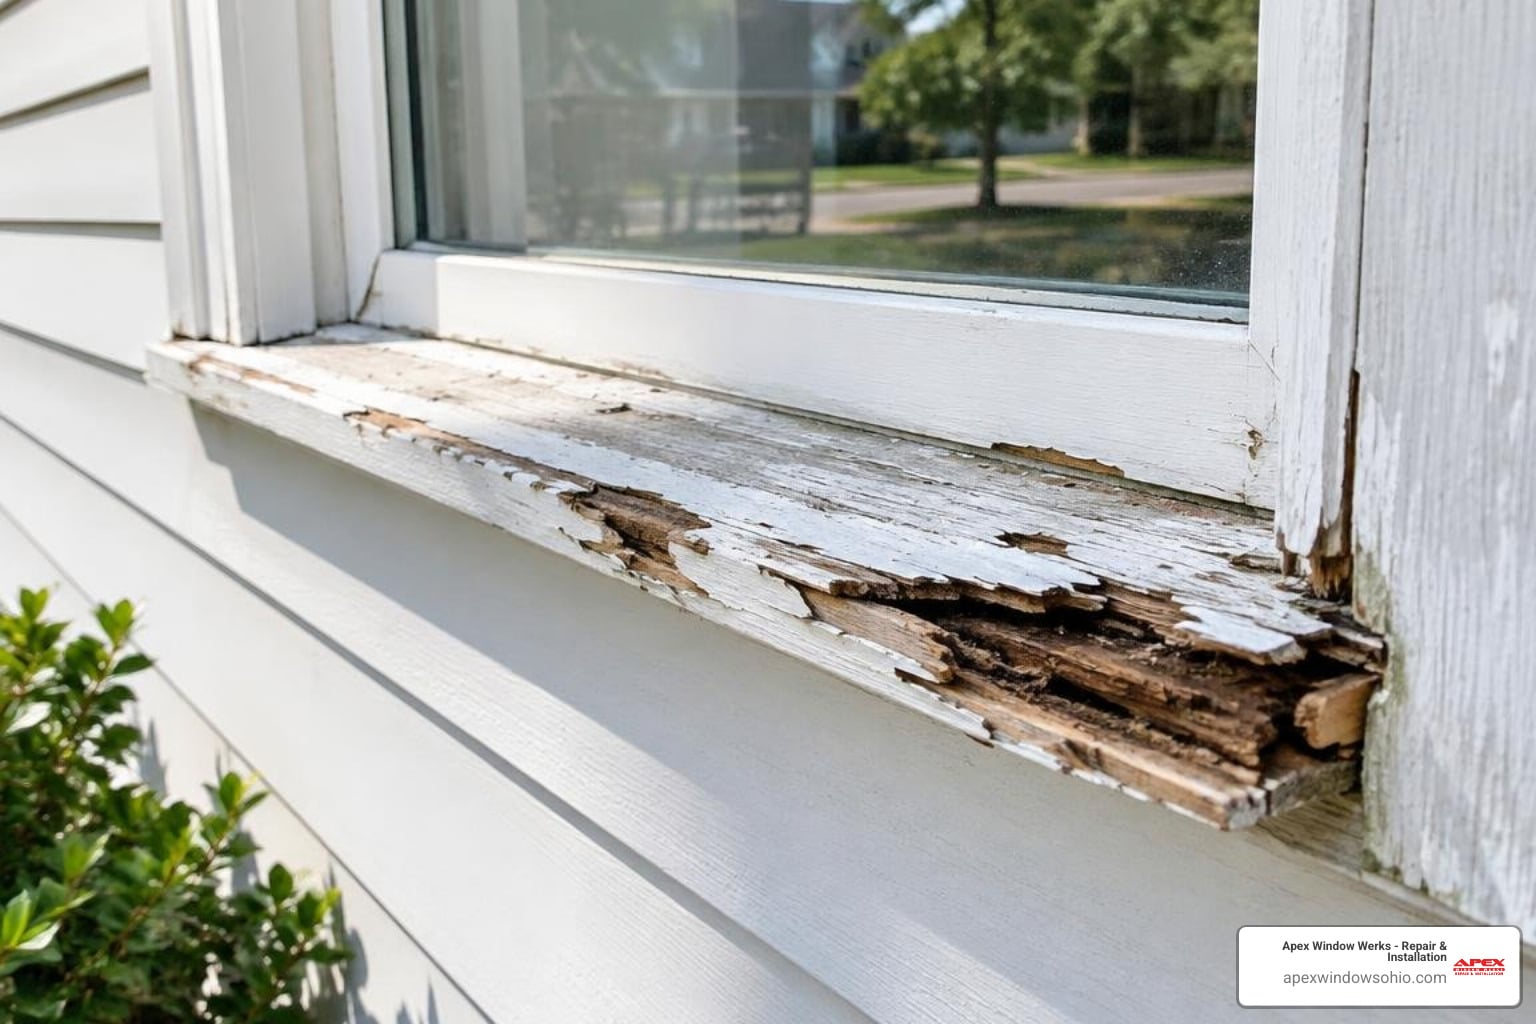
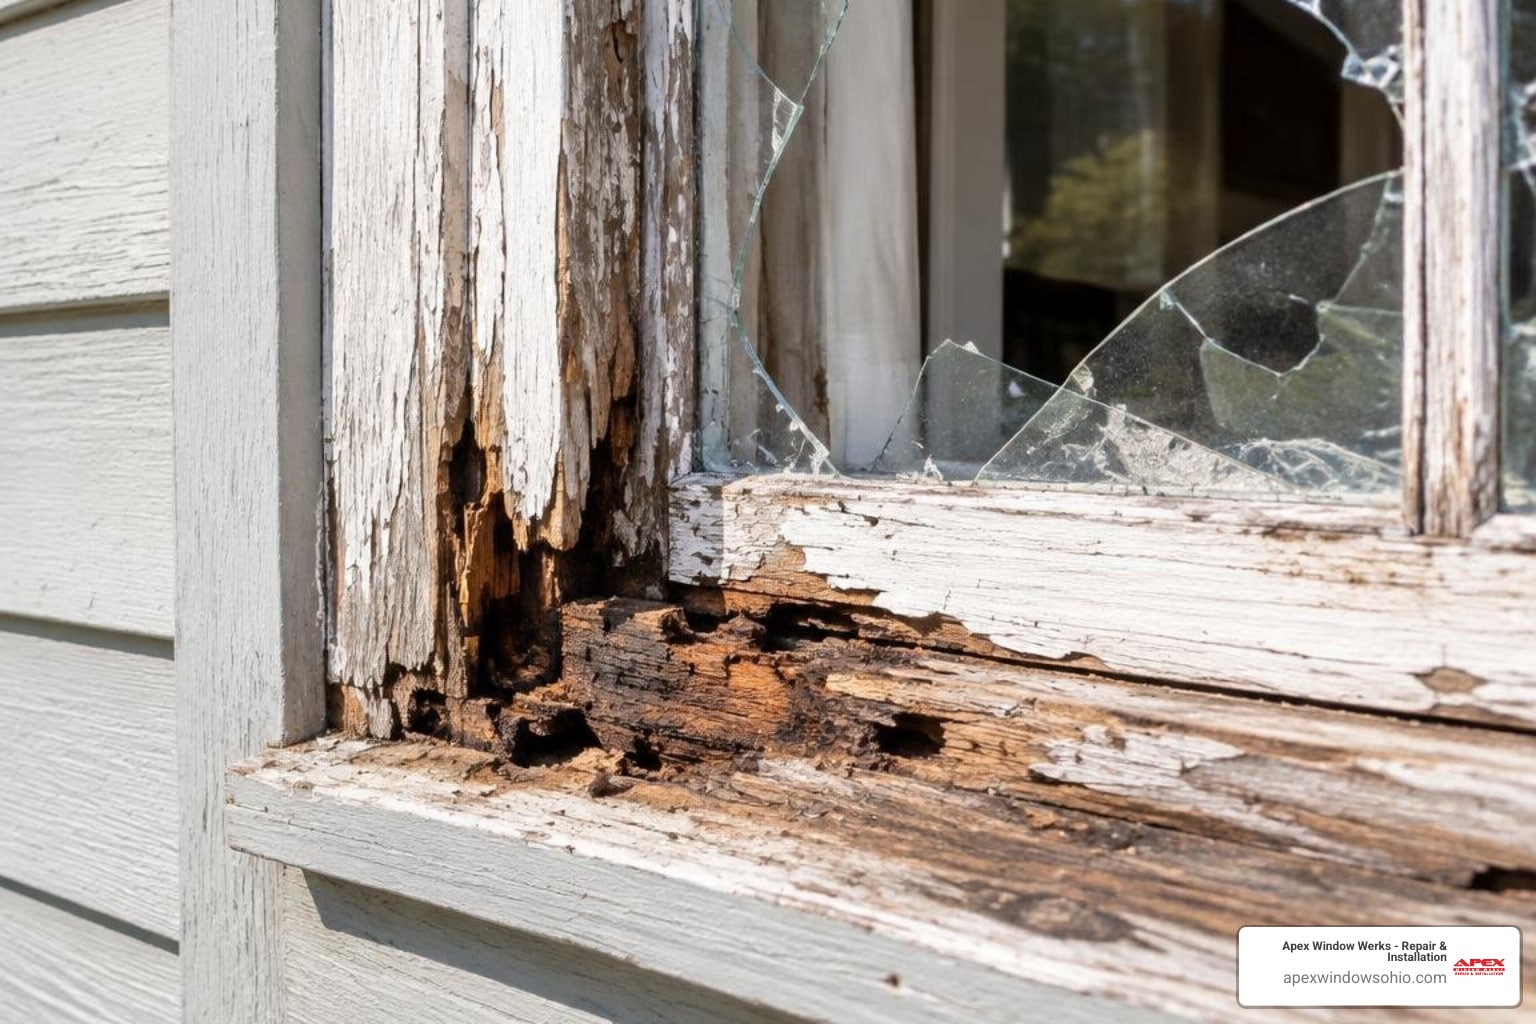
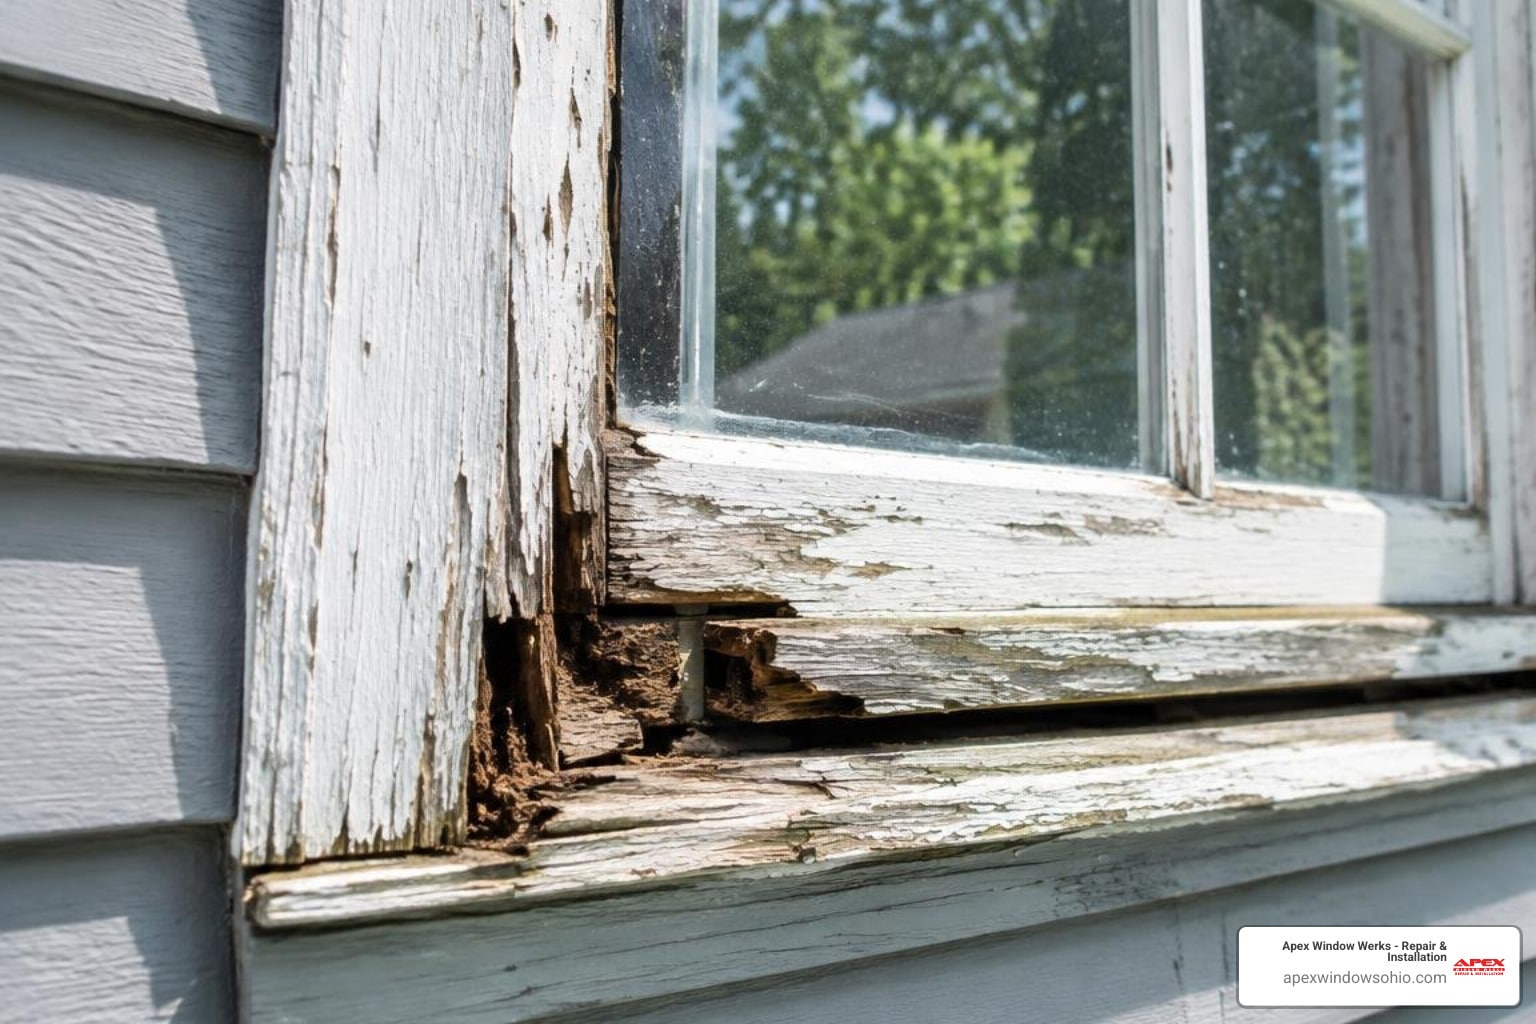
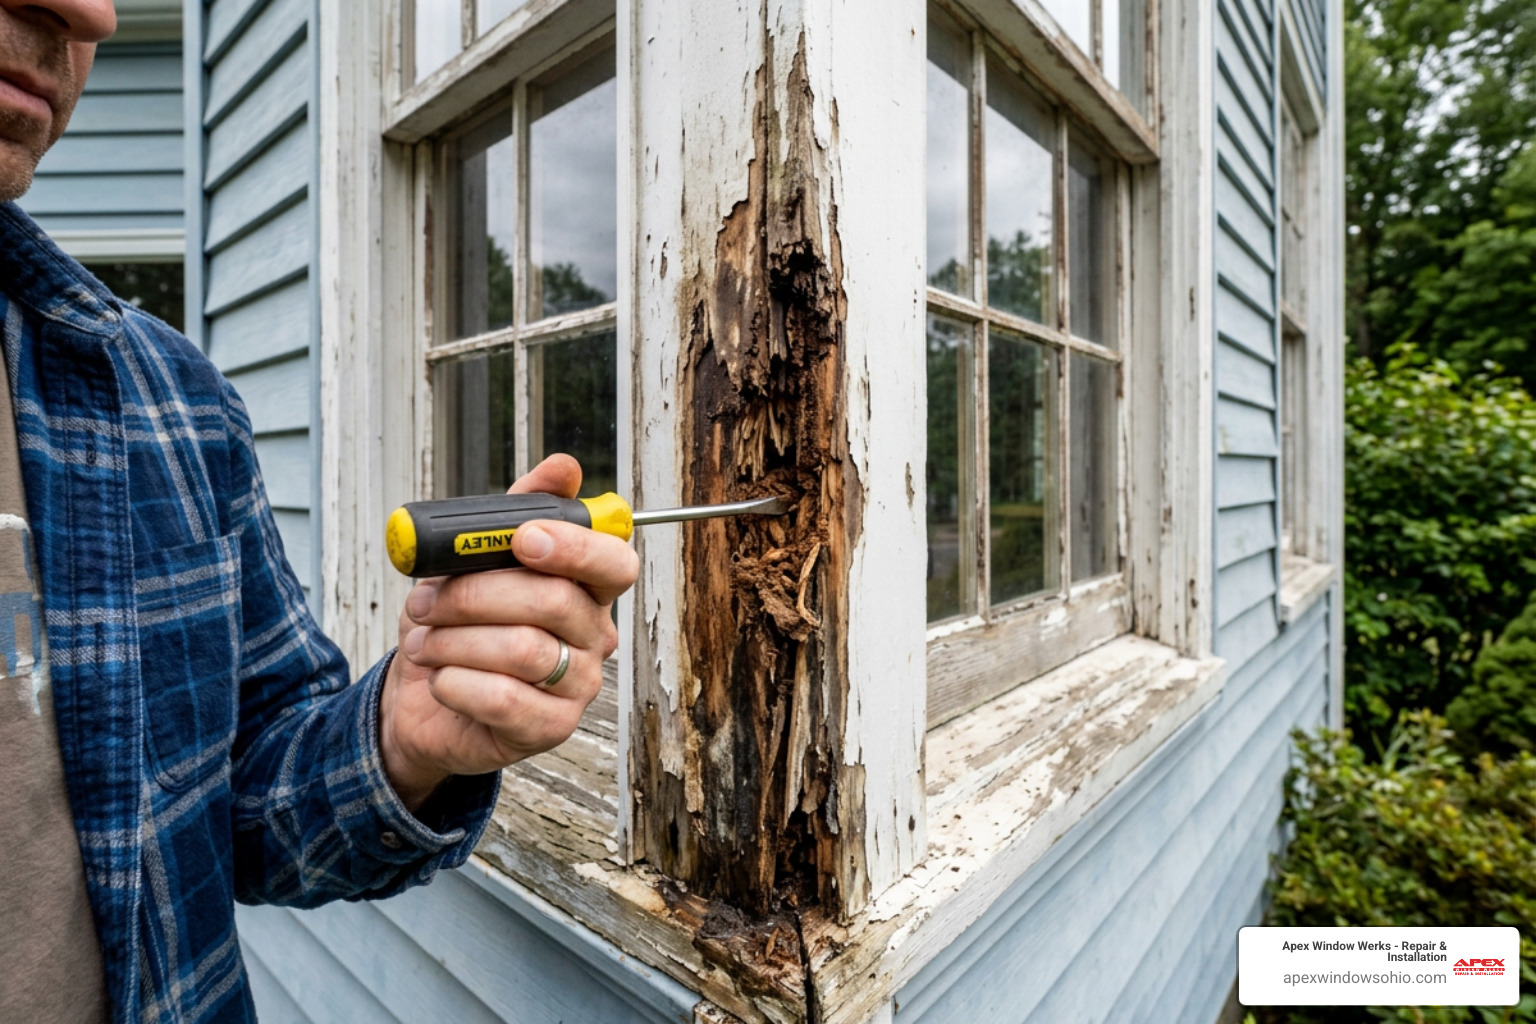
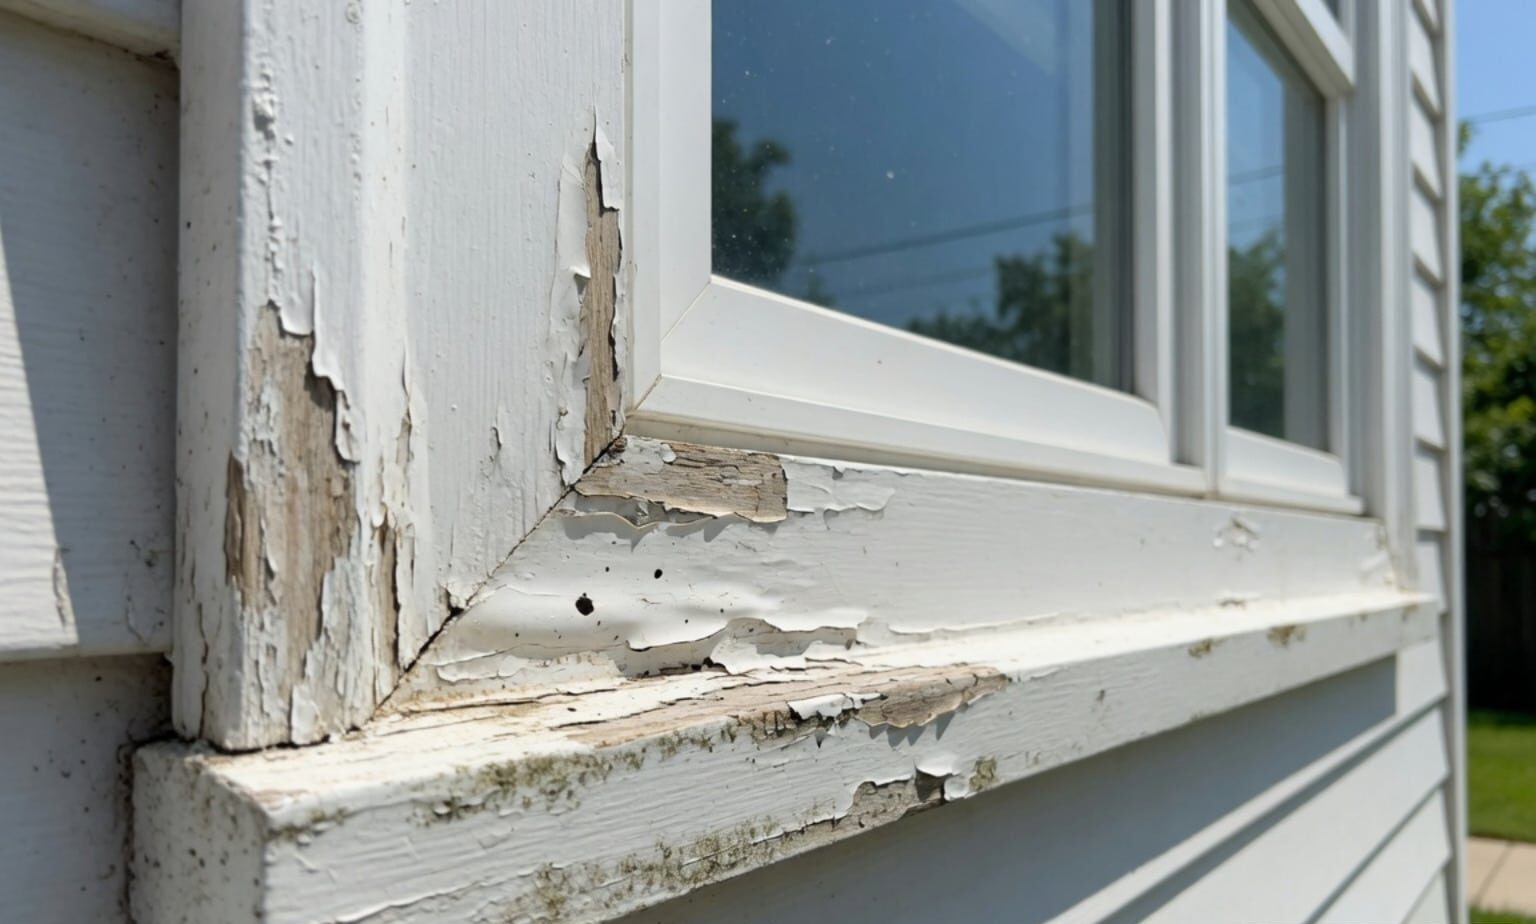
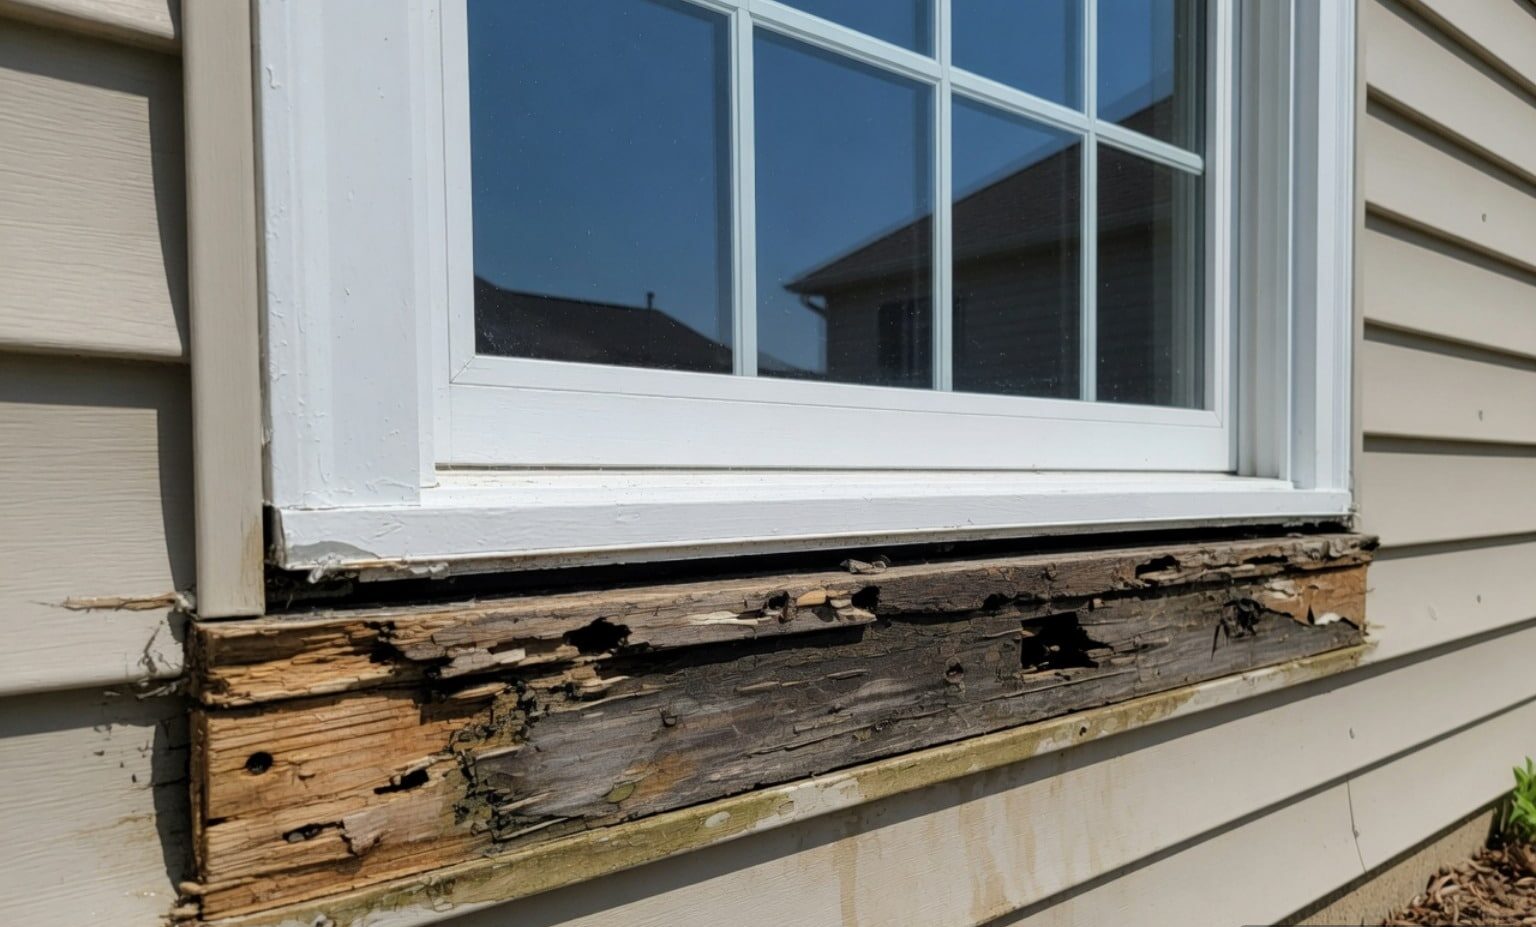
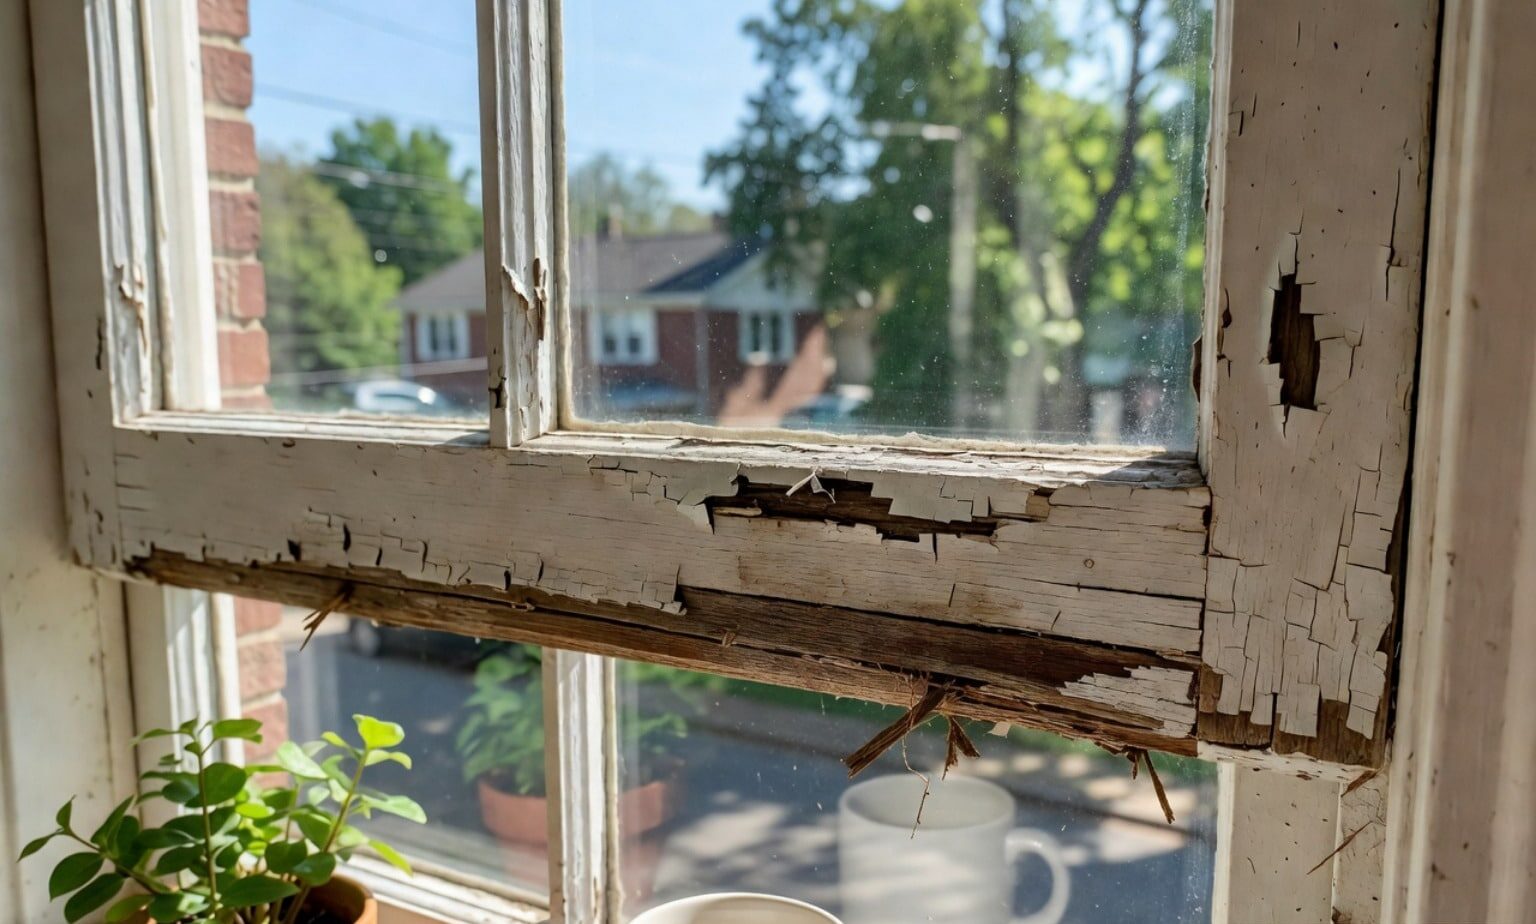
- Wood rot: Water naturally collects on exterior window sills and the lower rails of the sash. If the paint cracks and moisture penetrates the wood, rot will quickly follow.
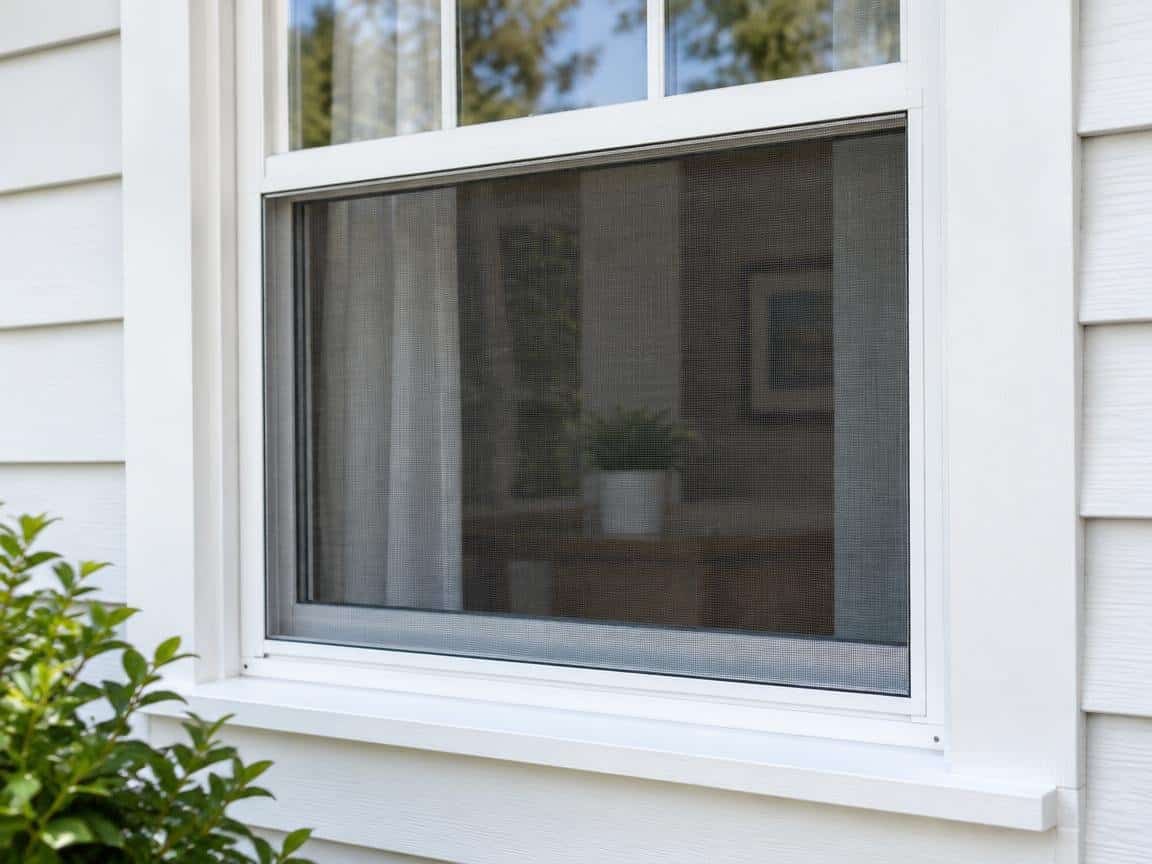
- Drafts and air leaks: Old single-pane windows are notorious for letting cold winter air in and conditioned air out. This is usually caused by worn-out or missing weatherstripping and loose meeting rails.
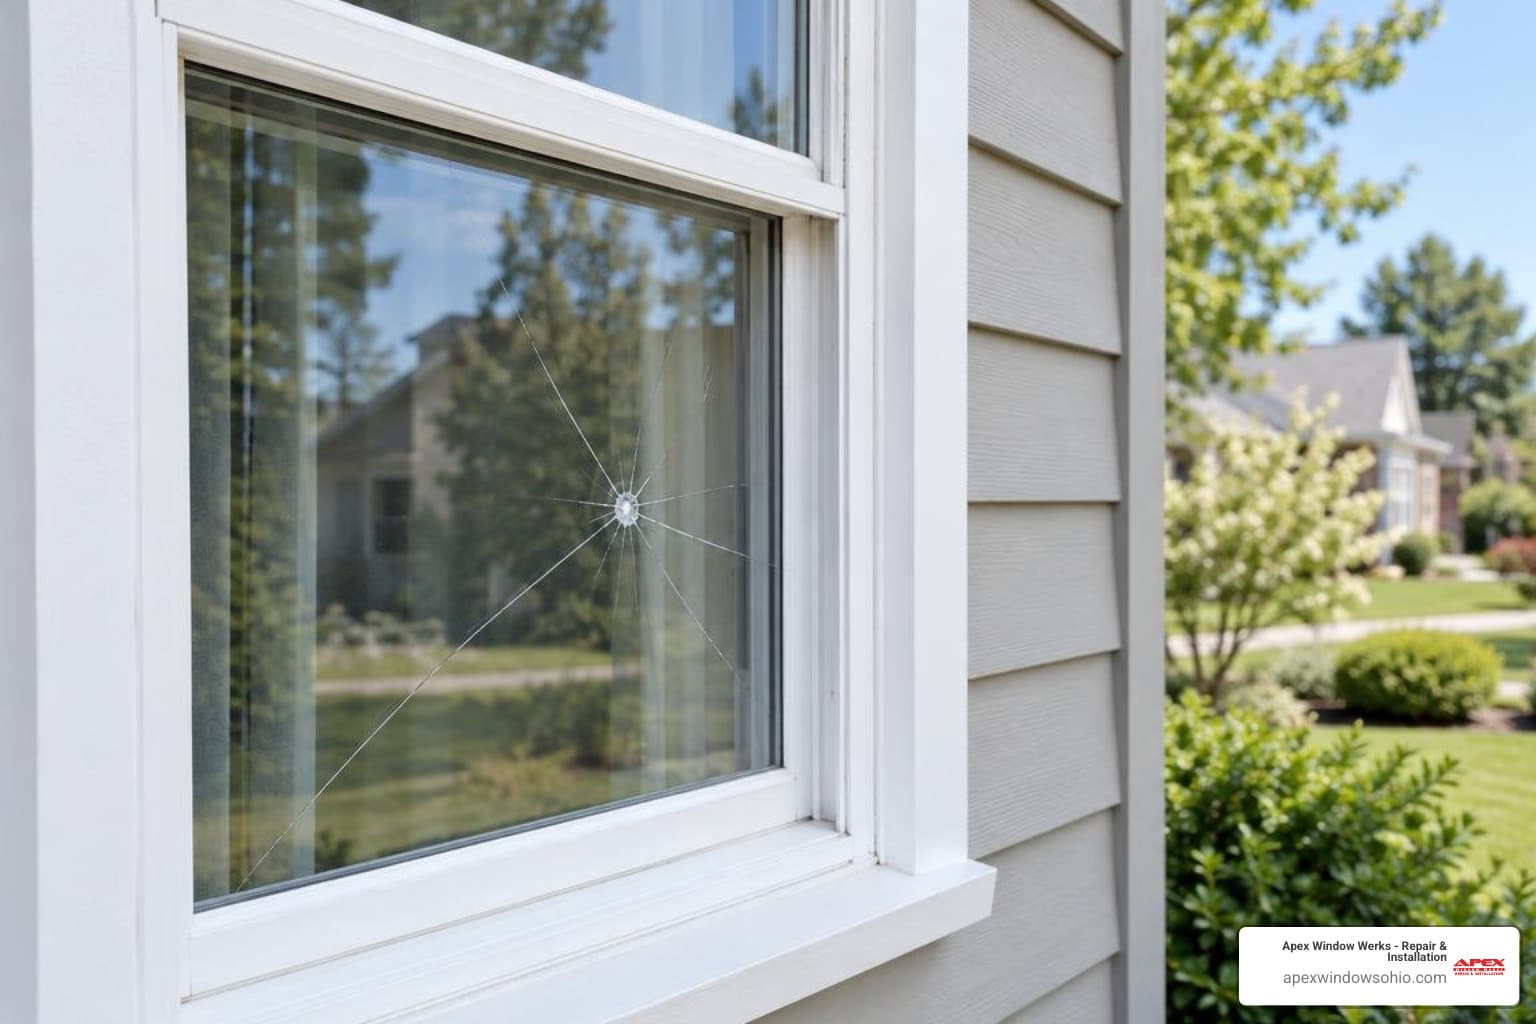
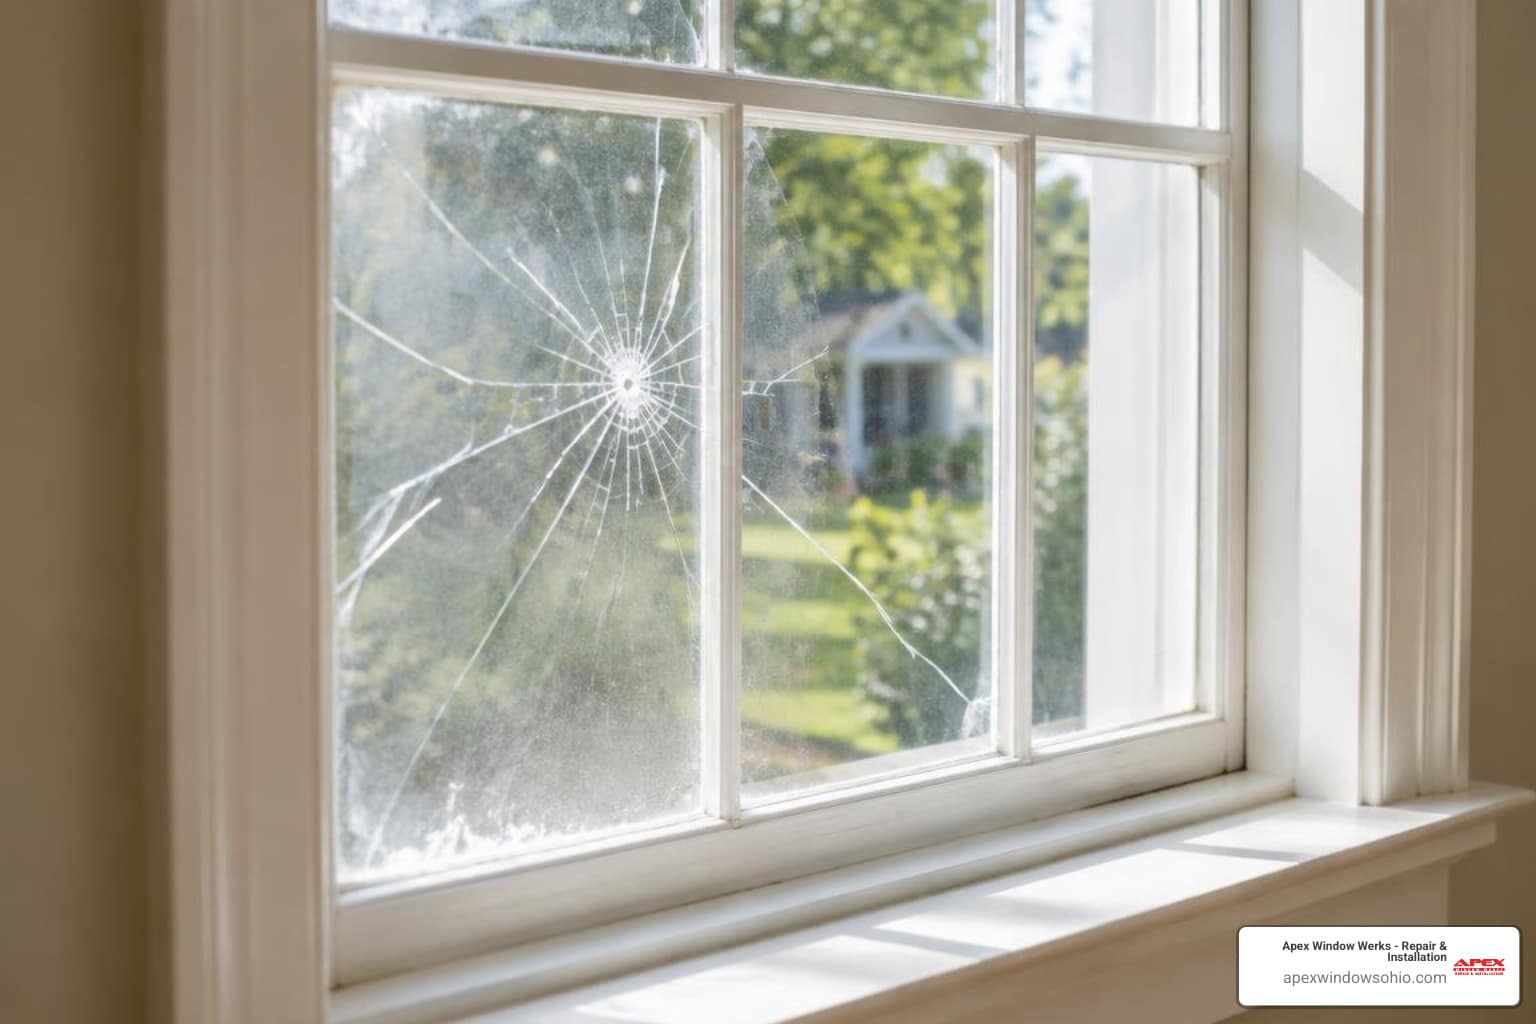
- Rattling glass and failing putty: Over time, traditional linseed oil glazing putty dries out, cracks, and falls away. This leaves the glass loose, causing it to rattle in the wind and allow water to seep into the wood.
To properly diagnose your window, start by inspecting the exterior and interior surfaces. Use a pocketknife or a scratch awl to gently probe the wood, especially along the sill and bottom rail. If the metal tool sinks easily into the wood, you are dealing with rot. Try sliding both the upper and lower sashes. If they refuse to budge, look closely at the tracks for thick paint buildup. If you want a deeper dive into the mechanics of these systems, check out our guide on how to restore and fix old double hung windows.
Step-by-Step Guide: How to Repair Sash Windows in Cleveland Homes
Restoring historic windows is a highly rewarding project. Because original windows were crafted from dense, old-growth timber, they are far more durable and rot-resistant than any modern wood you can buy today. With a little patience, you can restore their smooth glide. If you are planning a project in Northeast Ohio, you can read more about our local craftsmanship in our article on wood window repair in Cleveland.
Essential Tools and Materials for DIY Sash Window Repair in Cleveland
Having the right tools on hand will prevent frustration and keep your glass safe. Before you begin, gather the following essentials:
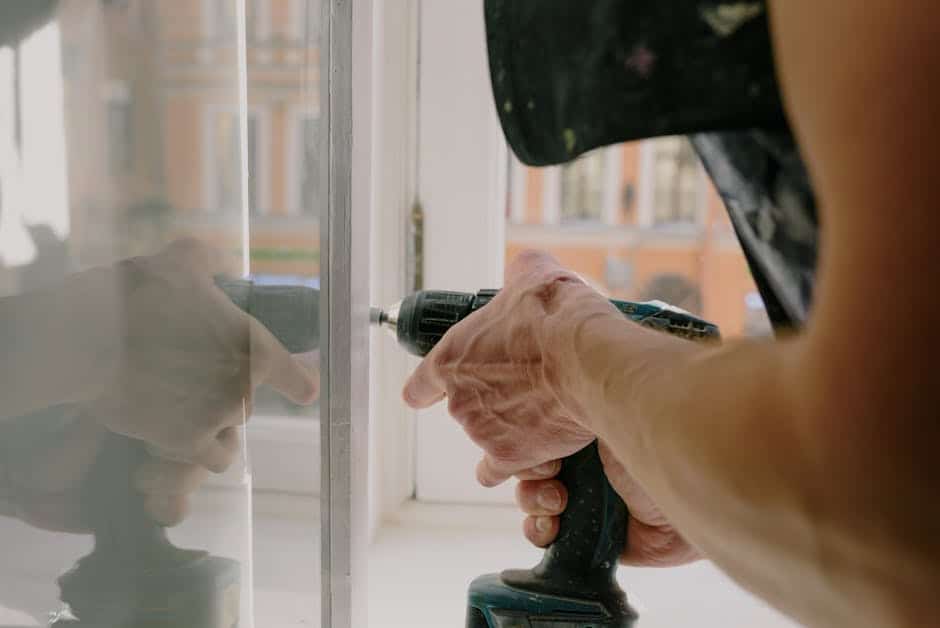
- Basic hand tools: A sharp utility knife, a stiff-bladed putty knife, a small pry bar, a chisel, and a hammer.
- Replacement hardware: High-quality waxed cotton sash cord, glazier points, and traditional linseed oil glazing putty.
- Safety gear: Heavy-duty work gloves, safety goggles, and a high-quality dust mask or respirator. Always assume paint on homes built before 1978 contains lead.
- Specialty items: A weighted string or a specialized mouse to thread the cord through the pulley.
How to Safely Remove a Stuck Sash Without Damaging the Frame
Removing the sash is the most delicate part of the job. If you pry too aggressively in the wrong spot, you risk cracking the historic timber or breaking the glass.
- Score the paint seal: Take a sharp utility knife and run it along the seam where the interior stop bead meets the window frame. This cuts the paint line and prevents the wood from splintering when you pry.
- Remove the interior stop beads: Position a small pry bar over a stiff-bladed putty knife to protect the trim. Gently pry the vertical stop beads away from the frame, starting from the middle and working your way to the top and bottom.
- Extract the lower sash: Once the stop beads are removed, you can swing the lower sash inward. If the sash cords are still attached, carefully cut them while holding the sash securely. Pin the cord to the frame with a small finish nail to prevent the heavy weight from falling into the wall cavity.
- Remove the parting bead: To get to the upper sash, you must remove the vertical parting bead. This is the thin strip of wood sitting in a groove between the two sashes. Grip it tightly with pliers and pull it straight out.
- Lower and remove the upper sash: Slide the upper sash down to the sill, cut its cords, and lift it out of the frame. For more expert tips on this disassembly process, read the comprehensive guide on Everything You Need to Know to Repair Sash Windows – This Old House.
How to Repair Sash Windows by Replacing Broken Cords and Balancing Weights in Cleveland
Once the sashes are out, you can access the hidden weight pockets located on either side of the window frame.
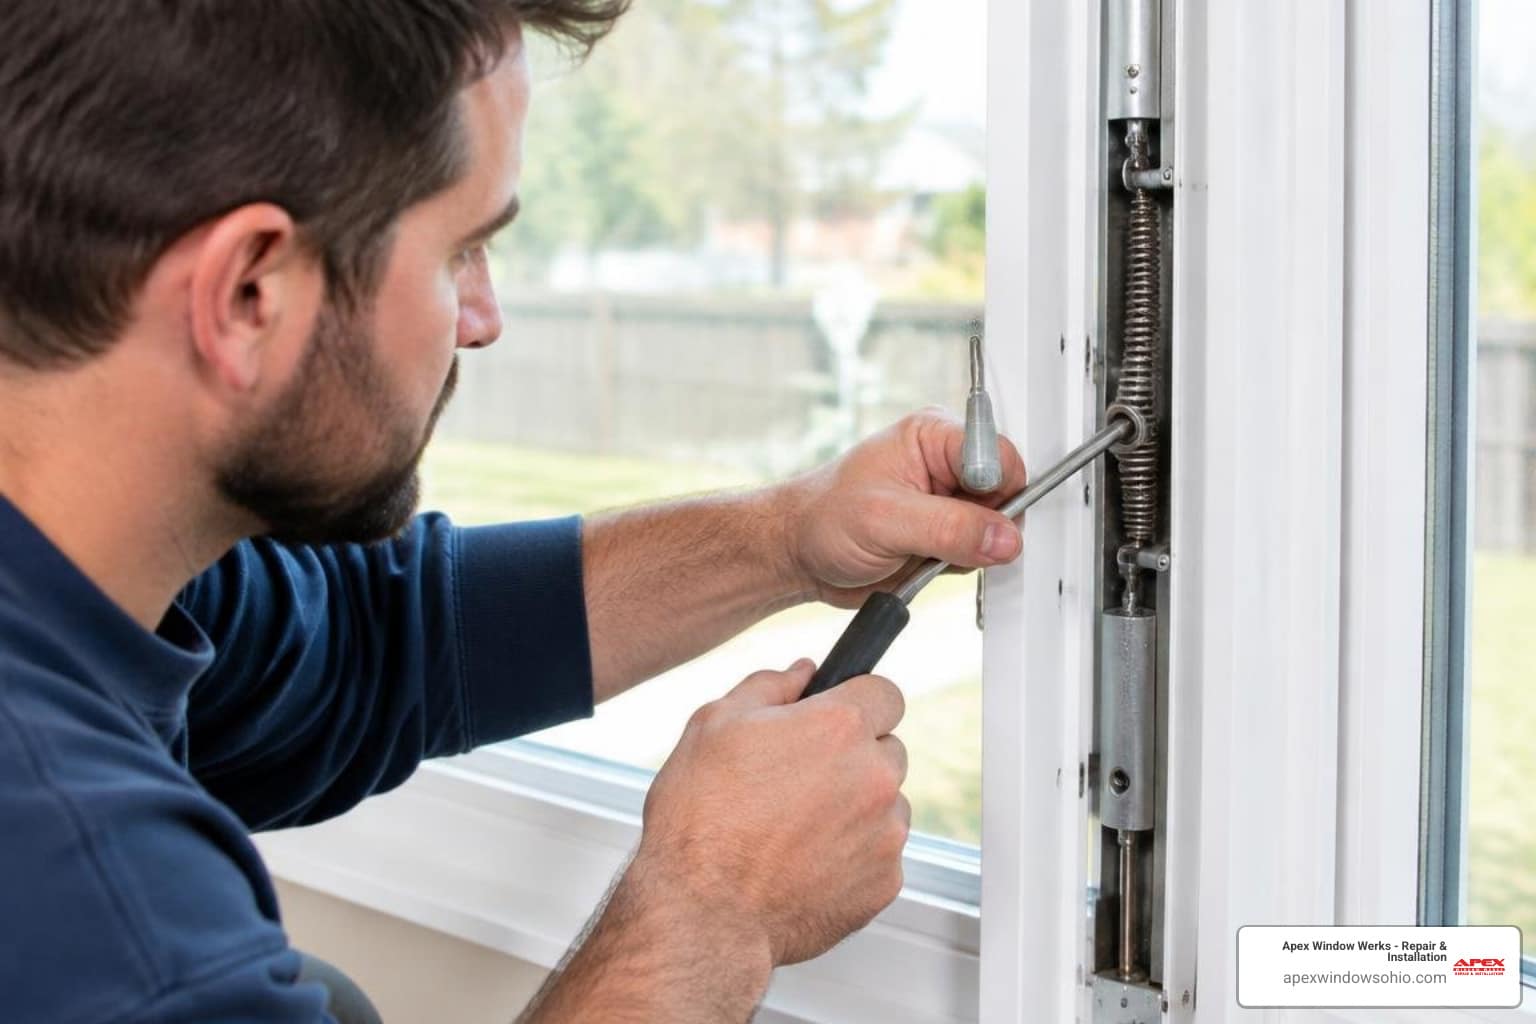
- Open the pocket covers: Look at the bottom of the side tracks for a small rectangular piece of wood secured with a screw. Remove the screw and take out the pocket cover to reveal the iron or lead counterweights.
- Remove the old weights: Pull the weights out of the pocket and untie any remaining fragments of old, rotted cord.
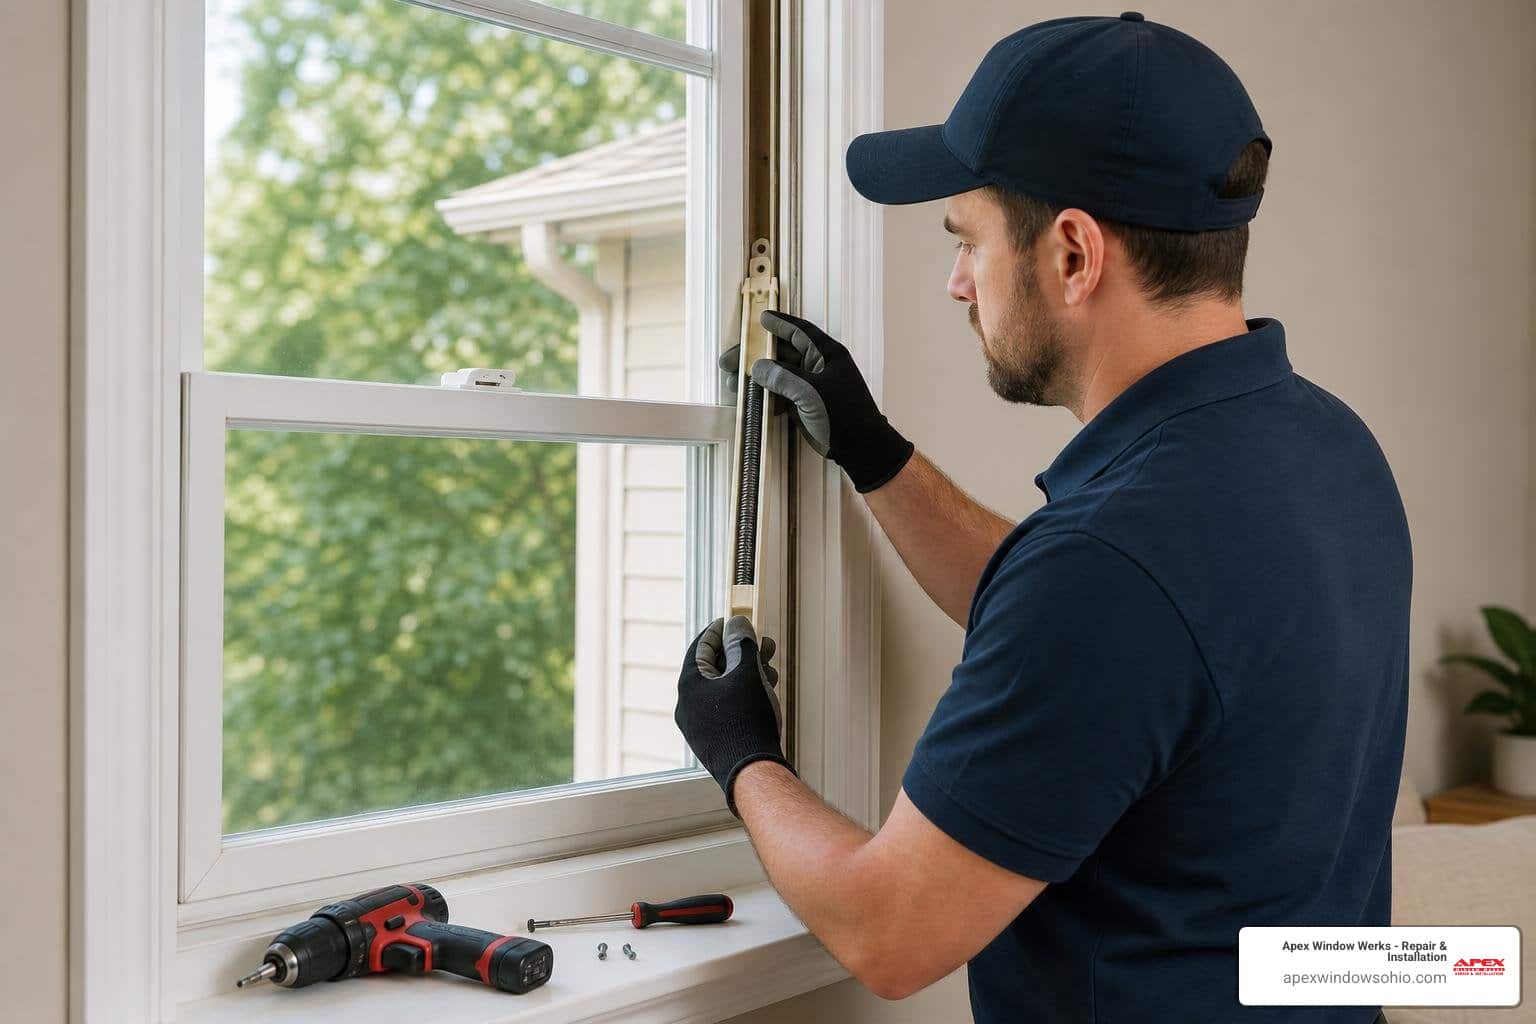
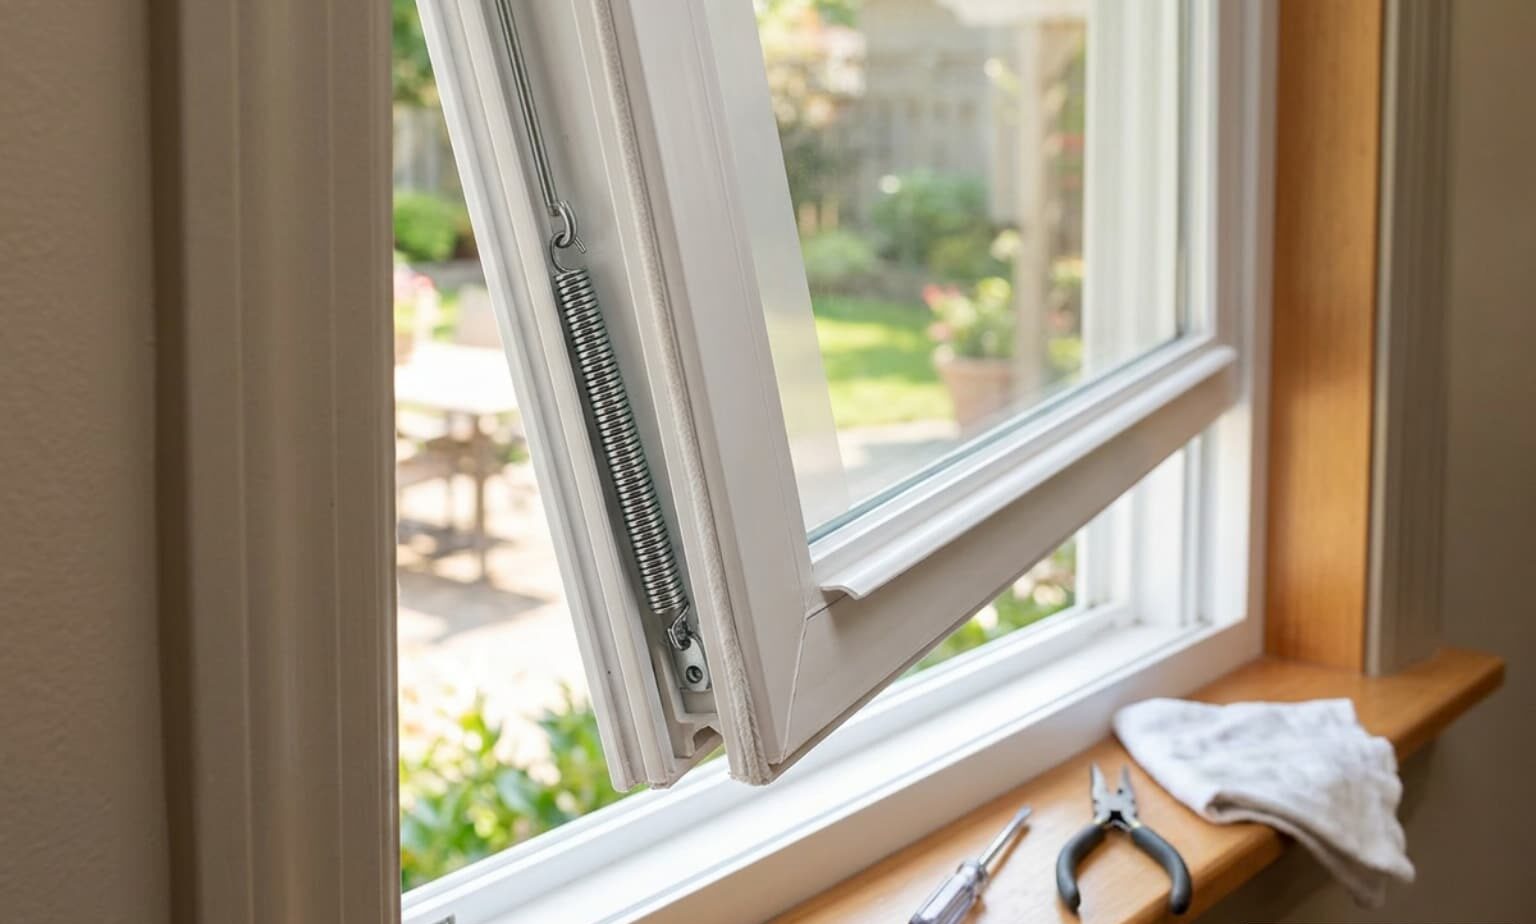
- Thread the new sash cord: Tie a small weight or nut to a piece of string. This is known as a mouse. Drop the mouse over the pulley at the top of the frame and let gravity feed it down into the weight pocket. Tie the other end of the string to your new waxed cotton sash cord, then pull it through.
- Tie and balance: Secure the new sash cord to the iron weight using a strong knot. Pull the cord until the weight hangs a few inches above the bottom of the pocket when the sash is fully closed. Cut the cord to length, tie a knot at the end, and press it into the groove on the side of the window sash. If you want to see a detailed breakdown of this technique, read our article on how to replace window ropes.
How to Repair Sash Windows and Improve Energy Efficiency with Weatherstripping
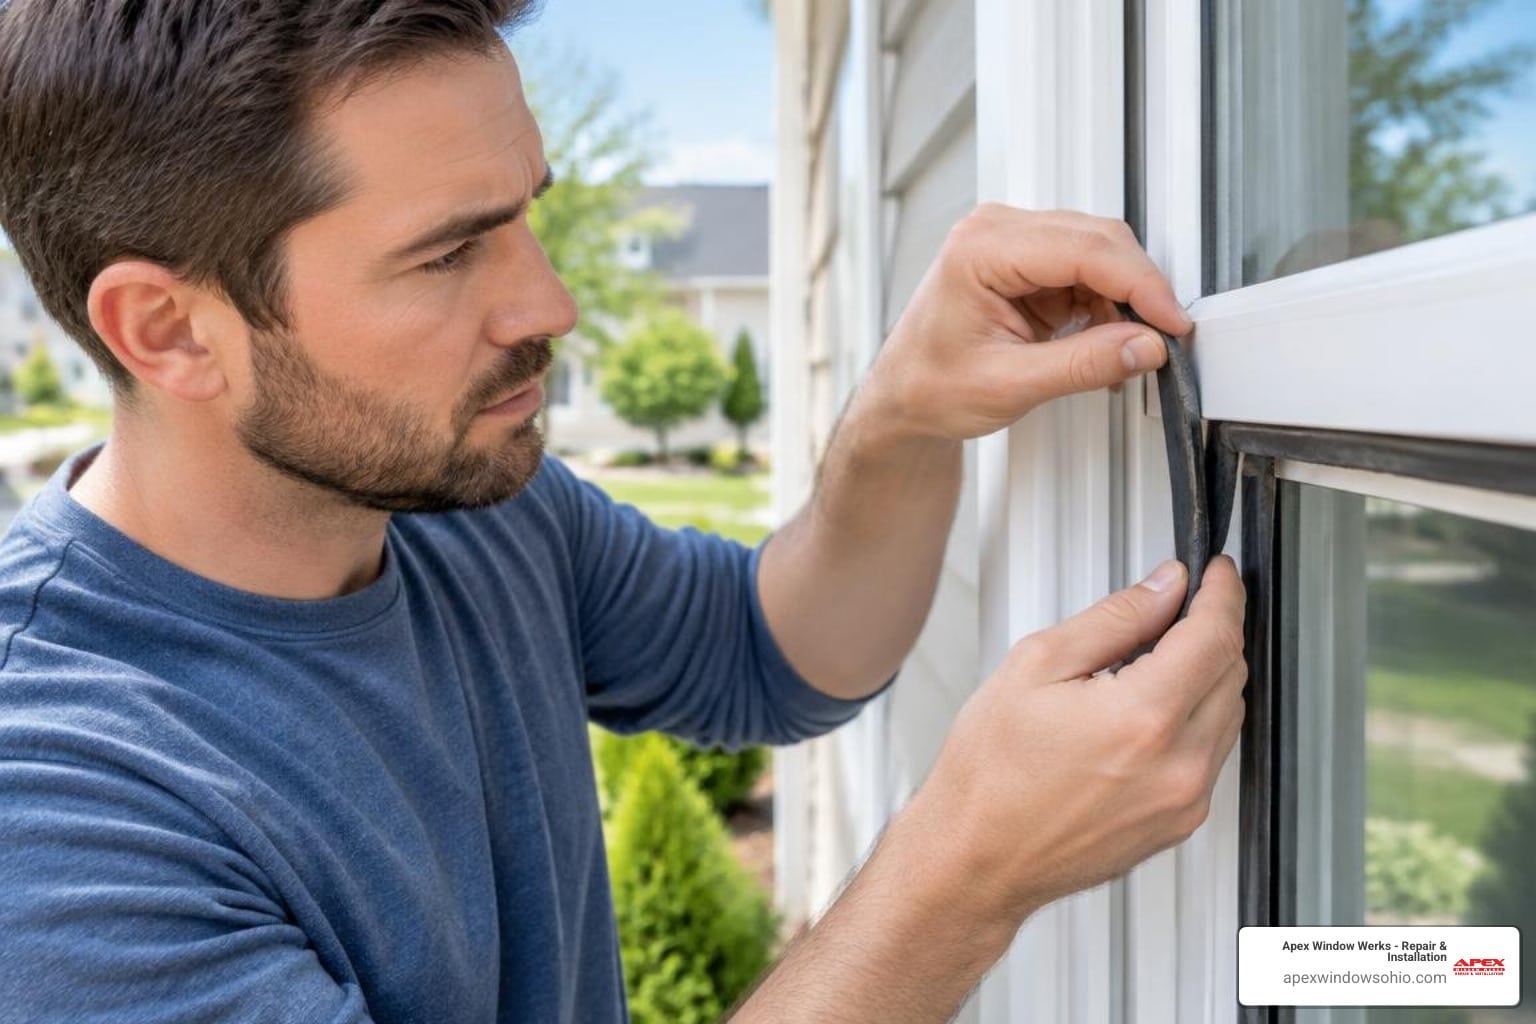
Old windows do not have to be drafty. Adding high-quality weatherstripping can make your historic windows perform just as well as modern replacements.
- Spring bronze weatherstripping: This classic metal strip is nailed inside the tracks. It creates a spring-like seal against the sides of the sash, blocking air while allowing the window to slide smoothly.
- Brush pile seals: These can be integrated into the parting beads and staff beads. They are highly effective at stopping drafts and preventing the sashes from rattling in the wind.
- Meeting rail seals: Applying a simple silicone or compression seal where the two sashes meet in the middle will eliminate the largest source of air infiltration.
For a modern alternative to traditional weighted systems, you can learn about spring-loaded options in our guide on double hung window balance replacement.
Reinstalling the Sashes for Smooth Operation
With your cords replaced and weatherstripping installed, it is time to put everything back together.
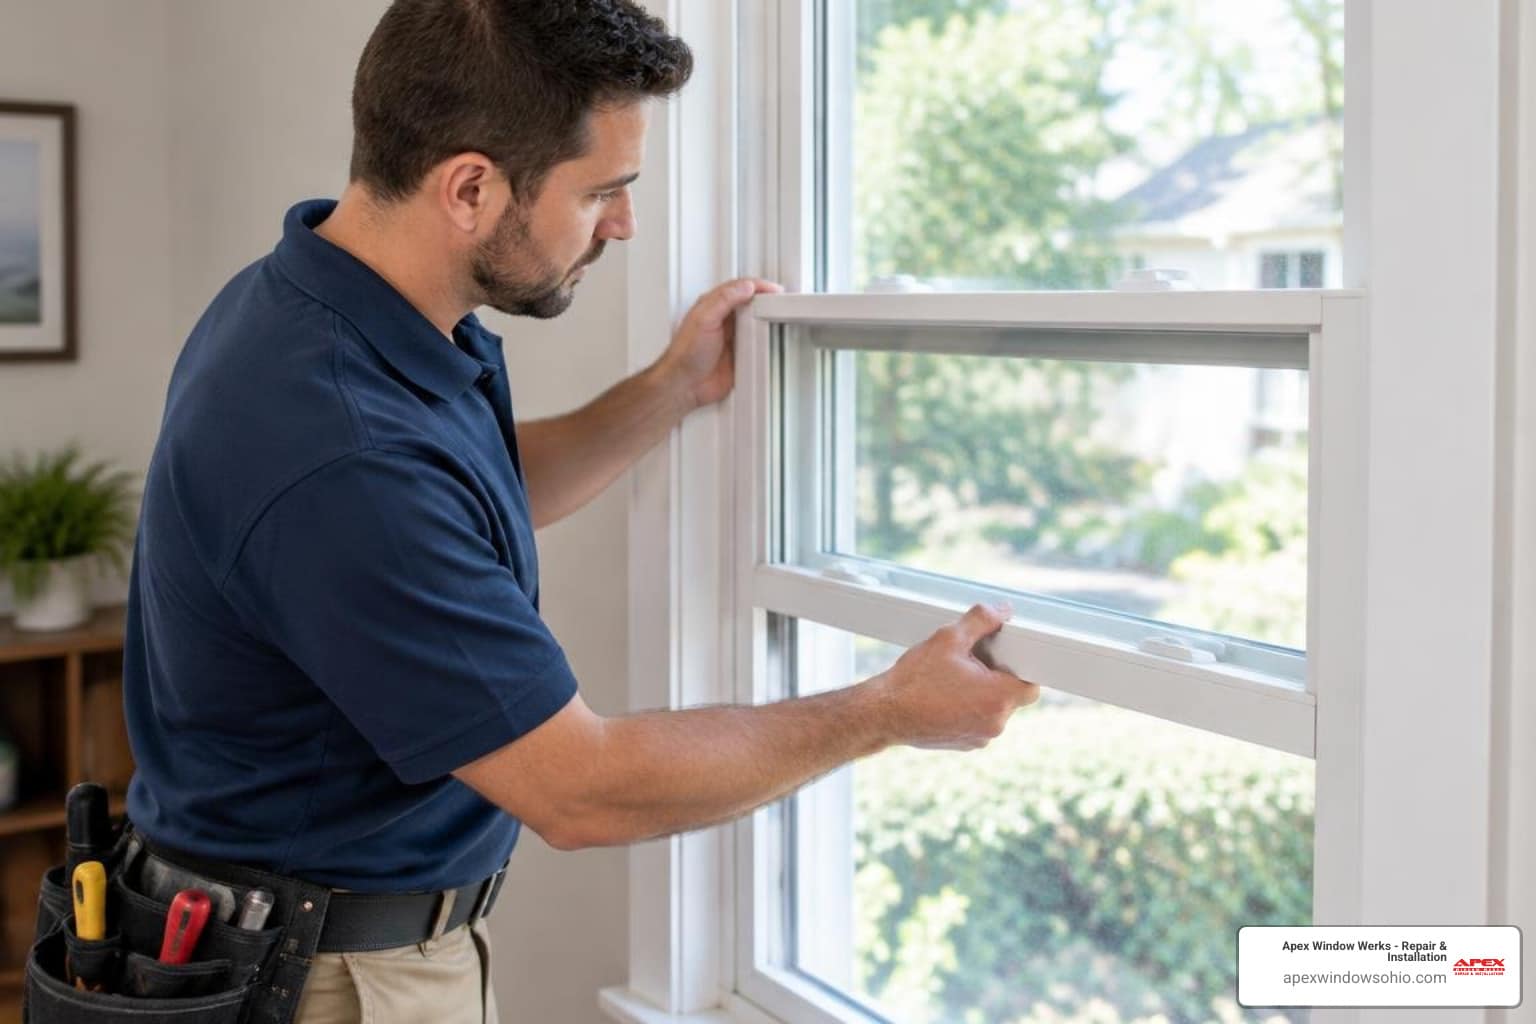
- Hang the upper sash: Thread the new cords into the sides of the upper sash and secure them with screws or knots. Lift the sash into the frame and test its movement.
- Reinstall the parting bead: Push the parting bead back into its groove. If it is loose, secure it with a few small finish pins, but do not drive them all the way home until you are sure the window operates smoothly.
- Hang the lower sash: Connect the cords to the lower sash, place it in the frame, and reinstall the interior stop beads.
- Lubricate the tracks: Rub paste wax or unscented candle wax along the tracks. This provides a natural, non-sticky lubrication that helps the wood slide effortlessly. For a complete overview of the entire rebuilding process, you can consult our complete sash window restoration handbook.
Repairing Rotted Wood and Restoring Sash Frames in Shaker Heights
Wood rot is a common issue in historic homes, especially in areas with high moisture. Fortunately, you do not need to throw away a beautifully crafted sash just because a corner or a sill has started to decay. If your home is in Northeast Ohio, you can explore our specialized services for wood window repair in Shaker Heights OH.
Restoring Historic Wood Sashes in Shaker Heights OH
To repair rotted wood permanently, you must use materials that bond structurally with the remaining timber. Standard wood fillers will crack and fall out over time because they cannot handle the seasonal expansion and contraction of natural wood.
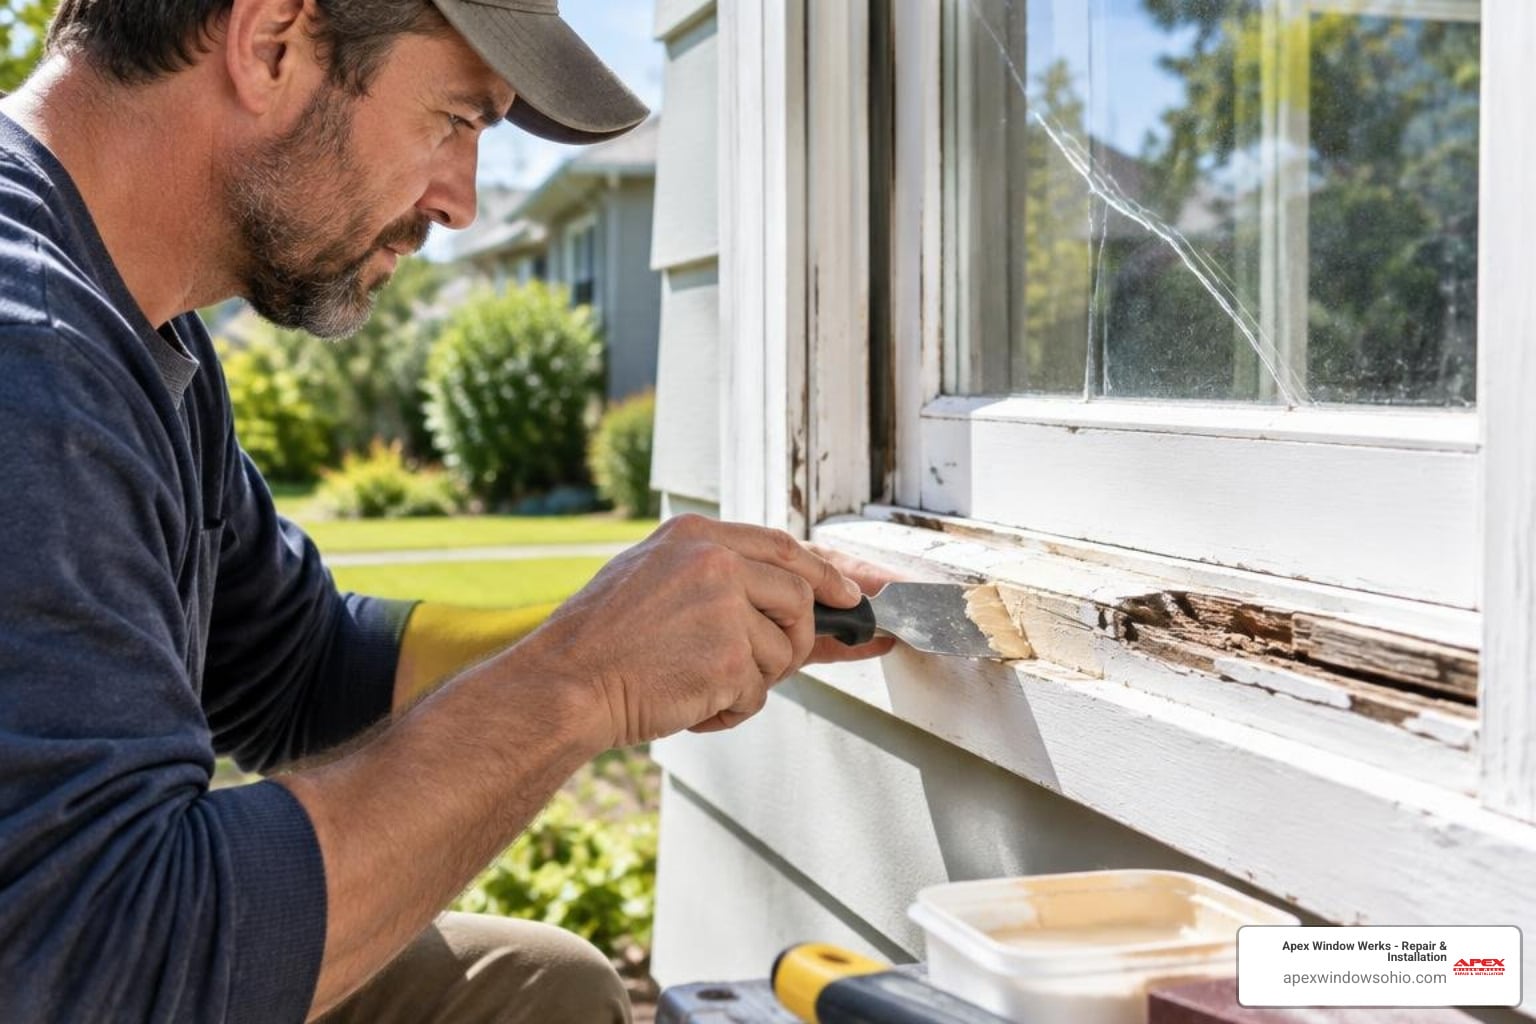
- Excavate the rot: Use a sharp chisel or a rotary tool to scrape away all soft, spongy wood. Keep digging until you reach clean, solid timber.
- Apply liquid epoxy consolidant: Paint a two-part liquid epoxy consolidant onto the exposed wood fibers. This thin liquid soaks deep into the dry wood, stabilizing and hardening the remaining structure.
- Fill with structural wood paste: Mix a two-part structural epoxy putty and pack it into the void. You can shape the putty to match the original profile of the window sash.
- Sand and prime: Once the epoxy cures, sand it smooth using progressional grits of sandpaper. Because traditional oil or latex primers do not adhere well to epoxy, apply a shellac-based primer first to create a uniform bond. For more advanced wood preservation techniques, you can read the step-by-step guide on how to Restore a Wood Window Sash.
Replacing Broken Glass and Re-Glazing Your Sashes in Medina
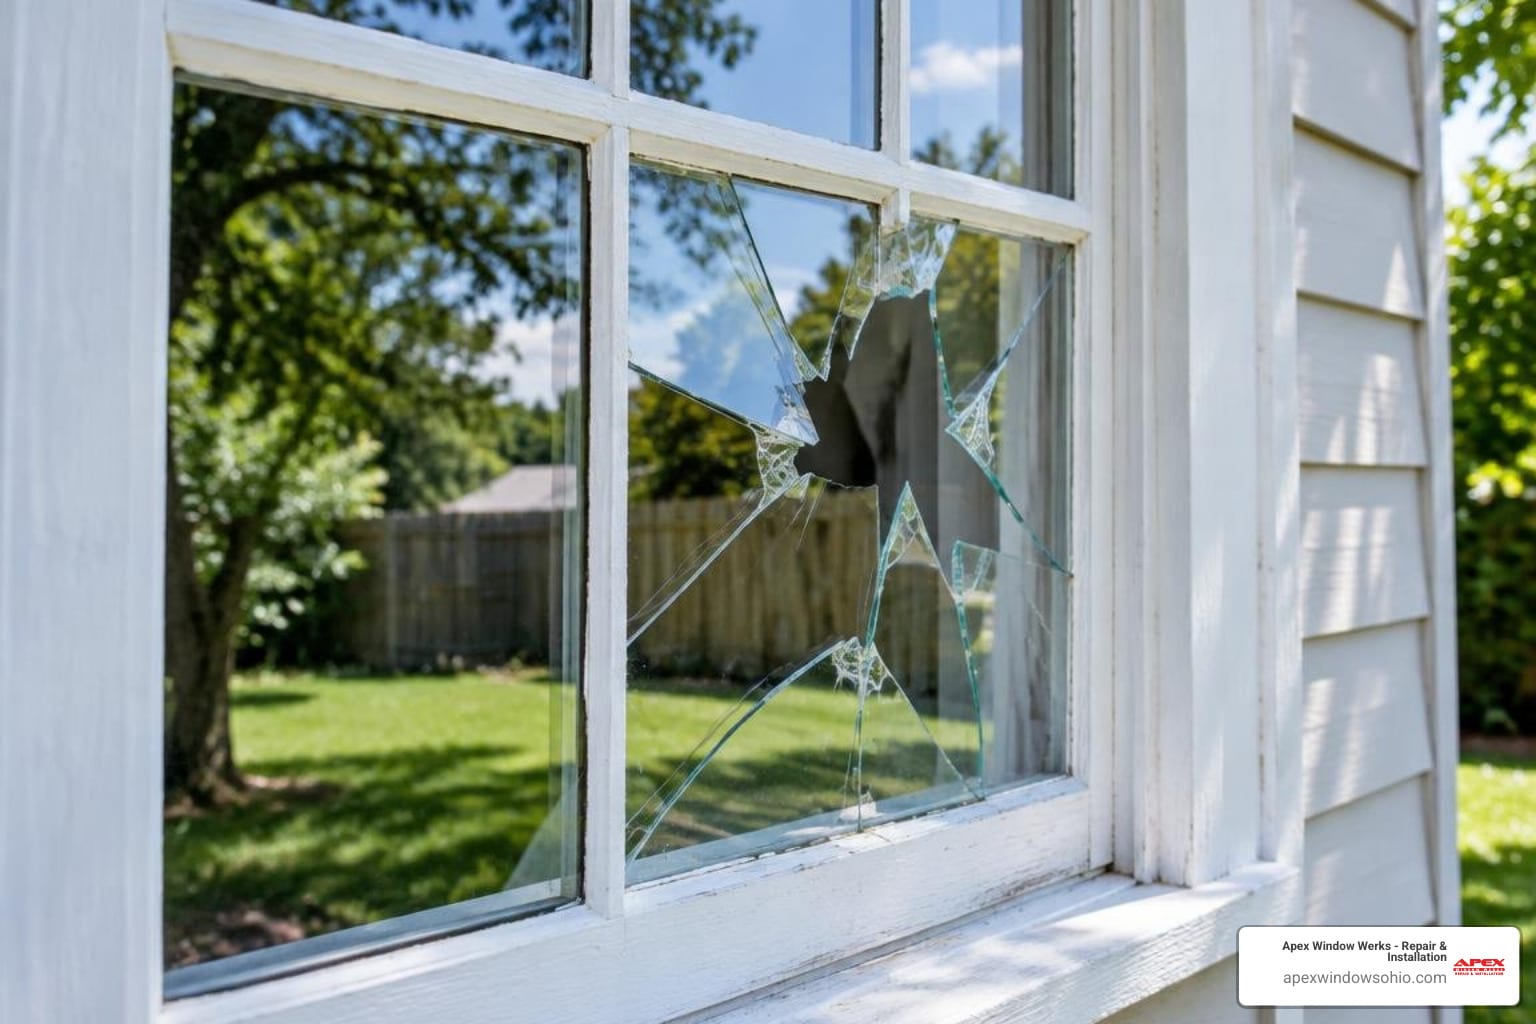
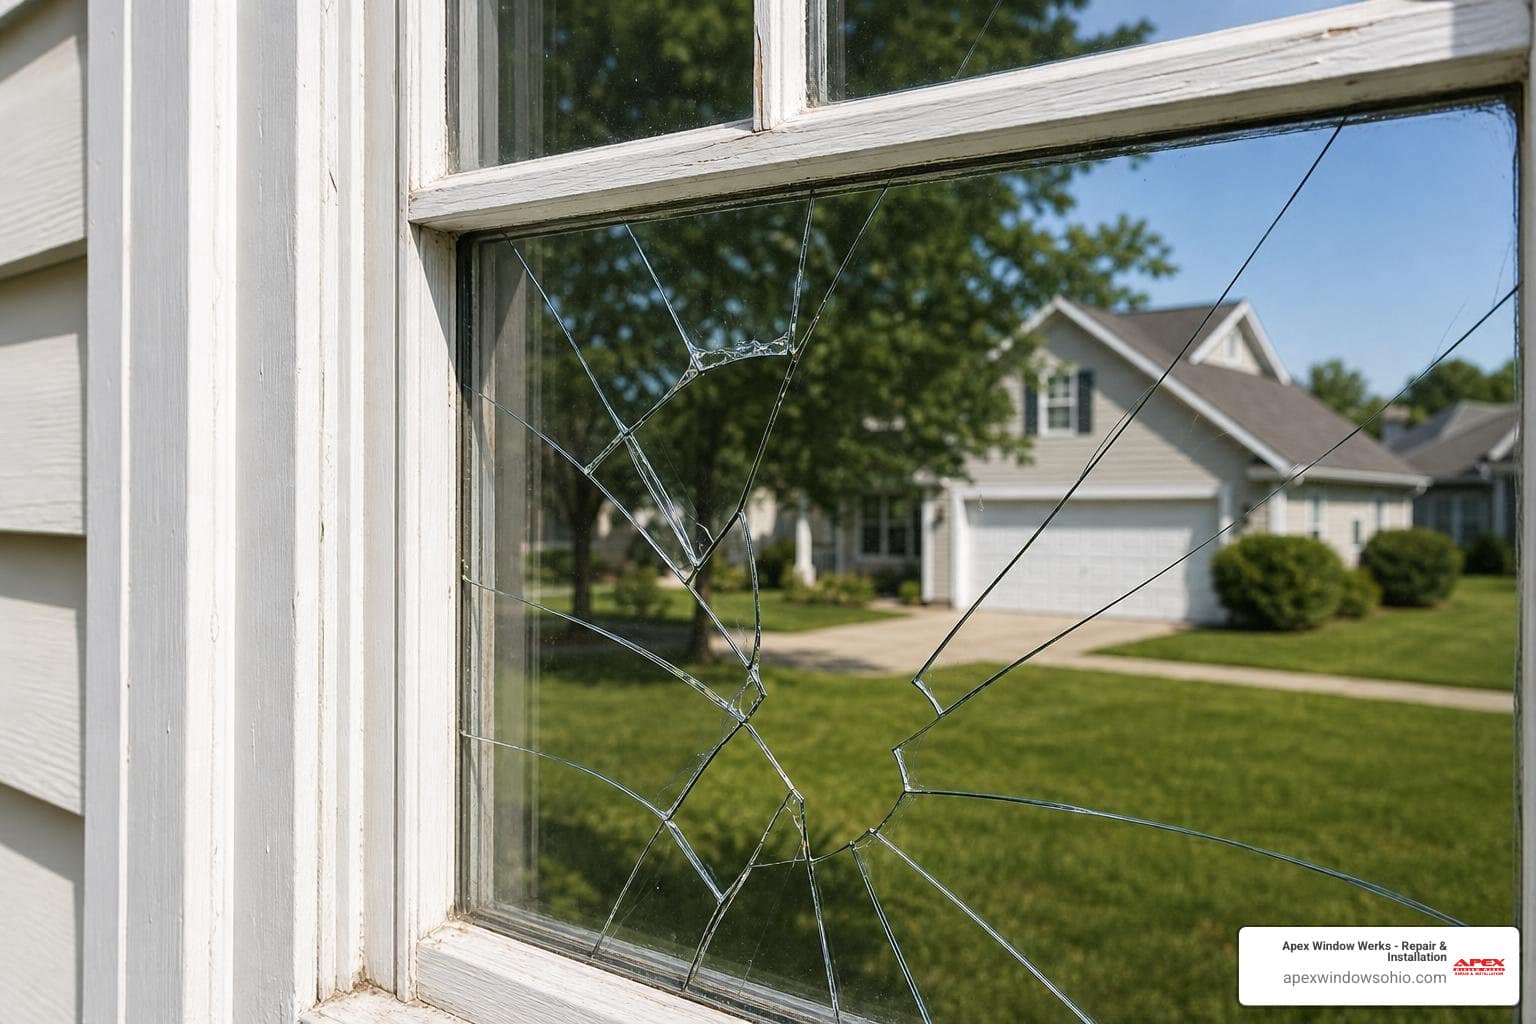
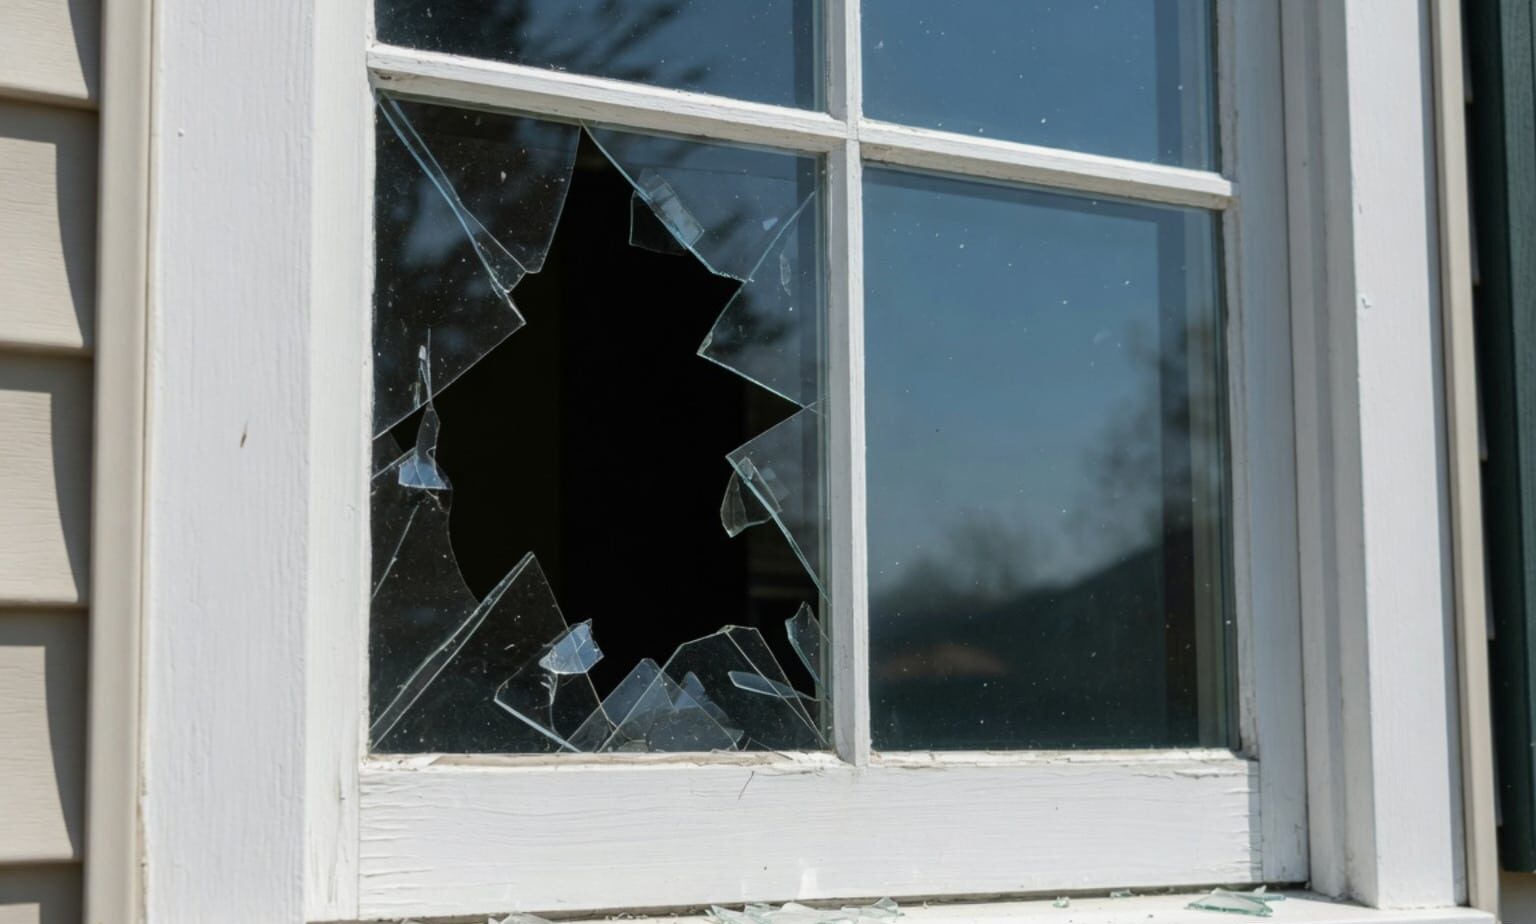
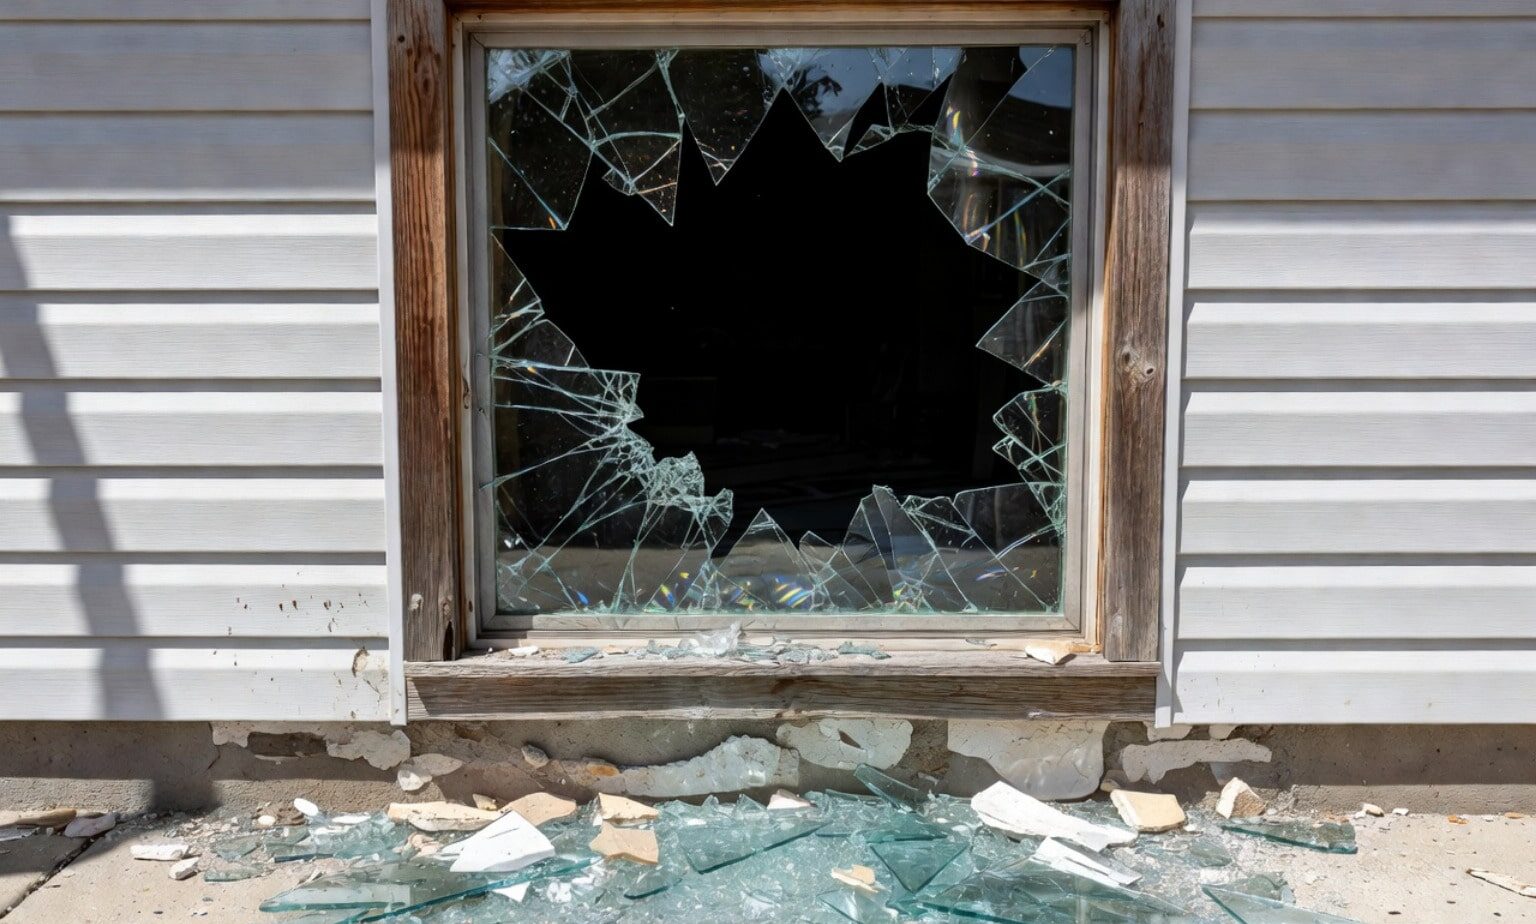
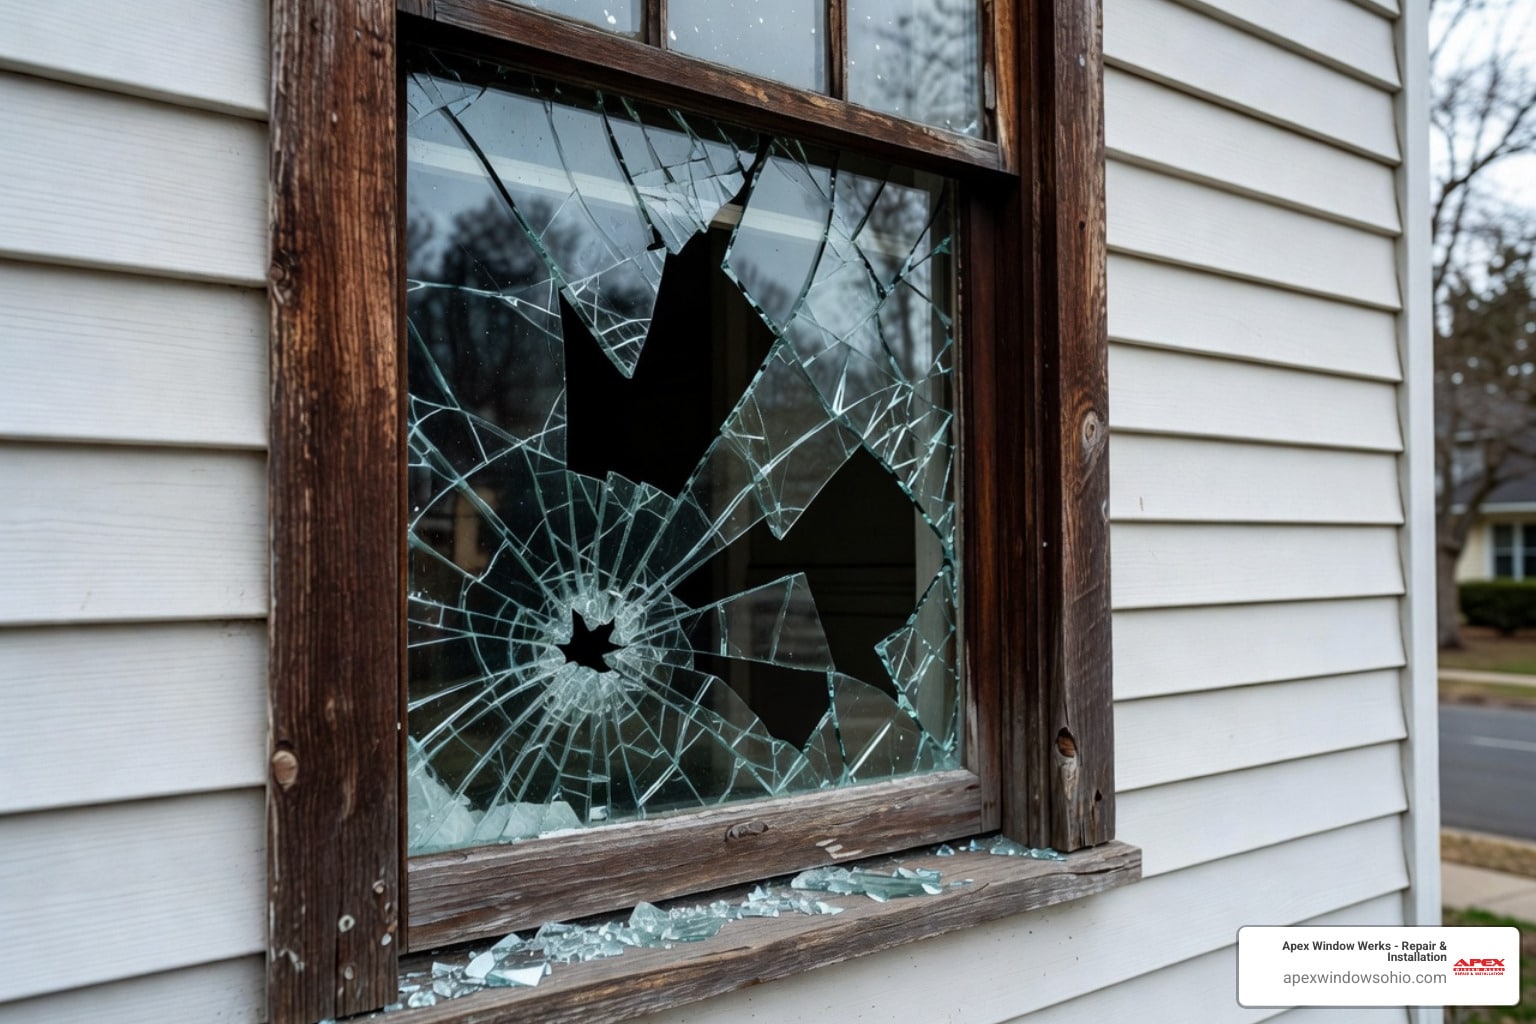
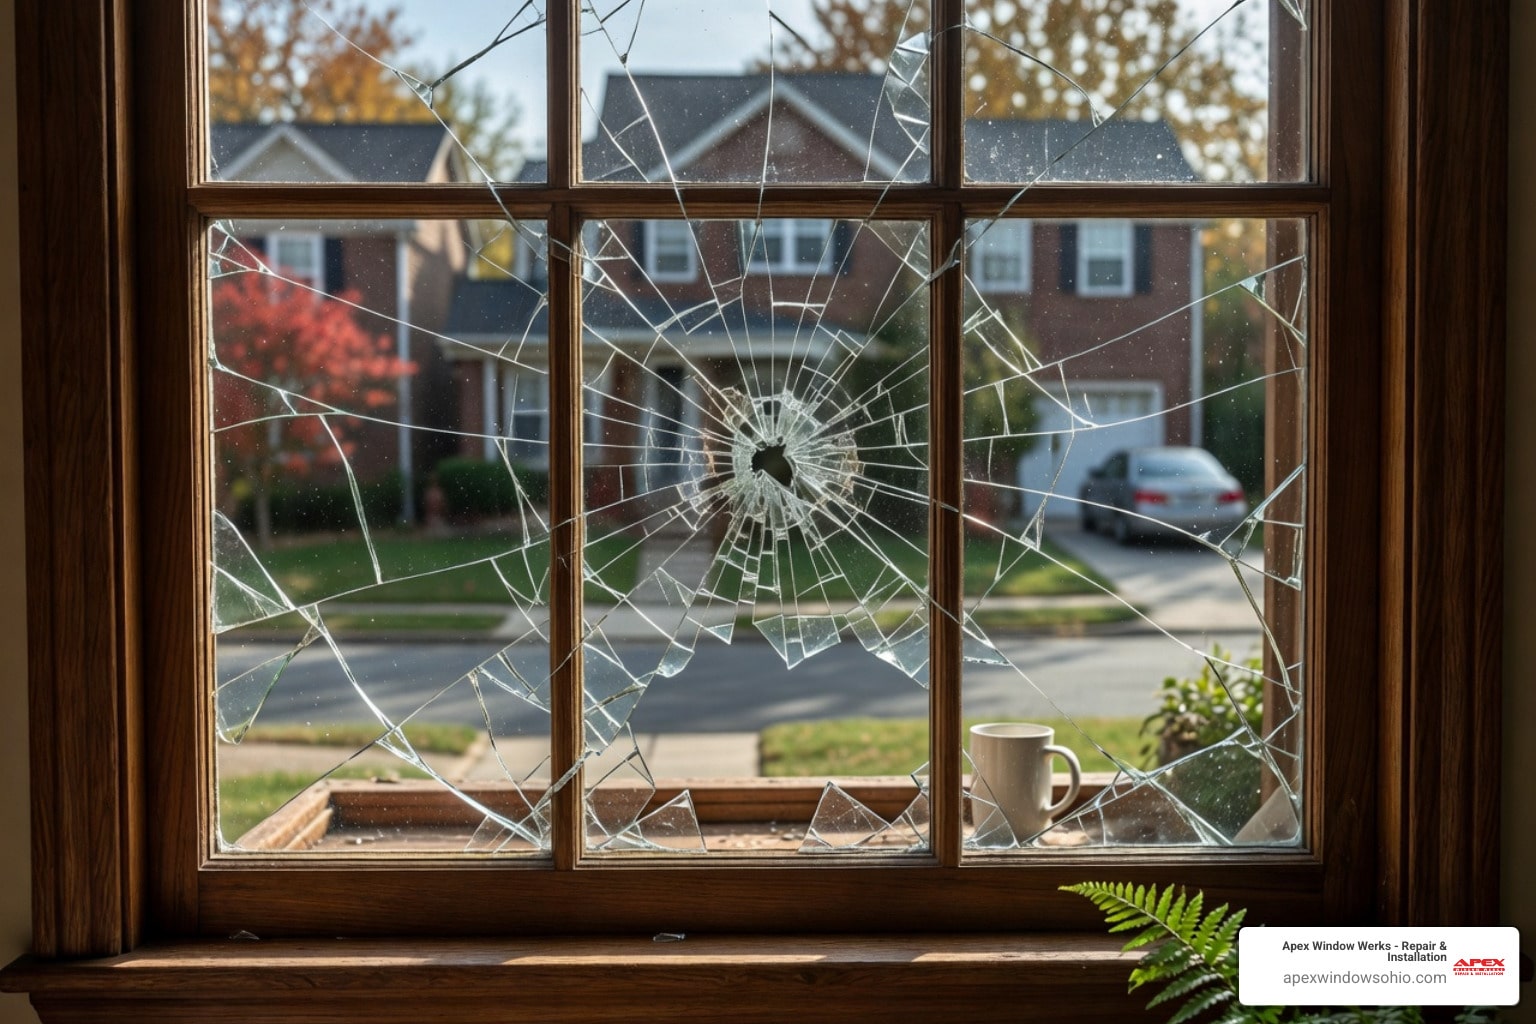
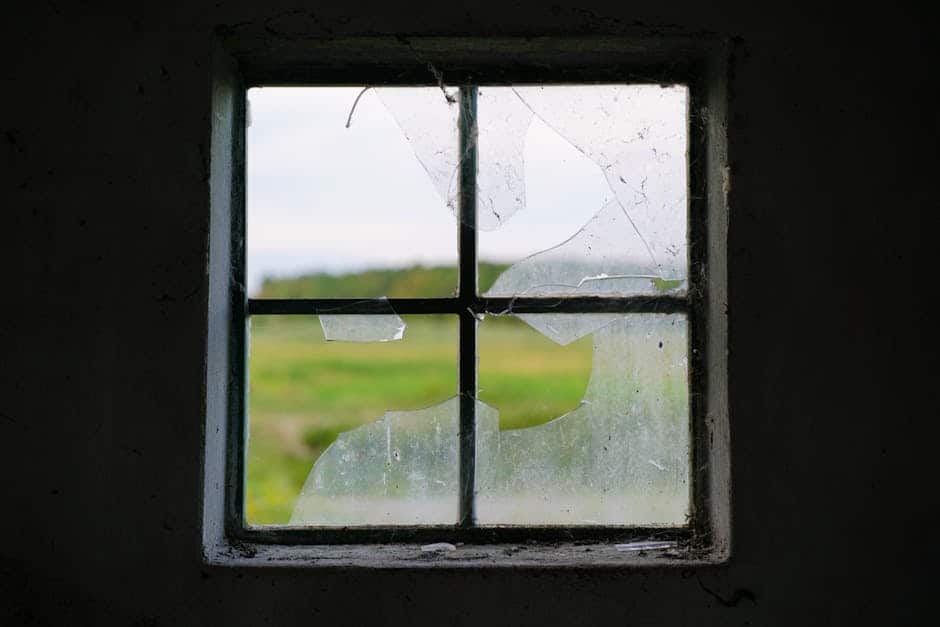
Failing glazing putty is a primary cause of wood rot and broken glass. When the putty cracks, rainwater seeps behind the glass and pools in the wooden rabbet, leading to decay. If you are dealing with broken panes, you can learn more about the process in our article on how to replace old glass in wood windows.
Glass Replacement and Glazing in Medina
Re-glazing is an art that requires a steady hand and high-quality materials. If you are working on a project in Medina County, you can find local support through our dedicated wood window repair in Medina team.
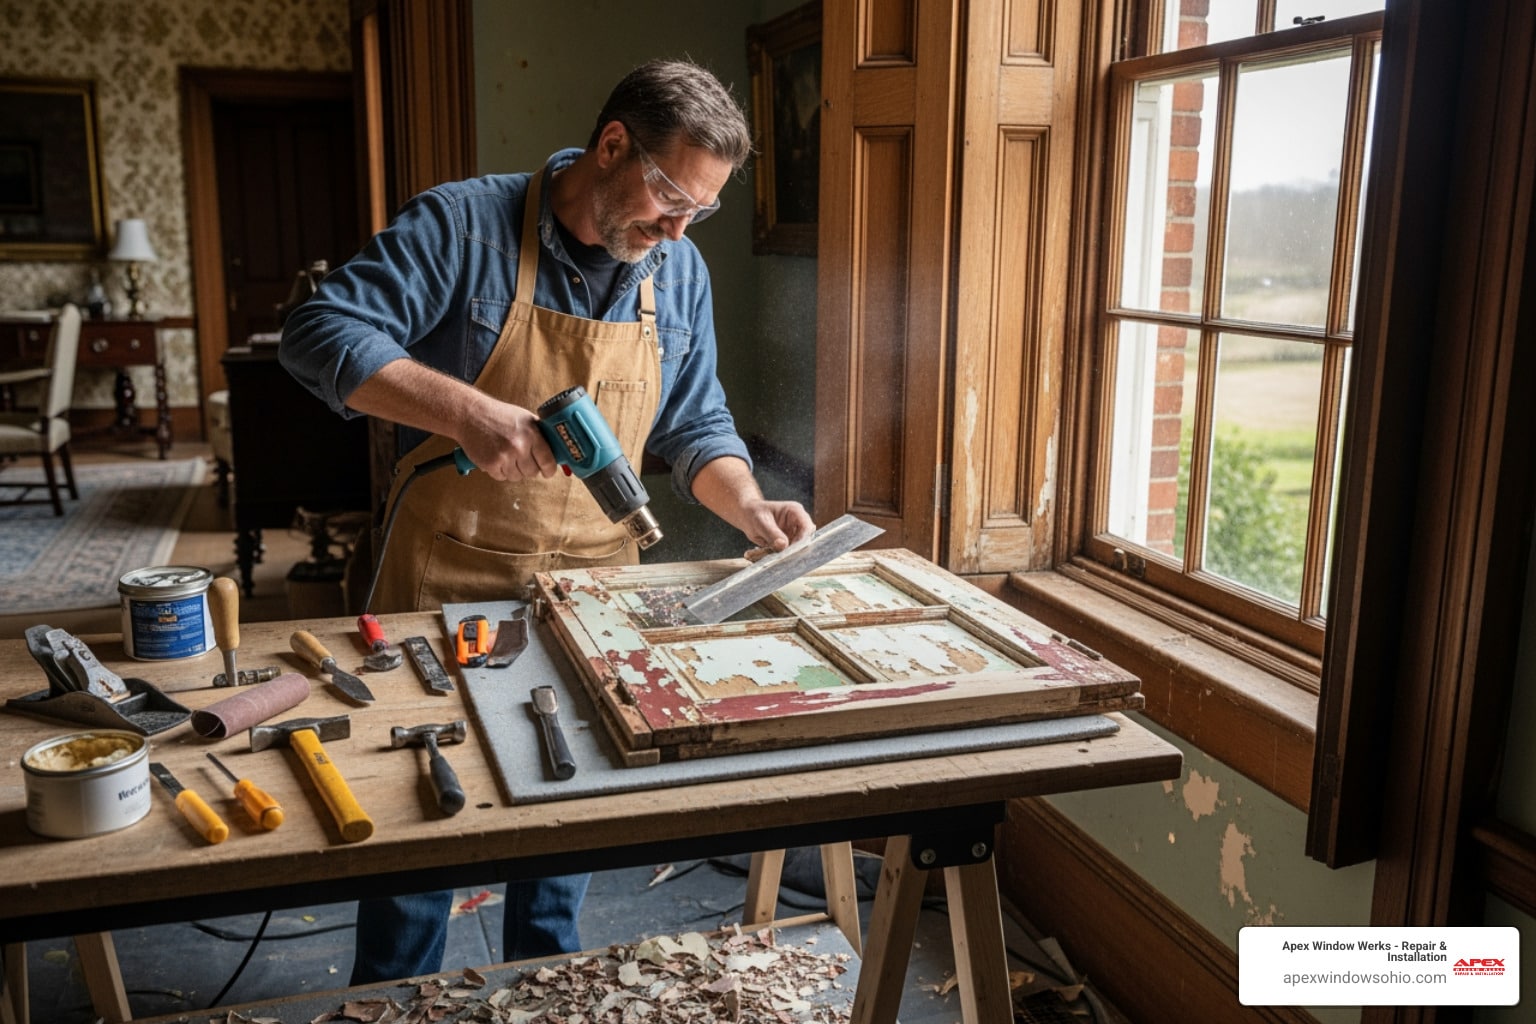
- Remove the old putty: Use a heat gun or a specialized scraper to soften the rock-hard old putty, then gently scrape it out of the rabbet.
- Bed the glass: Apply a thin bead of latex caulk or wet glazing putty along the wooden frame before pressing the glass pane into place. This creates a watertight cushion that prevents water from getting behind the glass.
- Secure with glazier points: Push metal glazier points into the wood frame every few inches to hold the glass firmly in place.
- Tool the exterior putty: Roll traditional linseed oil putty into a thin sausage, press it into the corner, and smooth it at an angle using a putty knife. The putty should pitch water away from the glass.
- Allow to cure and paint: Traditional linseed oil putty can take several weeks to skin over. Once it is dry to the touch, apply your paint, ensuring the paint overlaps the glass by a tiny fraction of an inch to seal out water completely.
Frequently Asked Questions About Sash Window Restoration in Akron
To help you decide whether to tackle this project yourself or hire a professional, we have put together a comparison of your options.
| Restoration Aspect | DIY Sash Repair | Professional Restoration | Full Window Replacement |
|---|---|---|---|
| Material Cost | Low (basic supplies) | Moderate | High |
| Time Required | High (weekend project) | Minimal (handled by pros) | Minimal (handled by pros) |
| Energy Efficiency | Greatly improved | High (with weatherstripping) | High (modern double-pane) |
| Historic Value | Preserved | Fully preserved | Lost (if vinyl is used) |
| Lifespan | Decades (with maintenance) | Decades | Limited by vinyl seals |
How much does window sash repair cost in Akron, OH?
When considering the cost of window sash repair in Akron, Ohio, it is helpful to look at the overall value. DIY repairs are highly affordable, requiring only basic materials like cords, epoxy, and putty. Professional restoration is more of an investment, but it is still a fraction of the cost of buying and installing high-quality, custom wood replacement windows. Furthermore, restoring your original sashes preserves the historic character and curb appeal of your home, which can significantly increase your property value. If you are weighing your options, you can read our detailed breakdown of sash window restoration DIY vs hiring the pros.
When should I repair a sash window versus replacing it entirely?
You should choose repair if the core frame of the window is structurally sound. Even if there is localized wood rot, epoxy and dutchman patches can easily restore the wood. You should only consider full replacement if the window frame itself has completely collapsed or if previous modern modifications have ruined the historic structure beyond repair.
Can I use a sash window repair kit for my project?
Yes, sash window repair kits are excellent for standard DIY projects. They typically include high-quality cotton cords, replacement pulleys, brush pile weatherstripping, and detailed instructions. These kits are perfect for standard-sized windows that only require basic overhauling and draught-proofing.
Conclusion: Restoring Your Northeast Ohio Sash Windows
Restoring your historic sash windows is one of the best ways to preserve the architectural heritage of Northeast Ohio while improving your home’s energy efficiency. Whether you are working on a historic home in Cleveland, Shaker Heights, or Akron, taking the time to repair rather than replace is a smart, sustainable choice.
If you find that the project is too time-consuming, or if you are dealing with extensive wood rot and high-climb windows, our team is here to help. At Apex Window Werks, we specialize in making historic windows function beautifully again. Contact us today to learn more about our professional wood window repair services and get a free estimate for your home.