

How to Replace Window Ropes and Save Your Historic Sashes
Signs Your Historic Windows Need Replacing Window Ropes in Cleveland
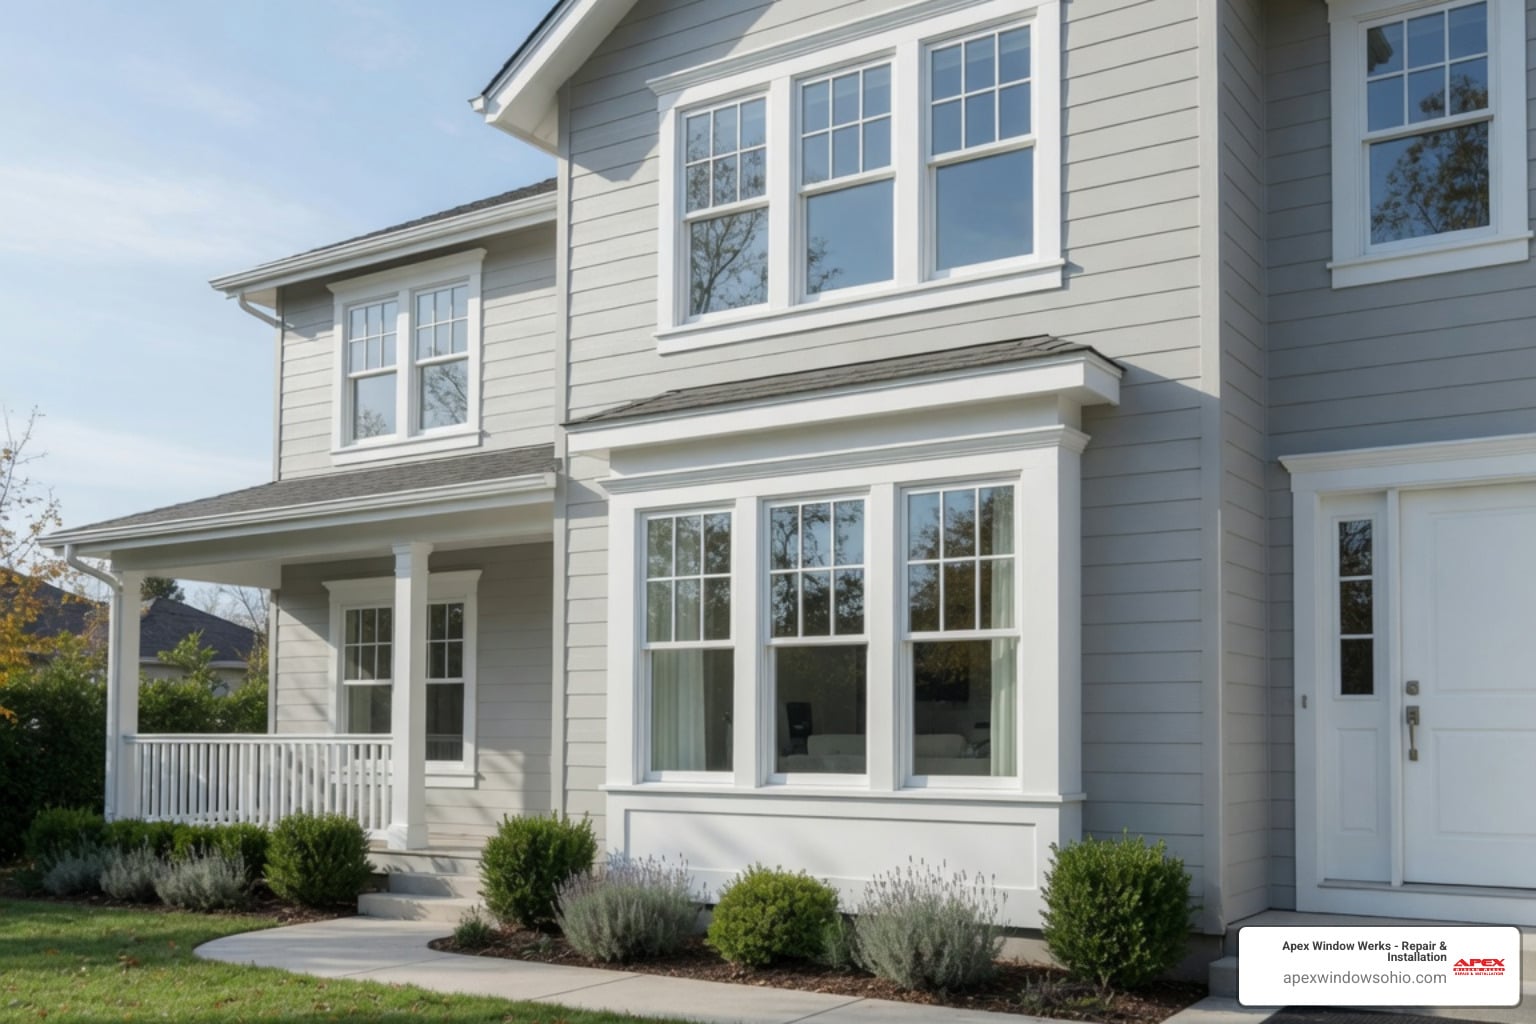
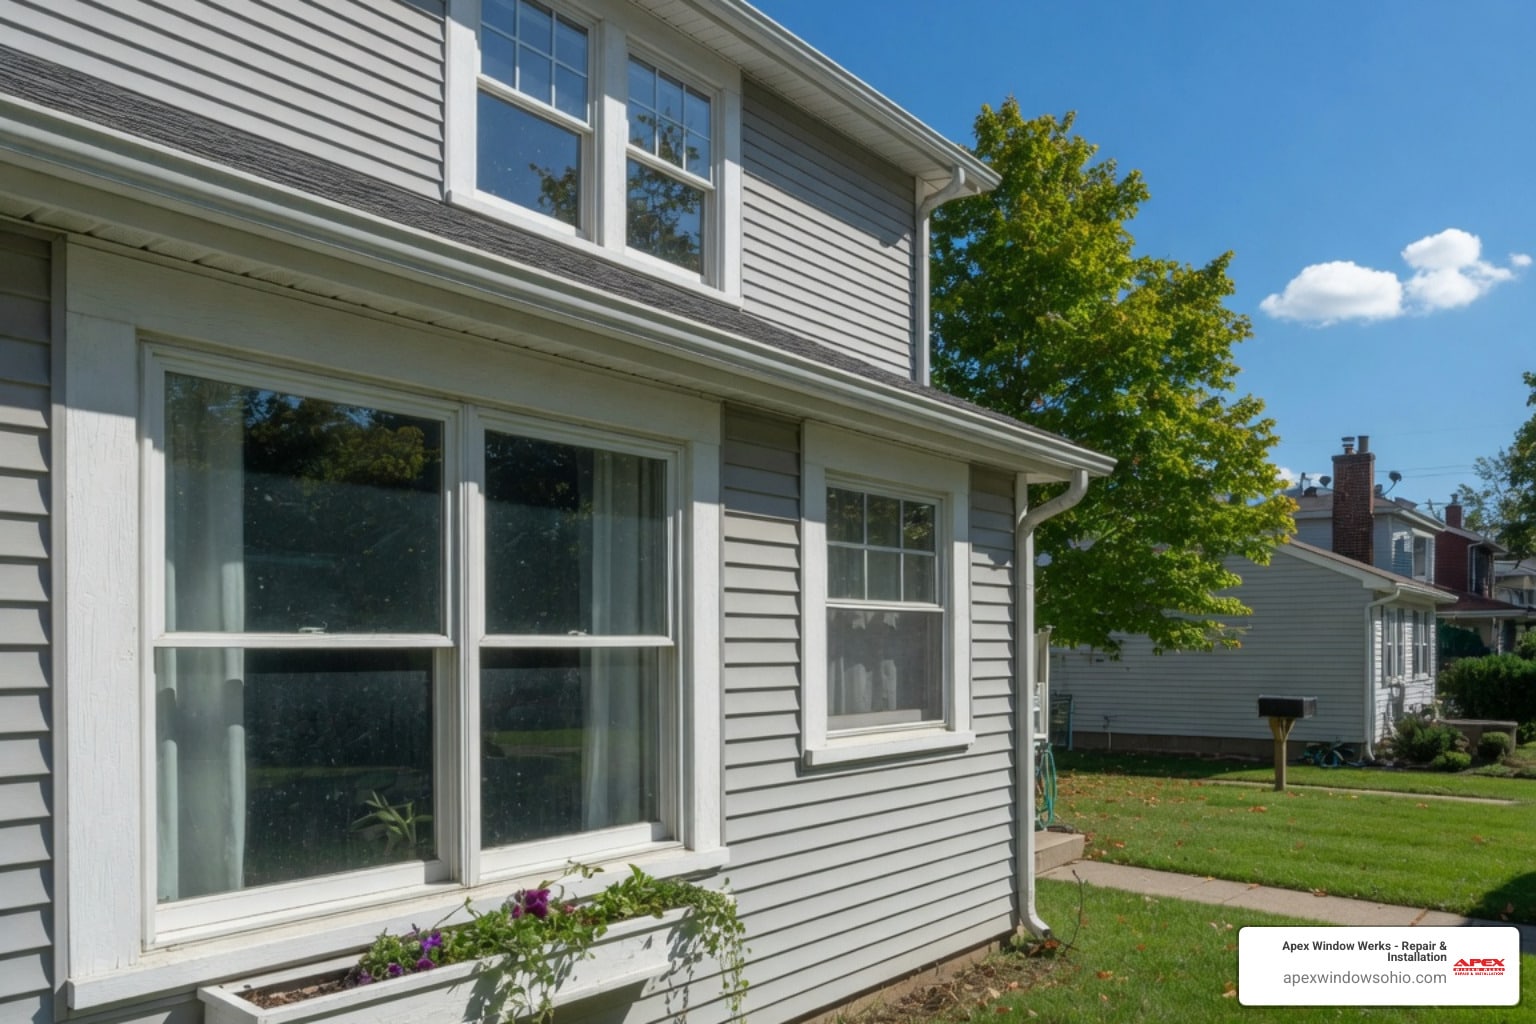
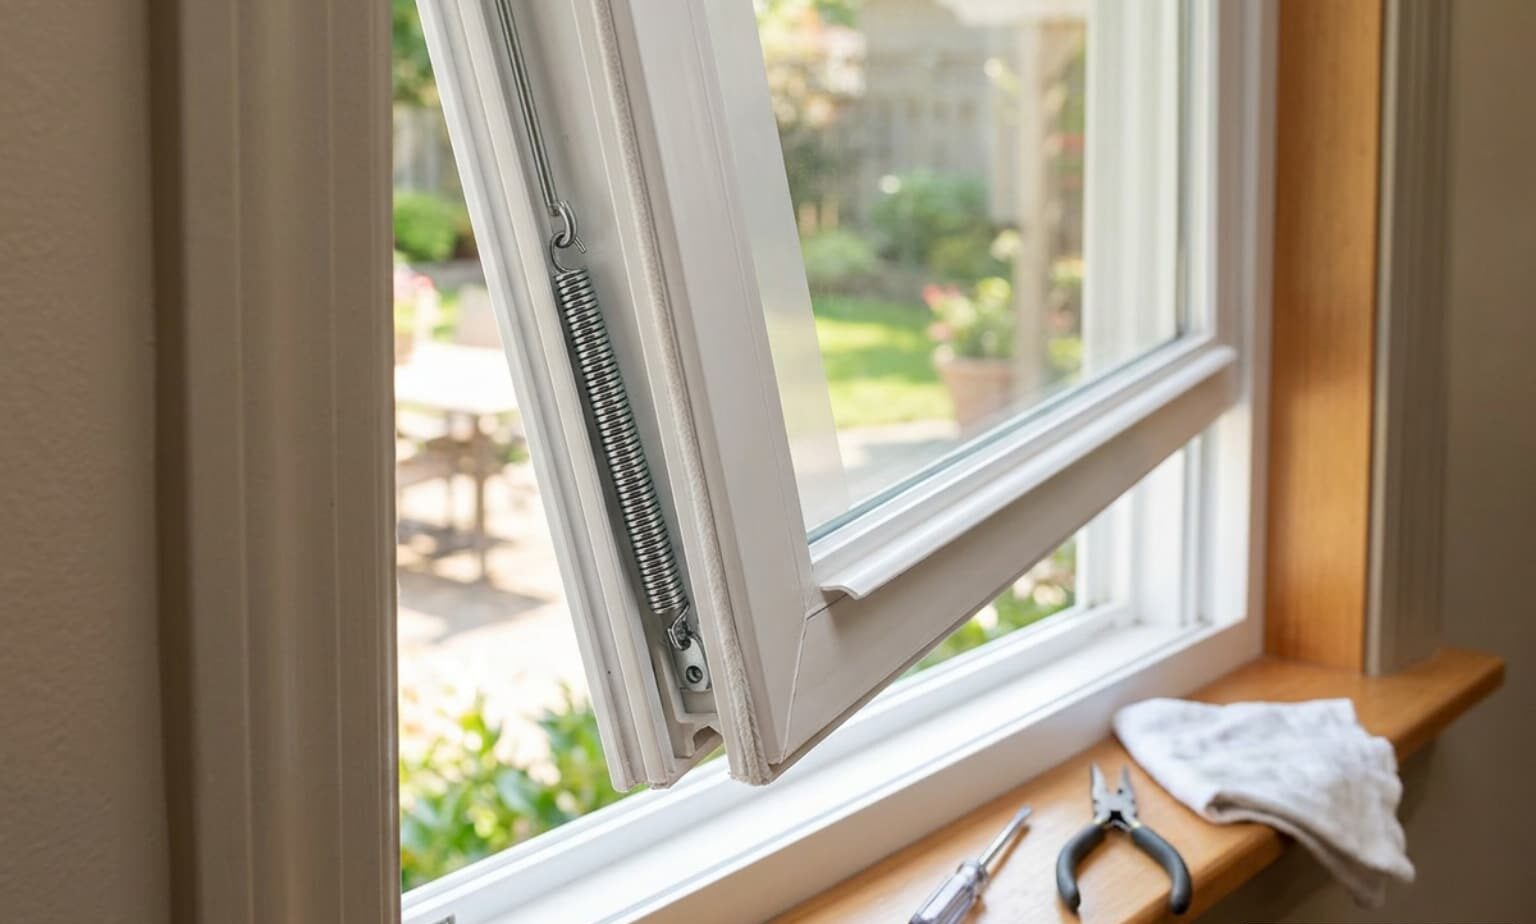
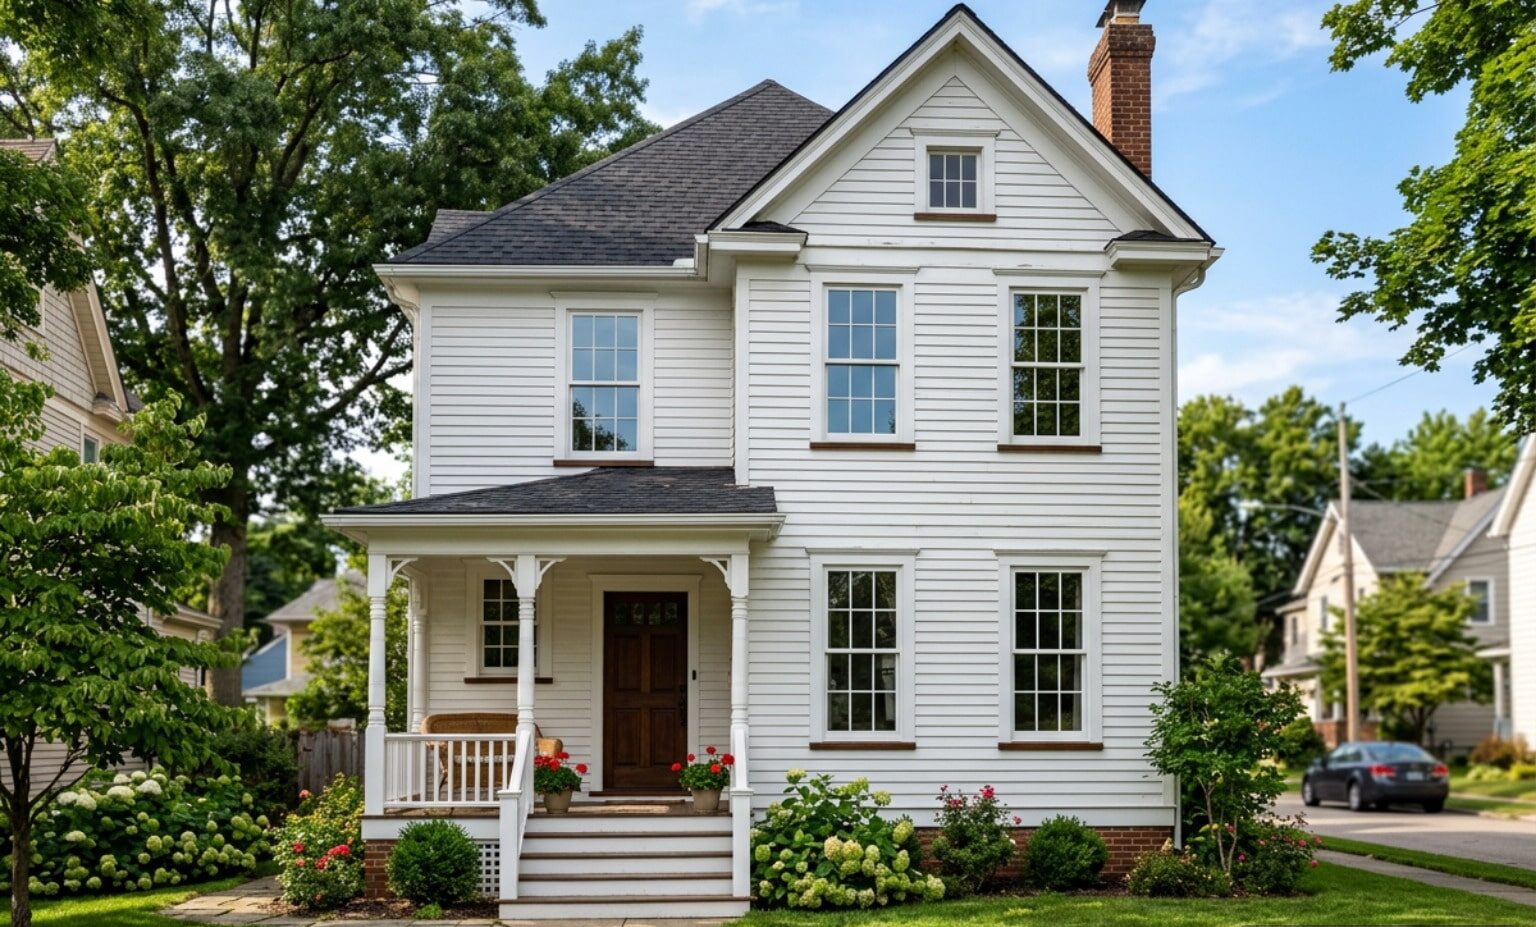
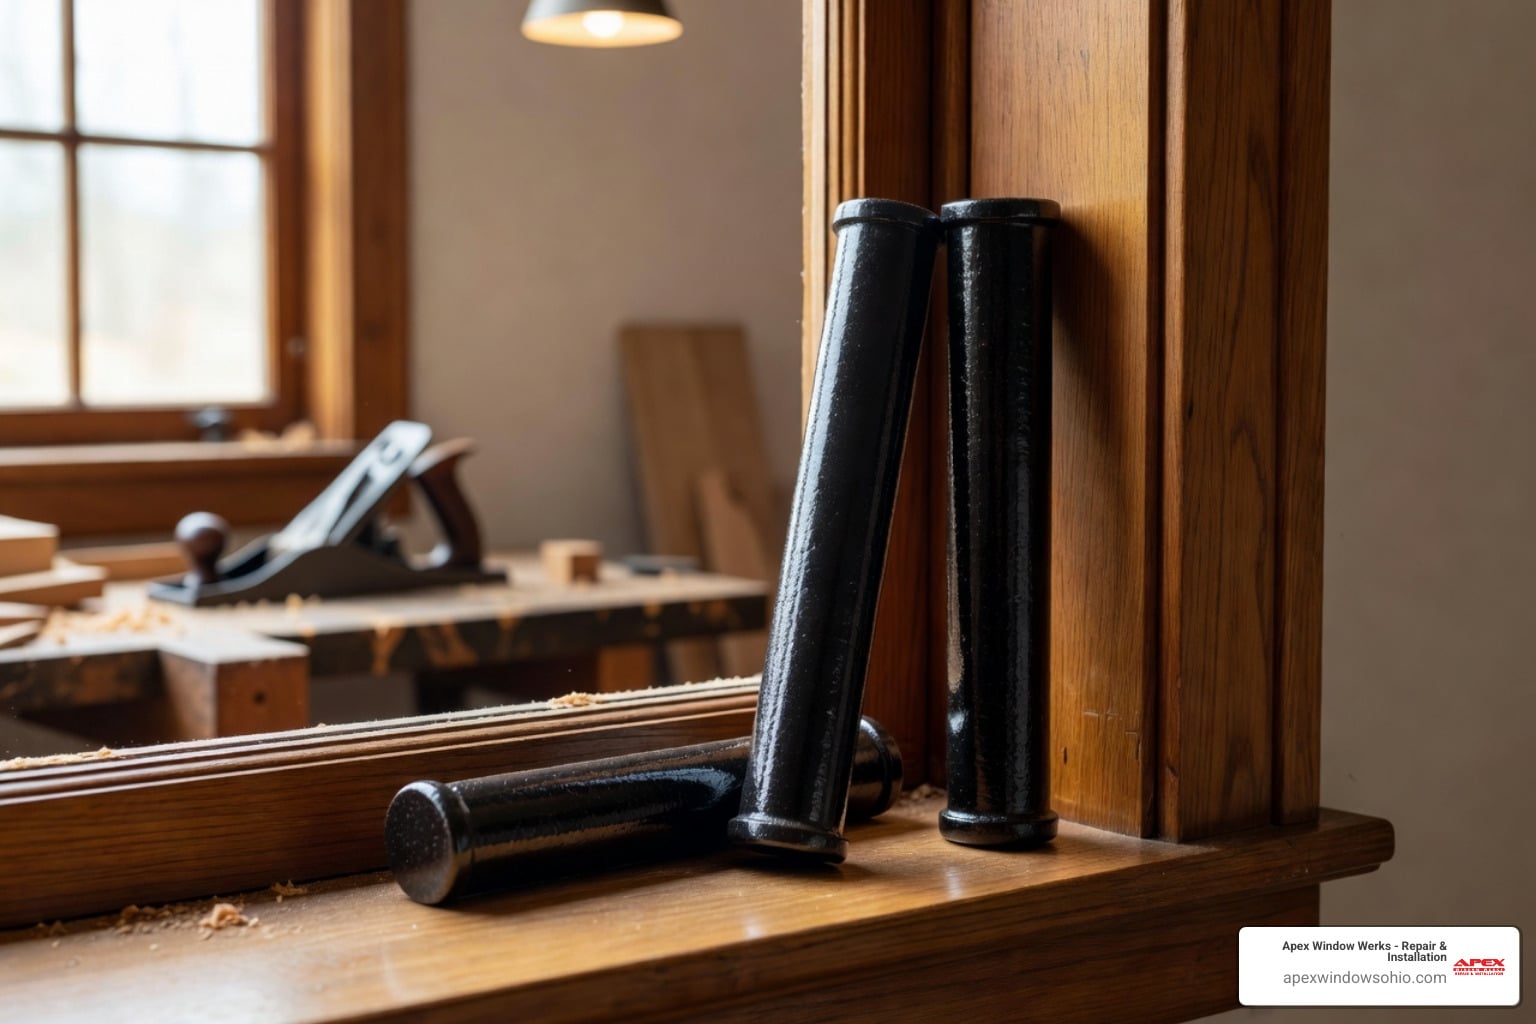
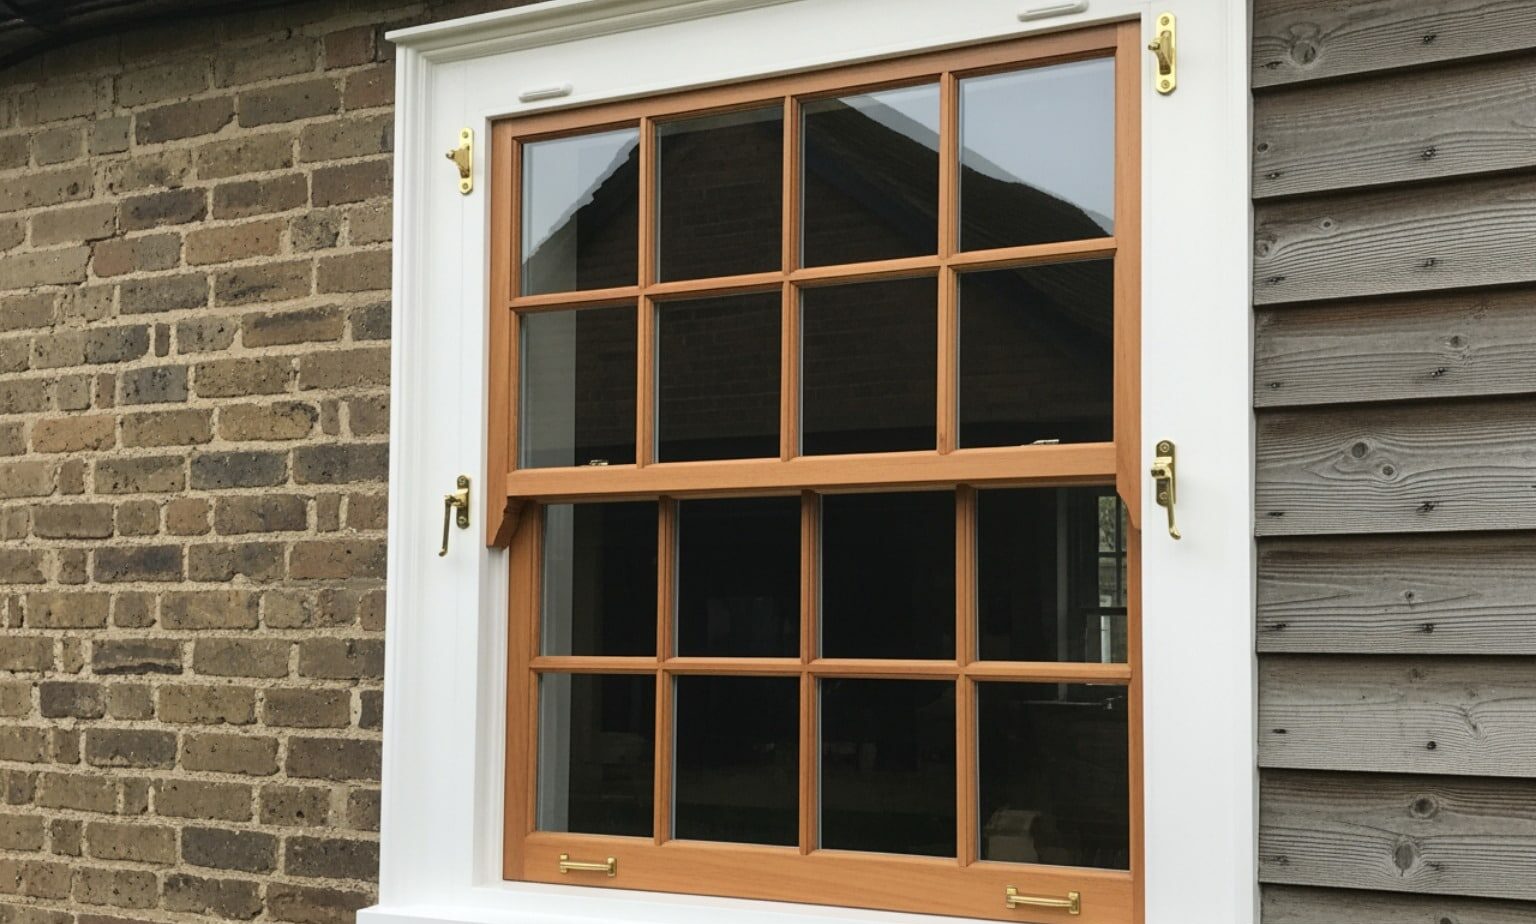
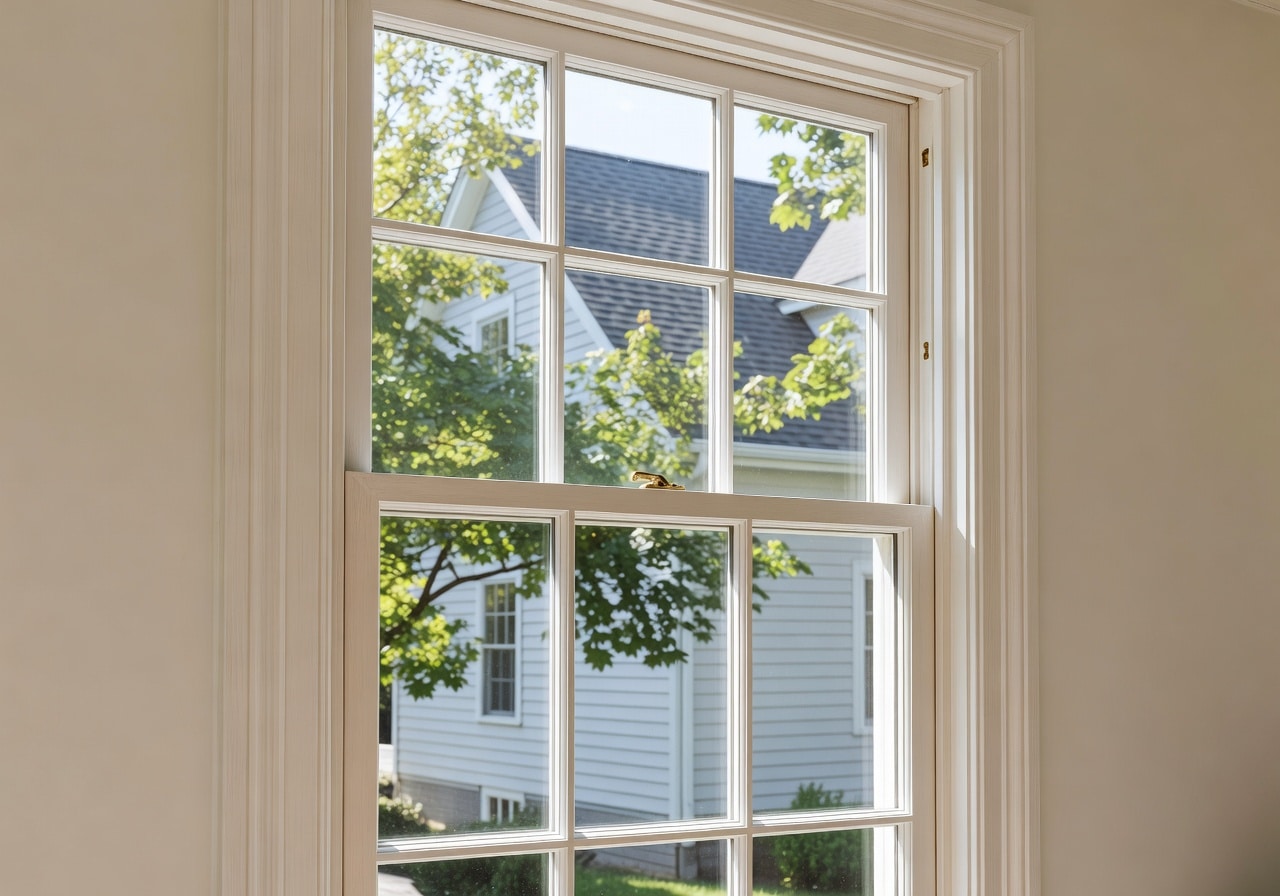
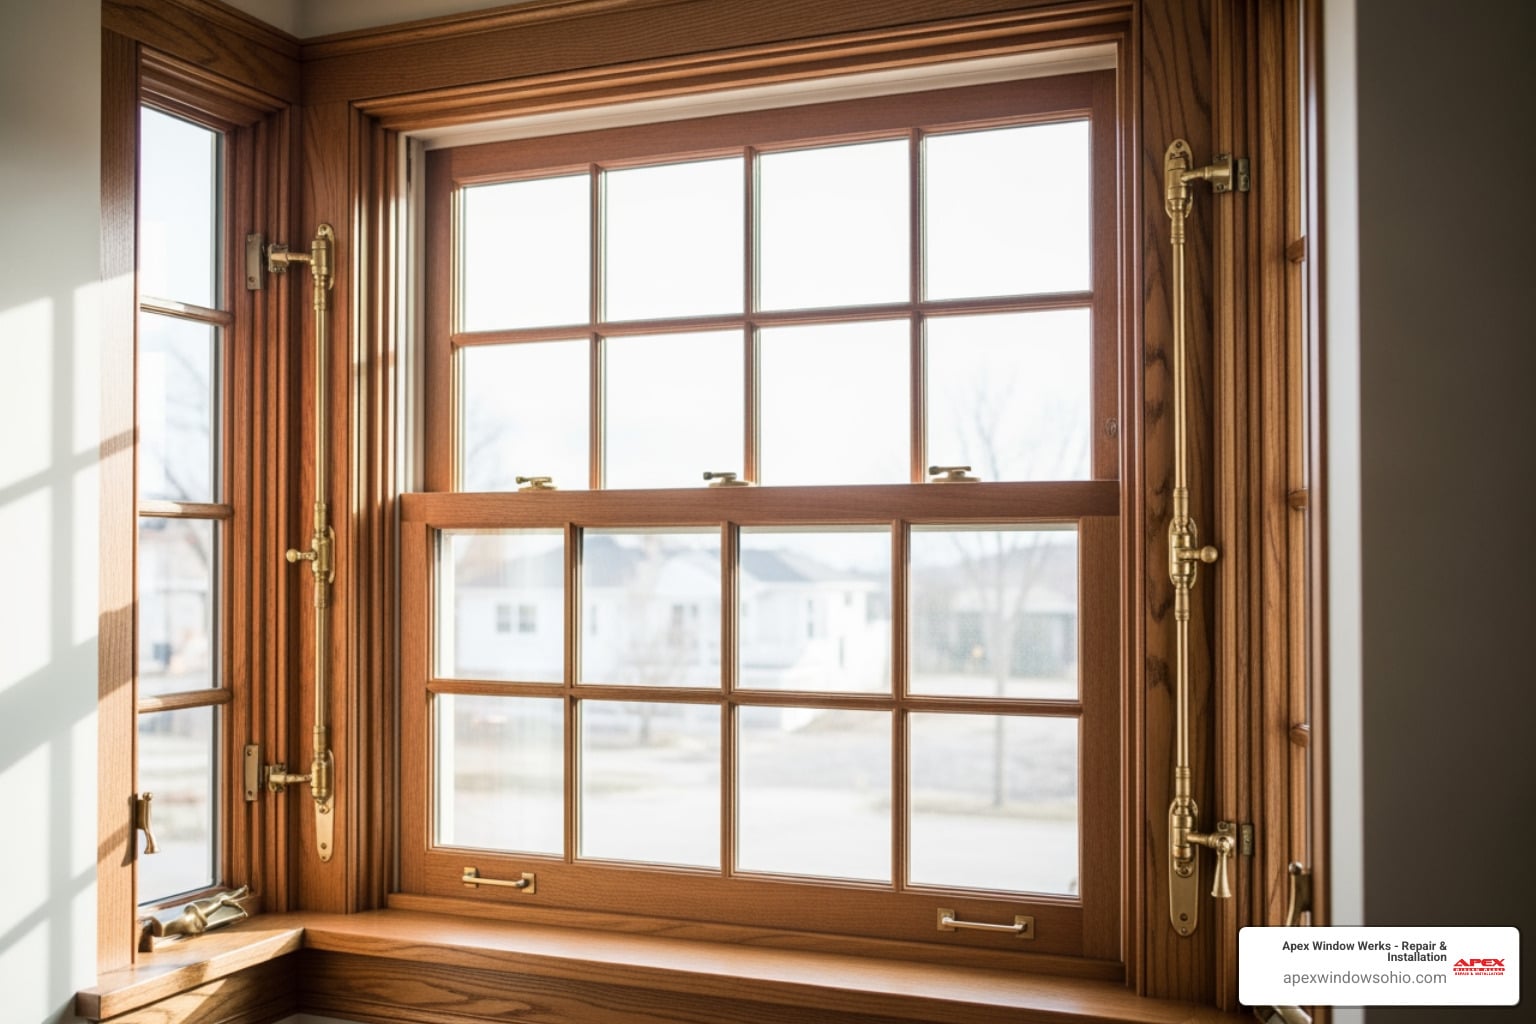
Many historic homes in Cleveland, Lakewood, and Cleveland Heights still feature beautiful, original double-hung windows. While these architectural elements add unmatched character, their mechanical parts eventually wear down. The cotton cords that connect the window sashes to the heavy iron counterweights hidden inside the wall frames are constantly under tension. Over decades, exposure to moisture, paint buildup, and friction will take a toll.
Recognizing the early warning signs of failing sash cords can save you from a suddenly falling window pane, which can crack glass or cause injuries. Here are the most common indicators that it is time to plan a repair:
- The window sash drops suddenly – If you open your window and it immediately slides back down, at least one of the cords has snapped.
- The window feels heavy or lopsided – When one of the two cords on a sash breaks, the remaining cord has to support the entire weight, making the window very difficult to lift.
- Frayed or fuzzy ropes – Inspect the cords running over the pulleys at the top of the frame. If you see loose fibers, fraying, or knots tied by previous owners to patch a break, the cord is near the end of its lifespan.
- Rattling sashes – When cords stretch or break, the sash loses its tight connection to the counterweights, causing the wood frame to rattle during windy Ohio seasons.
- Excessive paint on the ropes – Over years of home maintenance, careless painters often coat sash cords in thick latex or oil-based paint, which makes the rope stiff, brittle, and prone to snapping.
If you notice these issues, addressing them early prevents further damage to the wood frame. For more details on maintaining these classic features, you can read our guide on how to restore and fix old double hung windows.
Step-by-Step Guide to Replacing Window Ropes Safely in Shaker Heights
Before starting, it is crucial to prepare your workspace and gather the correct tools. Working with heavy wooden sashes and iron weights requires caution to avoid breaking vintage glass or pinching fingers.
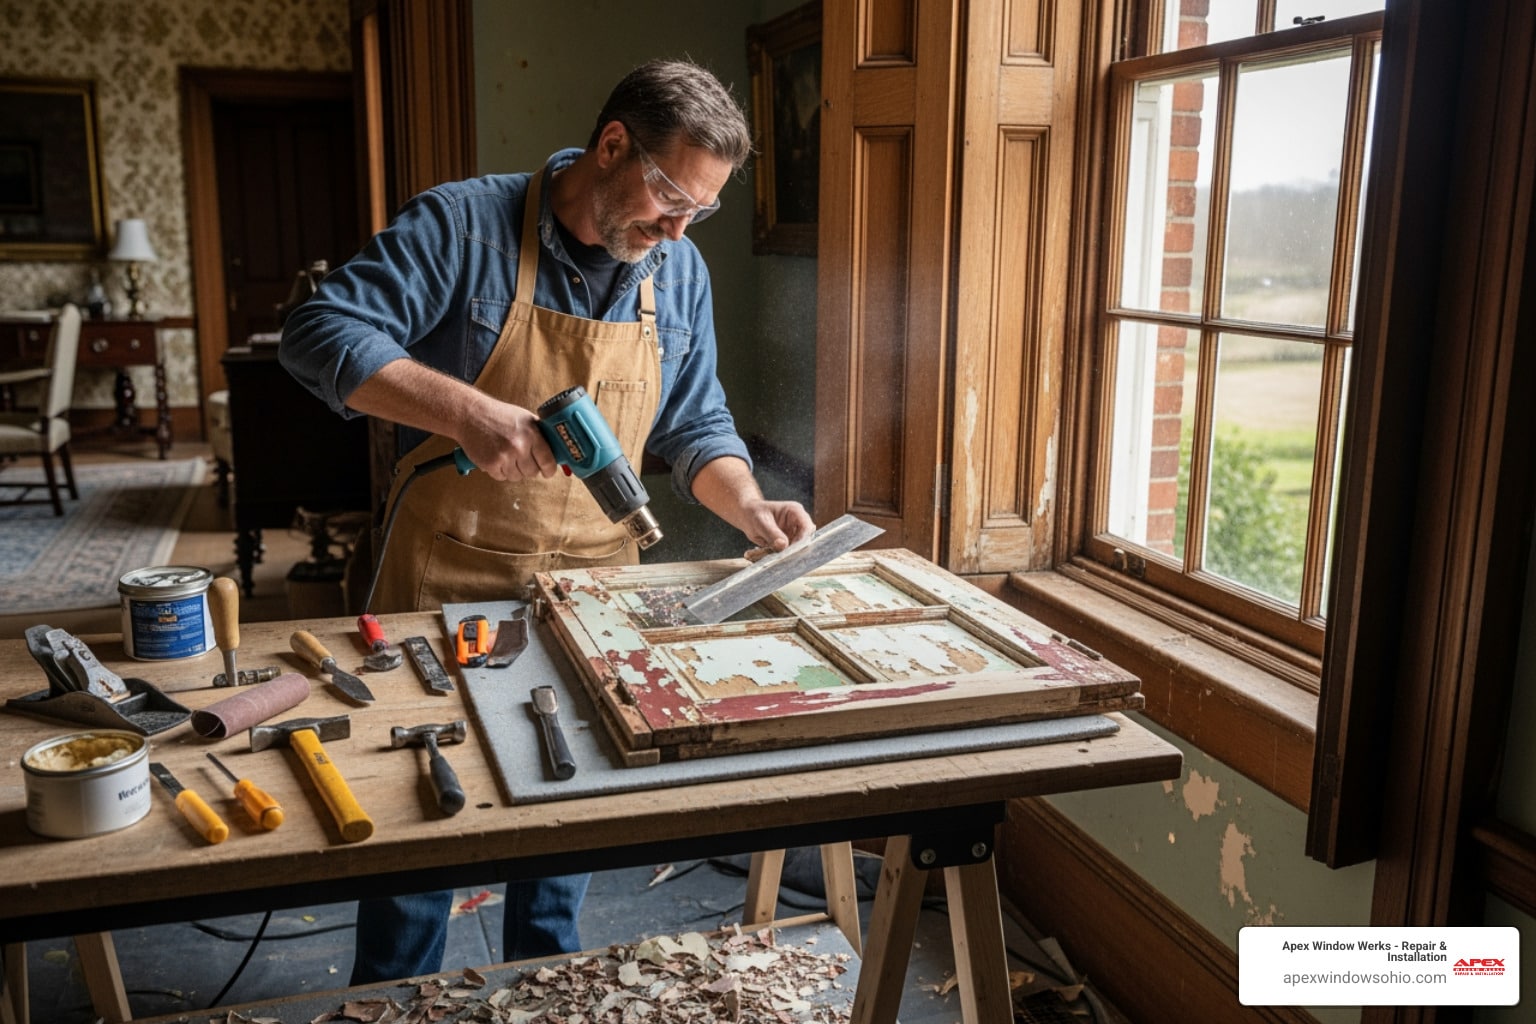
First, protect your interior space. Lay down heavy canvas drop cloths to catch paint chips, dust, and old plaster that often falls out of the weight pockets. If your home was built before 1978, assume that old paint layers contain lead, and take appropriate safety precautions, such as using a respirator and wet-scraping.
Here is the essential checklist of tools and materials you will need:
- High-quality sash cord – We recommend size #8 braided cotton cord, such as Samson Spot Cord, which has a solid cotton core and resists stretching.
- Utility knife – Used for cutting old ropes and scoring painted seams.
- Chisel and pry bar – Essential for gently removing the wooden trim pieces without splitting them.
- Hammer and nail set – To pull out old finishing nails and reinstall trim.
- Pliers – Helpful for gripping old knots and pulling weights out of the pockets.
- Safety glasses and heavy work gloves – To protect yourself from flying debris and heavy iron weights.
- Drywall screws – Used instead of traditional nails to secure the new cord to the sash, making future repairs much easier.
When choosing materials, you might wonder whether to use traditional cotton rope or modern metal sash chain. Below is a comparison to help you decide:
| Feature | Traditional Cotton Sash Cord | Metal Sash Chain |
|---|---|---|
| Aesthetics | Period-correct, classic look for historic homes | Industrial, modern look |
| Durability | Lasts 40 to 60 years if high-quality cotton is used | Virtually indestructible, lasts a lifetime |
| Sound | Silent, smooth operation over wooden pulleys | Distinct metallic clinking sound during movement |
| Installation | Easy to knot and adjust by hand | Requires special spiral hooks and crimping tools |
| Cost | Highly affordable and widely available | More expensive per foot than cotton cord |
While sash chain is incredibly durable, many homeowners in historic districts like Shaker Heights and Hudson prefer the silent operation and authentic appearance of traditional cotton rope. To see a visual demonstration of how these components interact, you can watch this video on how to repair damaged window sash cords.
Step 1: Removing the Sash and Accessing the Weight Pockets in Lakewood Homes
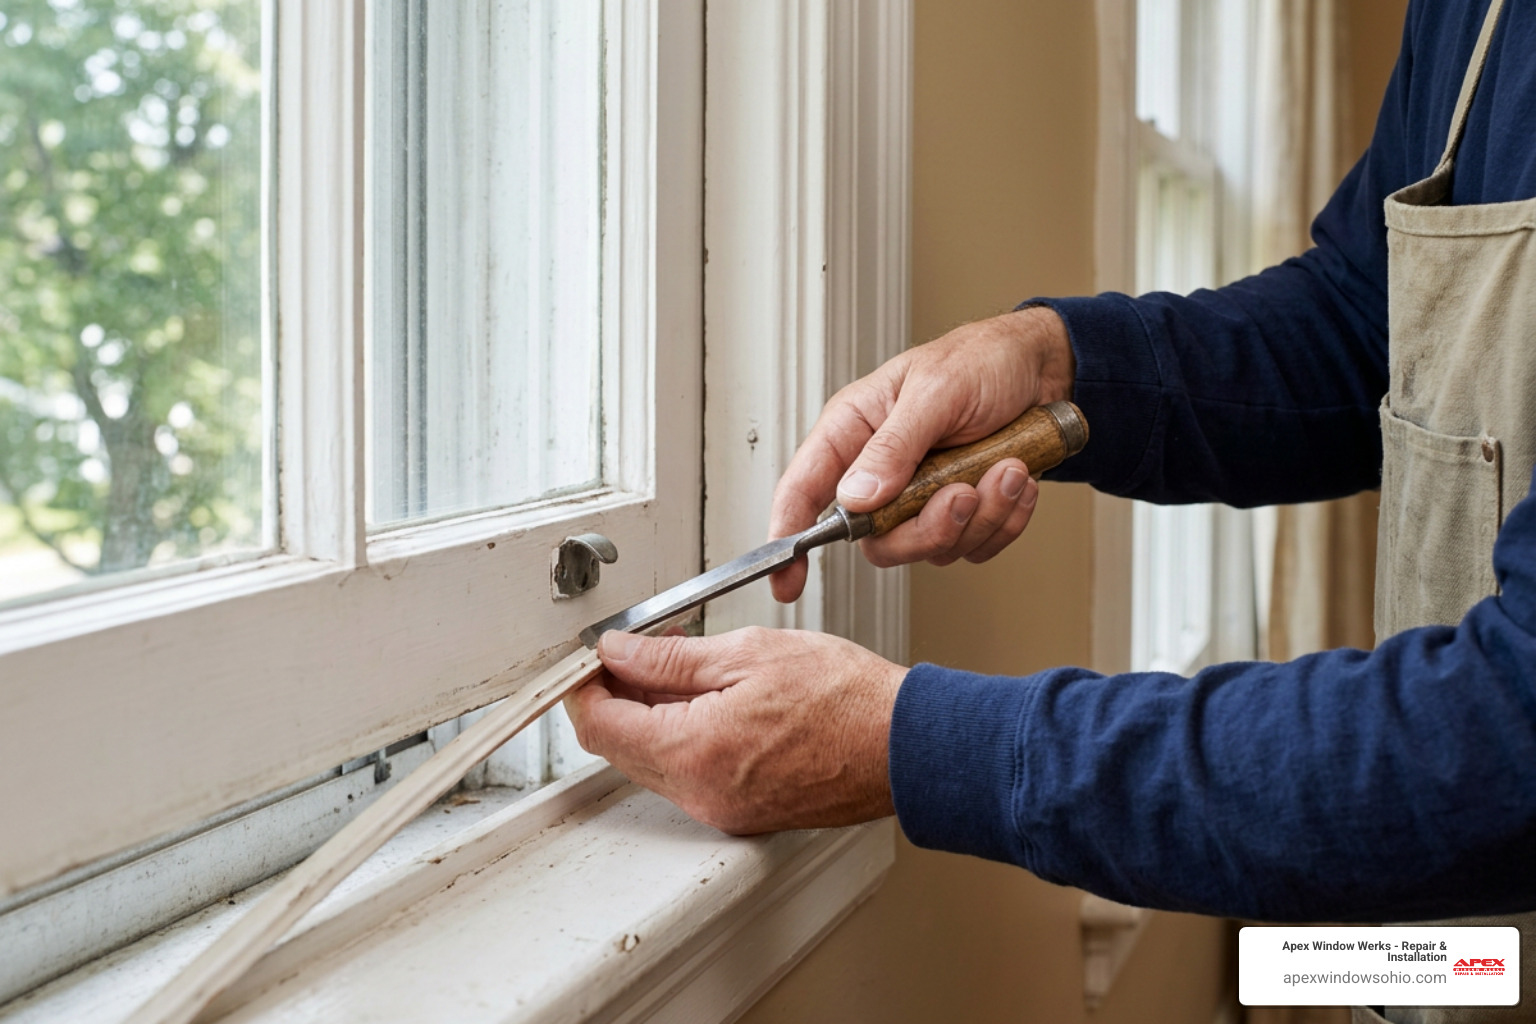
To access the hidden counterweights, you must first remove the window sashes from the frame. This process requires a gentle touch to avoid damaging the historic wood trim.
- Score the paint lines – Use your utility knife to carefully slice through any paint sealing the inner stop bead (also called the staff bead) to the window frame. This prevents the wood from splintering when you pry it free.
- Pry off the staff bead – Insert a thin chisel or flat pry bar behind the staff bead, starting near the middle of the window where there is more flexibility. Gently wiggle the tool and pry outward, working your way up and down until the bead pops free. Label these pieces so you know exactly where they go during reassembly.
- Remove the lower sash – Gently lift the lower sash out of the frame. If the cords are still attached, carefully cut them close to the sash while holding the rope securely so the weight does not crash down inside the wall.
- Remove the parting bead – The parting bead is the thin strip of wood sitting in a groove between the upper and lower sashes. Use pliers to grab the bead and pull it straight out of its channel. If it is painted shut, score the seams thoroughly before pulling.
- Remove the upper sash – With the parting bead removed, you can now pull the upper sash forward and out of the frame, cutting its remaining cords in the same manner.
- Open the weight pocket doors – Look near the bottom of the inner frame tracks. You should see a small rectangular wooden cover secured by a screw or held in place by paint. Remove the screw or pry the cover open to reveal the weight pocket cavity. Reach inside and pull out the cast-iron weights.
If your older home has been heavily painted over, accessing these components can feel intimidating, but taking your time prevents costly mistakes. If you prefer to study the process in more depth first, read our breakdown on how to fix your weighted windows without breaking a sweat.
Step 2: Measuring and Cutting Cord When Replacing Window Ropes in Cleveland Heights
Getting the length of your new sash cord exactly right is the most critical part of this repair. If the cord is too long, the weight will hit the bottom of the pocket before the window is fully closed, preventing it from locking. If the cord is too short, the weight will hit the pulley at the top before the window opens completely, putting stress on the system and potentially breaking the rope.
To get a perfect measurement every time:
- Thread the new cord – Feed one end of your new cotton sash cord over the pulley at the top of the window frame and let it drop down into the weight pocket cavity until you can see it through the pocket door.
- Attach the weight temporarily – Pull the cord out of the pocket door and tie it to the iron counterweight.
- Position the weight – Place the weight back inside the pocket and pull the cord from the top until the weight is suspended exactly one inch above the floor of the cavity.
- Mark the cord – While holding the weight in this suspended position, pull the top sash up to its fully closed position next to the frame. Mark the cord at the exact point where it enters the knot pocket on the side of the wooden sash.
- Add extra length for knots – Pull the cord back out and add about twelve inches of extra length past your mark to account for the knots you will need to tie. Cut the cord at this point.
For a deeper look at calculating these measurements for unique window sizes, refer to this DIY Sash Cord Replacement Guide.
Step 3: Tying the Perfect Knots for Weights and Sashes in Solon
Using the correct knots ensures that your window operates smoothly and that the rope never slips off the weight inside the wall frame, which would force you to tear the window apart all over again.
At the weight end, we highly recommend using a bowline knot. The bowline is a classic, self-tightening knot that will not slip under tension but remains relatively easy to untie if you ever need to adjust the rope length. Once the bowline is tied securely around the loop of the iron weight, feed the weight back into the pocket door.
At the sash end, you need a knot that fits perfectly inside the round pocket carved into the side of the wooden sash. A simple pretzel knot (or a double figure-eight knot) works best here:
- Tie the knot – Tie a tight, compact knot at the end of the rope.
- Test the fit – Place the knot into the sash pocket. It must sit completely flush or slightly below the surface of the wood. If the knot protrudes, it will rub against the window frame, making the window stick or wear out prematurely.
- Secure the knot – Instead of using traditional brad nails, drive a small drywall screw directly through the center of the knot and into the wooden sash. This holds the rope firmly in place and makes it incredibly easy to unscrew and remove the sash for future painting or glass repairs.
Key Differences: Upper vs. Lower Sash and Re-Roping Without Removing Pulleys in Lakewood
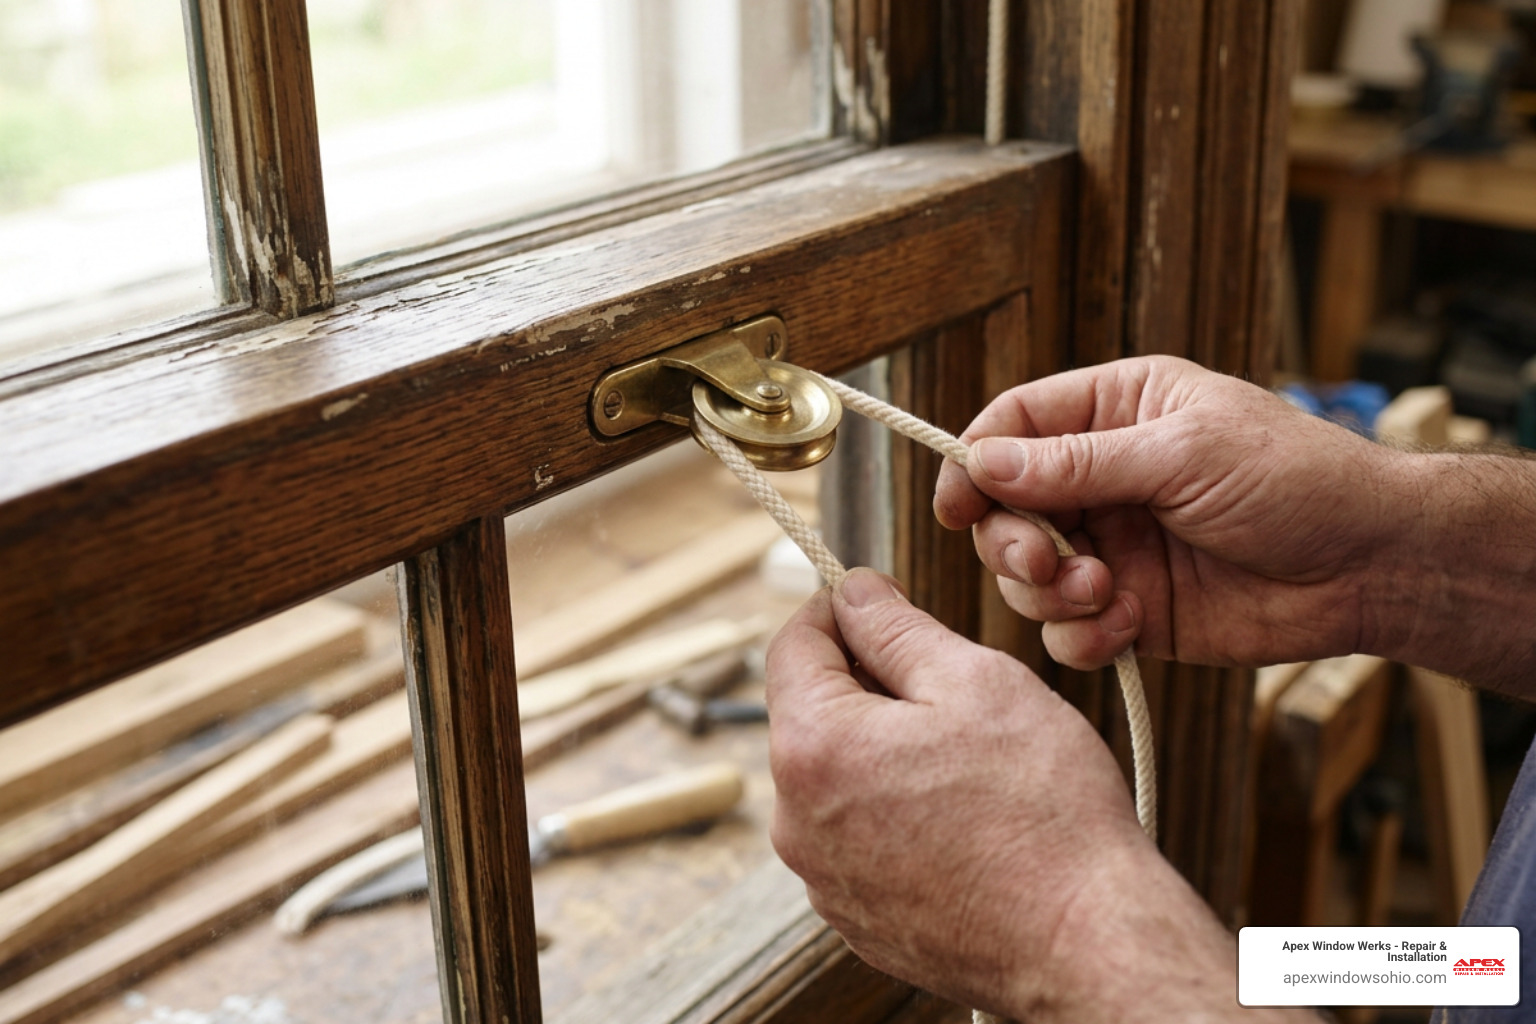
When undertaking this project in your home, it is important to realize that double-hung windows contain two separate pairs of weights and cords. The inner sash (the bottom window) and the outer sash (the top window) operate on separate tracks and have slightly different requirements.
Replacing Window Ropes on Upper vs. Lower Sashes
The lower sash is the one you open most frequently. Because it sits on the inside track, its weights are placed in the front portion of the wall cavity. The upper sash sits on the outer track, and its weights are located in the rear portion of the cavity.
Here are the key differences to keep in mind when working on them:
- Weight pairing – The weights for the upper and lower sashes are often different sizes. The upper sash is usually heavier due to the glass layout or framing, so make sure you do not mix up the weights when you pull them out of the pocket doors.
- Travel distance – The lower sash needs to travel from the sill up to the meeting rail, while the upper sash travels from the top header down to the meeting rail. This means their cord measurements require opposing approaches to ensure the weights do not crash into each other inside the wall.
- Access – You cannot replace the upper sash cords without removing the parting strip and the lower sash first. Always plan to inspect and replace the lower sash cords at the same time you service the upper ones to save labor.
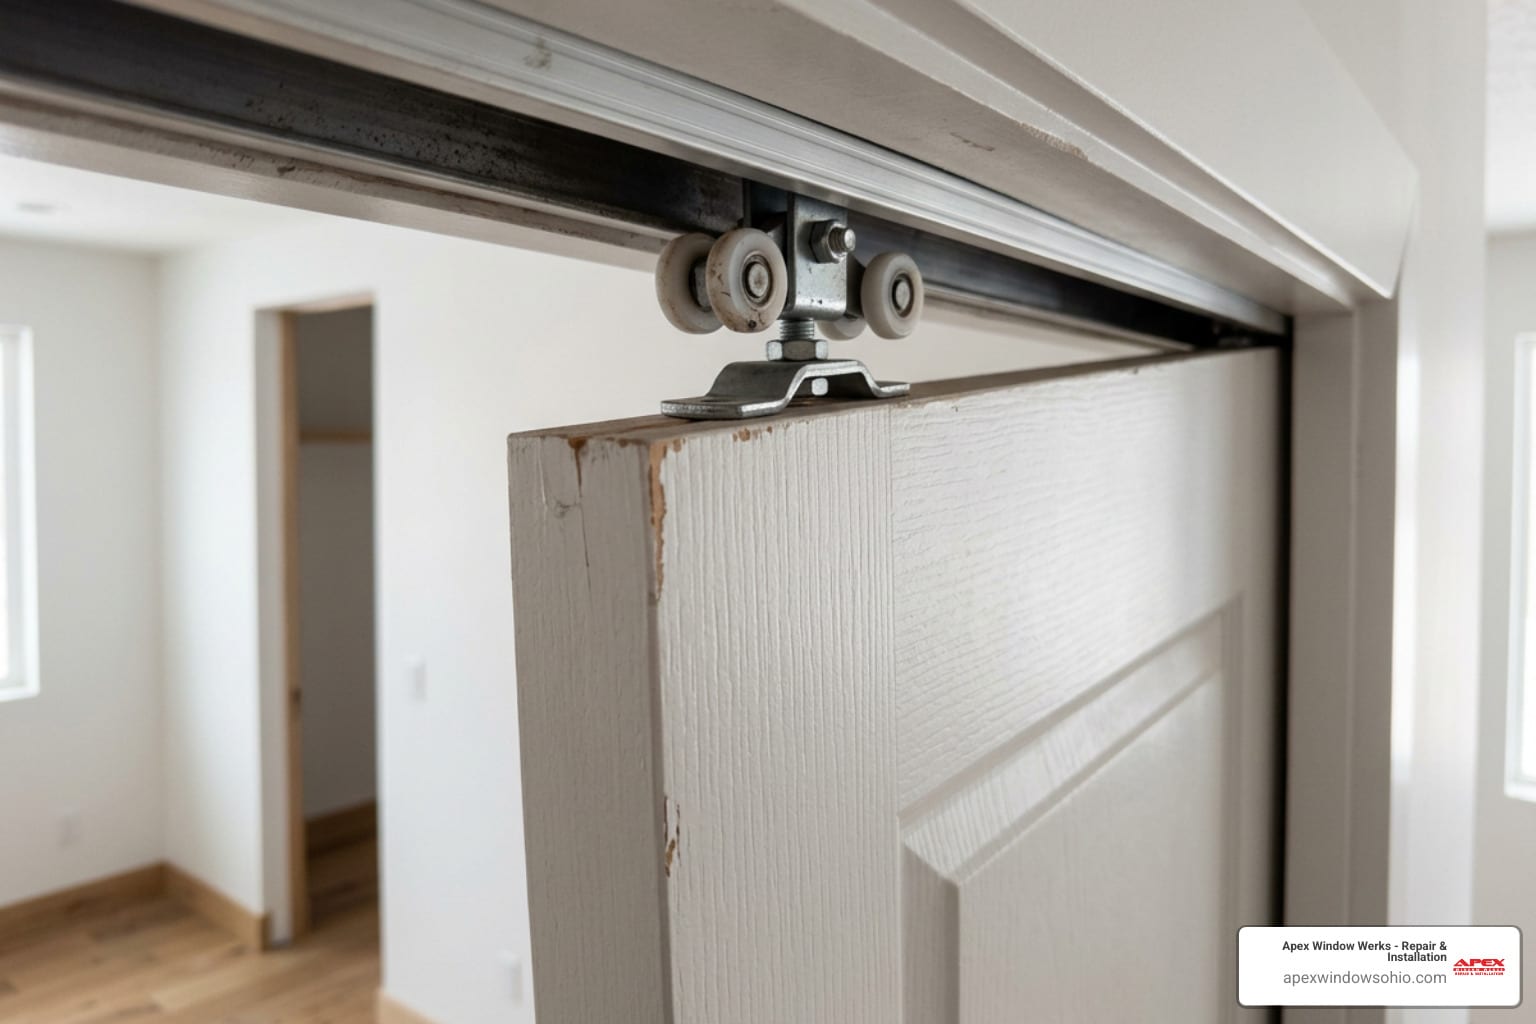
If you are struggling to feed the new rope over the pulleys without removing them, you can use a clever trick. Tie a piece of thin mason’s string to a small weight, like a heavy nut or a taped drill bit. Drop this string over the pulley first; its weight will easily pull it down to the pocket door. Once the string is through, tie it to your thick cotton sash cord and pull it back up, guiding the rope effortlessly over the pulley.
Common Mistakes to Avoid and Modern Alternatives in Akron
While replacing window ropes is a highly rewarding DIY project, there are several common pitfalls that can ruin your hard work:
- Using cheap synthetic rope – Never use cheap nylon or polyester clothesline from a local big-box store. Synthetic ropes stretch significantly under the constant weight of the iron balances, which will cause your windows to sag within months. They also degrade quickly under UV exposure from sunlight.
- Failing to clean the pulleys – Pulleys that are packed with old paint, rust, or dirt will not spin. If the pulley is seized, the new rope will simply drag across it, causing the cotton to fray and snap in a short period. Clean and lubricate the brass or iron wheels with a drop of light machine oil before installing new ropes.
- Forgetting to paint-prep the tracks – While the sashes are out of the frame, take the opportunity to scrape away old paint buildup in the tracks. Smooth wood-on-wood contact is essential for easy operation.
- Using the wrong size rope – Standard residential windows require size #8 (one-quarter inch) rope. Using rope that is too thick will jam in the pulley, while rope that is too thin can slip off the wheel and get wedged in the housing.
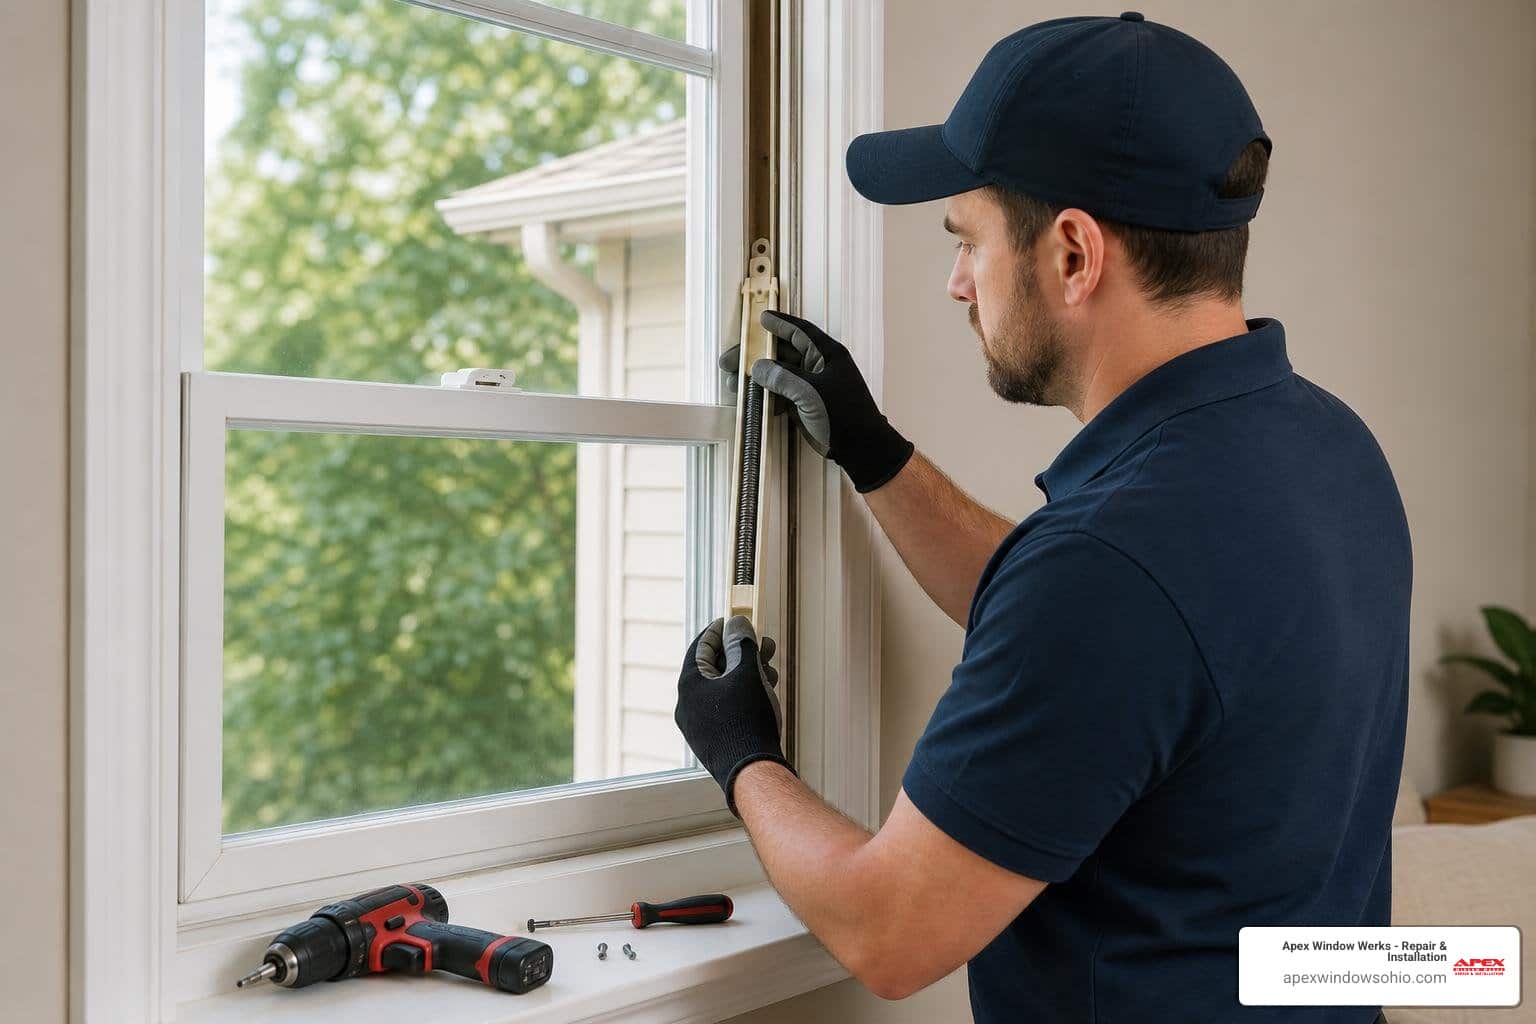
For some homeowners, maintaining a traditional weight-and-pulley system feels like too much upkeep. In these cases, modern alternatives are available. You can replace the entire rope-and-weight setup with modern spring balances or vinyl jamb liners, which utilize spring tension to hold the sashes open. While these systems eliminate the need for cords and weight pockets, they alter the historic appearance of the window and are often discouraged in historic preservation districts. If your wooden frames need structural attention before you can even address the ropes, we offer specialized wood window frame repair to restore the structural integrity of your home.
Frequently Asked Questions About Window Sash Repair in Akron, OH
How do I know if my window weights are the correct size?
To check if your window weights are properly balanced, you need to weigh the wooden sash itself on a standard scale. A perfectly balanced double-hung window should have two weights that collectively equal the exact weight of the sash. For example, if your lower sash weighs twelve pounds, you should have two six-pound iron weights in the pockets. If the weights are too light, the window will not stay open; if they are too heavy, the window will fly upward when unlocked.
How much does window sash repair cost in Akron, OH?
The cost of window sash repairs depends on whether you tackle the project as a DIY weekend task or hire a professional team. If you choose the DIY route, your expenses will be limited to basic materials like premium cotton sash cord, sandpaper, and replacement screws.
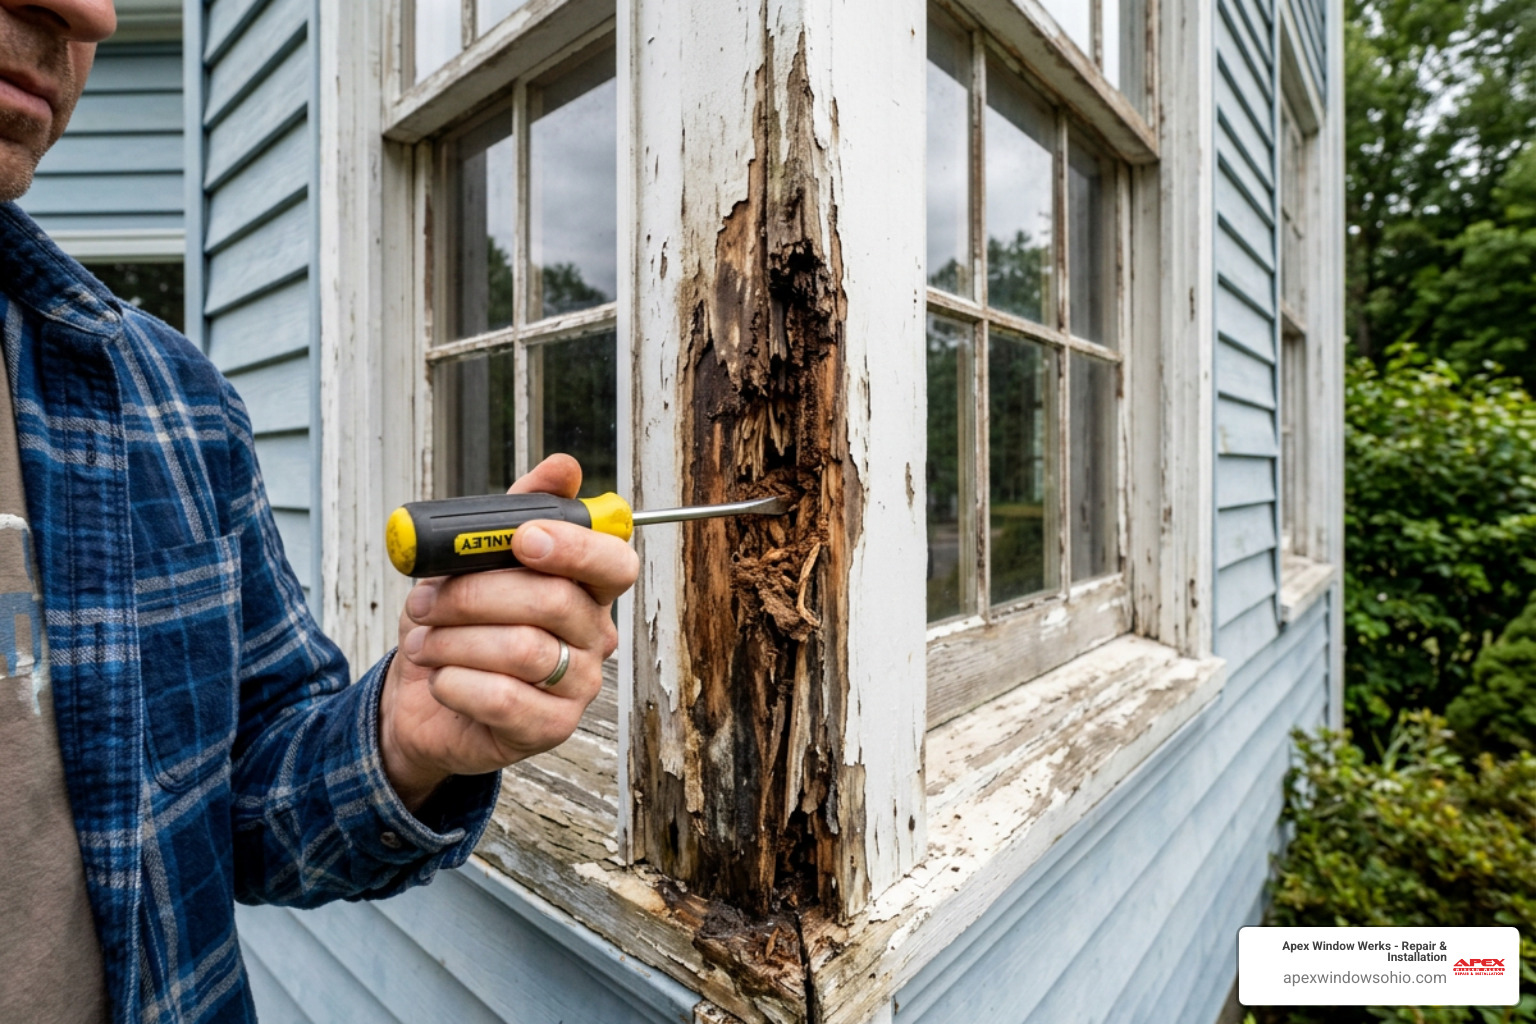
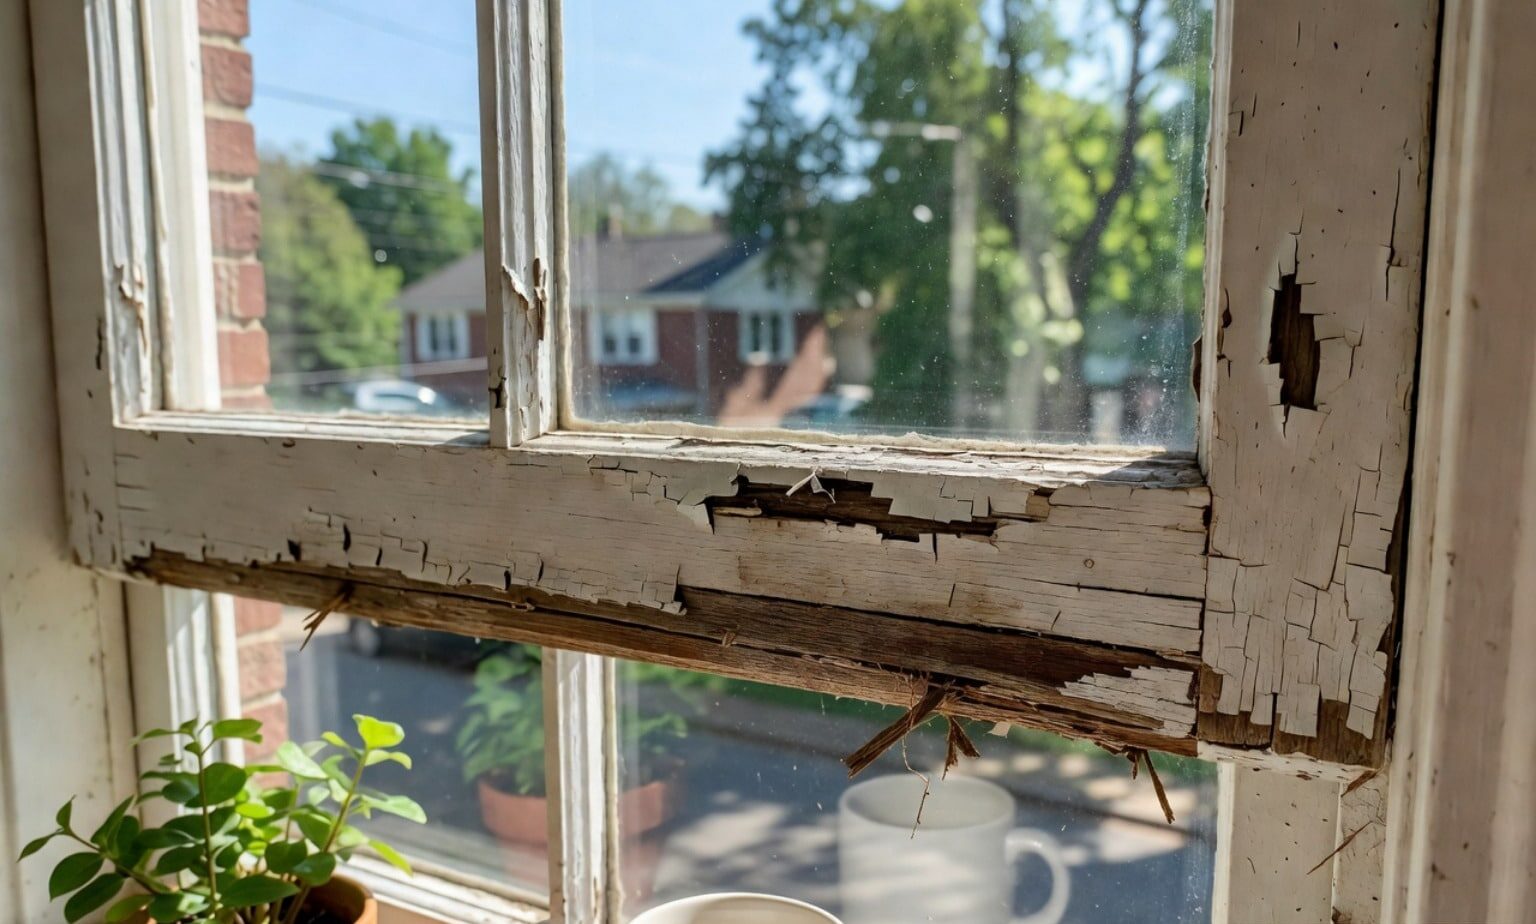
If you prefer to hire experienced professionals to handle the delicate removal of vintage trim, paint scraping, and precise weight balancing, the cost will vary based on the number of windows, the height of the frames, and whether both the inner and outer sashes need attention. If your window sills or frames have suffered from wood rot over the years, combining cord replacement with our wood window sill and frame repair is a highly cost-effective way to fully restore your windows in one visit.
Can I replace sash cords with modern spring balances?
Yes, it is entirely possible to convert an old weight-and-pulley system to a modern spring balance system. This involves removing the weights, sealing up the empty weight pockets with insulation to improve energy efficiency, and installing spring-loaded hardware in the tracks. However, this conversion will change the authentic operation and look of your historic windows, which may violate local historic preservation guidelines in areas like Hudson or Cleveland Heights.
Conclusion: Expert Window Rope Replacement in Cleveland
Restoring your home’s historic double-hung windows by replacing window ropes is a fantastic way to preserve the architectural integrity of your property while regaining smooth, effortless operation. There is immense satisfaction in hearing the quiet glide of a well-balanced sash and knowing that your quality repair will keep the window functioning beautifully for decades to come.
However, we understand that prying apart delicate, century-old wood trim, handling heavy iron weights, and working around fragile historic glass can be a stressful and time-consuming process. If you would rather leave the heavy lifting to the experts, Apex Window Werks is here to help. We provide fast, reliable, and high-quality residential services throughout Northeast Ohio, including Lakewood, Akron, and Solon. Whether you need a single rope replaced or a complete window overhaul, explore our professional wood window repair services or contact us today to schedule your consultation.