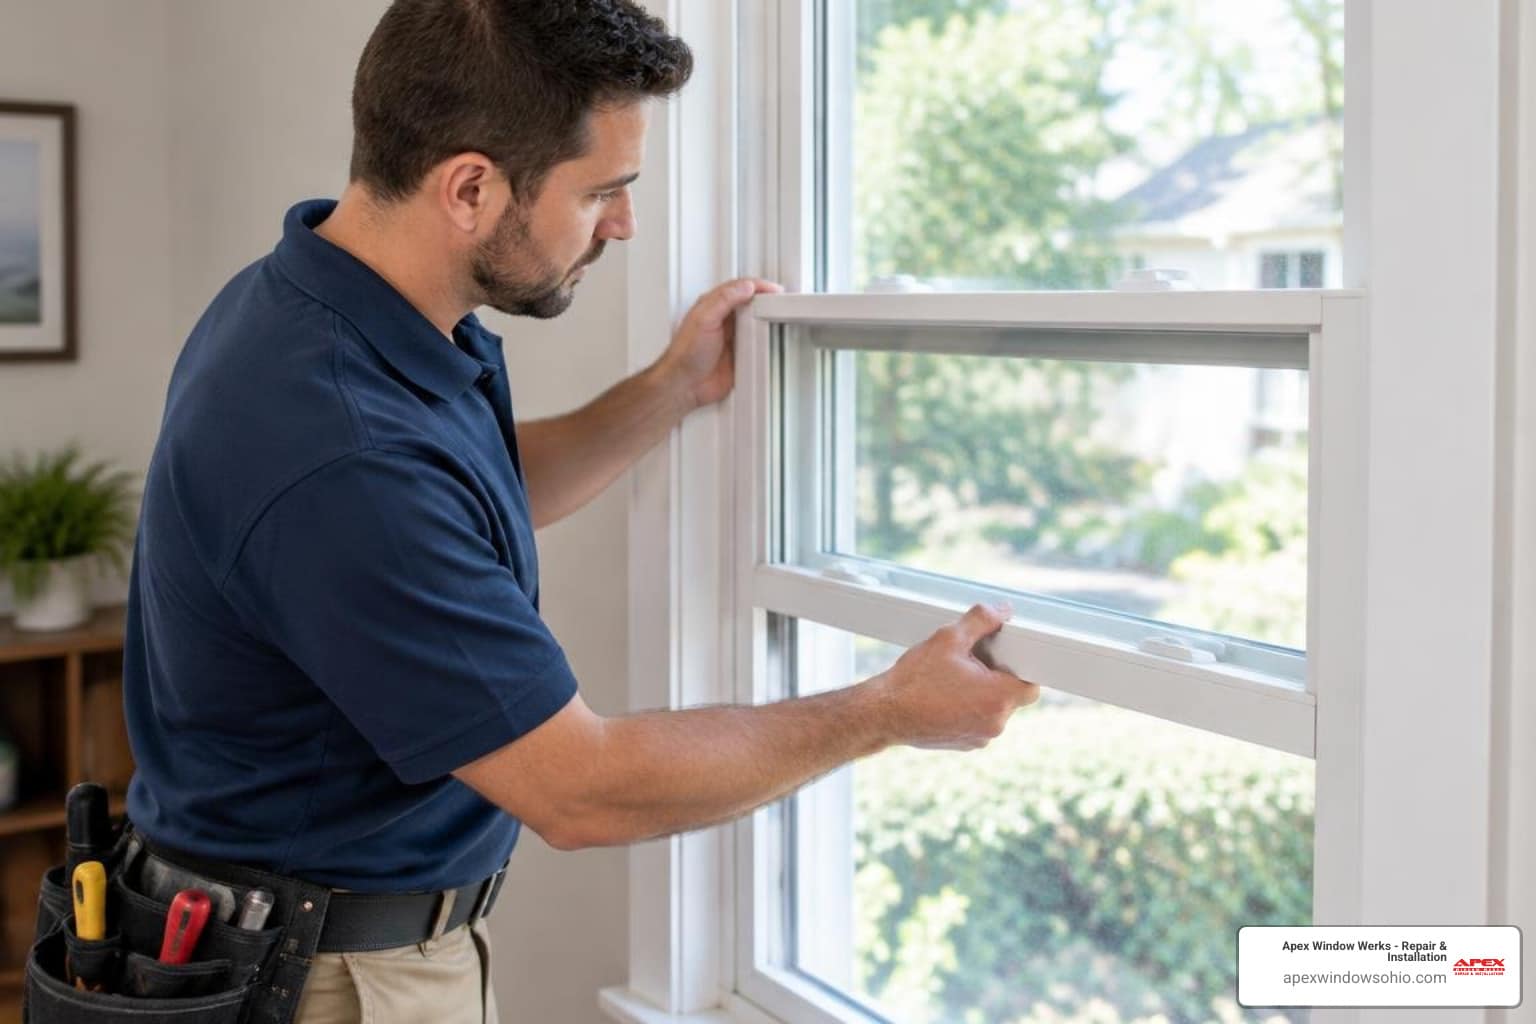
Fix Sinking Sashes with Direct Window Balancer Replacement
Understanding Window Balance Types and Sizing for Northeast Ohio Homes
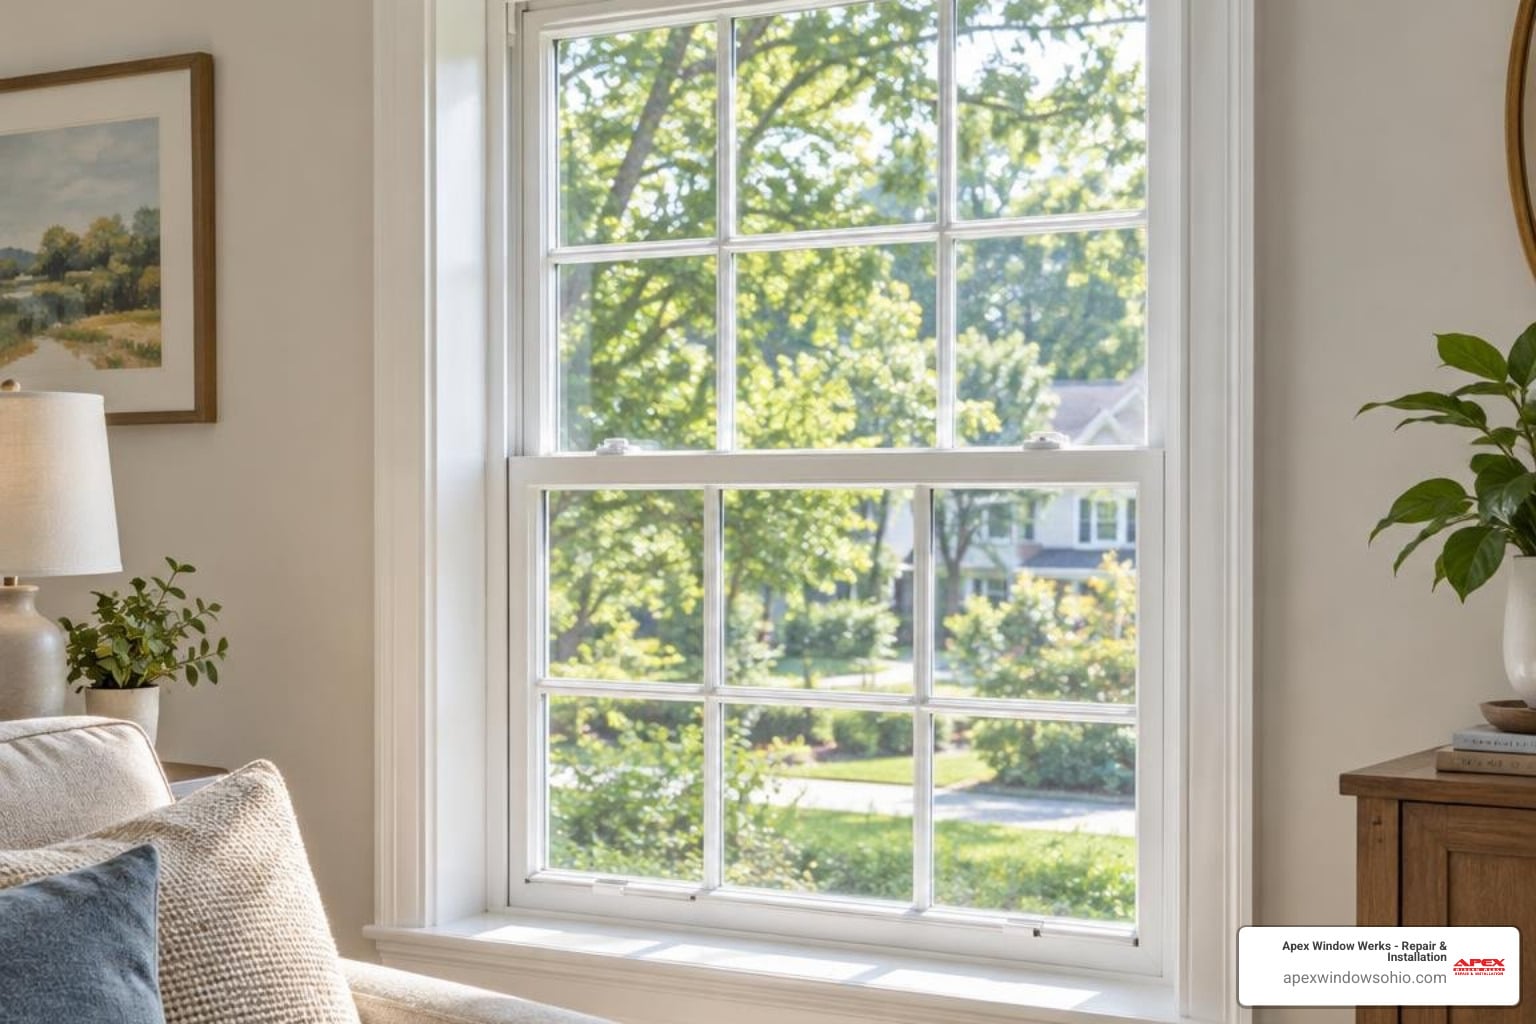
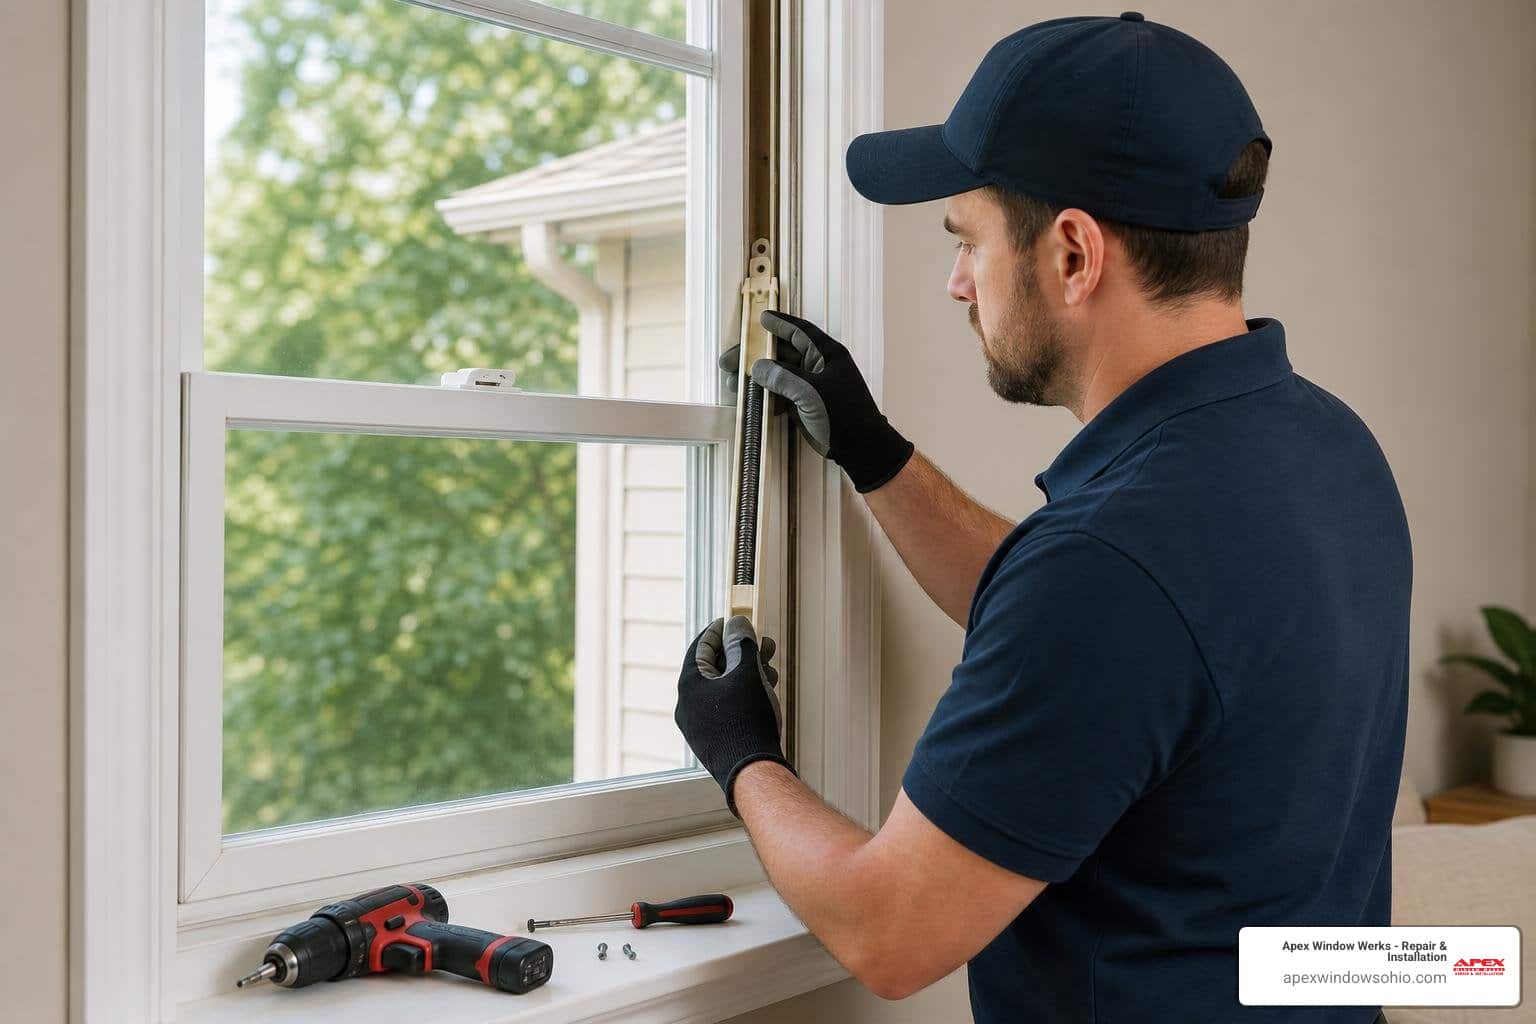
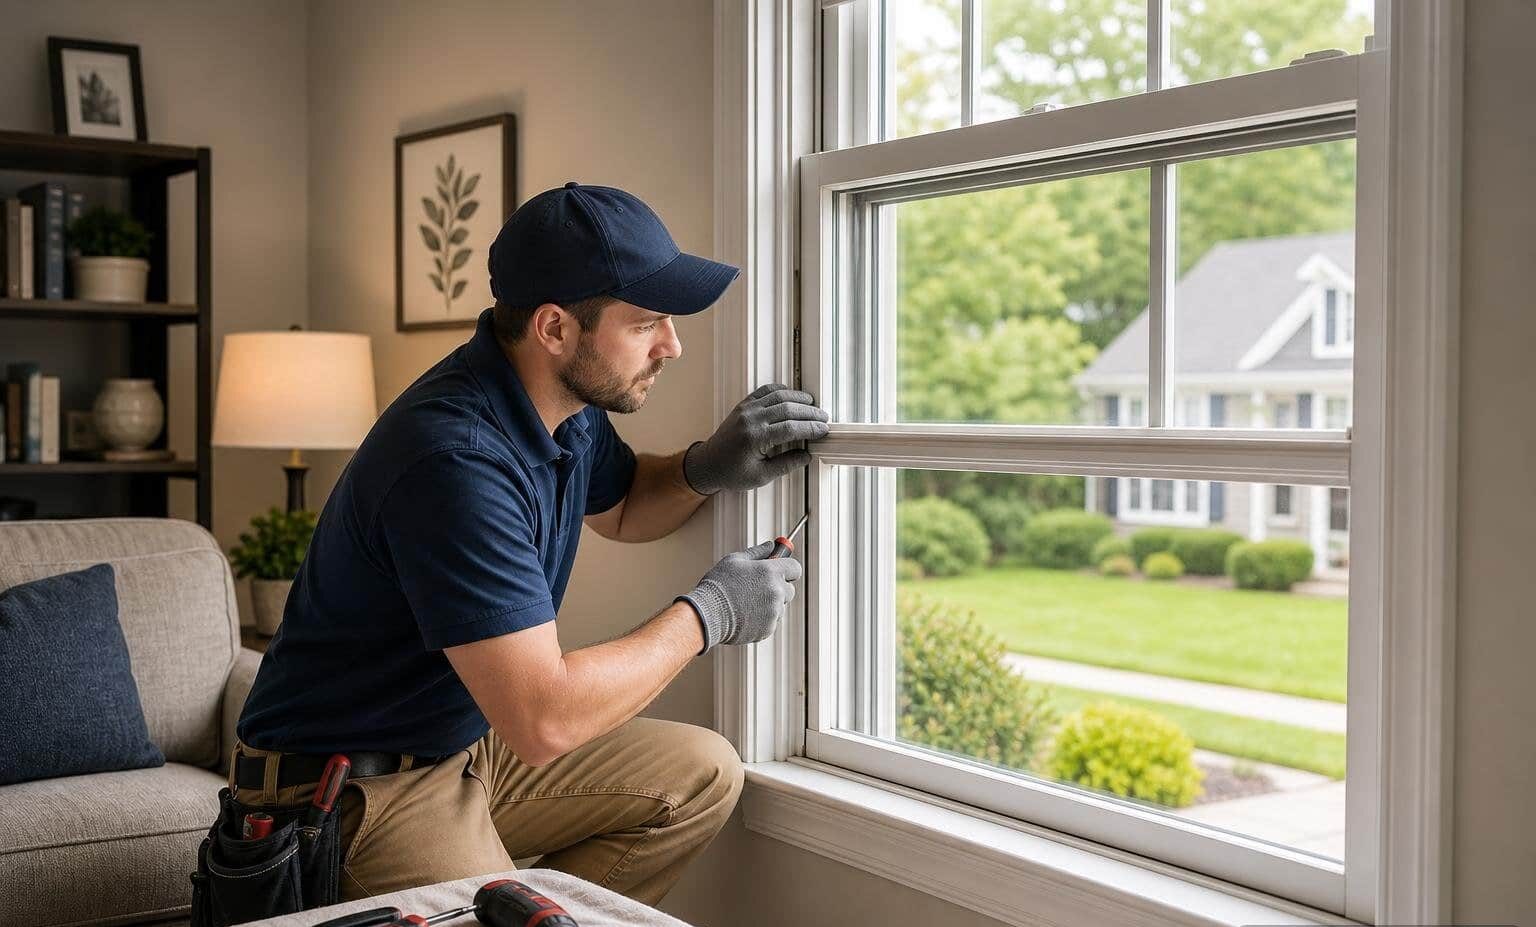
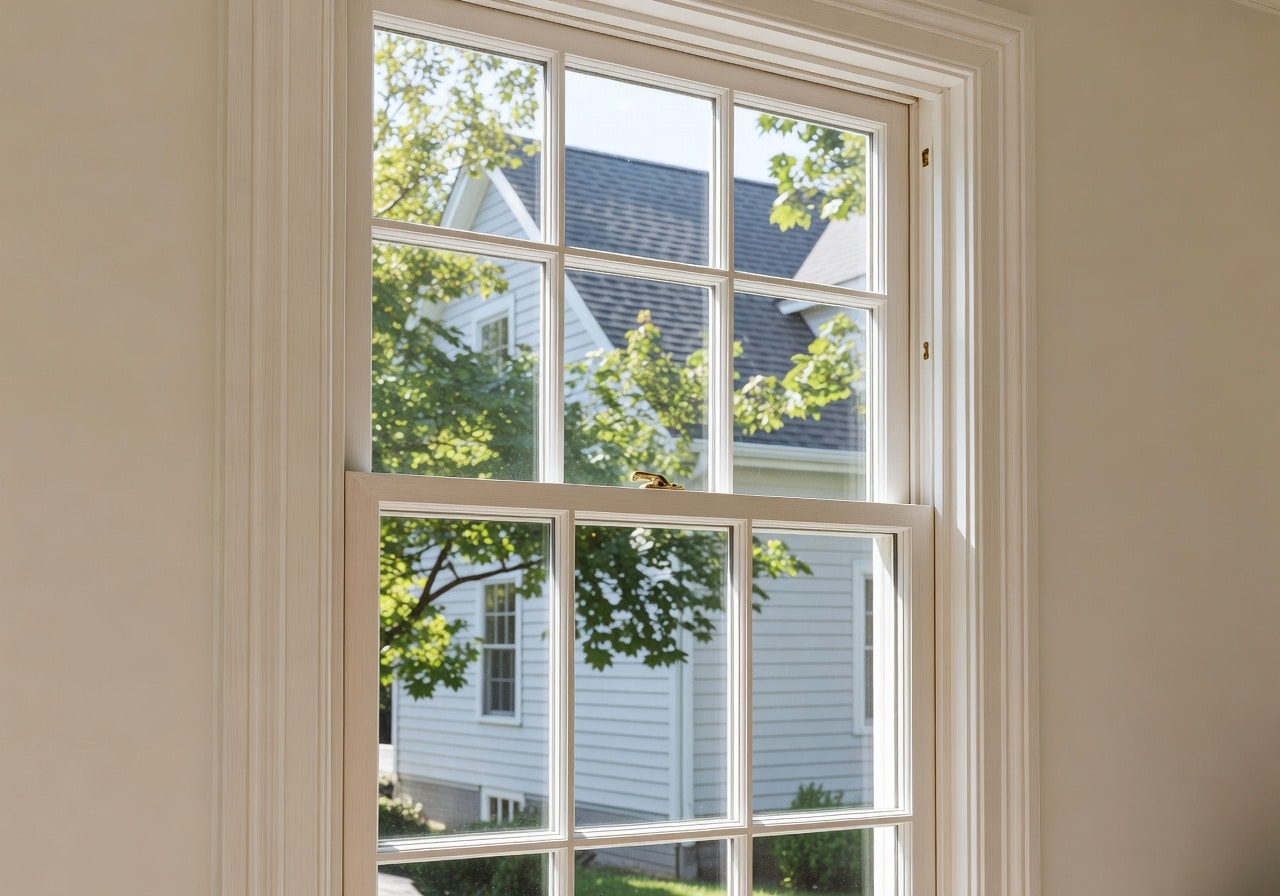
To replace a window balancer, first identify the existing mechanism – block and tackle, spiral, or constant force – then match the replacement to the sash weight and channel length, remove the sash, and install new balances in pairs. Window balances work quietly inside the jambs of single-hung and double-hung windows. Their job is simple: offset the physical weight of the glass sash so you can raise and lower it without straining, and ensure the sash stays securely open at any height. When internal springs stretch out, cords snap, or nylon guides crack, the sash feels heavy, refuses to stay open, or drops unexpectedly.
Selecting the right replacement hardware requires understanding how the existing counterbalance mechanism operates. Before purchasing new parts, consult a vinyl window balance selection guide to match your frame’s internal architecture with the proper mechanism.
| Balance Type | Internal Mechanism | Typical Profile / Diameter | Common Application |
|---|---|---|---|
| Block & Tackle | Extension spring with pulleys & cord | U-shaped channel (typically 1/2″ or 9/16″ wide) | Modern vinyl, aluminum, and wood tilt or non-tilt windows |
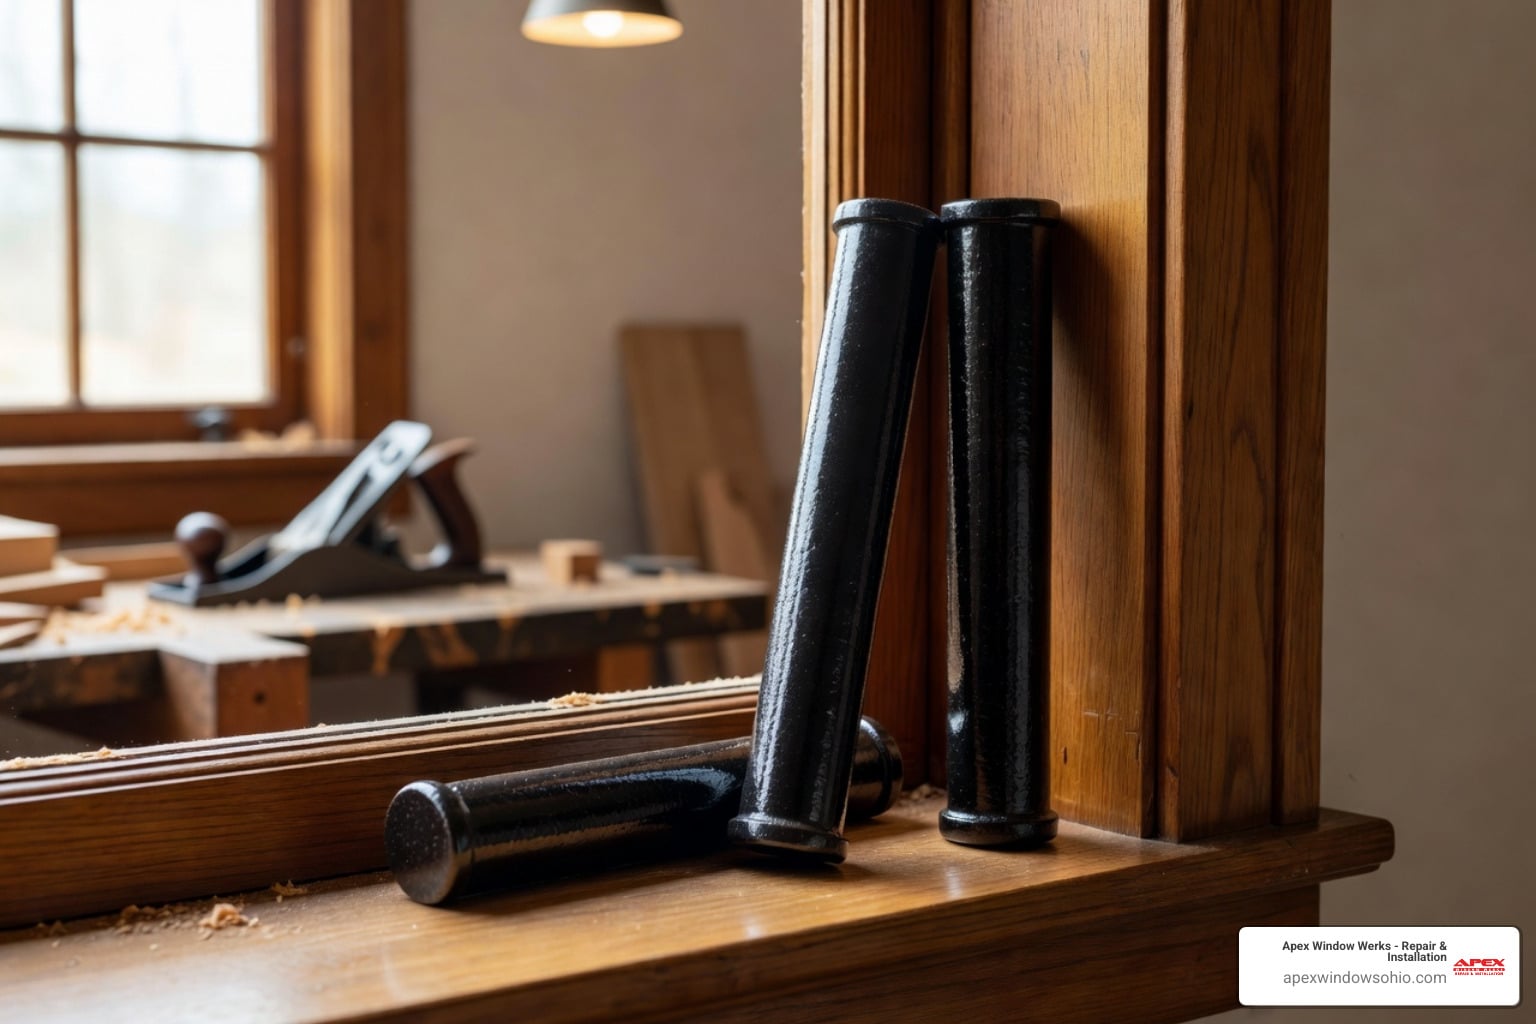
| Spiral Balance | Torsion spring wrapped inside a metal tube | 3/8″ or 5/8″ diameter metal cylinder | Older vinyl and aluminum single-hung or tilt windows |
| Constant Force | Stainless steel coiled ribbon spring | Modular plastic cartridge inside jamb pocket | Modern double-hung tilt windows with heavy insulated glass |
Identifying Block and Tackle, Spiral, and Channel Balances in Cleveland Homes
The three most common counterbalance types found in residential properties across Northeast Ohio include:
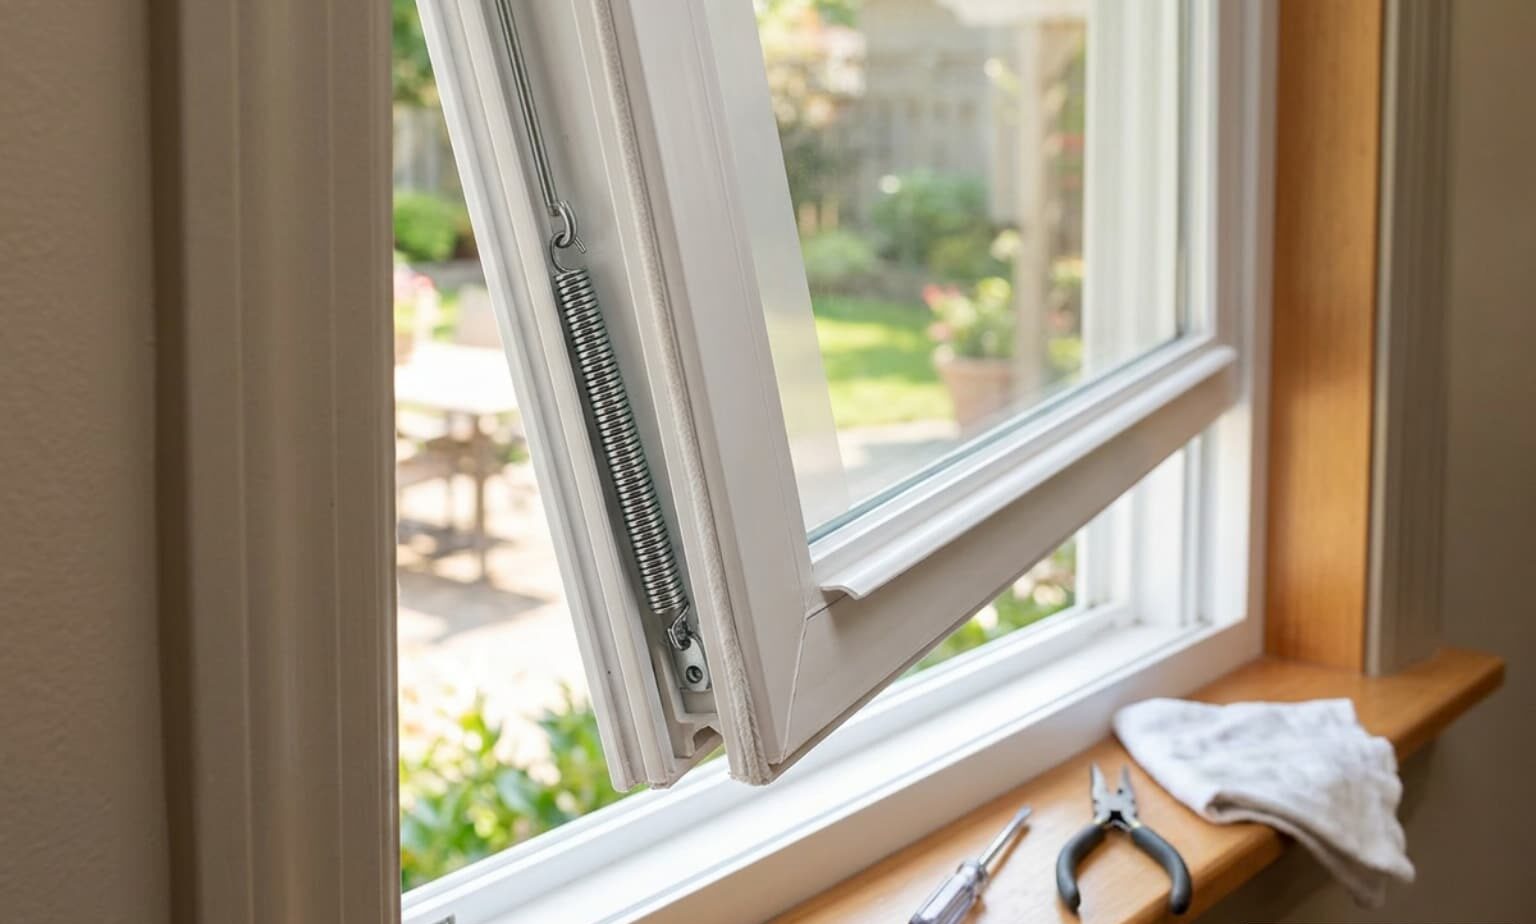
- Block and Tackle Channel Balances: These feature a steel U-channel housing an extension spring connected to a set of miniature pulleys and a high-strength cord. A top plastic guide and a bottom nylon terminal shoe hold the assembly in the jamb channel. They can be designed for non-tilt windows (using an S-clip at the top) or tilt-in windows (using a specialized T-lock or pivot shoe at the bottom).
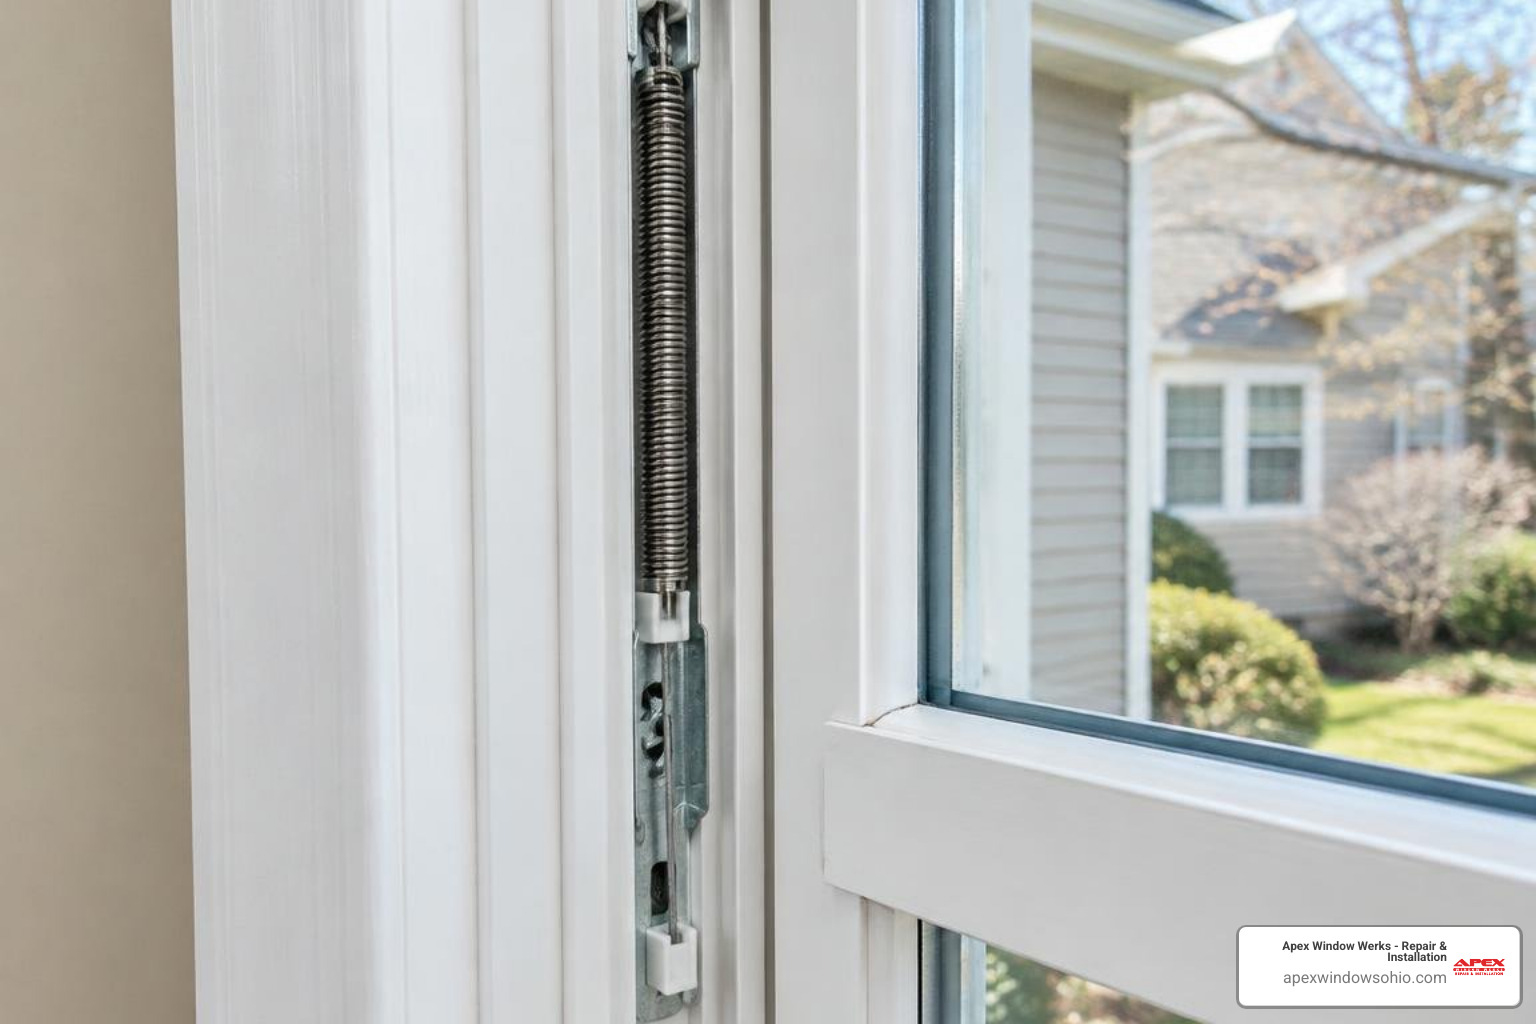
- Spiral Balances: Recognizable by their cylindrical metal tube enclosing a spiral-wound steel rod. The bottom of the rod features a colored bearing (such as red, blue, green, or black) and two pins that lock into a pivot shoe or bracket. The bearing color indicates the spring’s internal weight rating.
- Constant Force (Coil Spring) Balances: These rely on a coiled ribbon of high-tensile stainless steel, similar to a coiled tape measure, seated in a plastic casing. They are widely used in modern vinyl double-hung units and can be stacked in tandem or triple configurations to support heavy insulated glass units (IGUs).
Measuring Sash Weight, Channel Length, and Stamp Codes
Never guess the strength or dimensions of a replacement balance. Installing an incorrectly rated balance leads to premature failure or a sash that springs open violently.
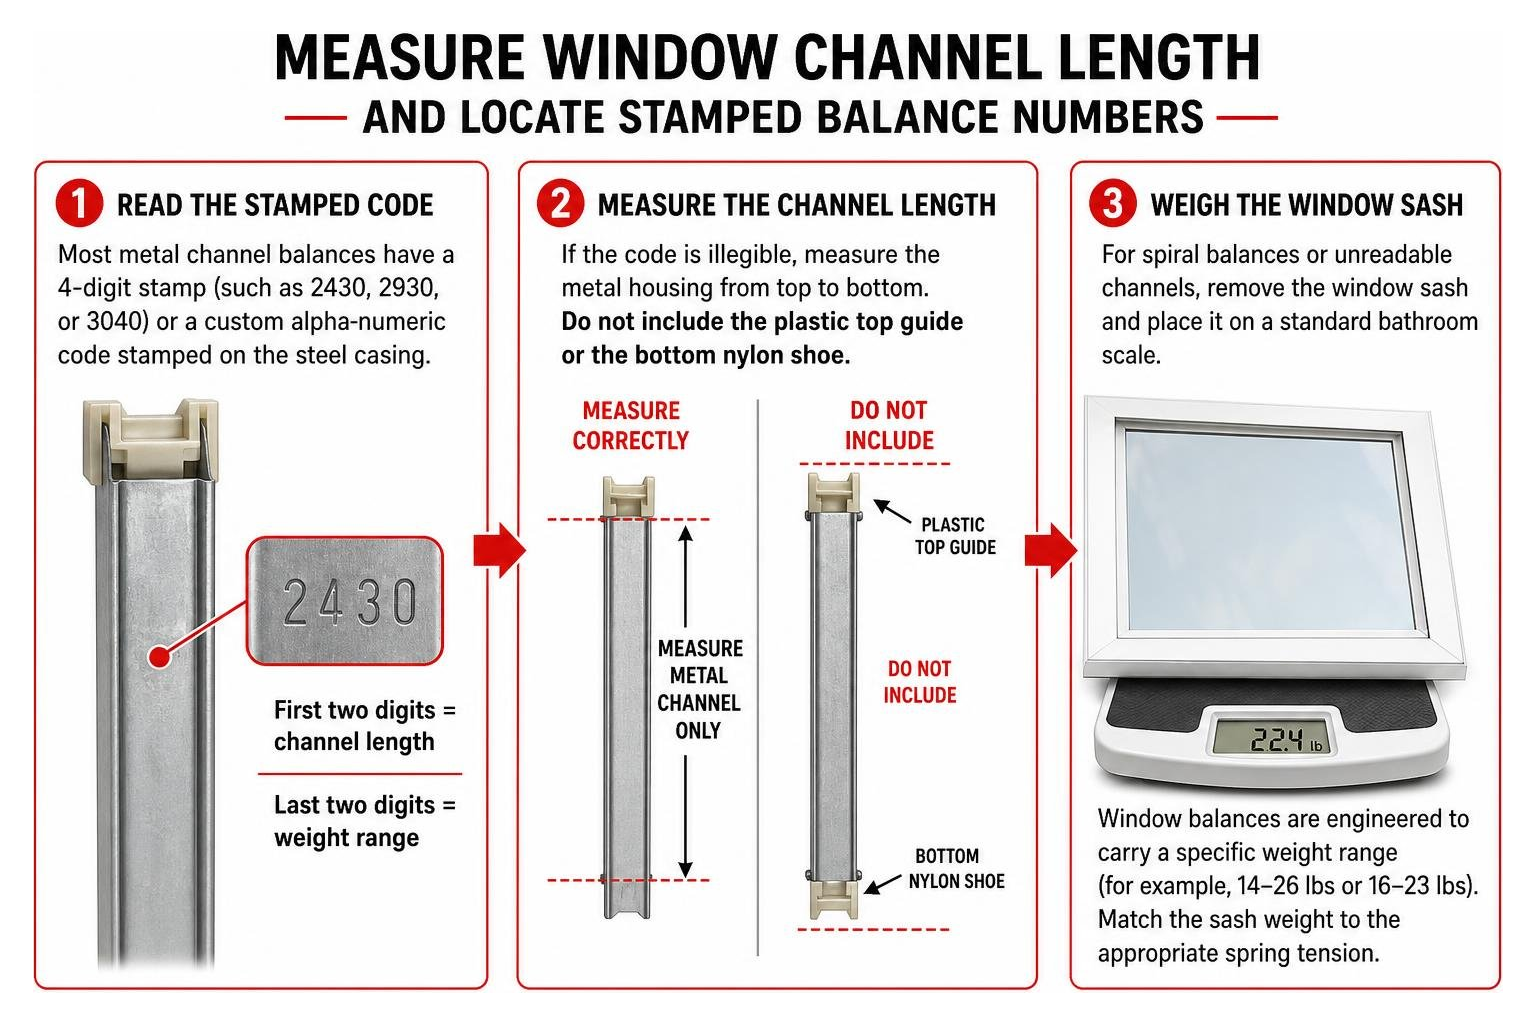
- Read the Stamped Code: Most metal channel balances have a 4-digit stamp (such as 2430, 2930, or 3040) or a custom alpha-numeric code stamped on the steel casing. The first two digits generally denote the channel length, while the latter numbers designate the sash weight range.
- Measure the Channel Length: If the code is illegible, measure the metal housing from top to bottom. Do not include the plastic top guide or the bottom nylon shoe in this measurement – measure only the metal channel itself.
- Weigh the Window Sash: For spiral balances or unreadable channels, remove the window sash entirely and place it on a standard bathroom scale. Window balances are engineered to carry a specific weight range. Following structured double-hung window balance repair steps ensures you match the physical sash weight to the appropriate spring tension.
Step-by-Step Window Balancer Replacement Guide for Ohio Homes
Replacing a sash balance is a straightforward repair when approached with the correct tools, proper safety precautions, and methodical technique.
Tools and Safety Gear for Window Balancer Replacement
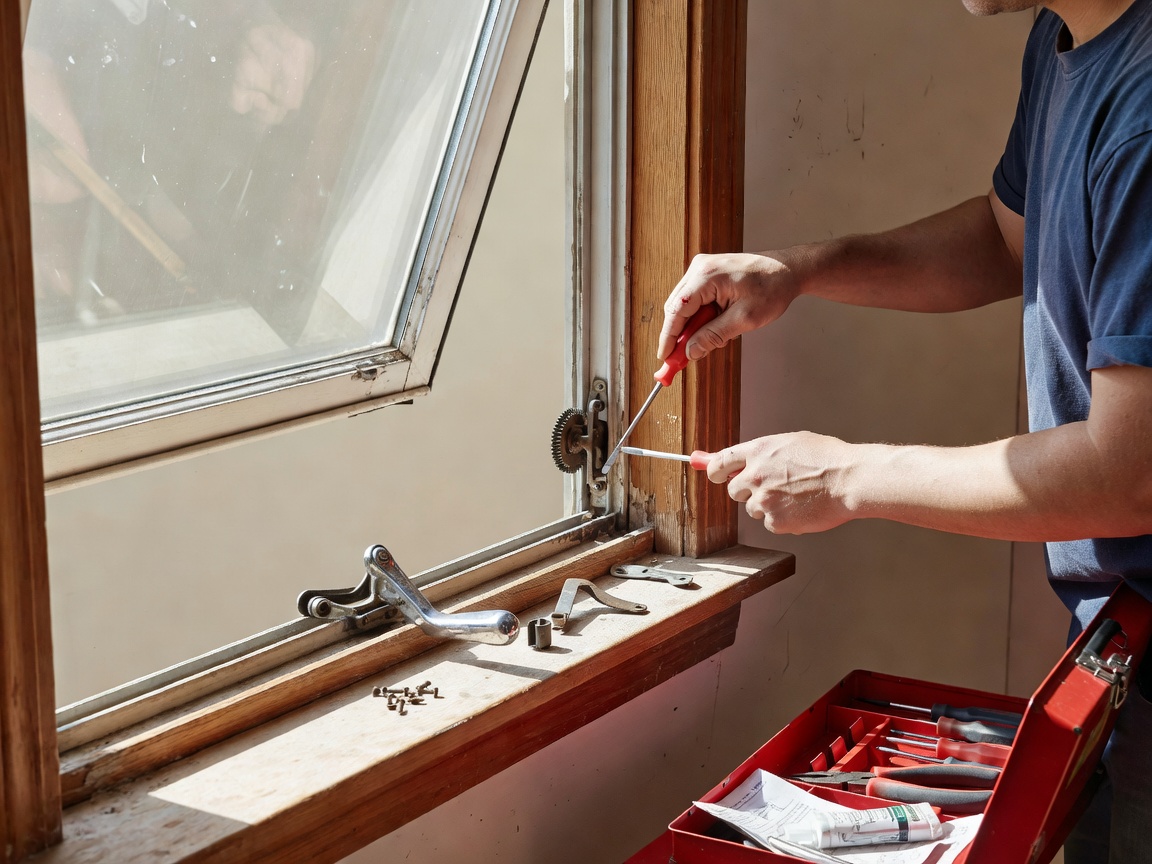
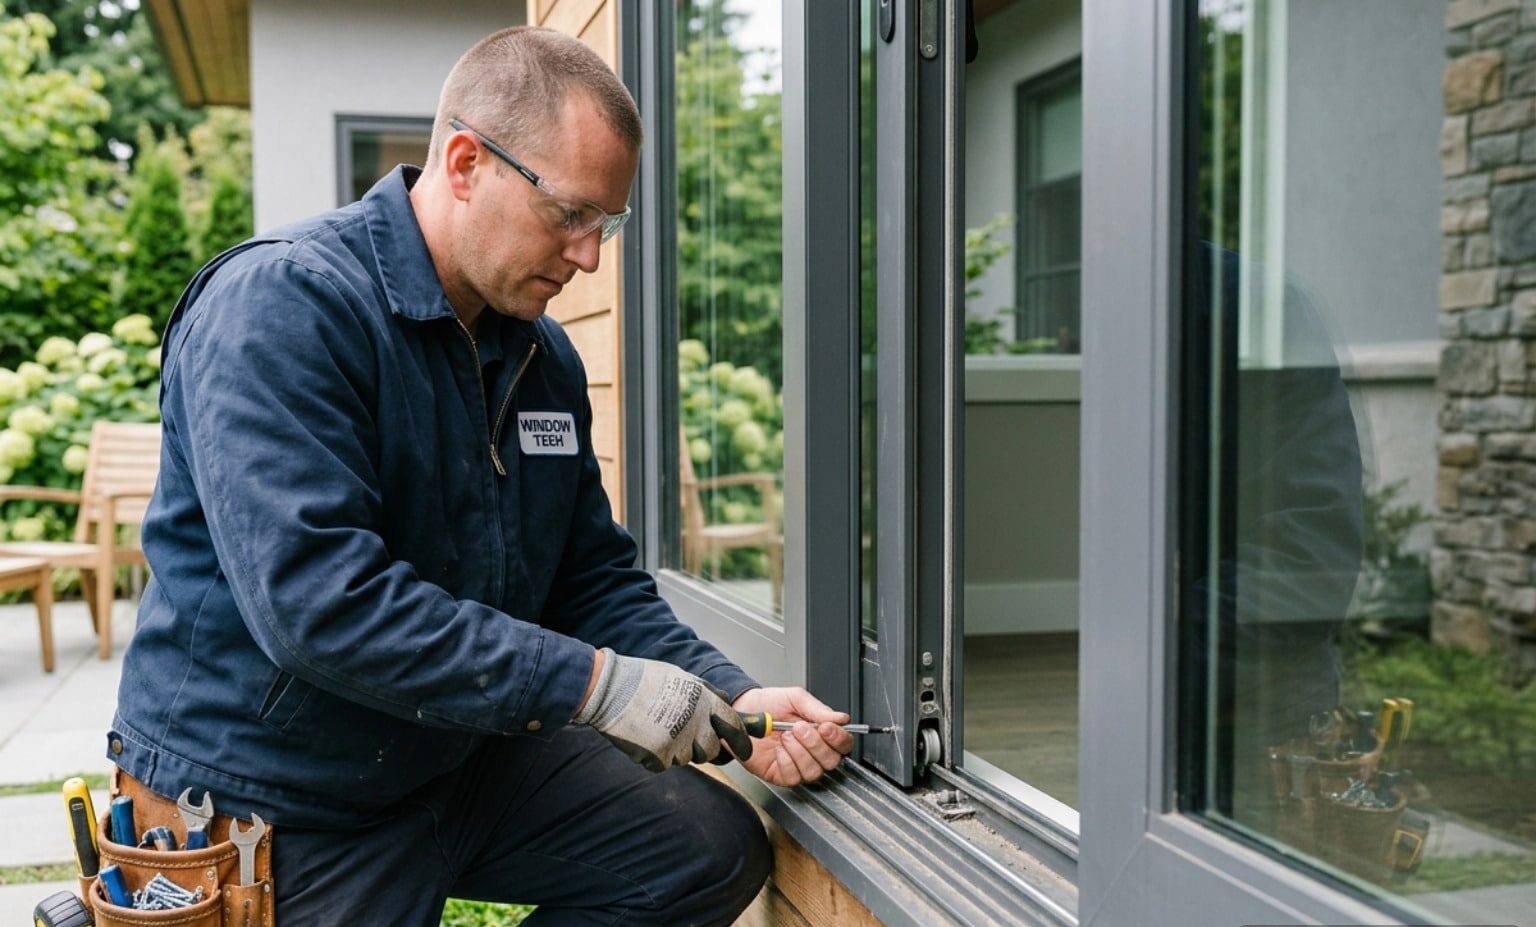
Spring-loaded mechanisms store substantial tension and can release suddenly if mishandled. Always equip yourself with:
- Safety glasses and heavy-duty work gloves
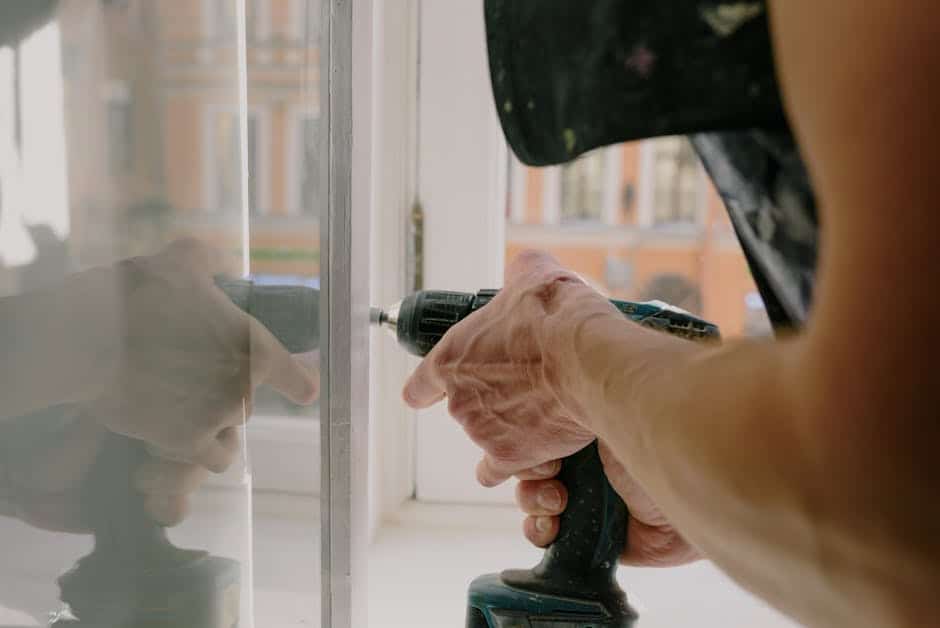
- Flat-head and Phillips-head screwdrivers (manual screwdrivers are preferred over power drills to prevent stripping hardware or deforming metal channels)
- Needle-nose pliers
- Spiral balance tensioning tool (for spiral balances) or a hook tool
- Sheet metal shim (for frame protection during tricky extractions)
- A sturdy work surface or second person to support the sash during removal
When working on storm doors or specific door inserts, reference standard manufacturer documentation, such as the 610411 BALANCER.qxp guide for TruEase door window balancer replacement kits, to understand latch release mechanics.
Safe Sash Removal and Old Balancer Extraction in Local Residences
Before addressing the counterbalance hardware, you must safely remove the window sash from the master frame:
- Unlock and Raise the Sash: Unlock the window and raise the lower sash approximately 3 to 4 inches above the sill.
- Disengage the Tilt Latches: Slide the tilt latches inward on the top rail of the sash and tilt the sash inward toward the room until it sits at a 90-degree horizontal angle.
- Release the Pivot Pins: Lift one side of the sash upward to disengage the bottom pivot pin (pivot bar) from the balance shoe in the jamb, then tilt and remove the opposite side. Set the sash aside safely on a soft surface.
- Extract the Balance:
- For Block and Tackle: Unscrew the top mounting screw securing the channel to the frame. If the balance uses a top S-clip, pull the channel down slightly to unhook the clip from the jamb liner pocket, then guide the balance and shoe out through the jamb breakout opening.
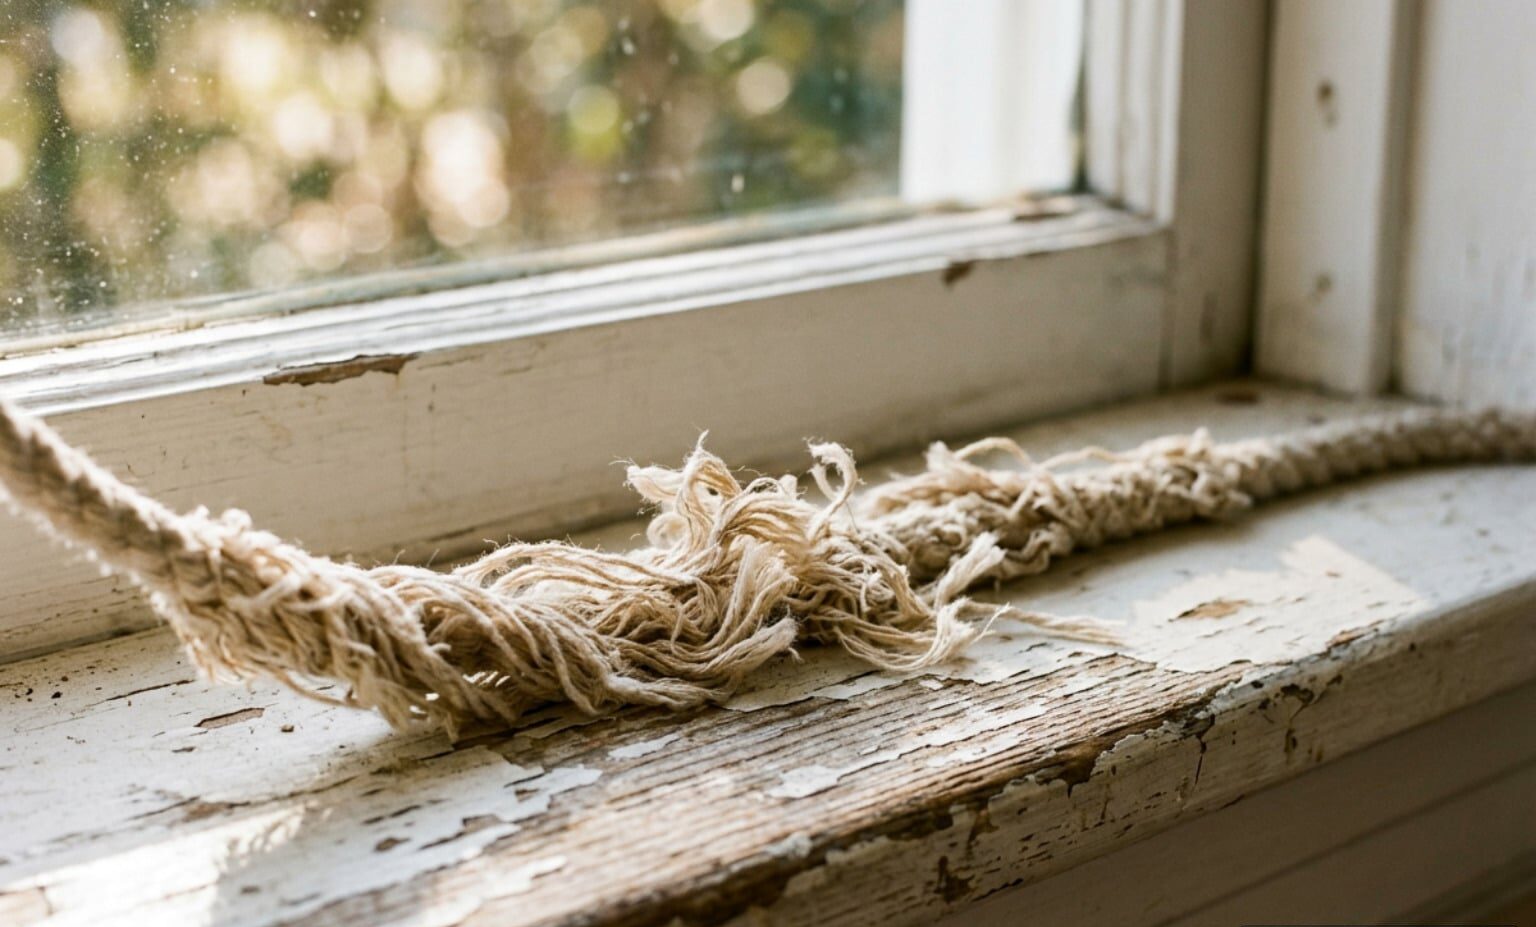
- For Spiral Balances: Grip the bottom rod with your tension tool, pull down to clear the bracket or pivot shoe, rotate to relieve spring tension, and unscrew the top mounting screw from the upper frame. For older weighted rope setups, consult our guide on how to fix your weighted windows to handle legacy weight pockets properly.
Installing New Balancers and Calibrating Tension
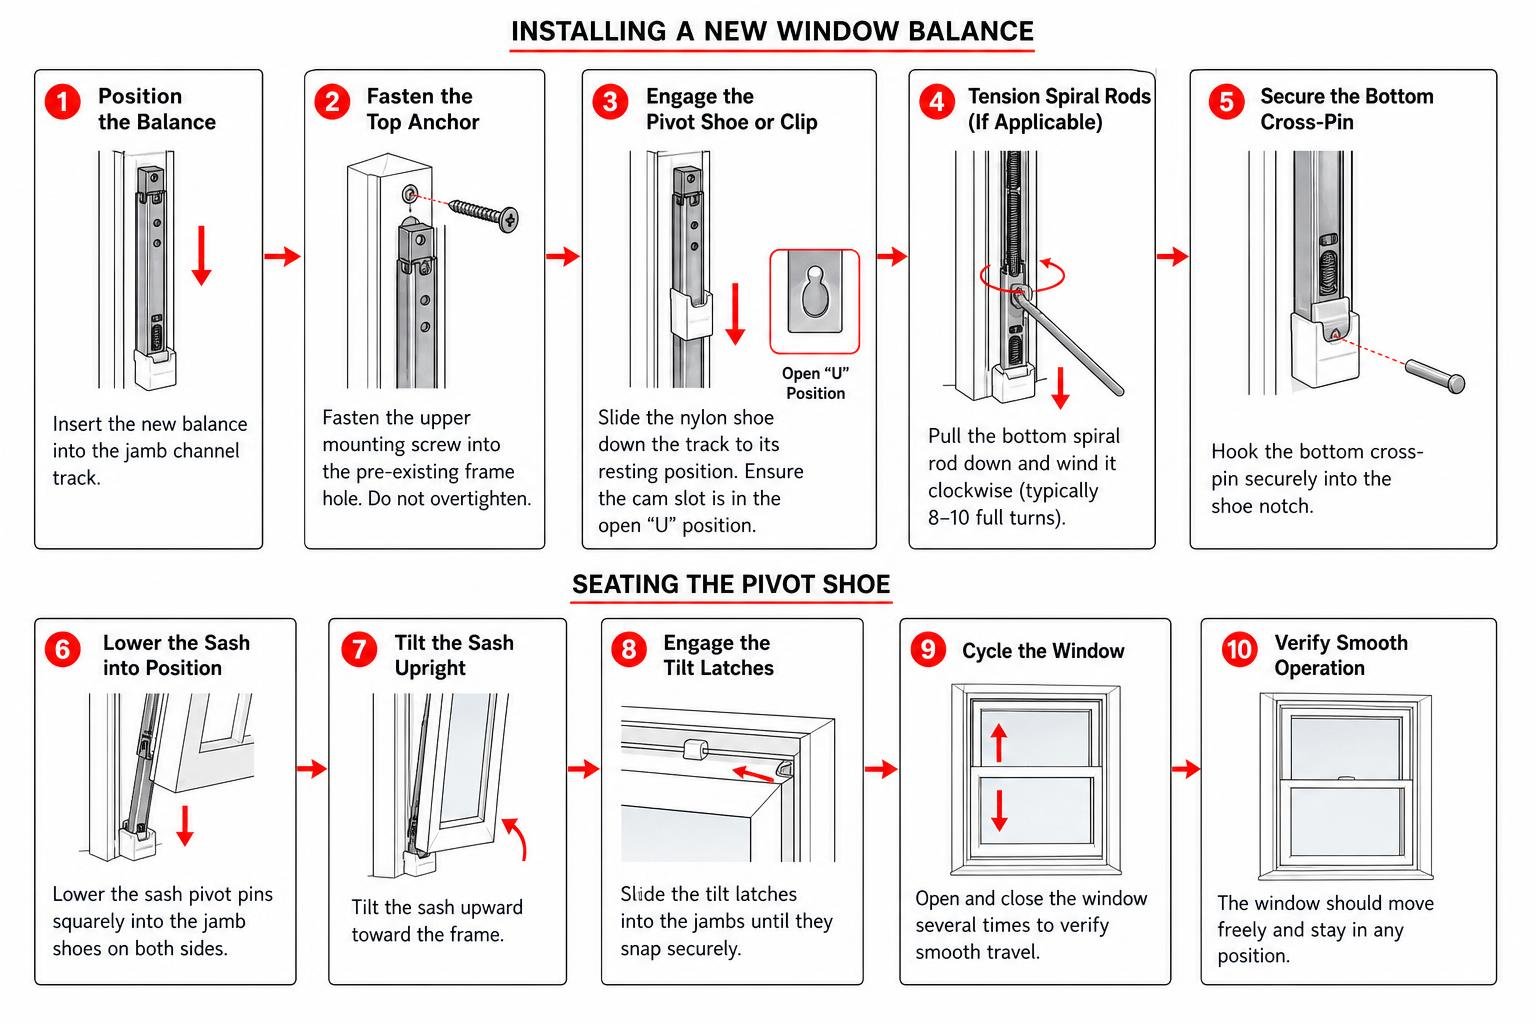
- Position the Balance: Insert the new balance into the jamb channel track.
- Fasten the Top Anchor: Fasten the upper mounting screw into the pre-existing frame hole. Avoid overtightening to prevent warping the channel housing.
- Engage the Pivot Shoe or Clip: Slide the nylon shoe down the track to its resting position. If your window utilizes a tilt shoe with an internal cam, ensure the cam slot is oriented in the open “U” position, ready to receive the sash pivot bar.
- Tension Spiral Rods (If Applicable): Using the dedicated spiral tensioning tool, pull the bottom spiral rod down and wind it clockwise (typically 8 to 10 full turns, depending on sash weight specifications) to establish counterbalance resistance. Hook the bottom cross-pin securely into the shoe notch.
- Reinstall the Sash: Lower the sash pivot pins squarely into the jamb shoes on both sides. Tilt the sash upward until the top tilt latches snap securely into the frame jambs, then cycle the window several times to verify smooth travel.
Why You Should Always Replace Balancers in Pairs in Northeast Ohio Homes
When a window stops operating correctly, homeowners often find that only one spring or cord has visibly broken. However, replacing solely the damaged balance while leaving the operational one in place is a recipe for recurrent hardware failure.
Counterbalance Symmetry and Sash Wear
Window sashes rely on balanced, symmetrical upward force from both sides to glide vertically without twisting. Over years of seasonal temperature shifts and regular operation, internal springs experience material fatigue and lose elasticity.
If you install a brand-new, stiff balance on the left side of a window while retaining an aged, fatigued balance on the right:
- The new balance exerts significantly higher upward tension than the weakened balance.
- This tension disparity pulls the sash slightly out of square (racking the sash).
- The sash tilts micro-degrees inside the track, causing the edges to bind against the side jamb liners.
- The uneven drag accelerates wear on the new balance shoe, strains the corner joints of the sash, and makes the window stiff to open.
Always purchase and install balances in pairs to maintain equal lifting force across the entire width of the glass sash.
When to Replace Side Jamb Liners in Regional Properties
The side jamb liners – the vinyl or aluminum tracks running up the left and right sides of the window frame – also have a finite lifespan. In many classic configurations, replacing the counterbalance hardware is most effective when paired with fresh jamb tracks.
You should replace the jamb liners if you notice:
- Cracking, brittleness, or warping in the vinyl channel from UV exposure.
- Deep gouges or grooves where worn balance shoes have ground into the track walls.
- Worn, flattened, or missing pile weatherstripping along the liner edges that allows air infiltration.
When tackling comprehensive restorations on vintage double-hung units, explore our tips on restoring older double-hung windows to decide whether replacing both liners and balances will restore complete thermal and operational integrity.
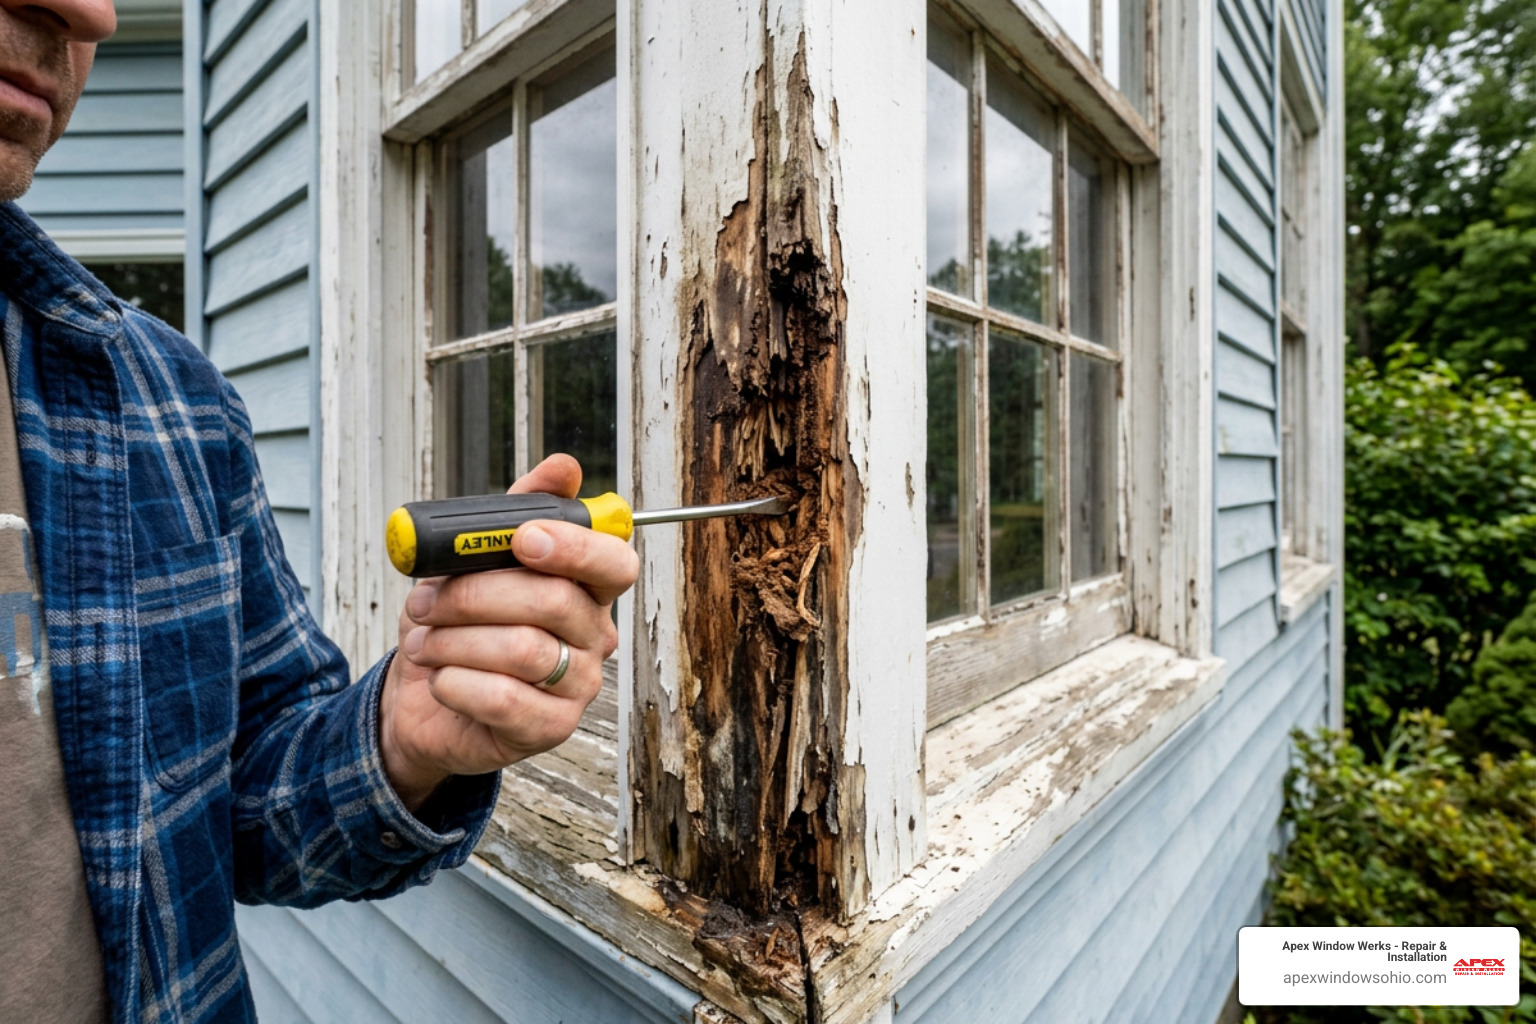
Handling Manufacturer-Specific and Hard-to-Find Balancers in Cleveland Area Homes
While many modern windows use modular, universal channel balances, major manufacturers often incorporate proprietary hardware engineered specifically for their sash profiles.
Andersen 100, 200, and 400 Series Balancers in Northeast Ohio
Andersen windows are widely installed across Northeast Ohio, and identifying the correct replacement balancer requires looking at the specific series and production date:
- 100 Series Single-Hung: Utilizes stamped compact balances (such as the 2430 series) engineered for modern composite fibrex frames.
- 200 Series Narroline Double-Hung: Manufactured from 1968 to 2012, these units feature overhead balances housed inside the head jamb rather than the side tracks. Common balancer models like the Andersen Replacement Sash Balancer 637 – 1626029 Andersen Perma-Shield Narroline Double-Hung Balancers , Andersen Replacement Sash Balancer L1623/45 – 9014008 Andersen Perma-Shield Narroline Double-Hung Balancers , and Andersen Replacement Sash Balancer L1527/33 – 9013993 Andersen Perma-Shield Narroline Double-Hung Balancers use handed overhead boxes (left and right specific). When replacing Narroline balances, Andersen explicitly recommends replacing both balancers and the side jamb liners together for proper performance.
- 200 Series Tilt-Wash: Features side-mounted balances, such as the Tilt-Wash Double-Hung Sash Balancer 0873603 | Andersen Windows Andersen 200 Series Tilt-Wash Balancers , which correspond to specific glass dimensions and glass types (tempered versus non-tempered).
- 400 Series Tilt-Wash: These units use specialized balances matched directly to the etched glass code in the corner of the pane (such as 2.2 or 3.0 etch codes). For units manufactured prior to November 2016, the balancer design was modified, requiring homeowners to update hardware in pairs along with compatible jamb liners. For newer single-hung builds, parts like the 100 Series Single-Hung Sash Balancer 2430 | Andersen Windows Andersen 100 Series Single-Hung Balancers provide exact factory drop-in fitment.
Sourcing Discontinued Hardware for Older Windows in Lakewood and Shaker Heights
Homes built in earlier decades across communities like Shaker Heights, Lakewood, or Cleveland Heights often feature legacy window lines from discontinued manufacturers.
If your balances do not feature standard modern stamping:
- Document the precise sash thickness (such as 1-1/4″ or 1-3/8″).
- Take clear, high-resolution photographs of the top guide, bottom nylon shoe, and terminal attachments.
- Cross-reference parts catalogs using specialty architectural suppliers, or contact a specialized team for window sash repair services capable of retrofitting modern constant-force or block-and-tackle systems into vintage frames.
Troubleshooting Common Window Balance Problems in Northeast Ohio
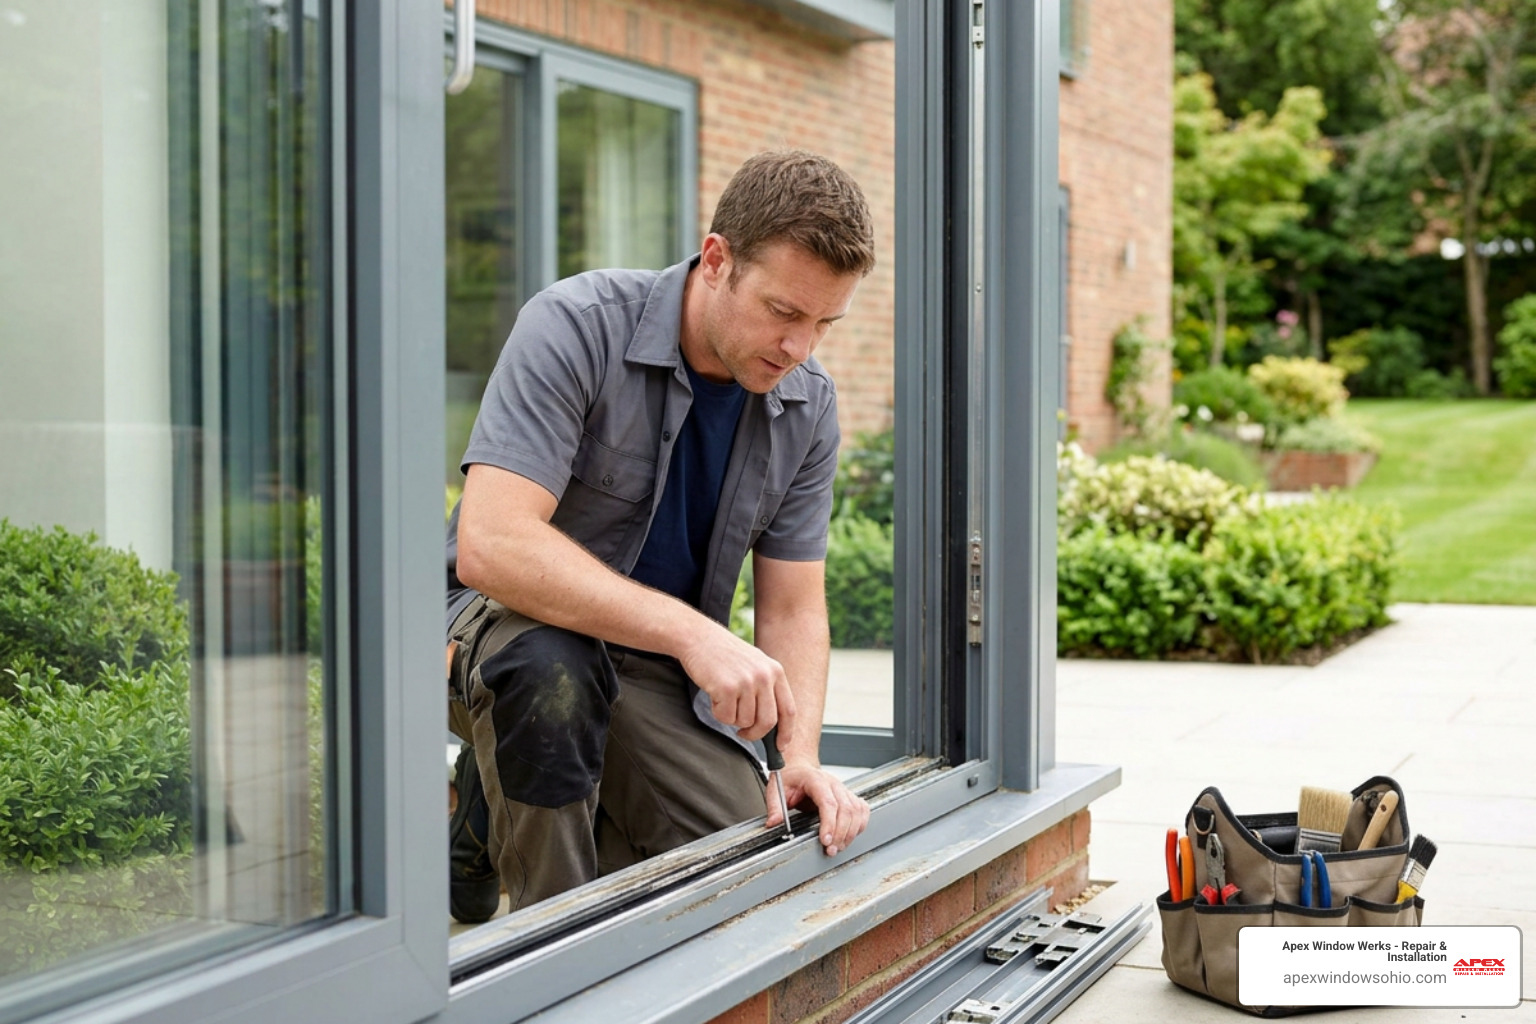
Even with careful installation, balance mechanisms can encounter mechanical resistance, misalignment, or stubborn clips.
Troubleshooting Challenges in Window Balancer Replacement
- Stuck or Broken S-Clips: On older vinyl double-hung frames, the metal S-clip securing the top of a channel balance can bind permanently within the jamb header slot. Attempting to force the clip out with a pry bar can crack the exterior vinyl extrusion. Instead, slide a thin piece of sheet metal behind the stuck clip to shield the vinyl, then use a rotary tool to carefully grind away the rusted clip head. You can then install a fresh anchor screw through the upper frame stud to secure the new balance.
- Shoe Jammed in Track: If a nylon pivot shoe twists sideways during sash removal, the internal cam locks against the track walls. Insert a standard flat-head screwdriver into the central U-shaped cam slot, rotate it 90 degrees to unlock the shoe, manually slide it to the desired height, and release the tension before resetting your sash.
Resolving Broken Cords, Crooked Sashes, and Dropping Windows
- Sash Drops to the Sill (Sash Drift): If the window fails to remain open, the internal balance spring has either detached, lost tension, or is rated for a lighter sash weight than your glass requires. On spiral balances, use a tensioning tool to add 2 to 3 clockwise turns. On block-and-tackle channels, verify that the stamped rating corresponds to the physical weight of your sash.
- Window Glides Upward on Its Own: If the window creeps upward unassisted after closing, the balance spring is over-tensioned or rated for a significantly heavier glass unit. Release turns on spiral rods or swap the channels for a lower weight classification.
- Crooked or Sticking Sash: A sash that binds halfway through travel indicates unequal tension or an unseated pivot pin. Check that both pivot bars are fully seated in their respective nylon shoes and verify that both jamb channels are clean and free of dirt, old paint, or debris.
Frequently Asked Questions About Sash Balances
Can I replace just one window balance if only one side broke?
No, you should always replace window balances in pairs. An old balance has suffered years of spring fatigue, whereas a new balance delivers full factory tension. Running an old balance alongside a new one creates uneven upward force, causing the sash to rack, bind against the jamb tracks, and prematurely wear out the new hardware.
How do I know what weight rating my replacement balance needs?
You can determine the required weight rating by checking the 4-digit stamp code on the metal channel of your existing balance or by weighing the removed sash on a standard scale. Matching the exact physical weight of the sash (including the glass, frame, and hardware) to the manufacturer’s weight chart ensures the window operates smoothly without dropping or creeping upward.
Why does my double-hung window still slide down after installing new balances?
If a window continues to slide down with new balances installed, the balance is either under-tensioned, rated for a lighter sash weight than your window requires, or the pivot bar at the bottom of the sash failed to engage the shoe’s locking cam. For spiral balances, adding several clockwise turns with a tension tool will often resolve the issue.
How much does window balance replacement cost?
The total cost of window balance replacement depends on several factors, including the type of balance mechanism (spiral, block and tackle, or proprietary overhead units), the size and weight of the window sash, whether jamb liners or tilt latches also require replacement, and whether you handle the repair yourself or hire a professional. Specialty and discontinued hardware for legacy wood windows will also influence the overall project scope. Homeowners seeking an accurate assessment can submit photos and dimensions through our virtual estimate tool.
Reliable Hardware Repairs for Smooth Window Operation in Cleveland and Akron
Maintaining functional counterbalances protects your window sashes from stress fractures, prevents frame damage, and ensures safe, effortless operation. Embracing a repair-first approach allows you to resolve broken springs, snapped cords, and failing jamb tracks while preserving your existing window frames and insulated glass units.
If you encounter stubborn hardware, complex legacy mechanisms, or prefer experienced technicians to handle high-tension spring replacements, Apex Window Werks is ready to assist. We provide dependable residential and commercial window repairs across Northeast Ohio – including communities from Lakewood, Cleveland Heights, and Rocky River to Medina, Hudson, and Mentor.
To get started, submit photos and window details through our online tool to request a free estimate, bring your eligible removable components directly to our Oakwood Village workshop, or contact our team directly to schedule professional on-site service.