Stop Window Drafts by Replacing Worn Rubber Gaskets
How to Replace a uPVC Window Rubber Seal in Cleveland and Akron Homes
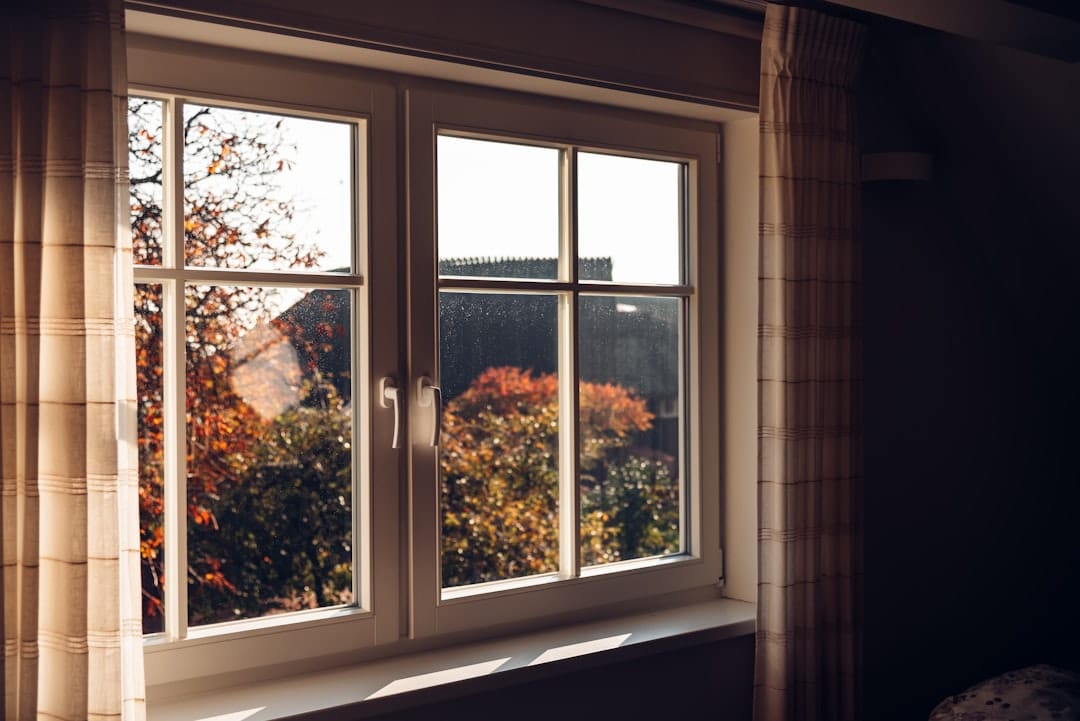
To replace a uPVC window rubber seal, first remove a short piece of the old gasket and match its shape and size to a replacement. Pull out the old seal, clean and dry the groove, then press the new seal into place without stretching it. Close the window and check for gaps, draughts, and smooth operation.
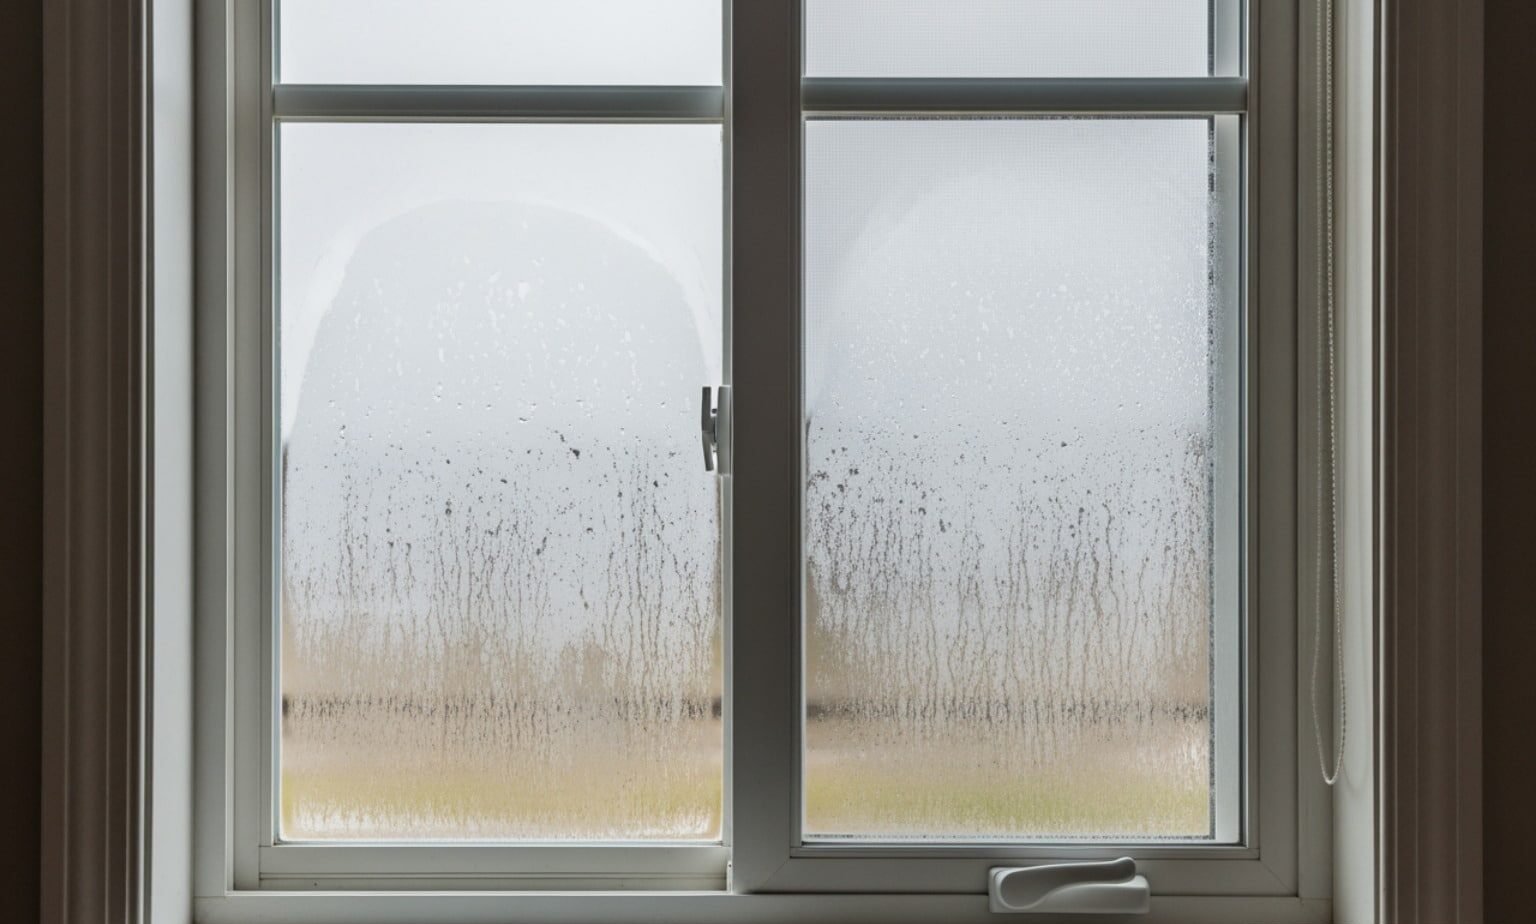
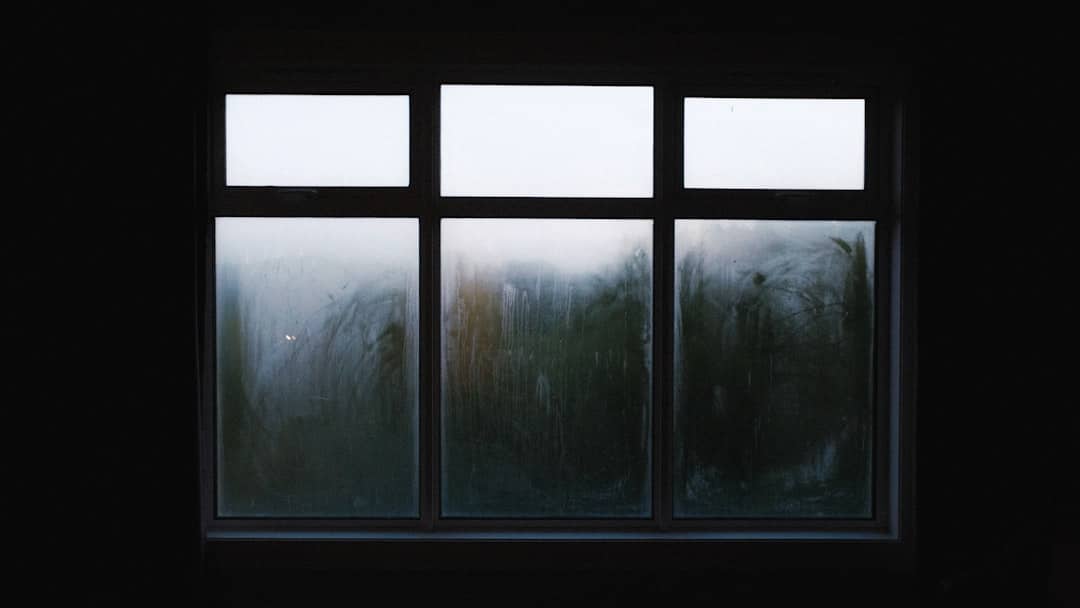
If the sash does not close evenly, check the hinges and alignment before blaming the seal. Mist trapped between glass panes is a different problem; replacing the frame gasket will not clear it.
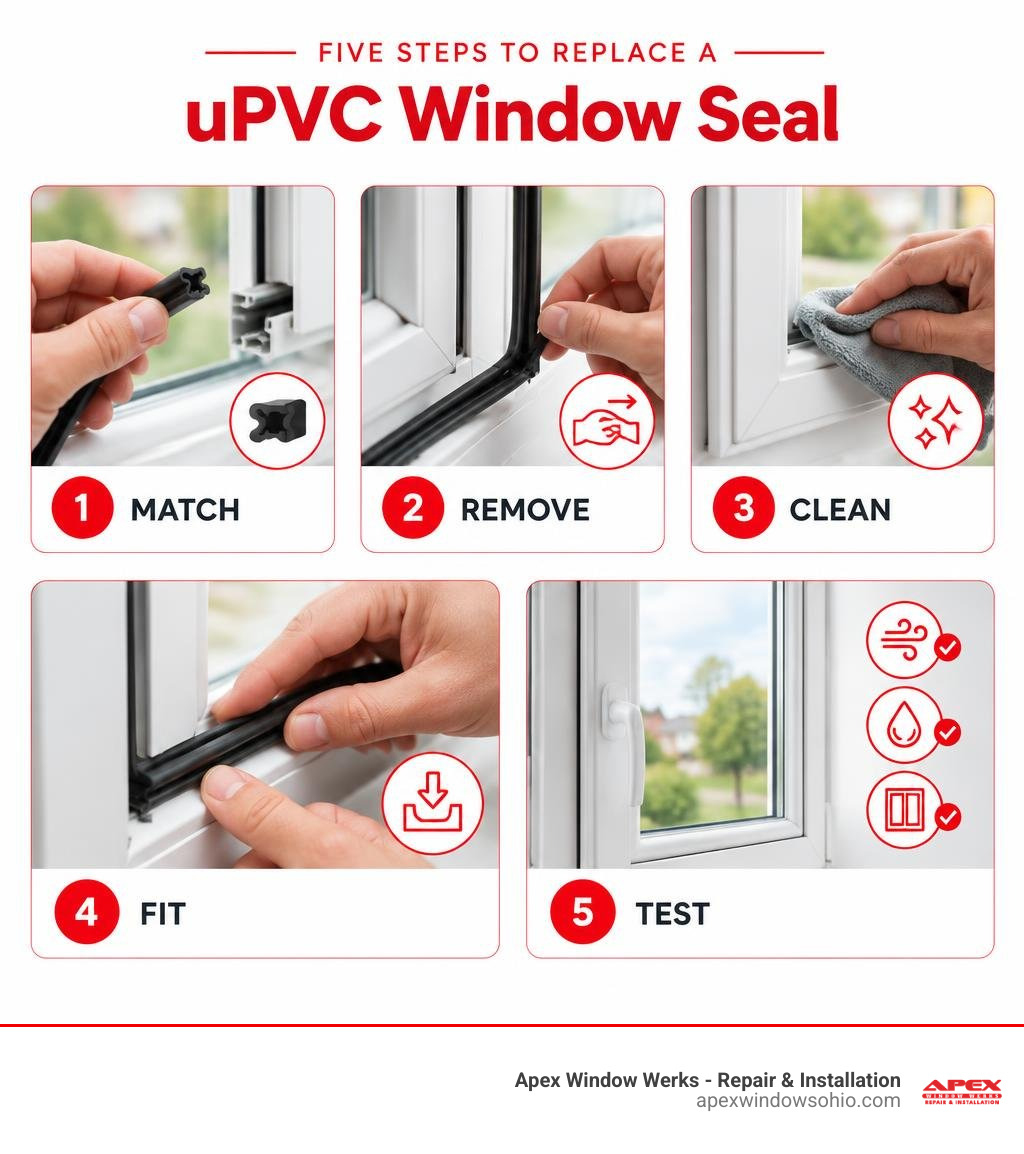
Simple guide to upvc window rubber seal replacement terms:
Signs Your Northeast Ohio Window Gaskets Need Attention
Window weatherstripping and sash gaskets are your home’s frontline barrier against outdoor air infiltration, rainwater intrusion, and sound penetration. Over years of seasonal temperature shifts, these flexible perimeter barriers undergo constant stress. Rubber compounds lose their natural plasticizers, gradually stiffening and degrading under prolonged exposure to ultraviolet rays.
Several obvious signs indicate that your gaskets require attention:
- Noticeable Air Infiltration and Drafts: If you feel a breeze moving along the interior edge of your closed sash or notice window dressings fluttering on windy days, air is bypassing the perimeter seal.
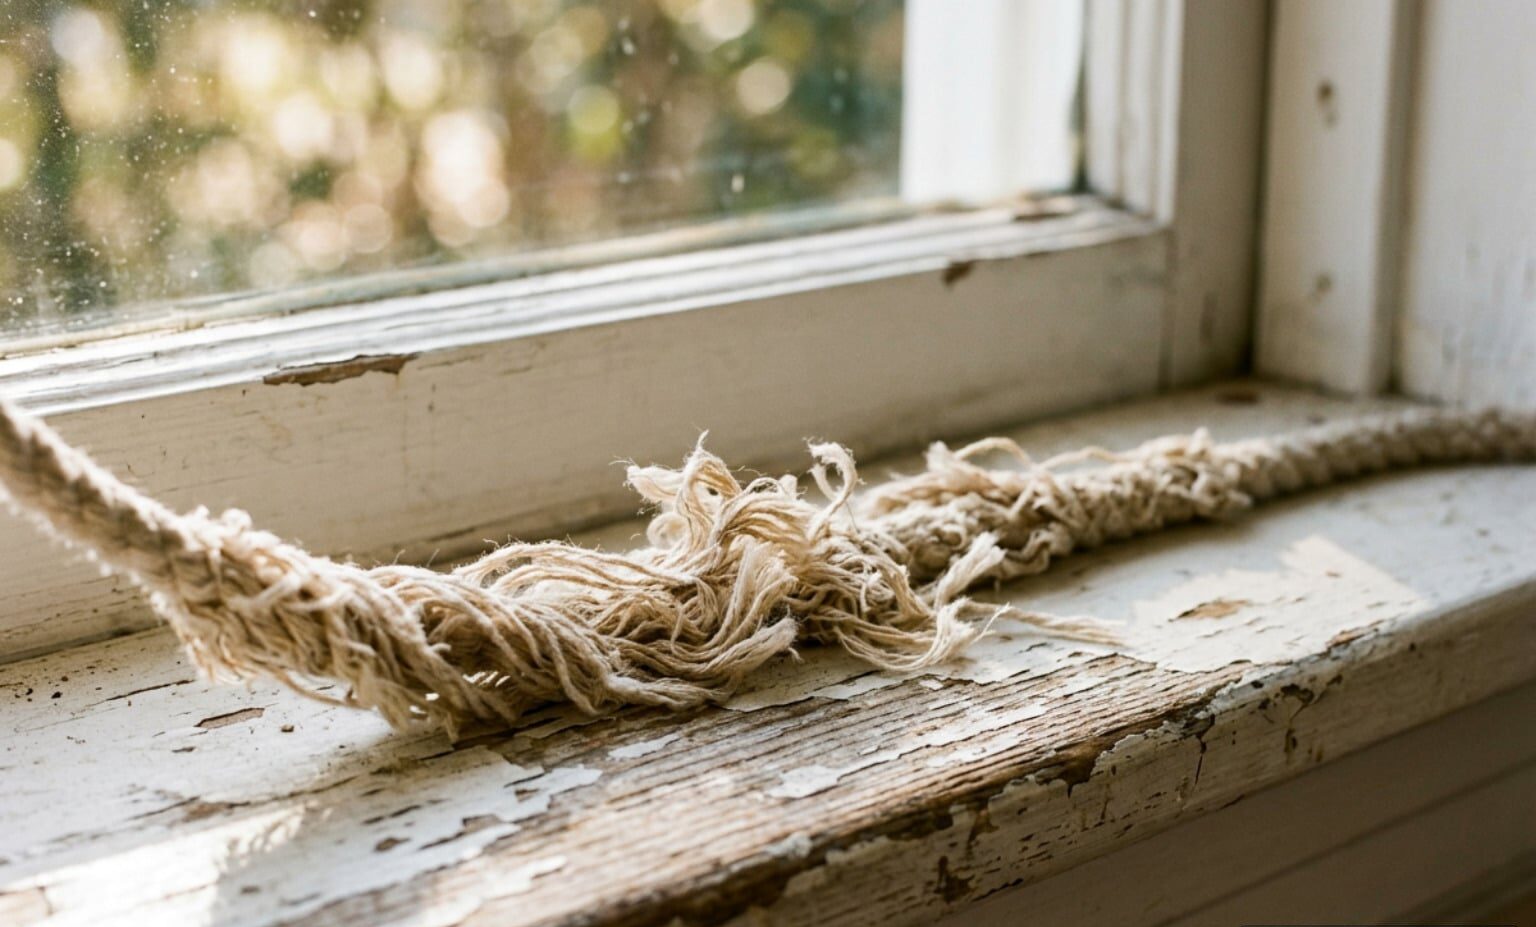
- Visible Cracking, Flattening, or Brittleness: Over time, continuous compression forces rubber into a permanently crushed state – known technically as compression set. The material will look flattened, shiny, or brittle, and small hairline fractures may appear along stress points.
- Perimeter Condensation and Moisture Stains: When cold exterior air leaks through a compromised seal and collides with warm, humid indoor air, condensation forms along the plastic frame profile. Left unaddressed, this localized moisture can cause black mold spots along the sash edges.
- Increased Exterior Noise: A degradation in thermal performance almost always coincides with acoustic leakage. If street noise or passing traffic sounds louder indoors than it used to, gaps have likely opened in the perimeter weatherstripping.
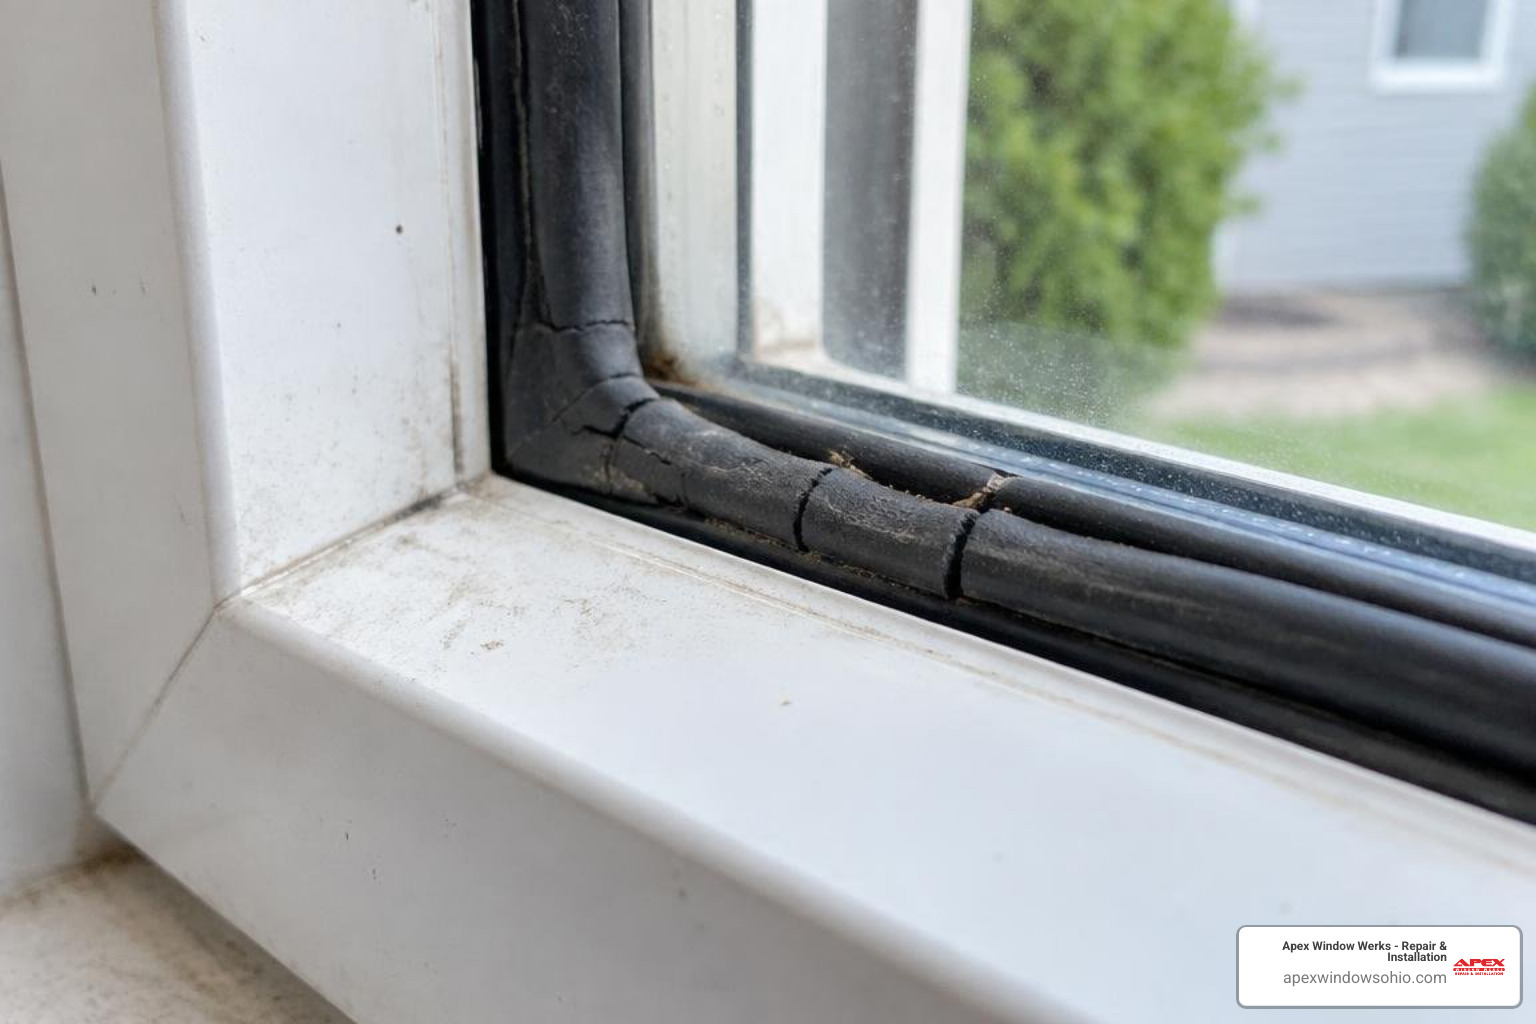
To confirm whether your seals have failed, conduct simple diagnostic tests recommended in this How to Replace Window Rubber Seals (uPVC DIY Guide):
- The Paper Test: Open the window, insert a standard sheet of paper across the frame, and close and lock the sash securely. Gently pull the sheet. If it slides out freely without resistance or tearing, the gasket in that location has lost its elasticity and is no longer compressing against the frame.
- The Light (Torch) Test: At dusk, have someone stand outside with a bright flashlight aimed along the window perimeter while you watch from inside with room lights dimmed. Visible light bleeding past the frame edge points to an open gap.
- The Smoke or Incense Test: On a windy day, carefully hold an incense stick or smoke pencil near the perimeter edges of the window frame. Flickering or drifting smoke reveals air currents slipping past the perimeter.
Distinguishing Perimeter Gasket Wear from Insulated Glass Seal Failure
Homeowners often confuse a drafty frame gasket with an insulated glass unit (IGU) seal failure. These are entirely different components that serve distinct functions within the window system.
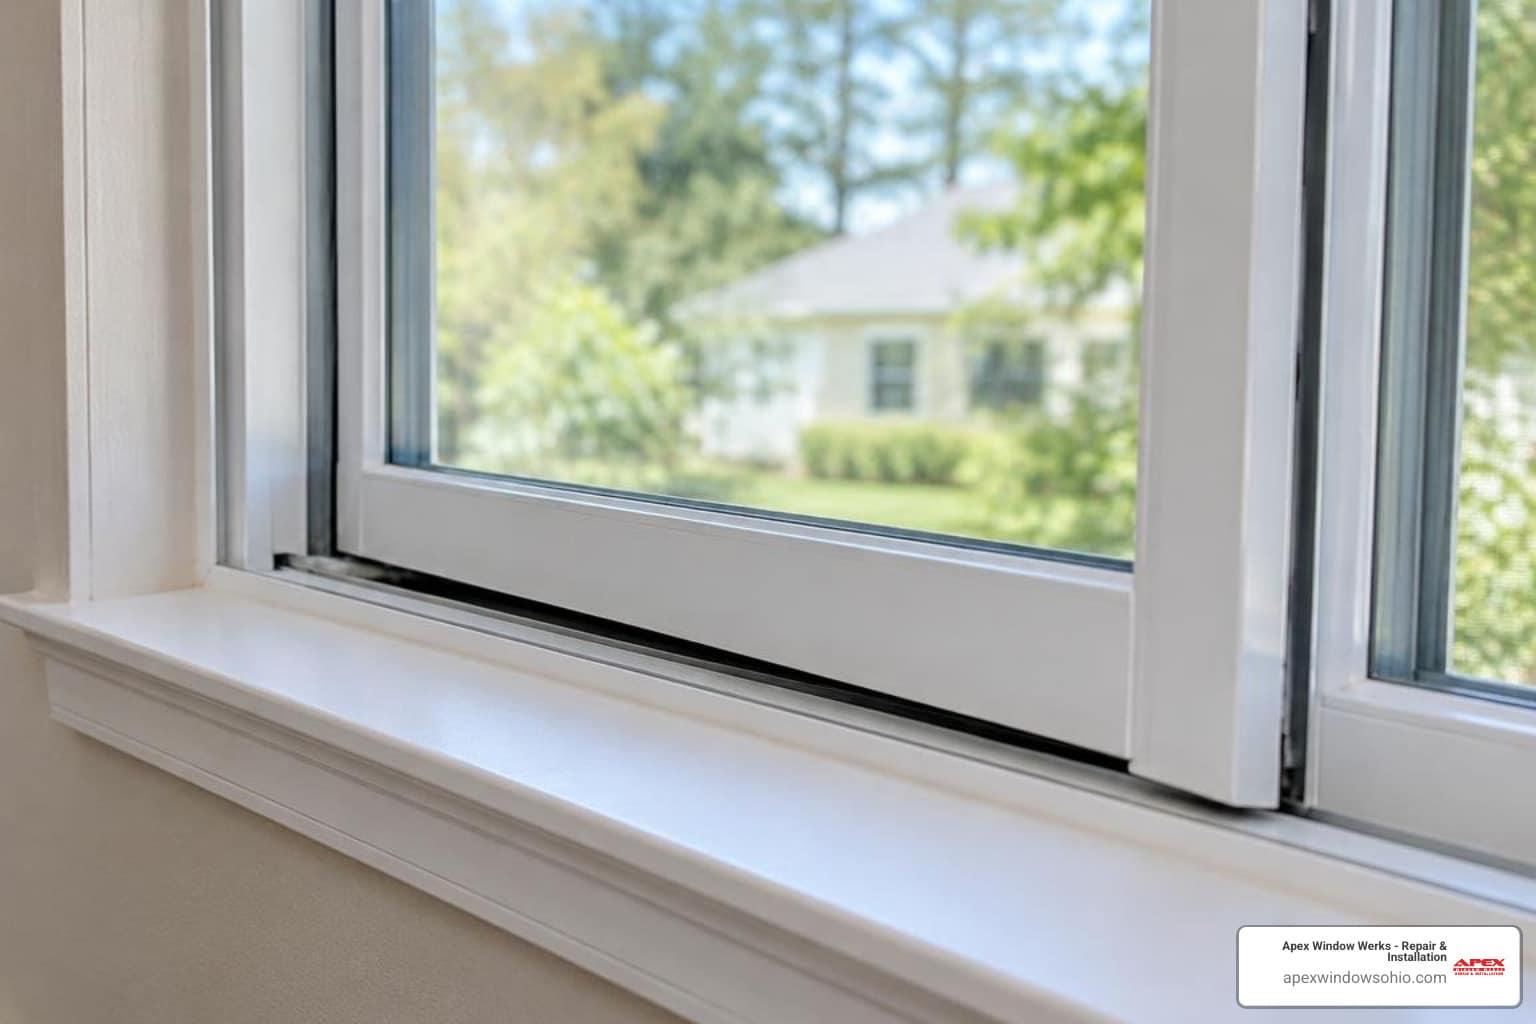
A perimeter gasket sits along the channel where the operable window sash meets the mainframe. It seals the physical joint between moving parts to stop cold air drafts, driving rain, and outdoor noise. If this gasket wears out, replacing the perimeter rubber restores weather tightness.
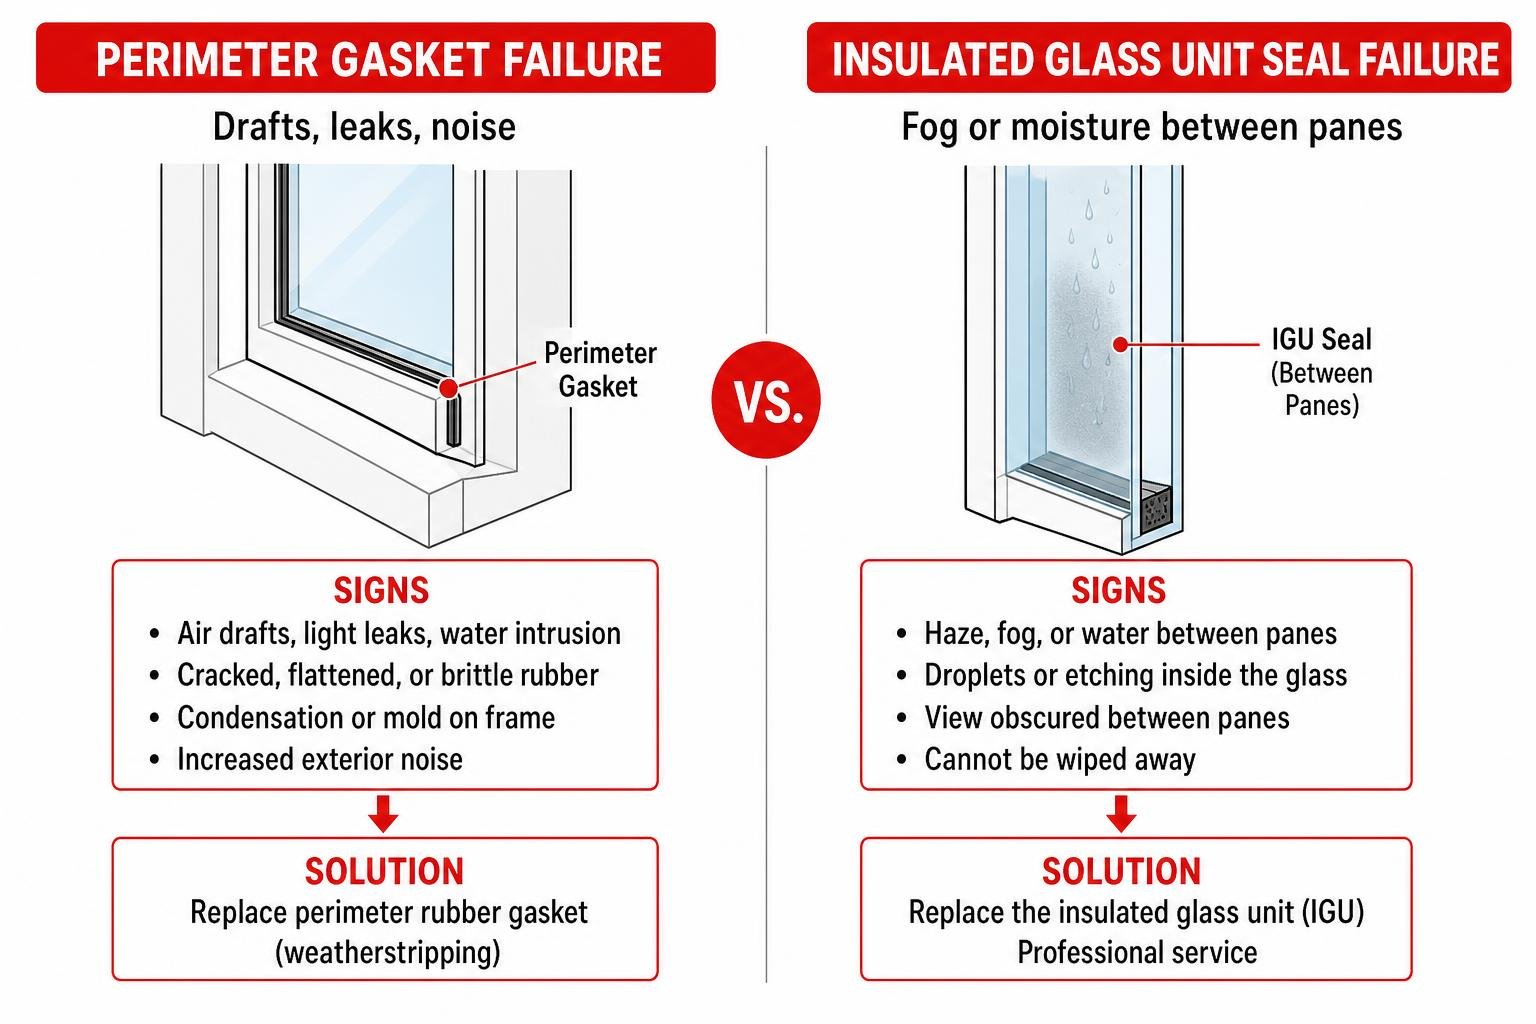
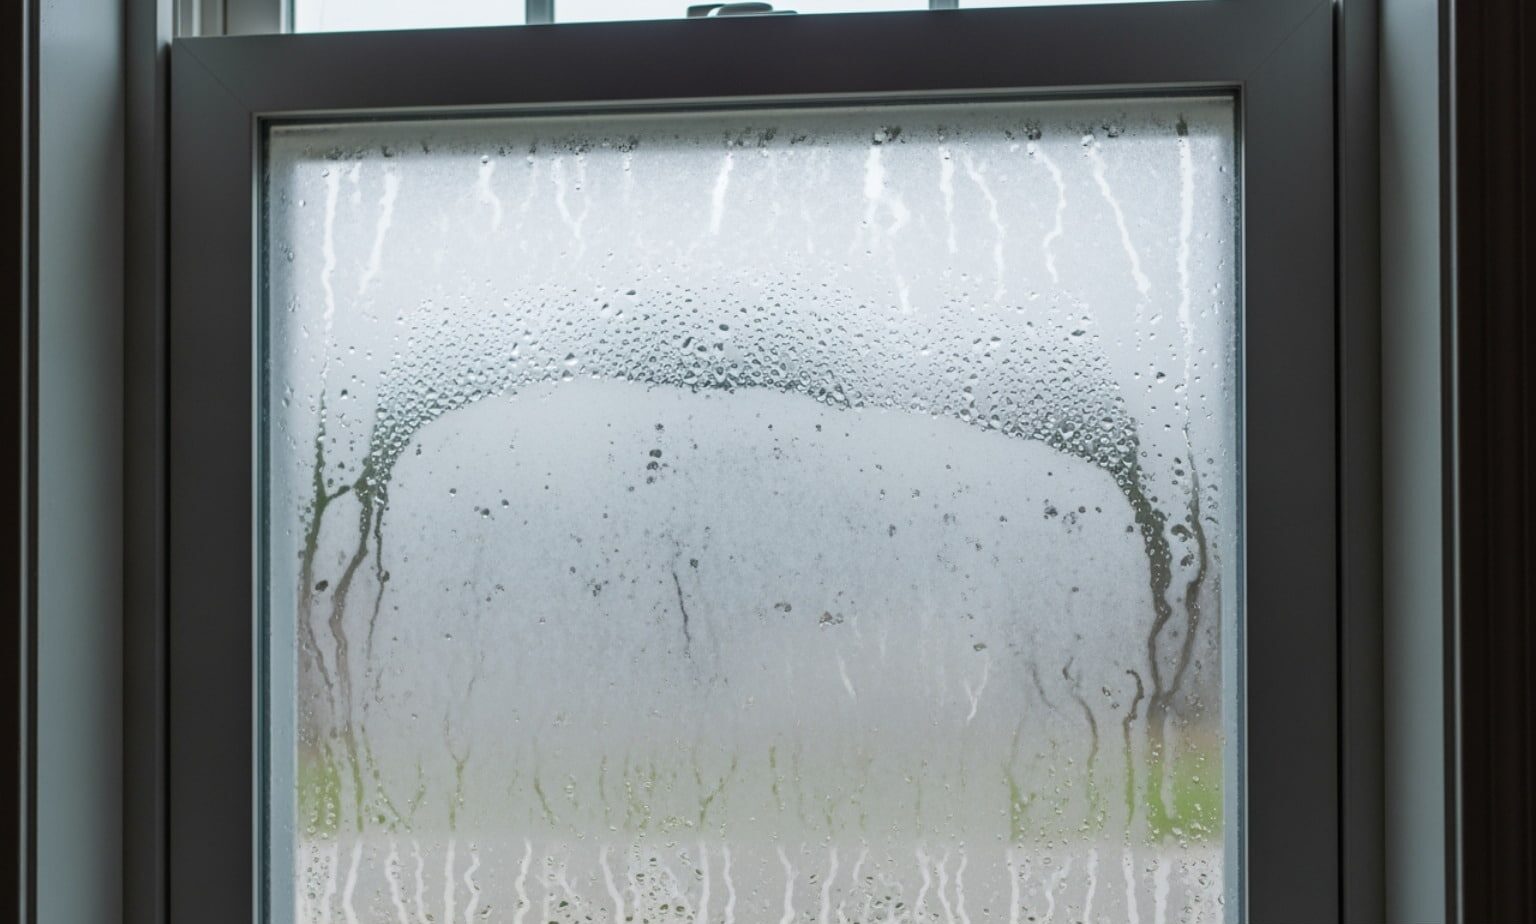
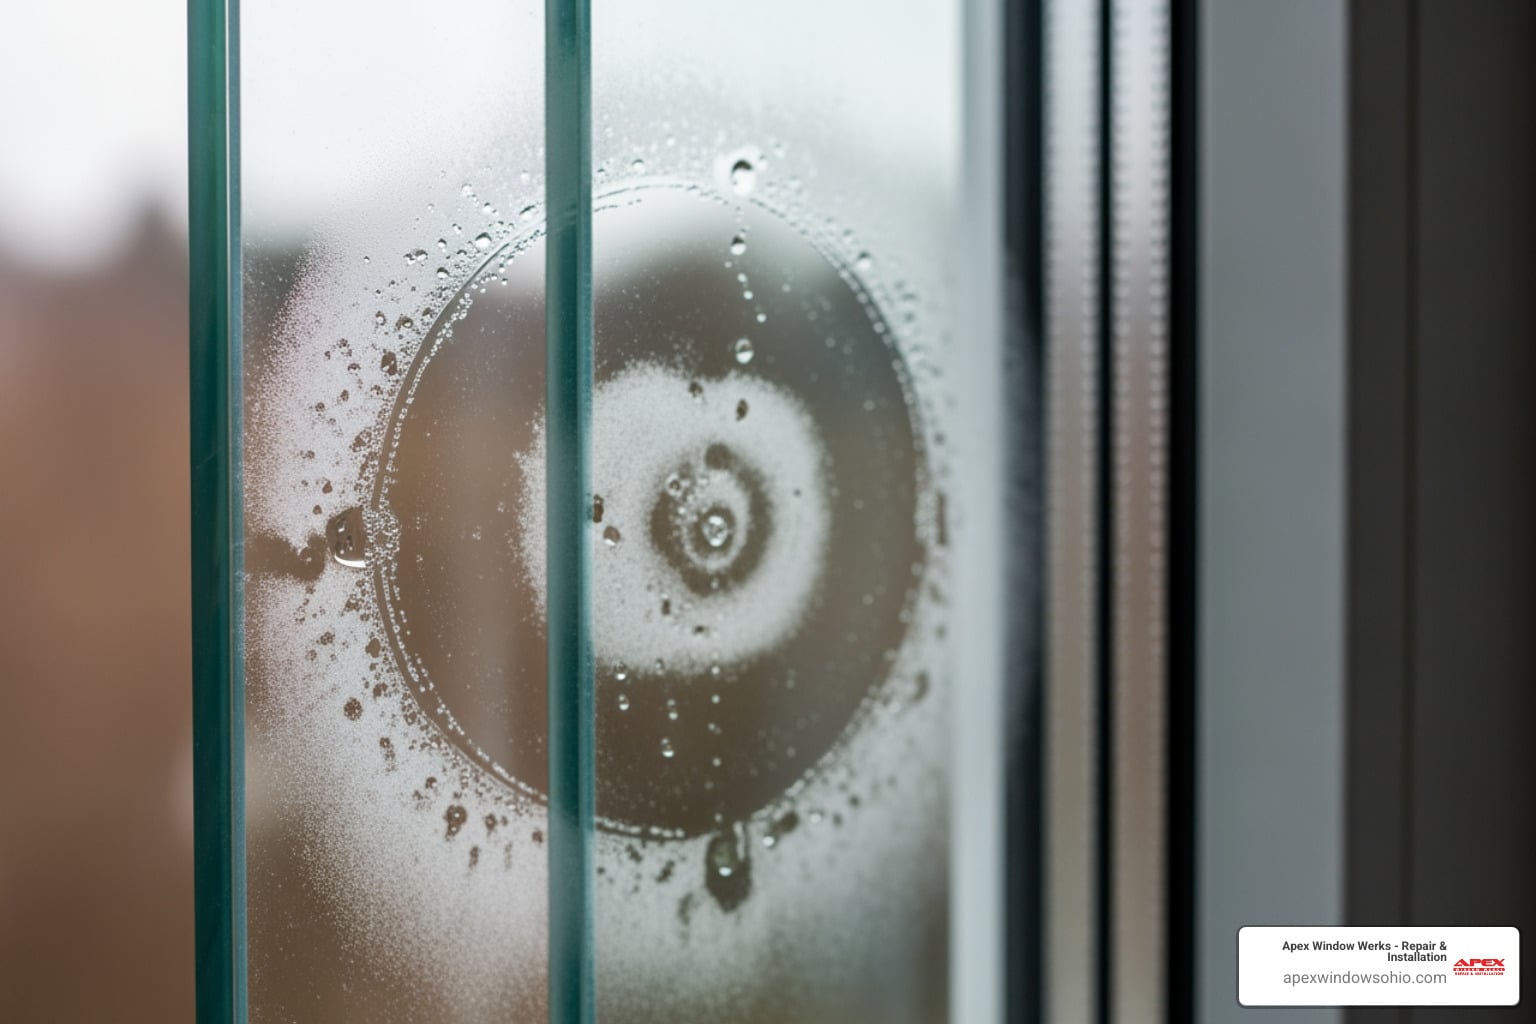
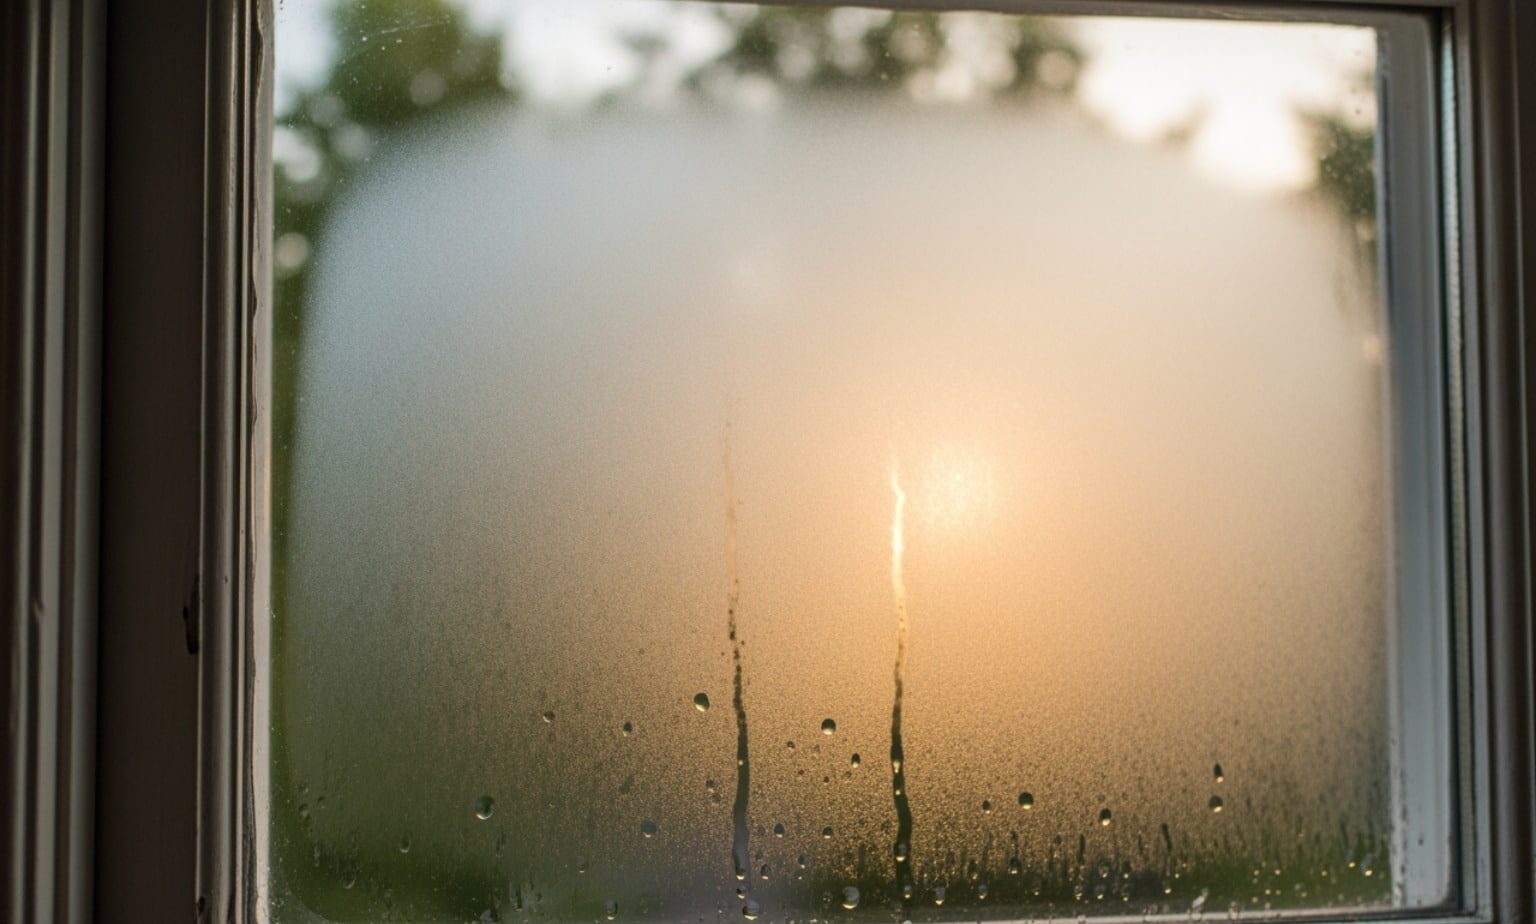
By contrast, an insulated glass unit consists of two or three panes of glass separated by a spacer bar containing desiccant and sealed airtight at the factory. When this internal hermetic seal fails, moisture penetrates between the glass lites. This creates permanent hazing, water droplets, or etching between the panes that cannot be wiped away from either side.
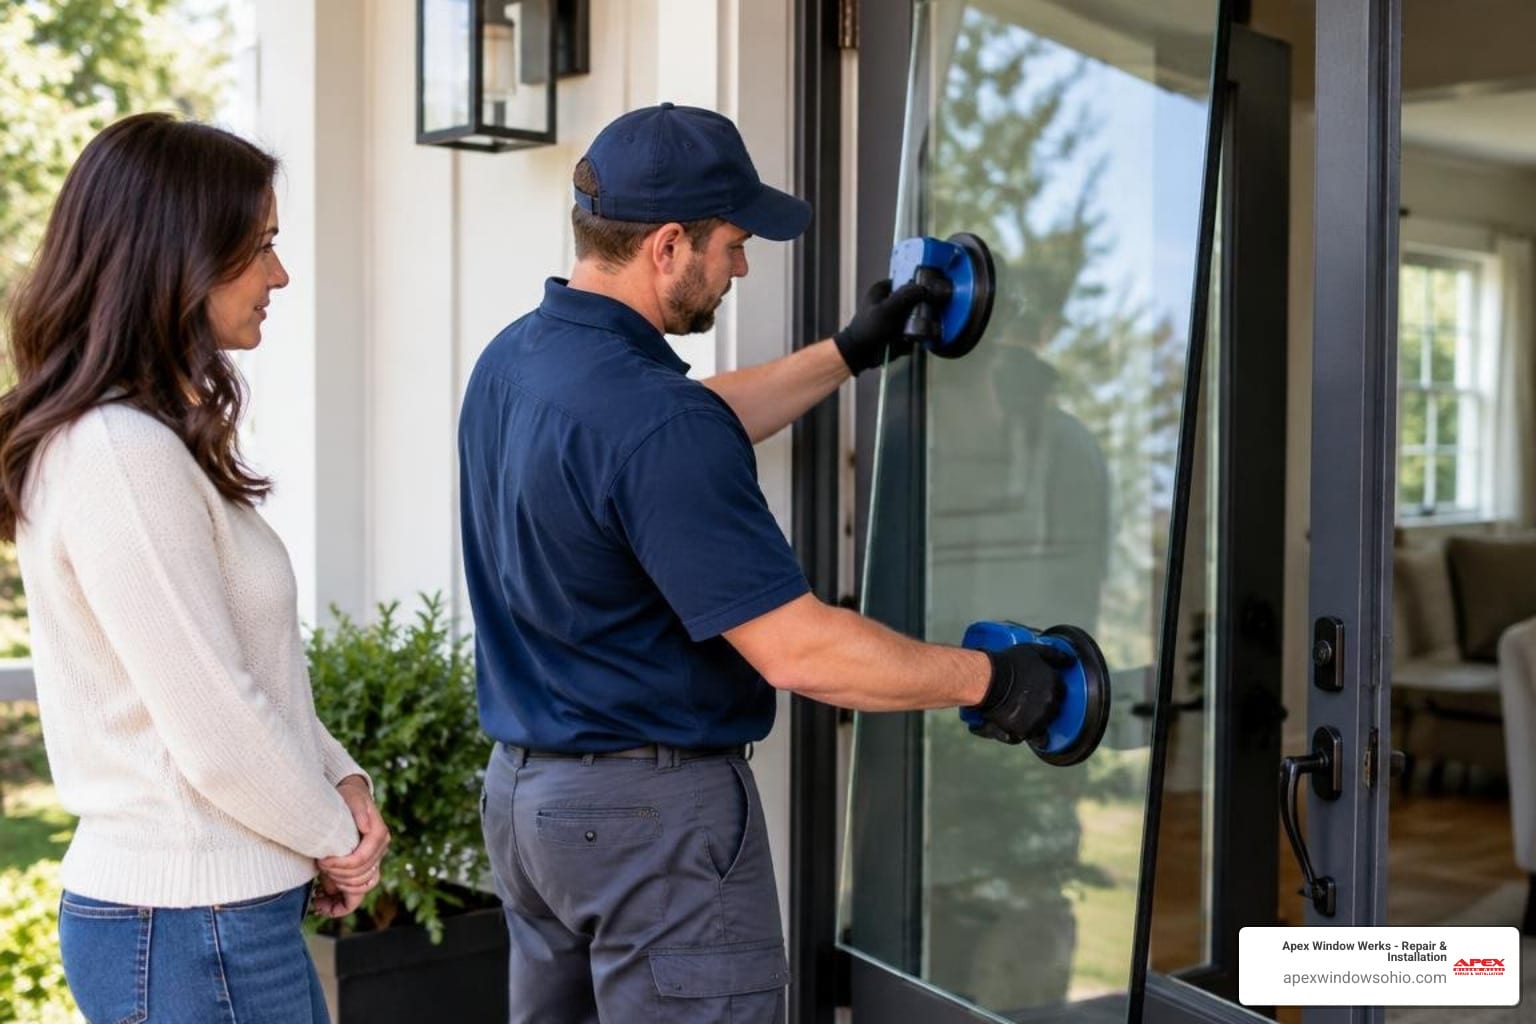
If your glass is hazy, no amount of perimeter weatherstripping replacement will clear the view. In that scenario, professional foggy double-pane window repair or dedicated insulated glass unit replacement is needed to install a new, clear glass unit into the existing frame.
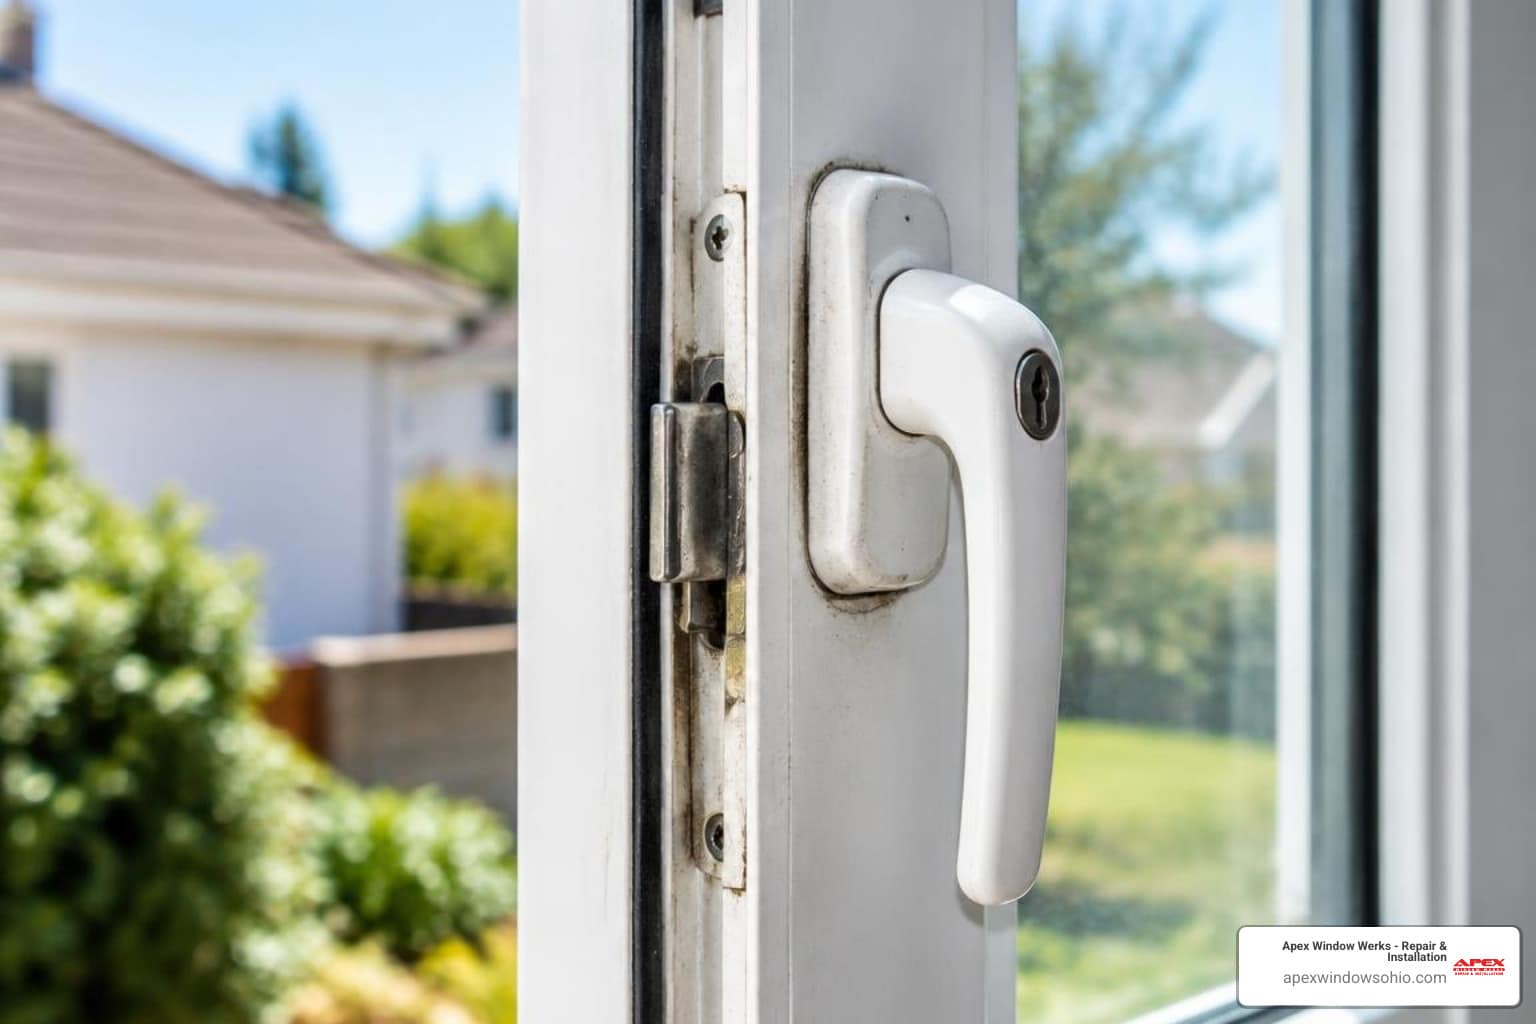
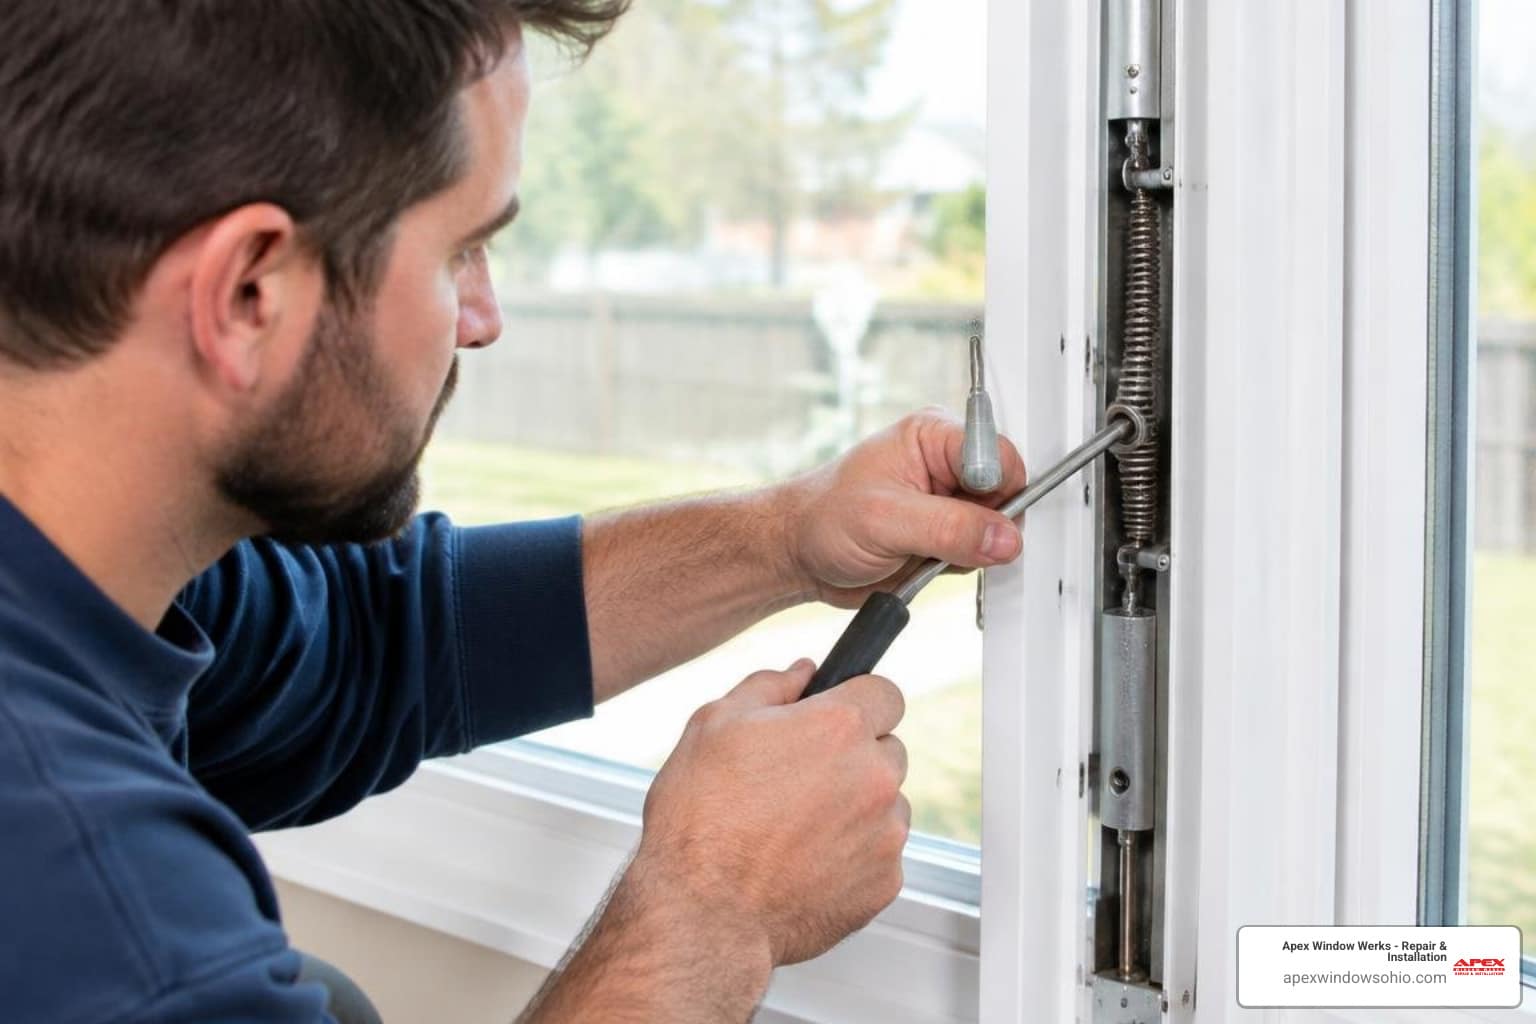
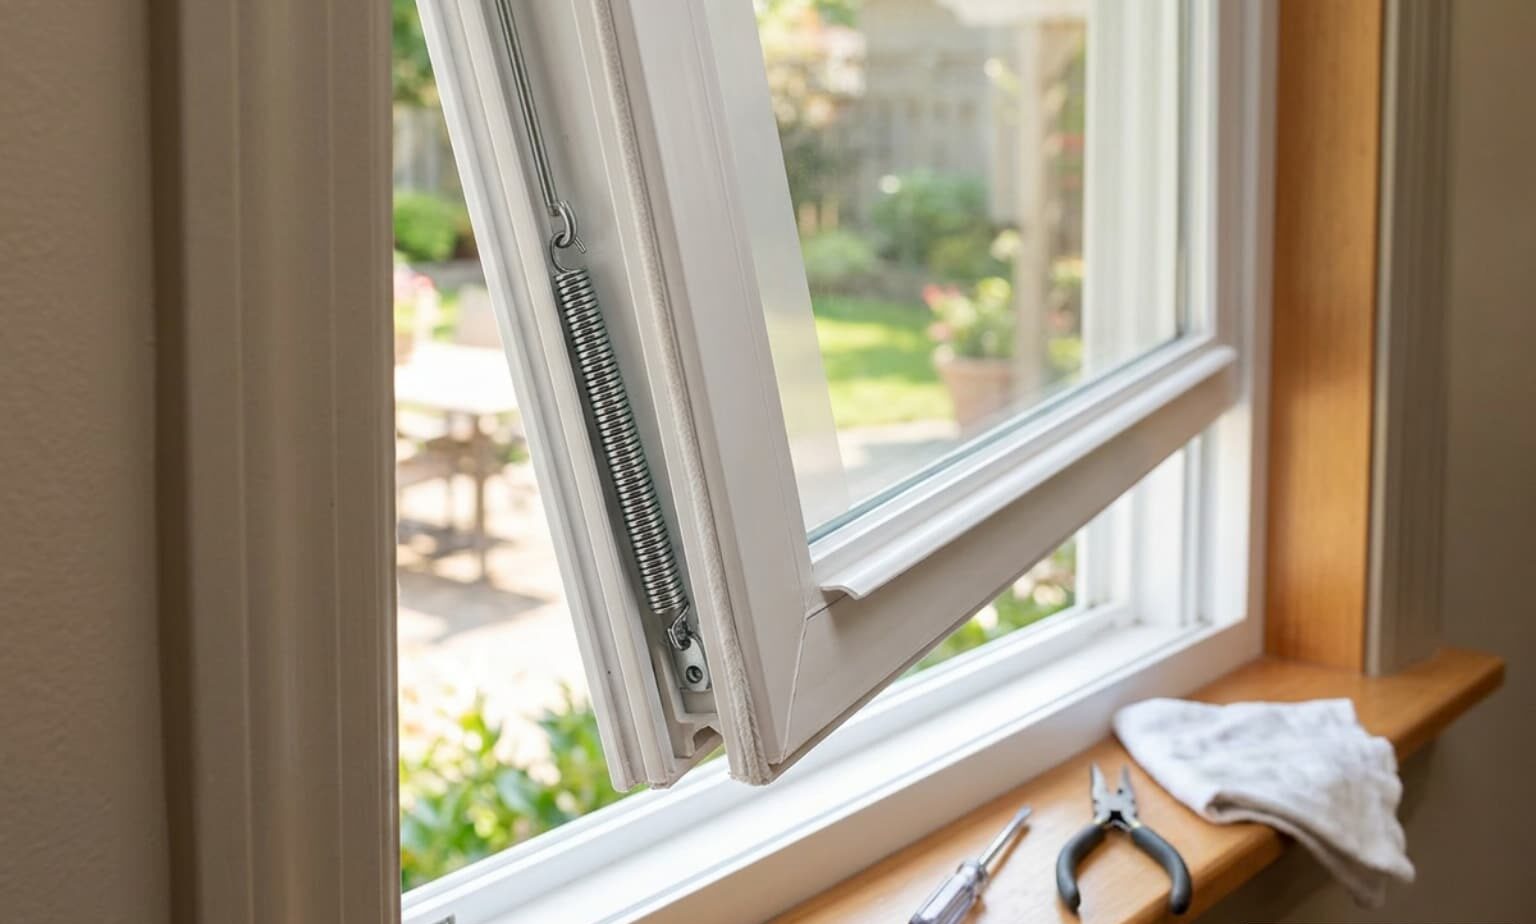
Similarly, if your window continues to draft despite having pliable rubber gaskets, inspect the mechanical hinges, operator arms, and multipoint locks. A sash that has dropped out of square or suffered hinge distortion will create uneven perimeter gaps that no standard rubber gasket can bridge.
Selecting Gasket Profiles and Materials for Cleveland and Akron uPVC Windows
Replacement gaskets are not universal. Installing the incorrect profile will either prevent your window sash from latching properly or leave gaps that let cold air slip right through.
High-performance window gaskets are predominantly manufactured from EPDM (Ethylene Propylene Diene Monomer) rubber or advanced TPR (Thermoplastic Rubber) compounds. EPDM is widely considered the industry benchmark due to its resilience against UV radiation, extreme temperature swings, and atmospheric ozone. It exhibits minimal compression set, meaning it bounces back to its original profile shape after being clamped shut for months. TPR materials provide exceptional flexibility and resistance to oils and environmental residues.
To choose the correct replacement, extract a small 1-inch sample of your existing gasket from an out-of-the-way corner. Clean the sample and examine its cross-sectional profile, foot width, and overall height before ordering.
| Gasket Profile | Cross-Section Design | Primary Function & Location | Key Characteristics |
|---|---|---|---|
| Bubble Gasket | Hollow circular or oval chamber with an anchor foot | Sash perimeter and frame rebate | Compresses evenly under closing force; highly forgiving on minor alignment variations. |
| Flipper (Wiper) Gasket | Angled flat blade or fin protruding from an anchor base | Window frame rebates and sliding tracks | Sweeps across the mating surface; provides low operating friction and deflects water runoff. |
| Bubble-Flip (Hybrid) | Integrated hollow bubble with an exterior wiper blade | High-exposure sashes and doors | Combines airtight compression sealing with secondary exterior water deflection. |
| Wedge Gasket | Solid triangular wedge shape | Glazing bead retention channel | Pushed between glass and frame bead to lock double-pane units firmly under pressure. |
| E-Gasket (Fir Tree) | Multi-barbed arrow or fir-tree retention foot | Universal retention channels | Push-fit ribbed base locks securely into grooves without requiring adhesives. |
When selecting replacement materials, options like a quality Bubble Seal Window and Door Gasket offer flexible compression across various residential window profiles.
Essential Tools for uPVC Window Rubber Seal Replacement
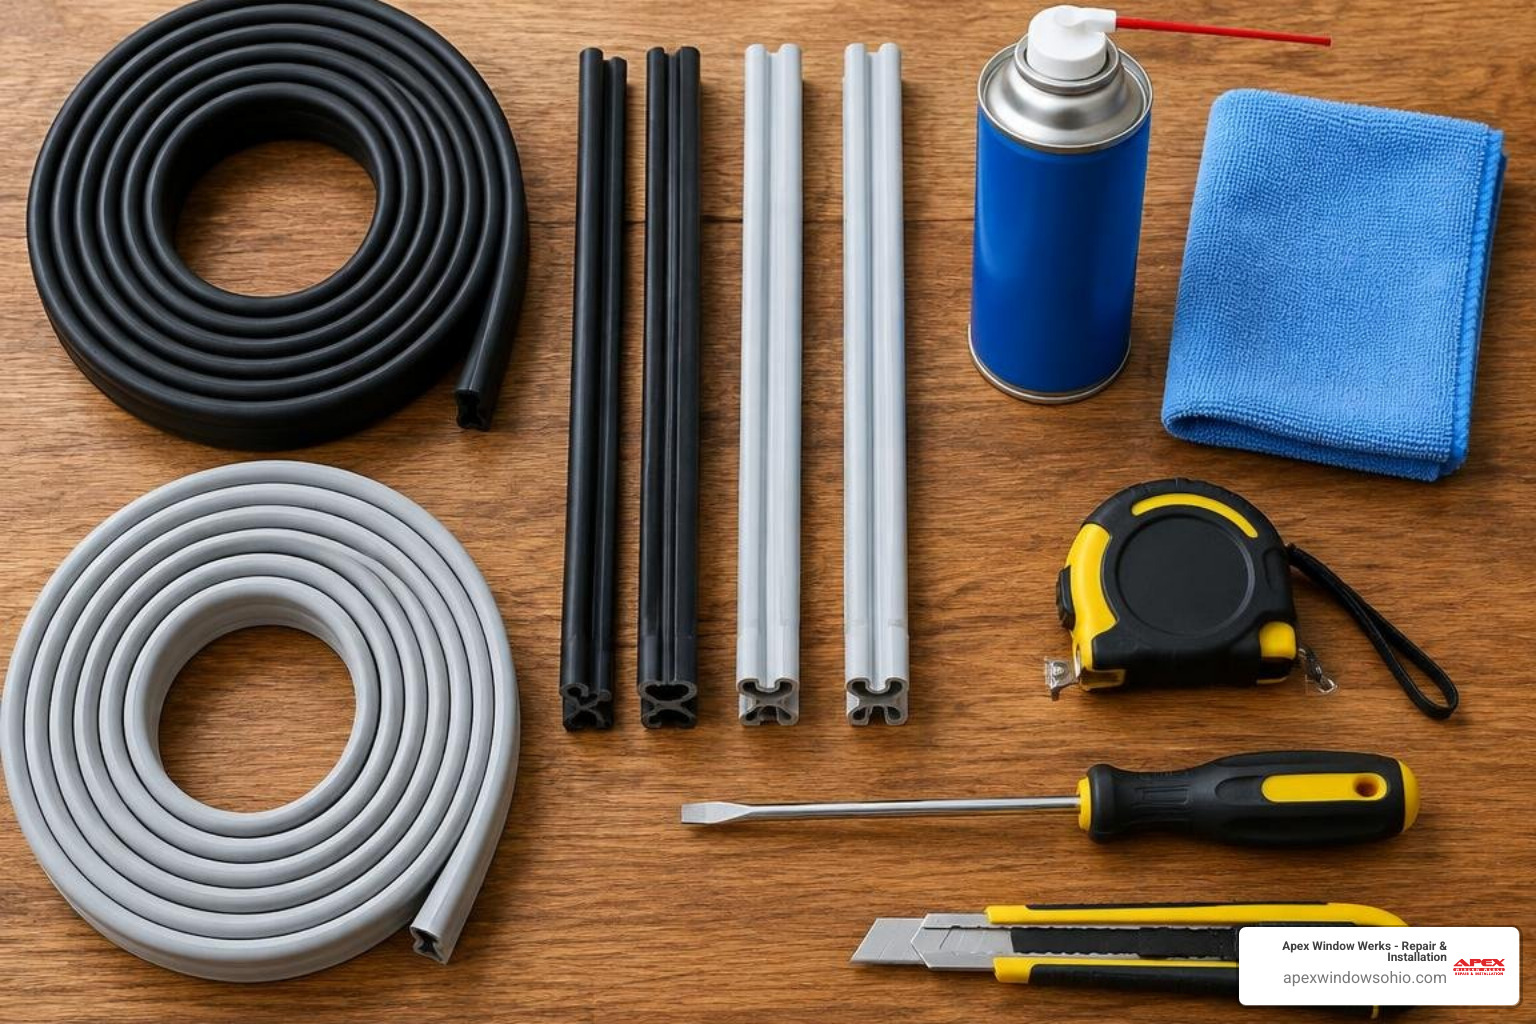
Replacing a push-fit window seal requires only a few basic hand tools:
- Small Flathead Screwdriver or Glazing Pry Tool: For lifting the initial edge of the old gasket out of its retention channel without gouging the plastic frame.
- Heavy-Duty Utility Knife or Specialty Gasket Shears: For making clean, burr-free 90-degree and 45-degree cuts in rubber profiles.
- Microfiber Cloths and Mild Degreasing Cleaner: For scrubbing embedded dirt, mold, and atmospheric grime out of the retention track.
- Tape Measure: For determining the perimeter length of your window frame.
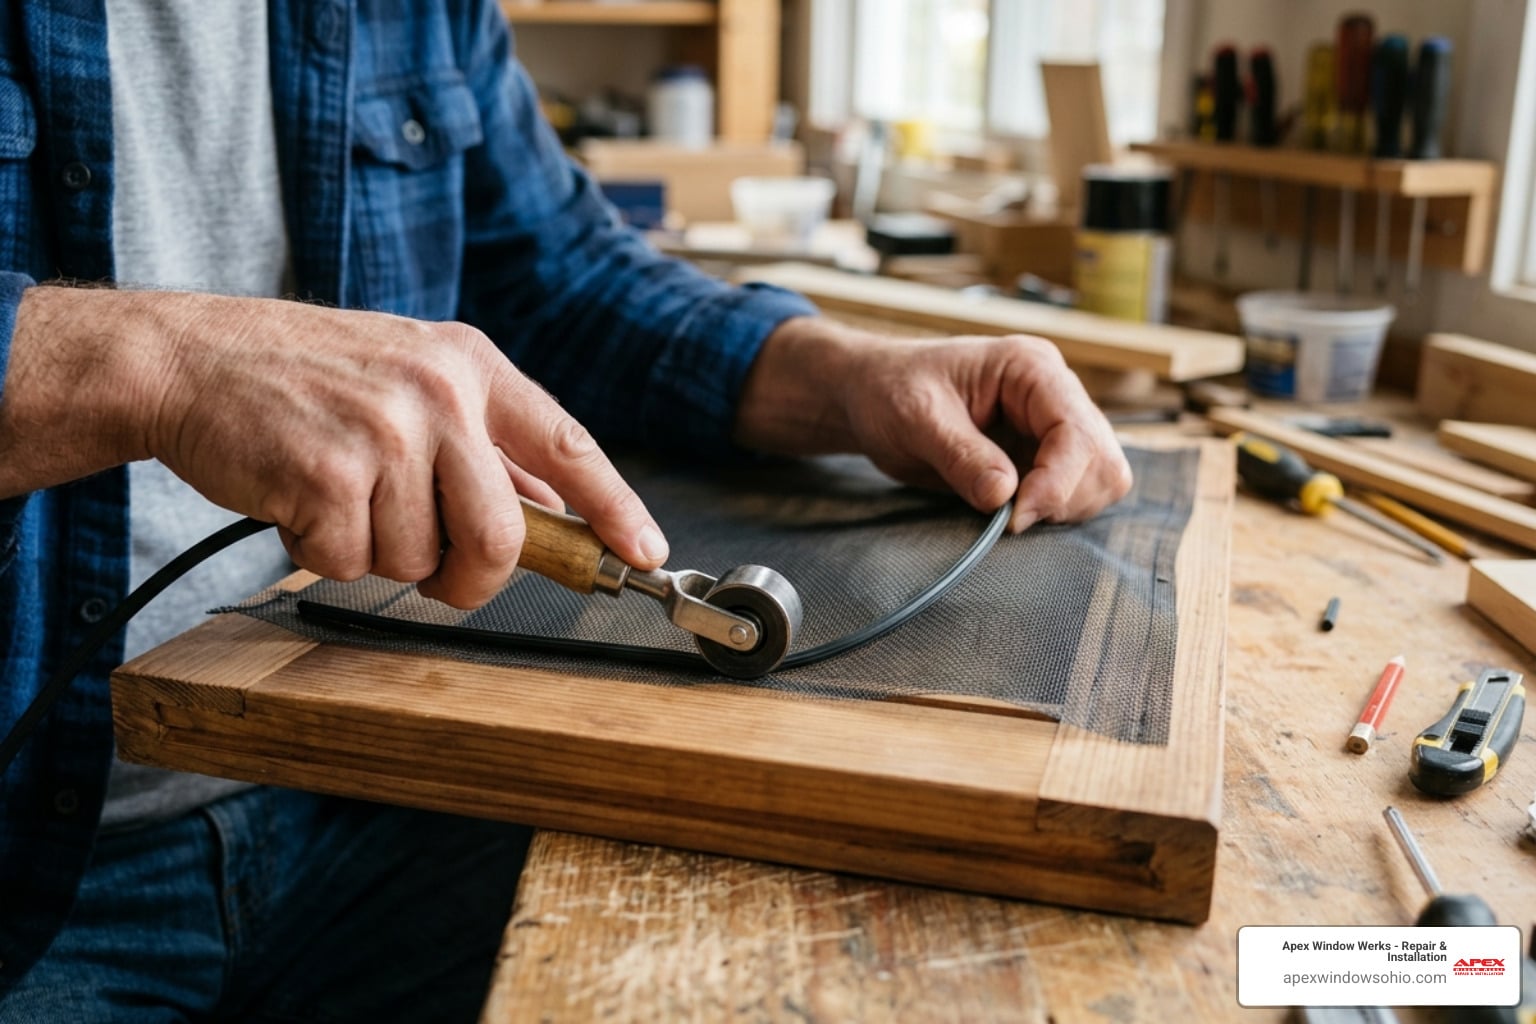
- Gasket Insertion Roller Tool (Optional): A specialized narrow nylon roller that helps press continuous gasket feet into tight channels without pinching your fingertips.
- Silicone-Based Rubber Conditioner Spray: Lightly misting the retention channel simplifies sliding and pushing the gasket into place without overstretching the profile. Avoid petroleum-based lubricants, which break down rubber compounds.
Step-by-Step uPVC Window Rubber Seal Replacement for Cleveland Homeowners
The secret to a durable weather seal lies in careful preparation and tension-free installation. Rushing through the process or pulling the rubber taut will inevitably lead to gaps down the road.
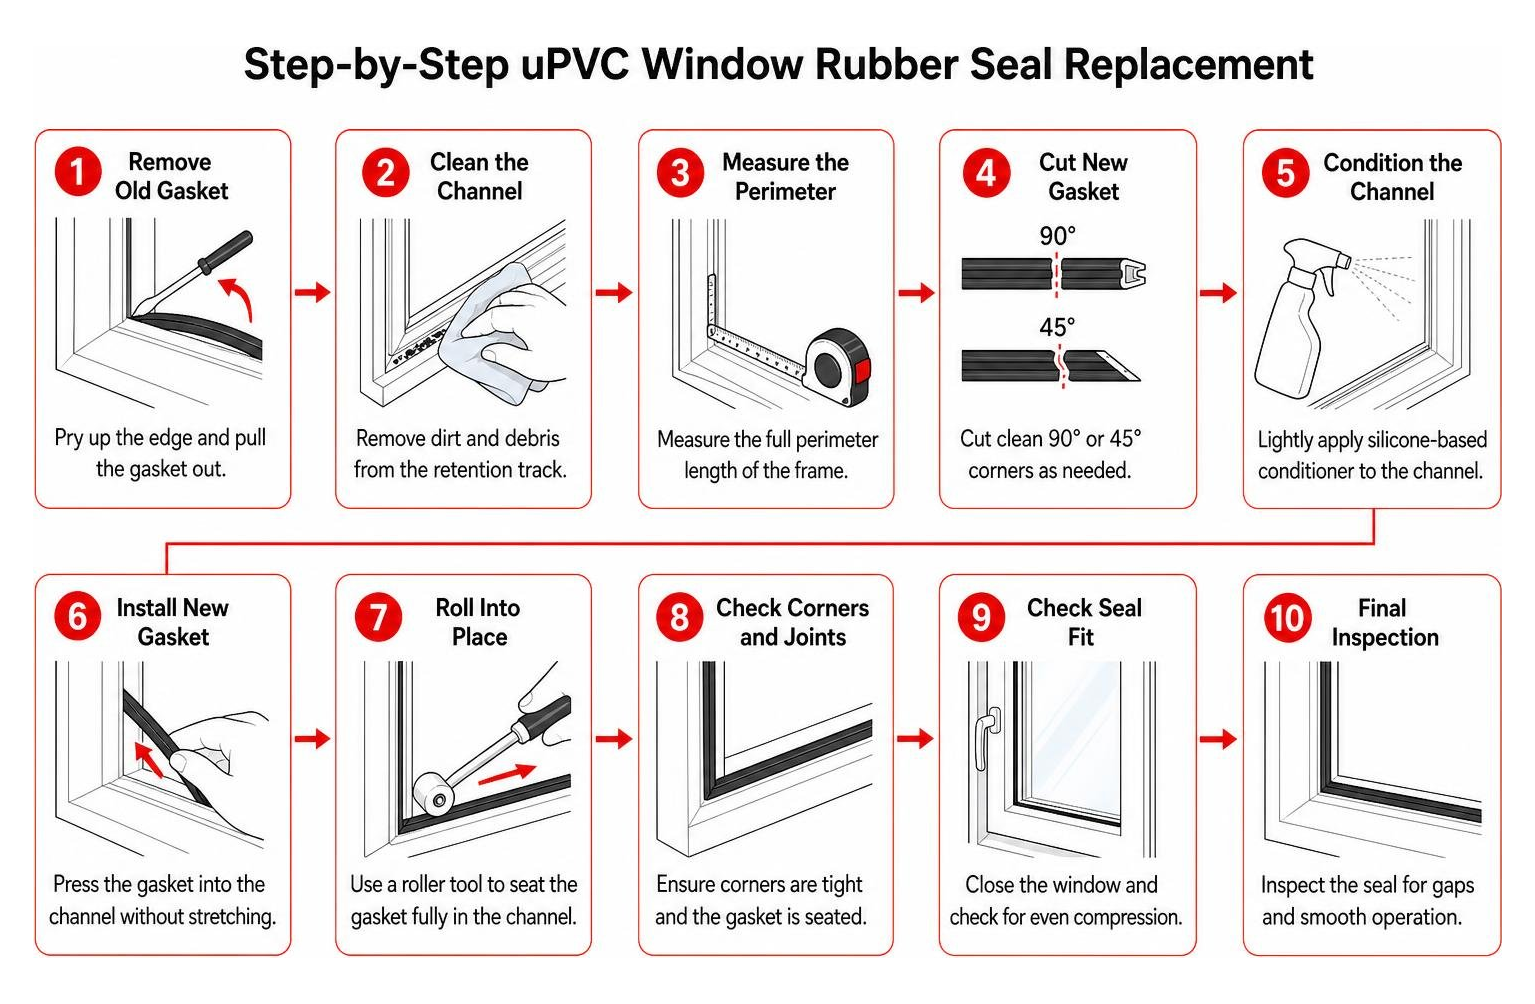
Detailed Steps to Complete a uPVC Window Rubber Seal Replacement
Step 1: Remove the Old Gasket
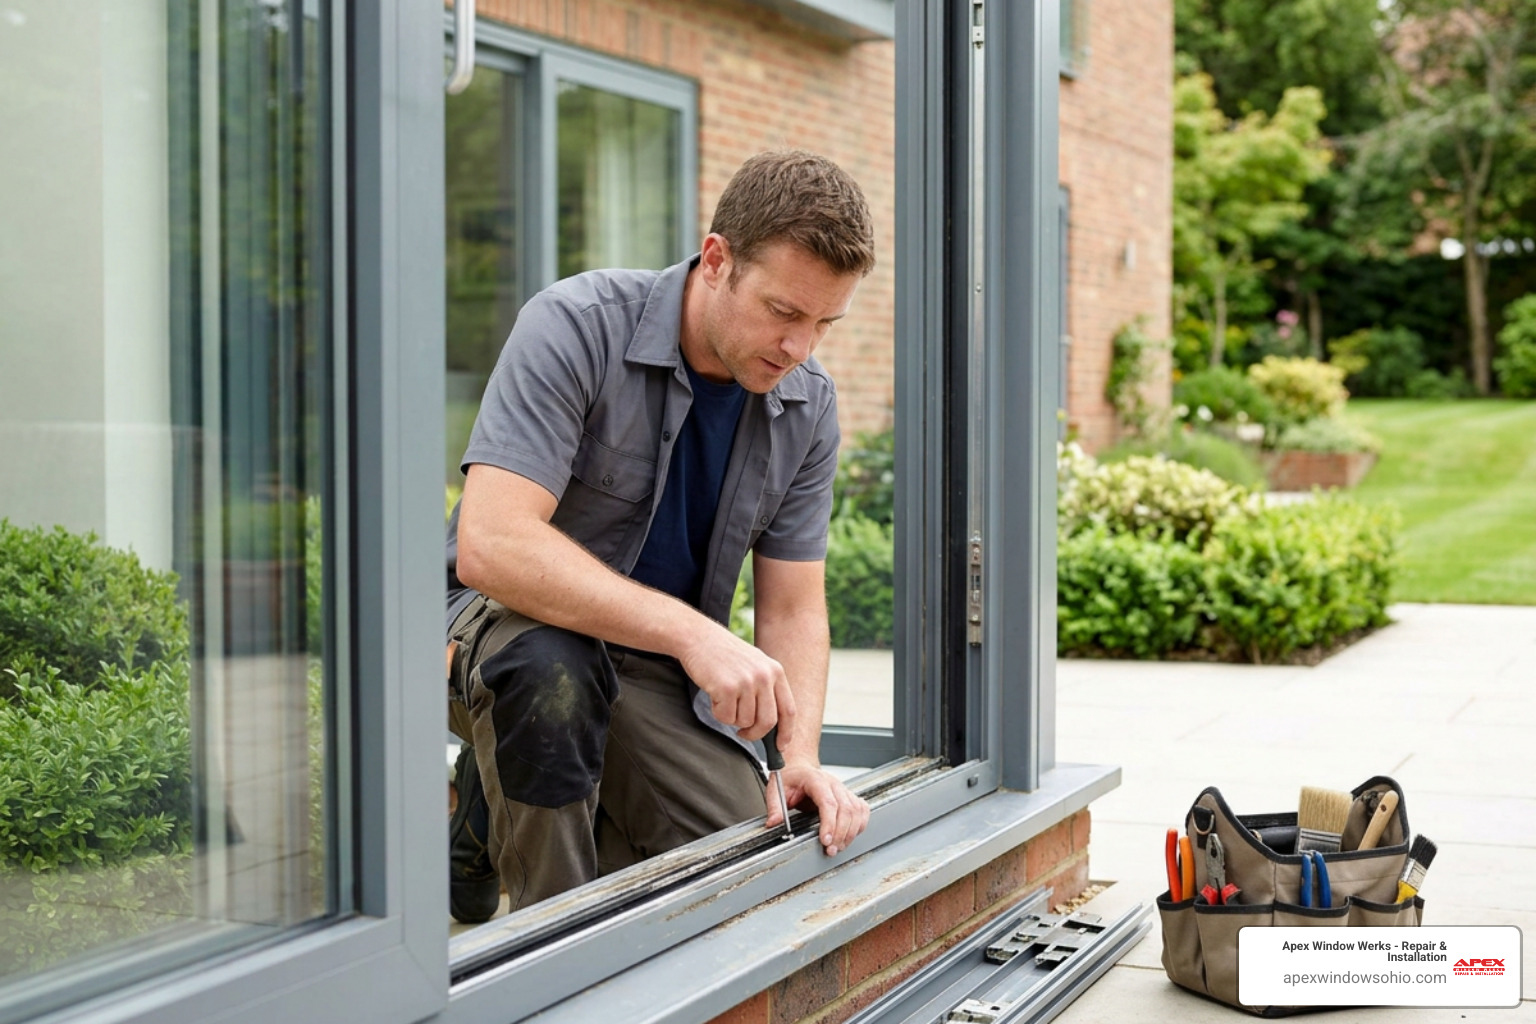
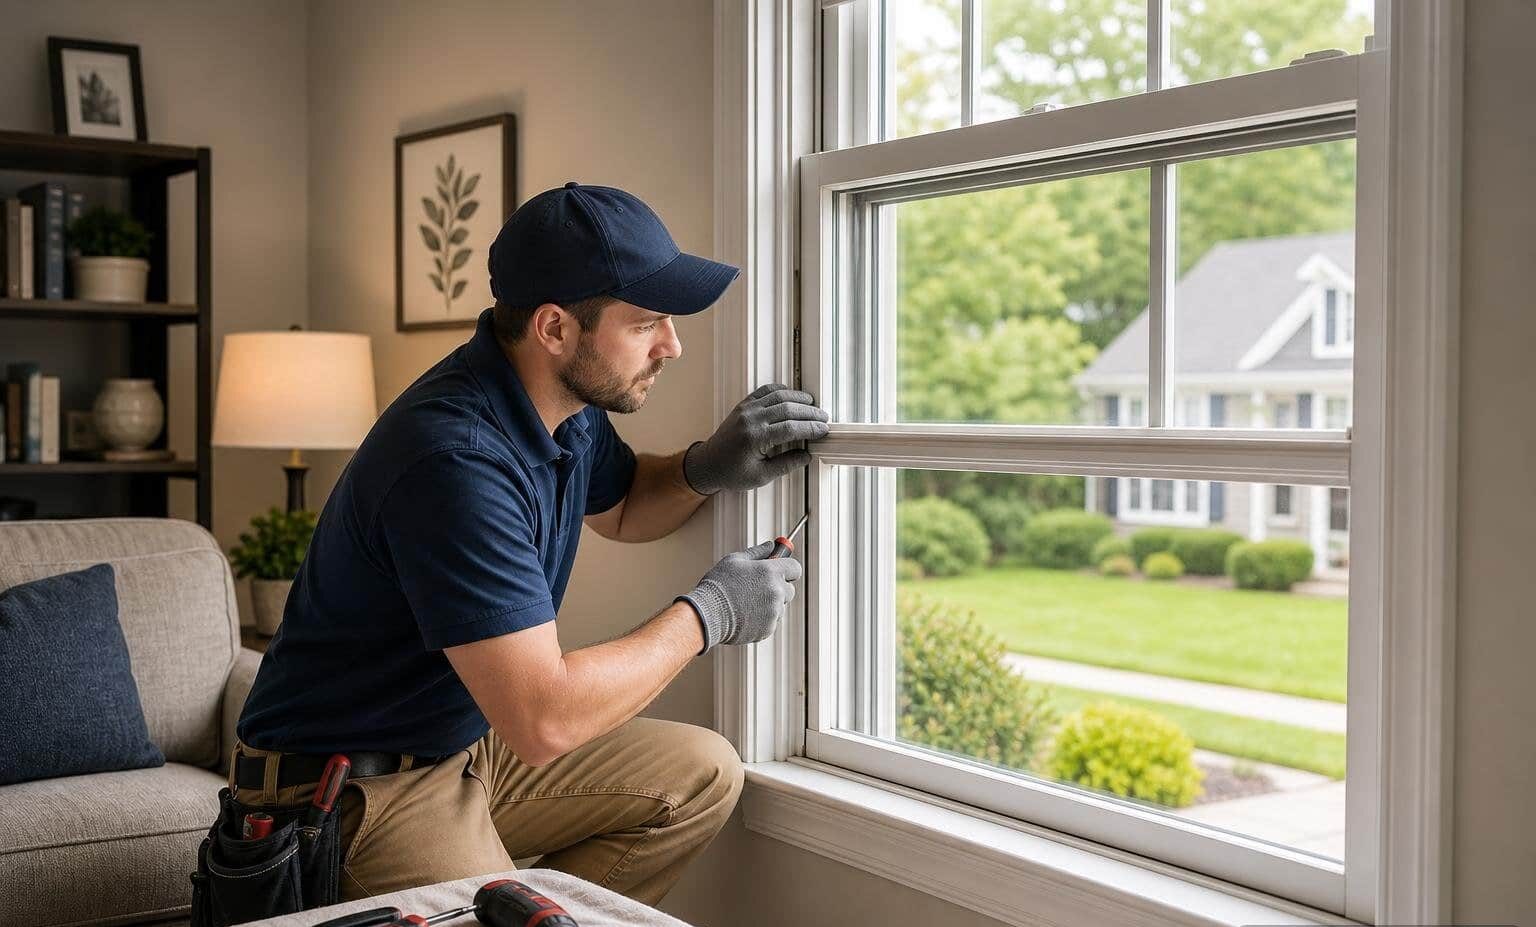
Unlock and open your window sash fully to access the perimeter rebate channel. Locate the joined seam of the existing rubber gasket – usually found at the top or bottom center of the frame. Insert your flathead screwdriver gently under the rubber foot and pry it out. Once an edge is free, grasp the rubber with your fingers and pull the entire continuous strip out of the channel.
Step 2: Clean and Prepare the Retention Groove
Years of environmental exposure leave retention grooves packed with dust, grease, pollen, and spiderwebs. Spray a mild, soapy solution or non-abrasive degreaser directly into the channel. Run a narrow nylon brush or folded microfiber cloth wrapped around a putty knife through the groove to clear out all trapped debris. Wipe the channel completely dry with a clean cloth. Debris left in the channel will prevent the replacement gasket base from seating flat.
Step 3: Measure and Plan Your Runs
Measure the full perimeter of your window sash rebate and add roughly 10% to 15% extra material to your total calculation. It is best practice to install the gasket as one continuous strip starting from the top center of the frame, rather than cutting four separate pieces. This minimizes open butt joints where drafts could enter.
Step 4: Press the New Gasket into the Channel
Begin installing at the center of the top horizontal rail. Press the barbed anchoring foot of the gasket firmly into the retention slot using your thumb or an insertion roller tool. Work your way systematically around the frame.
Critical rule: Push the gasket forward into the slot; never pull or stretch it. If you pull the rubber during installation, it will temporarily lengthen, then slowly contract over the next few months, leaving open gaps at every corner.
Step 5: Navigate Frame Corners
When you reach a 90-degree corner, do not simply yank the rubber around the sharp turn, which can pinch or bunch the profile. Instead, use sharp gasket shears to make a small V-shaped relief notch in the rear anchoring foot of the gasket, taking care not to cut through the outer sealing bubble or wiper fin. This relief cut allows the exterior sealing surface to round the corner smoothly while the base stays securely anchored in the track.
Step 6: Trim and Join the Seam
Continue pressing the gasket around the remaining sides until you return to your starting point on the top rail. Cut the ending edge with your utility knife so it leaves roughly 1/8 inch of excess length. Push both ends firmly together so they compress against one another in a tight butt joint. For extra protection against separation, apply a tiny drop of cyanoacrylate adhesive or silicone-safe sealant between the joining rubber ends.
Step 7: Inspect and Perform the Closure Test
Close and latch the window sash. The handle should operate smoothly with firm, positive resistance as the lock draws the sash tight against the new rubber. Check the entire perimeter from both the inside and outside to confirm the gasket is compressing evenly without bulging out of the retention track. Repeat your paper test at several points along each rail to verify an airtight seal.
Critical Mistakes to Avoid and Professional Repair Considerations in Greater Cleveland
While DIY window maintenance can be straightforward, small mistakes during gasket installation can lead to ongoing drafts and hardware strain:
- Stretching the Rubber Profile: This is the most common DIY mistake. Always feed slight slack into the retention groove as you press the seal into place.
- Using Petroleum-Based Lubricants: Applying WD-40, motor oil, or petroleum jelly to ease installation will dissolve rubber plasticizers, causing the gasket to swell, soften, and degrade prematurely. Use only mild soapy water or dedicated silicone spray.
- Forcing an Oversized Profile into the Frame: Installing a gasket that is too thick will put excessive strain on your window hinges, corner brackets, and multi-point locking gear. If closing the window requires excessive force on the handle, the gasket is too large and will eventually warp the sash or strip internal lock gears.
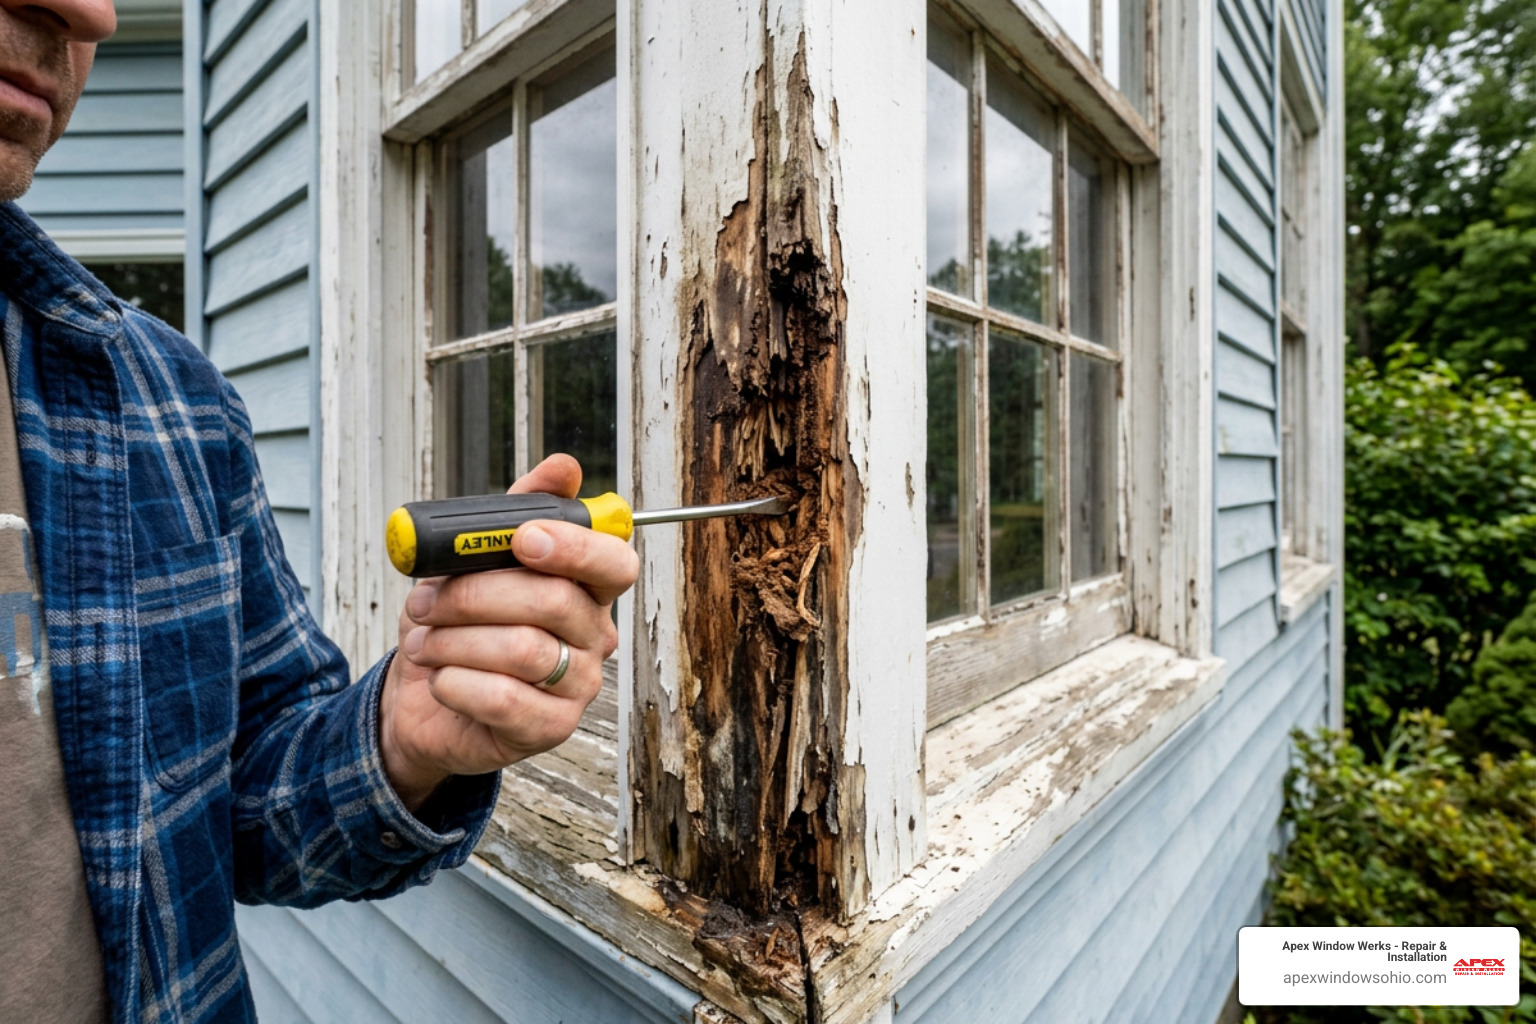
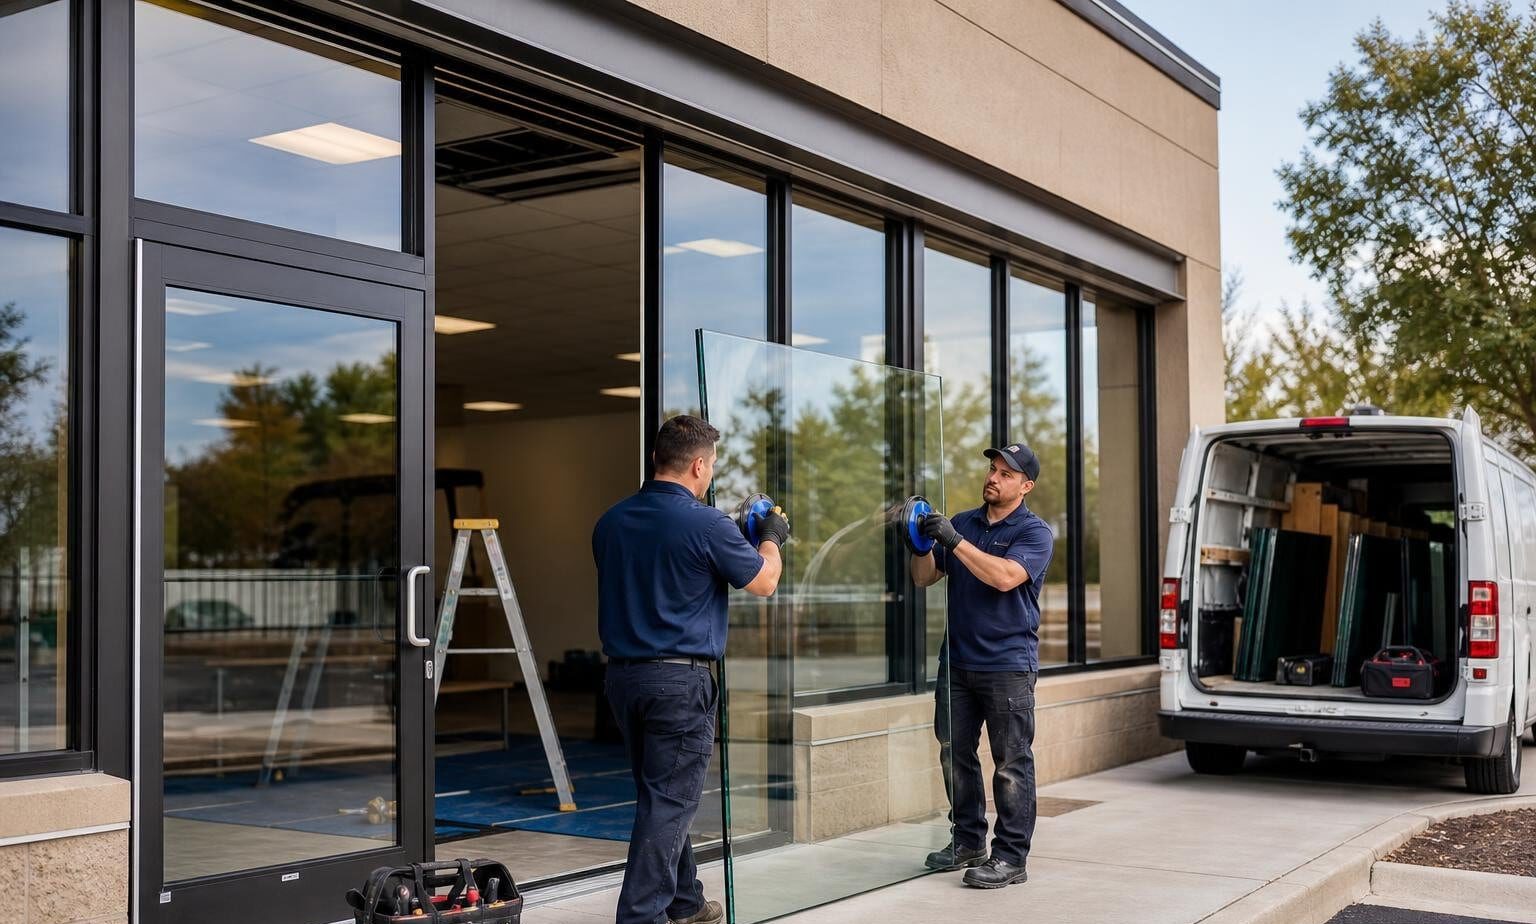
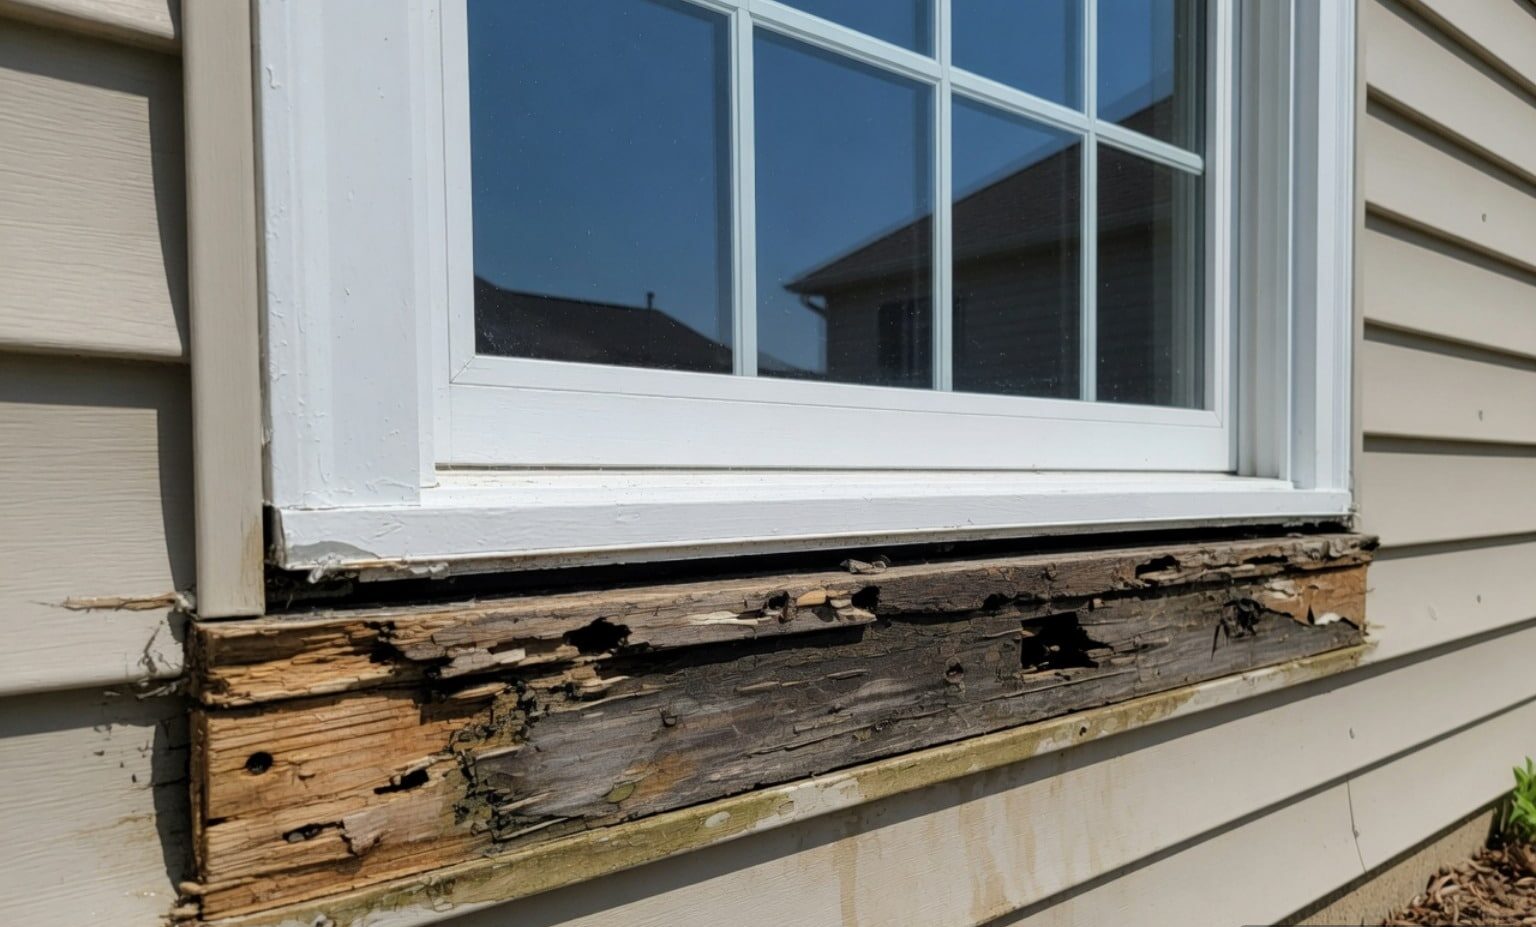
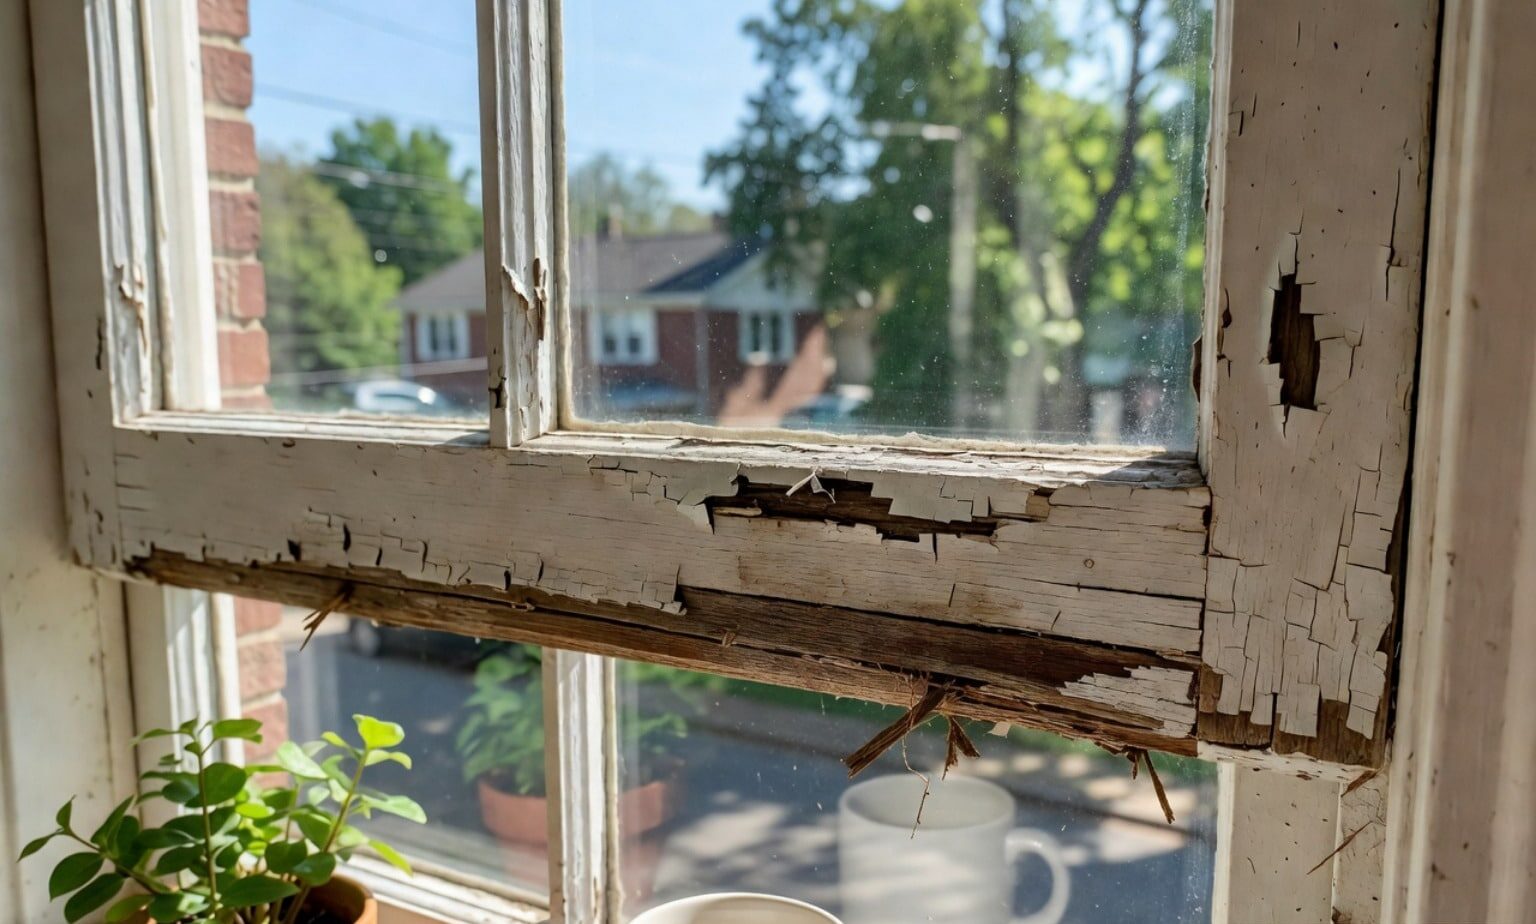
- Overlooking Structural Frame Issues: When windows show persistent drafts even with new seals, the root cause is often frame settling, deteriorated installation caulking, or warped vinyl extrusions. For larger properties or commercial aluminum systems, specialized commercial window weatherstripping replacement or comprehensive frame realignment is necessary.
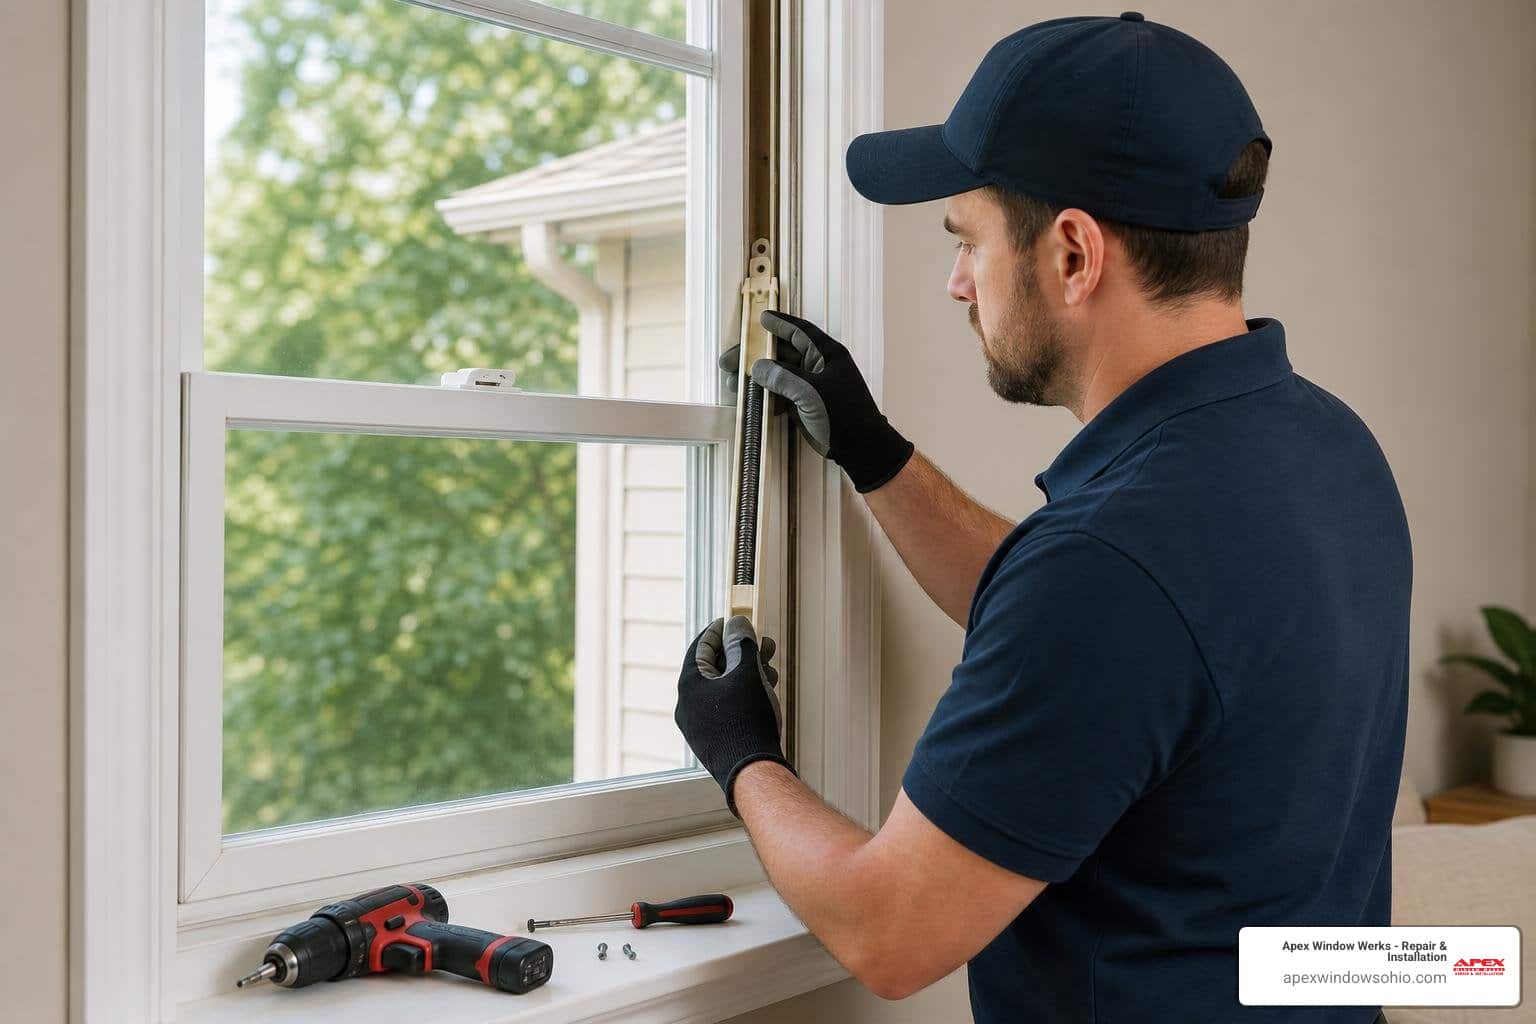
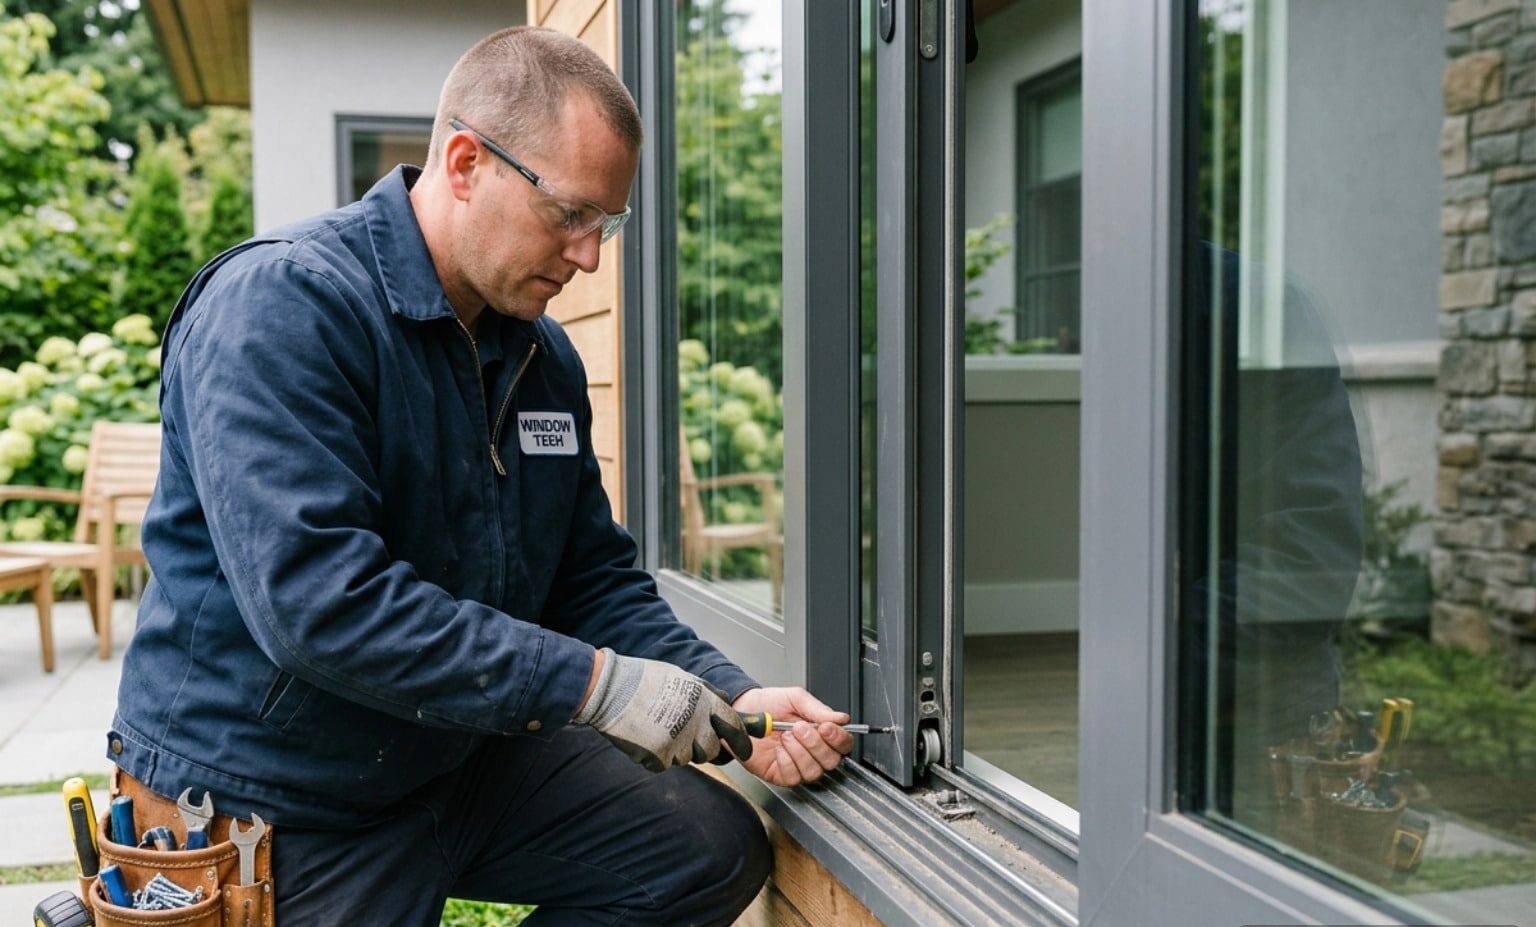
If you find that your window sash is physically catching on the mainframe, the locking pins are missing their keep plates, or the insulated glass has fogged between panes, standard weatherstripping will not solve the issue. In these cases, working with an experienced window technician ensures proper sash re-squaring, hardware replacement, and thermal restoration.
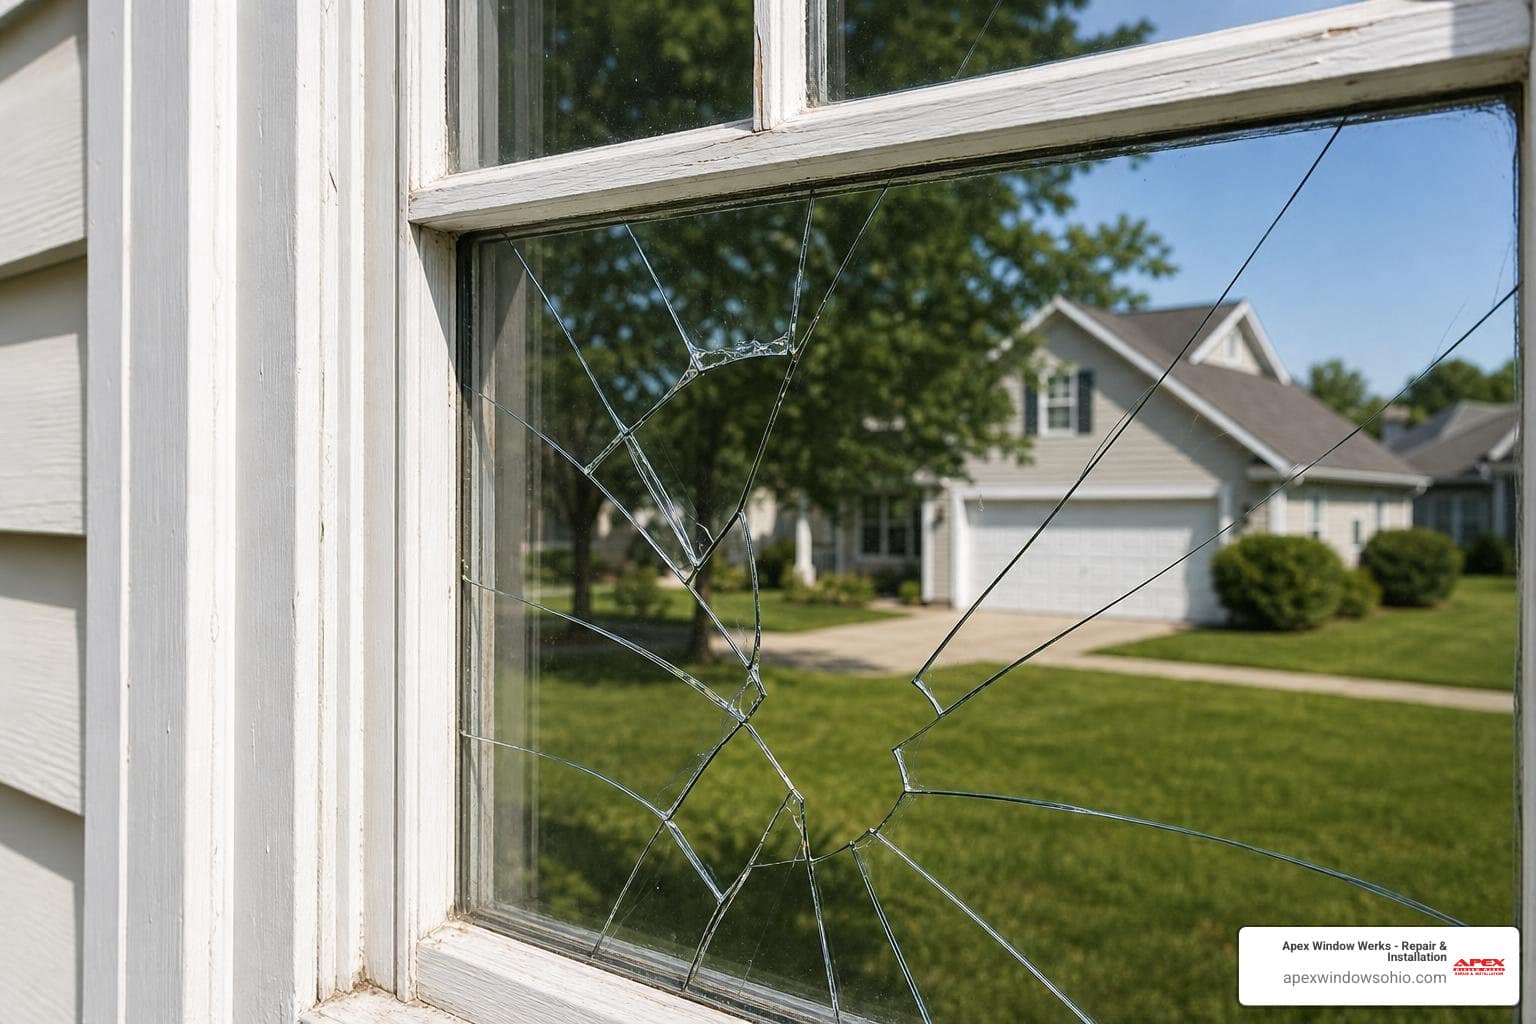
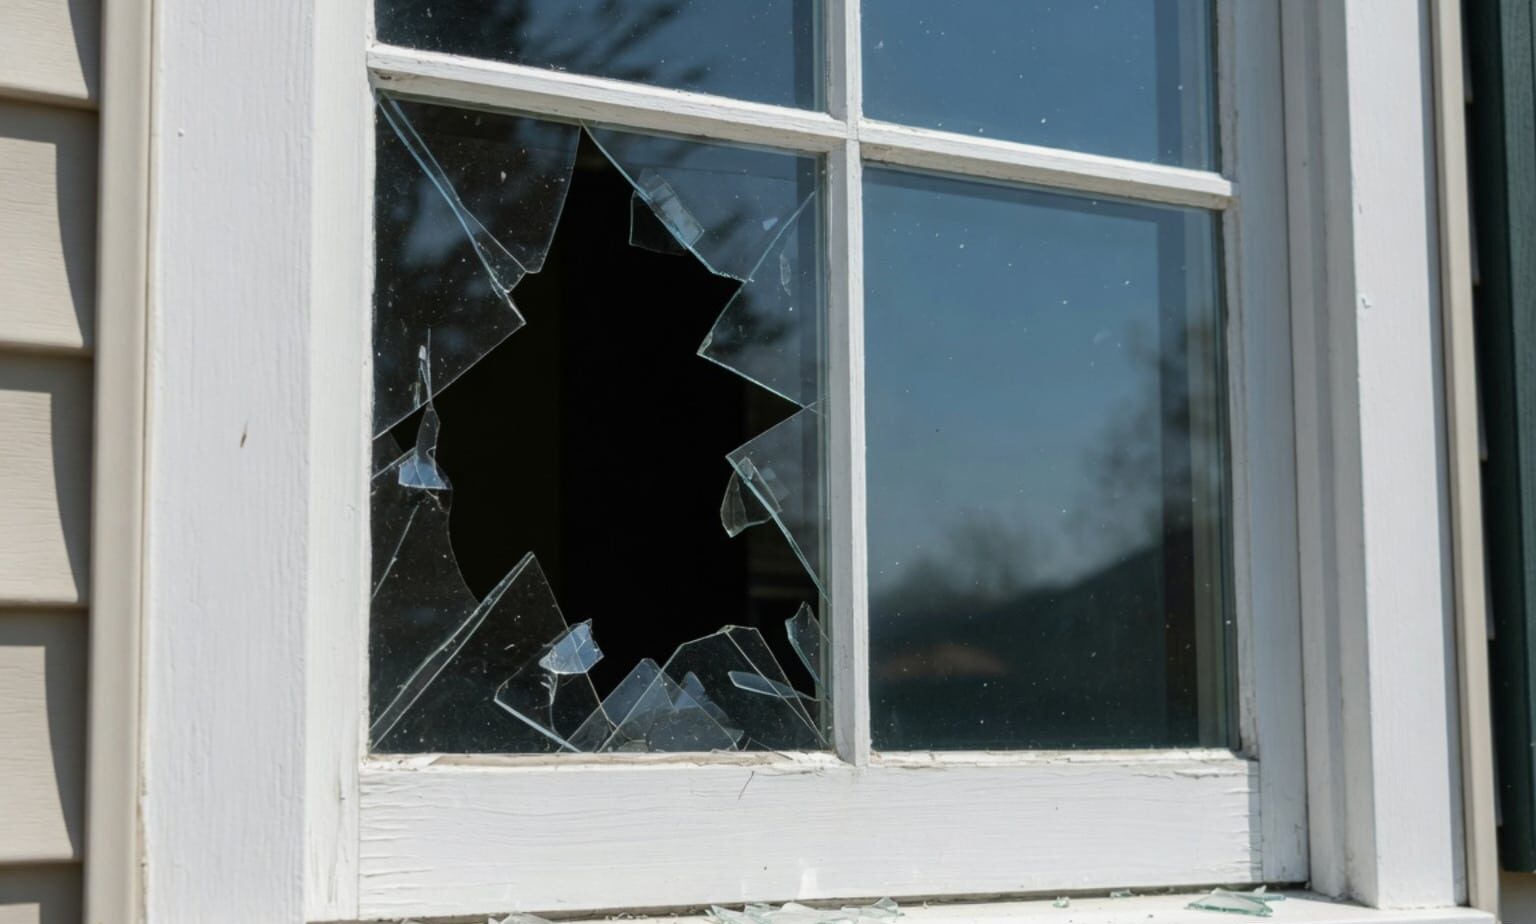
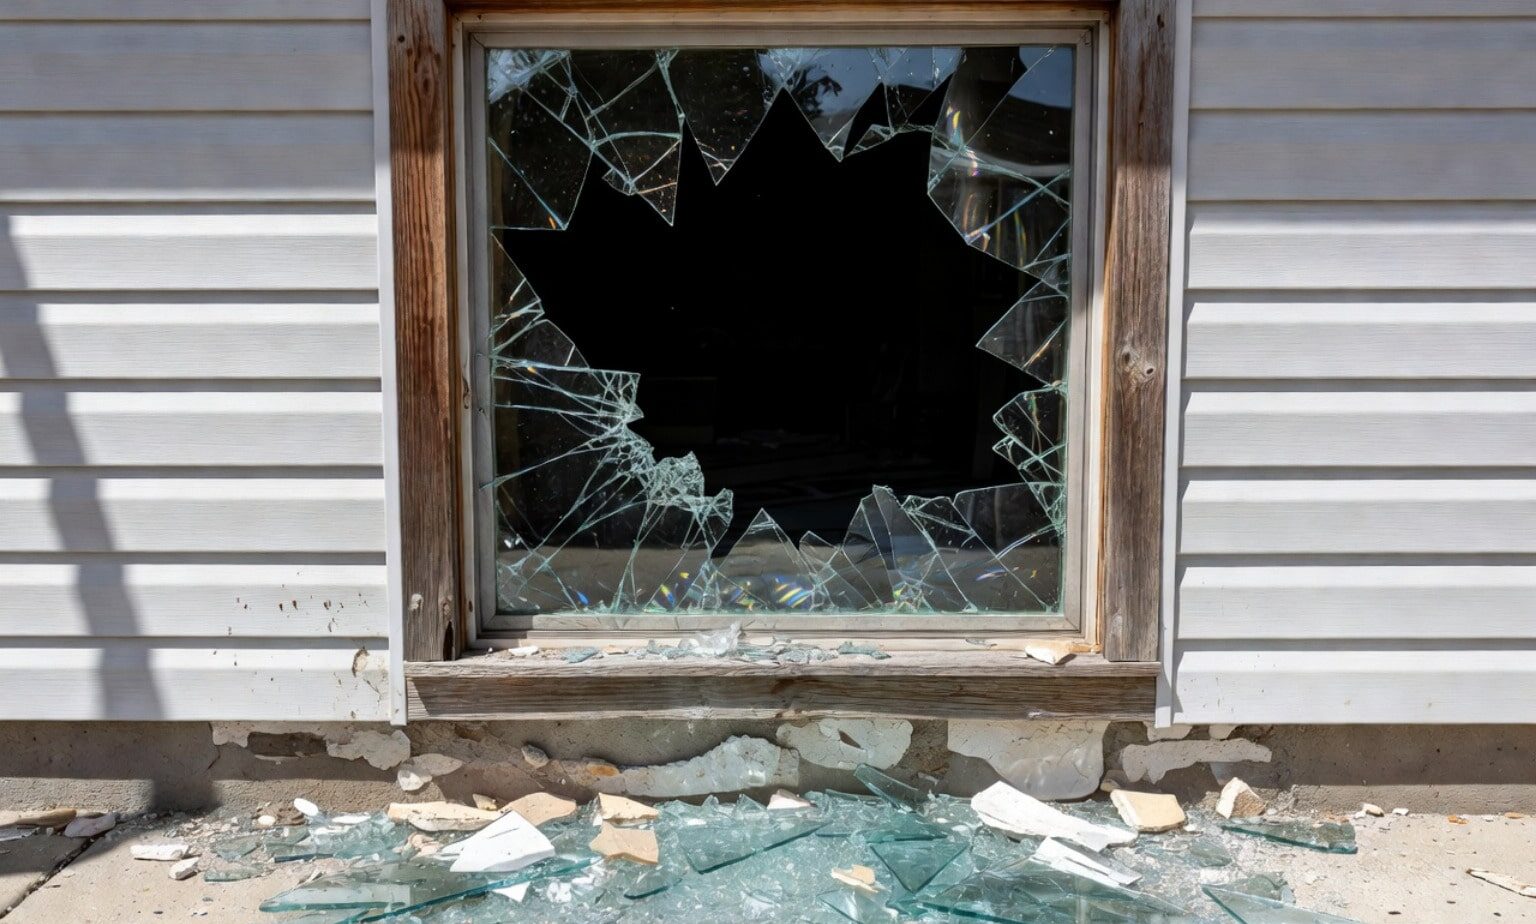
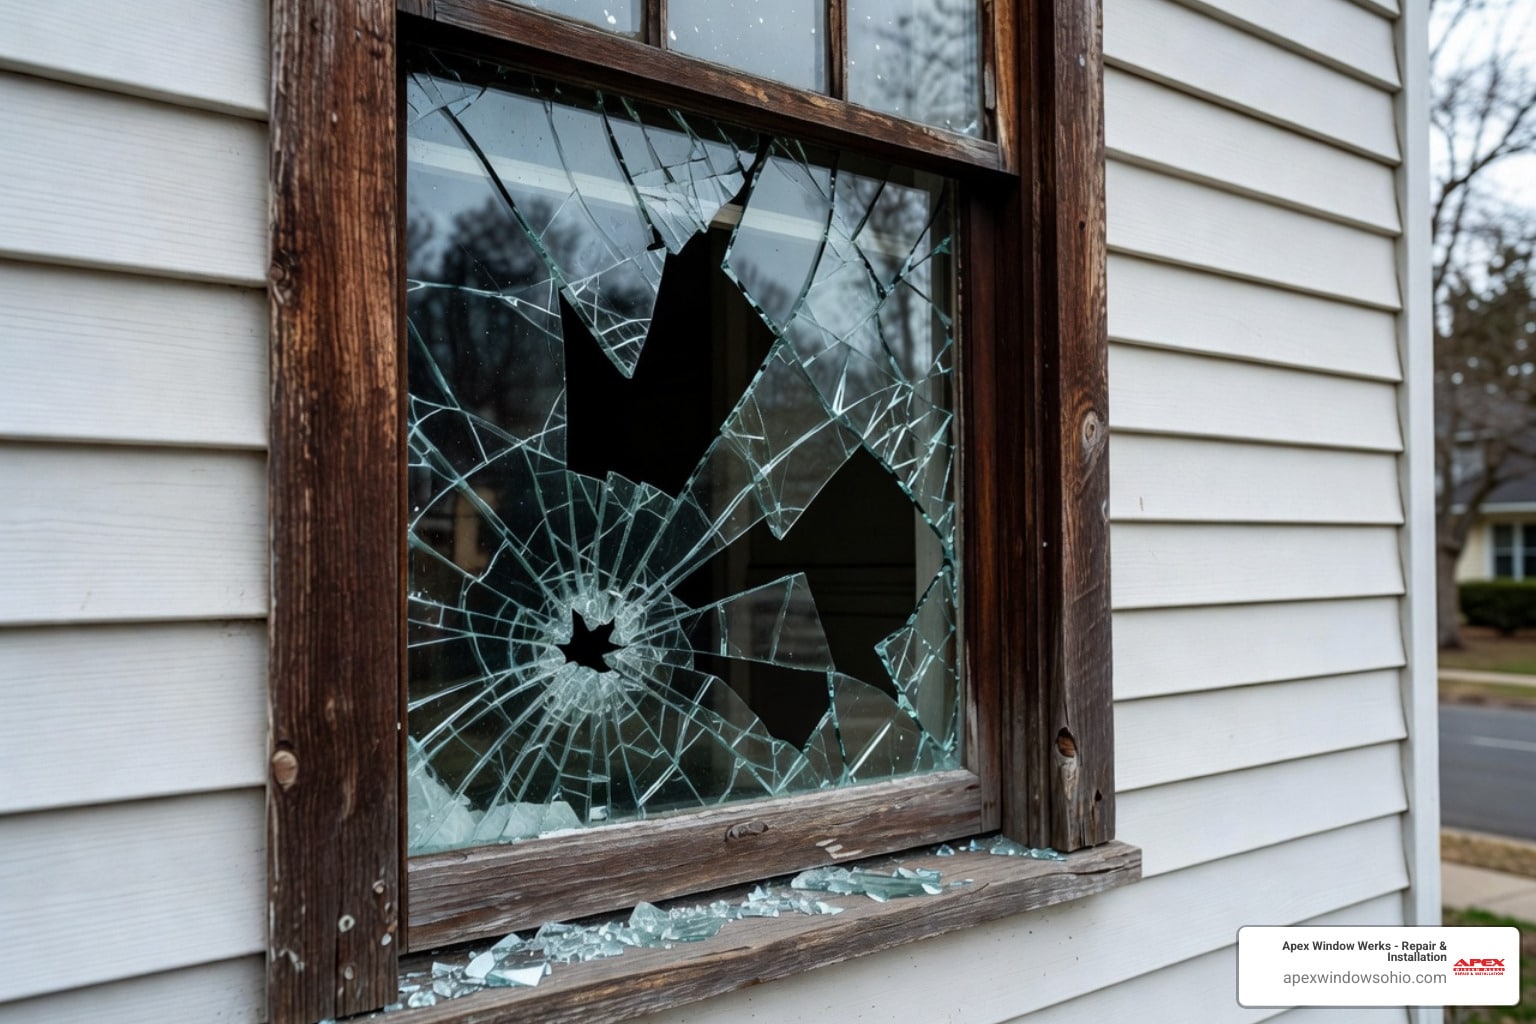
If you are dealing with persistent drafts, broken glass, or difficult-to-operate sashes across your home or business, our technicians are available to help. Contact Apex Window Werks to discuss your repair needs.
Frequently Asked Questions About Window Seal Maintenance in Northeast Ohio
How long do window rubber gaskets typically last in Northeast Ohio?
Quality EPDM and TPR window gaskets generally last between 10 to 20 years depending on environmental conditions, direct sunlight exposure, and maintenance. Seals on south- and west-facing elevations naturally degrade faster due to intense UV rays and thermal expansion cycles. You can extend their working life by wiping them clean with mild soapy water once a year and applying a light coat of silicone rubber conditioner to keep the material supple.
Will replacing frame rubber seals eliminate condensation between glass panes?
No. Replacing perimeter frame gaskets stops cold air drafts around the operable sash, but it cannot fix internal glass fogging. Fog, hazing, or moisture droplets trapped between the glass layers indicate that the insulated glass unit’s perimeter spacer seal has failed. To resolve this problem, read our guide on condensation between window panes and consider professional IGU glass replacement.
Can I replace window gaskets myself or should I hire a specialist?
Most homeowners can replace standard push-fit perimeter rubber gaskets using basic household tools and careful profile matching. However, if your gaskets are glued into obsolete proprietary channels, the window requires complete disassembly, or drafts are caused by sagging hinges and warped frames, professional service is recommended. A specialist can properly adjust internal balances, realign multi-point locking hardware, and ensure your entire window system operates smoothly.
Conclusion
Restoring worn, flattened rubber seals on your uPVC windows is an effective way to eliminate drafts, cut outdoor noise, and lower your seasonal heating and cooling bills. By taking time to match the profile shape, thoroughly clearing the frame channel, and fitting the new rubber without tension, you can maintain year-round indoor comfort.
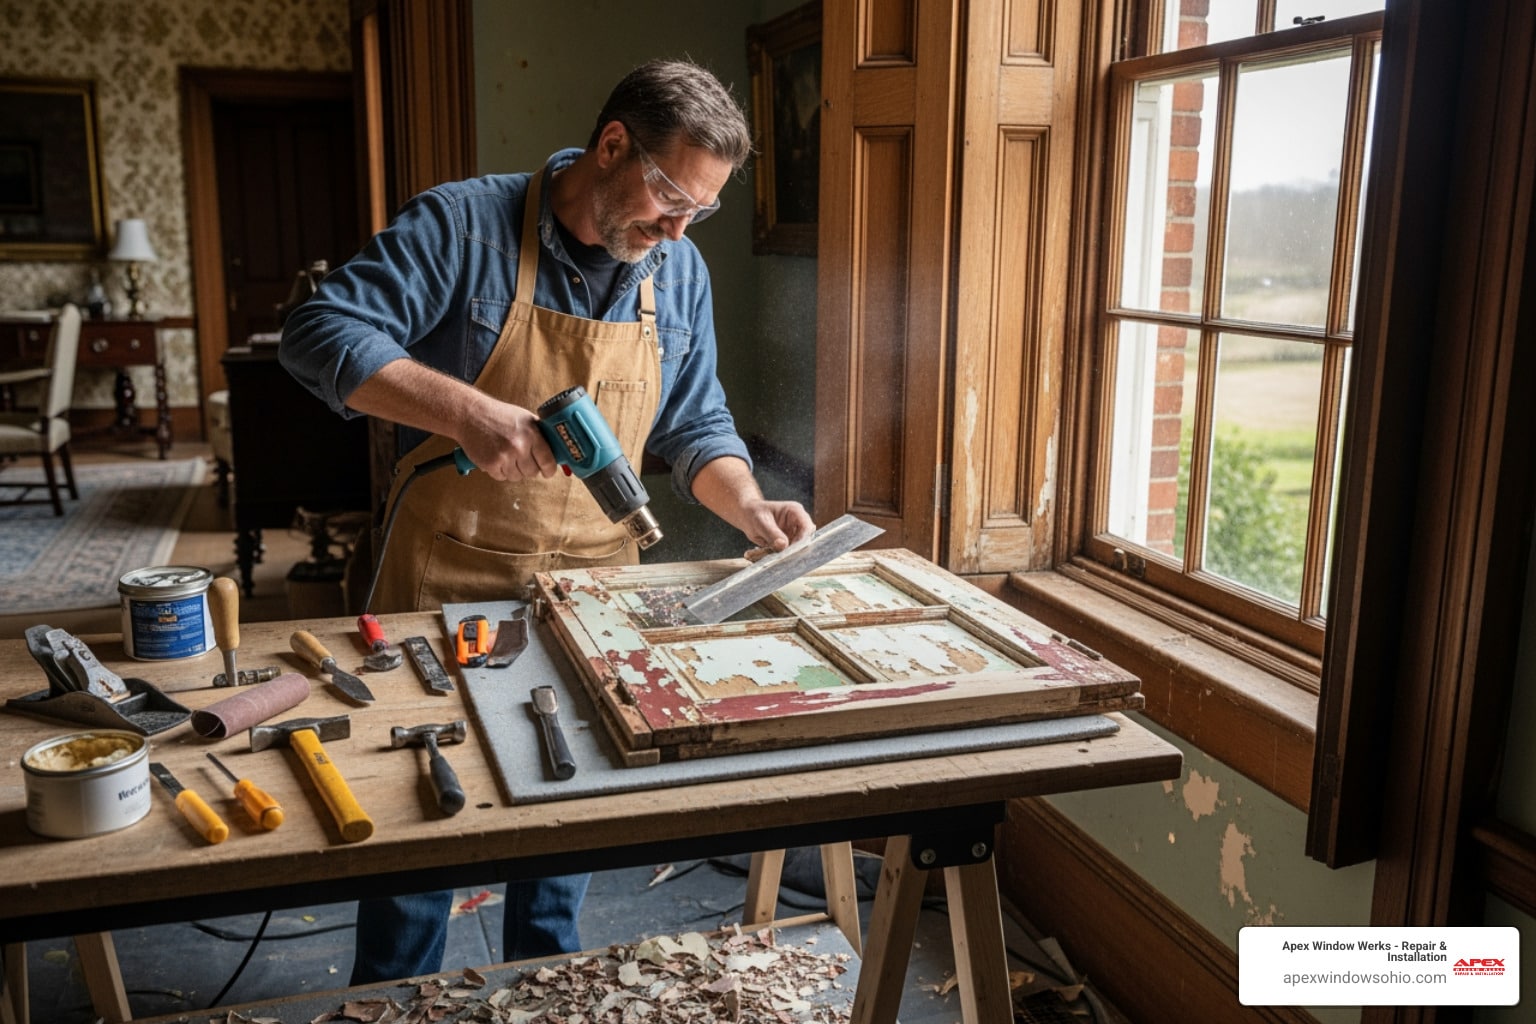
At Apex Window Werks, we take a repair-first approach to window care throughout the Cleveland–Akron region. Rather than recommending expensive, unnecessary window replacements, we focus on identifying specific mechanical and thermal failures. Whether your home needs specialized residential house window repair, insulated glass unit restoration, sash realignment, or wooden frame repair, our experienced technicians are ready to restore your windows to peak performance.
To get started on your window repair project, visit our website to request a free estimate or submit photos and measurements through our virtual estimate tool. You can also bring eligible removable sashes directly to our Oakwood Village workshop for fast, professional service.