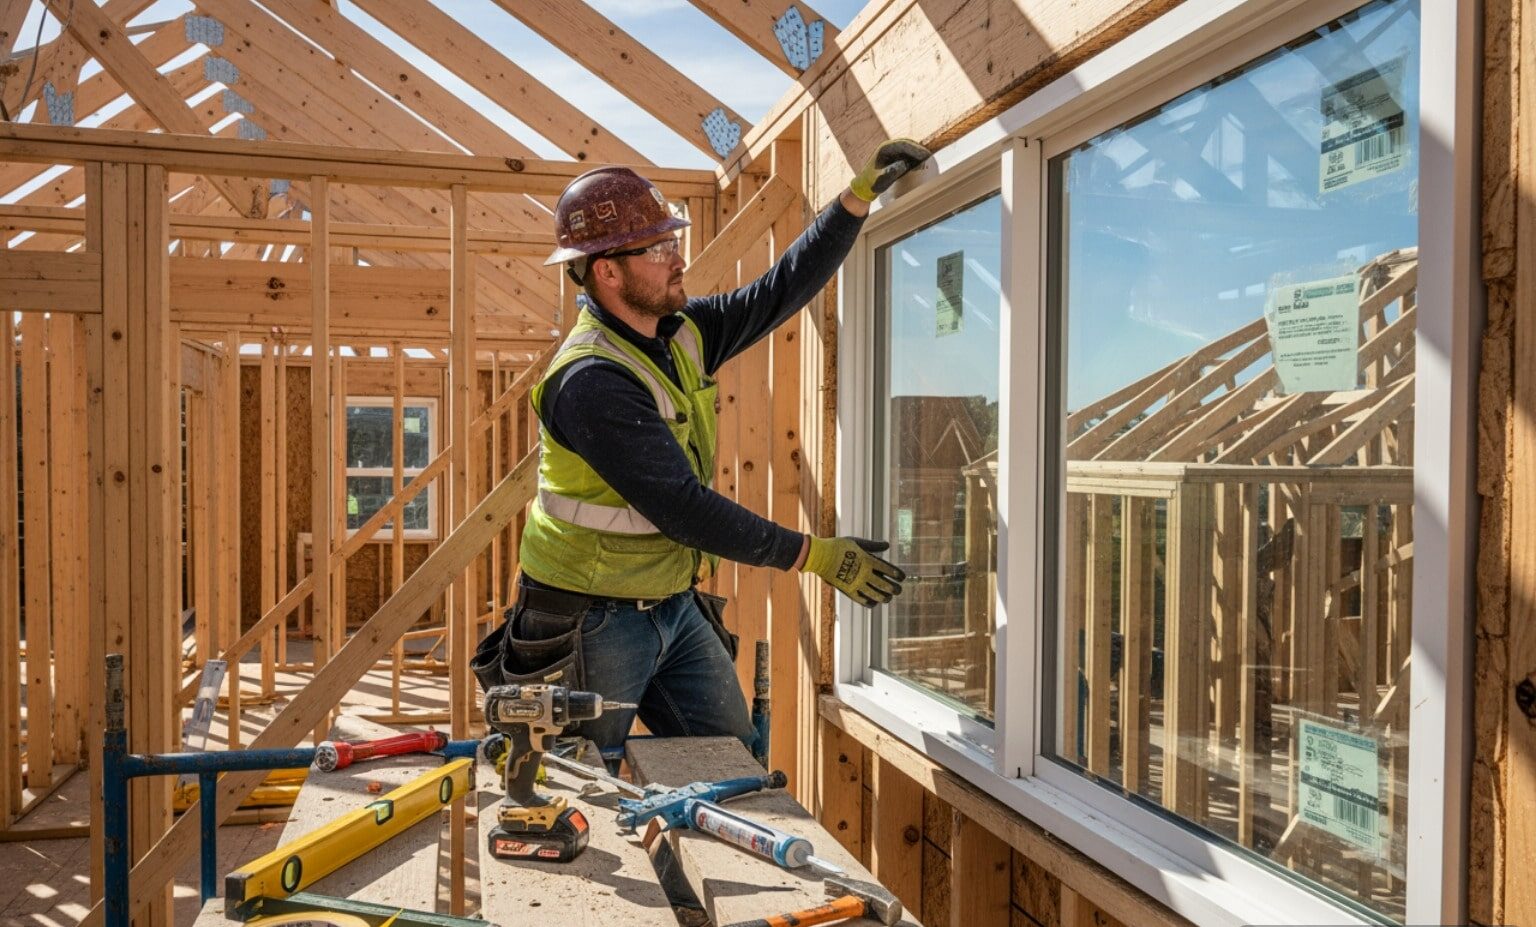
Measure, Fit, and Install Window Screens Like a Pro
How to Install a Window Screen in Northeast Ohio Homes
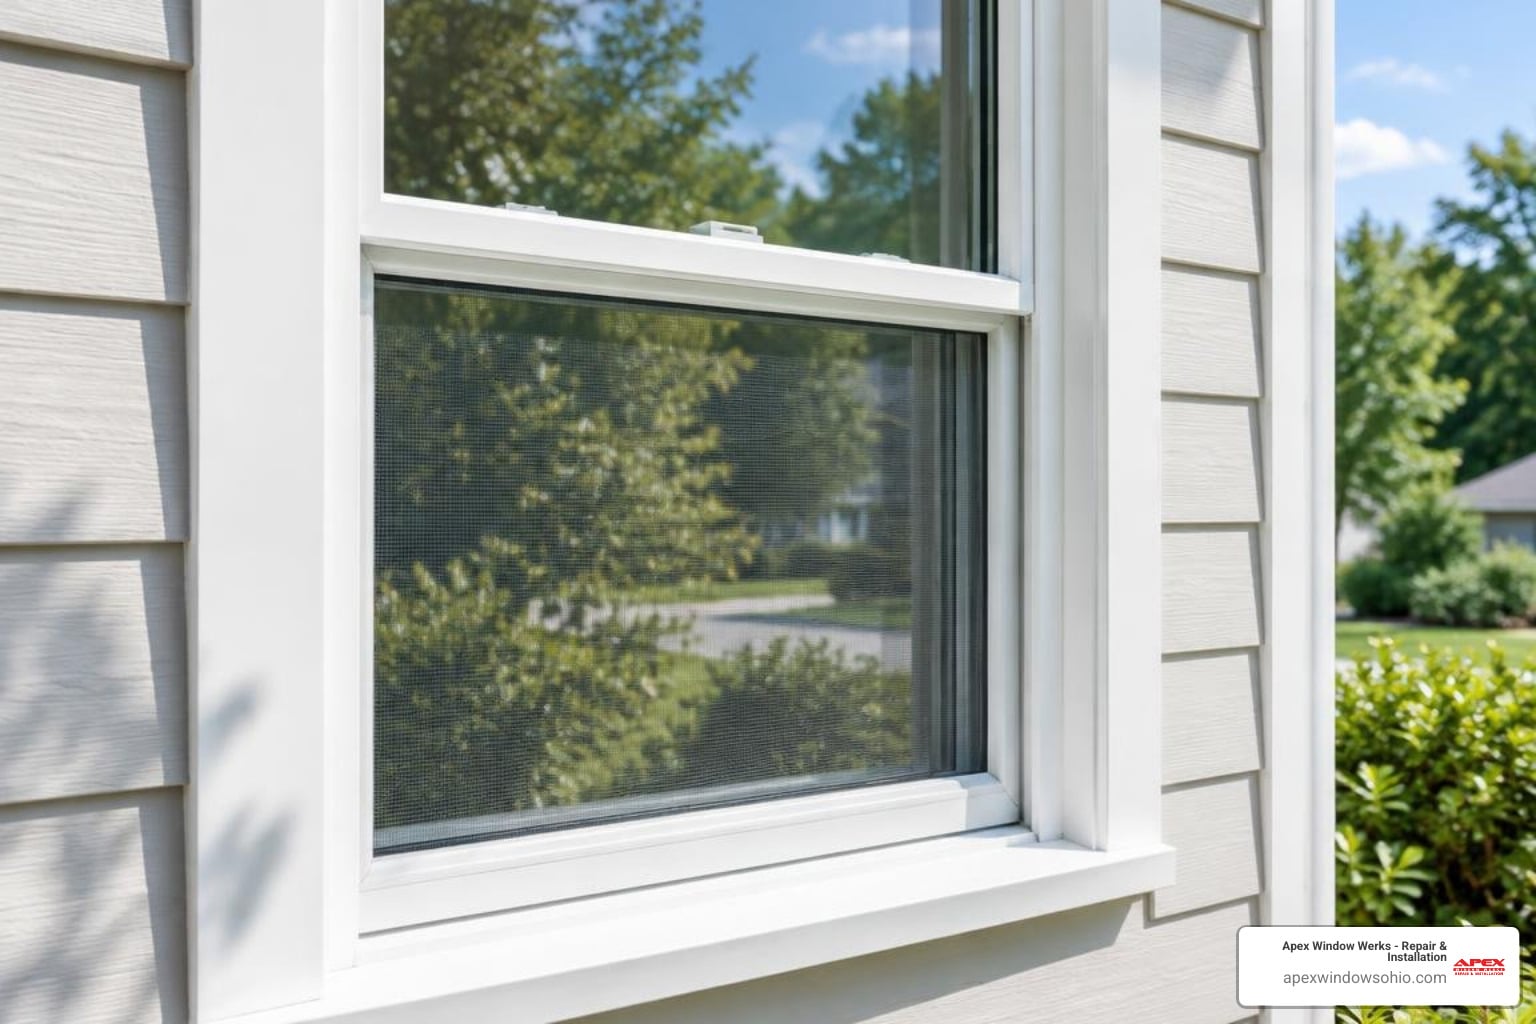
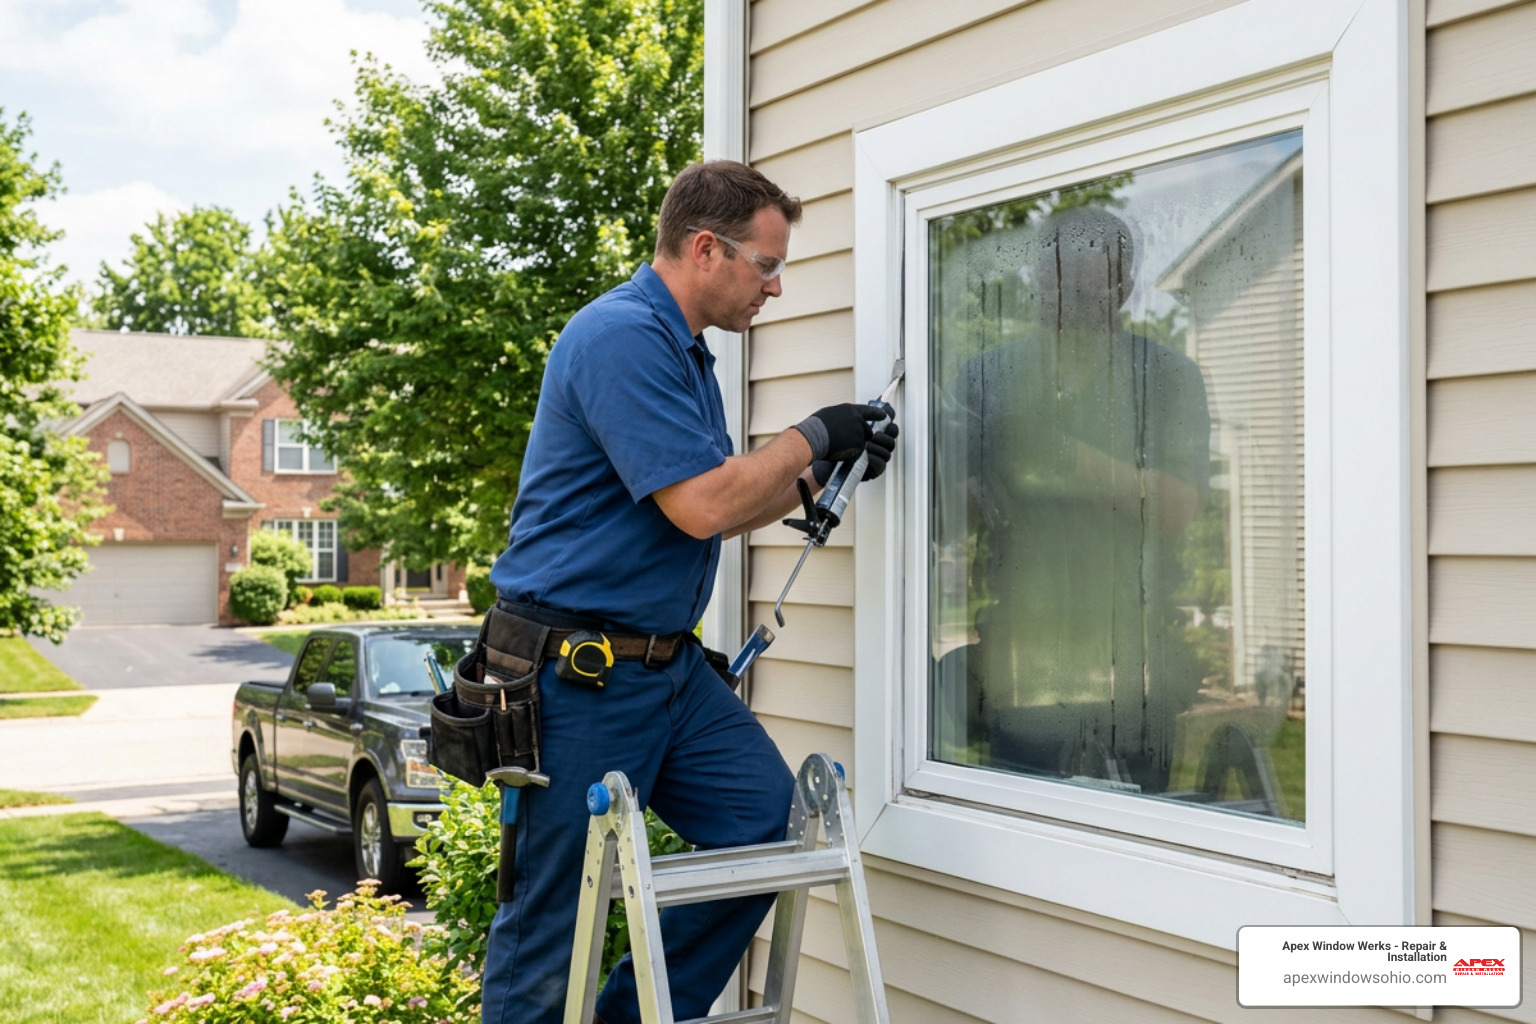
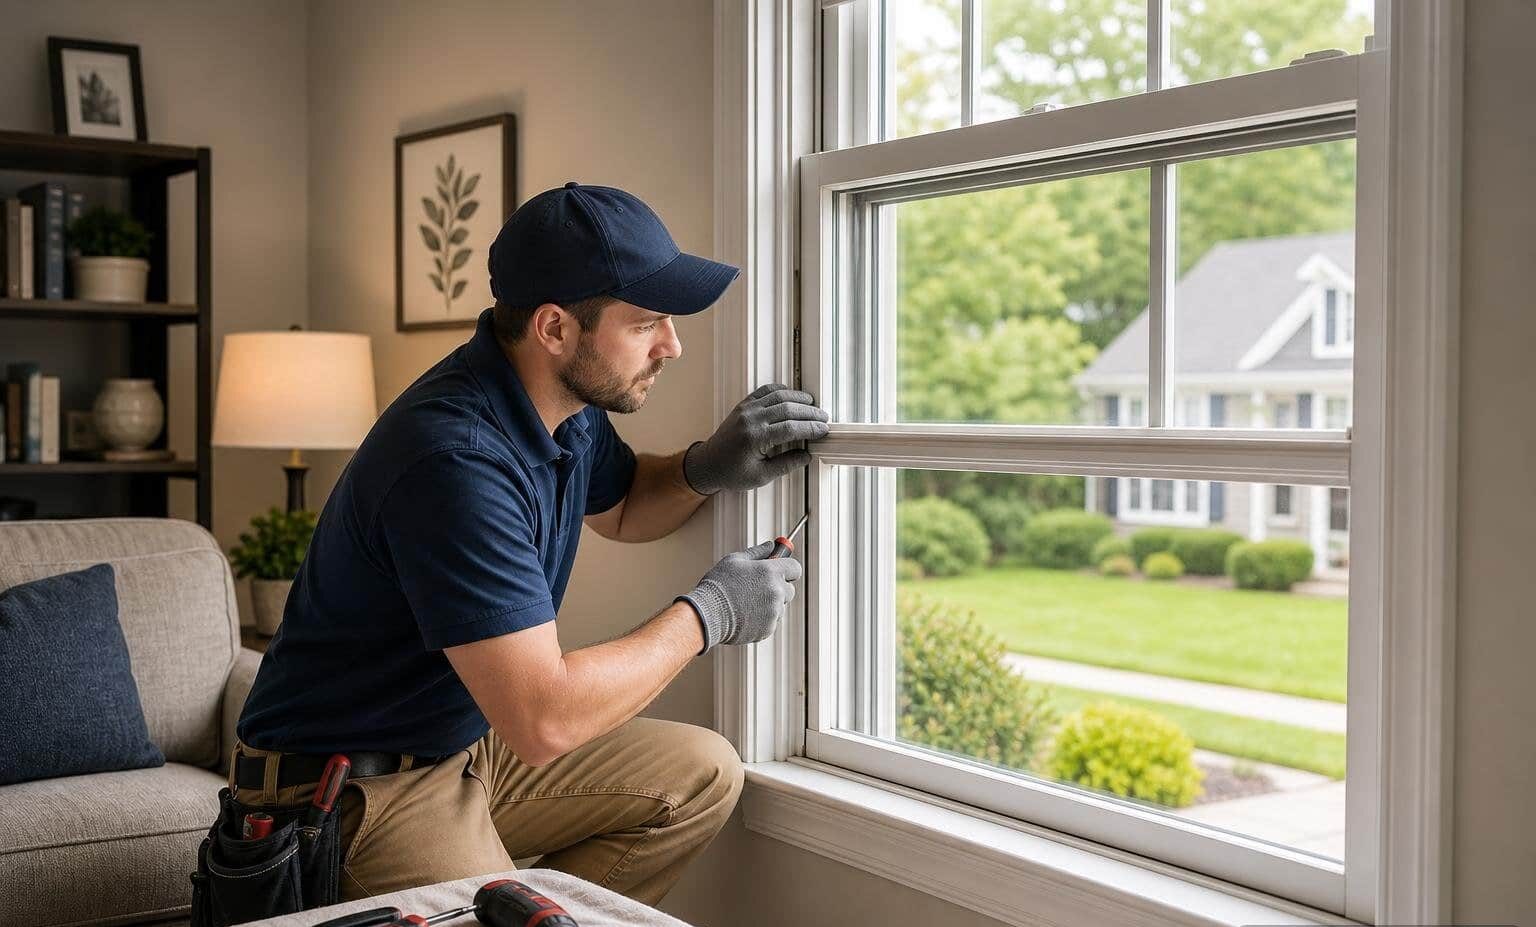
To install a window screen, first measure the outside edges of the old frame, or measure the window opening if the frame is missing. If the frame is sound, remove the old spline and mesh, lay new mesh over the frame, press matching spline into the groove, and trim the excess. Then seat the screen in the window track and secure its clips or springs. Check that the frame sits flat and leaves no gaps for insects.
I’m Nataly Godes, General Manager at Apex Window Werks, where I oversee window and door repair work across Northeast Ohio. I’ll show you how to install window screen mesh, check the frame, and get a secure fit.
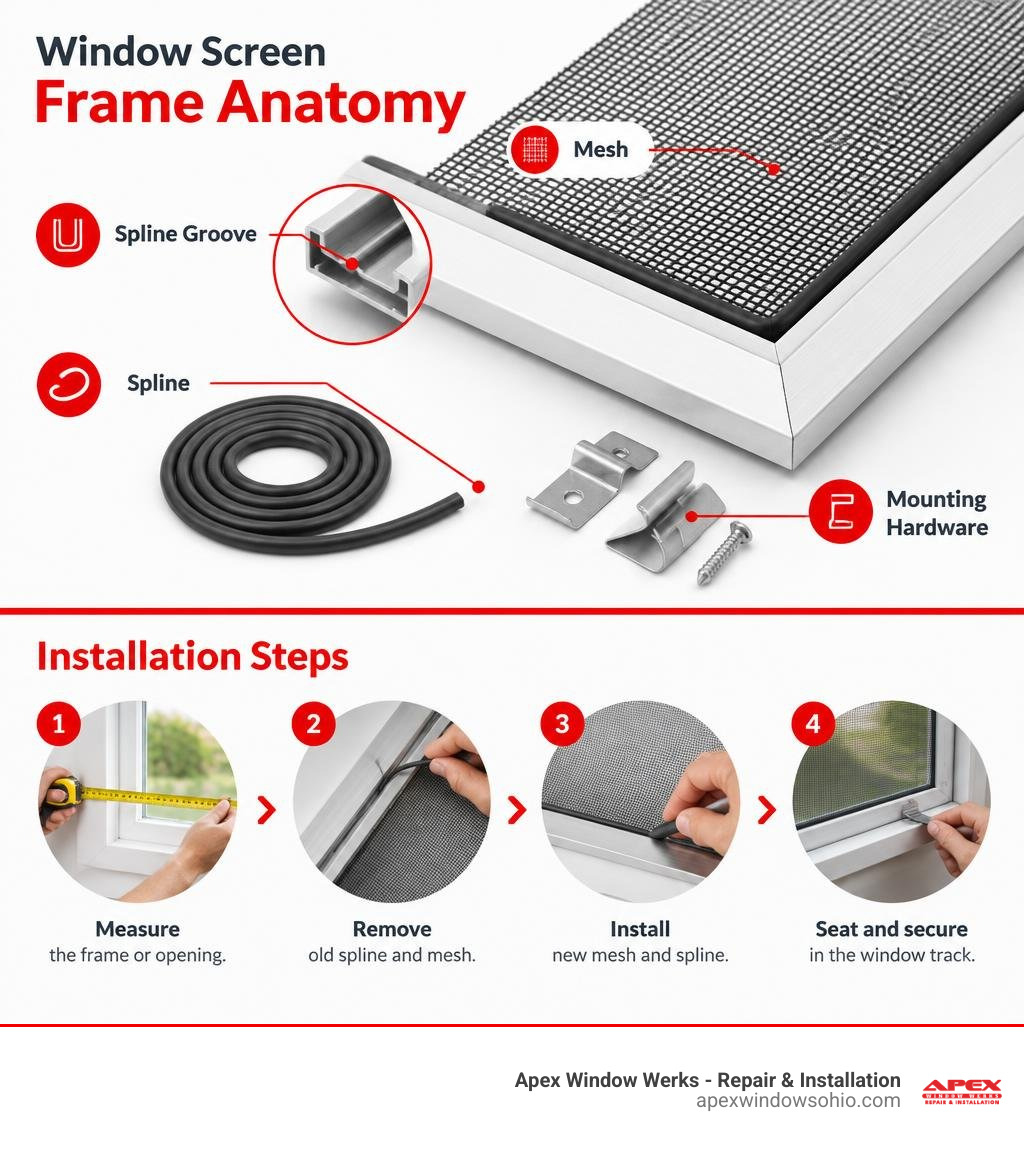
Simple guide to window screen installation topics:
Screen Materials and Sizing Considerations for Cleveland Area Homes
Selecting the proper materials before starting a rescreening project ensures your new screens last through years of shifting seasons and everyday wear. The frame and mesh act together as an insect barrier, a filter for coarse outdoor debris, and a component of your home’s natural ventilation system. Choosing incompatible screen materials or the wrong spline diameter leads to common installation headaches, including rippling, loose mesh, or bowing frame channels.
| Mesh Type | Primary Material | Durability Level | Visibility / Glare | Best Use Case |
|---|---|---|---|---|
| Standard Insect | Vinyl-coated fiberglass | Moderate | High visibility; low glare | Everyday residential windows |
| Aluminum Wire | Woven aluminum alloy | High | Moderate; crisp metallic look | Homes needing sag resistance |
| Pet-Resistant | Heavy-gauge vinyl polyester | Maximum | Slightly reduced outward view | Lower level sashes, doors, pets |
| Solar Screen | Dense PVC/Polyester blend | Very High | Blocks 70% to 90% sun glare | Sun-drenched south/west windows |
Selecting the Right Mesh for Your Home
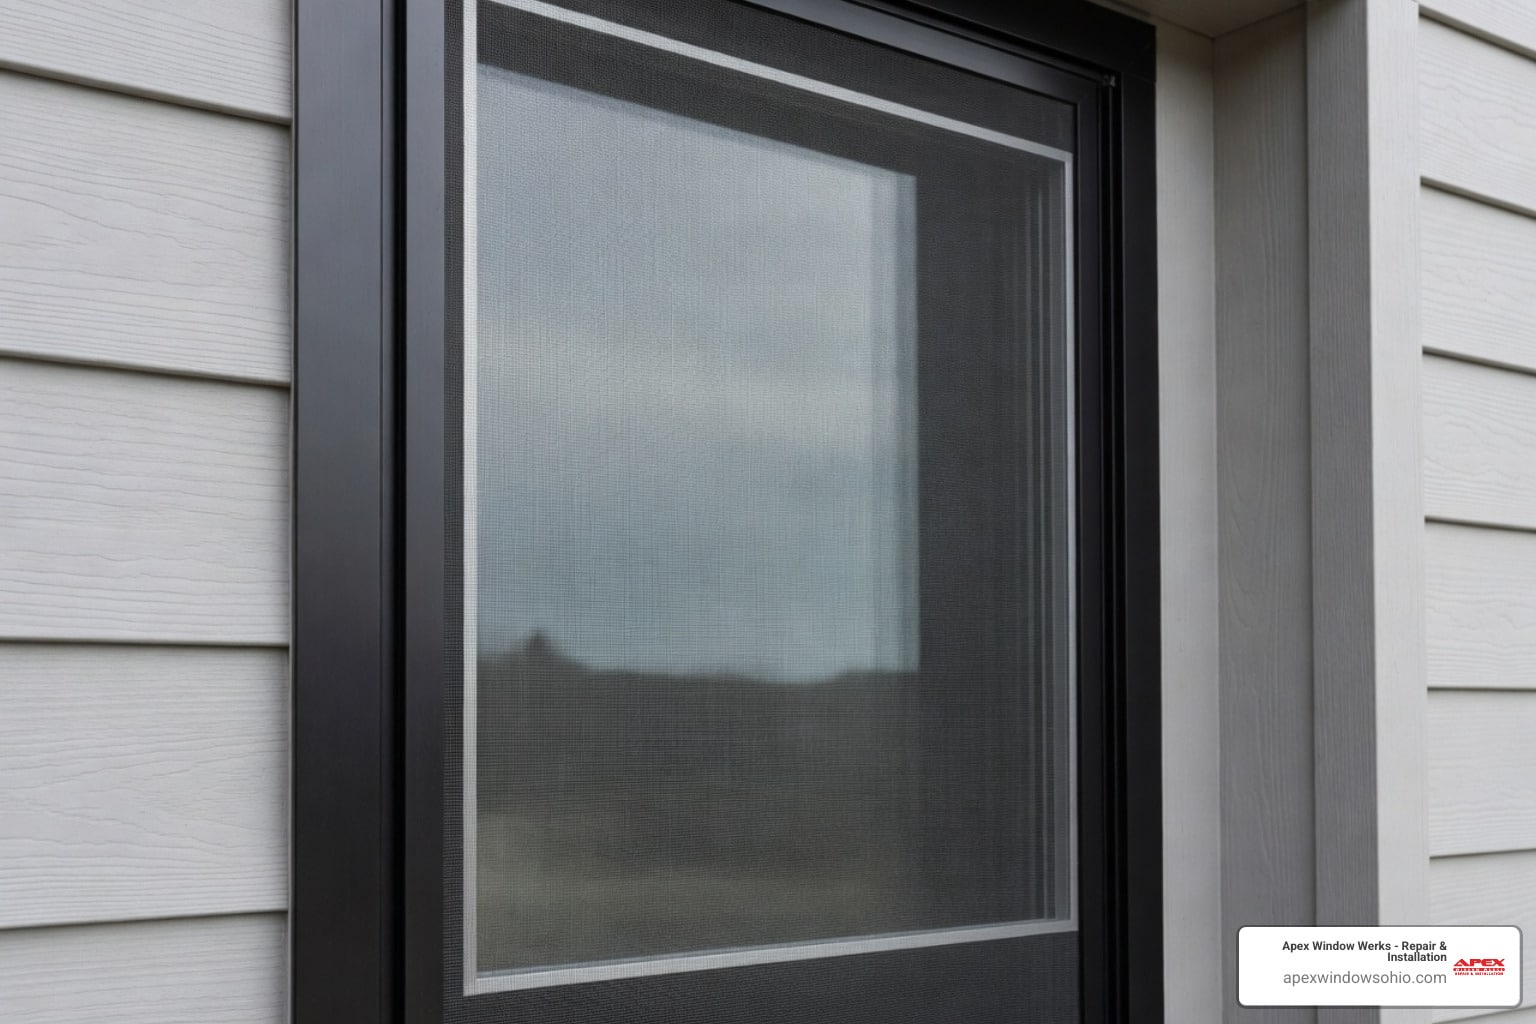
The standard residential screening material is vinyl-coated fiberglass woven in an 18 x 16 pattern, which means 18 vertical strands and 16 horizontal strands per square inch. This weave density balances reliable insect prevention with unrestricted airflow and clean exterior sightlines. Charcoal or black finishes offer superior glare reduction compared to silver or bright gray finishes because dark fibers absorb rather than reflect sunlight.
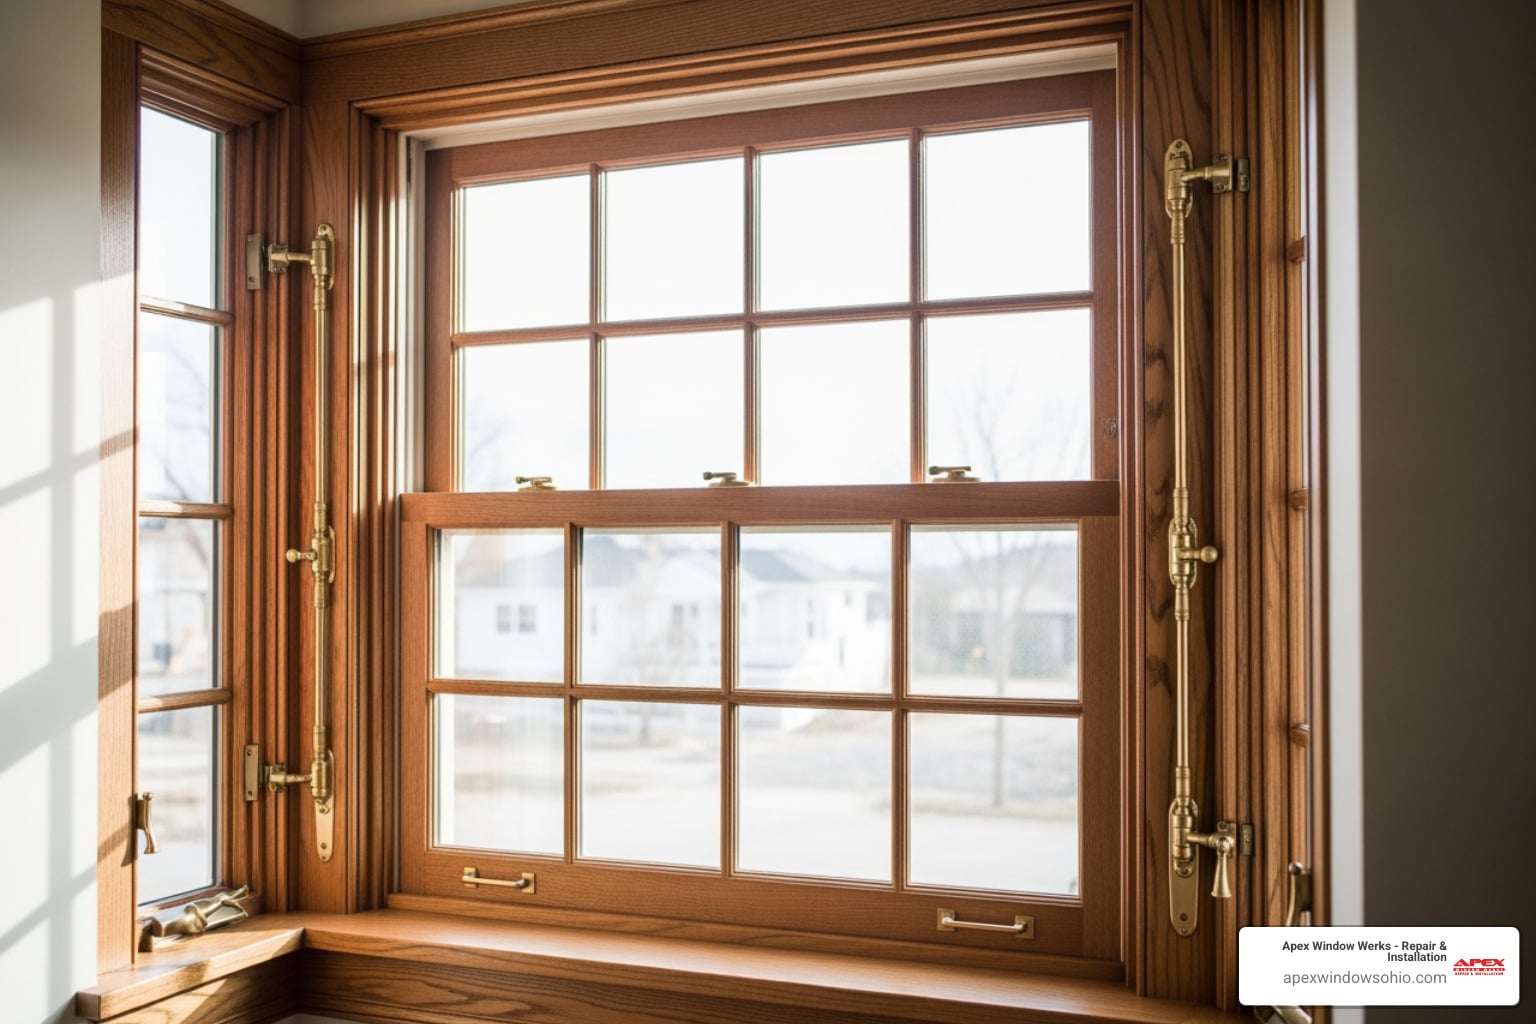
If you have active indoor pets that rest on sashes or claw at patio doors, standard fiberglass can tear under stress. For these high-traffic openings, pet-resistant screening options made from heavy-duty vinyl-coated polyester provide superior tear and puncture resistance. When maintaining historic wood windows or seeking an authentic mid-century aesthetic across neighborhoods from Lakewood to Cleveland Heights, aluminum wire screening provides unmatched rigidity, remaining sag-free even across wider window spans.
Necessary Tools and Hardware Checklist
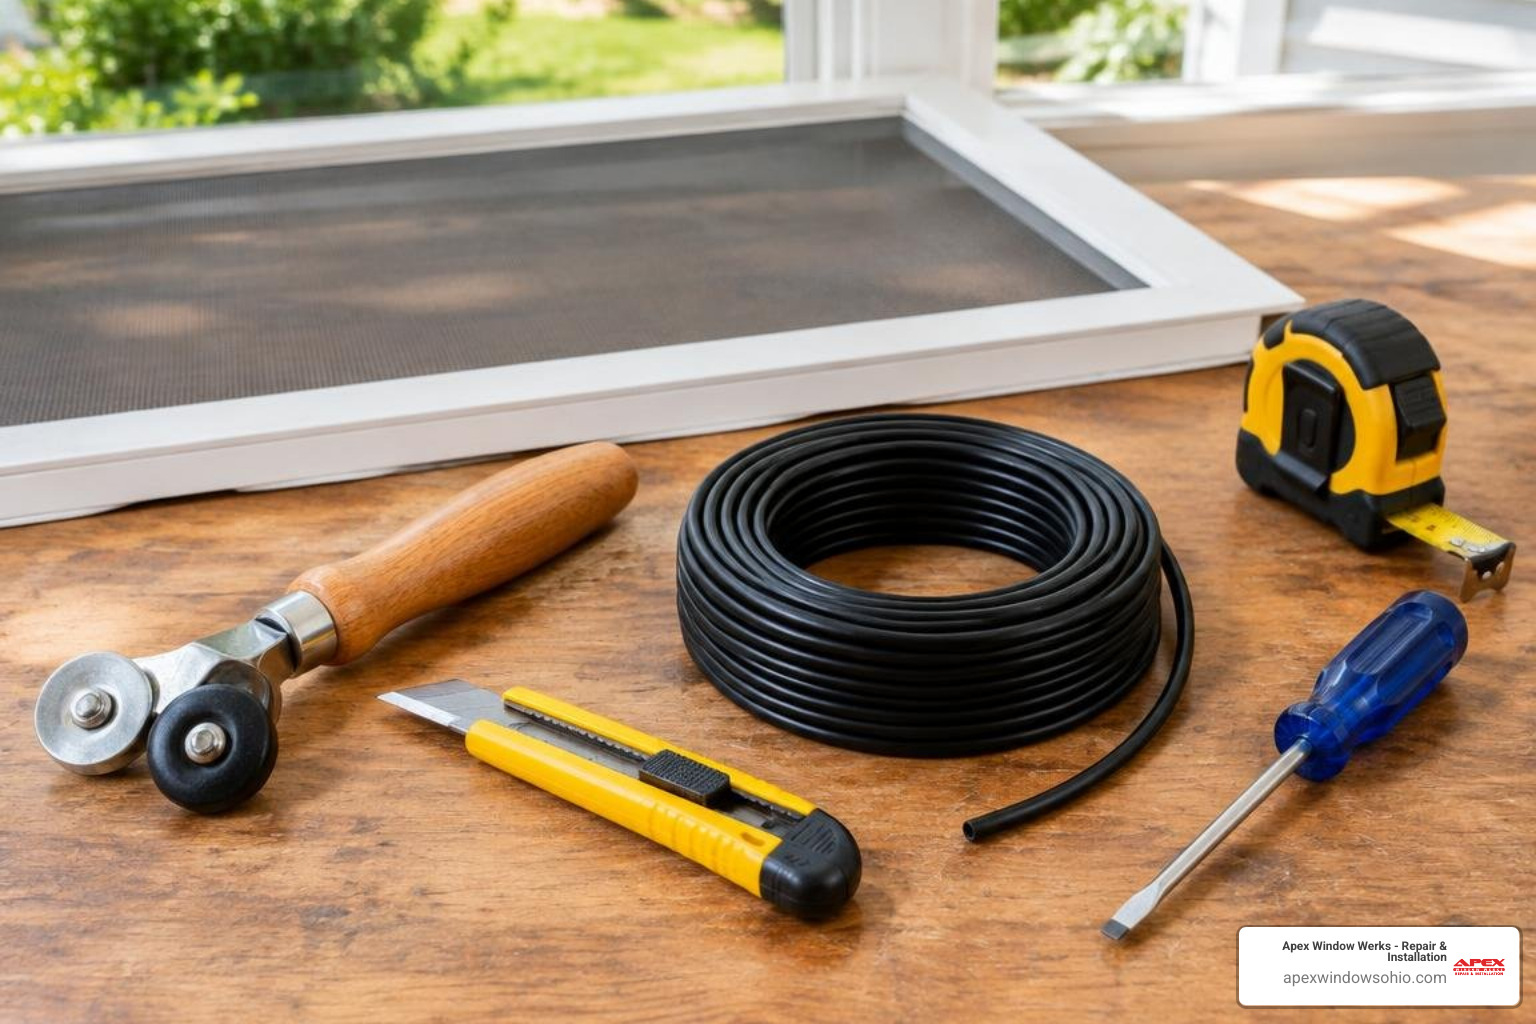
Having the correct tools organized before you begin makes replacing screen mesh straightforward:
- Spline roller tool: A combination tool with a concave (grooved) wheel on one end and a convex (rounded) wheel on the other.
- Vinyl spline: Hollow core or serrated vinyl cord, commonly sized at 9/64-inch (.140) or .160-inch diameters.
- Utility knife: Equipped with a fresh, sharp razor blade for clean edge trimming.
- Flathead screwdriver or awl: Useful for lifting the old spline out of its channel without gouging aluminum frame tracks.
- Tape measure: A quality locking metal tape for accurate sizing down to the sixteenth of an inch.
- Spring clamps or painter’s tape: Essential for keeping aluminum frame stock firmly anchored to your work surface during assembly.
- Hacksaw and miter box: Required when cutting new aluminum framing down to exact specifications.
How to Measure Openings and Build Replacement Frames in Cleveland and Akron
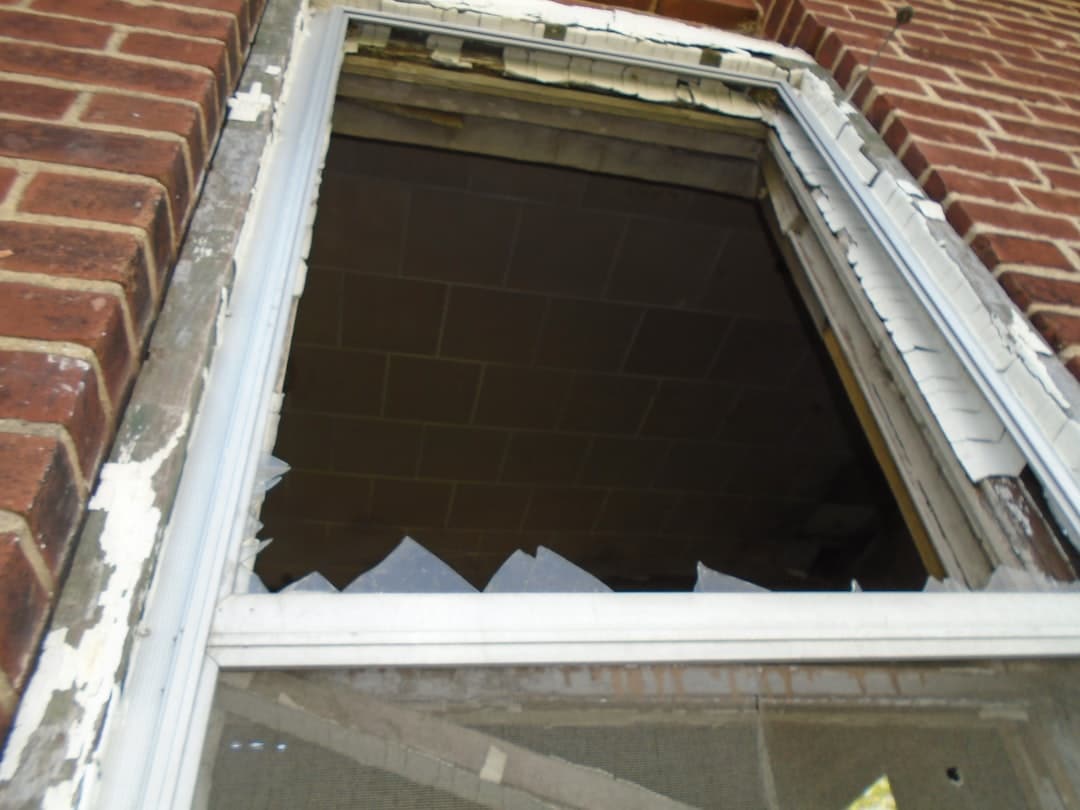
When an original screen frame is warped, bent, or missing entirely, building a replacement frame is necessary before installing new screen mesh. Taking precise measurements of the window opening ensures that your completed screen slides smoothly into its track without rattling in high winds or binding against the jamb.
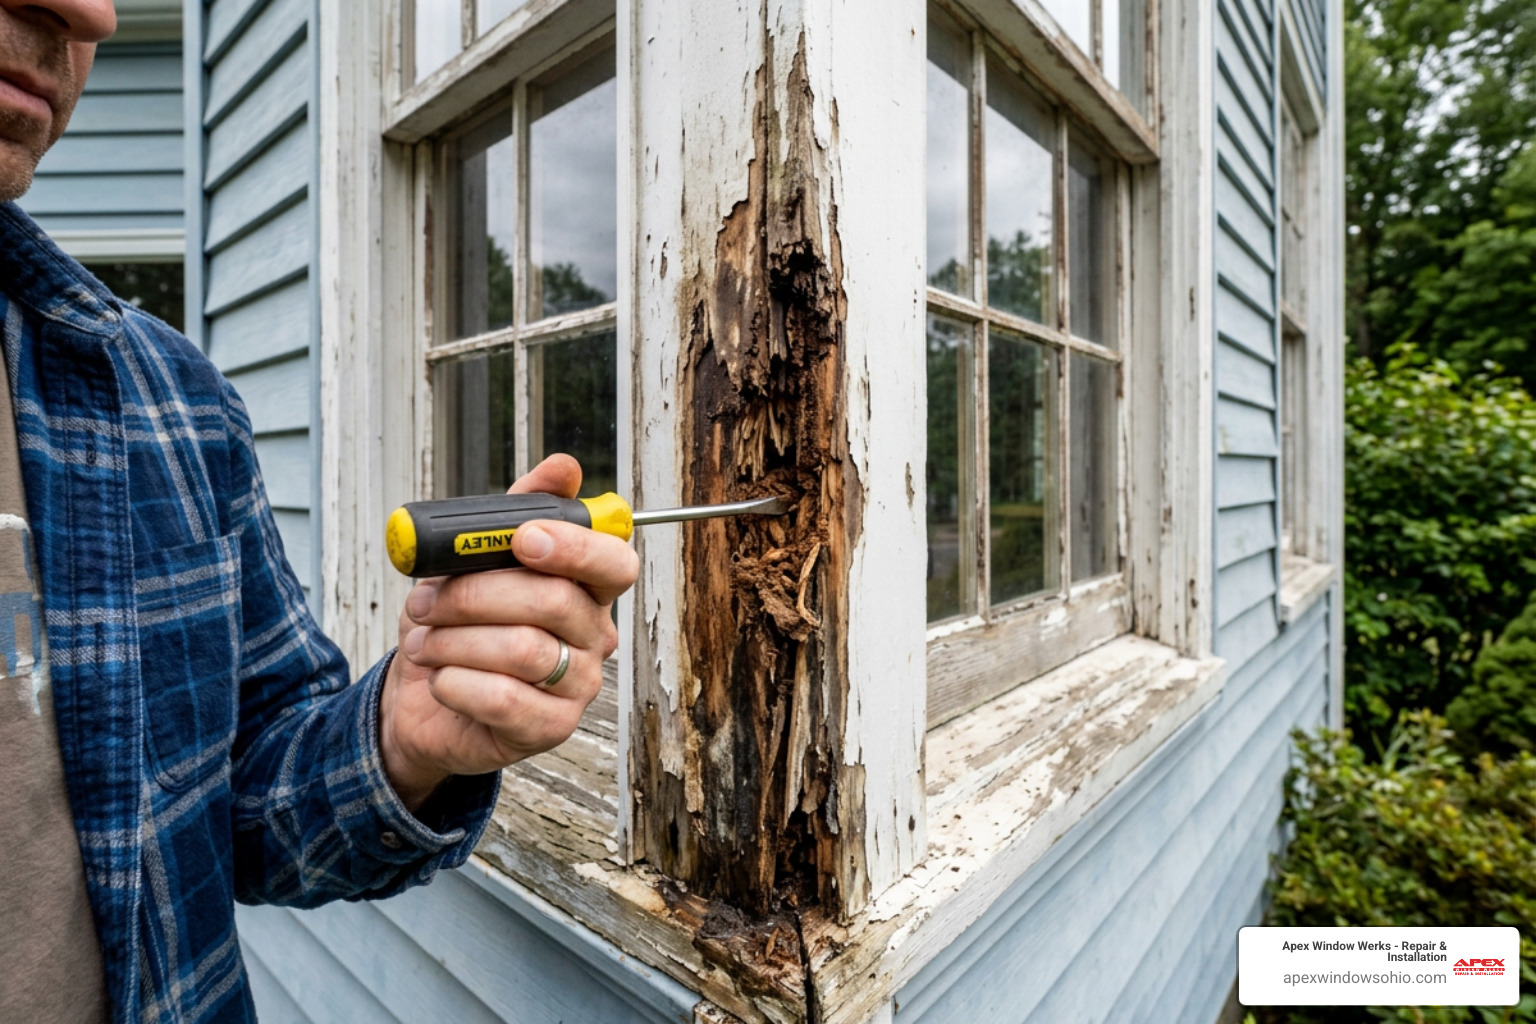
If you run into severely bent extrusions or damaged wood jambs during measurement, exploring local screen repair and fabrication solutions can help you secure custom-built frames that match original manufacturer specifications.
Measuring Window Frames Accurately
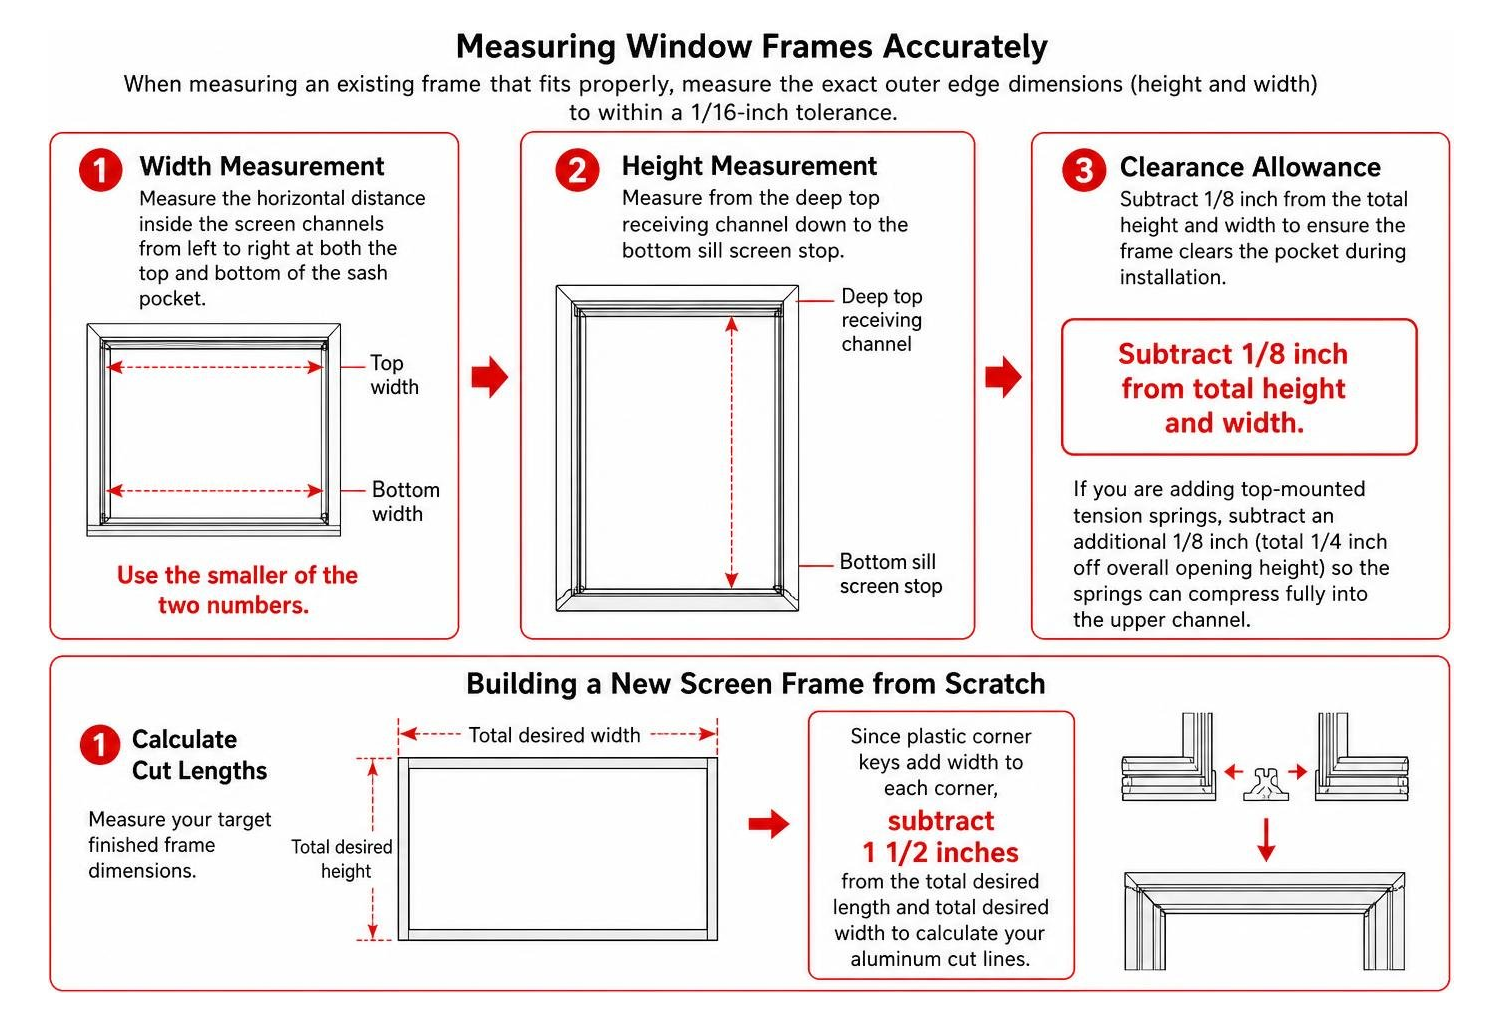
When measuring an existing frame that fits properly, measure the exact outer edge dimensions (height and width) to within a 1/16-inch tolerance.
If the original screen is missing, measure the window frame pocket directly:
- Width Measurement: Measure the horizontal distance inside the screen channels from left to right at both the top and bottom of the sash pocket. Use the smaller of the two numbers.
- Height Measurement: Measure from the deep top receiving channel down to the bottom sill screen stop.
- Clearance Allowance: Subtract 1/8 inch from the total height and width to ensure the frame clears the pocket during installation. If you are adding top-mounted tension springs, subtract an additional 1/8 inch (total 1/4 inch off overall opening height) so the springs can compress fully into the upper channel.
Building a New Screen Frame from Scratch
To assemble a replacement frame using standard aluminum frame stock and square-cut plastic corner inserts (corner keys):
- Calculate Cut Lengths: Measure your target finished frame dimensions. Since plastic corner keys add width to each corner, subtract 1 1/2 inches from the total desired length and total desired width to calculate your aluminum cut lines.
- Cut the Frame Stock: Place the aluminum framing into a miter box. Using a hacksaw with a fine-toothed metal blade (32 teeth per inch), make clean 90-degree square cuts. Sand away any rough metal burrs along the cut edges.
- Add Cross-Braces for Tall Frames: For screens exceeding 3 feet in height, install an aluminum cross-brace at the center point. This prevents the side rails from bowing inward under spline tension.
- Assemble the Frame: Insert the corner keys into the vertical frame rails, then tap the horizontal rails into place using a rubber mallet or the palm of your hand until all joints seat flush. Verify that the frame is square by measuring diagonally from corner to corner; both diagonal measurements must match.
Step-by-Step Process to Install Window Screen Mesh in Northeast Ohio
Installing fresh mesh into an existing or newly fabricated frame requires steady hand pressure and structured tension control. Following a systematic approach prevents ripples and keeps the aluminum frame square.
Removing Damaged Spline and Clearing the Channel
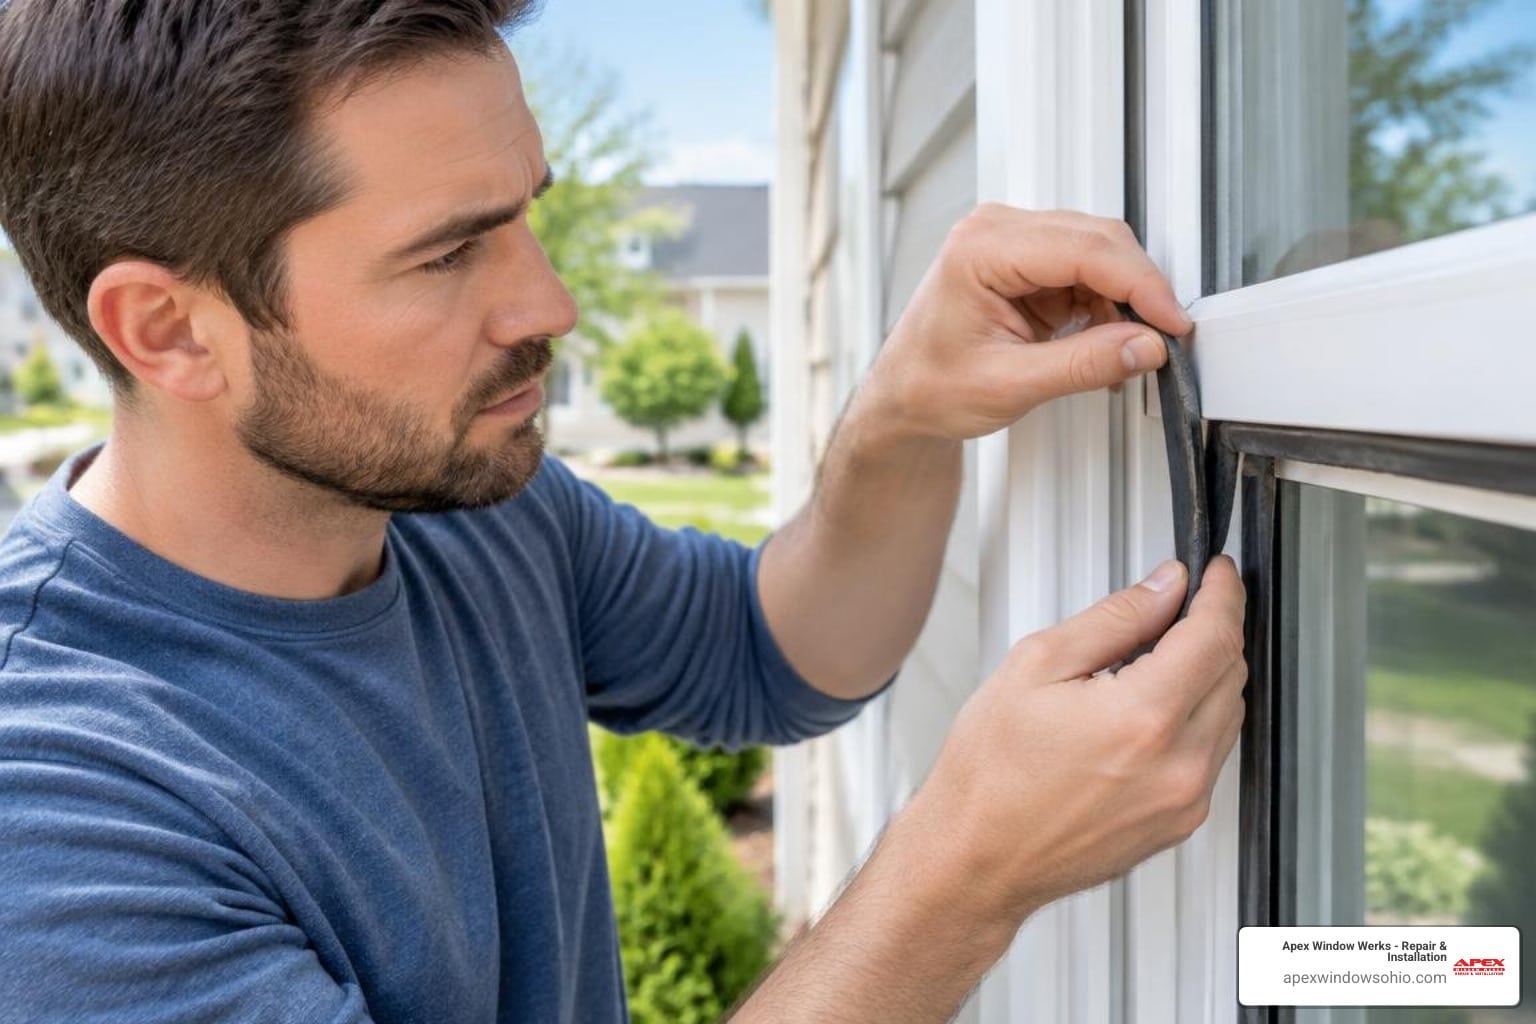
Place the screen frame flat on a sturdy workbench or table. Insert the tip of a small flathead screwdriver or awl beneath the old spline near one corner, gently prying the cord upward until you can grip it with your fingers. Pull the old vinyl spline out around the entire perimeter and discard both the spline and the damaged mesh.
Wipe out the spline groove using a dry shop rag or a soft nylon brush to remove accumulated dirt, pollen, and insect remains. Inspect the aluminum frame joints; if any corner keys are cracked or loose, replace them before installing new screening.
Positioning Mesh and Rolling the Spline
- Mesh Placement: Roll out your screening fabric over the frame, letting it overlap the outer frame edges by roughly 2 inches on all four sides. Cut the mesh free from the roll using utility shears.
- Securing Alignment: Secure the top edge of the mesh to the work surface or frame using painter’s tape or spring clamps. This holds the weave parallel to the frame rails and stops the fabric from twisting out of square.
- Pre-Creasing (Recommended for Stiff Mesh): When working with aluminum wire or thick pet screening, gently run the convex (rounded) wheel of your spline roller over the mesh directly above the groove to create a starter crease. Skip this step for standard fiberglass to avoid cutting delicate fibers.
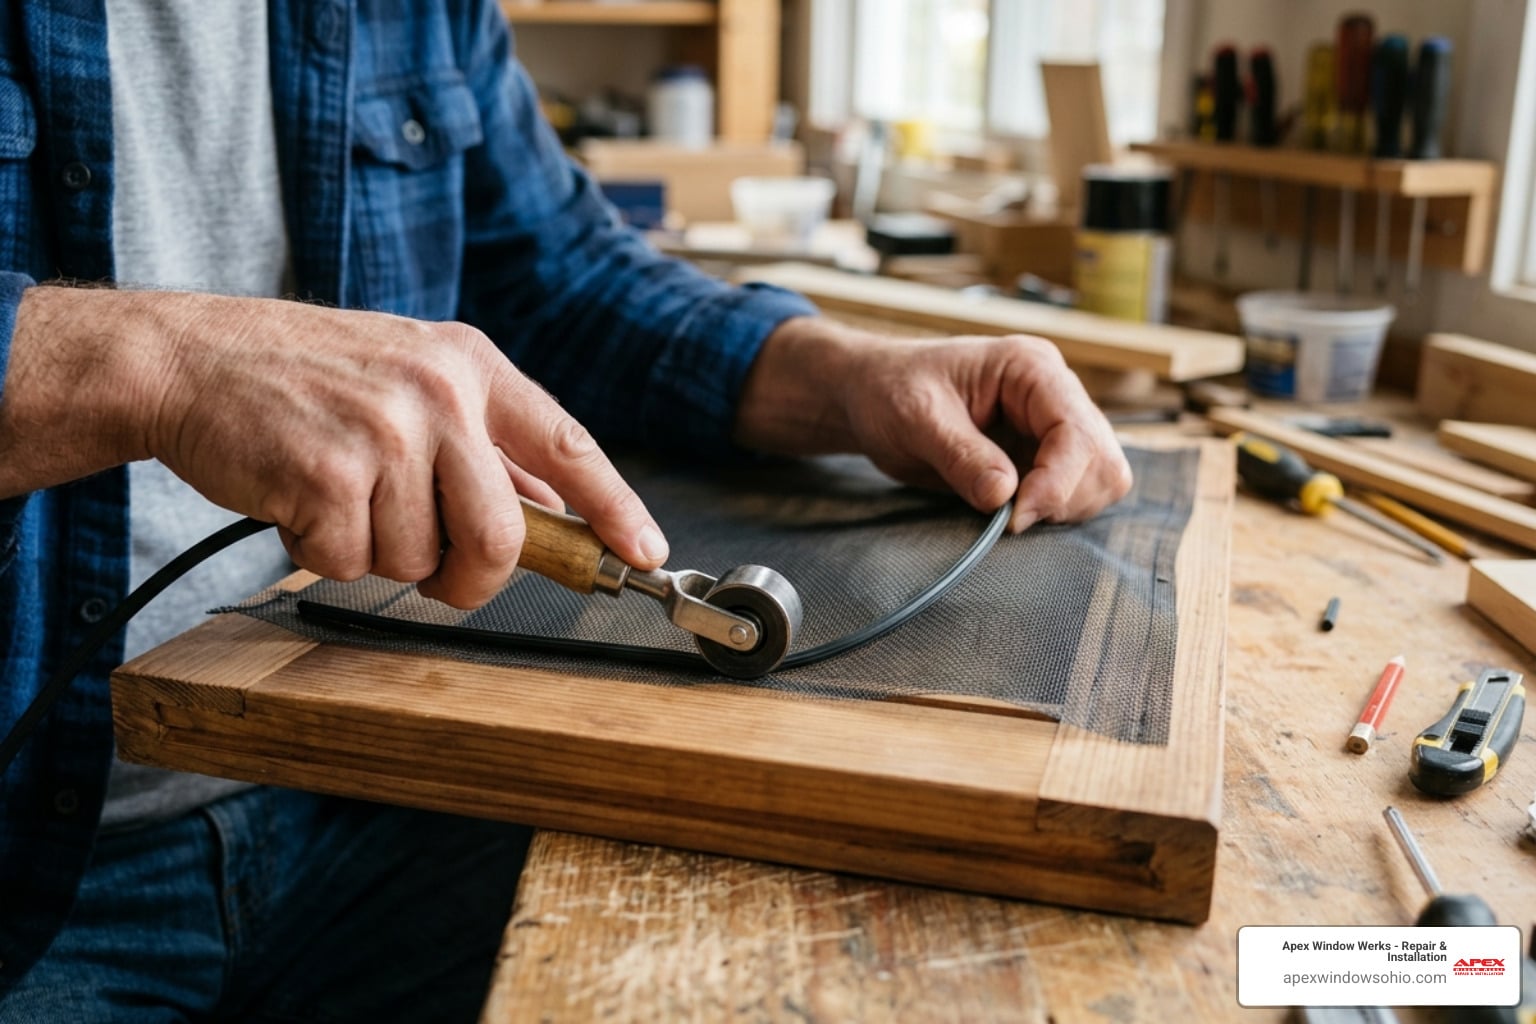
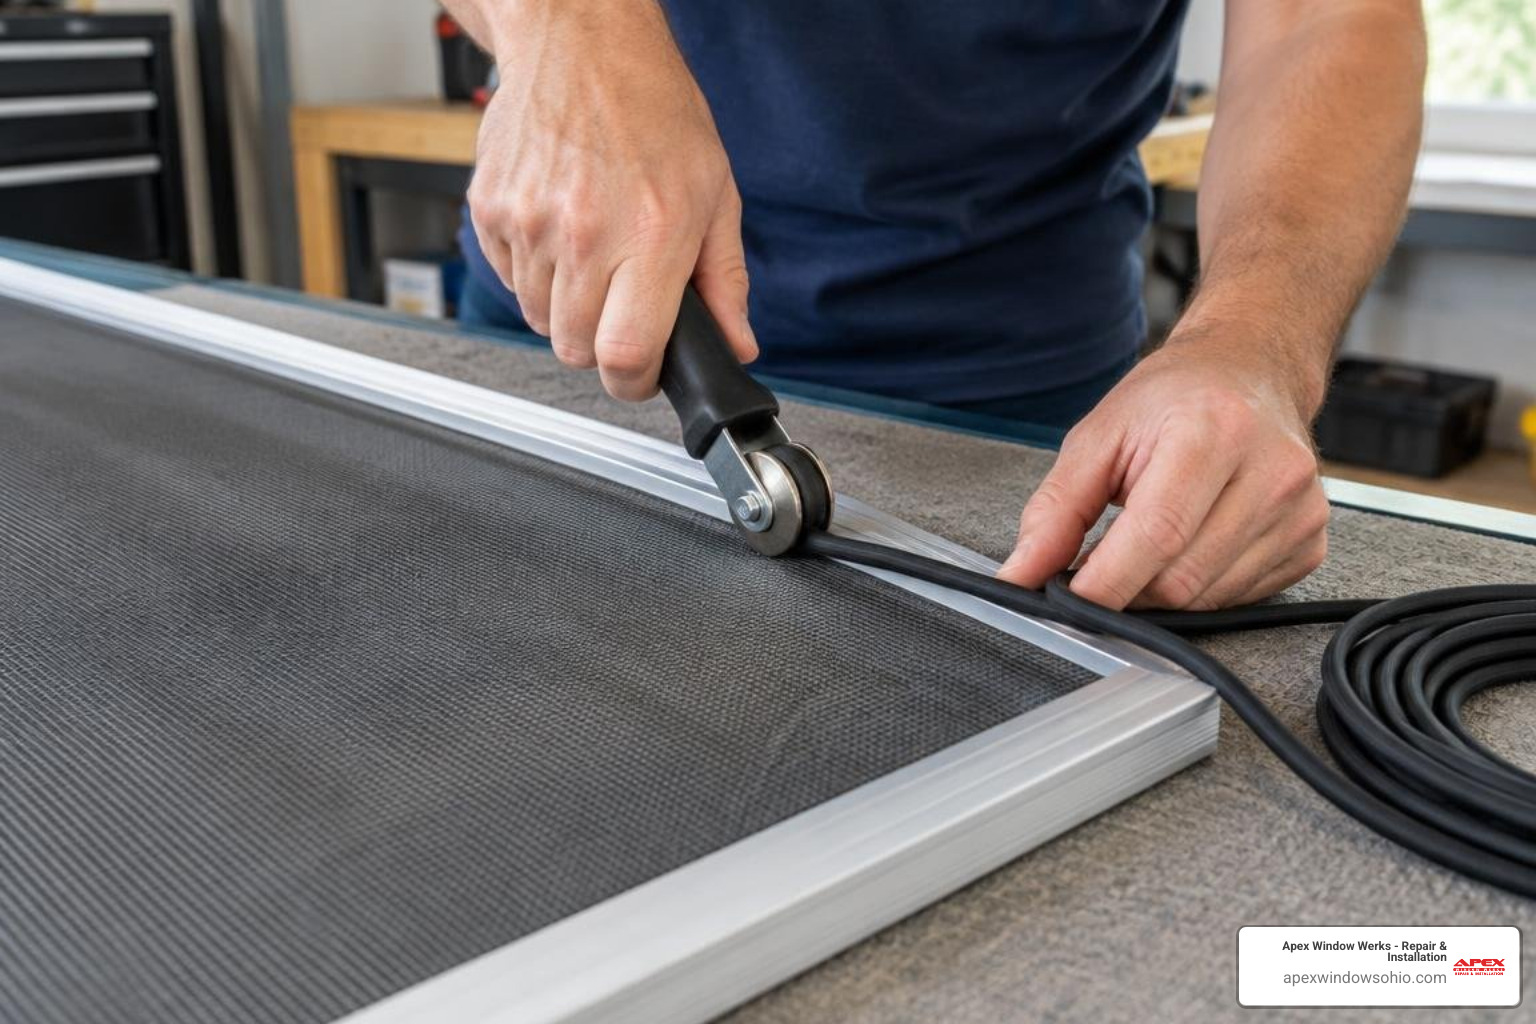
- Rolling the Spline: Starting at a top corner, place the vinyl spline over the channel. Use the concave (grooved) wheel of your spline tool to push the spline down into the groove at a 45-degree angle. Roll along the top horizontal rail first, using one hand to guide the tool while the other hand lightly keeps the screen fabric flat.
- Managing Tension: Continue down the adjacent long side, keeping gentle outward pressure on the mesh. Avoid pulling the screening aggressively, as excessive tension causes the aluminum frame sides to bow inward (known as the “hourglass effect”). Complete the remaining sides in order, working your way around the frame back to your starting point. Cut the spline flush with your utility knife at the final corner.
Trimming Excess Screen for a Clean Edge
Once the spline is seated uniformly below the top lip of the frame channel, inspect the screen surface to confirm that there are no wrinkles or loose spots.
To trim the excess fabric:
- Insert a fresh razor blade into your utility knife.
- Position the blade against the outer wall of the spline groove, angling the cutting edge slightly toward the outside of the frame and away from the newly installed spline.
- Glide the blade smoothly along the outer channel perimeter, severing the extra screening in one continuous motion. Cutting along the outside channel edge prevents accidental cuts to the spline or the main screen surface.
Specialized Mounting: Fitting Hardware for Cleveland and Akron Homes
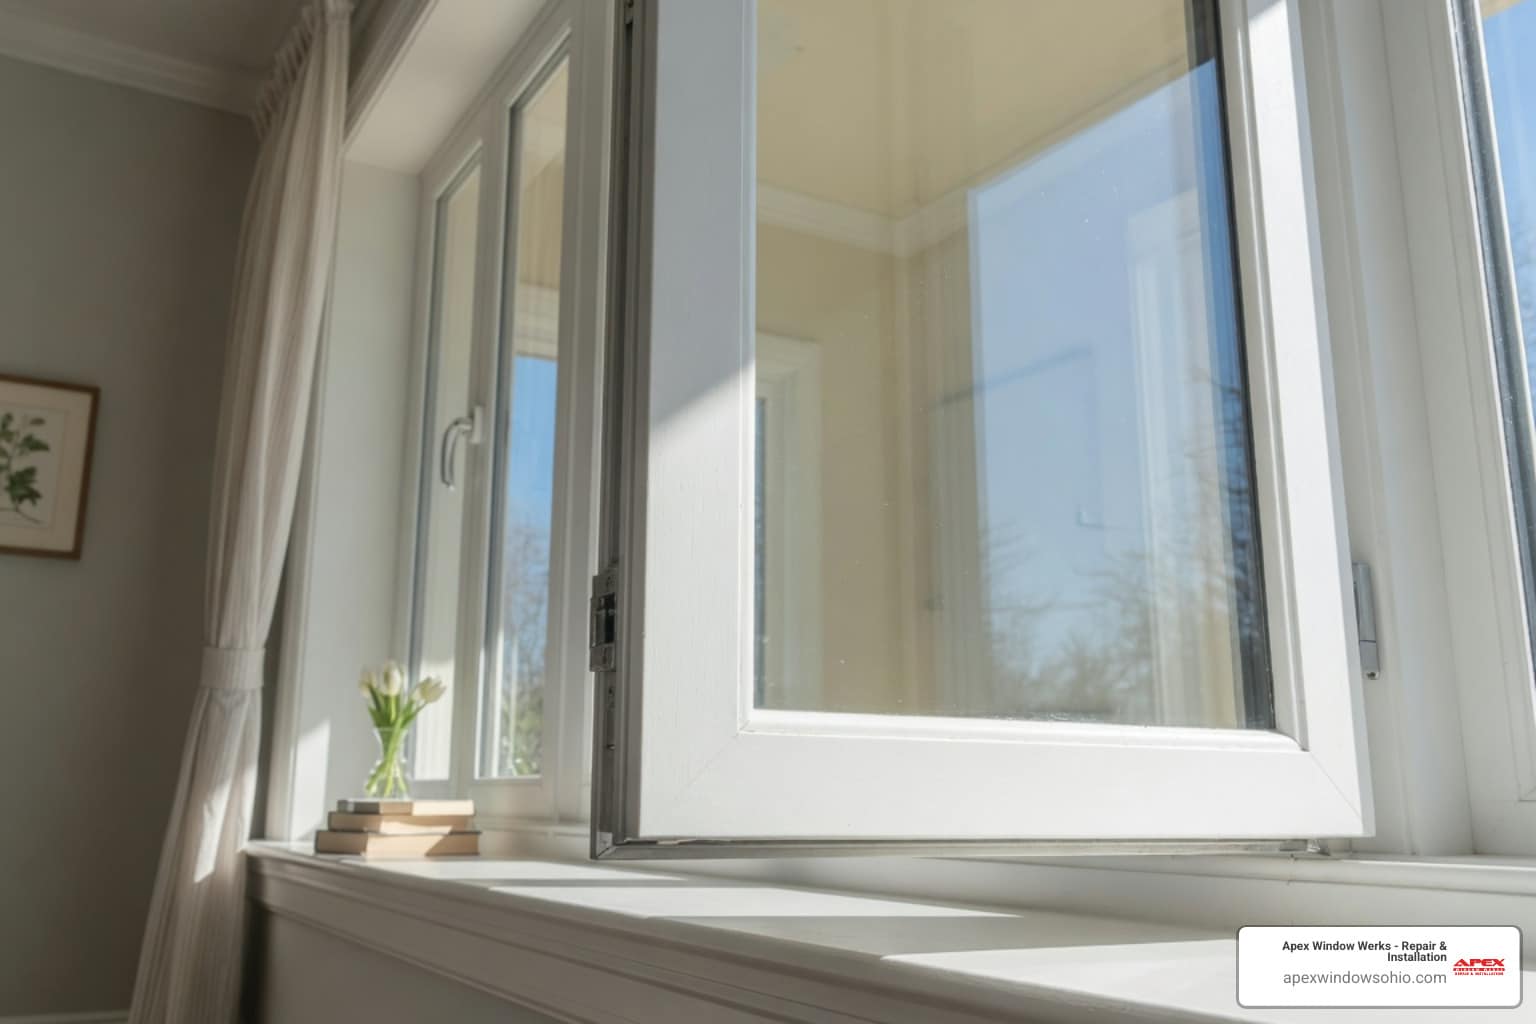
Once your screen is assembled, securing it into the window sash pocket requires the right hardware configuration. Window designs vary across architectural styles, ranging from double-hung and horizontal sliding windows to out-swinging casement units.
How to Install Window Screen Units with Tension Springs
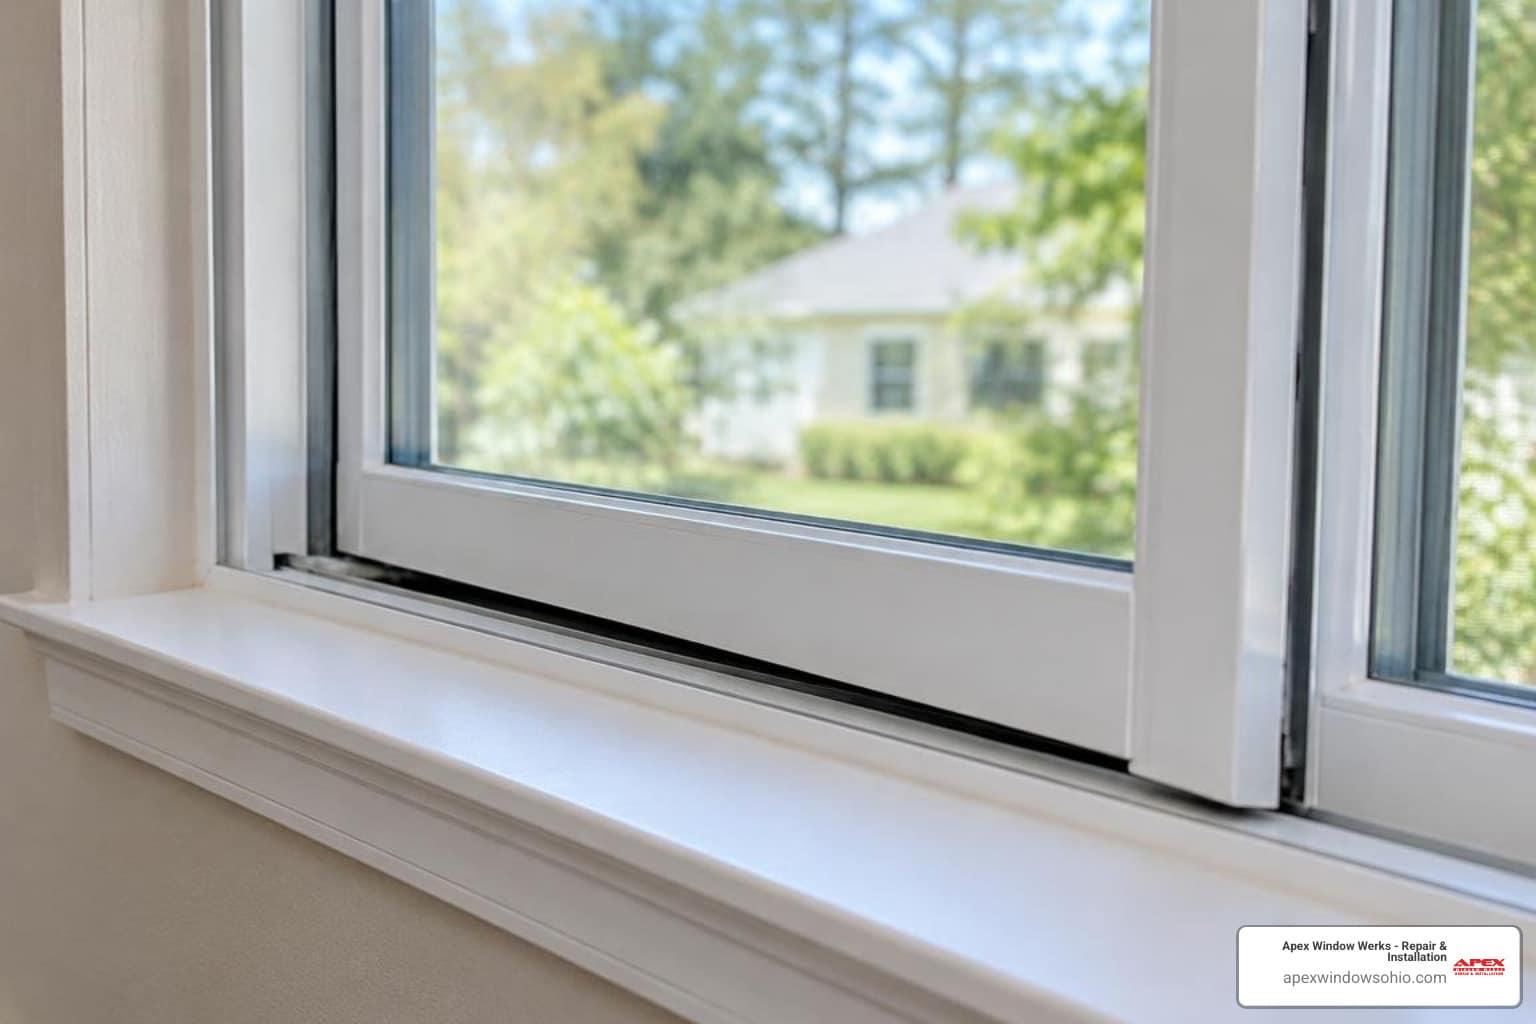
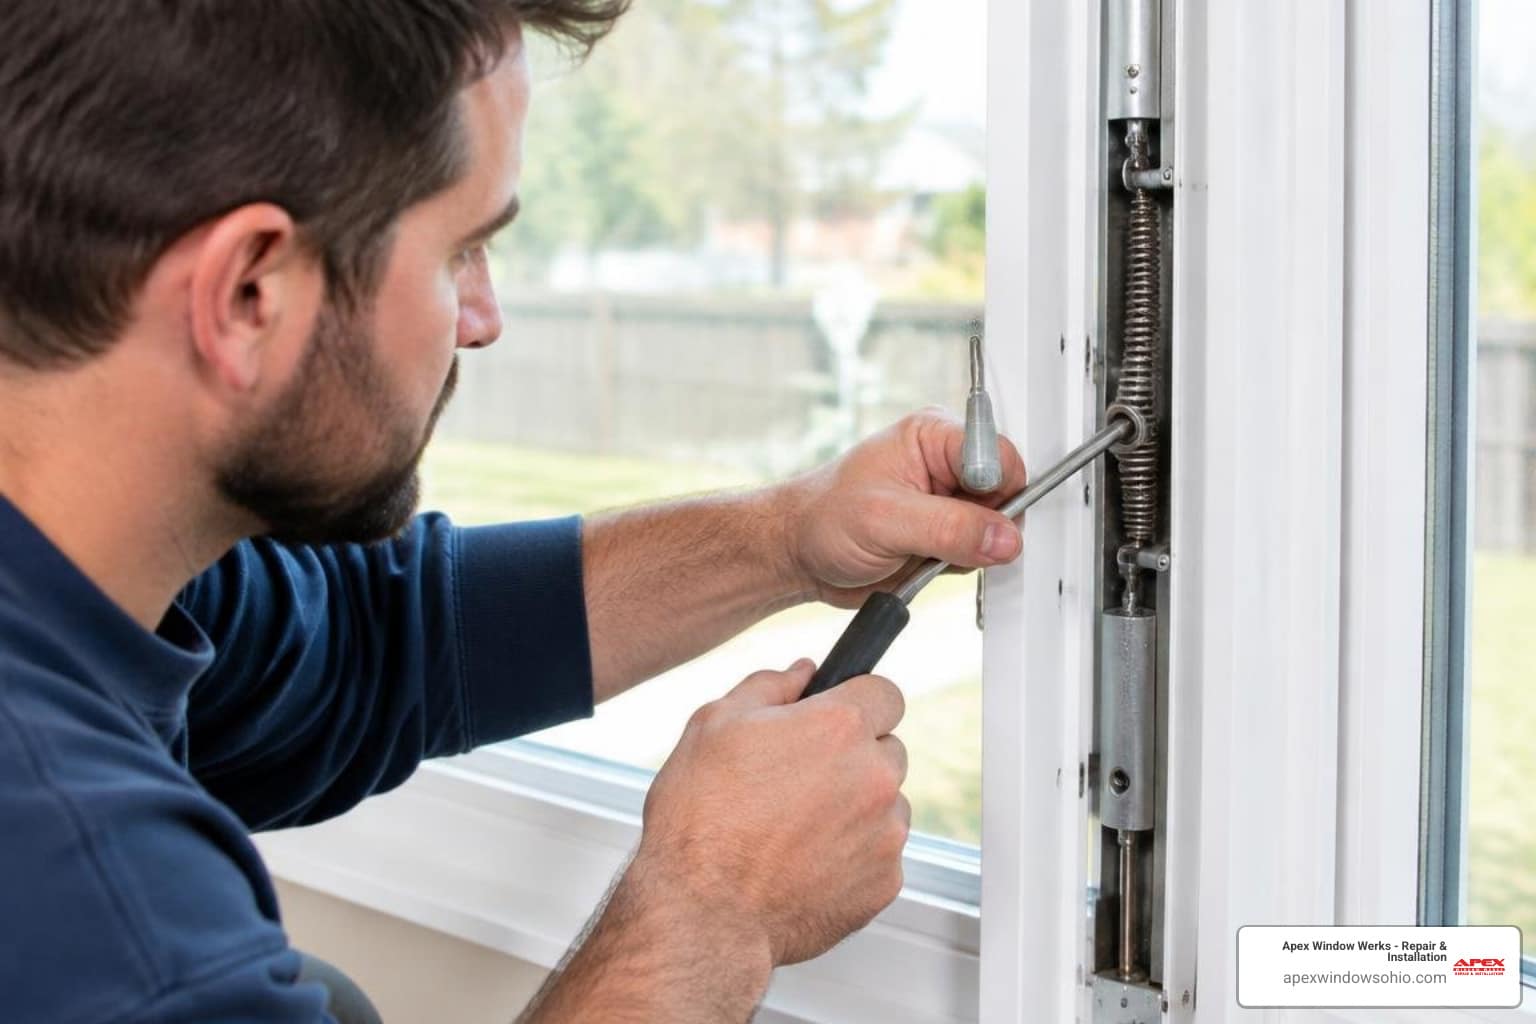
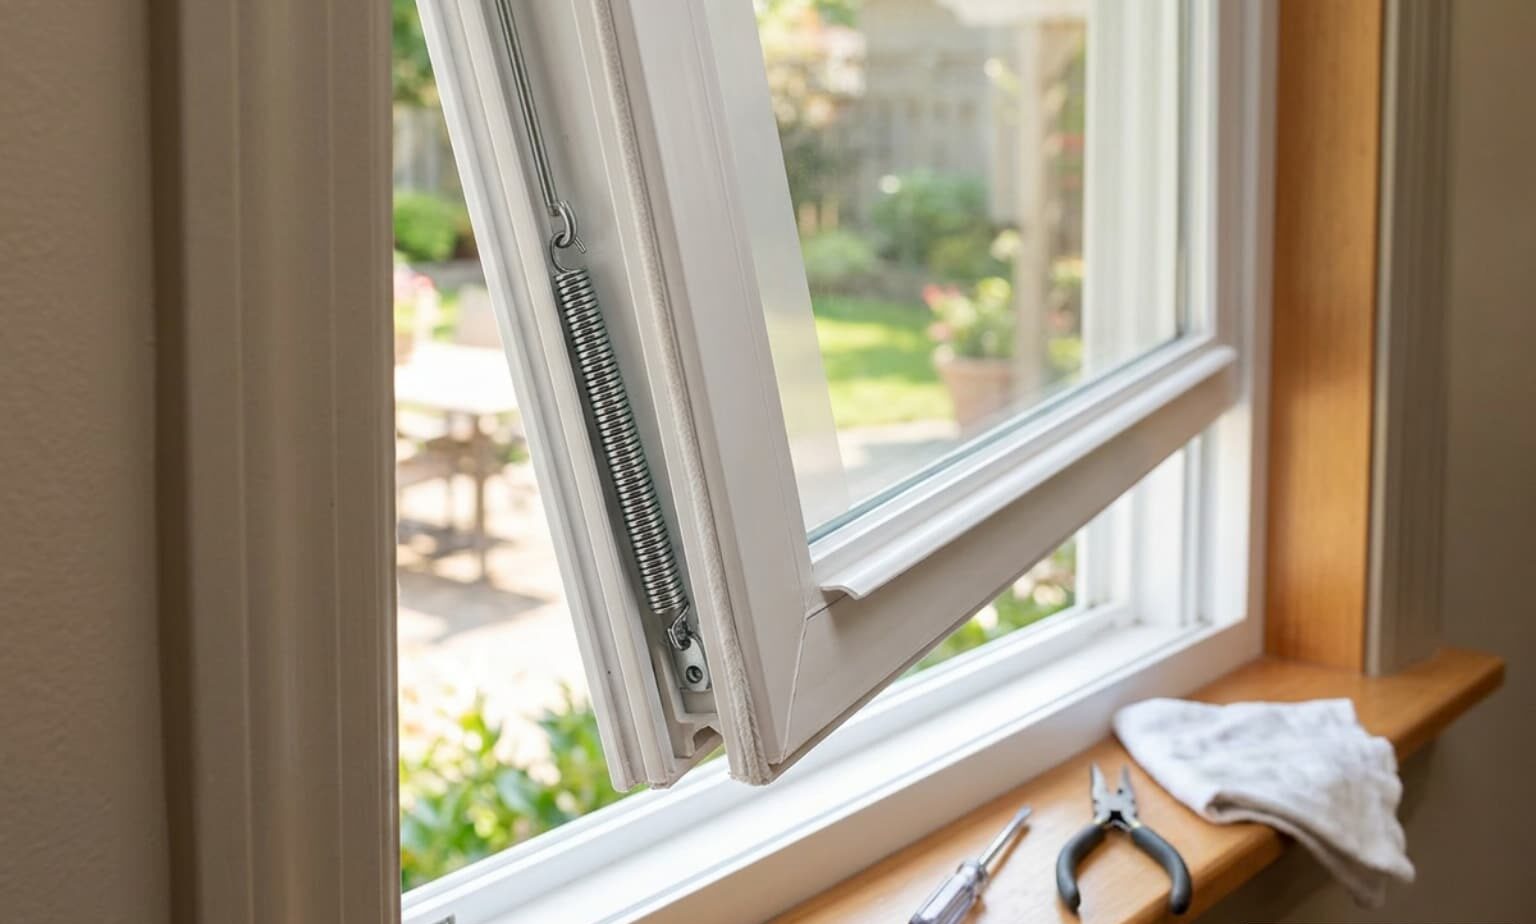
Tension springs are curved strips of heat-treated steel installed in the top or side channel of an aluminum screen frame. They supply constant outward tension, holding the screen securely inside the window pocket without needing exterior fasteners.
To mount a tension-spring screen:
- Verify Spring Placement: Confirm that two tension springs are seated in the top frame channel with their curved arches facing outward toward the window frame casing.
- Engage the Deep Track: Lift the screen and slide the top rail up into the deep upper channel of the exterior window frame.
- Compress and Seat: Push upward firmly against the internal tension springs until the bottom edge of the screen frame clears the lower sill stop.
- Drop into Position: Swing the bottom of the screen inward over the sill track, then ease downward pressure, allowing the springs to push the screen down into its resting groove.
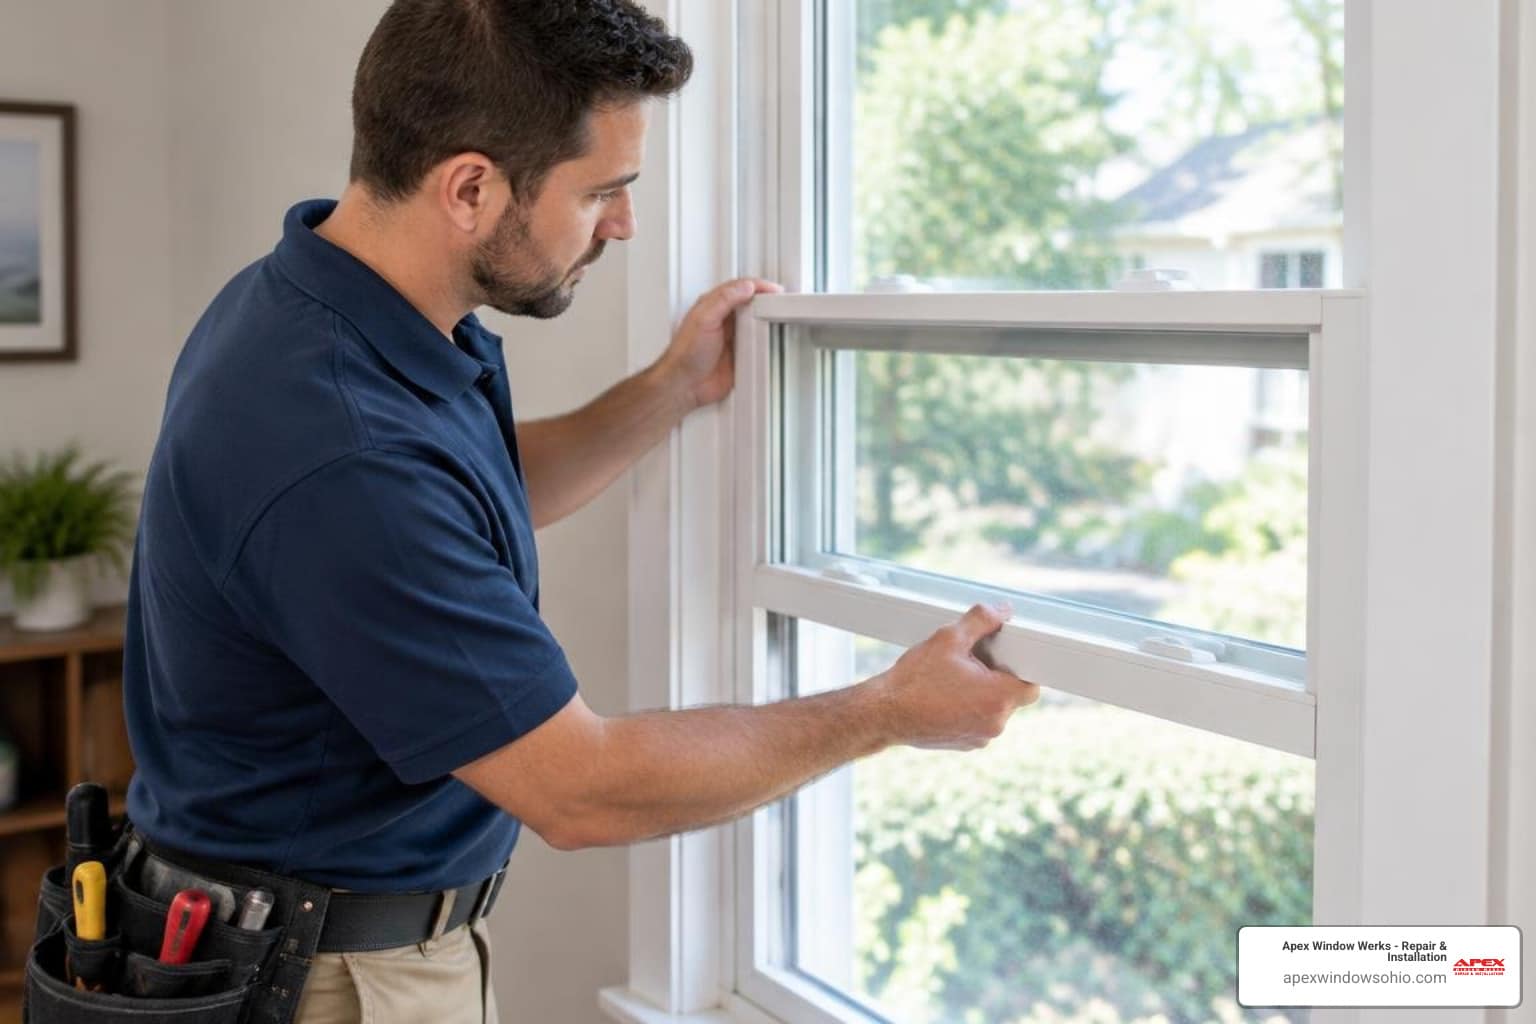
How to Install a Window Screen from the Inside
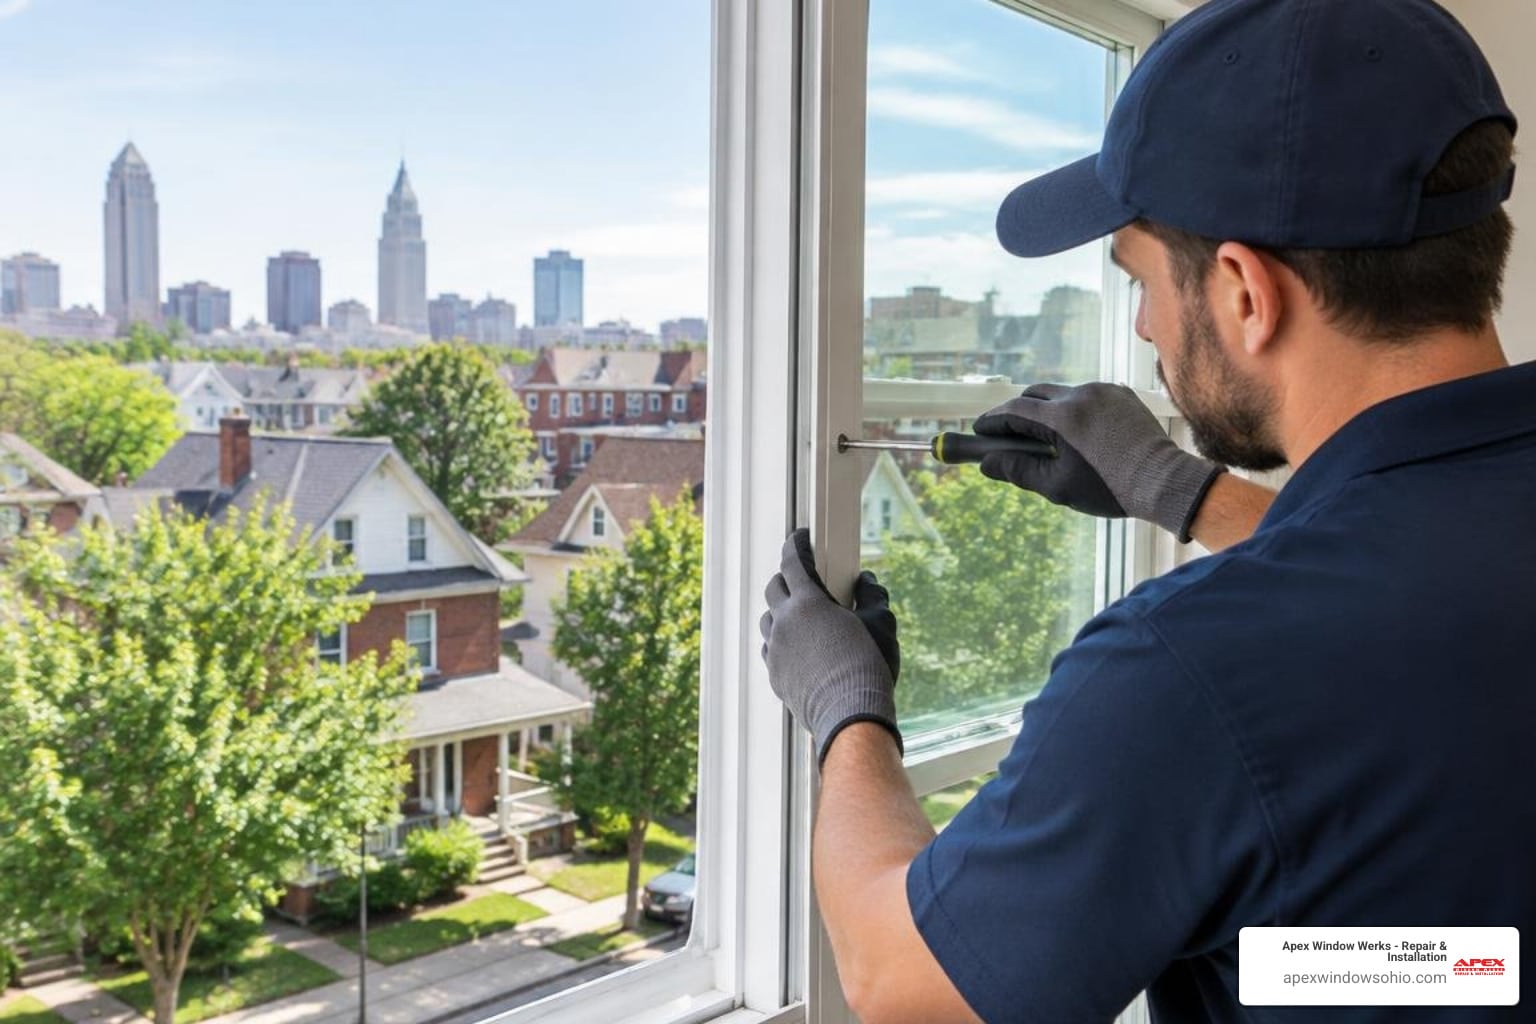
In multi-story homes throughout Akron, Cleveland, and surrounding areas, installing screens from the exterior can be hazardous. Fortunately, modern double-hung and sliding windows allow you to mount screens safely from inside the room.
To install a screen from indoors:
- Raise the lower interior window sash fully upward.
- Turn the screen vertically on its edge and pass it through the open sash to the outside of the house, keeping a firm grip on the center frame rail.
- Rotate the screen flat so that the exterior face points outward, ensuring that the pull tabs face toward the inside of your home at the bottom edge.
- Align the top rail into the upper screen track, push up against any top tension springs, and pull the bottom rail inward using the lift tabs until it drops into the lower sill track.
For additional step-by-step strategies on managing stubborn indoor hardware clips, review our guide on installing window screens from indoors safely.
Differences for Patio Doors and Large Porch Enclosures
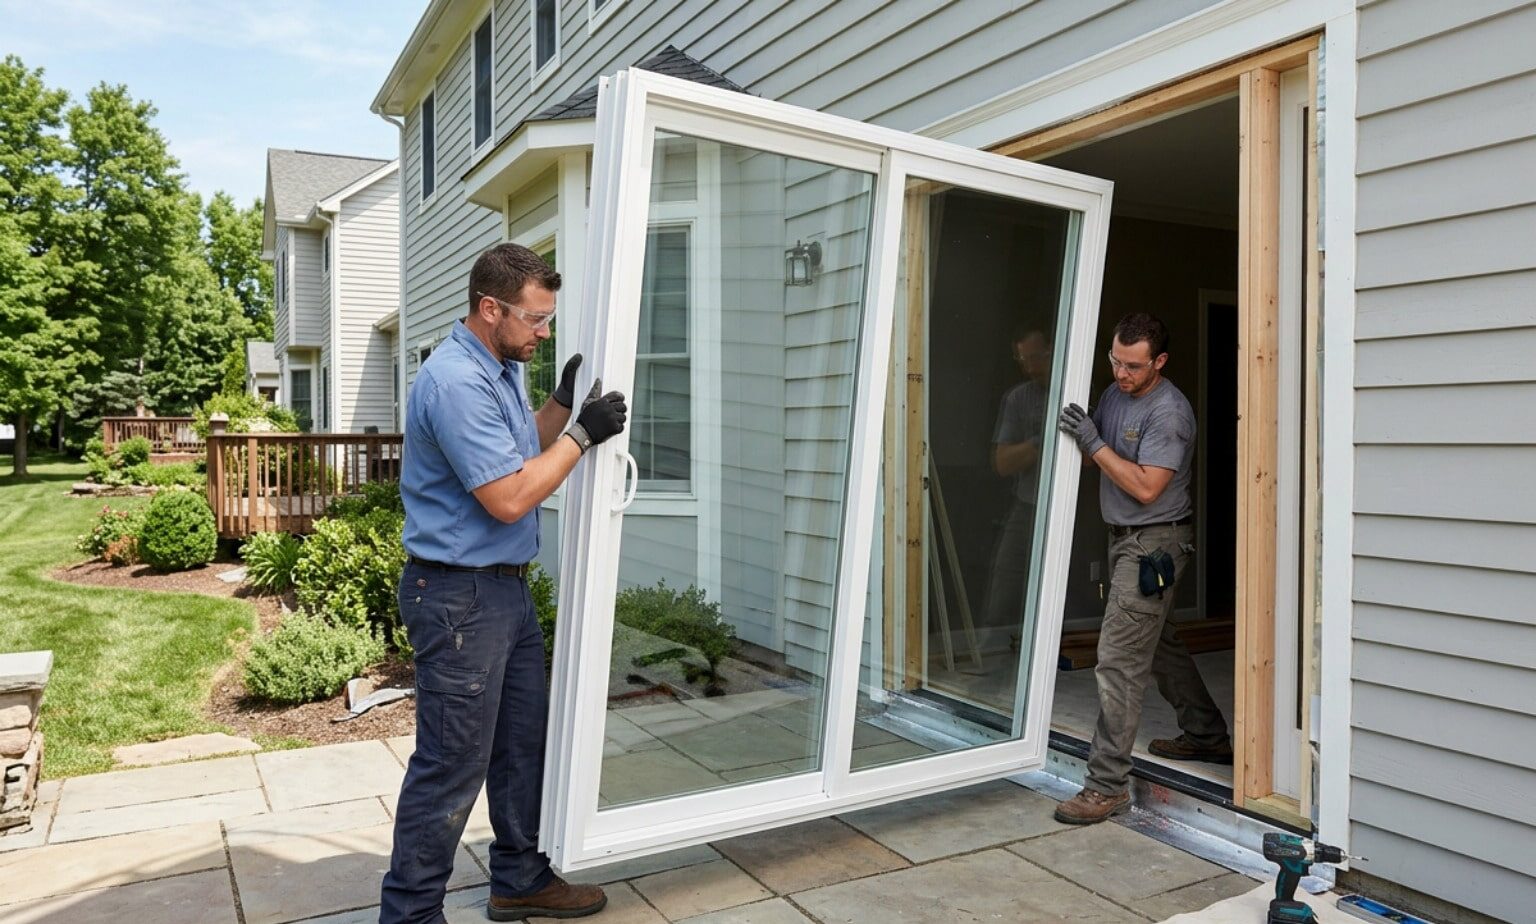
Screening large openings like sliding patio doors or screened porch structures involves structural considerations that do not apply to standard window units:
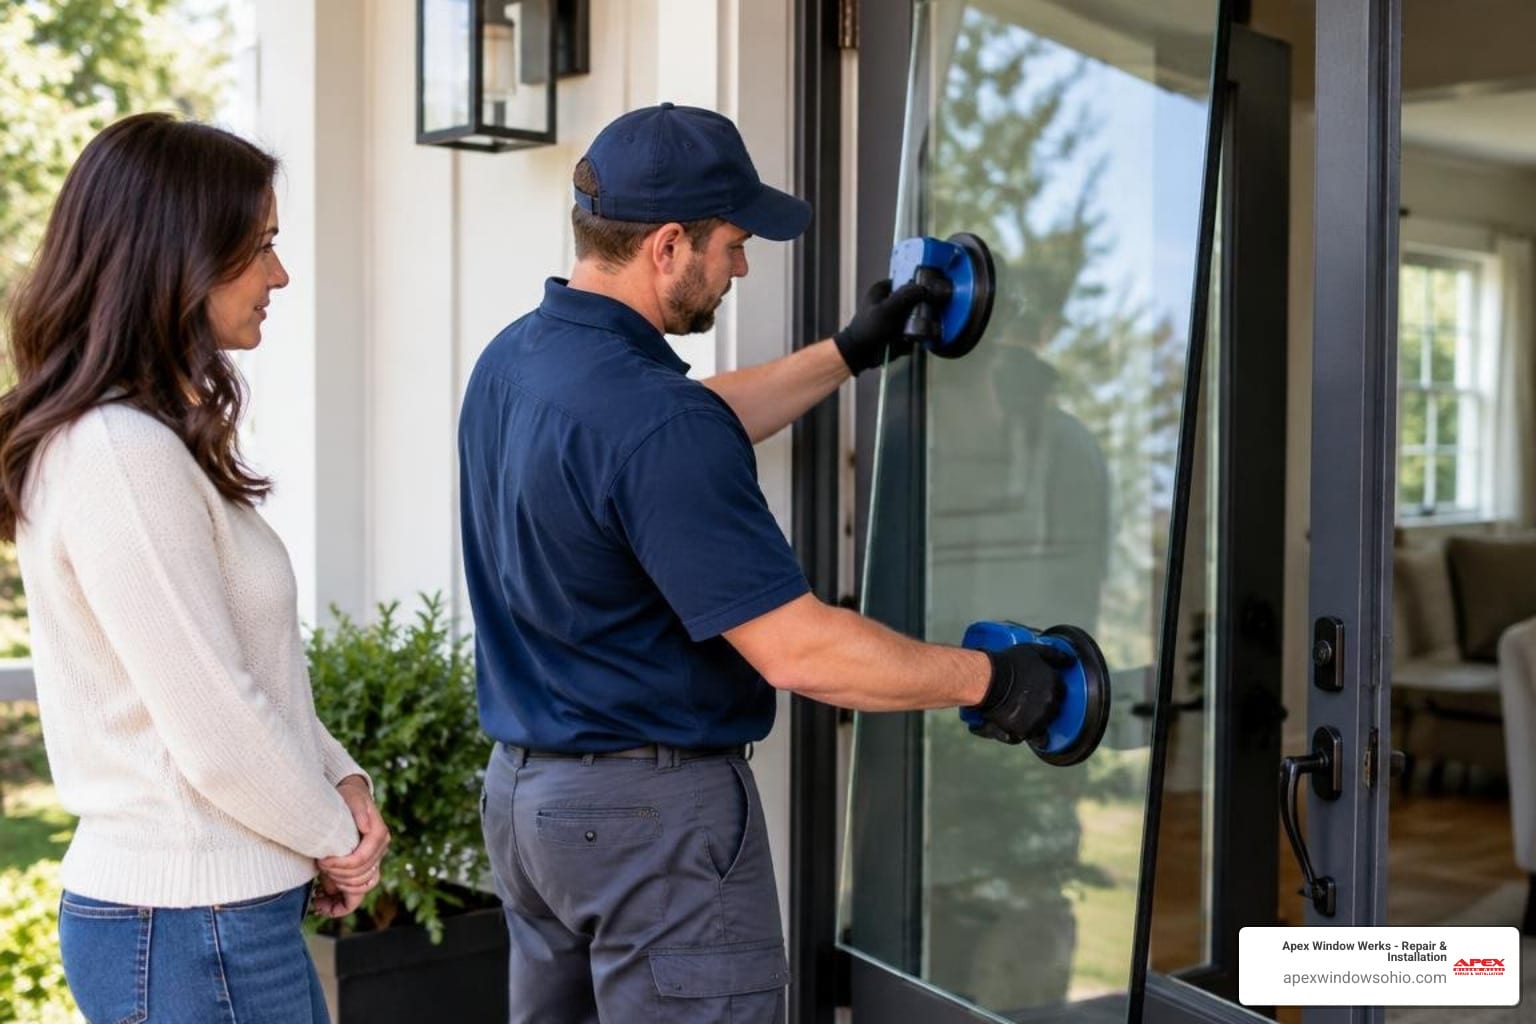
- Two-Person Handling: Expansive frames flex easily under their own weight. Having a second person guide mesh tension across broad expanses prevents the side extrusions from twisting.
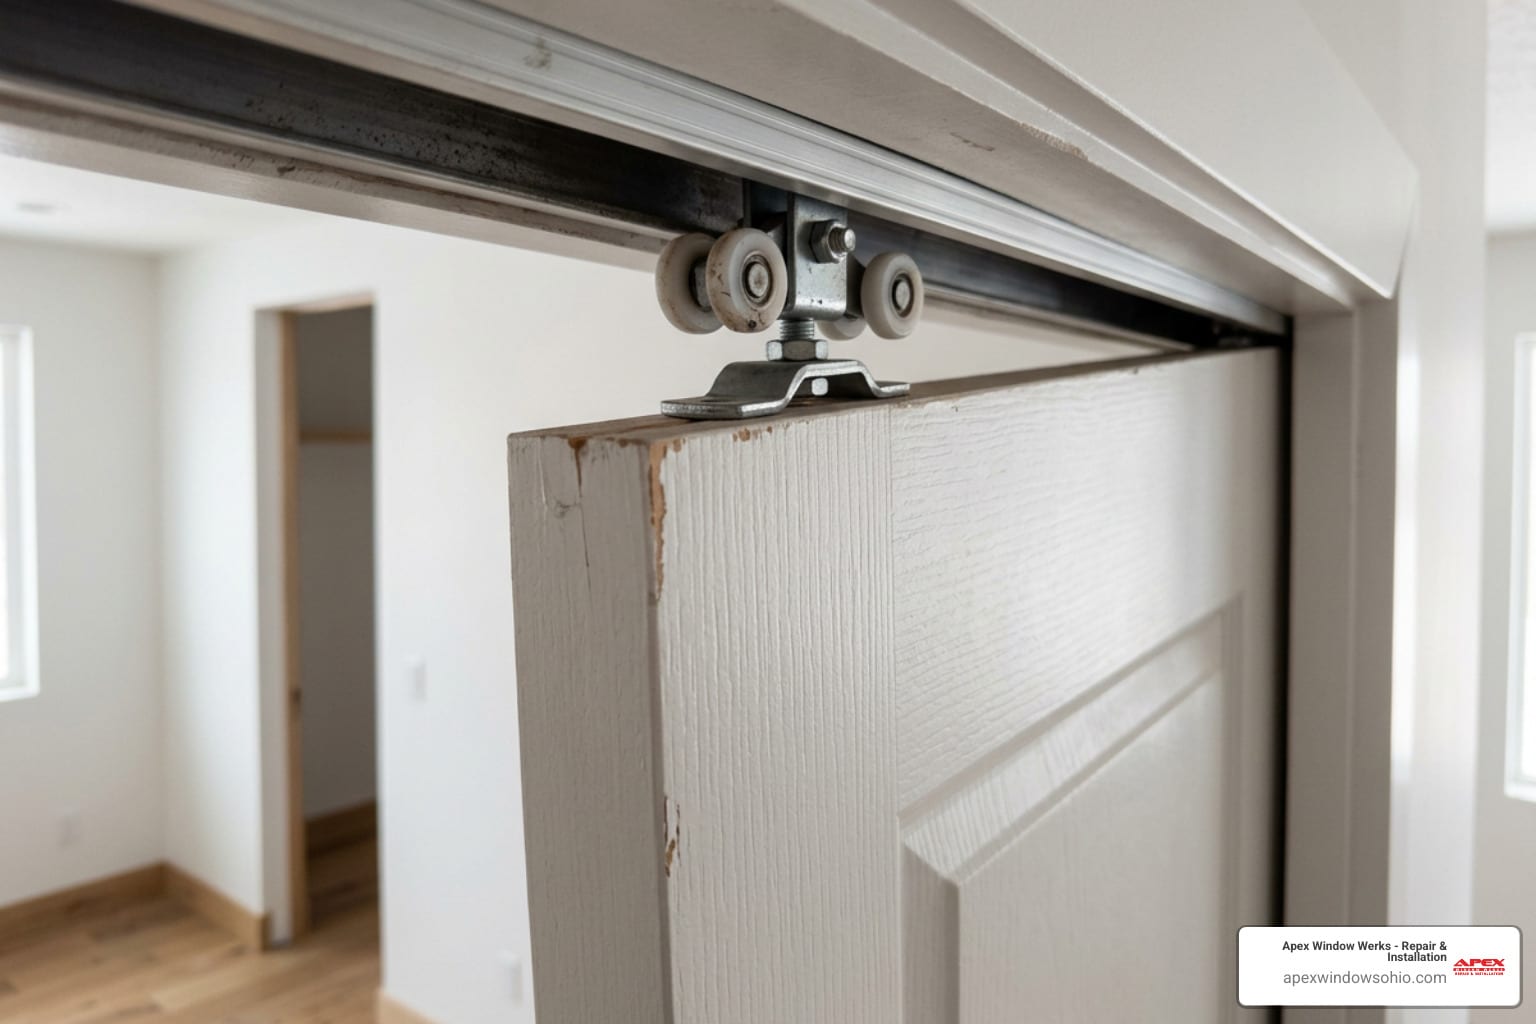
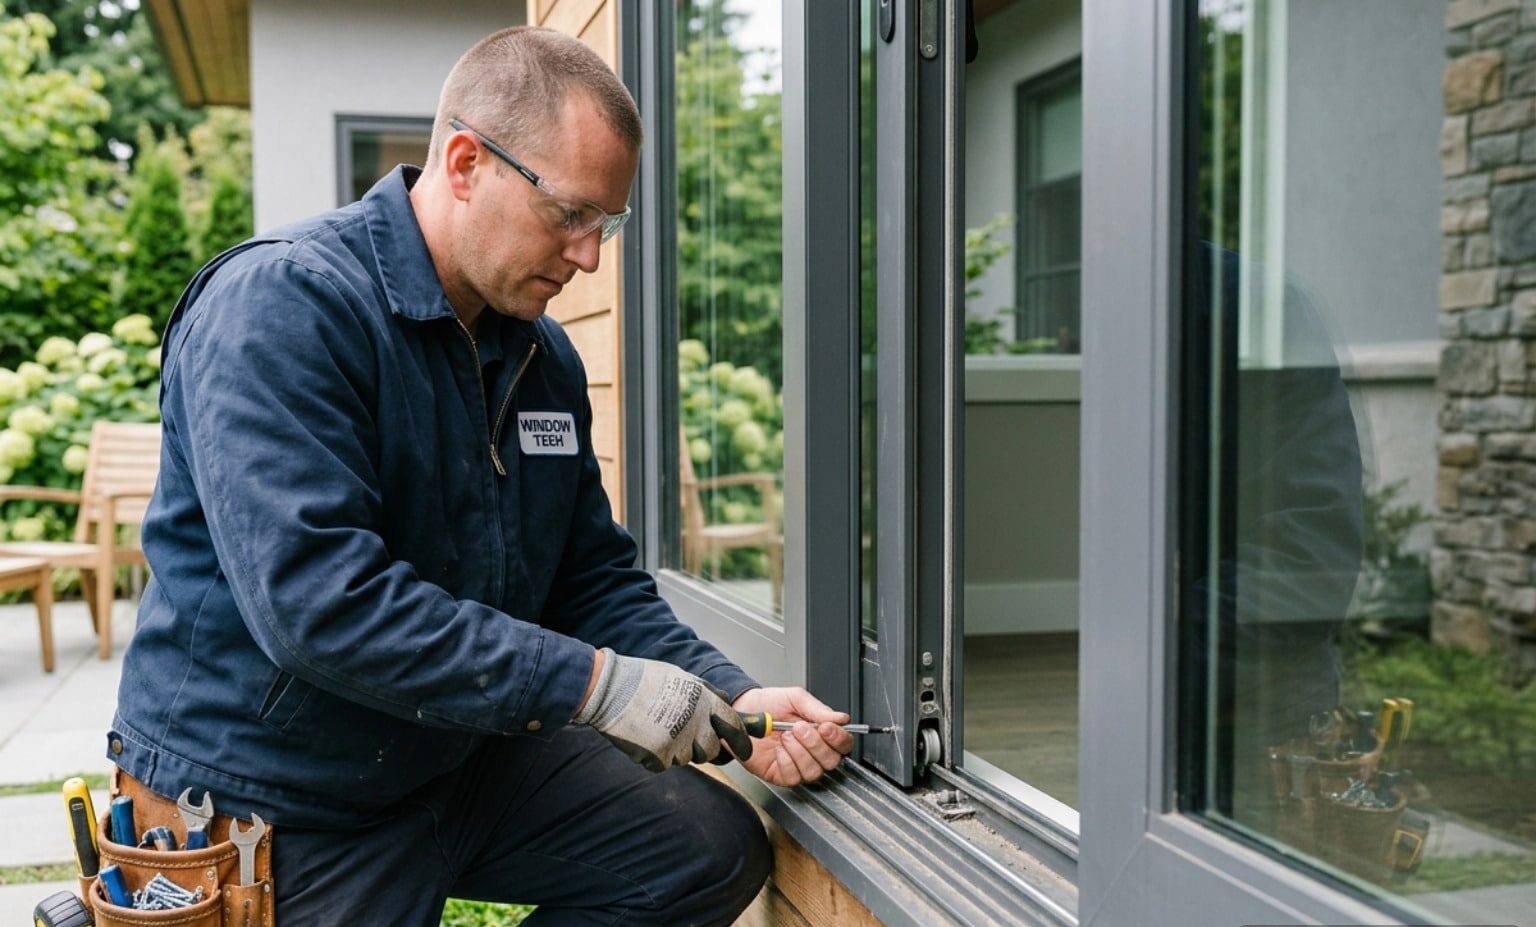
- Door Roller Adjustment: Sliding patio screens rely on bottom and top roller assemblies. After rescreening, adjust the tension screws on the roller housings with a screwdriver to ensure the door glides without rubbing the frame track.
- Heavy-Duty Mesh Anchoring: Porch panels and oversized doors face significant wind load pressures. Using thicker spline cords and heavy-duty polyester mesh prevents the fabric from pulling free during seasonal storms.
When standard screening cannot provide adequate architectural flexibility for large sliding door openings, homeowners frequently upgrade to retractable screen systems for smooth operation and discreet seasonal storage.
Frequently Asked Questions About Northeast Ohio Window Screens
What is the typical cost to install a window screen?
Screen installation costs depend on several project-specific factors, including whether you are replacing only the mesh or fabricating entirely new aluminum frames. Pricing variations are driven by the overall dimensions of the window opening, the choice between standard fiberglass and heavy-duty specialty mesh (such as pet-resistant or high-density solar screening), and frame hardware requirements like plunger latches or corner tension springs. Custom-sized frames for non-standard or out-of-square openings require additional fabrication time compared to standard replacement units. Homeowners can reach out to local window specialists for exact project assessments and free estimates based on their specific window types.
How do I determine the correct spline thickness for my frame?
To find the right spline diameter, measure the width of your frame’s spline groove using a small ruler or caliper. Standard residential frames typically use 9/64-inch (.140) or .160-inch vinyl spline. If you choose a thick, heavy-gauge mesh like pet screening, select a spline that is one size smaller (such as .125 or .140 inch) to ensure the cord seats completely into the groove without over-stretching or splitting the channel wall.
Can you install a window screen without taking the frame out?
While it is technically possible to rescreen large fixed porch panels in place, standard window screens should always be removed from the window track before rescreening. Working on a flat table allows you to apply balanced rolling pressure, maintain uniform mesh tension, and trim edges cleanly without slipping and scratching the window frame or glass unit.
Conclusion
Installing replacement window screens is an effective way to improve airflow and keep insects outdoors during mild spring and summer months. By taking accurate measurements, selecting suitable mesh, and mastering the spline roller, you can complete screen repairs across your home with professional-grade results.
When dealing with bent aluminum framing, cracked corner joints, or multi-story screen fittings, professional support ensures your screens fit securely. Apex Window Werks provides complete window repair, sash restoration, and custom screen fabrication across Northeast Ohio, including communities throughout Cleveland, Lakewood, and Akron. Same day repairs available depending on damage, materials, technician availability, and scheduling. Contact us by phone at 440-496-7415, or schedule a free estimate for custom window screens and glass solutions today.